Customizing your content editor using Vue
This tutorial explains how to customize your content editor screen with Vue.
Before you start
Before starting this tutorial, you should have created a basic content structure like the following:
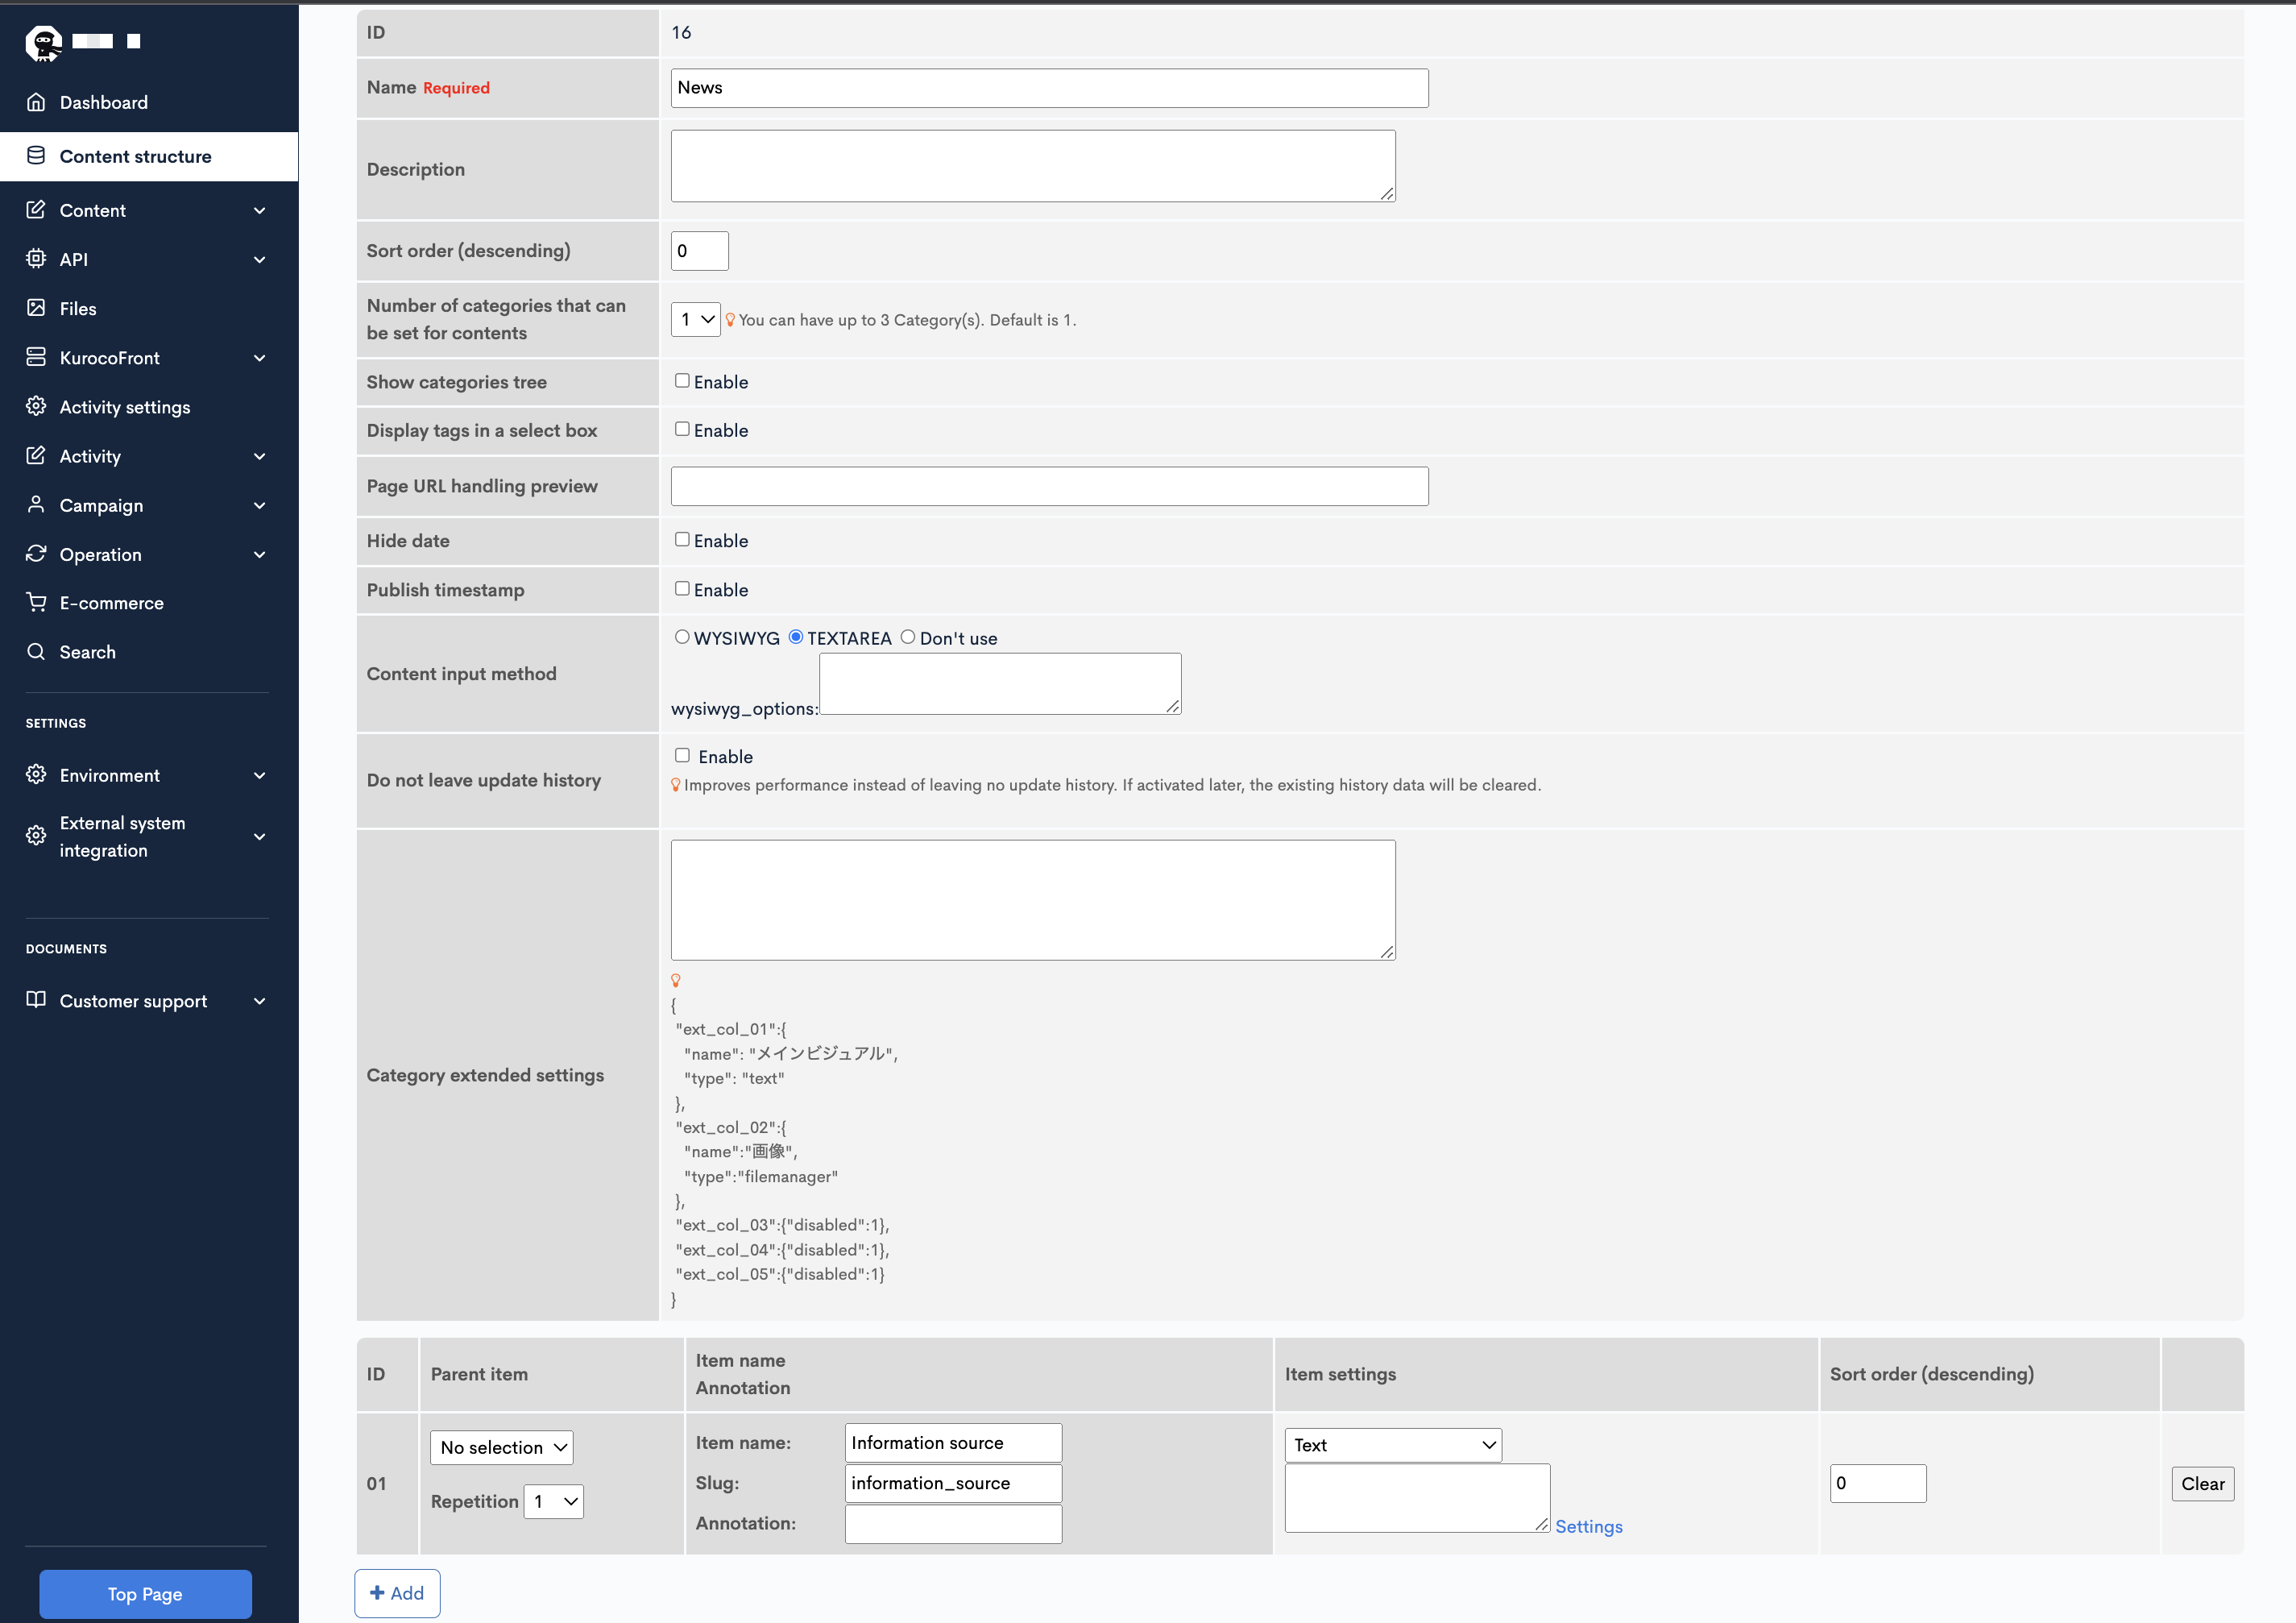
For more information on setting up content structures, see User guide: Content structure.
For a basic template of the content editor in Vue, refer to this repository.
Customizing your content editor
Clone the sample content editor below to your local drive:
Next, run yarn build in the ContentsEditSample directory. You will find the compiled source under /dist.
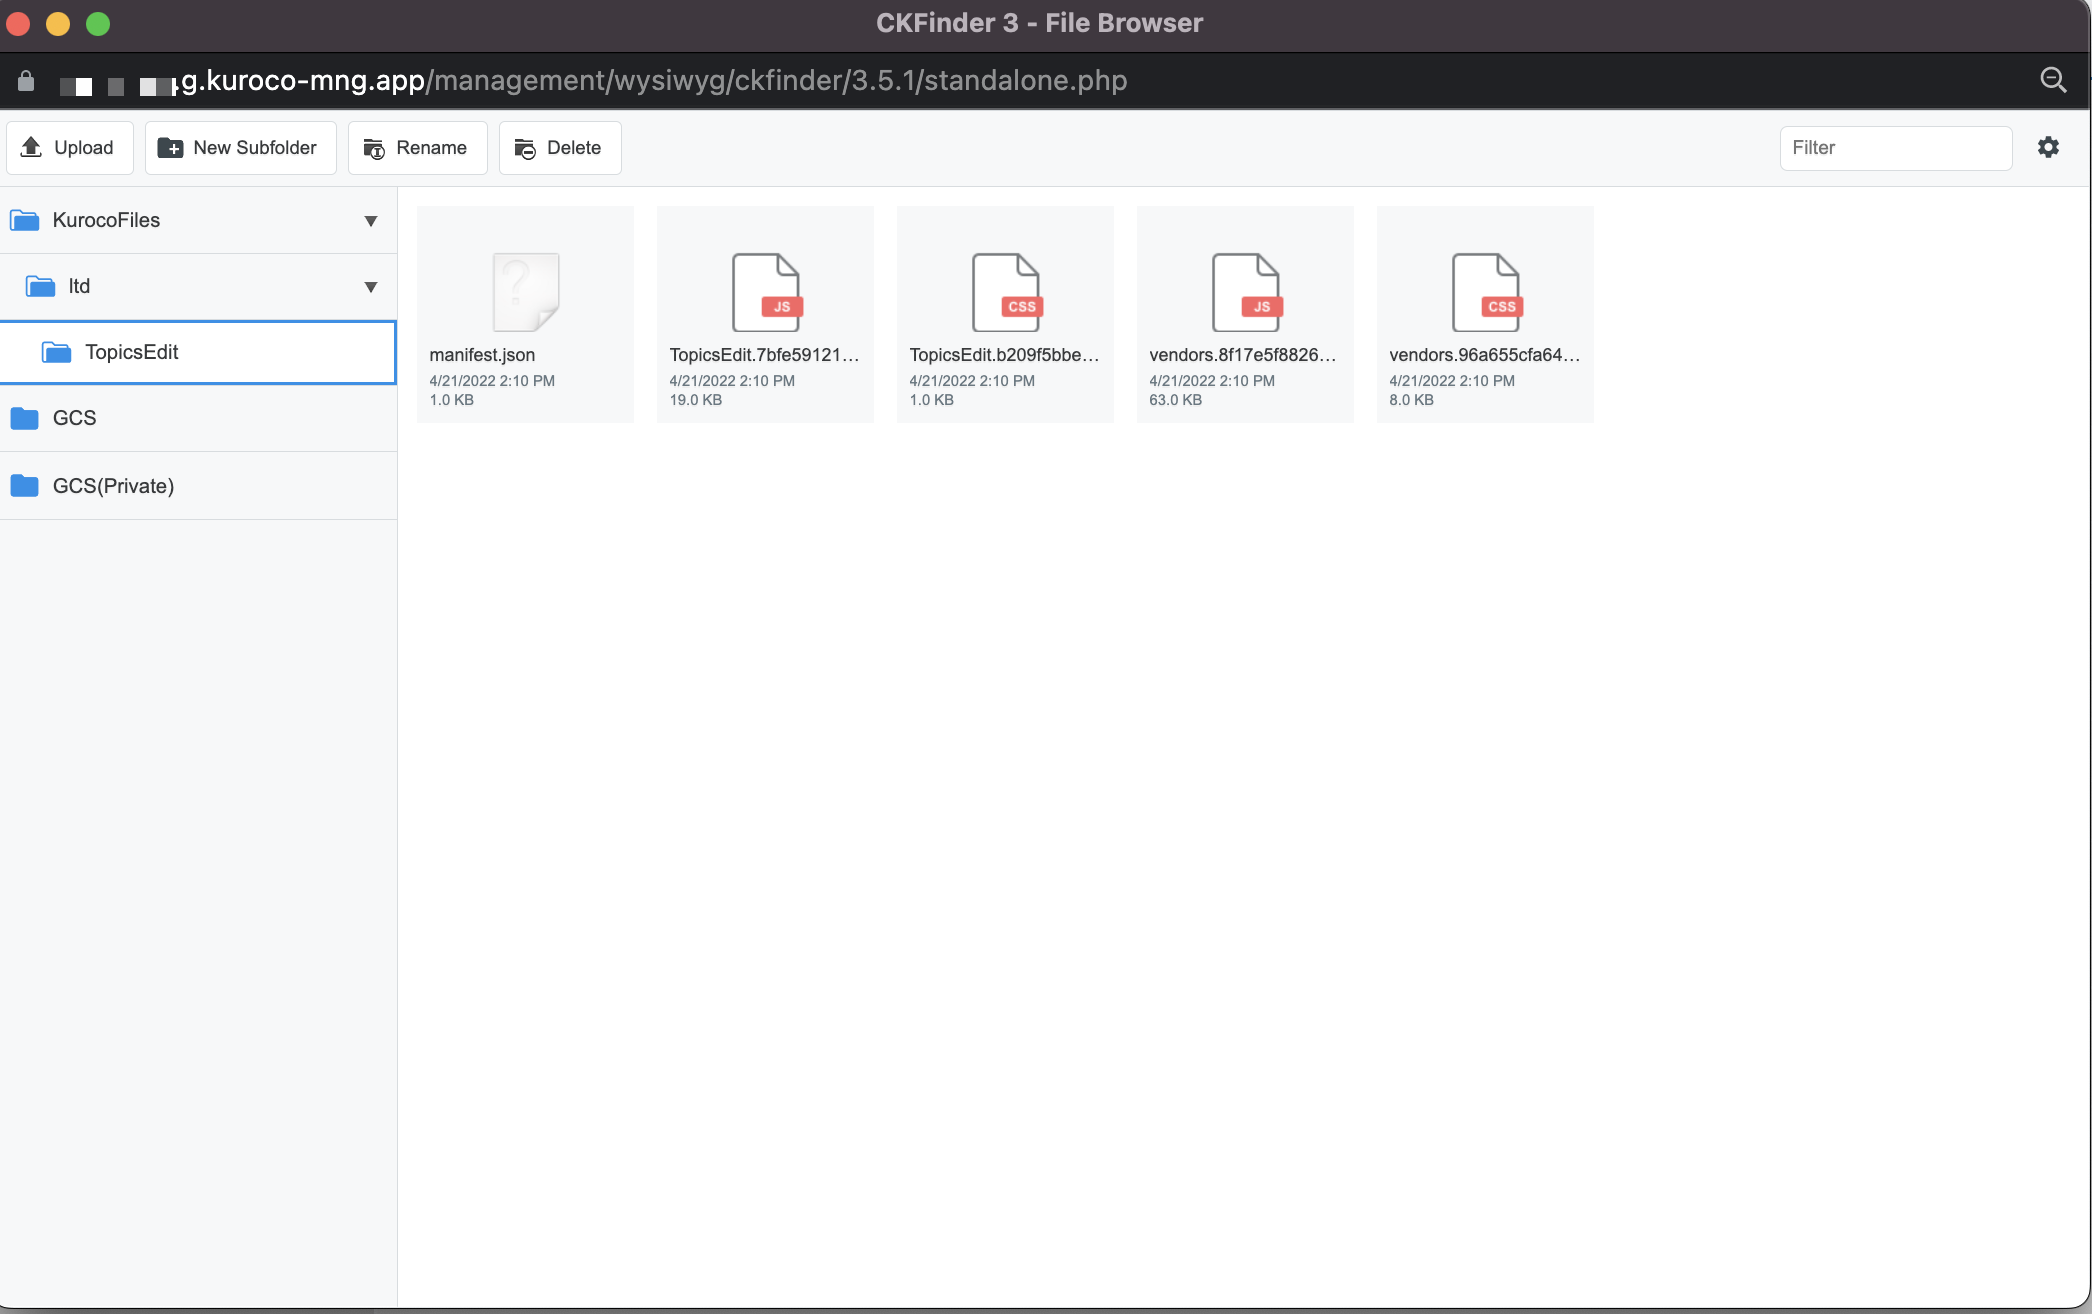
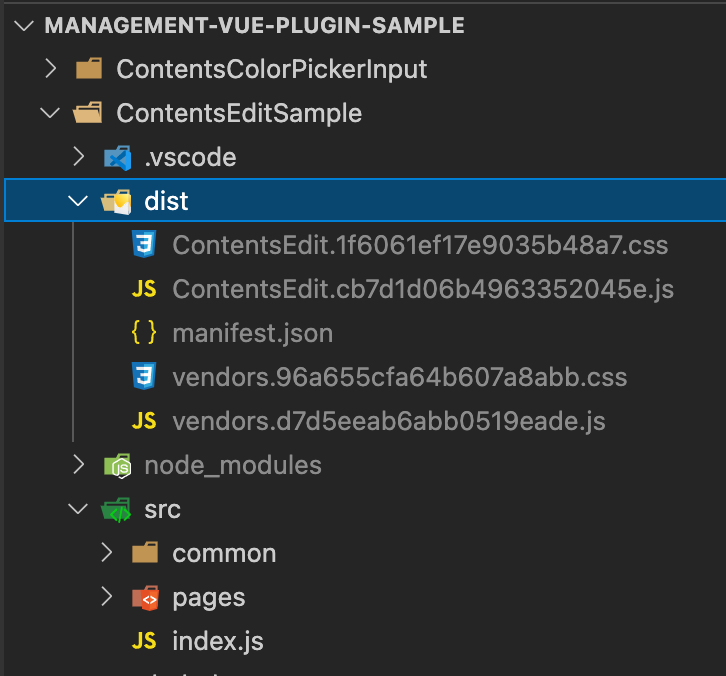 Copy all its contents to the Kuroco file manager.
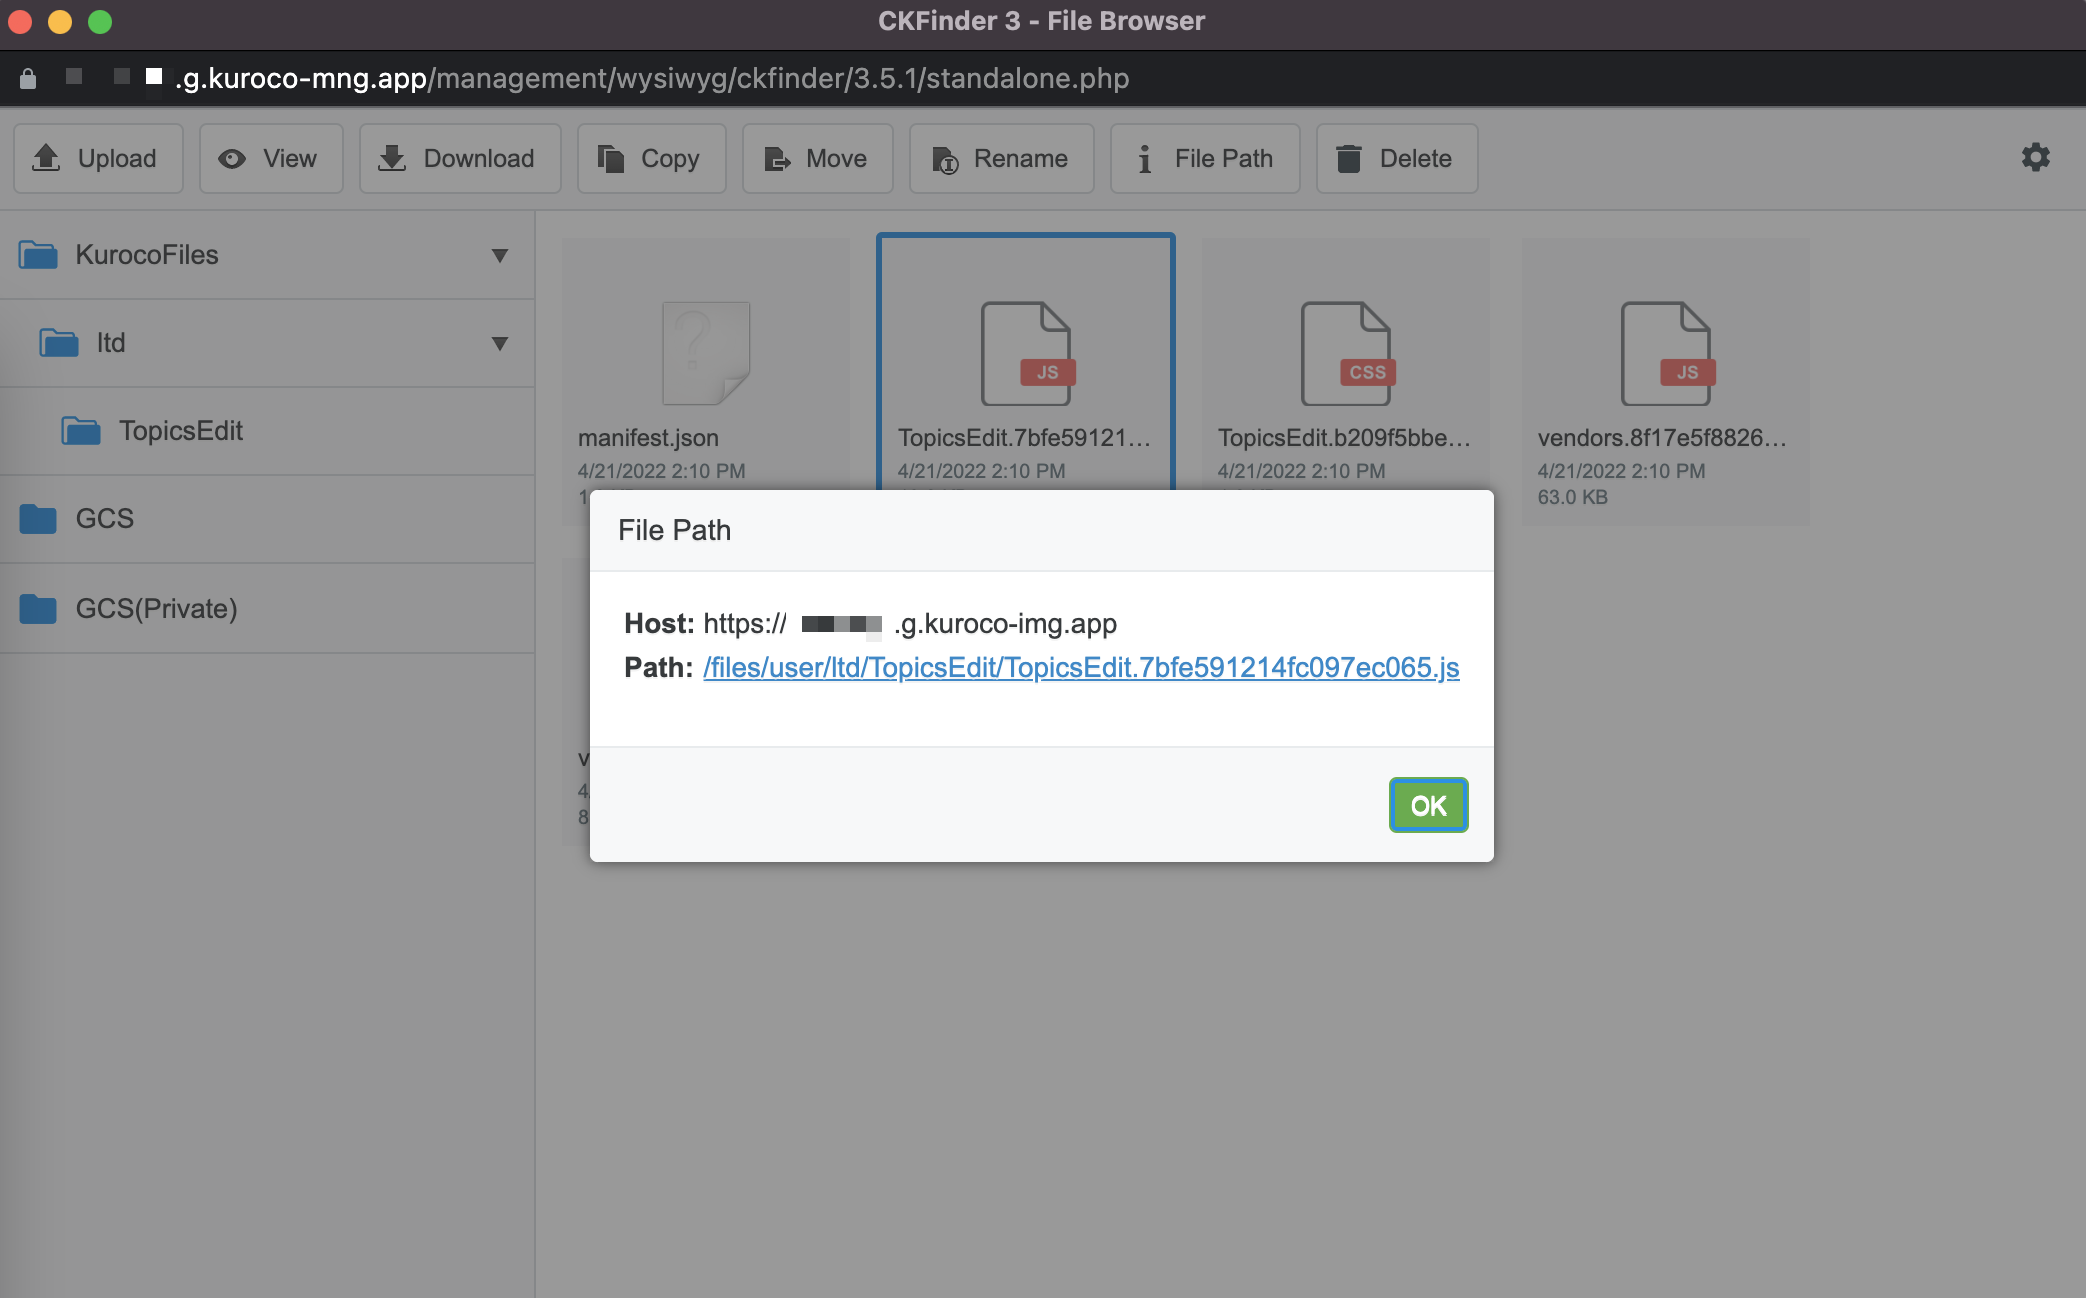
 After the files have been uploaded, right click one of them and select [File path] to view its path. Note down the host and path for later use.
 Create an admin panel plugin of type "Vue" as follows:
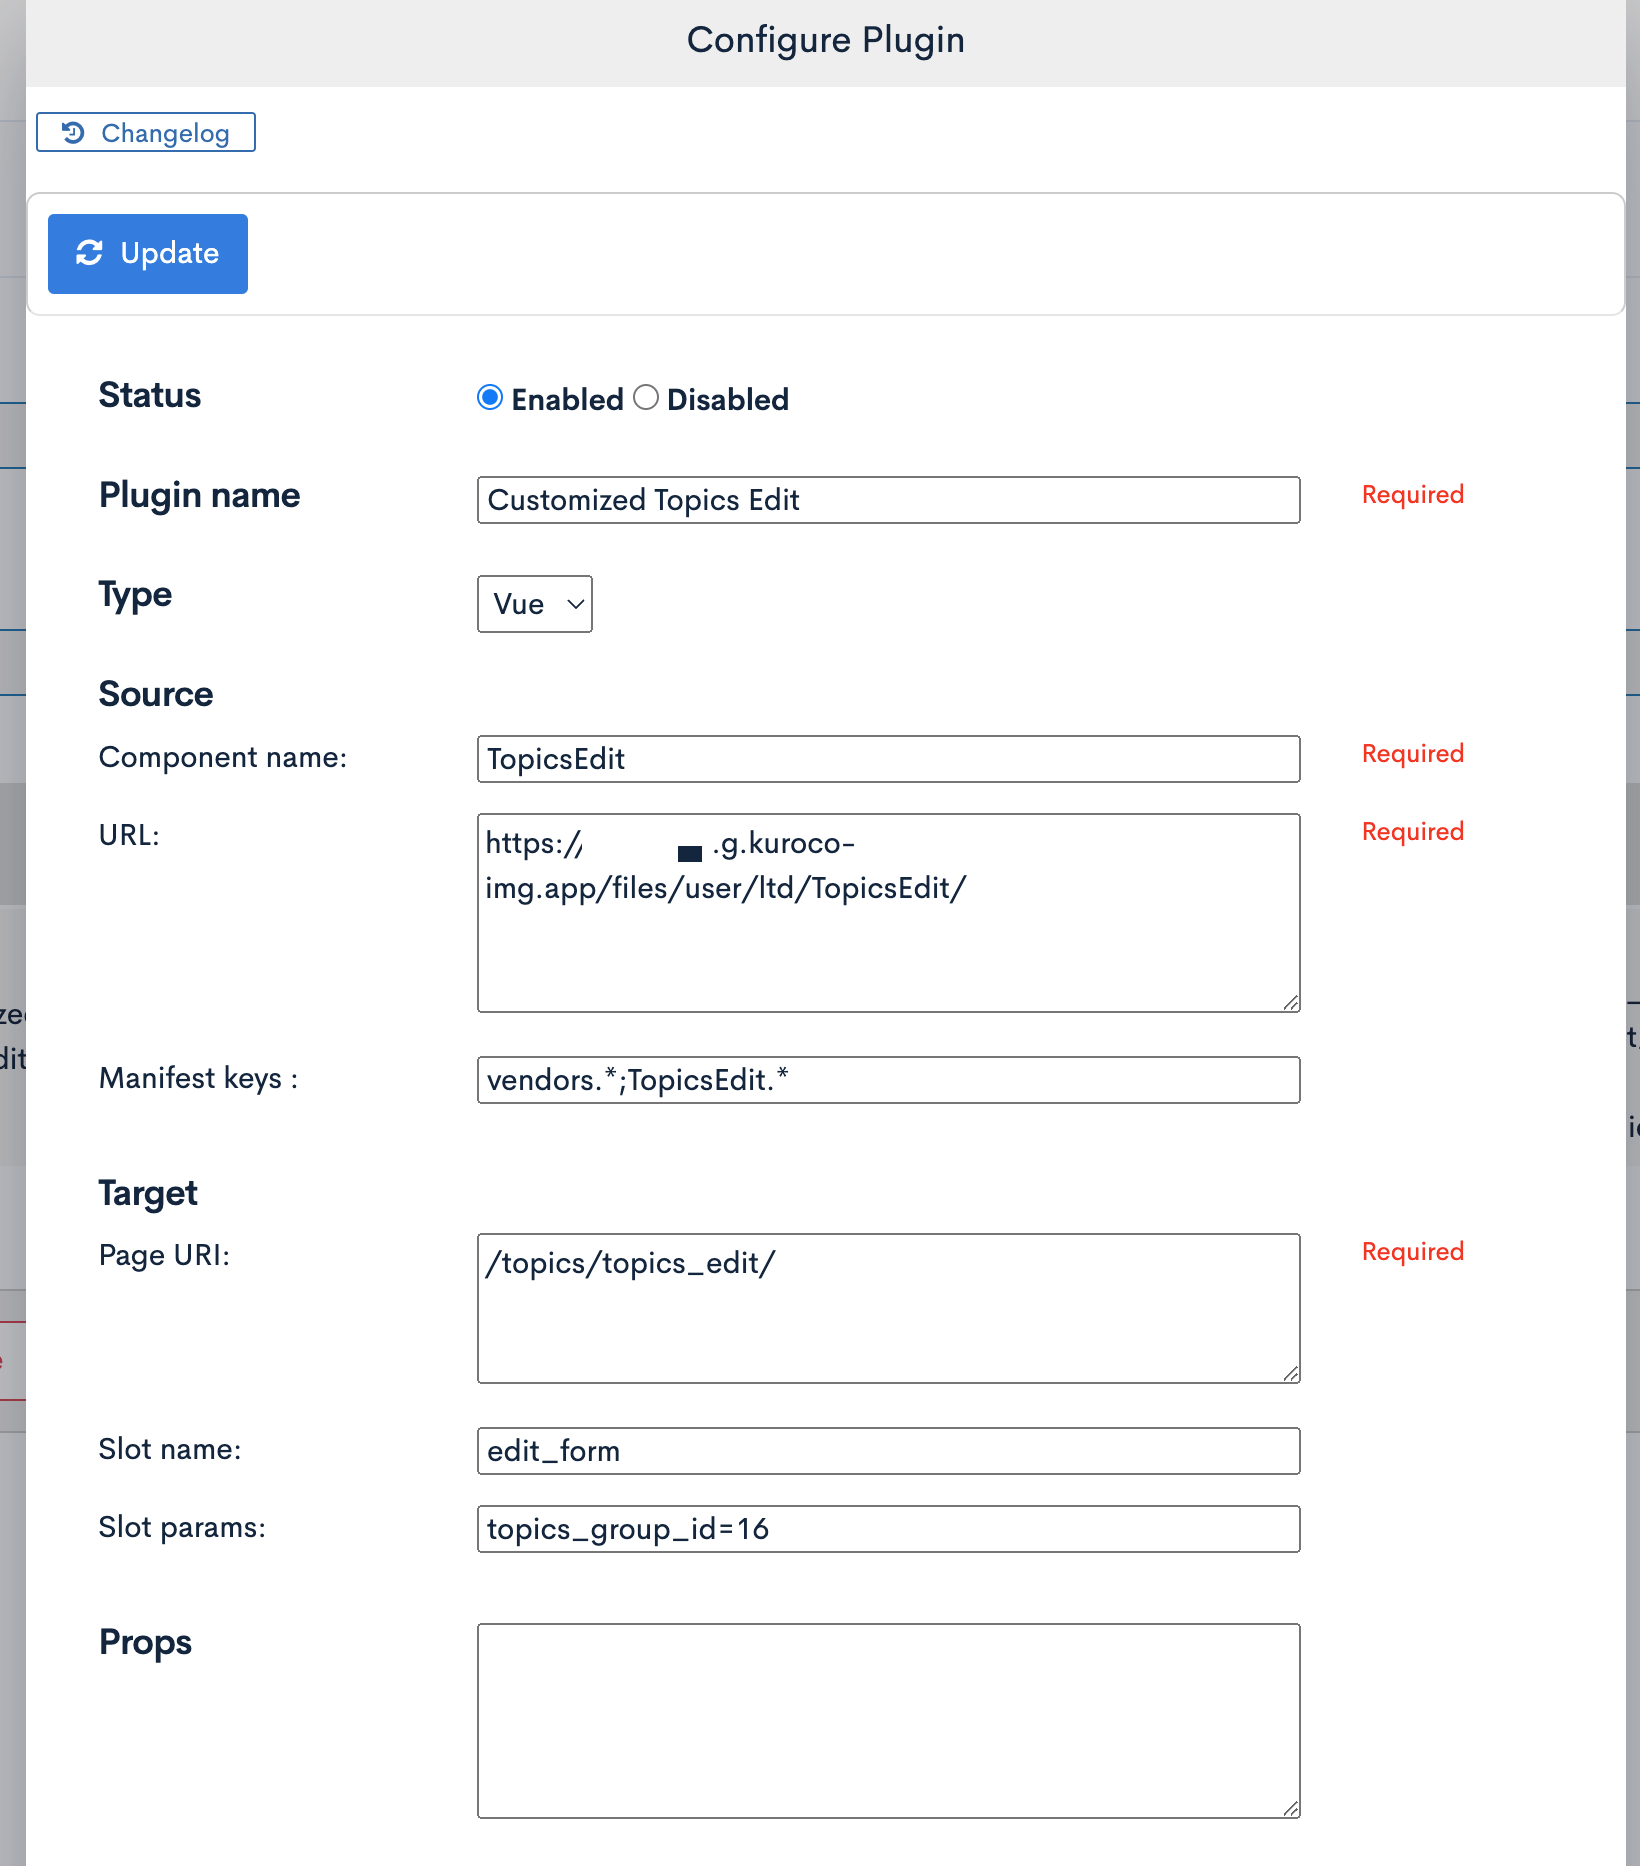
For more about admin panel plugins, see:
Using the plugin only for specified content groups
To use the plugin only for specified content groups, set the slot parameter in the plugin configuration dialog. For this tutorial, enter topics_group_id = 16 (we are using the "News" content group, whose ID is 16).
There are various slot values available for modifying or customizing the behavior of the content editor. In this tutorial, we want to customize the entire page, so we set the slot name value to edit_form.
Click [Add] to save your changes. When you are done, your custom content editor should look like this:
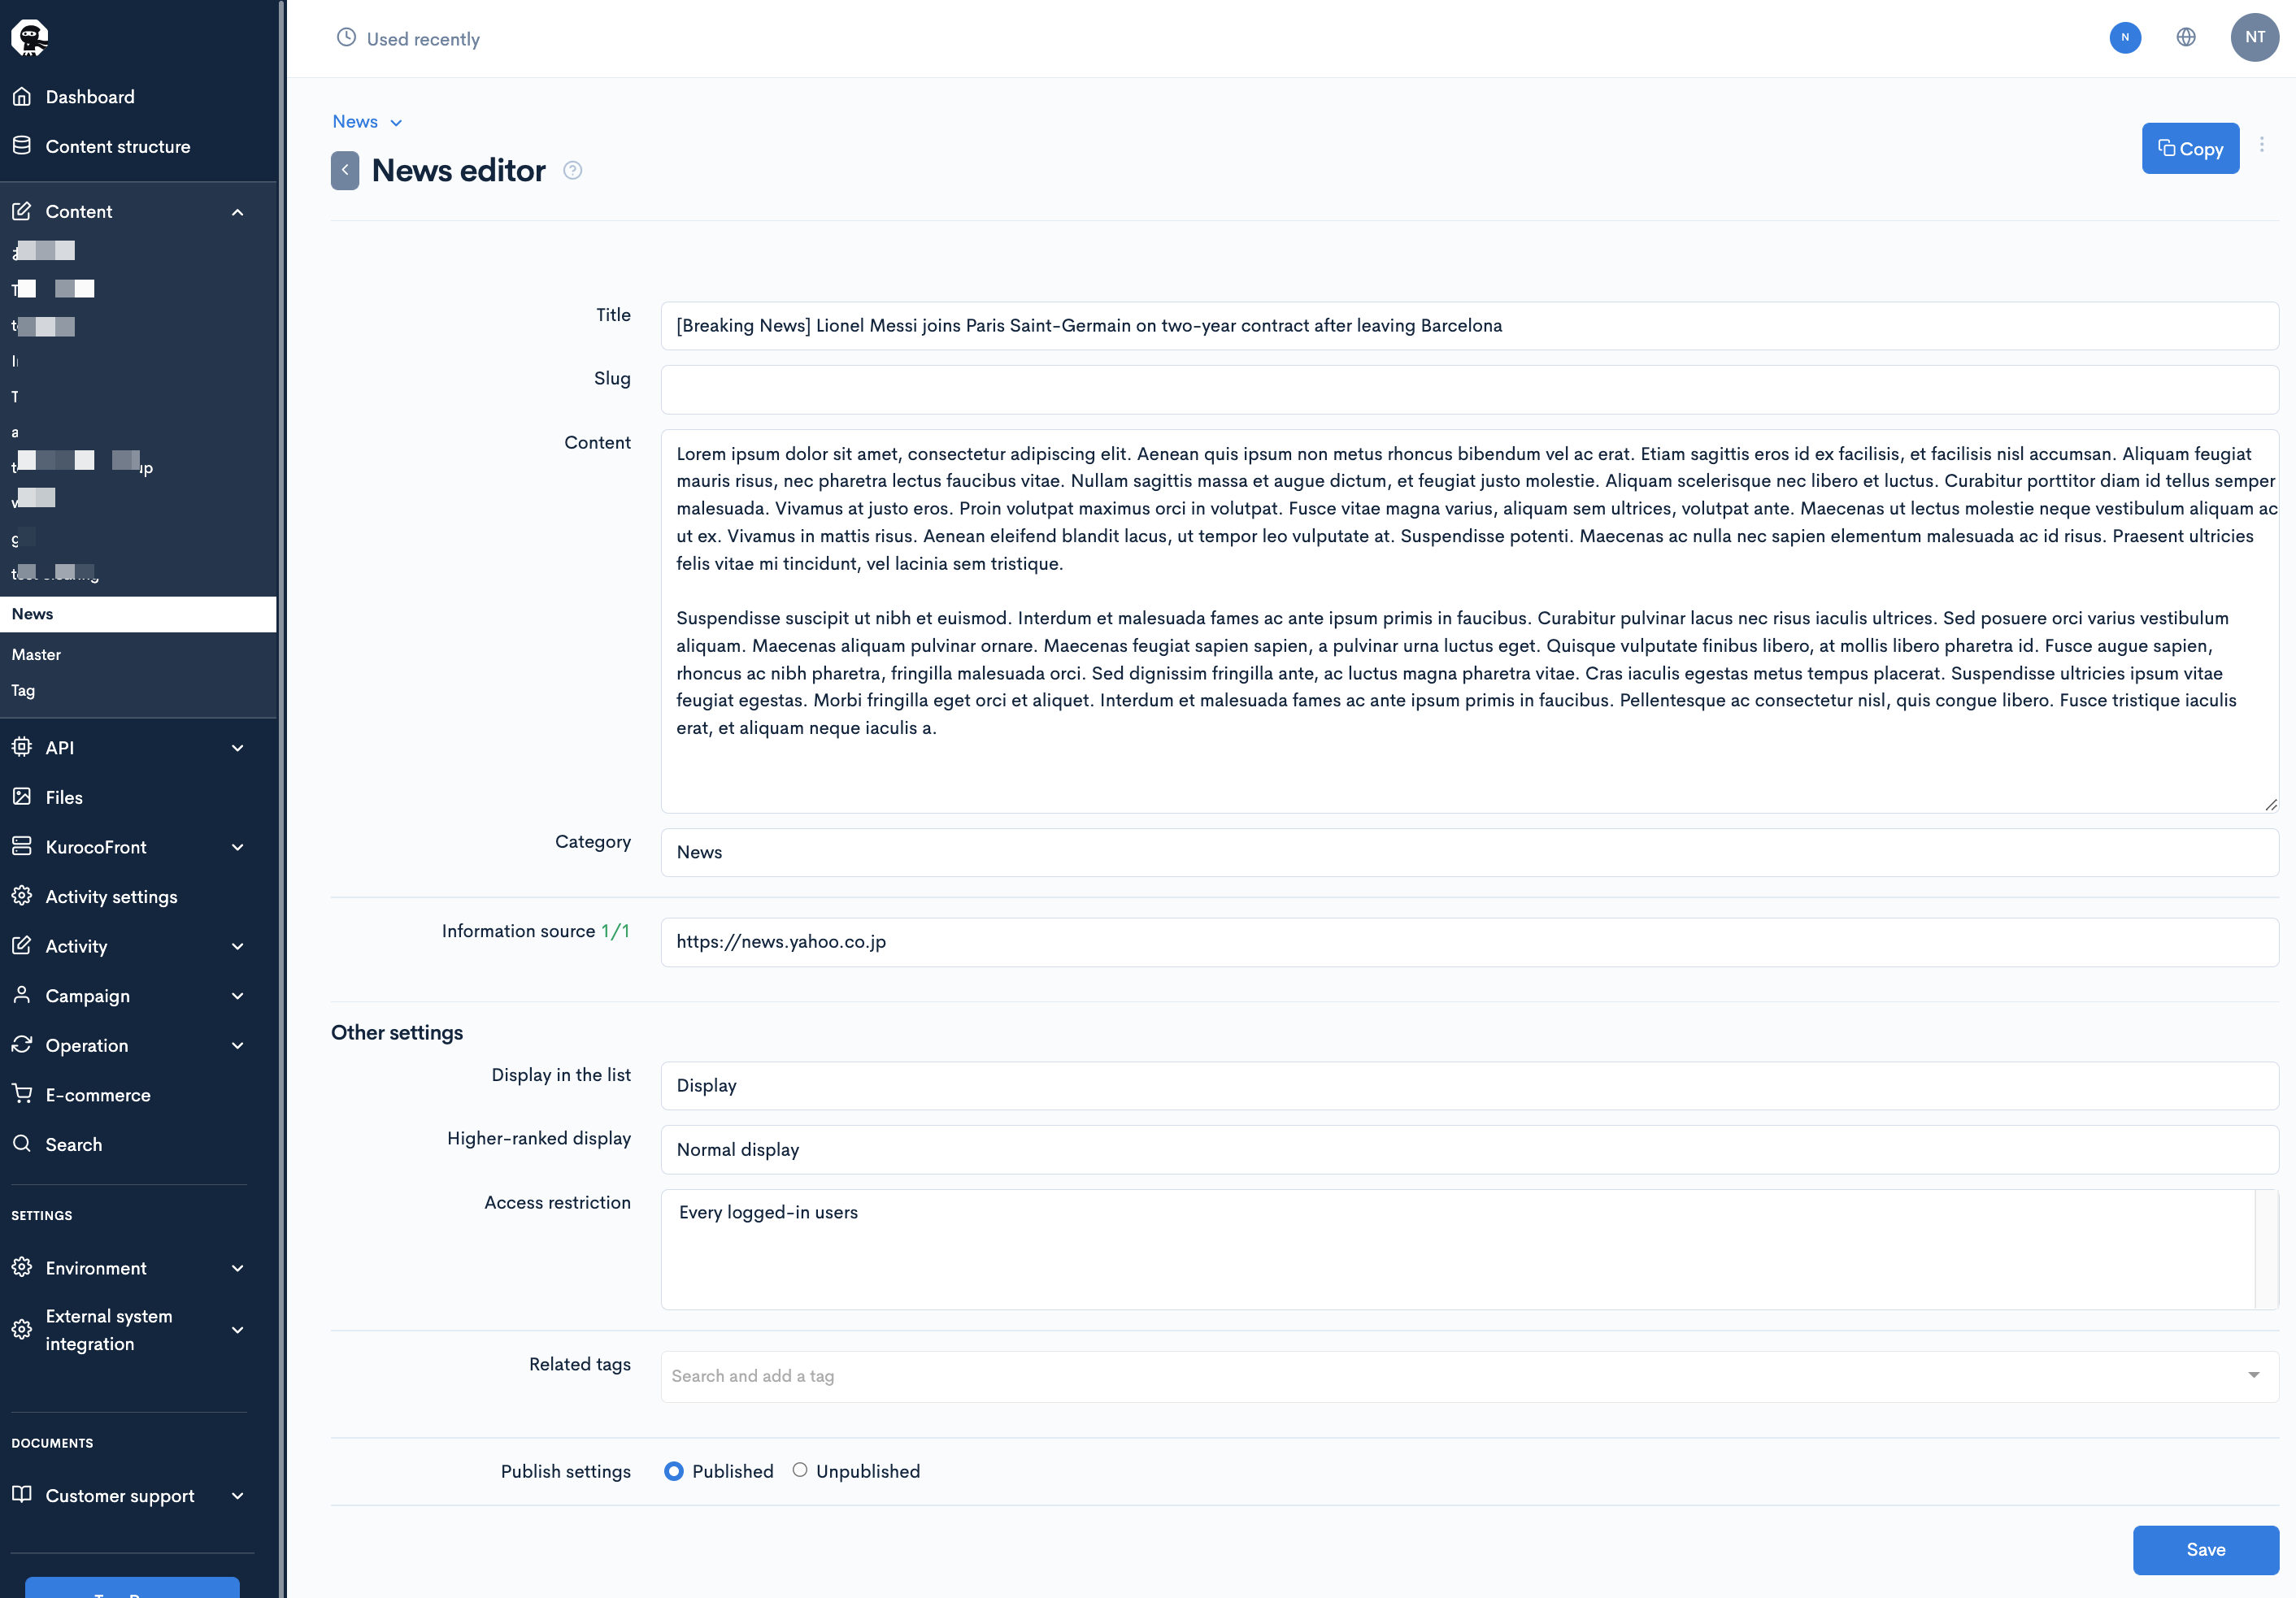
For the slot name value, enter edit_form to customize the entire page, or ext_N (where N is the number of the additional field) to specify an element of choice.
Support
If you have any other questions, please contact us or check out Our Slack Community.