Uploading Files Using an API
Overview
There are two ways to upload files using the API, depending on the use case:
- Upload linked to content: Use the
Files::uploadendpoint to upload a file to a temporary area, then POST the obtainedfile_idto content update endpoints. - Upload directly to the file manager: Use the
FileManager::uploadendpoint to upload a file directly to a specified directory in the file manager.
Uploading linked to content
When uploading files using an API for content, forms, members, etc., you can use the Files::upload endpoint to upload the file to Kuroco's temporary storage and then POST the returned file_id to update the content in each endpoint.
To confirm the functionality using SwaggerUI, follow the steps below.
Image (upload to KurocoFiles)
For Image (upload to KurocoFiles)(Contents) or Upload file (Member), post the file_id obtained using Files::upload to the endpoint as shown below.
-
Upload the file to the
Files::uploadendpoint.
Open theFiles::uploadendpoint and click the [Select File] button to choose the file to upload.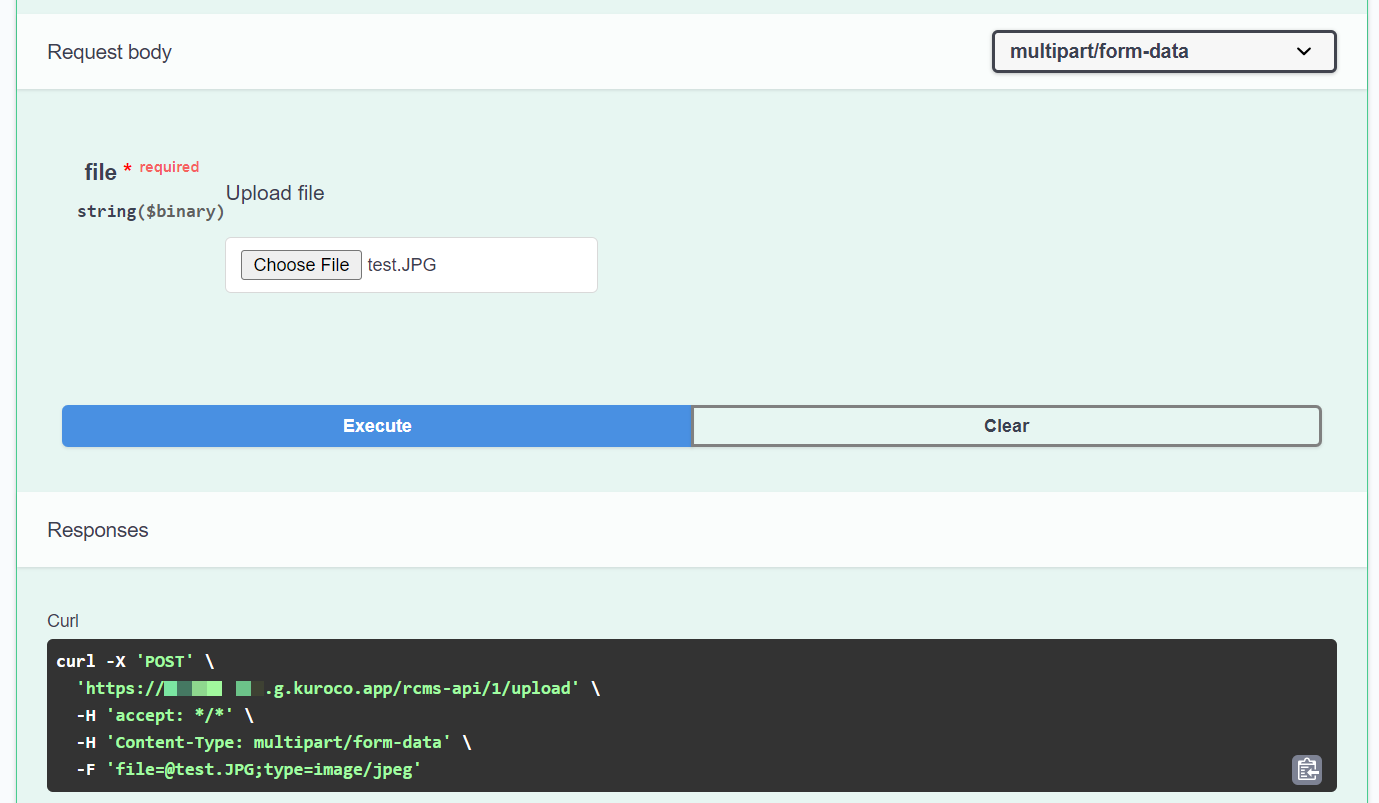 tip
tipSpecify 'Content-Type': 'multipart/form-data' in the request header when sending the file.
-
Confirm the
file_idfrom the response.
Once the upload to the temporary storage is successful, the response containing thefile_idwill be displayed.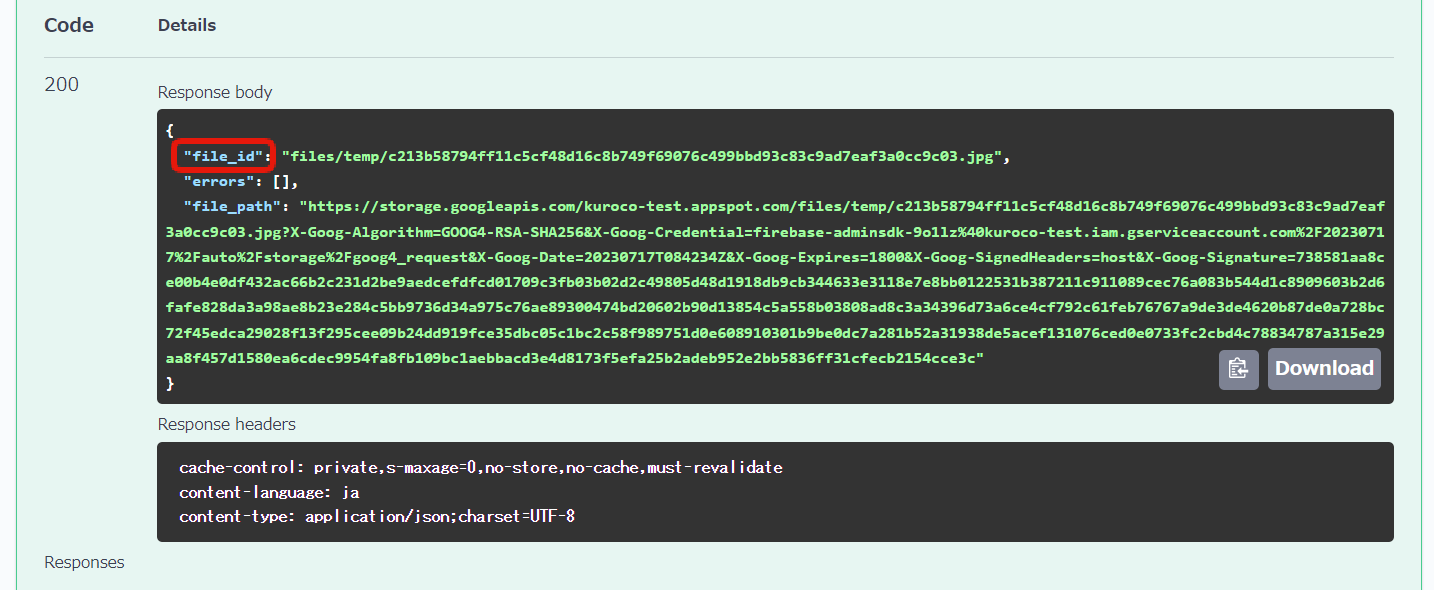
-
POST the
file_idto the endpoint for updating the content.
Send a request to the endpoint that handles the content you want to update or add, specifying thefile_id.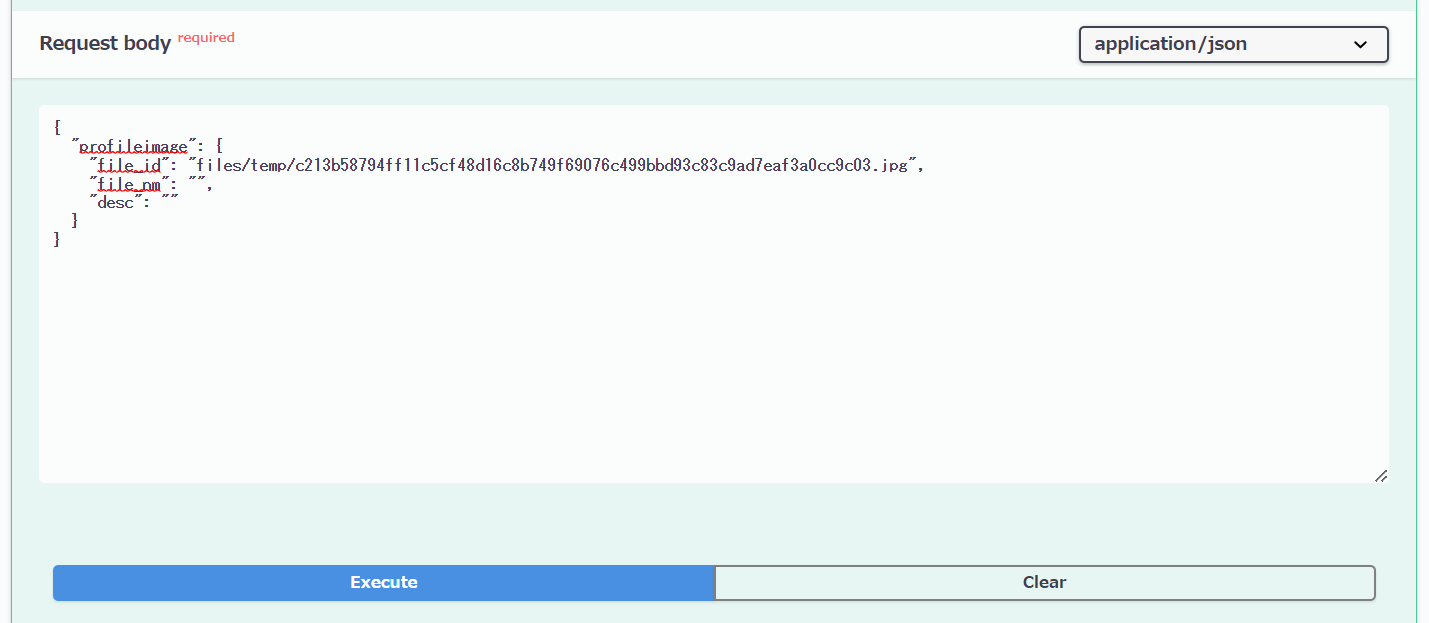
-
Confirm that the request was successful.
Check the response and the content.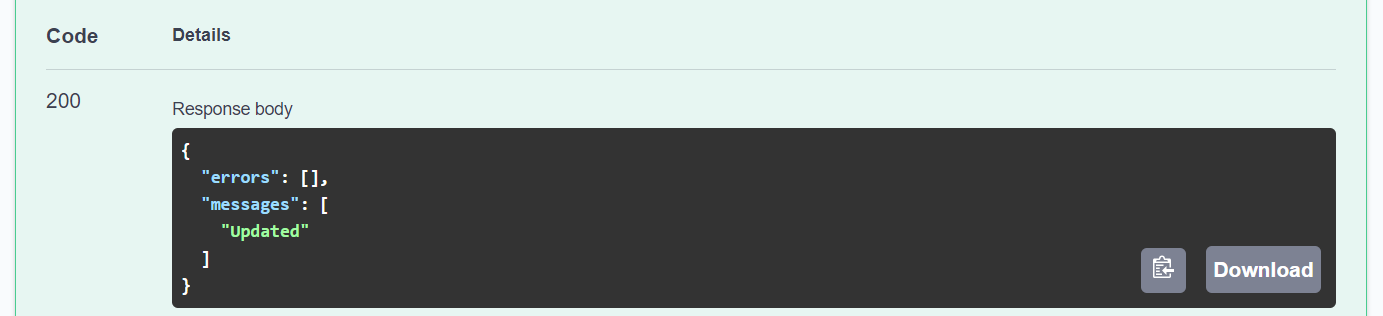
Please refer to the related documentation for specific code examples in the frontend.
WYSIWYG
For extended items in the WYSIWYG editor, specify the file_id obtained using Files::upload in the src attribute of the HTML. This will save the image in the /files/user/topics_img/ directory under the file manager and update it.
-
Upload the file to the
Files::uploadendpoint.
Open theFiles::uploadendpoint and click the [Choose File] button to choose the file to upload. -
Confirm the
file_idfrom the response.
Once the upload to the temporary storage is successful, the response containing thefile_idwill be displayed.
-
Prepare HTML with a temporary path in the
srcattribute of the HTML element
Prepare HTML with the file_id obtained from the Files::upload endpoint in the src attribute like <img src=\"INPUT_TEMPORARY_PATH_HERE\">. It will look like this:
<figure class=\"image\"><img style=\"aspect-ratio:2000/1334;\" src=\"files/temp/75a0d4626ac4bab6d4ec6f8969233fd493db2f7093b67cf92a782f8814e37530.png\" width=\"2000\" height=\"1334\"></figure>
Escape " in the HTML with \.
- POST the HTML containing the
file_idin thesrcattribute to the endpoint
POST the HTML containing thefile_idin thesrcattribute to the endpoint that operates the content you want to update or add.

- Confirm the request was successful
Check the response and the content.


Specifications:
- Code of the HTML element must contain
srcattribute - KurocoFiles, S3 and GCS are available for temporary image storage.
- Only files with image extensions(
jpeg,jpg,gif,png,bmp,webp,avif,svg) will be accepted - It is possible to use multiple temporary file paths in one topic update request.
- It is possible to use the same temporary file path multiple times in one topic update request. For example, if you make a request as shown below, the same image will be added twice to the WYSIWYG item.
`<figure class=\"image1\"><img src=\"TEMPORARY_PATH\"></figure><figure class=\"image2\"><img src=\"TEMPORARY_PATH\"></figure>` - It is possible to use the same temporary file path in multiple API requests.
- Image upload using the API for WYSIWYG is enabled on sites where the additional item is named
ext_x. It does not work on sites where the additional item is namedext_col_x.
Uploading directly to the file manager
To upload files directly to a specified directory in the file manager without linking them to content, use the FileManager::upload endpoint.
The differences from Files::upload are as follows:
| Files::upload | FileManager::upload | |
|---|---|---|
| Use case | Link files to content, forms, or members | Place files directly in the file manager |
| Upload destination | Temporary area (files/temp/) | Specified directory in the file manager |
| Response | file_id (temporary file path) | url (URL of the uploaded file) |
| How to use the file | POST file_id to another endpoint to link it | Accessible immediately via URL after upload |
The following steps can be used to upload:
-
Upload the file to the
FileManager::uploadendpoint.
Open theFileManager::uploadendpoint and select the file to upload. -
Confirm the upload destination URL from the response.
Once the upload is successful, the response containing the fileurlwill be returned.
Specify 'Content-Type': 'multipart/form-data' in the request header when sending the file.
To use FileManager::upload, the member executing the API must have the "Update" permission for "Files".
Related Documentation
Support
If you have any other questions, please contact us or check out Our Slack Community.