Beginner's guide to Kuroco
Introduction
Kuroco is an API-first headless CMS. Therefore, merely signing up for the free trial will allow your to display your site.
This tutorial explains the complete steps from sign-up to site display for those who are new to the headless CMS and Kuroco.
As an example, we will set up a website with the following structure:
| Item | Service | Function |
|---|---|---|
| Backend | Kuroco | Manage content (images, text, member information, etc.) and create APIs. |
| Hosting | KurocoFront | Build GitHub-managed code on the server, allowing users to view it from their browsers. |
| Source code management | GitHub | Manage the source code for frontend displays. |
| Frontend | Nuxt.js | Write the frontend part of the code for the site displays. |
For the sake of simplicity, we will only build a landing page. Once you are familiar with the software, you can add forms/blog pages/multi-language support, and other features by following our documentation.
Deploying your Nuxt project to KurocoFront
Sign up for Kuroco's Free Trial
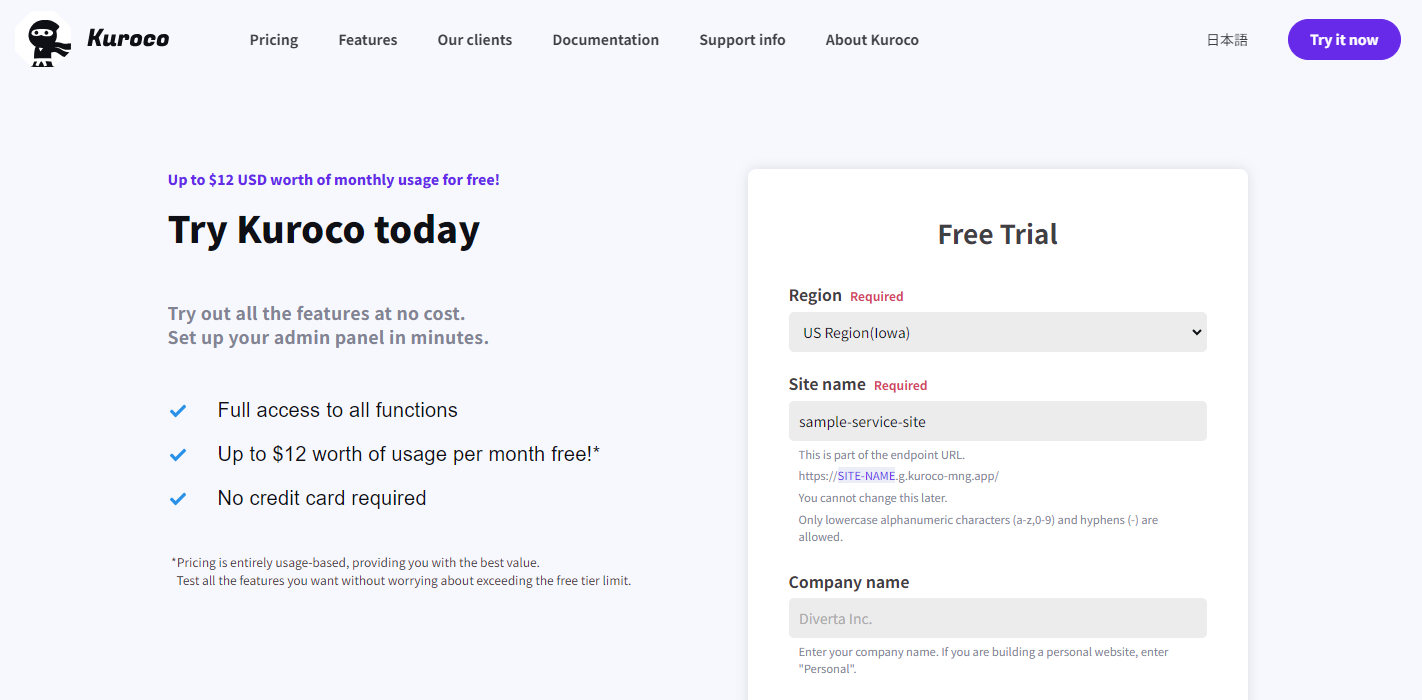
Sign up now for Kuroco's Free Trial. Select the region and enter a site name of your choice (the example screenshot below uses "US region(lowa)" for the region and "sample-service-site" for the site name).
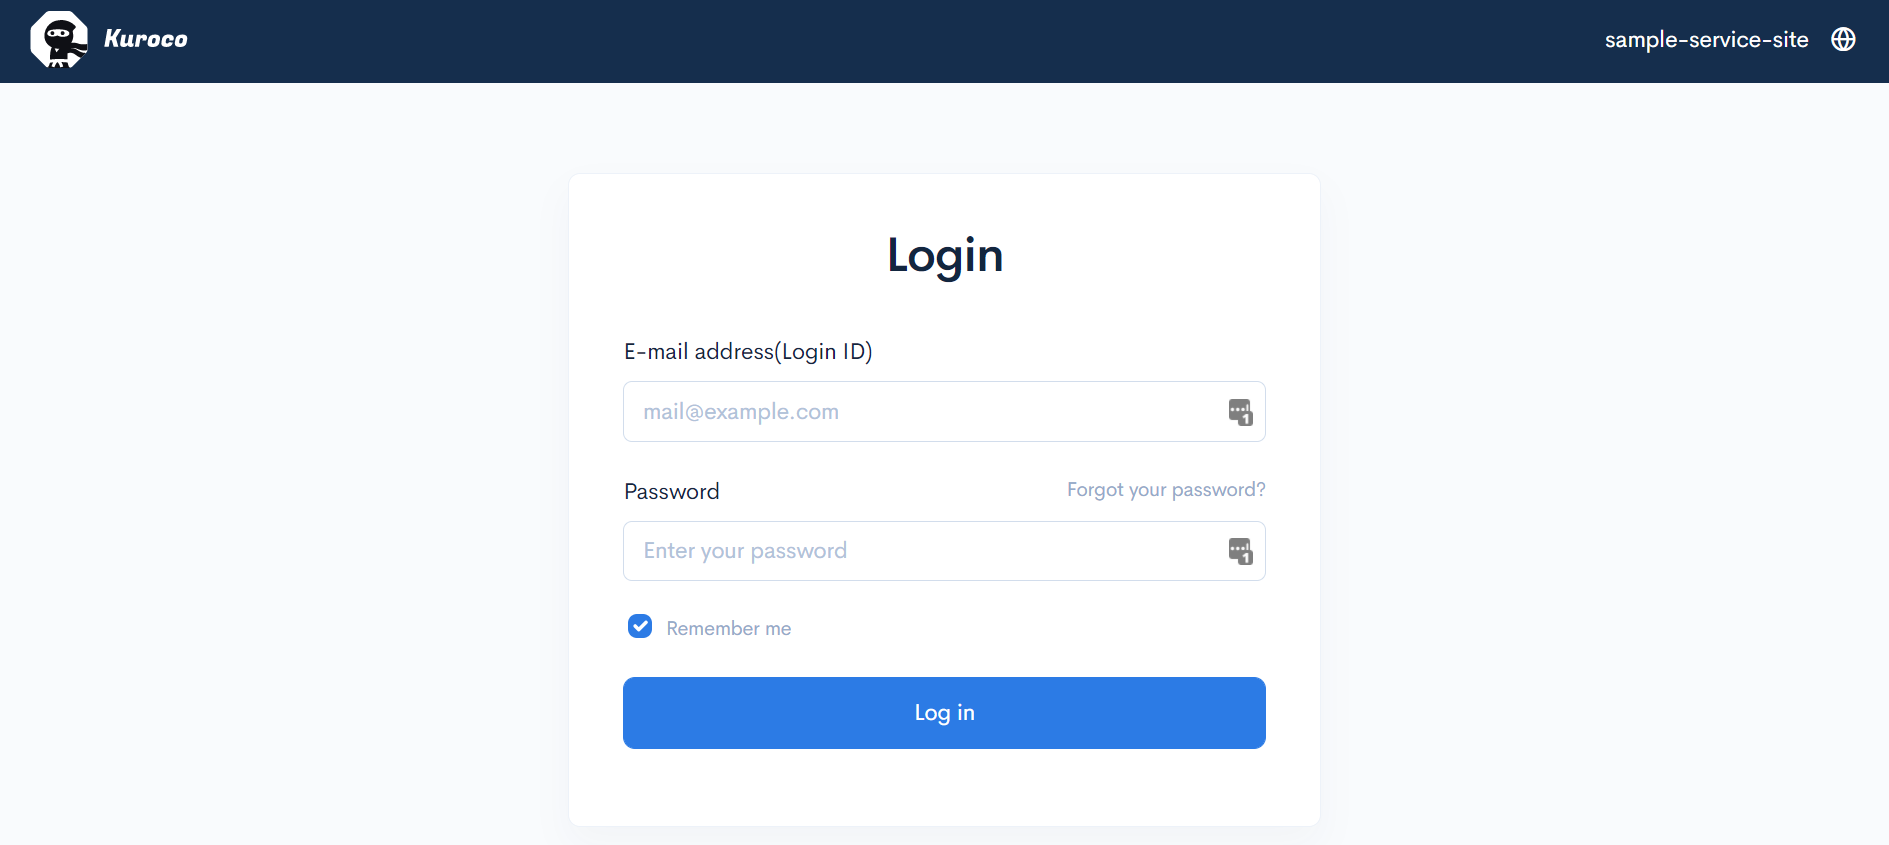
 After signing up, you will receive an e-mail with the subject line "Your Kuroco account has been created!" Click the URL in the e-mail to access the Kuroco login screen.
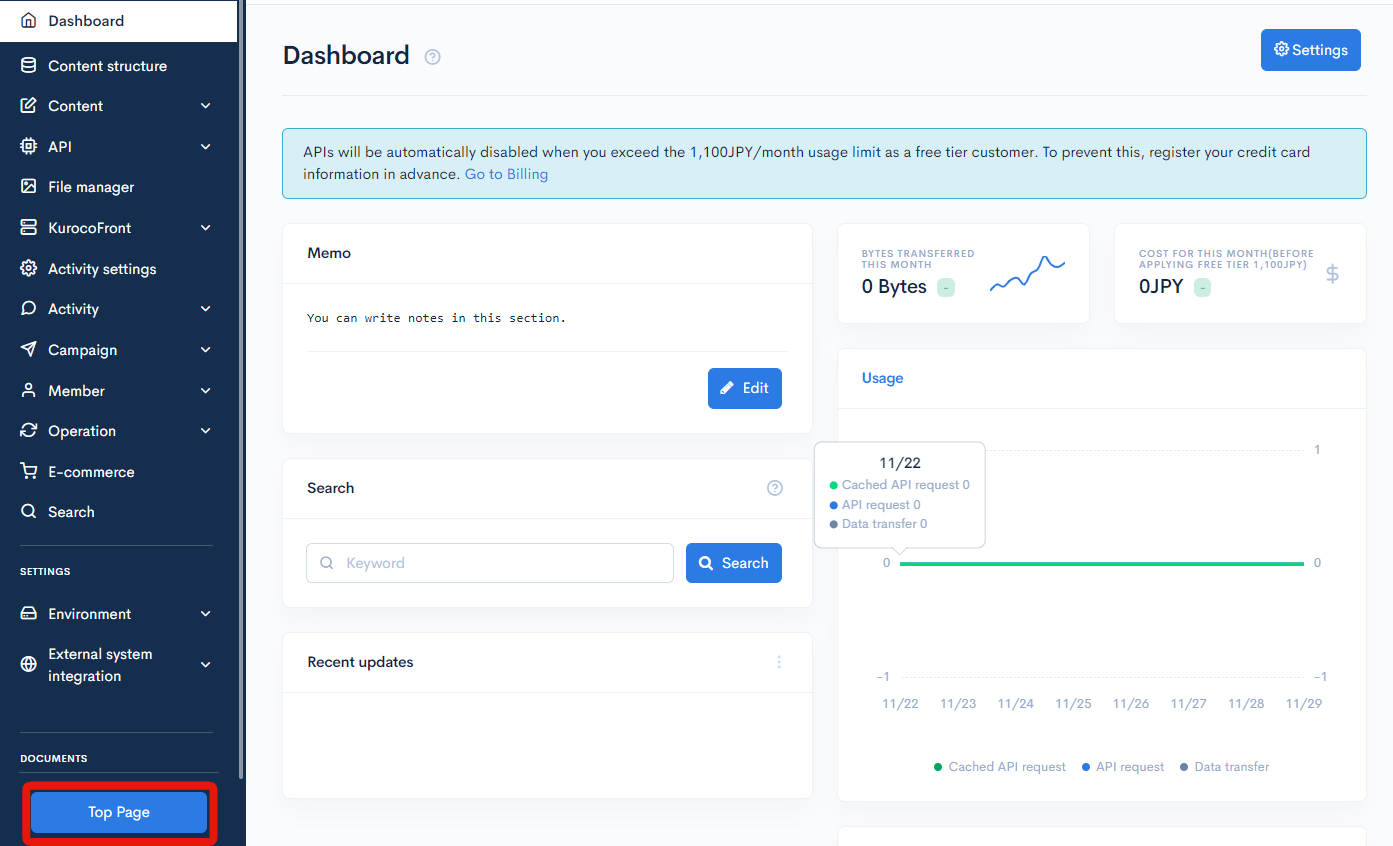
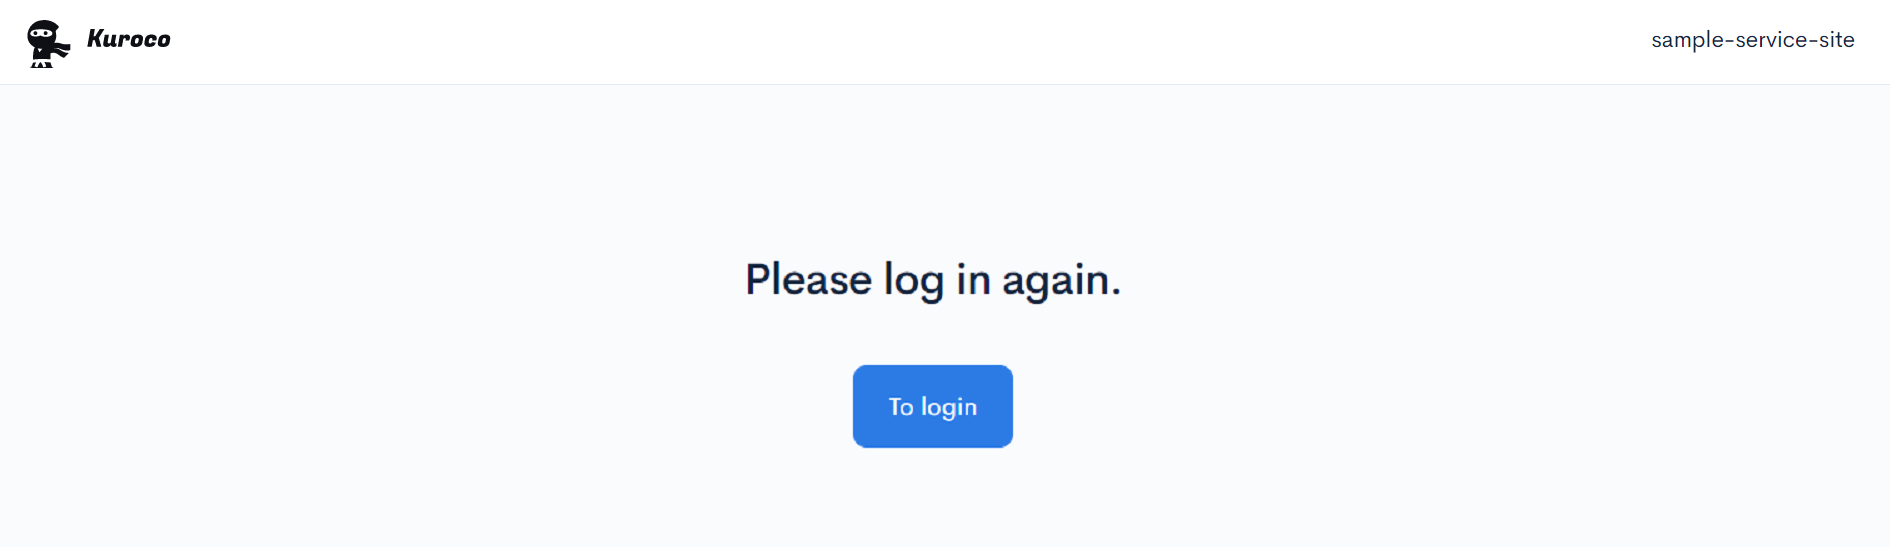
 When you log in to the Kuroco admin panel, you will see a "Top page" link at the bottom. At this stage, when you click this button, you will get a "404 Not Found (DEPLOYMENT NOT FOUND)" message. This is because the front-end has not been created yet.
Let's set the Kuroco admin panel aside for now and build the front-end.
Before you start
You should have already installed Nuxt.js using the npx command.
Open a terminal and enter the command npx -v to check the version installed. If it has not been installed, download it from the Node.js website.
You will also need a GitHub account. Please sign up if you do not have one.
Install Nuxt.js
This tutorial uses Nuxt.js version v2.15.8.
After you have set up all the prerequisites, execute the following command in your designated project directory. Change sample-service-site to a name of your choice.
npx nuxi@latest init sample-service-site
Next, you will be prompted to answer a list of configuration questions. For this tutorial, we will use the following settings:
Which package manager would you like to use?
npm
Initialize git repository?
Yes
After entering all your responses, a sample-service-site directory will be created. Navigate to it as follows:
cd sample-service-site
Execute the command below to verify the display of the installed Nuxt.js.
npm run dev
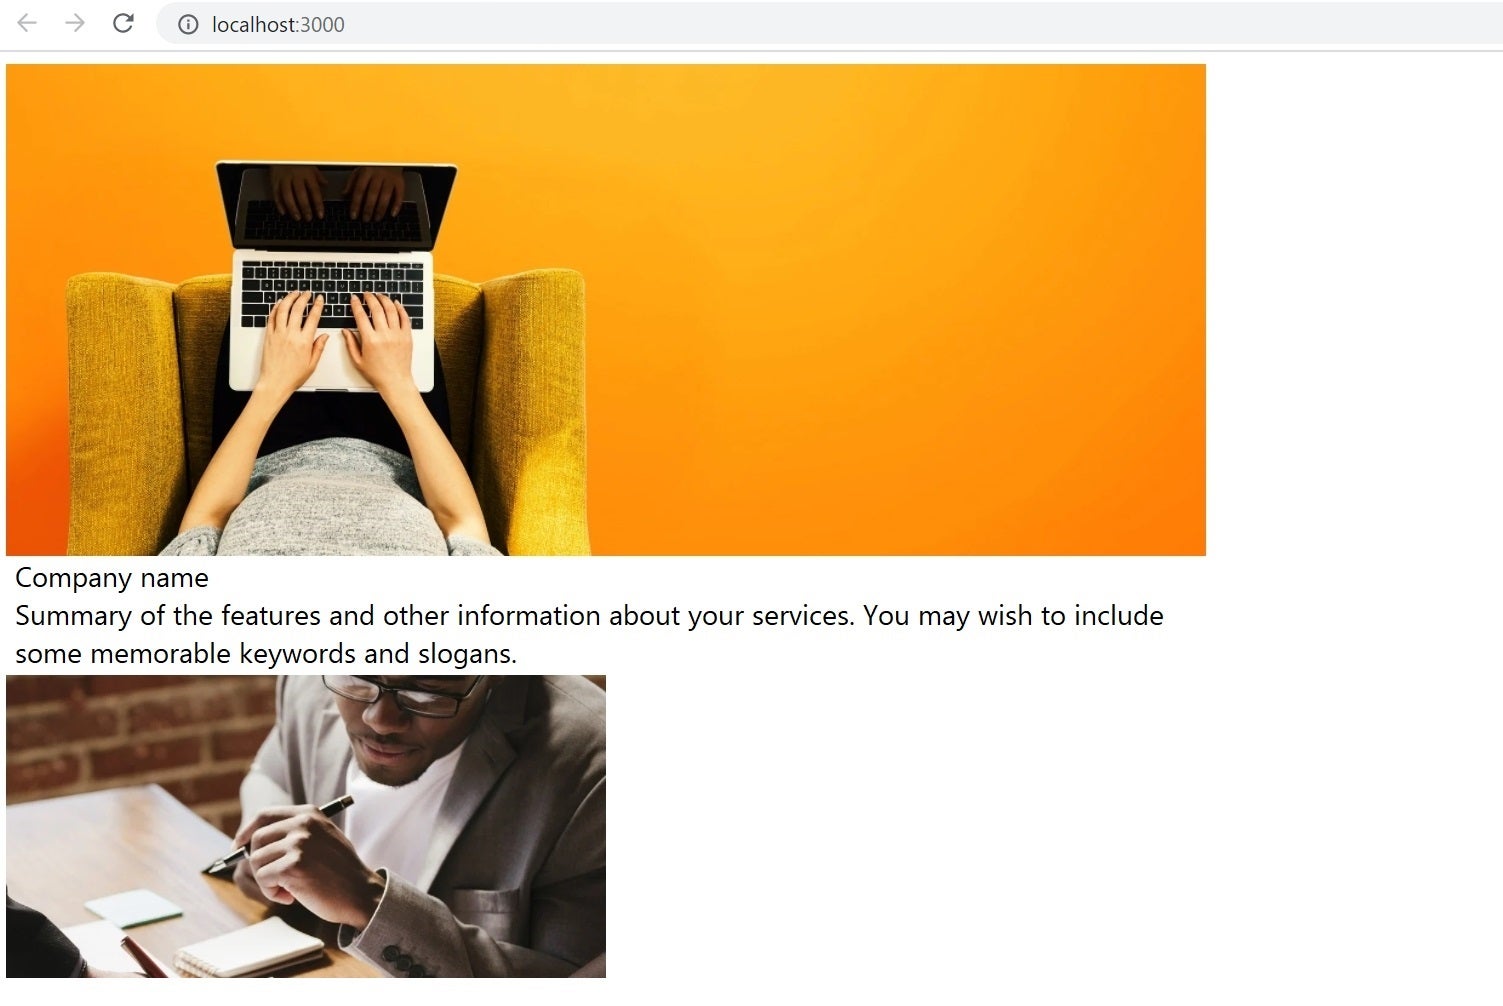
You can view the following screen by accessing the URL http://localhost:3000/ displayed in the terminal.

Now that you have installed Nuxt.js, you can display it in a local environment. Next, let's make this page viewable online.
Set up your GitHub repository
Login to GitHub and create a repository. After the repo has been set up, execute the following sequence of commands:
git init
git add .
git commit -m "first commit"
git branch -M main
git remote add origin https://github.com/GITHUB-USERNAME/REPOSITORY-NAME.git
git push -u origin main
Make sure to run Nuxt.js in the same directory you installed it in.
Replace GITHUB-USERNAME/REPOSITORY-NAME.git above with your own account information.
The above steps enable the Nuxt-installed folder to be managed by Git and push the files to remote repositories.
Integrate GitHub into Kuroco
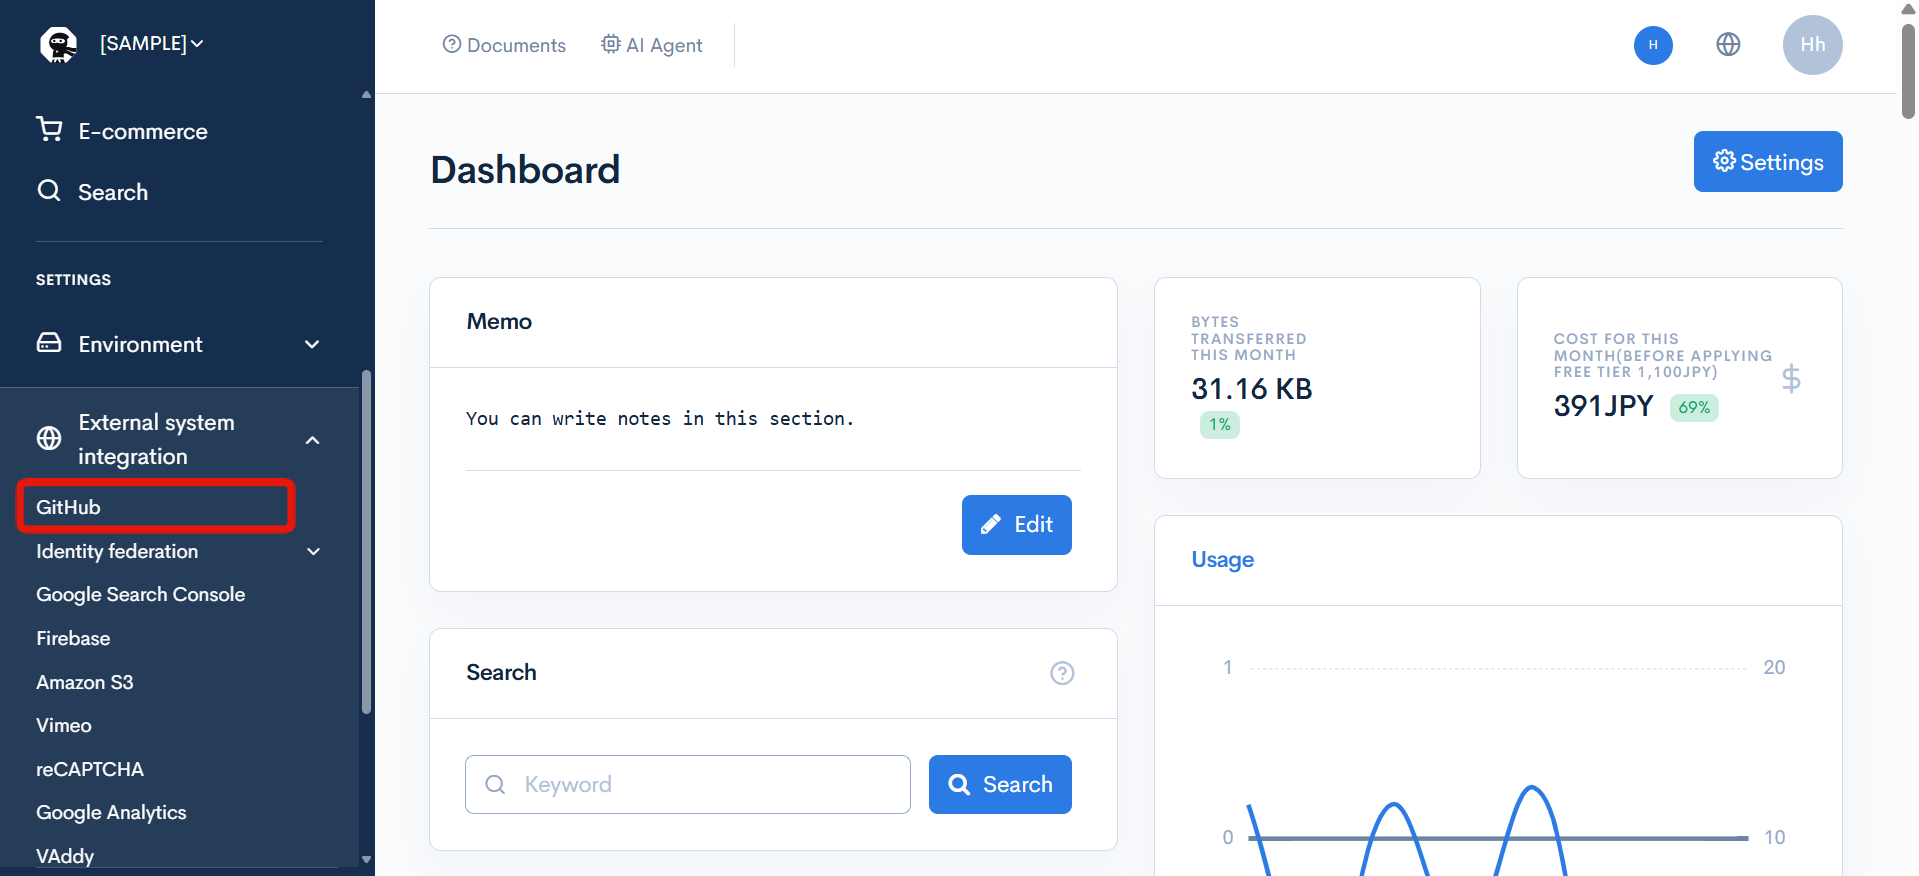
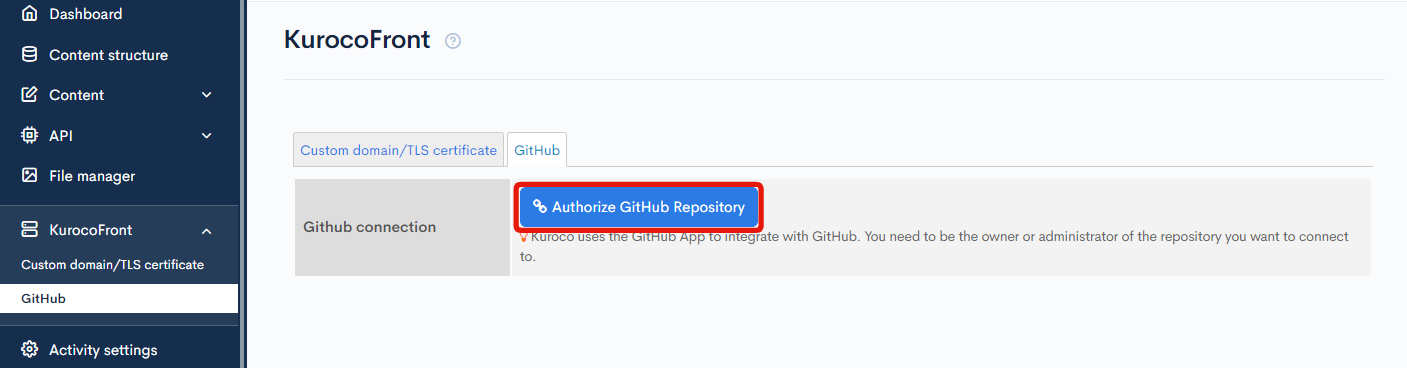
To integrate GitHub, go to the Kuroco admin panel and click [External system integration] -> [GitHub] in the left sidebar panel.
Click [Authorize GitHub repository] to open the GitHub linking page.
You will be prompted to log in to GitHub.
 After logging in, you will be redirected to the following screen.
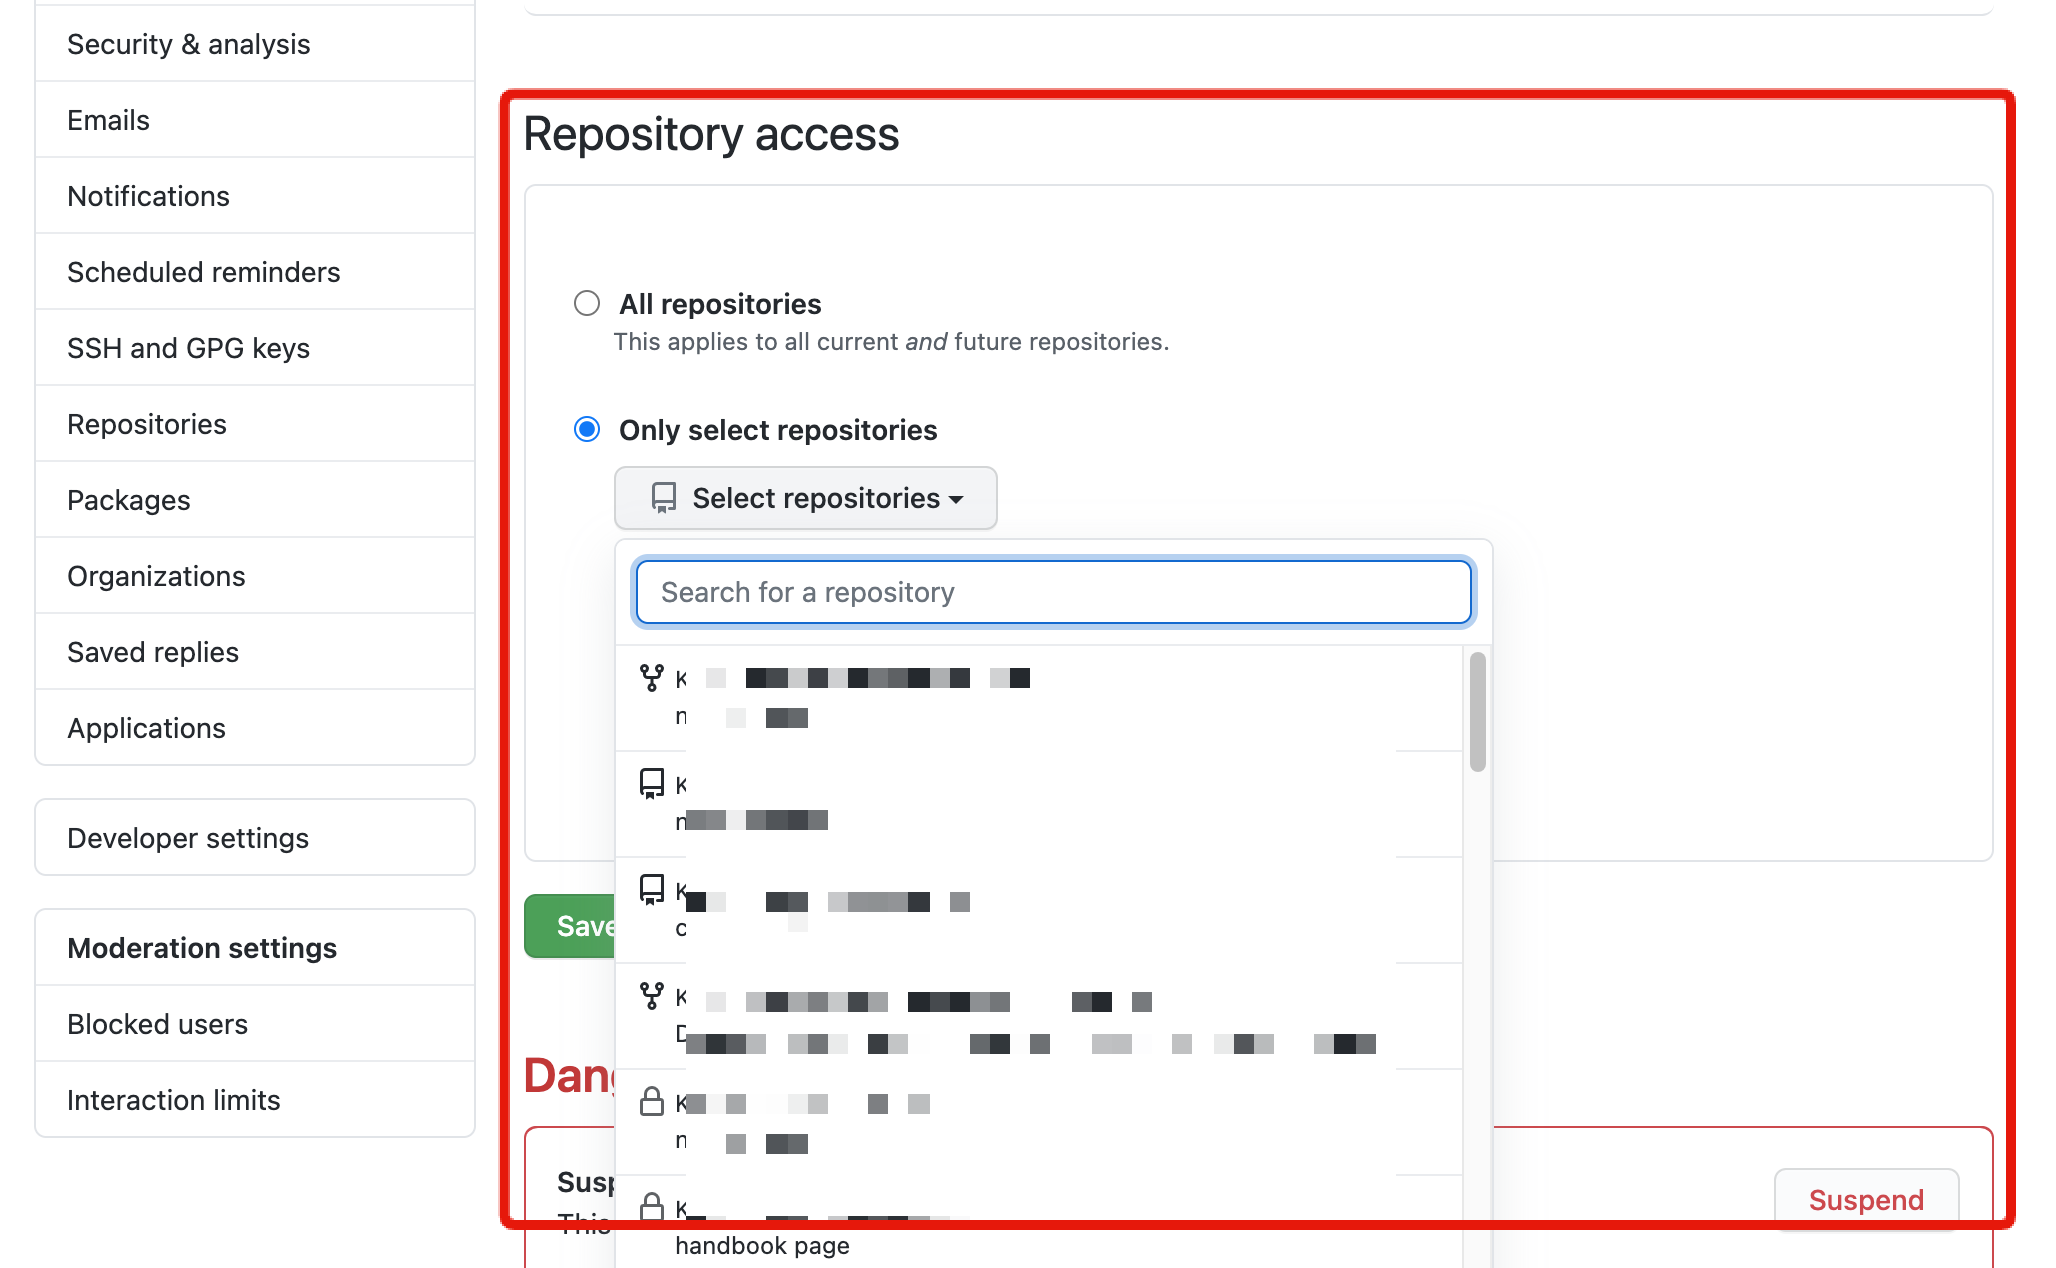
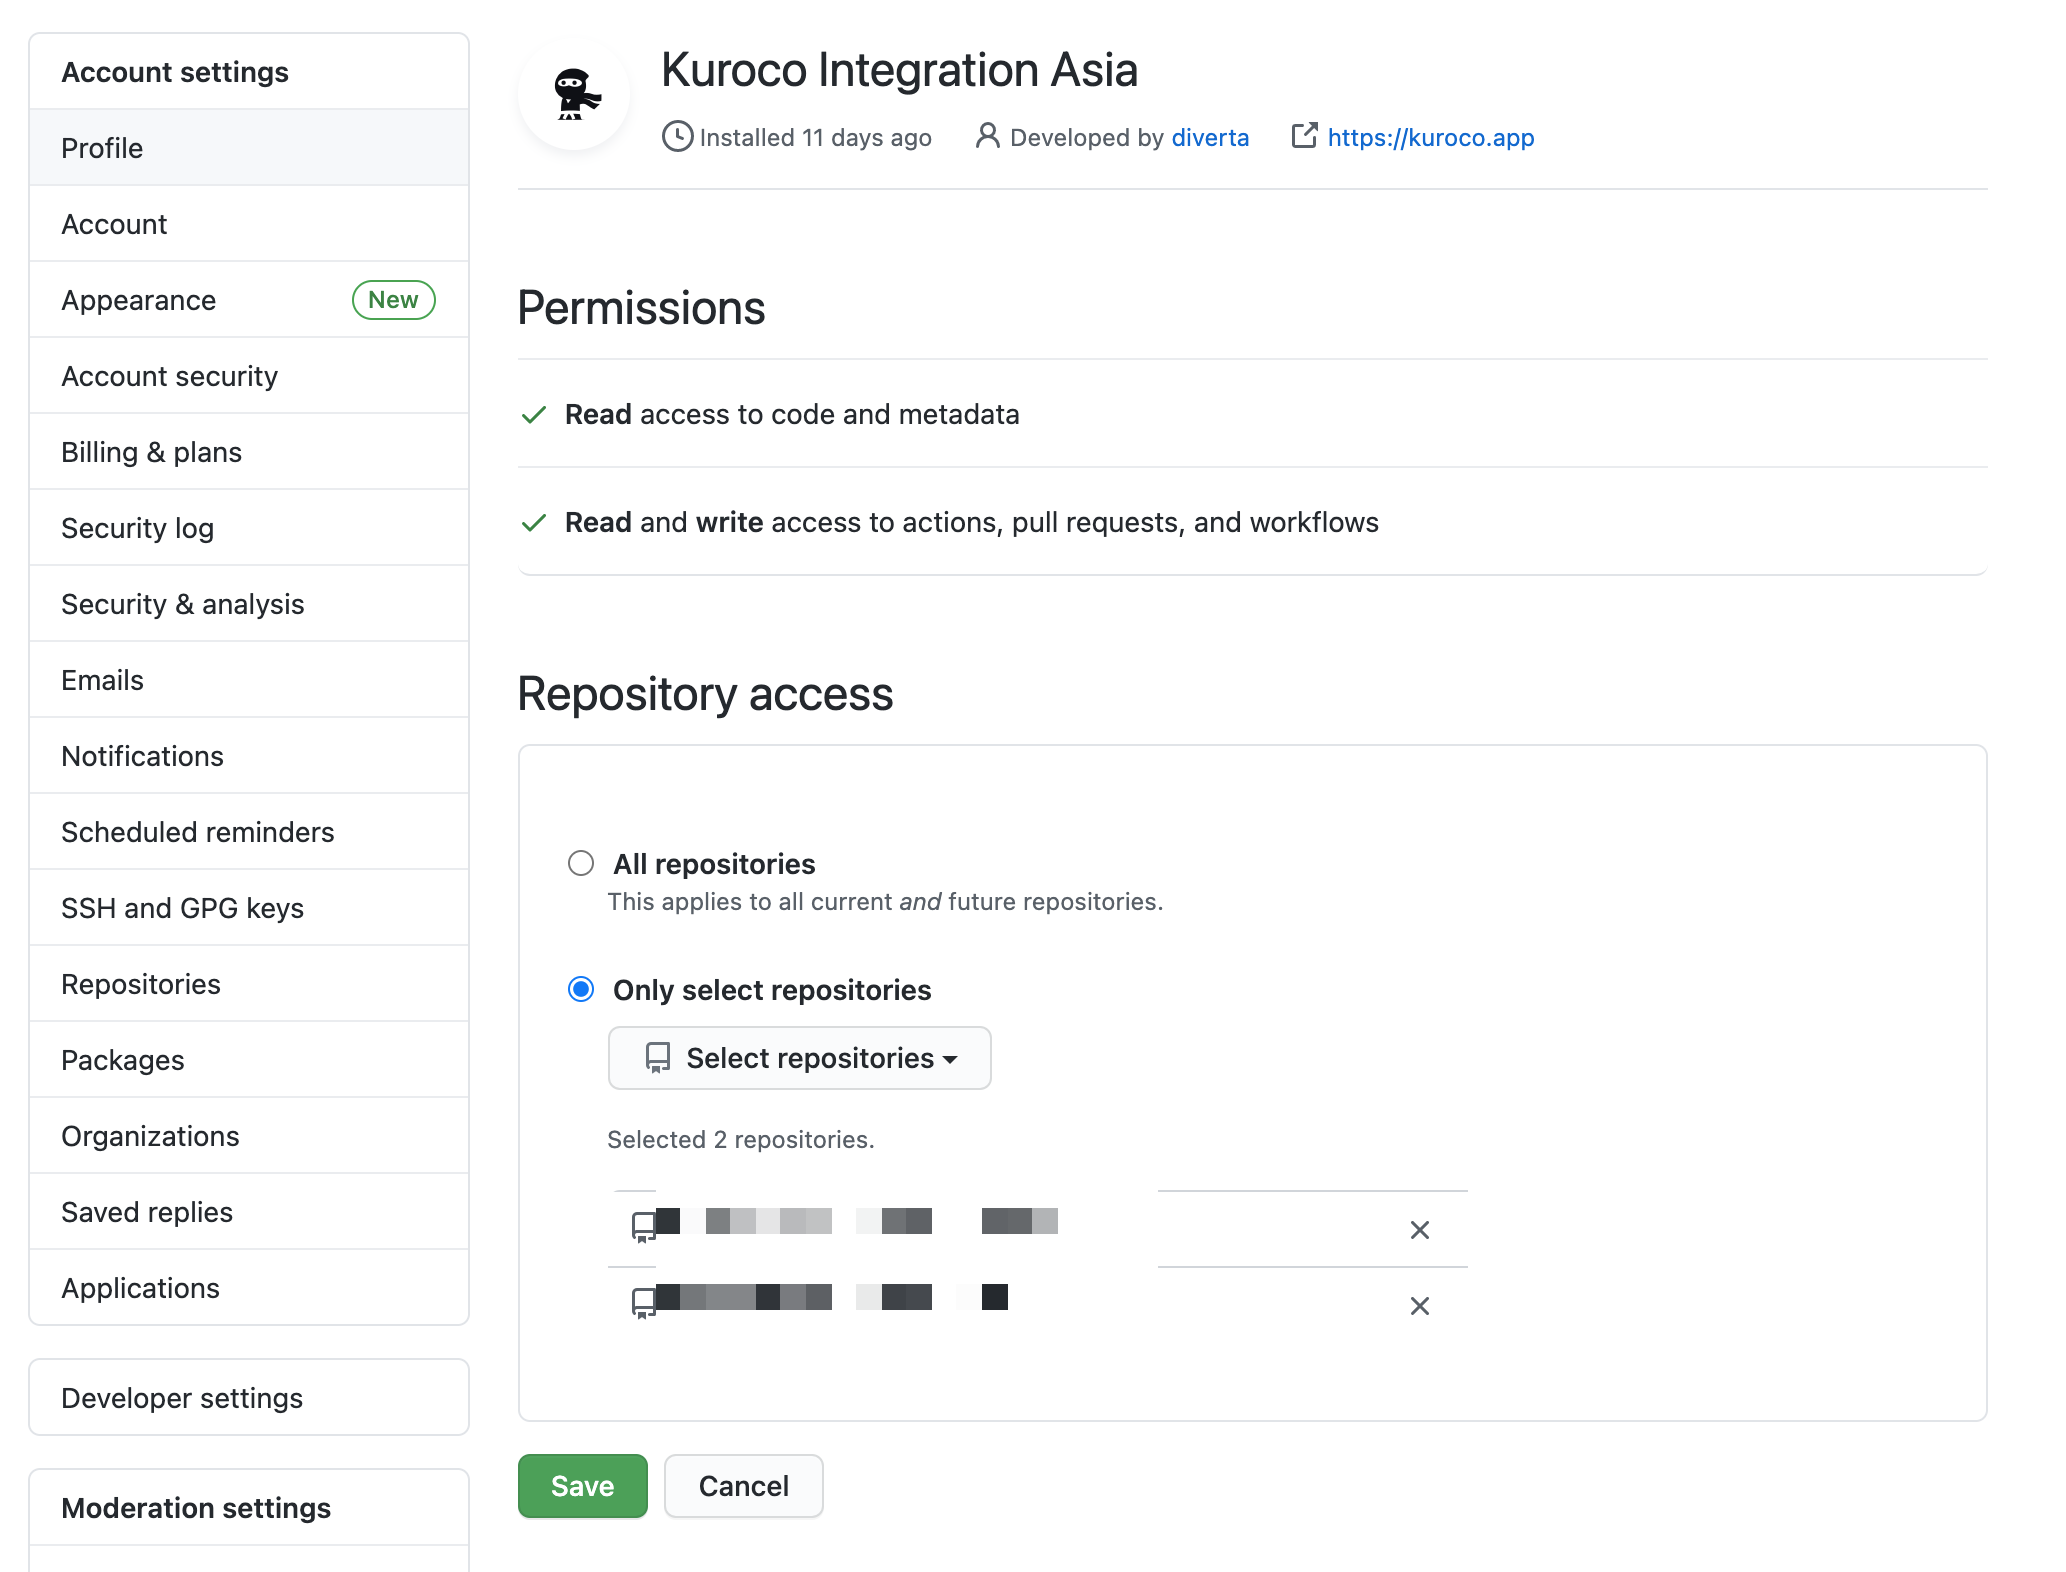 Under "Repository access", select the repository you have just created.
The repository connection settings can be changed later. Select multiple repositories here if you are using multiple instances of Kuroco on one account, since there is only one GitHub App for Kuroco.
You can only connect to repositories for which you have administrative permissions.
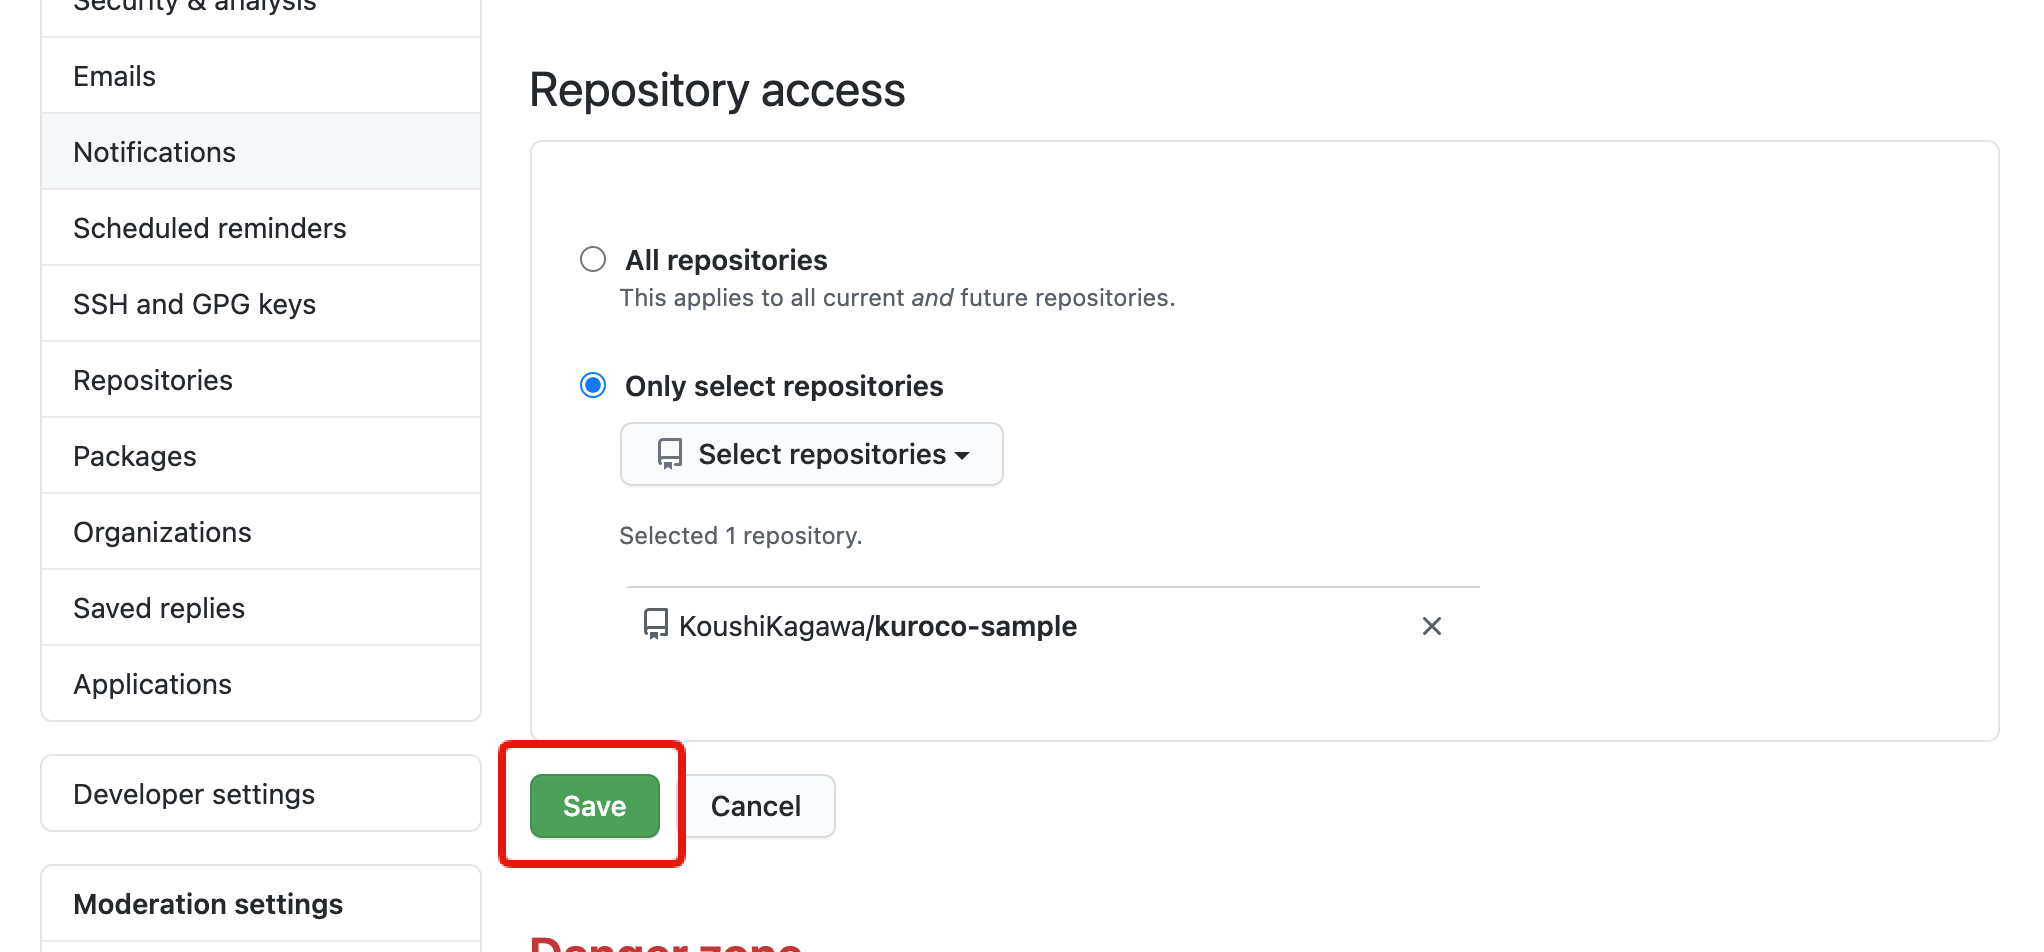
After you have selected your repository, click [Save].
 You will then be prompted to log in to Kuroco again.
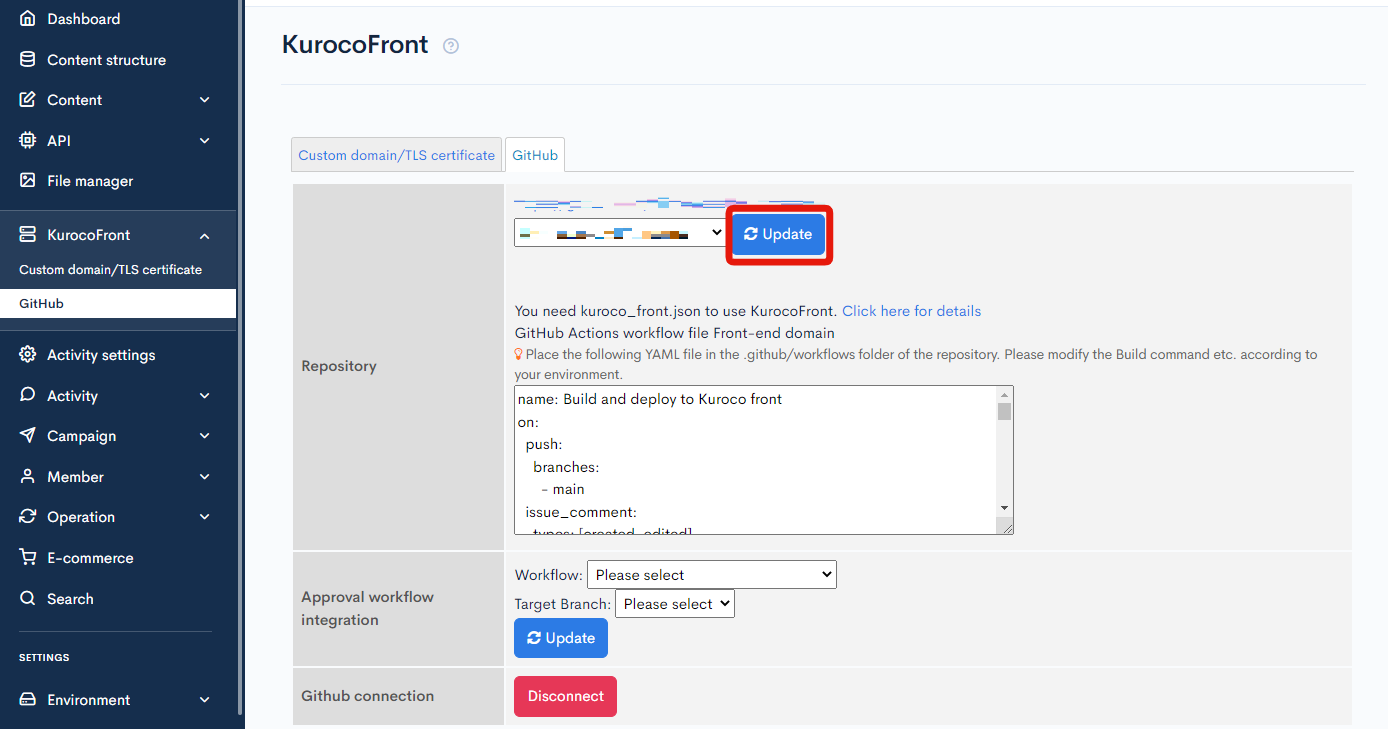
 Once the connection has been established, you will be redirected to the KurocoFront screen. Select your target repository from the dropdown list and click [Update].
This concludes the integration of GitHub into Kuroco.
Deploy your code
To display the website at the URL https://SITE-KEY.g.kuroco-front.app/, deploy the code managed on GitHub to KurocoFront.
Add kuroco_front.json and the YAML file to the Nuxt.js project as follows:
| File name | Save to directory | Description |
|---|---|---|
kuroco_front.json | /public | JSON file required for configuring settings such as redirection and basic authentication with KurocoFront. |
build.yml | /.github/workflows | YAML file defining the workflow settings for GitHub Actions. |
The respective contents of the files should be as follows.
/public/kuroco_front.json
{
    "rewrites": [
        {
          "source": ".*",
          "destination": "/index.html"
        }
      ],
    "redirects": [],
    "basic":[],
    "ip_restrictions":[]
}
Settings such as basic authentication and IP address restrictions are configured in kuroco_front.json.
For more information about kuroco_front.json, see FAQ: What is Kuroco_front.json?.
/.github/workflows/build.yml
Copy the contents of the file from the repository field of the KurocoFront screen and set the framework to nuxt3.

If your GitHub branch is not main, or if you are using a custom domain, you may need to adjust the build command and branch name. However, for this tutorial, you can use the content as is.
For an introducation to what YAML files are and how to write them, see the following documents:
After you have added the files, push the changes to GitHub. This will execute the GitHub Actions to build and deploy.
When the building and deployment is complete, click [Top page] on the admin panel once again.
Instead of "404 Not Found (DEPLOYMENT NOT FOUND)", you should now see the initial display of the Nuxt.js project that you verified in your local environment earlier.
Now that you have learned how to display the first page of your website with Nuxt.js, you can build your site by adding contents in Kuroco and modifying their display and design in Nuxt.js.
Displaying contents managed by Kuroco
Now you are ready to build your site. Let's add content in Kuroco and display it with Nuxt.js.
Register your content
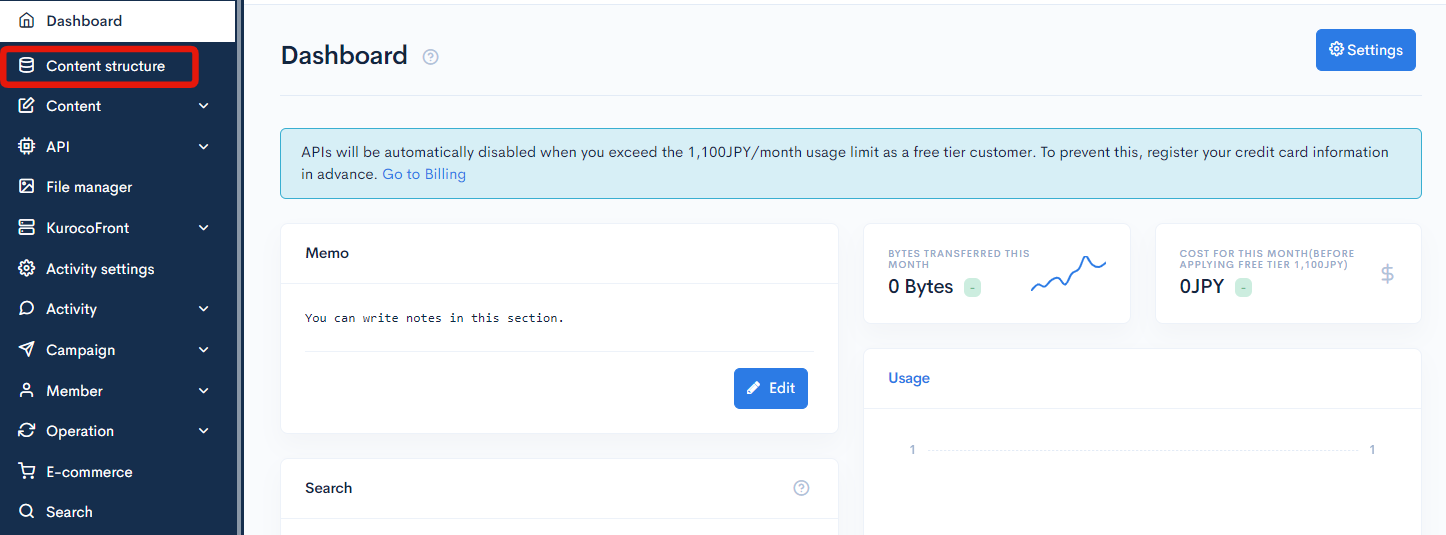
First, define your content structure in Kuroco's admin panel. In the left sidebar menu, click [Content structure].
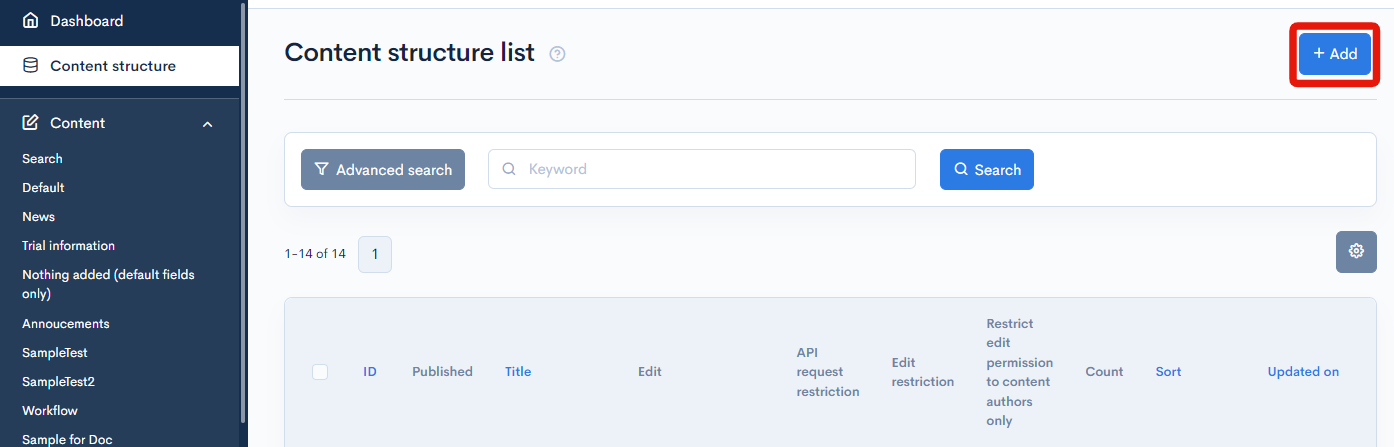
On the content structure list screen, click [Add].
Enter a name of your choice in the content structure editor, configure the content items, and click [Add]. For this tutorial, we will use the settings shown below.
General

Field settings

Grouping of content is done by dragging and dropping items.
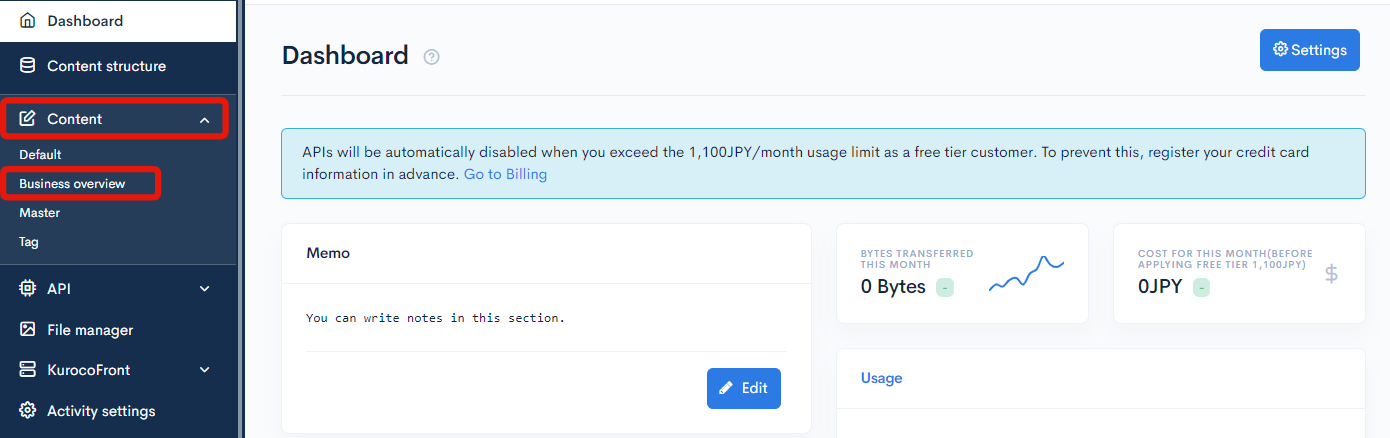
The next step is to add your content. In the sidebar menu, click [Content] and select the content structure you just created (in this case, we select [Business overview]).
On the content list screen, click [Add] in the upper right corner.

The content item you just defined will be displayed. Enter your content, including images and/or text, and click [Add].
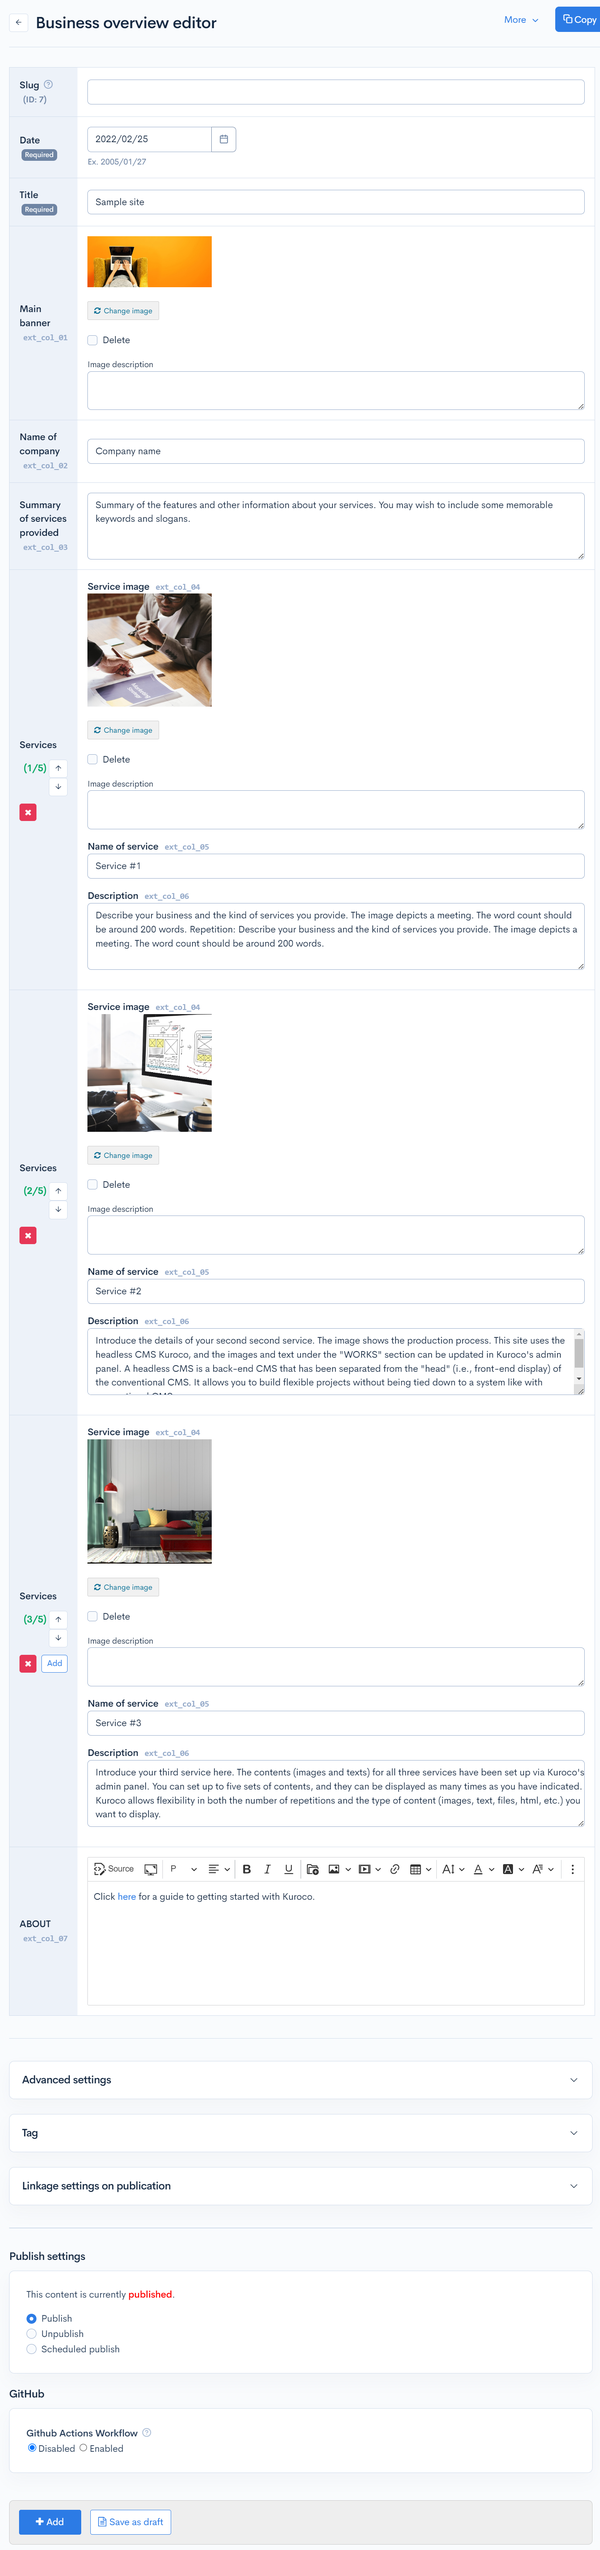
Note down the topic group ID (7) and content ID (3) for later use.


Register an API
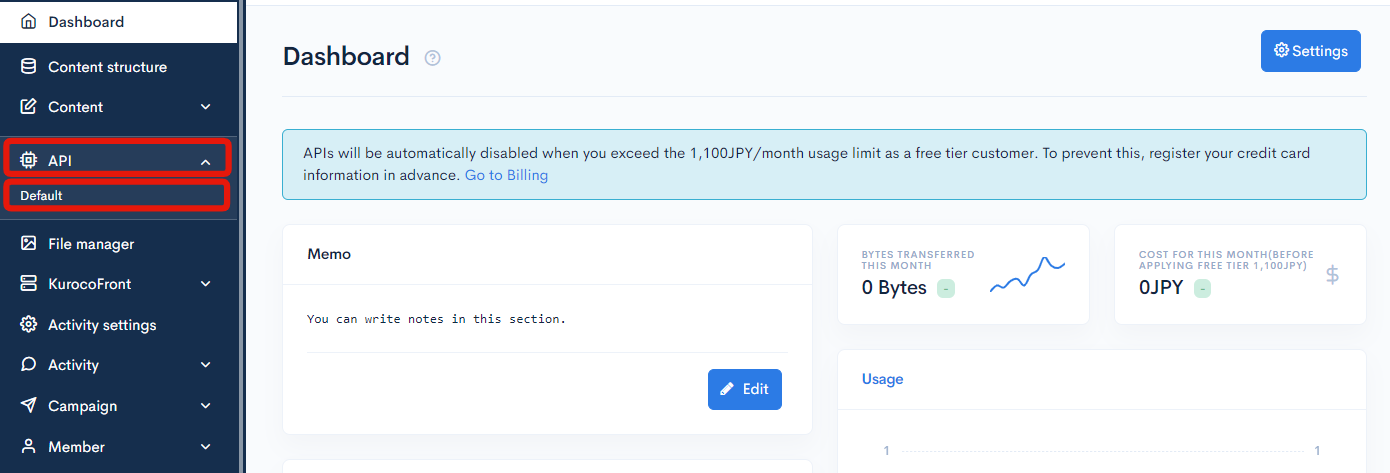
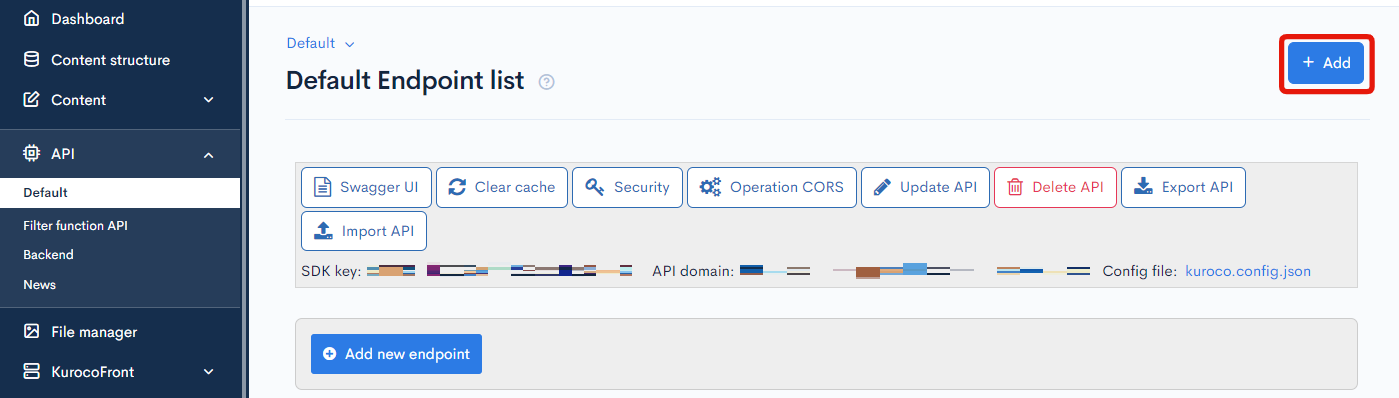
Next, register an API. In the Kuroco admin panel sidebar, click [API] -> [Default].
On the endpoint list screen, click [Add].
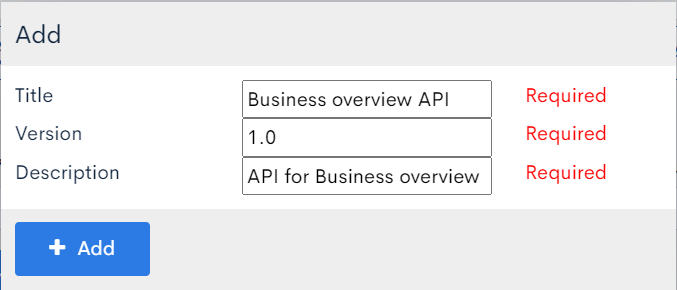
Enter your title, version, and description, then click [Add].
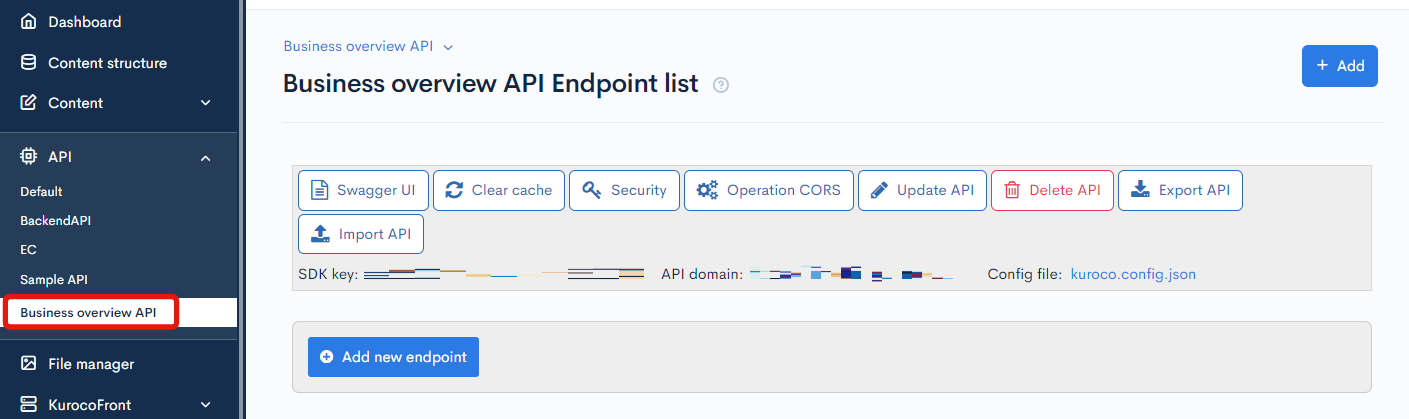
 Now, navigate to the newly added API.
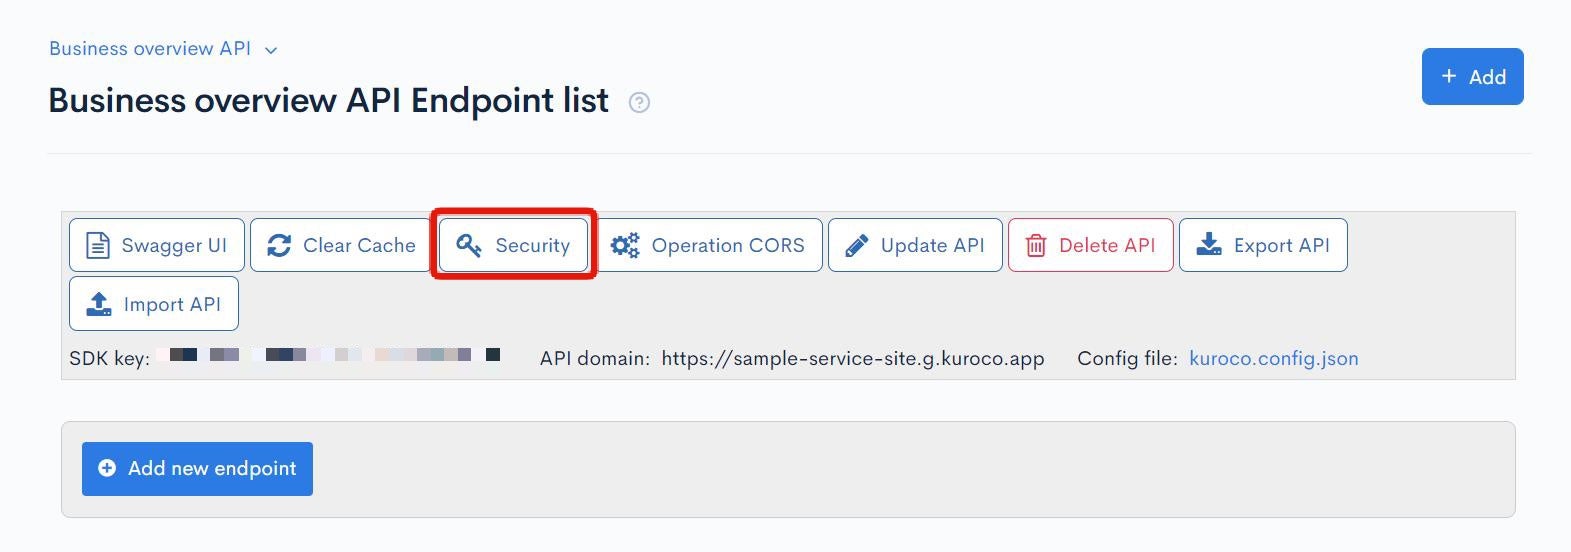
First, we have to configure the API security settings. Click the [Security] button.
 Select [Cookie] from the dropdown list and click [Save].
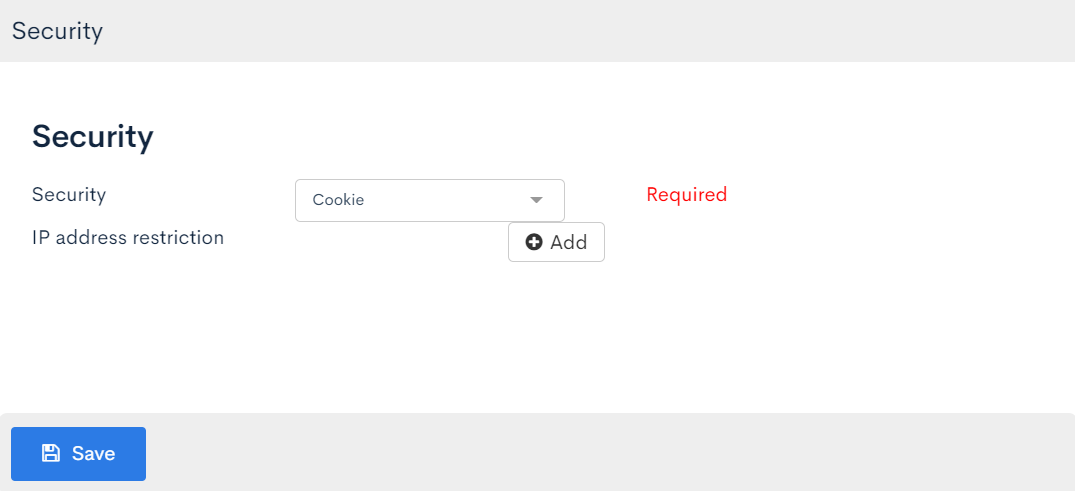
Note: With the cookie security option, if you are using a custom domain, you will need to prepare a front-end domain and an API domain, since some web browsers may not allow third-party cookies and you may not be able to log in.
See: Google delays blocking third-party cookies in Chrome until 2023
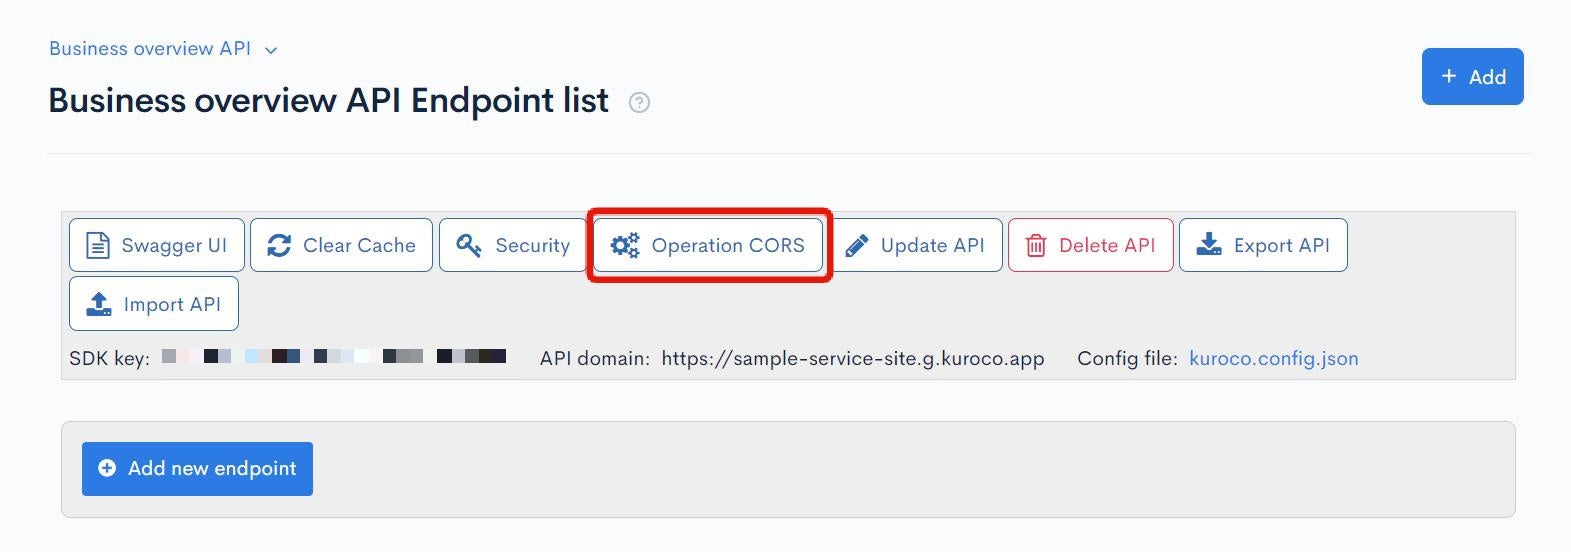
The next step is to configure the CORS settings. Click [Operation CORS].
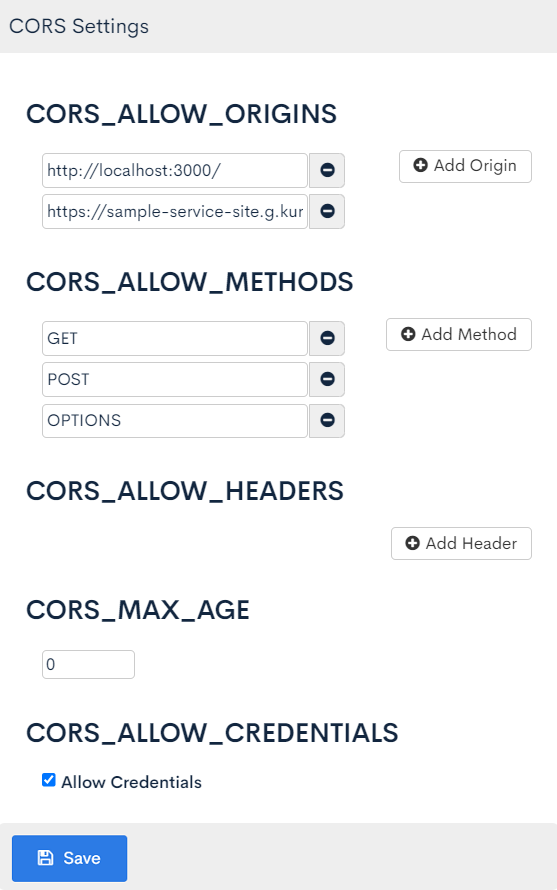
 Under "CORS_ALLOW_ORIGINS", click [Add origin] and enter the following:
http://localhost:3000/- Your front-end domain (in this case
https://sample-service-site.g.kuroco-front.app/)
Under "CORS_ALLOW_METHODS", click [Add method] and enter the following:
- GET
- POST
- OPTIONS
Then, click [Save] to apply the changes.
 Now you can create an endpoint to retrieve the Business overview content you entered earlier. To do this, click [Add new endpoint].
 Select the following settings and click [Add].
| Item | Setting | |
|---|---|---|
| Path | service | |
| Enabled/disabled | Enabled | |
| Model | Category | Content |
| Model | Topics | |
| Operation | Details | |
| ext_group | Enable this option | |
| topics_group_id | Group ID of your content structure (in this case 7) |


This completes the configuration on the Kuroco side. You can access the endpoint you created to verify its responses. In this case, enter the content ID in the {topics_id} section and go to the following URL:
https://sample-service-site.g.kuroco.app/rcms-api/3/service/3

Now you can build your site by writing the front-end description to retrieve and display the endpoint responses.
The URL will be the API domain (sitekey.g.kuroco.app), not the Admin panel URL (sitekey.g.kuroco-mng.app) or the Front-end domain (sitekey.g.kuroco-front.app).
For a tutorial on how to verify API responses, see: How to check the data structure using Swagger UI.
Update an nuxt.config.ts file
Before starting to describe specific pages for the frontend, register the API domain of Kuroco. Additionally, turn off the dynamic rendering feature on the server to enable static hosting on KurocoFront.
The full content of nuxt.config.ts is as follows:
// https://nuxt.com/docs/api/configuration/nuxt-config
export default defineNuxtConfig({
  ssr: false,
  runtimeConfig: {
      // Public keys that are exposed to the client
      public: {
          apiBase: 'https://sample-service-site.g.kuroco.app'
      }
  },
})
Adjusting app.vue
By default, the Nuxt3 welcome page is displayed. To display the pages from the pages directory, update app.vue as follows.
<template>
  <div>
    <NuxtPage />
  </div>
</template>
Modify index.vue
Next, adjust the frontend description. Create an index.vue file in the pages directory with the following content.
Insert the response from the endpoint between the <script> </script> tags, and the html displaying the response content between the <template> </template> tags.
Also, change /rcms-api/3/service/3 to your own endpoint URL.
<template>
    <div>
        <img :src="response.details.ext_1.url" width="800">
        <div>{{ response.details.ext_2 }}</div>
        <div>{{ response.details.ext_3 }}</div>

        <div v-for="n in response.details.ext_4" :key="n.slag">
            <img :src="n.ext_4.url" width="400">
            <div>{{ n.ext_3 }}</div>
            <div>{{ n.ext_5 }}</div>
            <div>{{ n.ext_6 }}</div>
        </div>
    </div>
</template>

<script setup>
const config = useRuntimeConfig();

const { data: response } = await useFetch(
    `${config.public.apiBase}/rcms-api/3/service/3`,
    {
        credentials: 'include',
    }
);
</script>
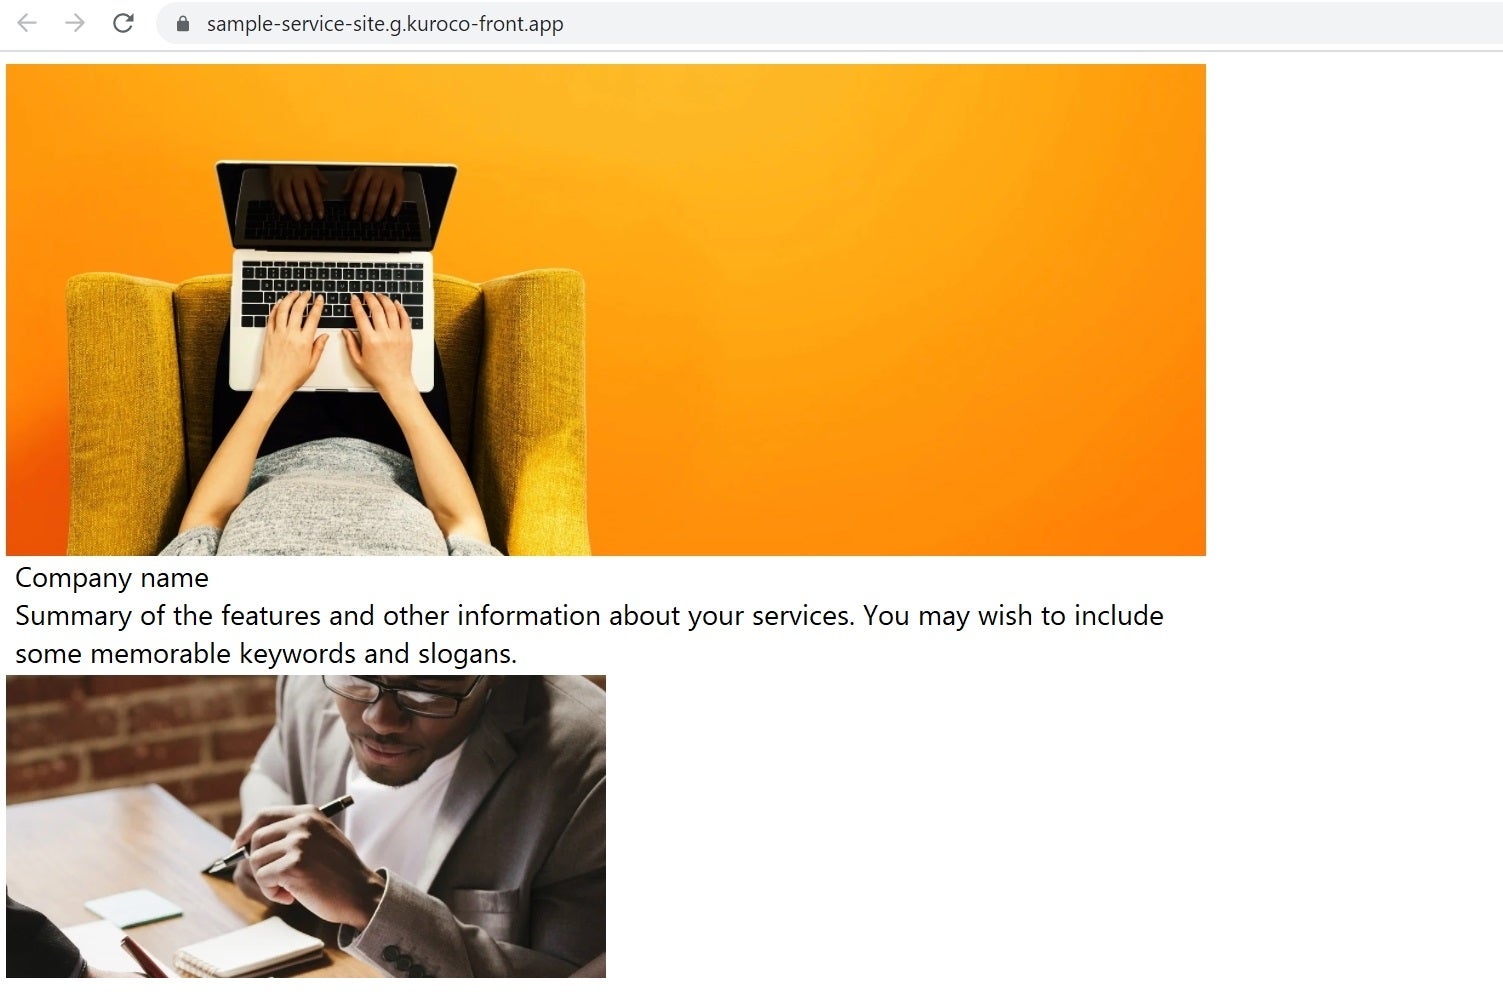
Execute the command npm run dev in your terminal, and go to http://localhost:3000/ in your browser to verify the local environment display. You should see the contents you configured in Kuroco.
Deploy your code
When you push changes from your local environment to GitHub, they will also be reflected on the frontend domain.
Push the changes of /pages/index.vue to GitHub.
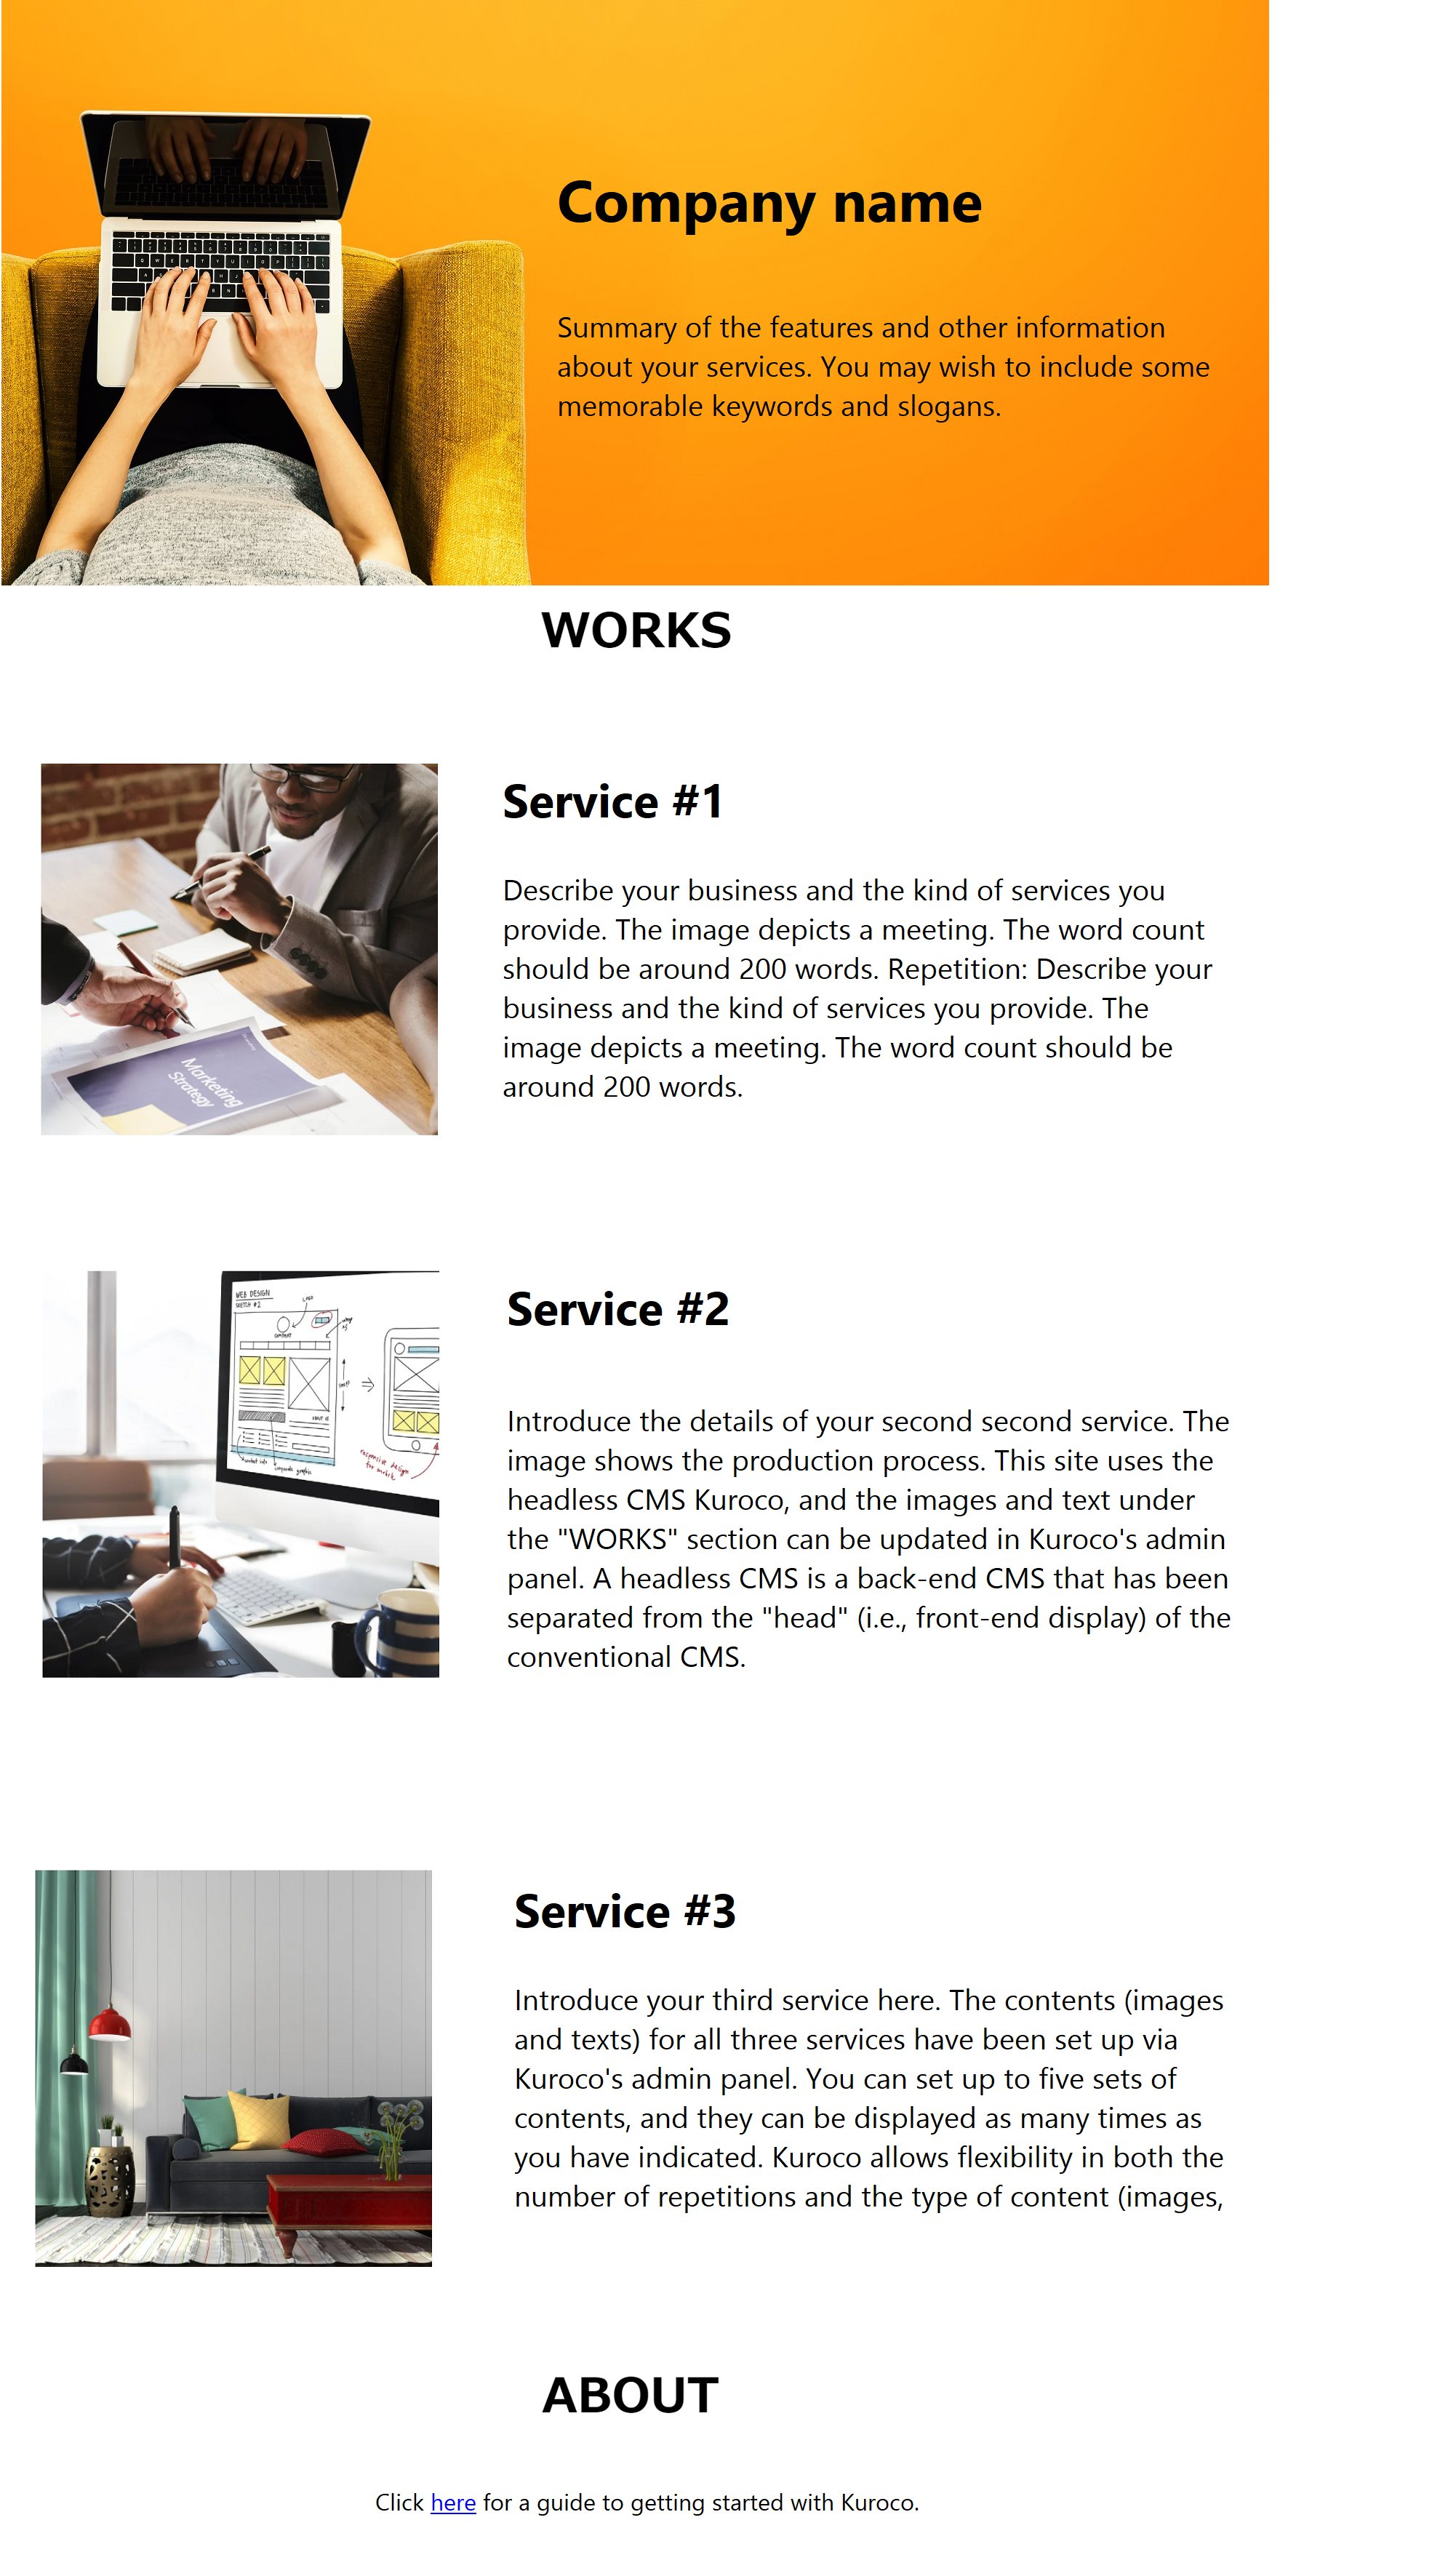
Once the deployment is complete, you can confirm the display on the website as shown below.
Now you can output and retrieve contents from Kuroco via API for display on your website.
Design adjustments
The final step is to adjust your website design. Since this is completely done on the front-end, you can use your favorite CSS frameworks, link to external services, or use any kind of build you like.
For this tutorial, we modify the style section in index.vue as follows:
loading...
 https://sample-service-site.g.kuroco-front.app/
More information
For simplicity, this tutorial only covered how to create the landing page. Please refer to the tutorials below to learn how to build other pages for your site.
- Creating content list page with Kuroco and Nuxt.js
- Building a multi-language website with Kuroco and Nuxt.js
- Setting up inquiry forms with Kuroco and Nuxt.js
- Setting up a new member registration form with Kuroco and Nuxt.js
- Building a login page using Kuroco and Nuxt.js
- Integrating preview page with Kuroco and Nuxt.js
Related documents
Support
If you have any other questions, please contact us or check out Our Slack Community.