Sharing a single front-end among multiple back-ends
Overview
When building a B2B service using Kuroco, you may want to use a common design with different content from customer to customer. In such cases, you can use a shared front-end and switch between back-ends for each customer.
As part of the package, Kuroco's demo site is a simple membership site with a common front-end.
Site URL: https://dev-nuxt-auth.g.kuroco-front.app/
GitHub repository: https://github.com/diverta/front_nuxt_auth
This tutorial explains how to build a B2B application (your main site) and copy it to create new client-specific back-ends (sub-sites).
Before you start
To begin this tutorial, you should have an existing project built with Kuroco and Nuxt.js. If you have not done so, refer to the tutorials below for step-by-step guides.
- Beginner's guide to Kuroco
- Creating content list page with Kuroco and Nuxt.js
- Building a login page using Kuroco and Nuxt.js
Main site setup
For this tutorial, we are using the following site keys:
- Main site (master):
sample-b2b-service-en - Sub-site:
sample-b2b-service-001
Adding contents
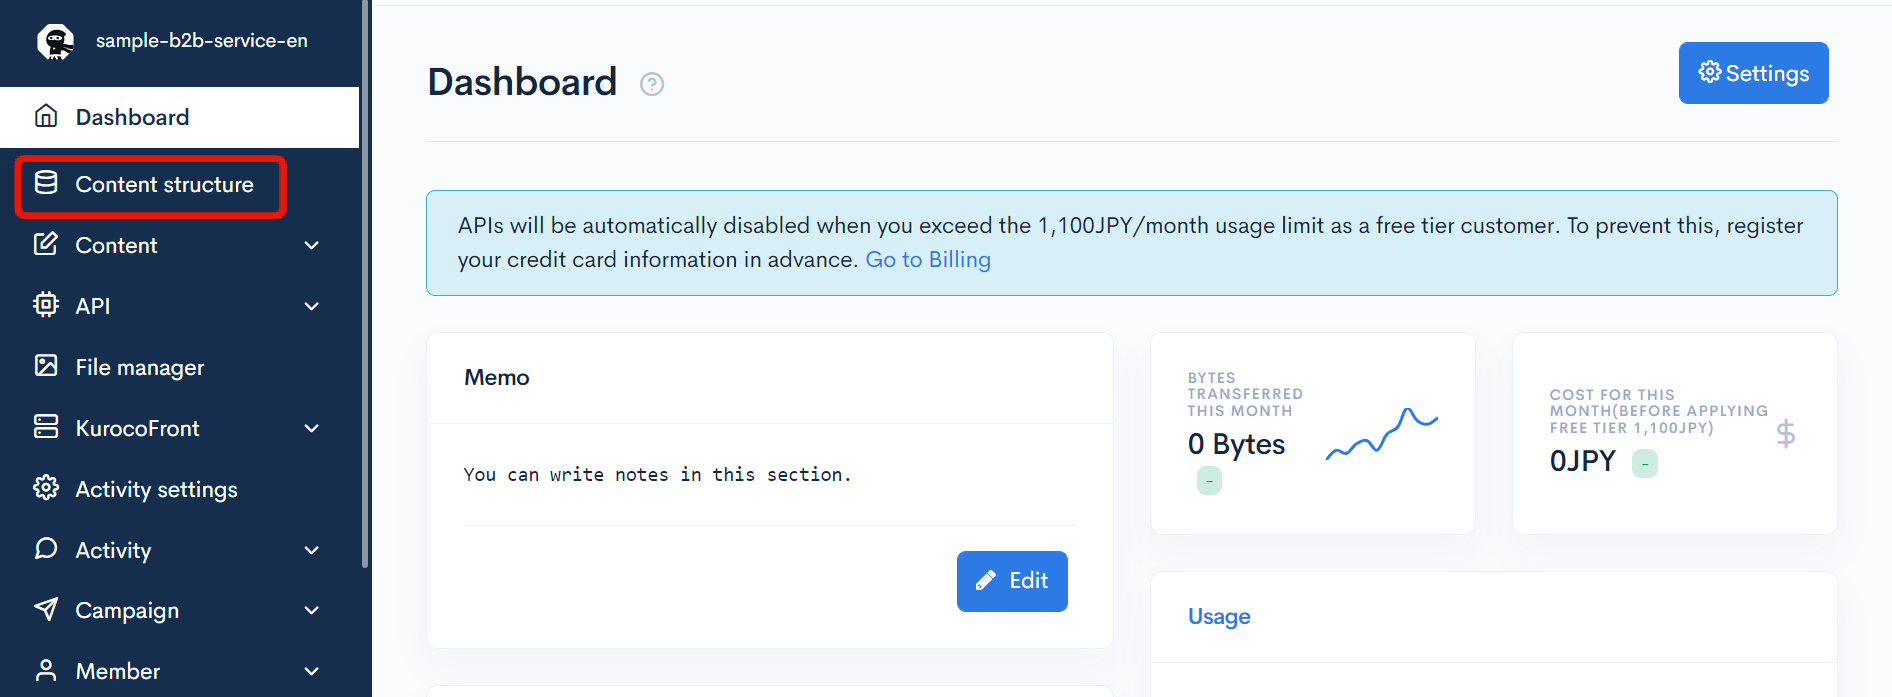
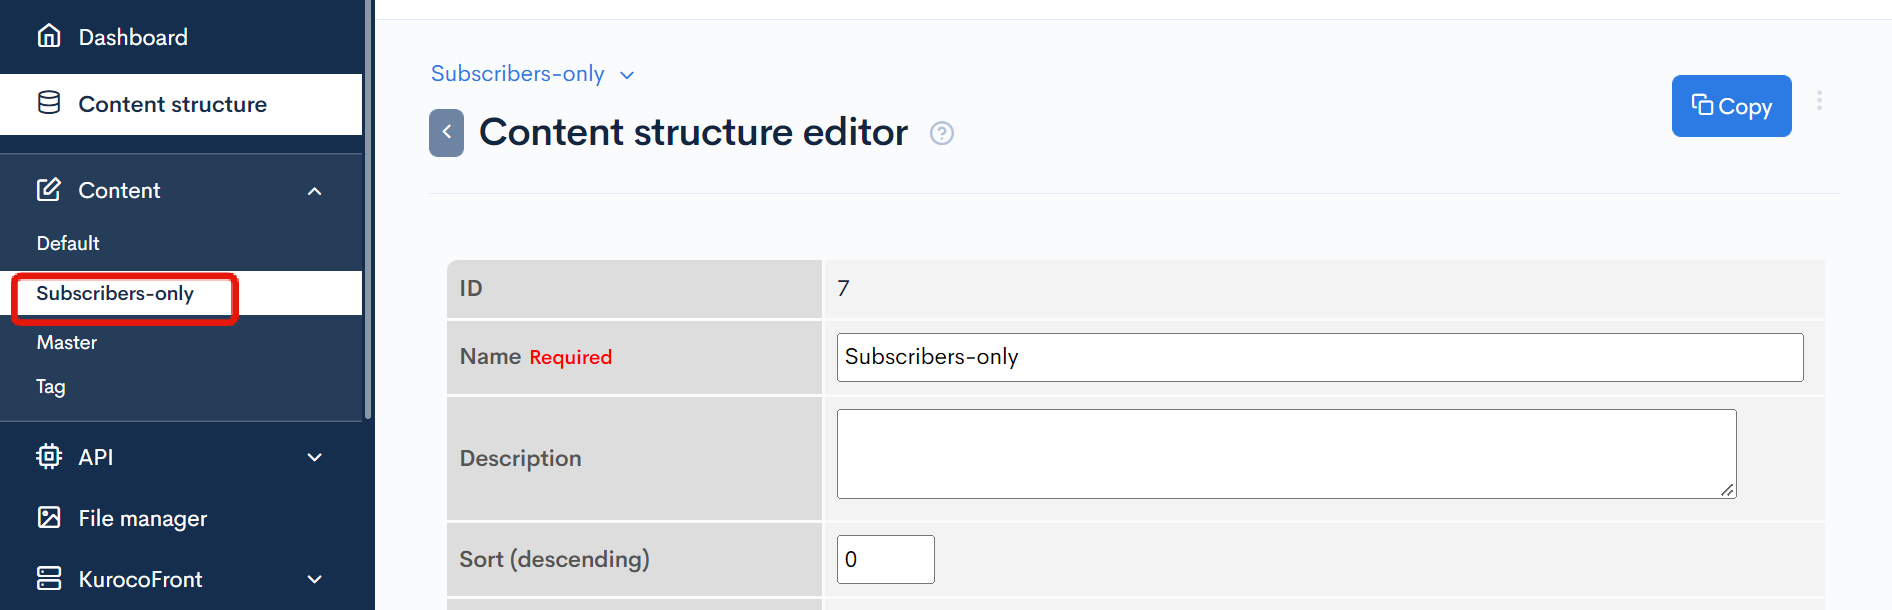
First, create a new content structure.
In the left sidebar menu, select [Content structure].
In the upper right corner, click [Add].
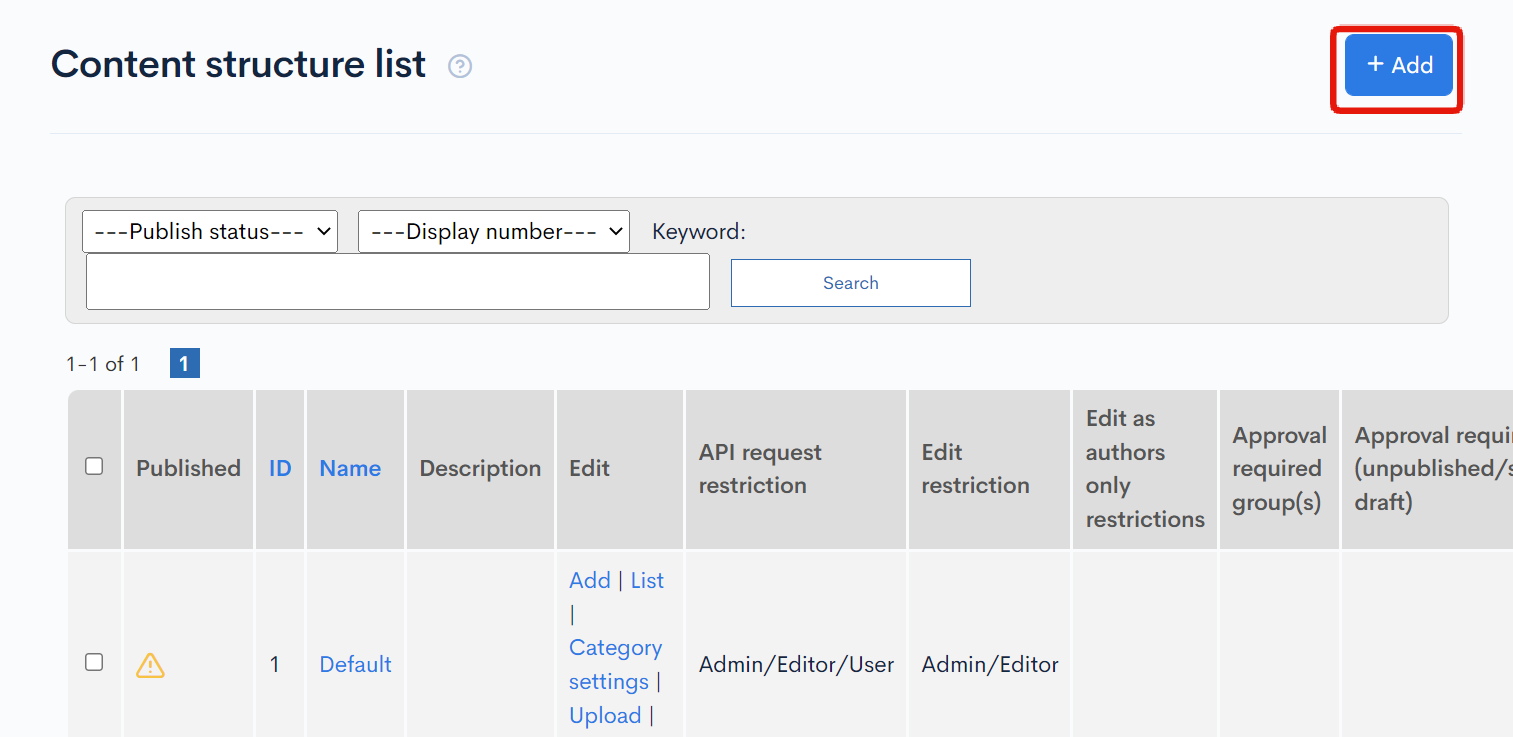
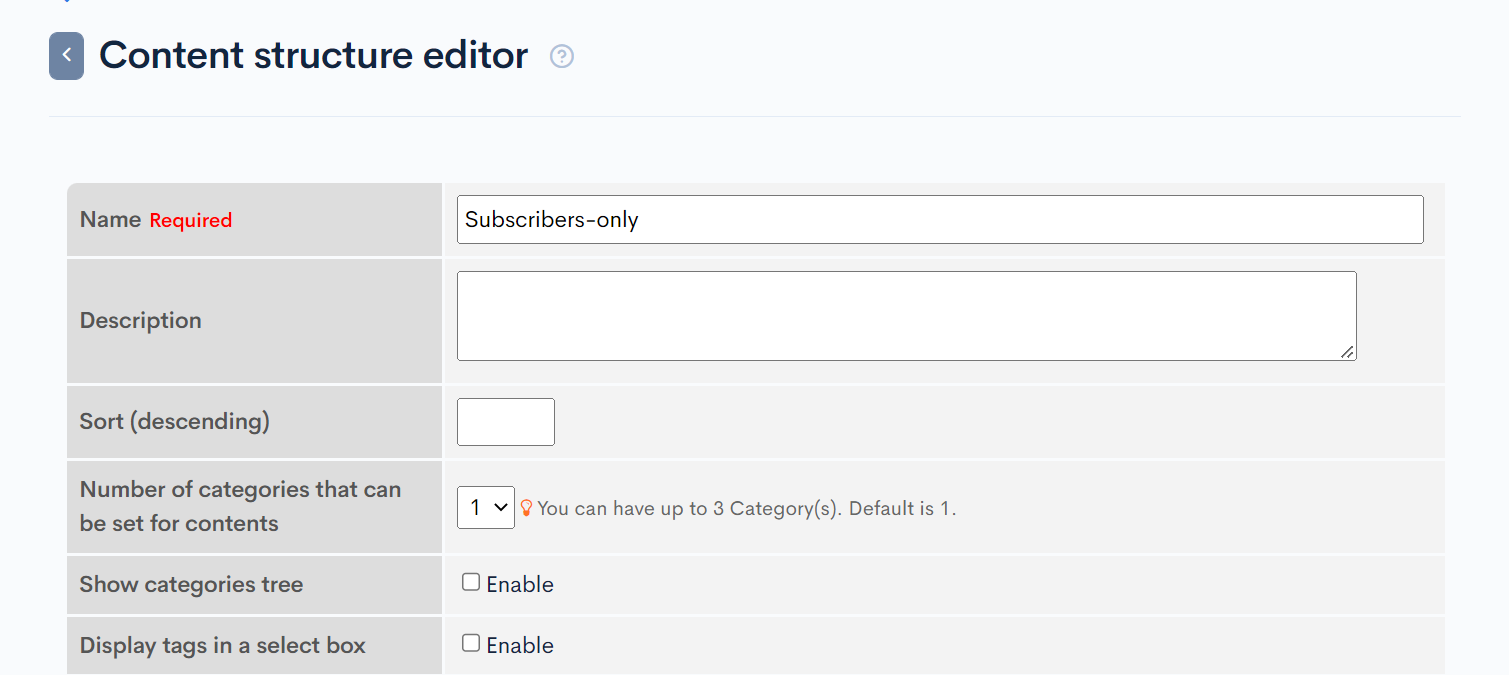
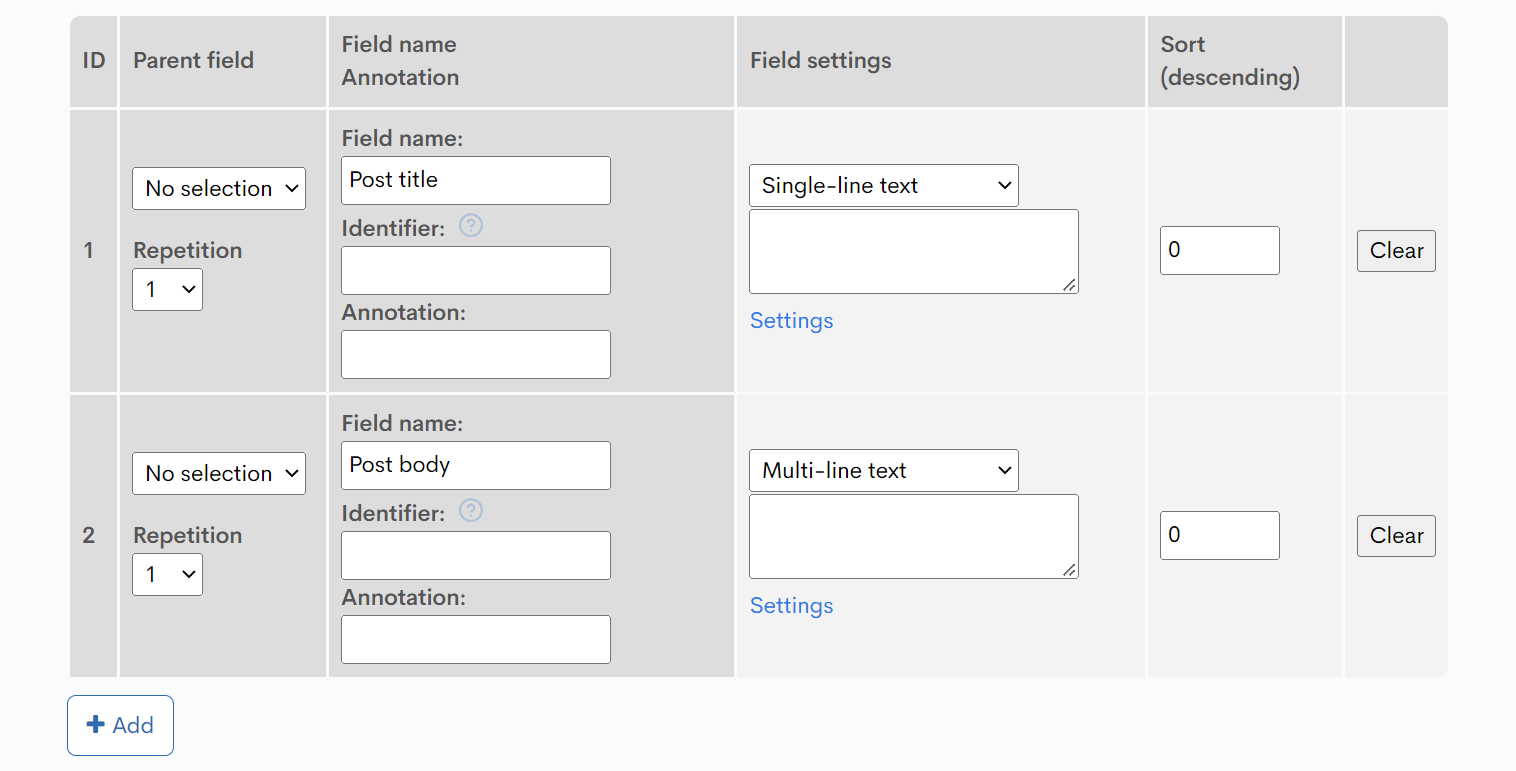
Create a new content structure called "Subscribers-only" with two additional fields.
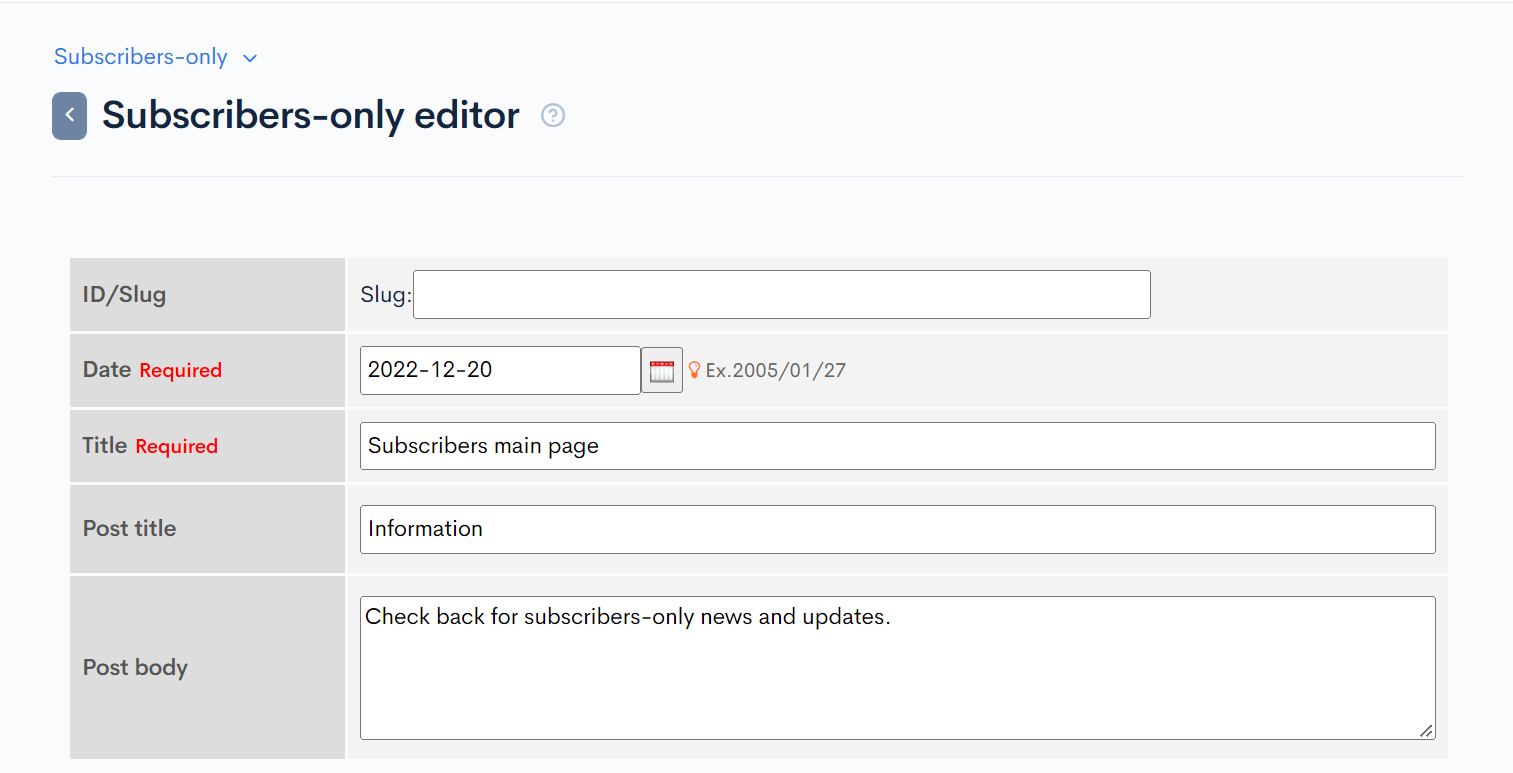
Then, go to the Content editor by selecting [Contents] -> [Subscribers-only] in the sidebar menu.
On the content list screen, click [Add]

Create your post and click [Add] at the bottom of the screen to save it.
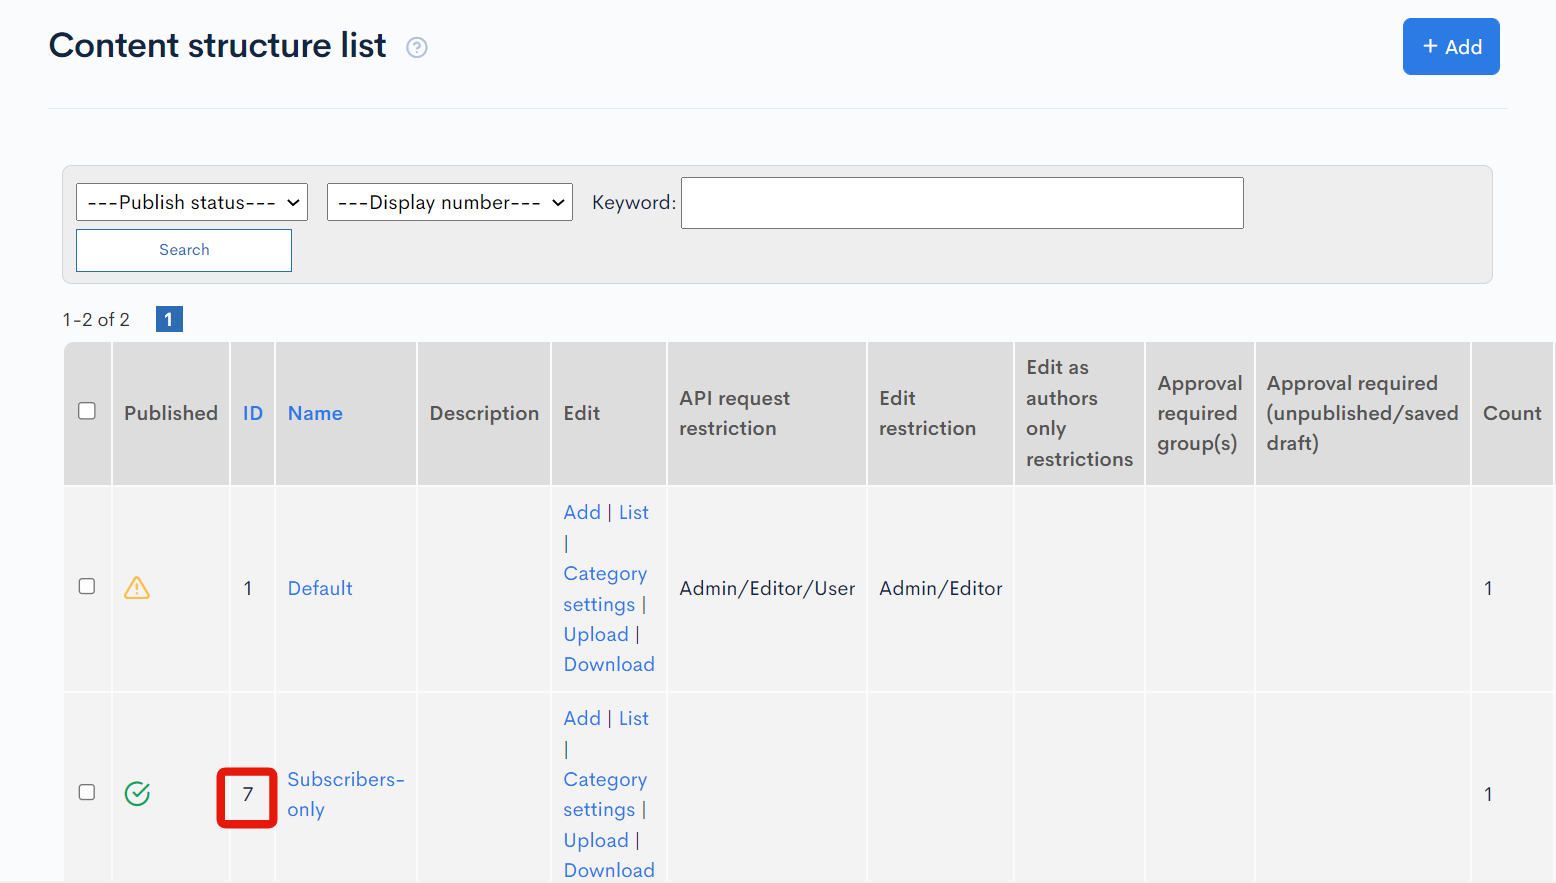
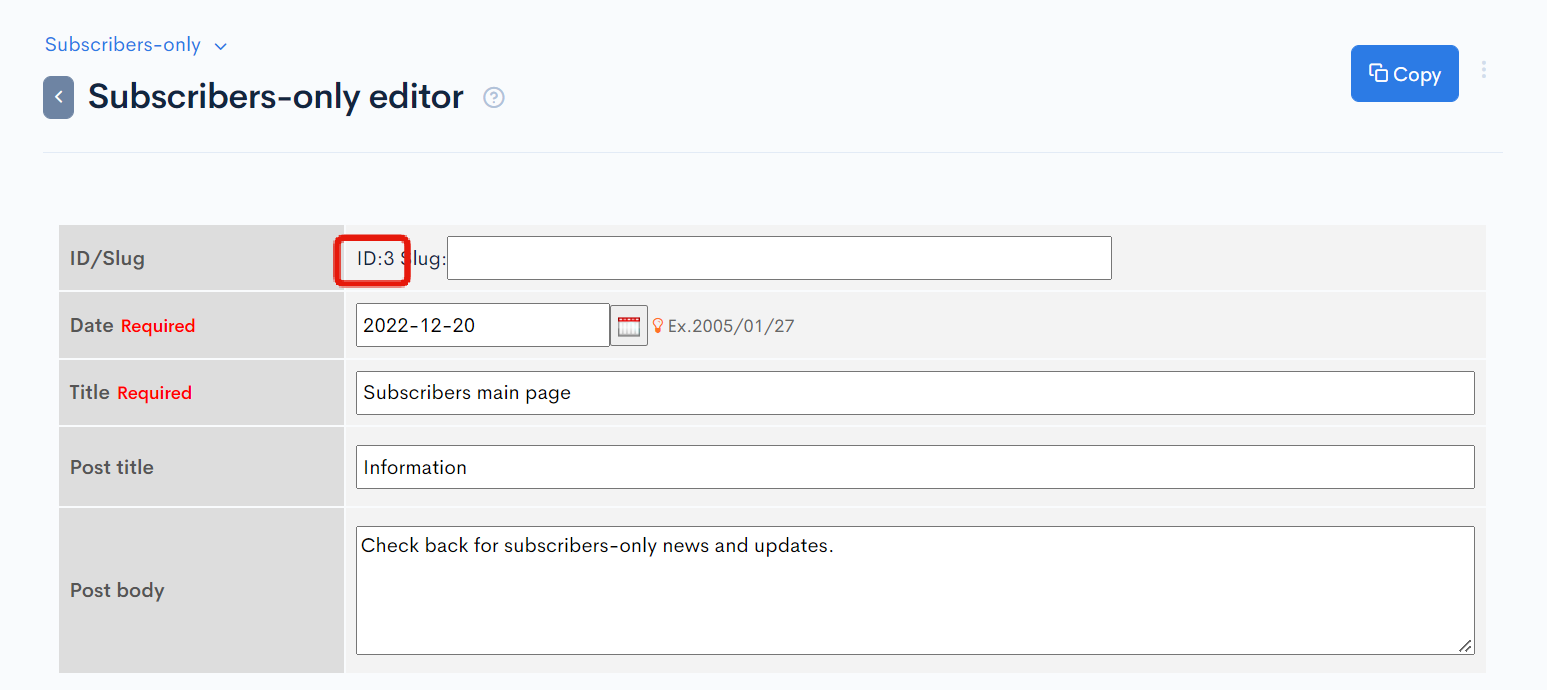
Note down the content definition ID (topic group ID) and content ID (topic ID) for later use.
Content structure:
Content:
Endpoint setup
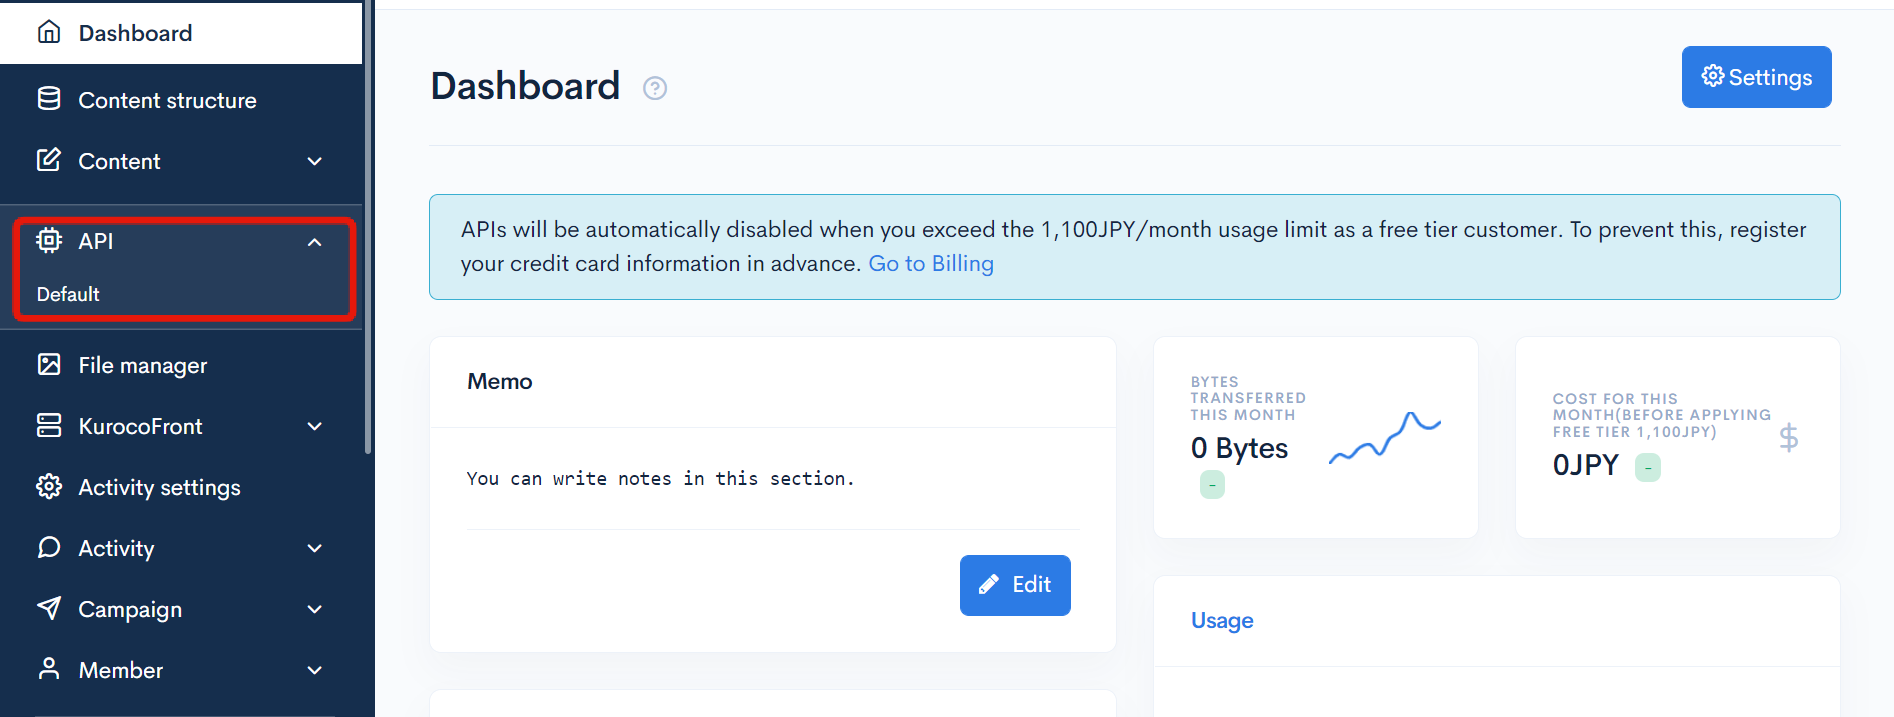
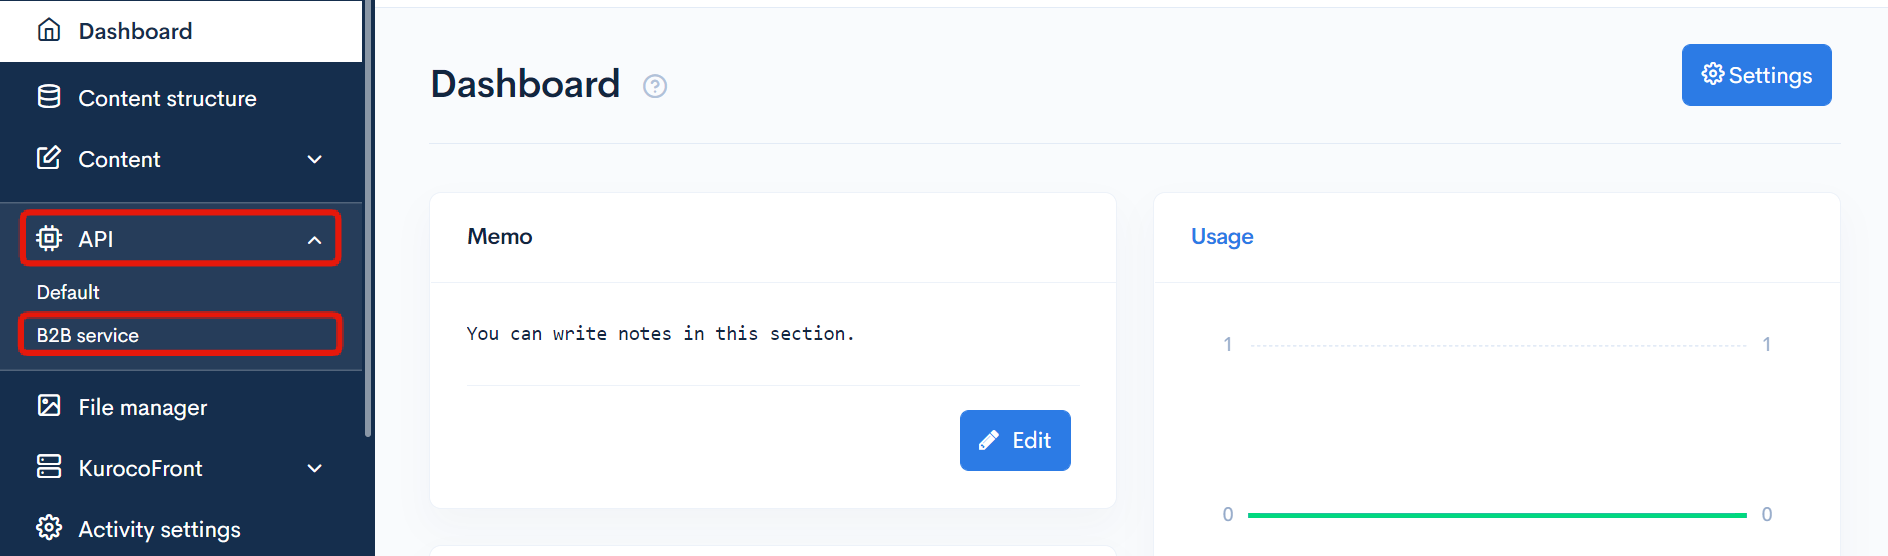
Next, in the sidebar menu, select [API] -> [Default].
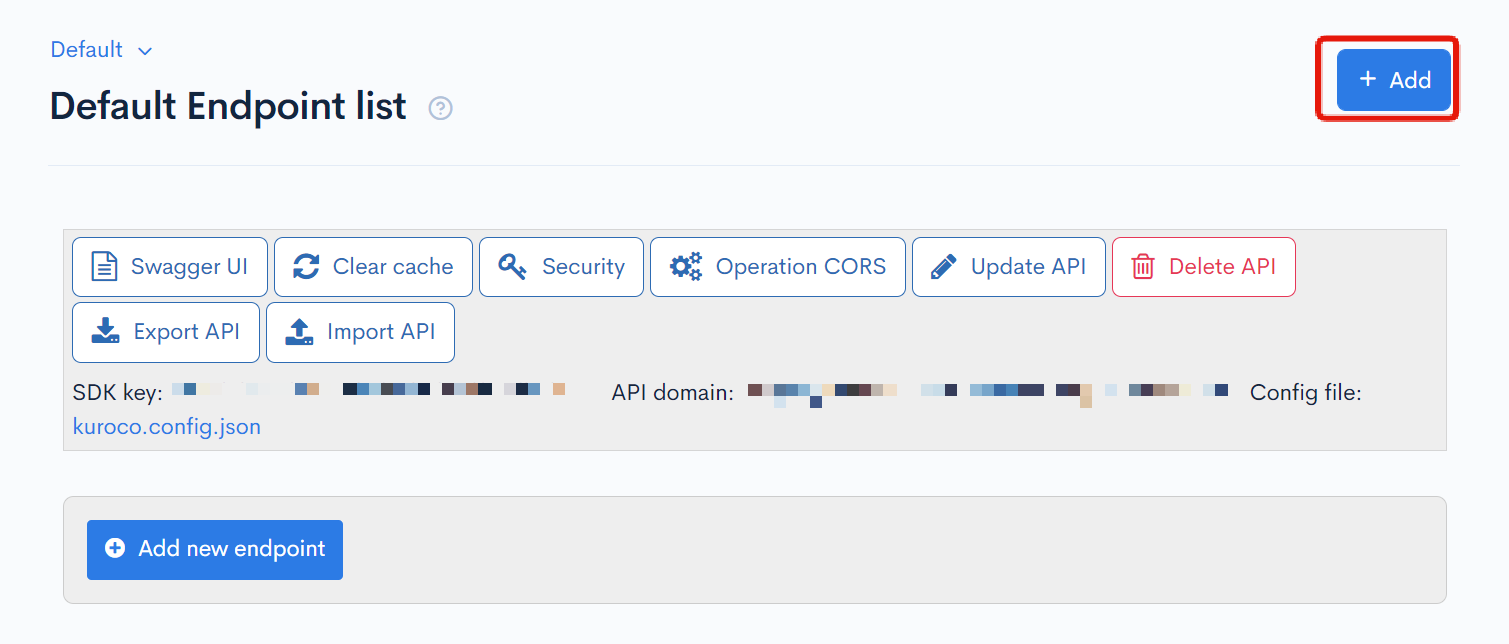
In the upper right corner of the endpoint list screen, click [Add].
Enter the title, version, and description in the dialog and click [Add].
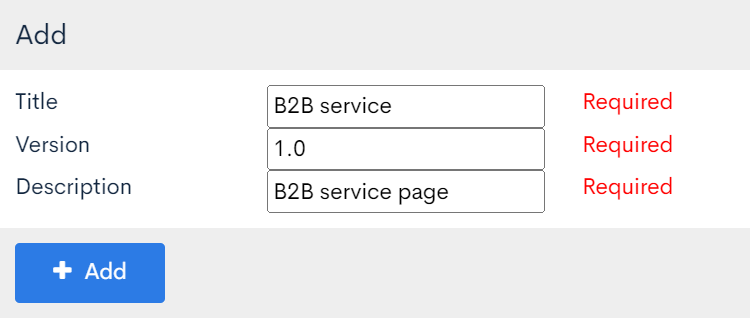
You will be redirected to the newly created endpoint list screen.
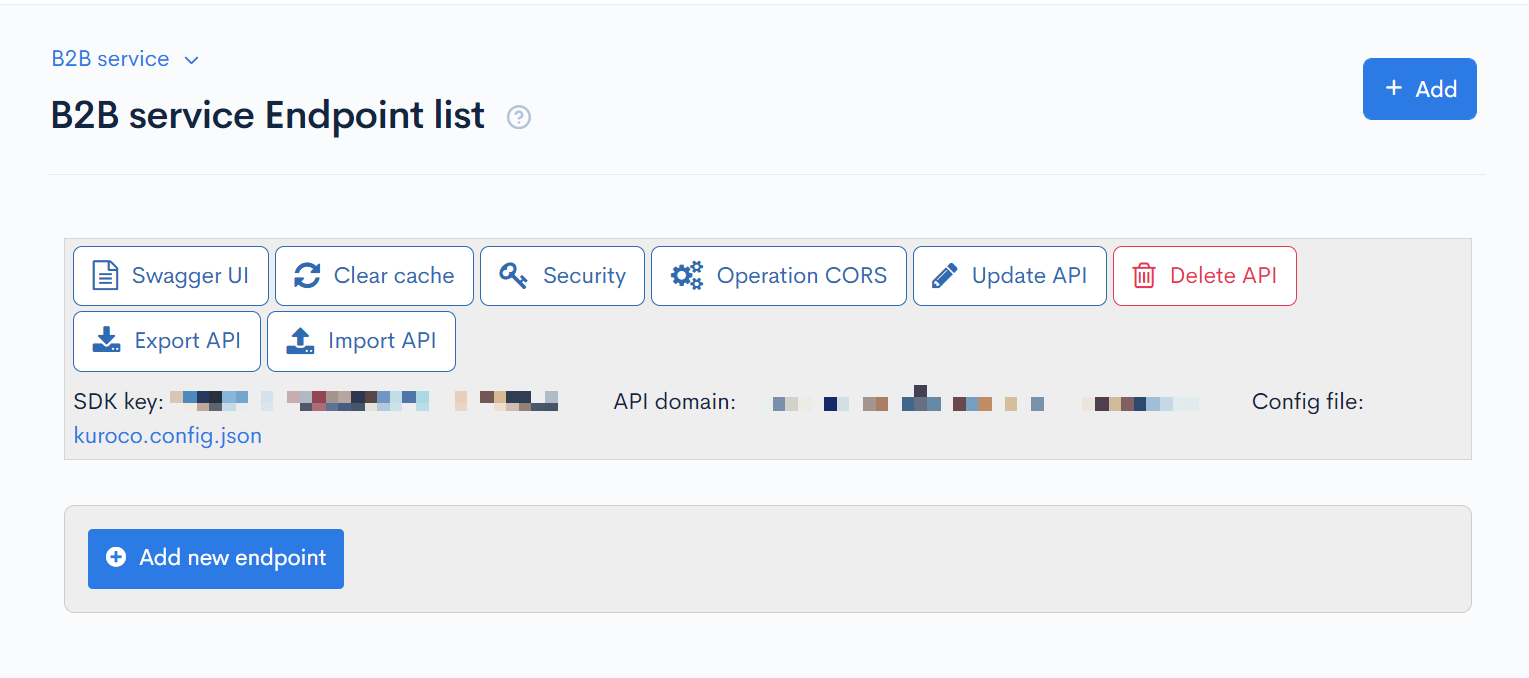
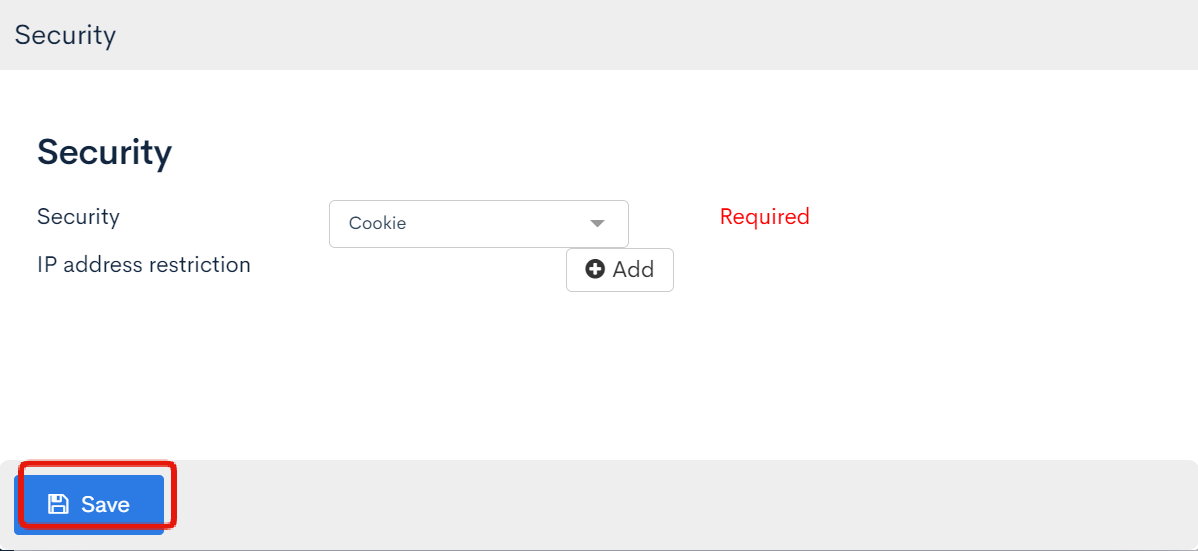
Click [Security].
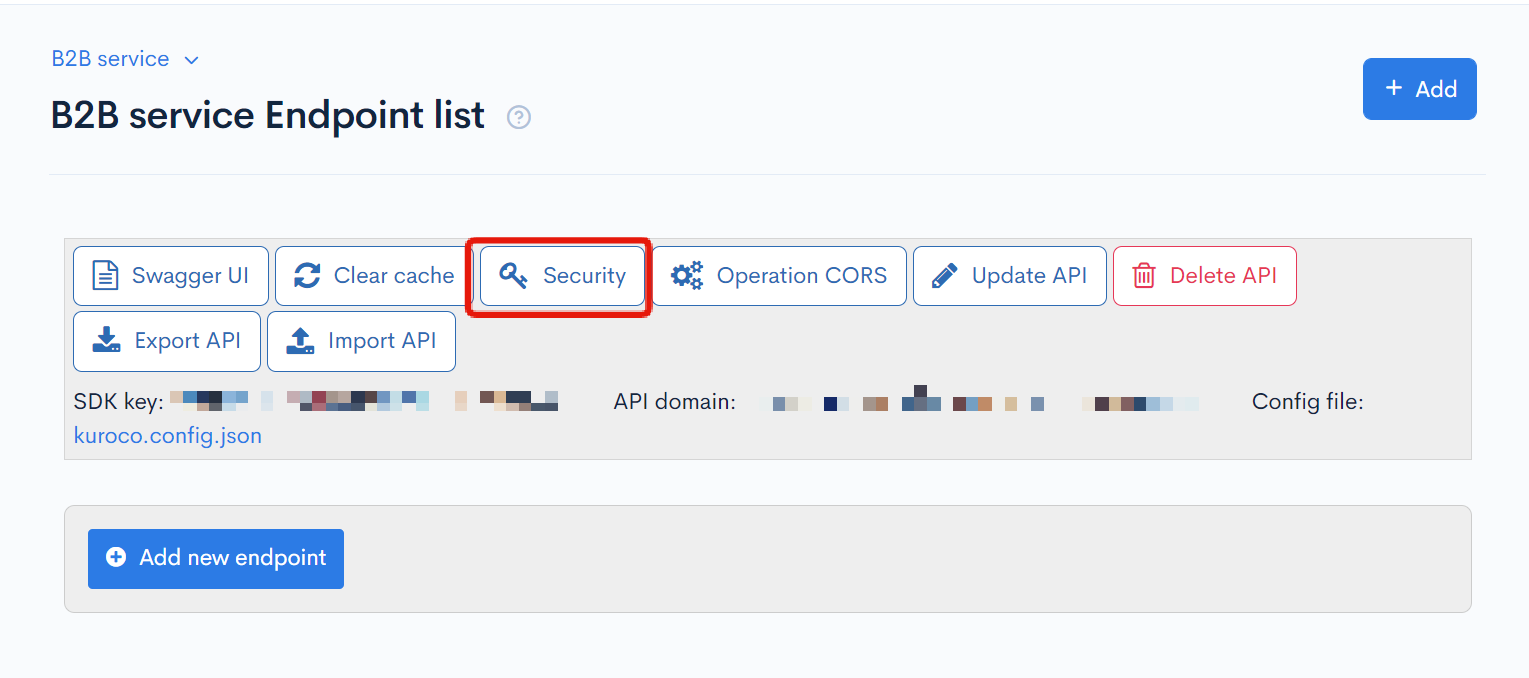
In the security dialog, select [Cookie] and click [save].
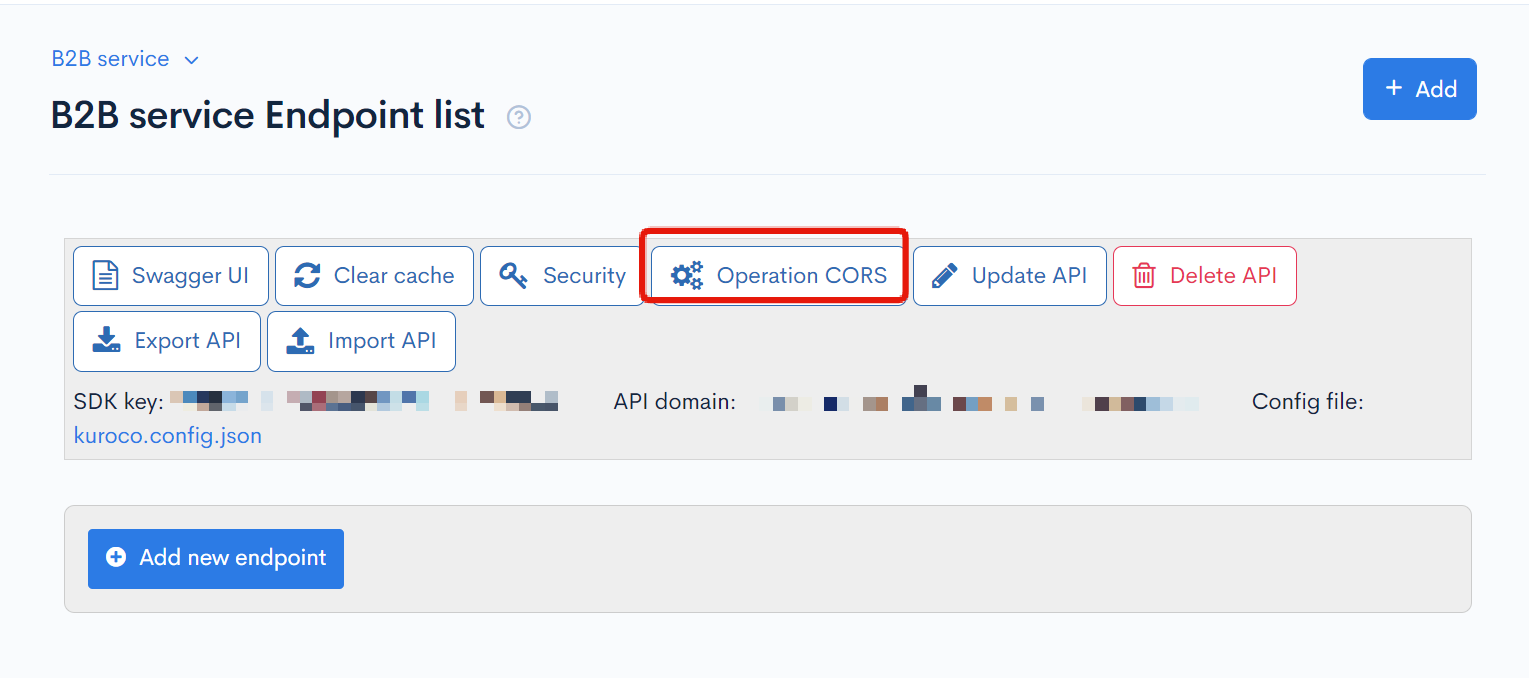
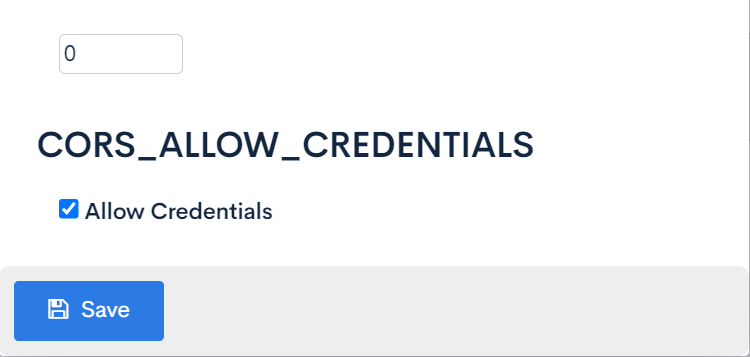
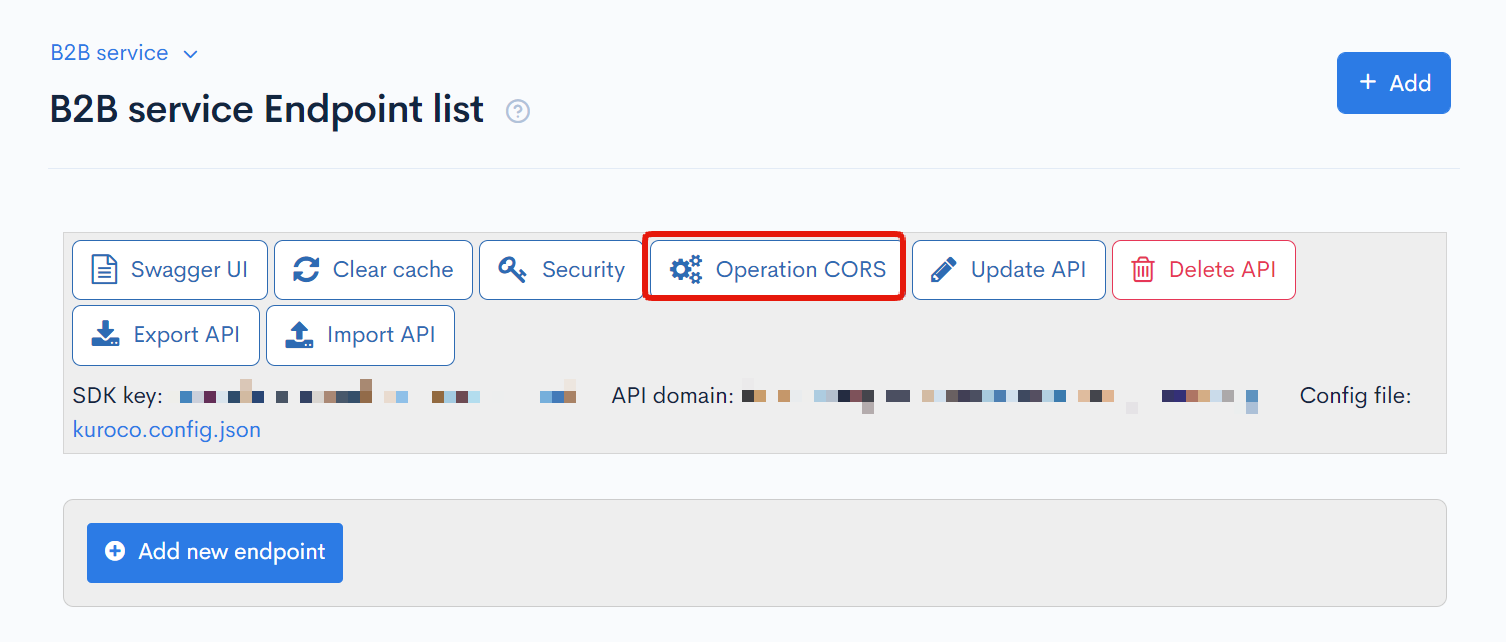
Next, click [Operation CORS] on the endpoint list screen.
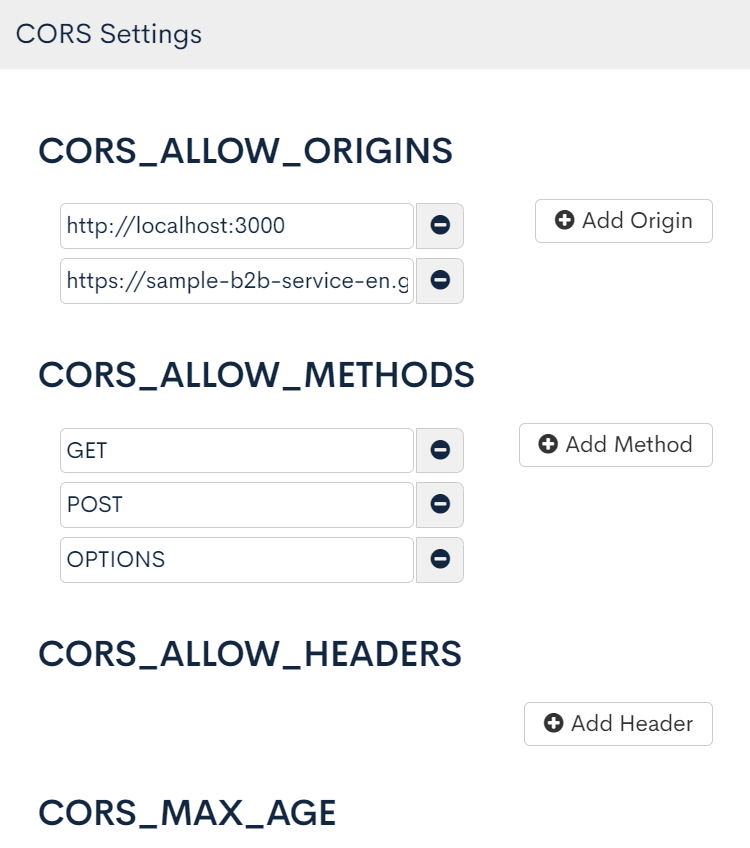
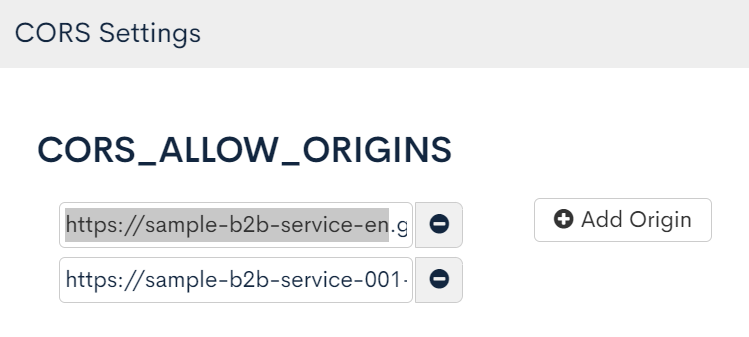
Under "CORS_ALLOW_ORIGINS", click [Add Origin] twice and enter the following values:
http://localhost:3000- Your front-end domain (in this example,
https://sample-b2b-service-en.g.kuroco-front.app)
Under "CORS_ALLOW_ORIGINS", click [Add Method] and enter the following:
GETPOSTOPTIONS
When you are done, click [Save].
Now, you are ready to create an endpoint for retrieving content from "Subscribers-only".
On the endpoint list screen, click [Add new endpoint].
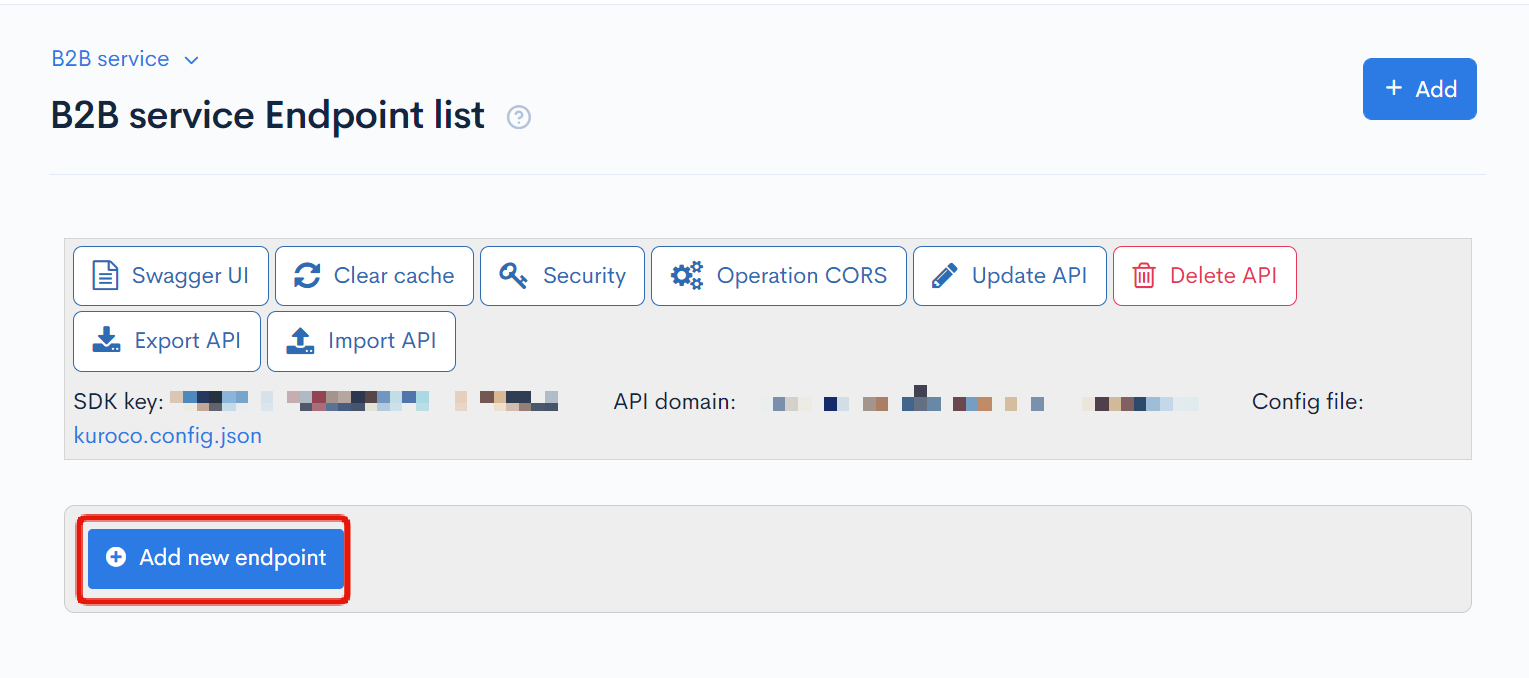
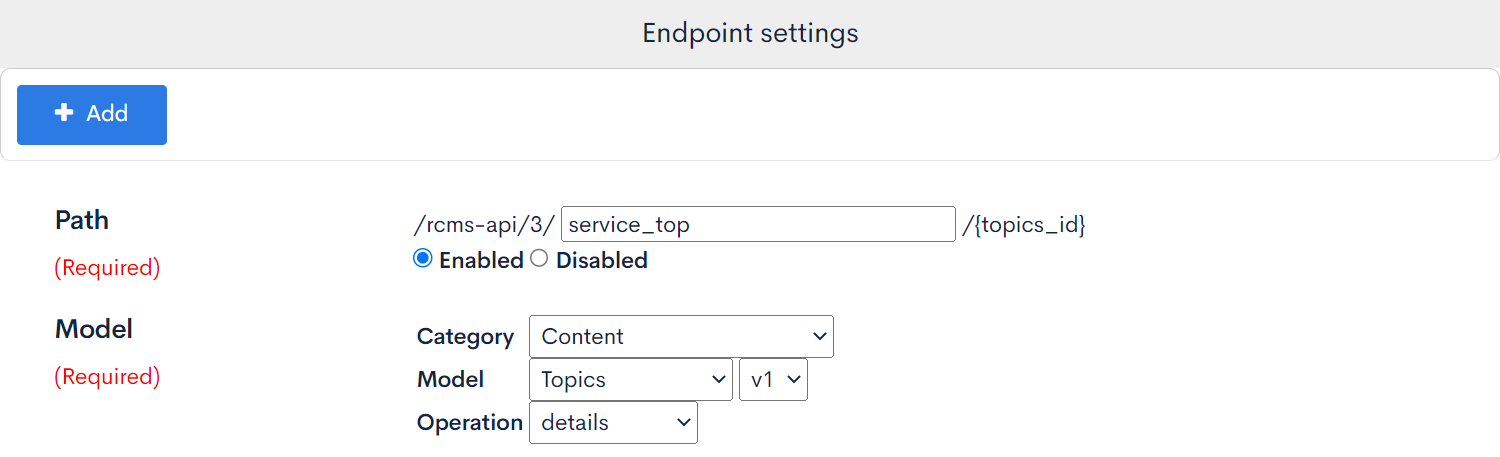
Input the following and click [Add] to save the settings:
| Field | Sub-field | Value |
|---|---|---|
| Path | - | /rcms-api/3/service_top |
| Enabled/Disabled | Enabled | |
| Model | Category | Content |
| Model | Topics | |
| Operation | details | |
| Basic settings | topics_group_id | Enter your content structure ID (7 in this example). |


Front-end setup
Adding the "Subscribers-only" page
After the back-end configuration, we will set up the front-end display for the content we created above.
In your /pages directory, make a new folder named /owners-page and add the following index.vue:
<template>
  <div>
    <h1>{{ response.details.ext_1}}</h1>
    <p>{{ response.details.ext_2}}</p>

  <button type="button" @click="logout">
  Logout
  </button>
  </div>
</template>

<script>
import { mapActions } from 'vuex'

export default {
  middleware: 'auth',
  async asyncData({$axios}) {
    try {
      const response = await $axios.$get('/rcms-api/3/service_top/3')
      return { response }
    } catch (e) {
      console.log(e.message)
    }
  },
  methods: {
    ...mapActions(['logout'])
  }
}
</script>
Change the URL hitting the endpoint at login
The next step is to make the URL hitting the endpoint modifiable from the front-end.
To do this, modify /pages/login/index.vue and /store/index.js as shown below.
<template>
    <form @submit.prevent="login">
      <p v-if="loginStatus !== null" :style="{ color: resultMessageColor }">
        {{ resultMessage }}
      </p>

        <input v-model="sitekey" name="sitekey" type="sitekey" placeholder="sitekey">
        <input v-model="email" name="email" type="email" placeholder="email">
        <input
            v-model="password"
            name="password"
            type="password"
            placeholder="password"
        >
        <button type="submit">
            Login
        </button>

        <div>
            <nuxt-link to="/news/">
                To News list
            </nuxt-link>
        </div>
        <div>
            <nuxt-link to="/owners-page/">
                To Subscribers page
            </nuxt-link>
        </div>
    </form>
</template>

<script>
export default {
    data () {
        return {
            sitekey: '',
            email: '',
            password: '',
            loginStatus: null,
            resultMessage: null
        }
    },
    computed: {
        resultMessageColor () {
            switch (this.loginStatus) {
            case 'success':
                return 'green'
            case 'failure':
                return 'red'
            default:
                return ''
            }
        }
    },
    methods: {
        async login () {
            try {
                const payload = {
                    sitekey: this.sitekey,
                    loginInfo: {
                        email: this.email,
                        password: this.password
                    }
                }
                await this.$store.dispatch('login', payload)
                this.loginStatus = 'success'
                this.resultMessage = 'Login successful'
            } catch (e) {
                this.loginStatus = 'failure'
                this.resultMessage = 'Login failed'
            }
        }
    }
}
</script>
export const state = () => ({
    profile: null
})

export const getters = {
    authenticated (state) {
        return state.profile !== null
    },
    hostname () {
        try {
            const sitekey = localStorage.getItem('sitekey');
            if (sitekey === '' || sitekey === 'undefined' || sitekey === 'null') {
                throw new Error('unknown sitekey');
            }
            return `https://${sitekey}.g.kuroco.app`;
        } catch (e) {
            return false;
        }
    }
}

export const mutations = {
    setProfile (state, { profile }) {
        state.profile = profile
    },
}

export const actions = {
    async login ({ commit, getters }, payload) {
        localStorage.setItem('sitekey', payload.sitekey);
        this.$axios.defaults.baseURL = getters.hostname;

        await this.$axios.$post('/rcms-api/1/login', payload.loginInfo)
        const profileRes = await this.$axios.$get('/rcms-api/1/profile', { withCredentials: true })
        commit('setProfile', { profile: profileRes.data })
    },

    async logout ({ commit }) {
        try {
            await this.$axios.$post('/rcms-api/1/logout')
        } catch {
             /** No Process */
             /** In cases of error, ignore this as user is assumed to be logged out. */
            }
            commit('setProfile', { profile: null })

            this.$router.push('/login')
        },

    async restoreLoginState ({ commit, dispatch, getters }) {
        if (!getters.hostname) {
            await dispatch('logout')
            throw new Error('need to login')
        }
        try {
            this.$axios.defaults.baseURL = getters.hostname;
            const profileRes = await this.$axios.$get('/rcms-api/1/profile', { withCredentials: true })
            commit('setProfile', { profile: profileRes.data });
        } catch {
            await dispatch('logout')
            throw new Error('need to login')
        }
    }
}
Make sure to substitute /rcms-api/1/login, /rcms-api/1/profile, and /rcms-api/1/logout in the above code with the corresponding endpoints on your own admin panel.
Create a back-end for users
Adding a sub-site
Next, create a sub-site for subscribers from the admin panel.
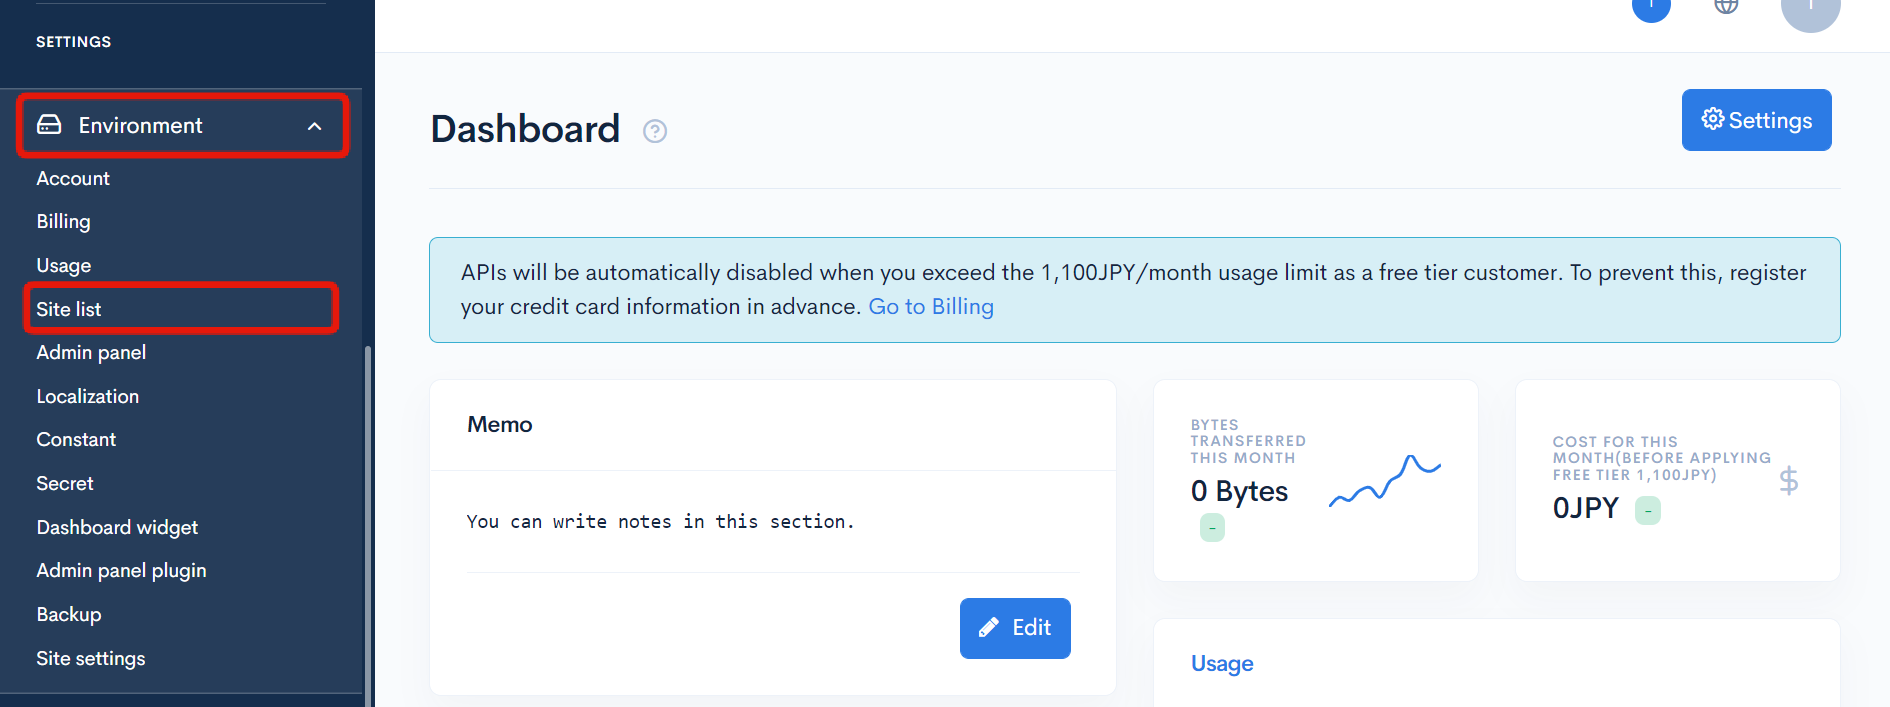
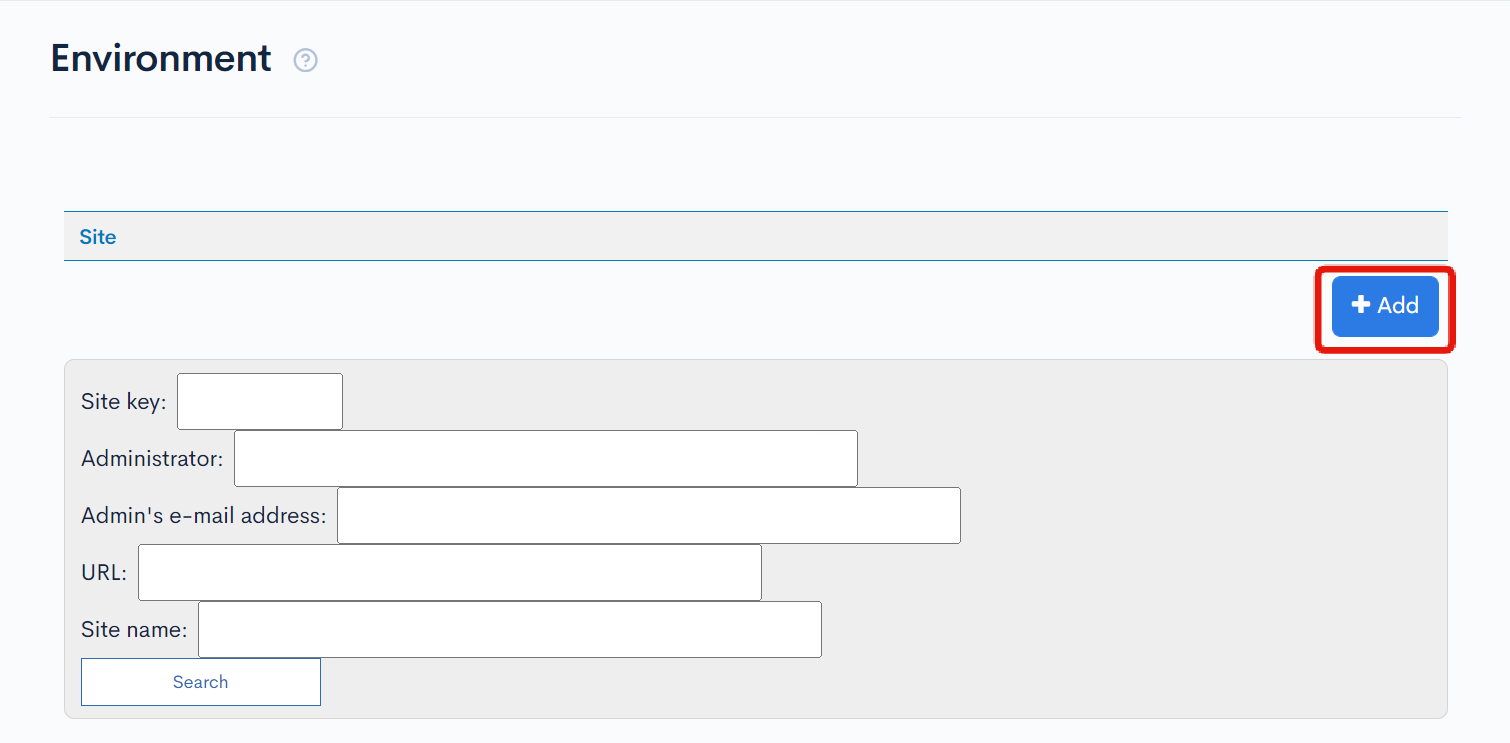
In the left sidebar menu, select [Environment] -> [Site list].
On the site list screen, click [Add].
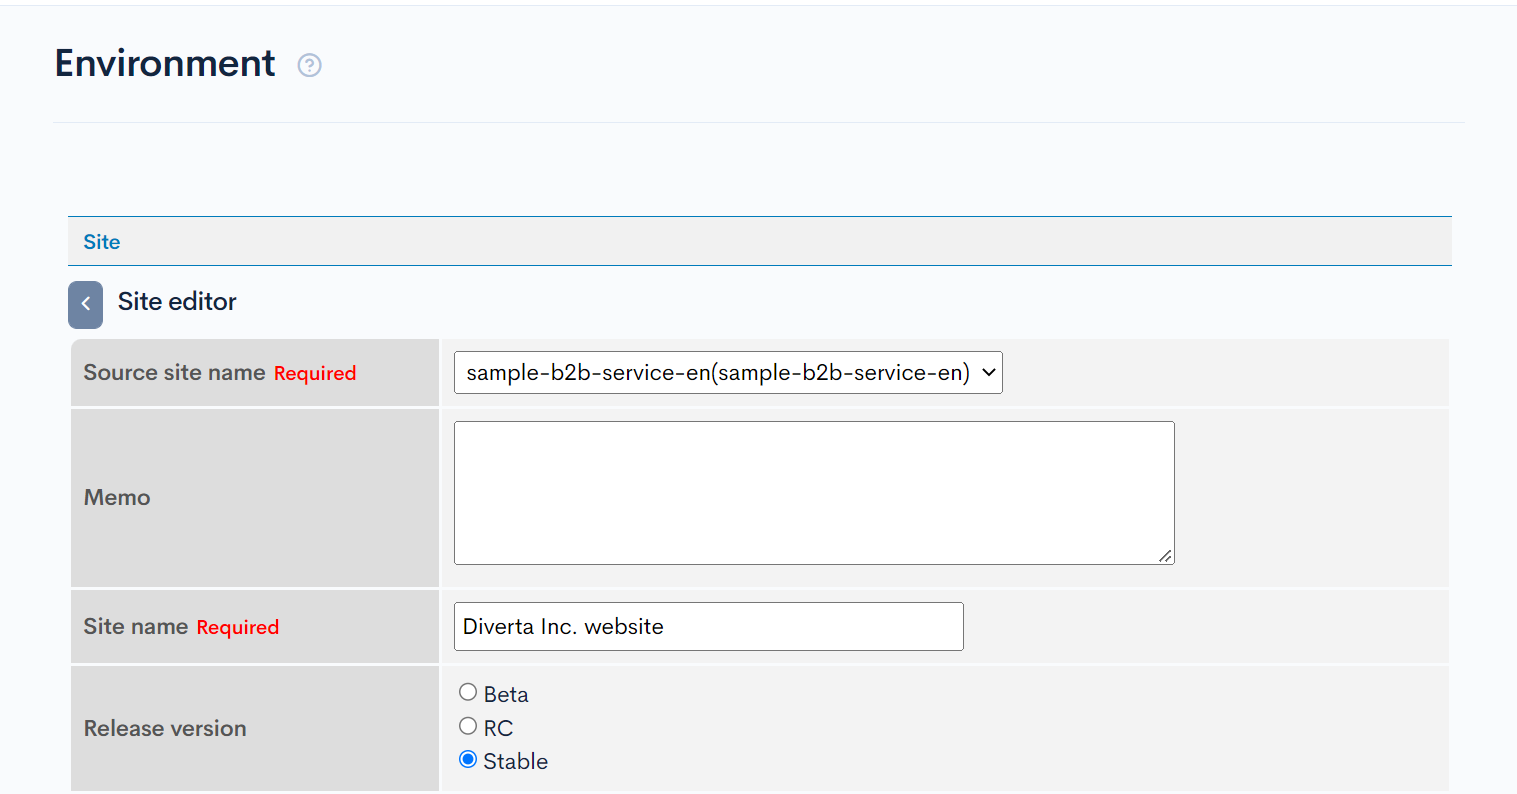
Input the following information:
| Field | Value |
|---|---|
| Source site name | sample-b2b-service-en(sample-b2b-service-en) |
| Site name | Diverta Inc. website |
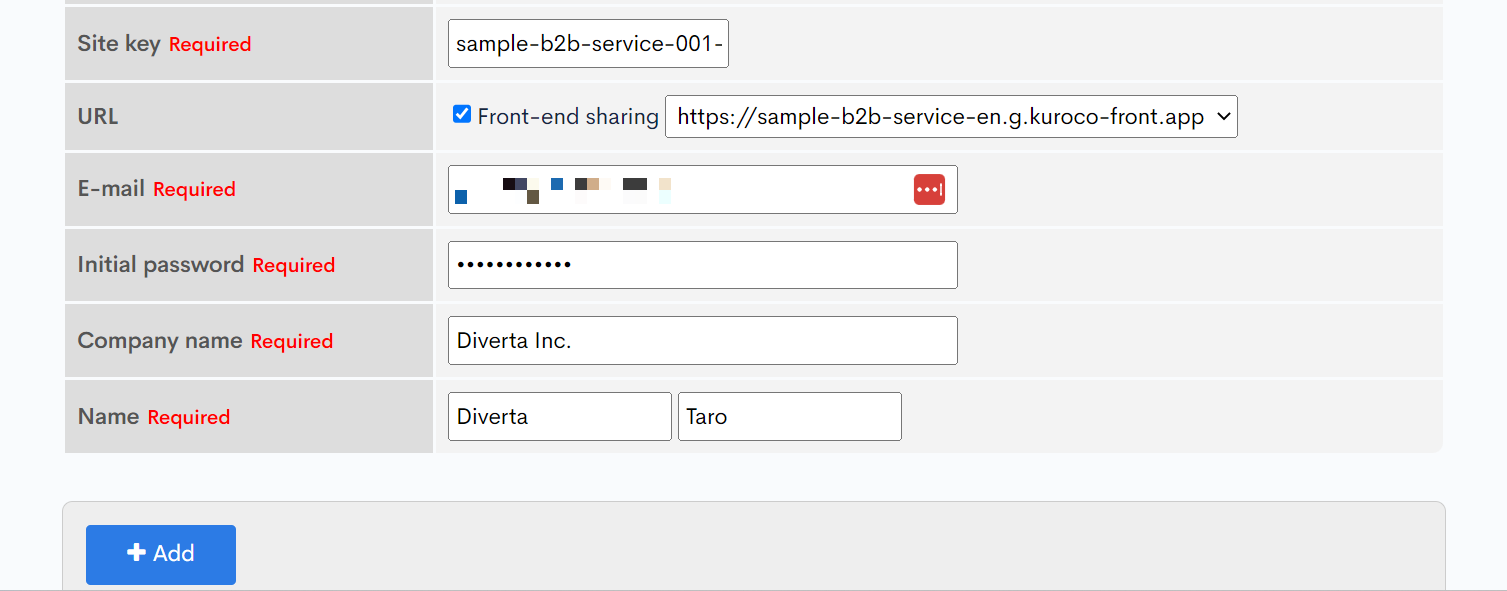
| Site key | sample-b2b-service-001-en |
| URL | Enable "Front-end sharing" and select [https://sample-b2b-service-en.g.kuroco-front.app]. |
| Enter the e-mail address for receiving the sign-up notification. | |
| Initial password | Enter your desired password. |
| Company name | Diverta Inc. |
| Name | Diverta Taro |
When you are done, click [Add] at the bottom of the screen to save the changes.
Sub-site content modification
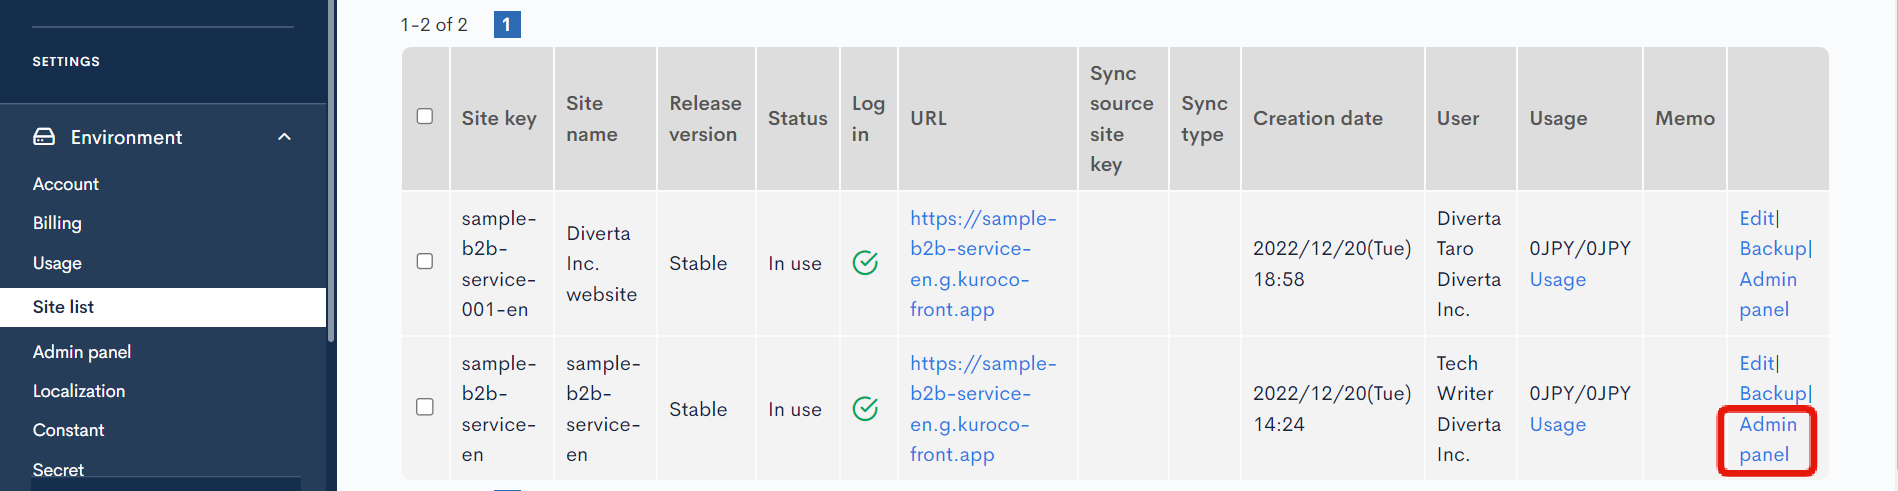
When the sub-site has been successfully created, you will receive en e-mail notification. The sub-site will also appear on the site list screen. Click [Admin panel] to access it.
You will be redirected to the login page.
After logging in, go to [Content] -> [Subscribers-only] in the sidebar menu.
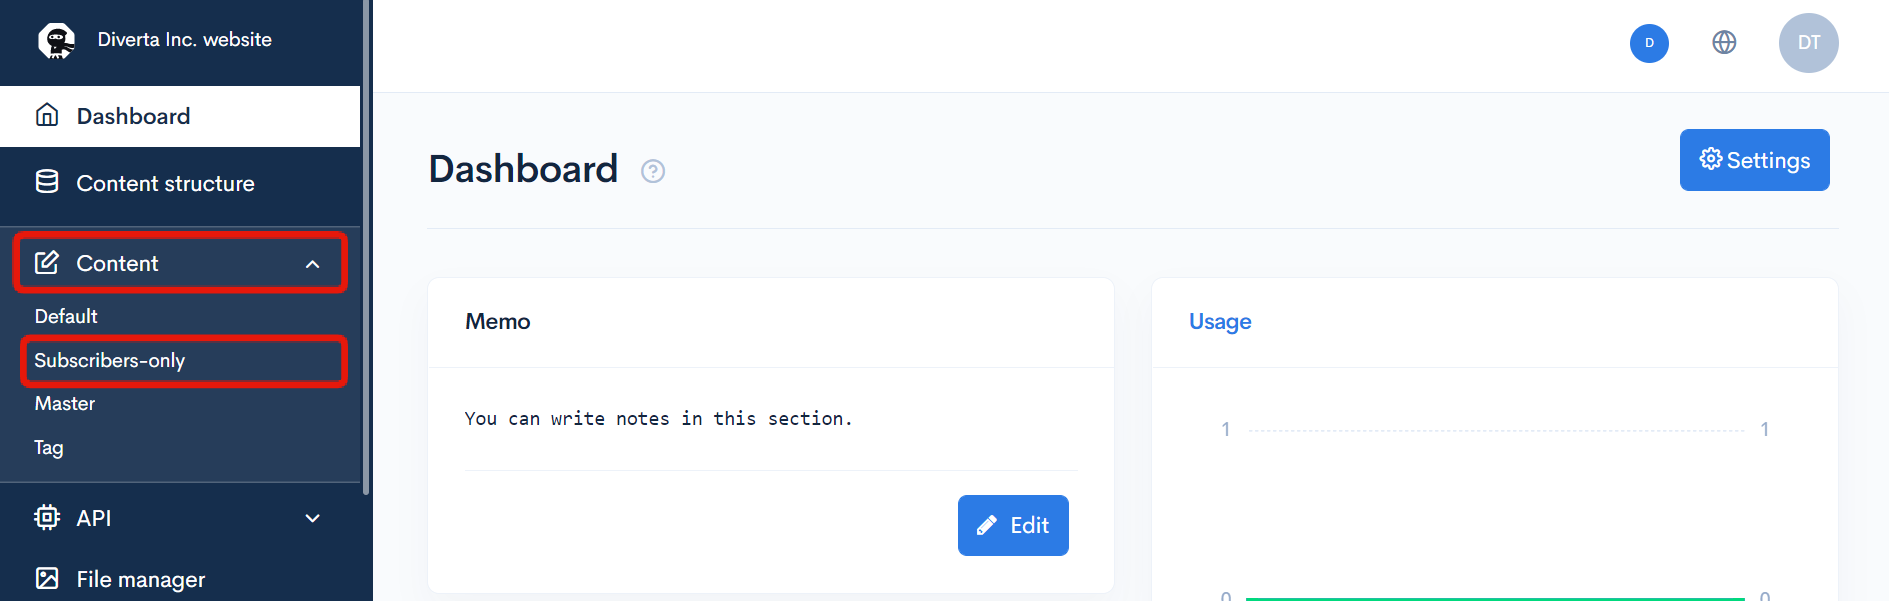
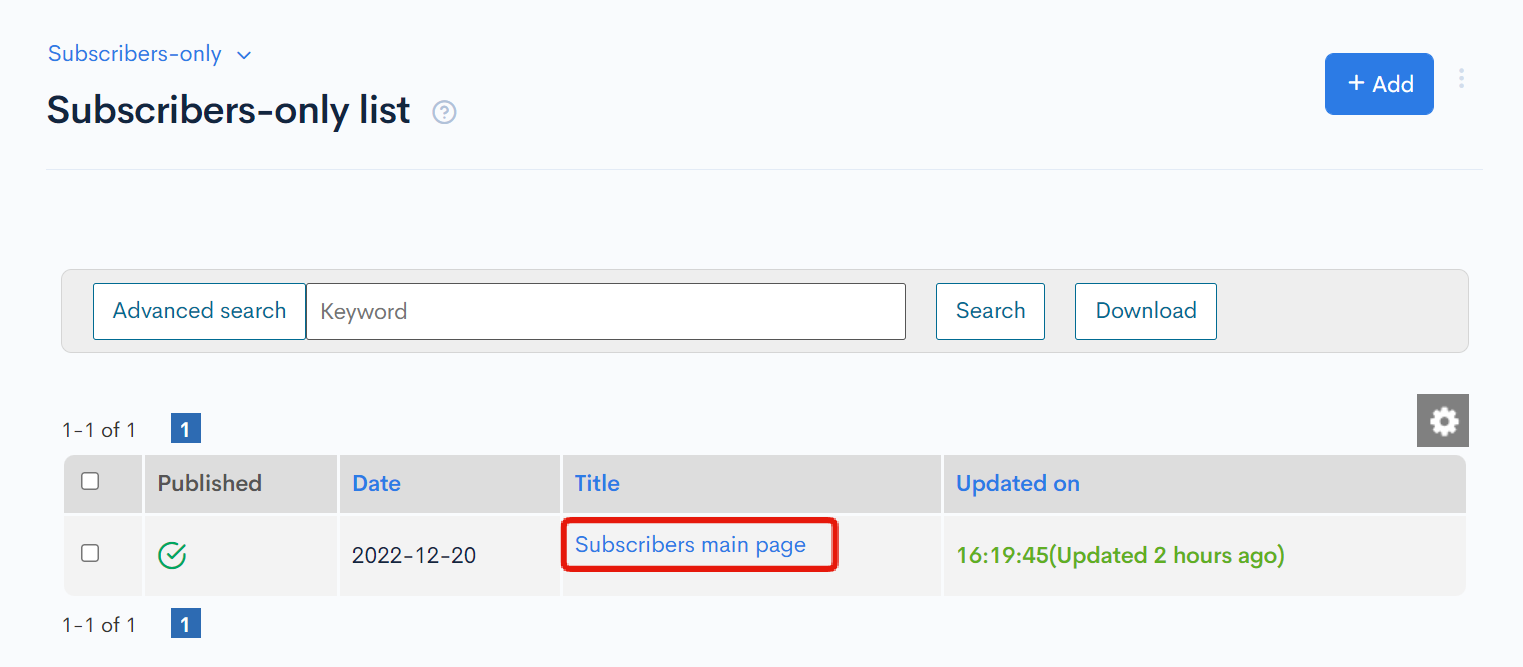
On the content list screen, click [Subscribers main page]
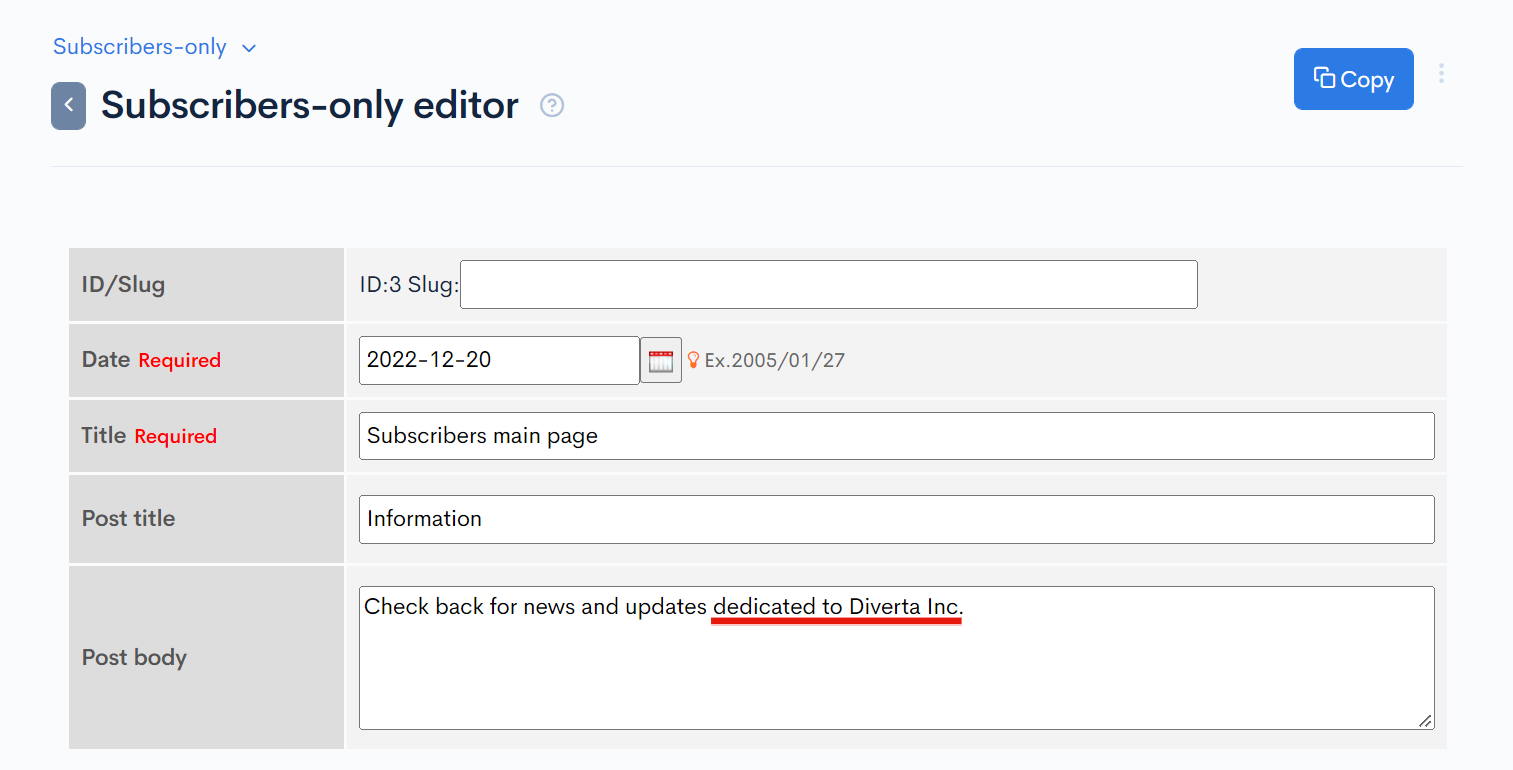
Make the desired changes to the post and click [Update] to save them.
CORS verification
By enabling front-end sharing when creating the sub-site, your front-end URL has been automatically be added to your account settings and the API CORS settings.
To verify this in the CORS settings, select [API] -> [B2B service] in the sidebar menu.
On the endpoint list screen, click [Operation CORS].
We have confirmed that the front-end URL selected in front-end sharing has been added to CORS_ALLOW_ORIGINS.
Make sure the shared front-end has been added under "CORS_ALLOW_ORIGINS".
Verify the front-end display
Serve the project in your terminal and go to http://localhost:3000/owners-page in your browser. You will be redirected to the login page. Log in with the main site key and click the [To Subscribers page] link.
Click [Logout] and refresh the screen. Then, log in with the sub-site key and access the Subscribers page.
This concludes the function to switch back-ends for each customer while sharing the same front-end.
By implementing functions such as e-mailing, content posting, and commenting on the customer-specific pages created with this function, you can build B2B services for your customers using Kuroco.
In this tutorial, the content was modified in the admin panel. Alternatively, you can also enable users to add and update content themselves using the API. You can even add the site itself via API.
Usage fees for sub-sites are billed together with the main site.
Related documents
Support
If you have any other questions, please contact us or check out Our Slack Community.