Using Kuroco's sample site
Overview
This tutorial explains how to use Kuroco's open-source sample site.
You can set it up in less than 5 minutes, without having to build or deploy your own front-end.
What you'll learn
To launch your site using the open-source sample, you will need to:
- Sign up for a Kuroco account
- Configure your CORS settings
- Verify the front-end display
- Add your own content
Before you start
- Please note that this tutorial is NOT iOS/Safari-compatible.
For best results, we recommend using Google Chrome or Microsoft Edge on your computer or mobile device. - This document is intended for use in the Tokyo region.
Sample site setup
Sign up on Kuroco
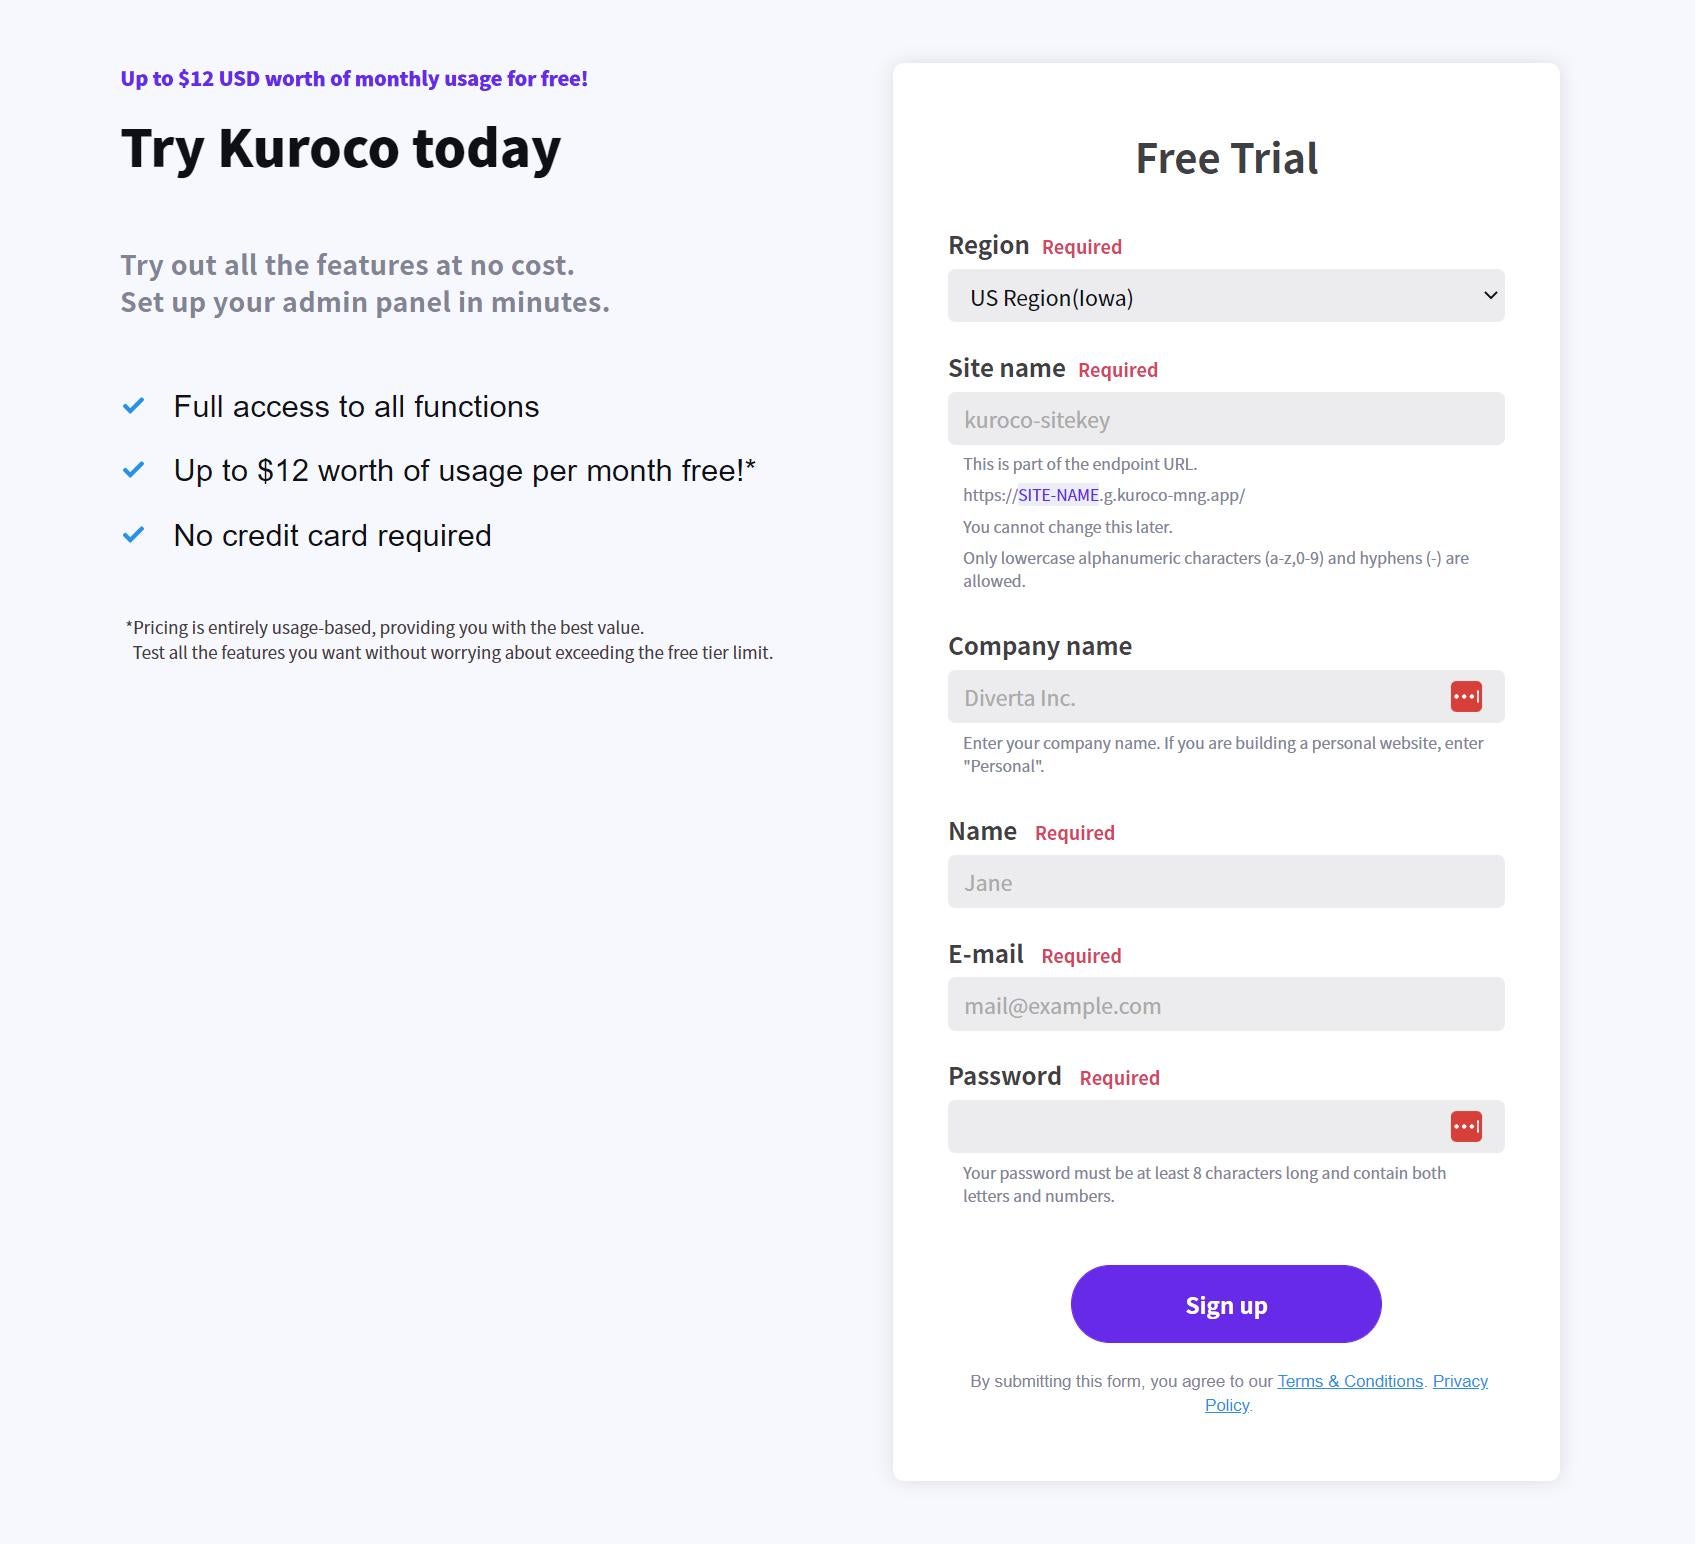
To create your Kuroco account, go to the Free Trial page. Fill in all the required fields and click [Sign up].
*Please select "Asia Region(Tokyo)" as the region.
Note down your site name, e-mail, and password. You will need them to log in later.
After submitting the form, you will receive the following confirmation e-mail:
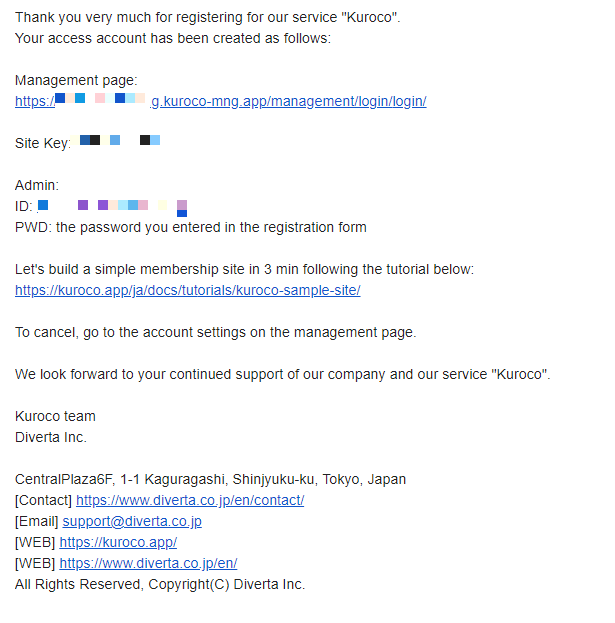
Click the "Management page" URL in the e-mail to access the login screen.
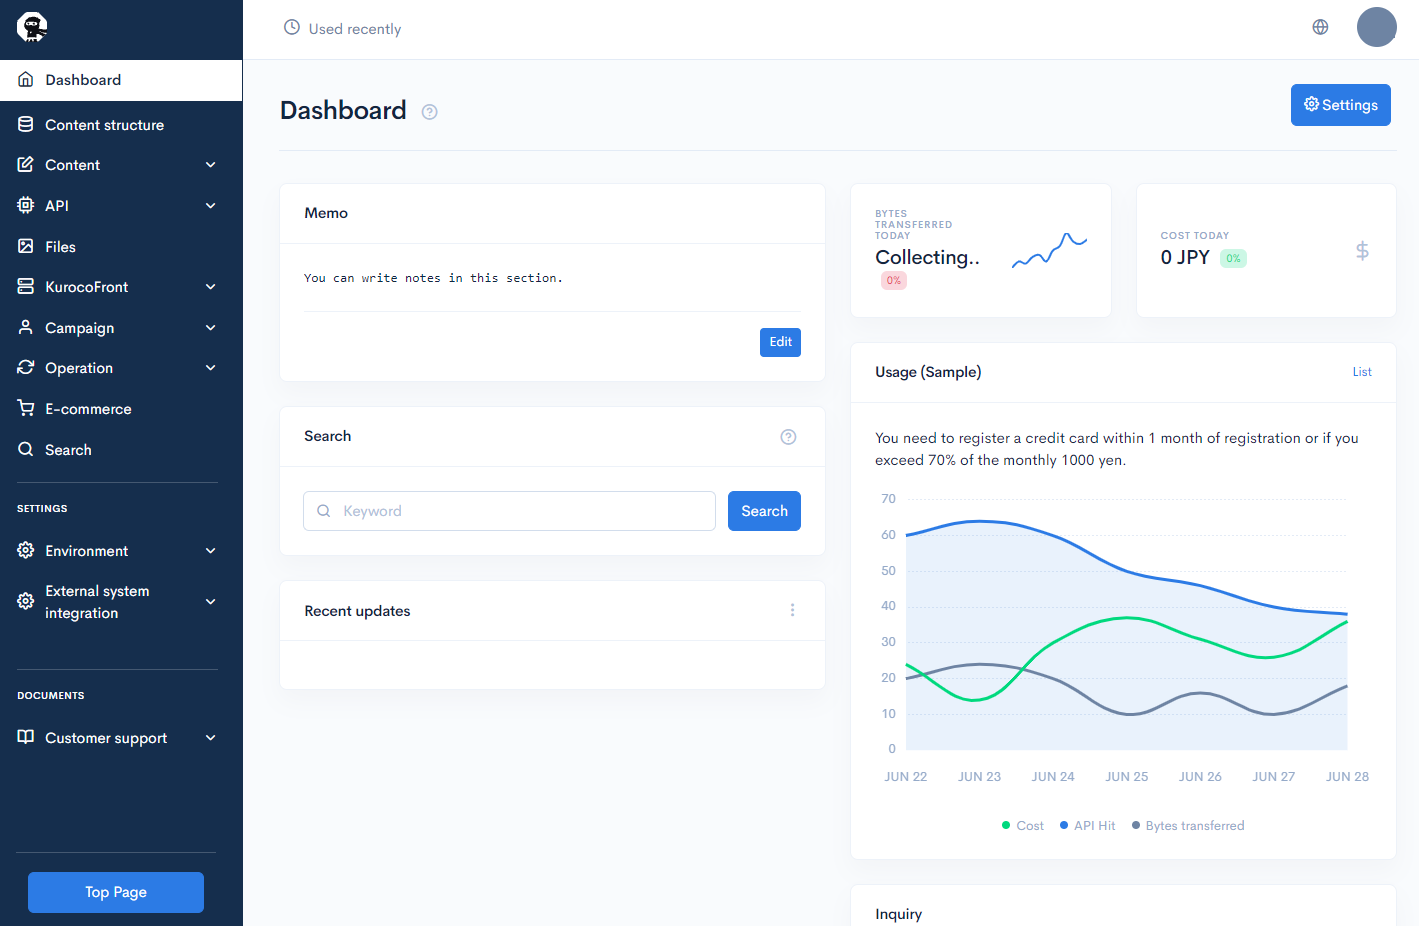
After logging in, you will be redirected to the Kuroco dashboard.
Configure CORS settings
In the sidebar menu, select [API] -> [Default].
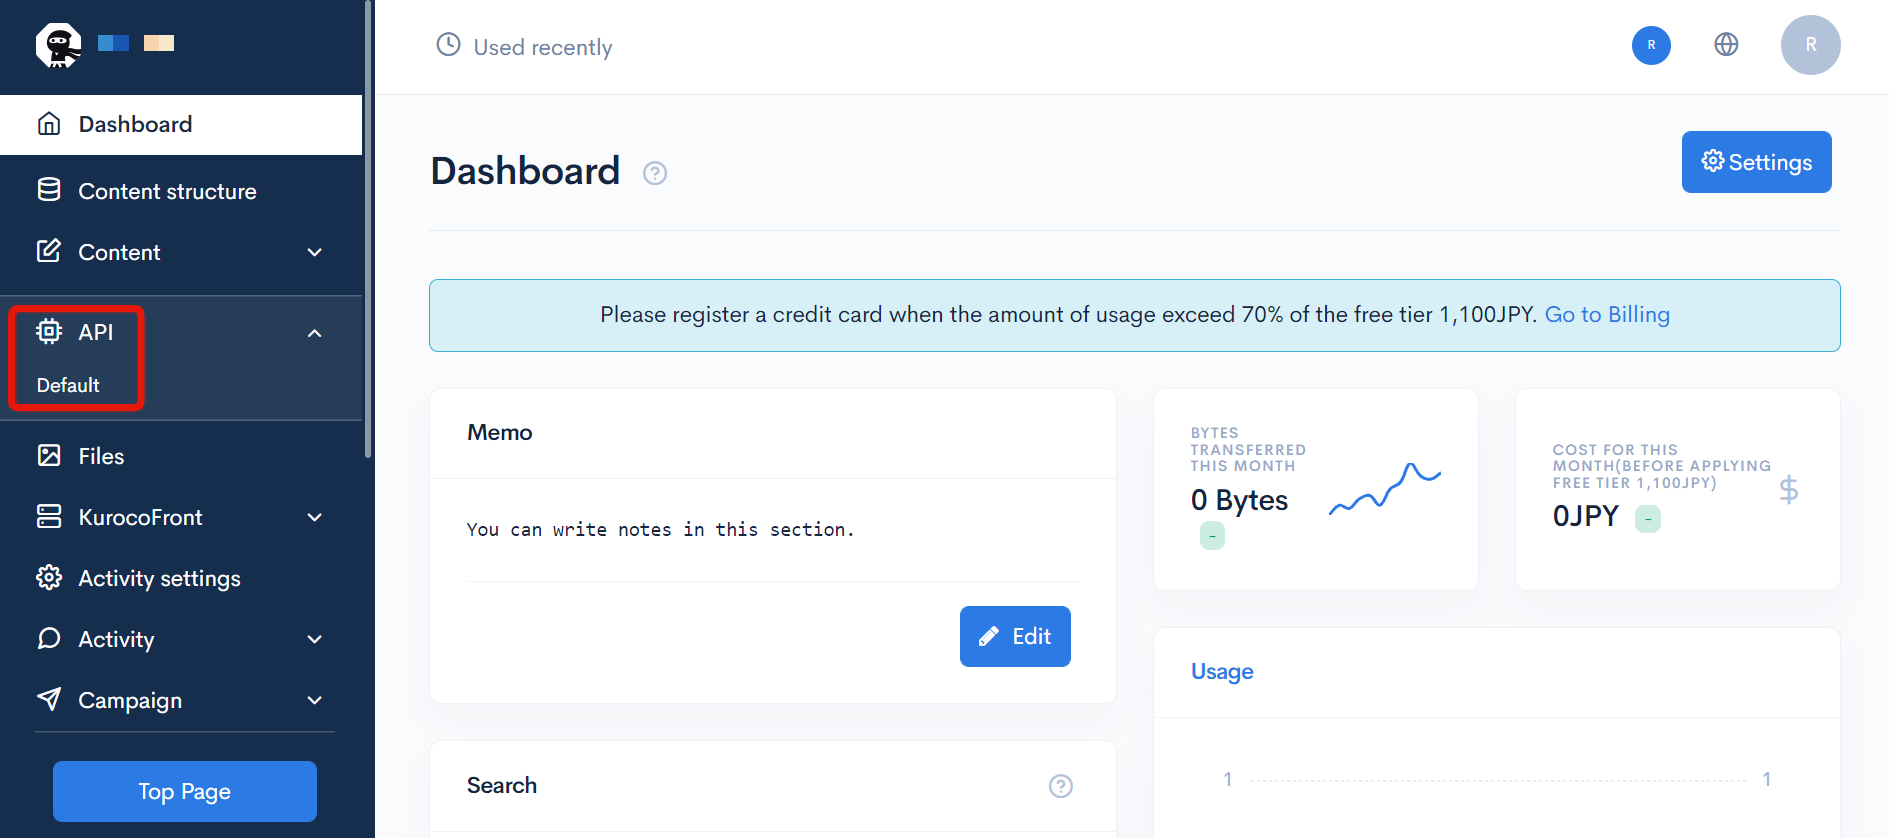
You will be redirected to the Default endpoint list screen. From here, click [Operation CORS].
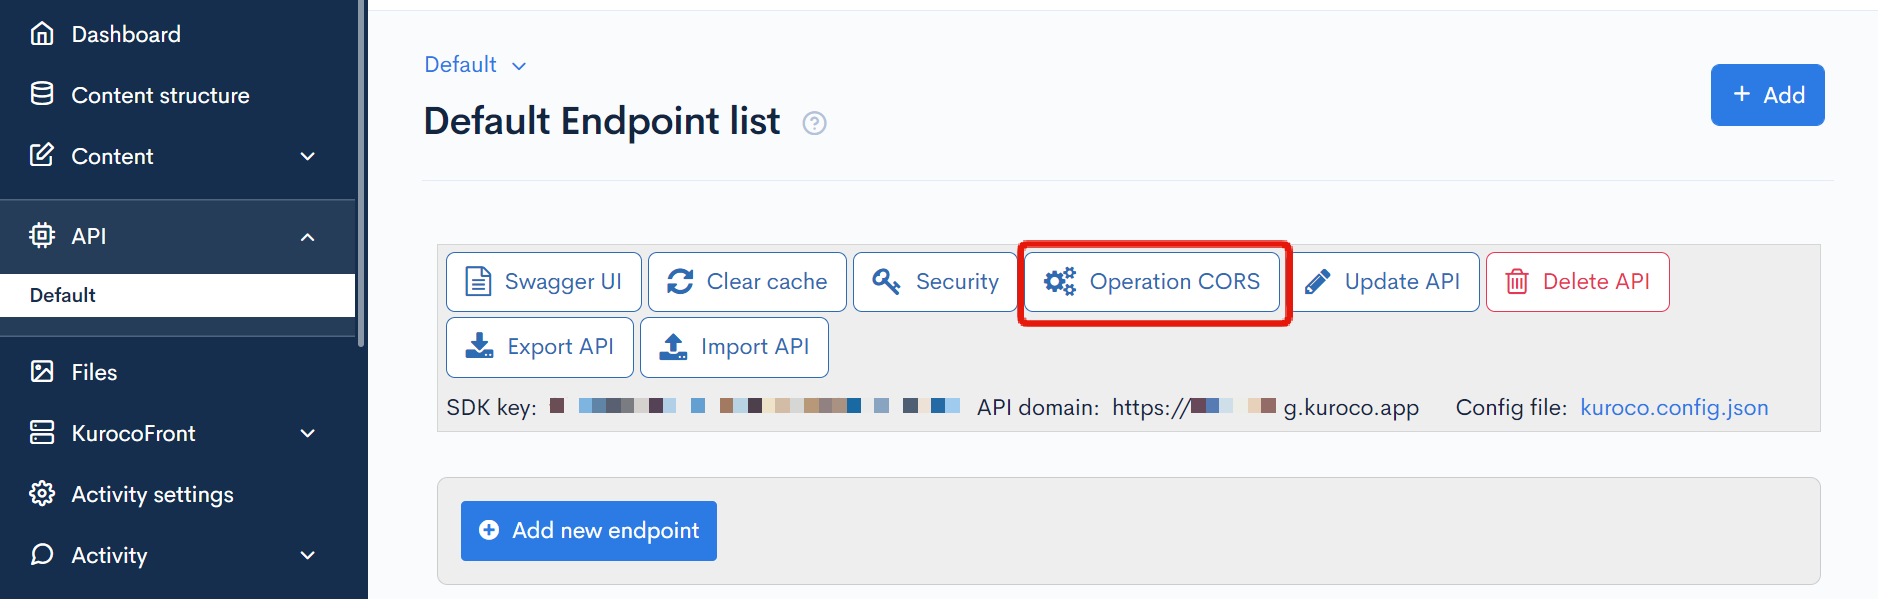
In the CORS settings dialog that appears, click [Add Origin] under "CORS_ALLOW_ORIGINS".
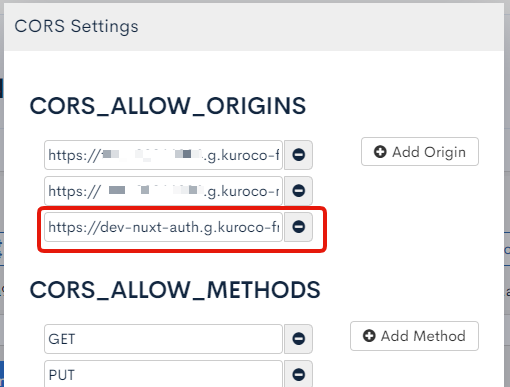
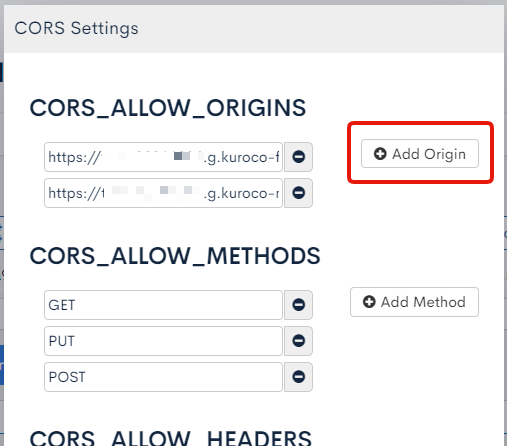 Enter
Enter https://dev-nuxt-auth.g.kuroco-front.app in the new field and click [Save].
Verify the site display
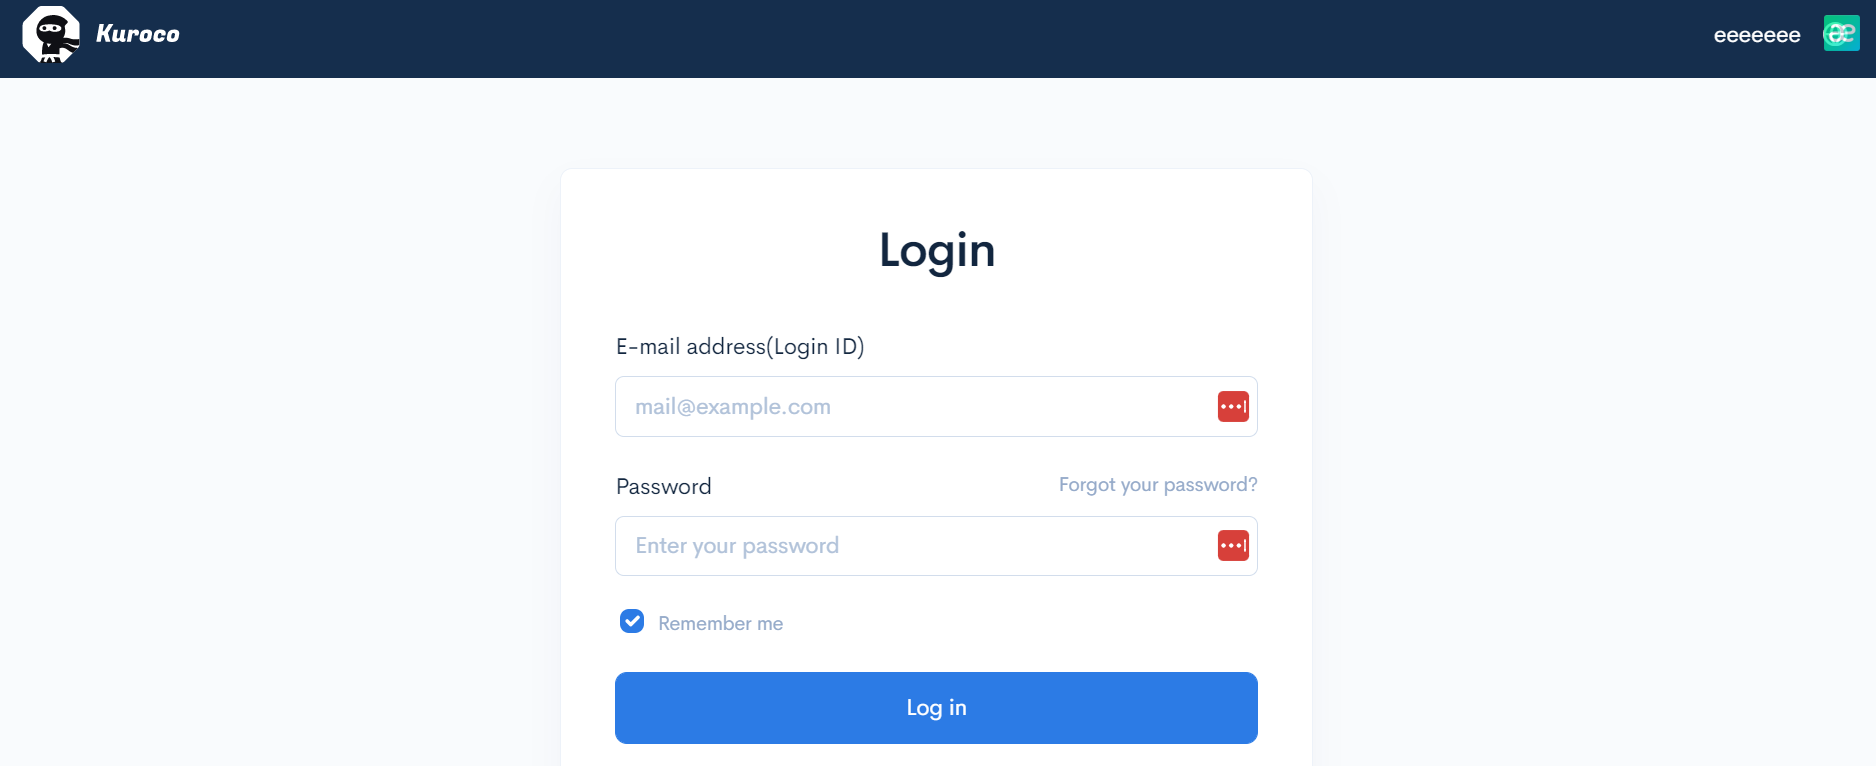
To verify that your site is displaying correctly, go to https://dev-nuxt-auth.g.kuroco-front.app/ in your browser. You will see this login screen:
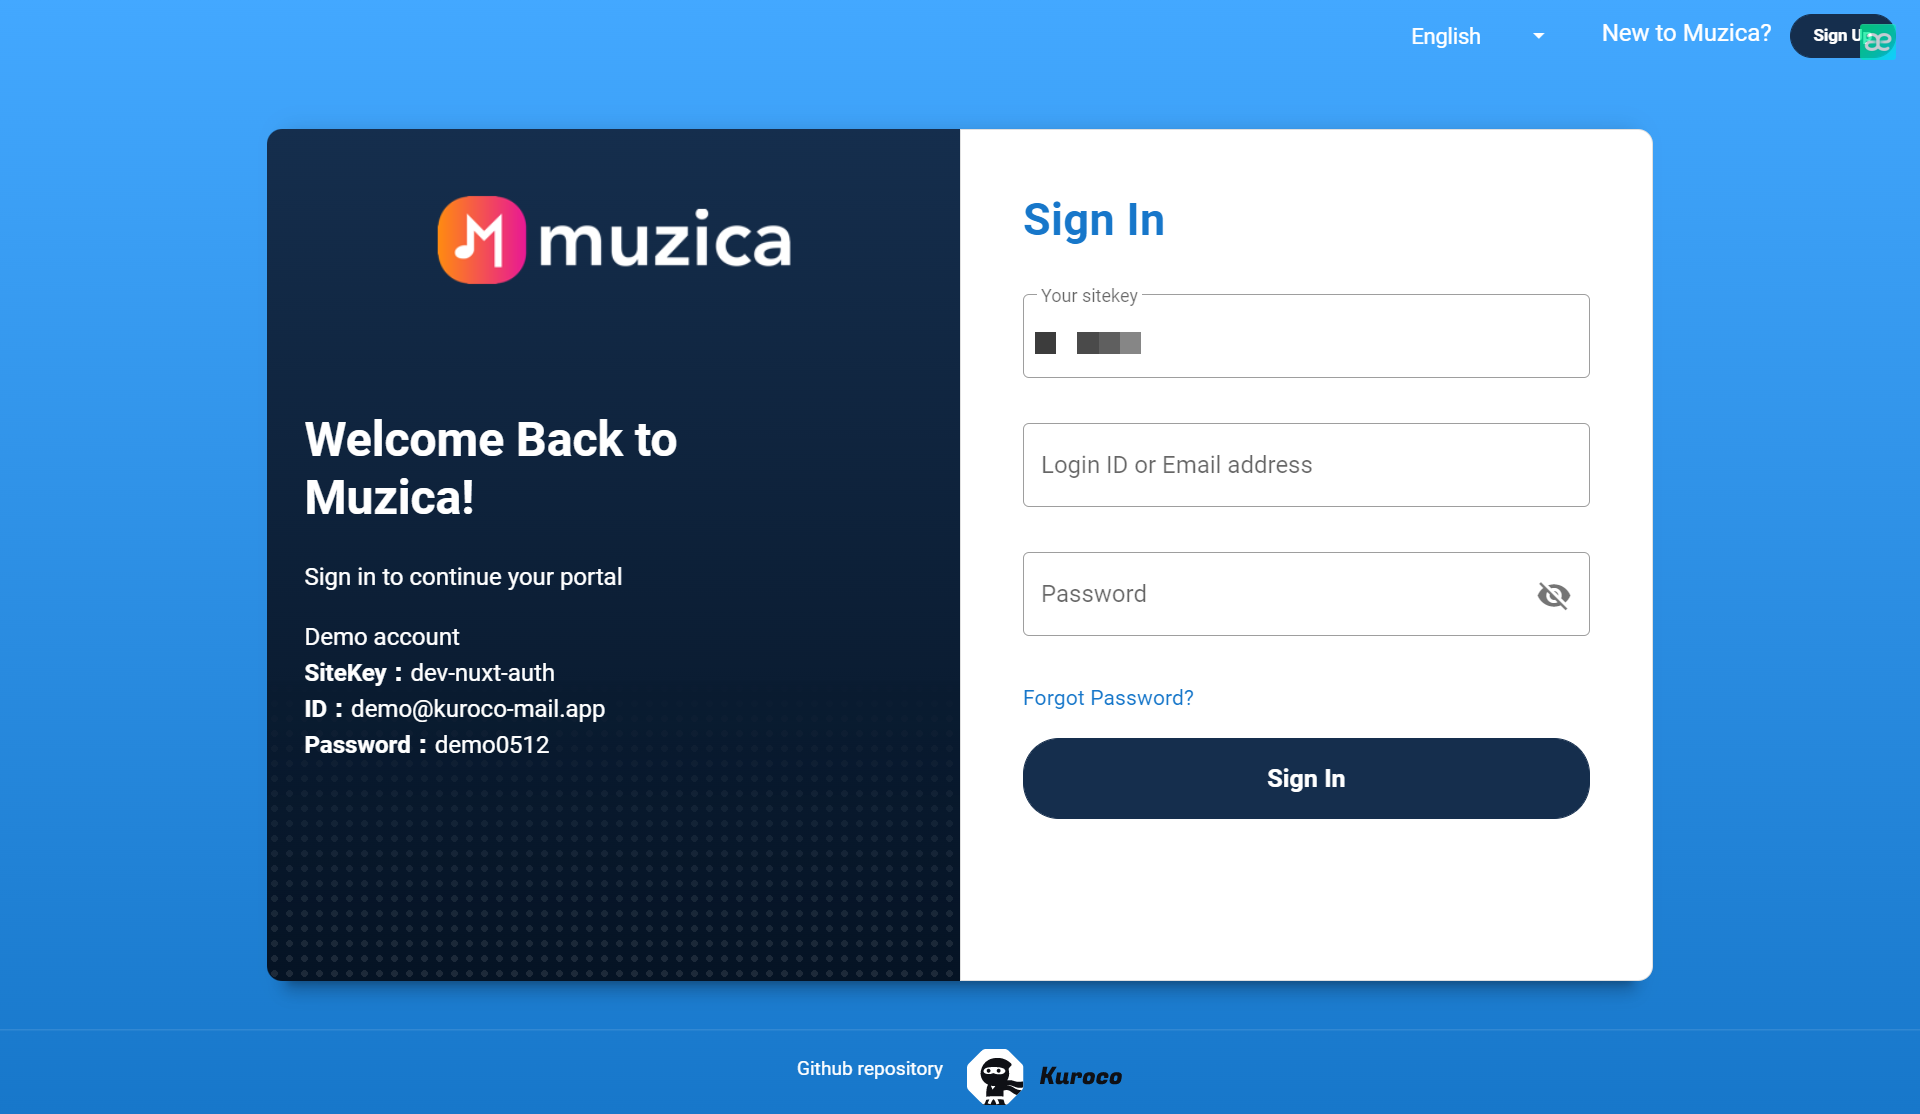
Enter the credentials you noted down earlier:
- Your sitekey: The site name you signed up with
- Login ID: Your e-mail address
- Password: Your login password
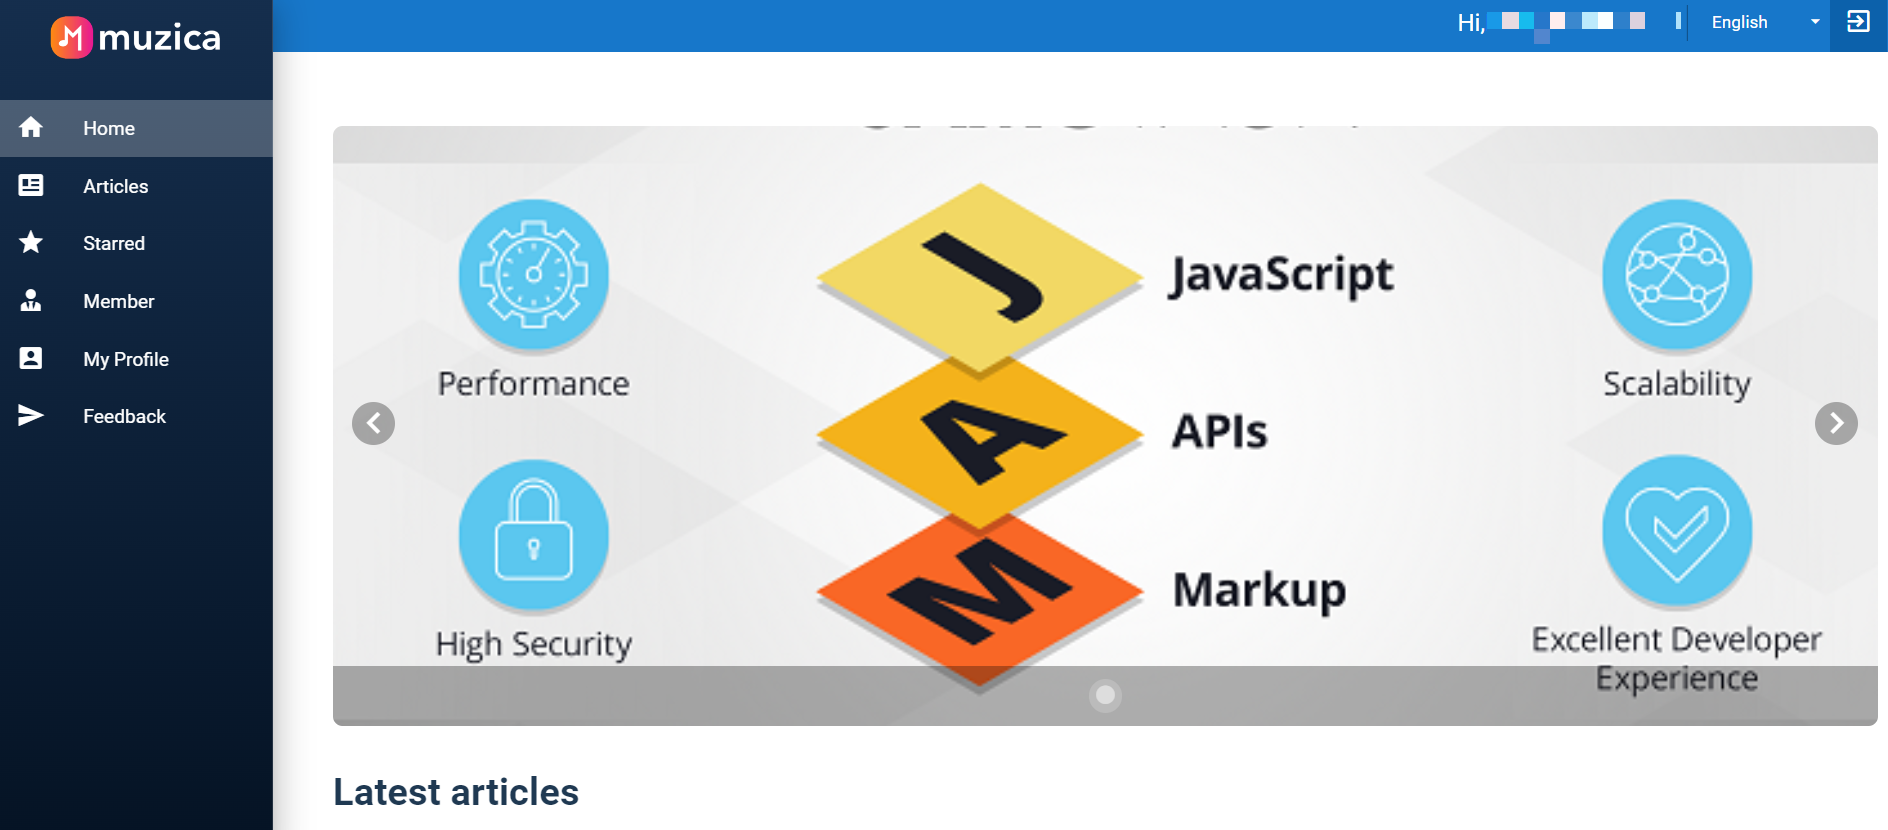
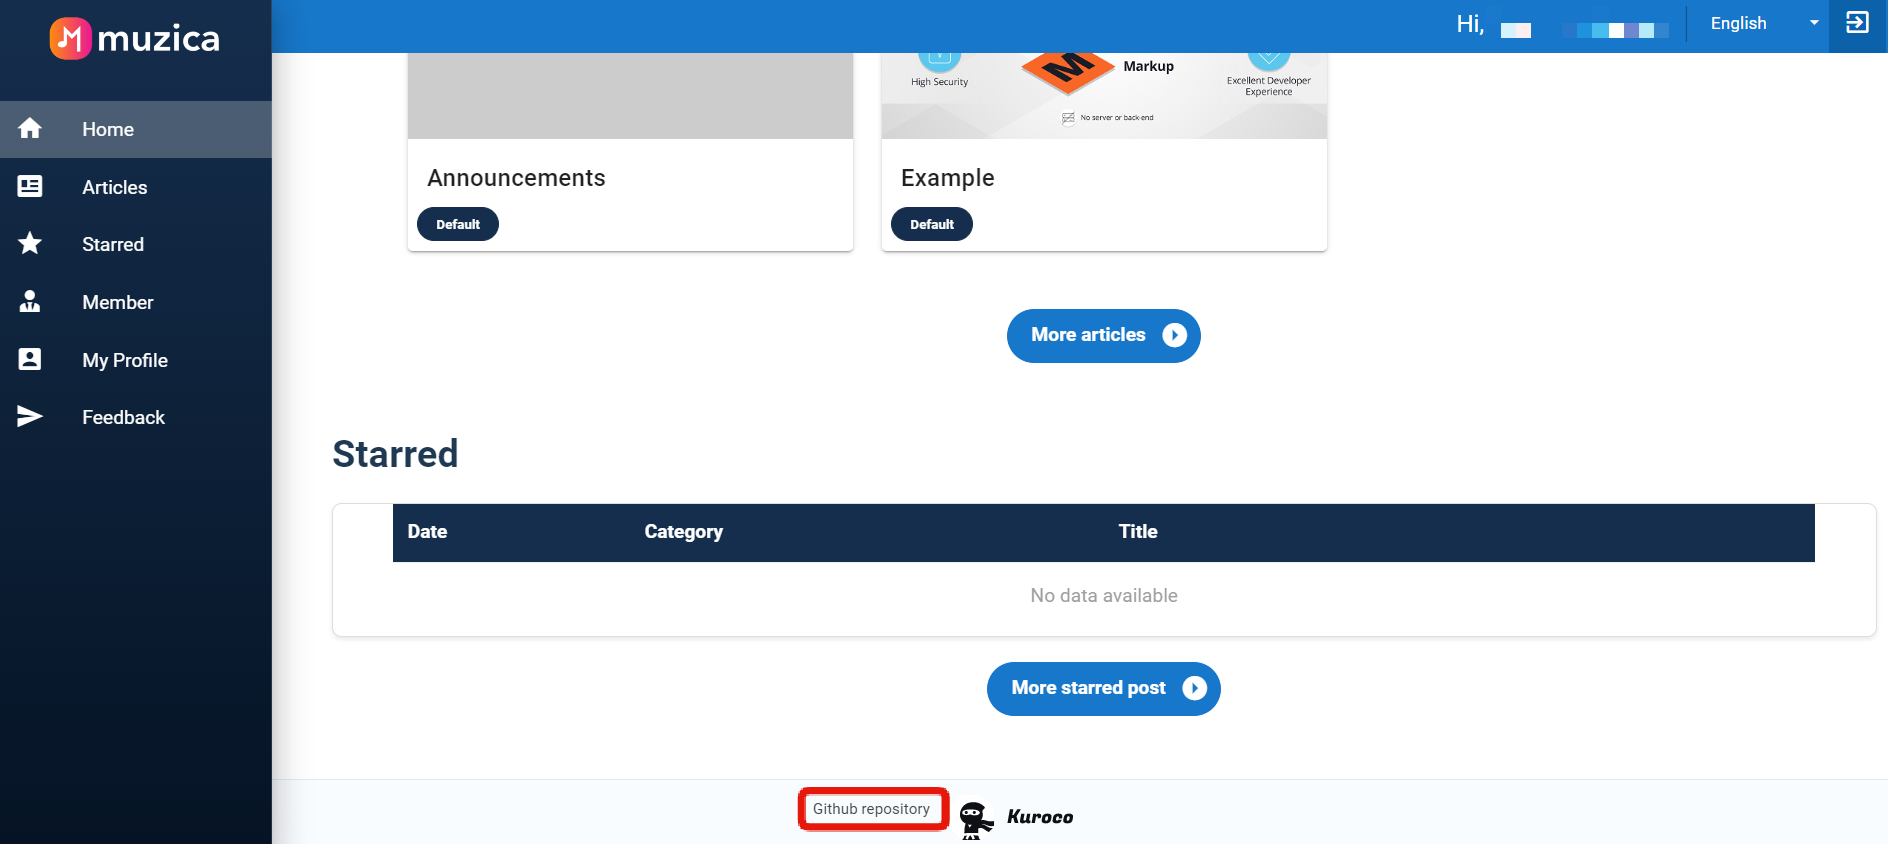
After signing in, you should see the homepage below.
(For demo purposes, we have provided a site template for a fictitious company called "Muzica".)
This concludes the site setup.
While the front-end of the site uses the KurocoFront demo template, the back-end (admin panel) is user-customizable. Next, we will briefly walk through how to add content to your site from the admin panel.
Introduction to the Content module
The Content module in your admin panel allows you to view, add, and edit any content that is displayed on your site. You can set the layout and formatting of text and media elements directly from the back-end using Kuroco's low-code UI.
Below is a quick guide on how to view and add posts in this module.
Viewing your posts
In the sidebar menu of the admin panel, select [Content] -> [Default].

You will be redirected to the "Default" content list, which contains one post entitled "Example".
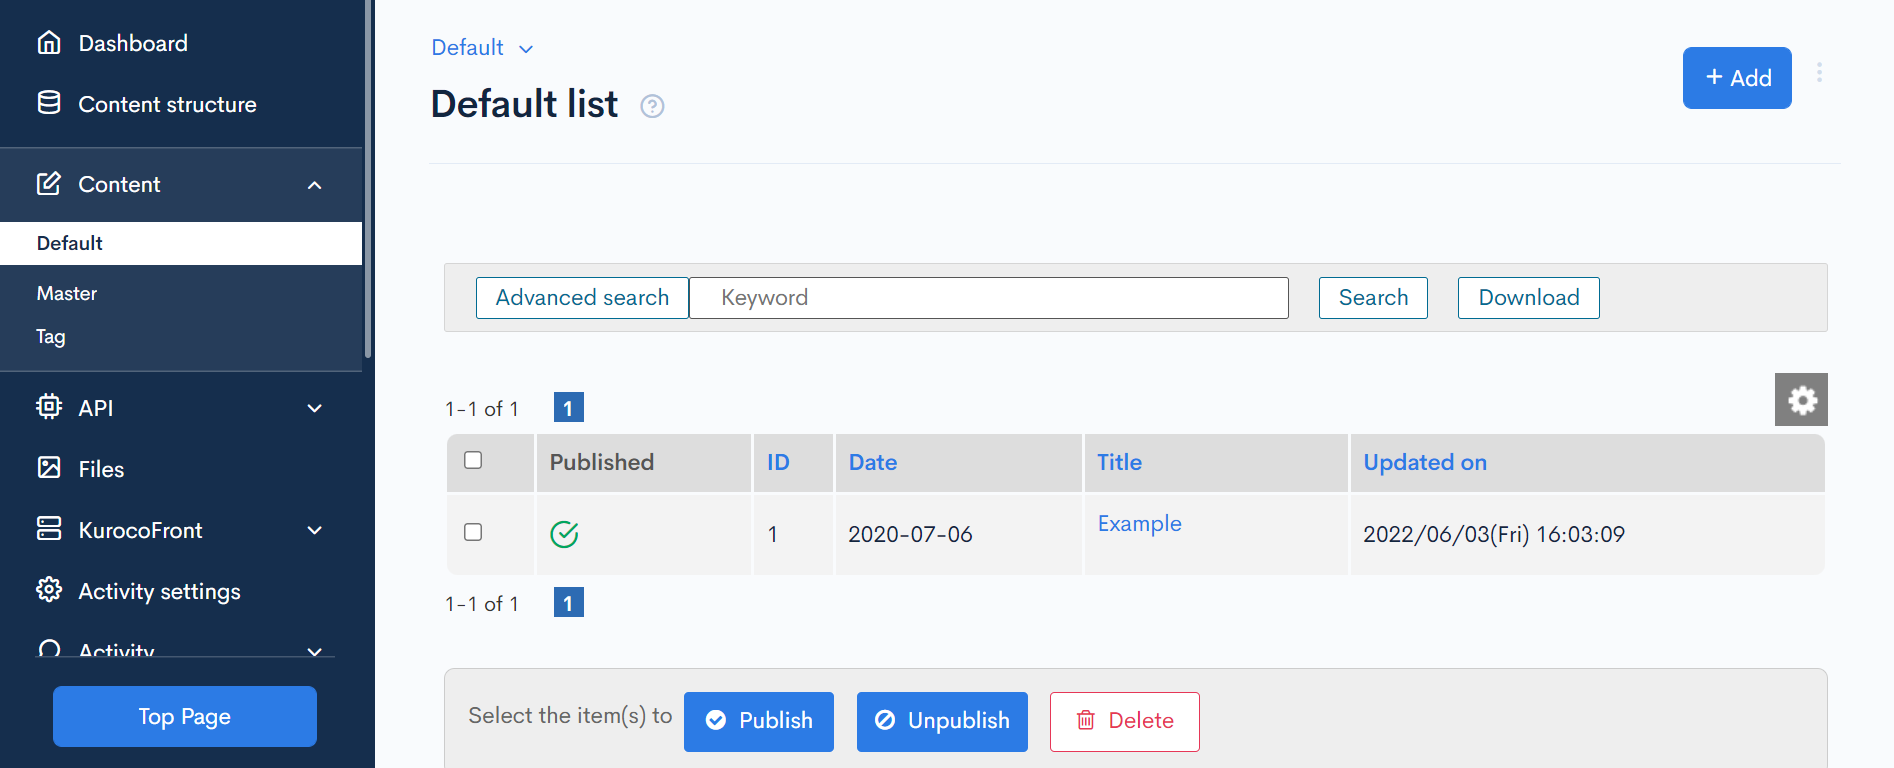
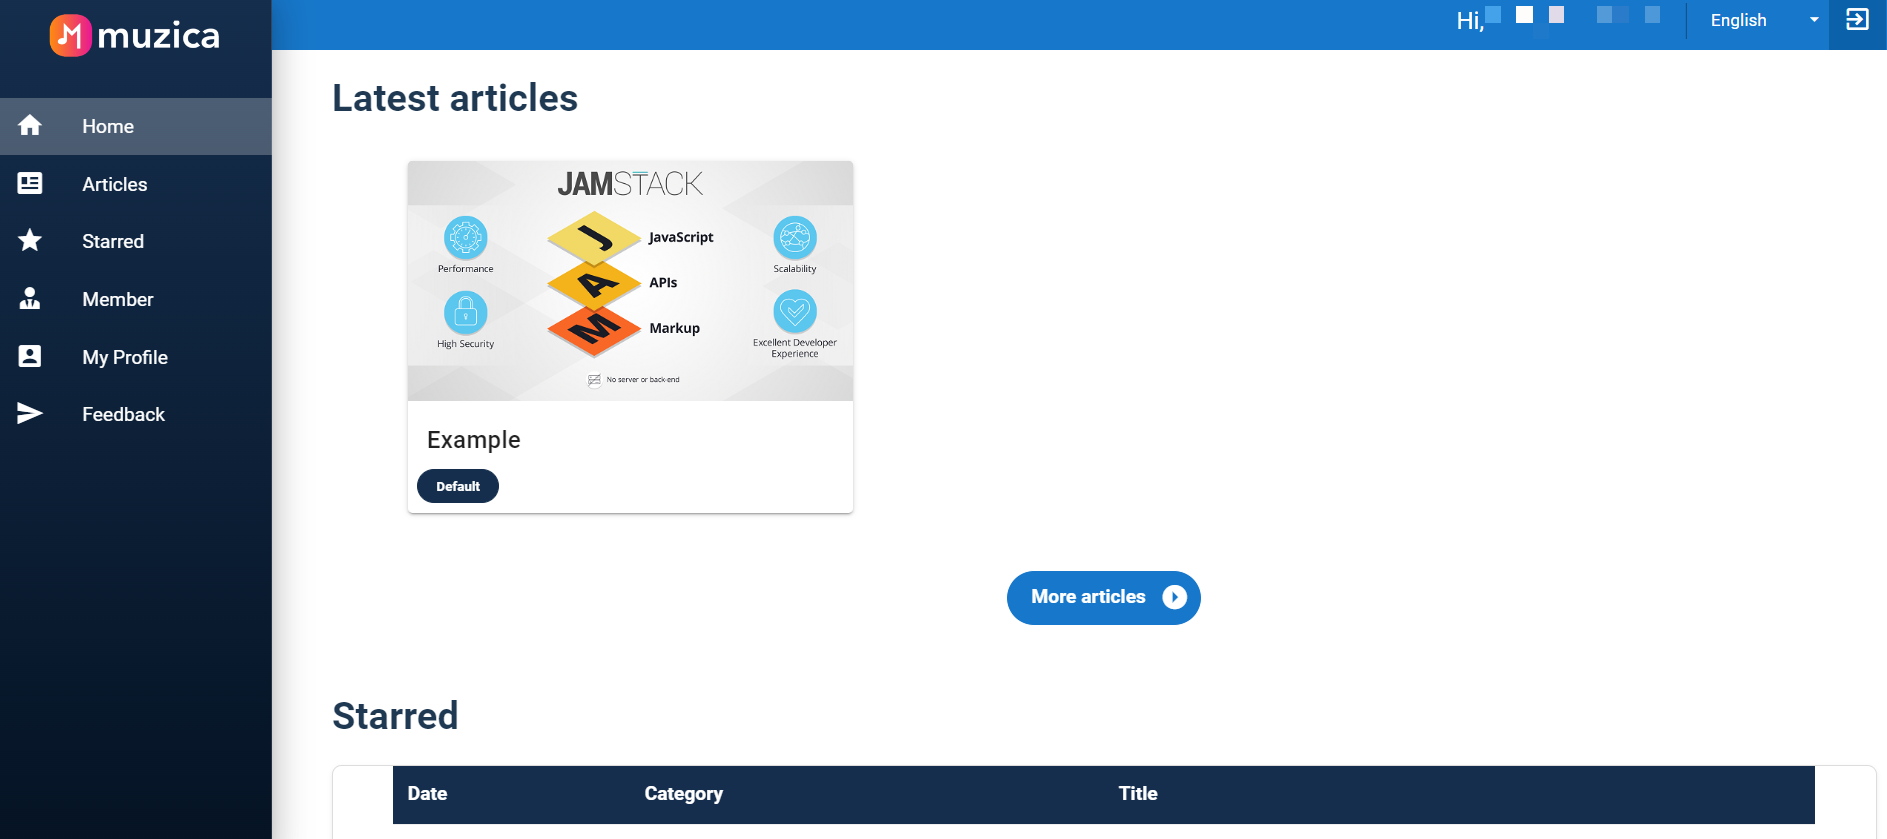
On the front-end, this post is displayed on the homepage under "Latest articles".
Adding a new post
On the "Default" list screen of the admin panel, click [Add] in the upper right corner.

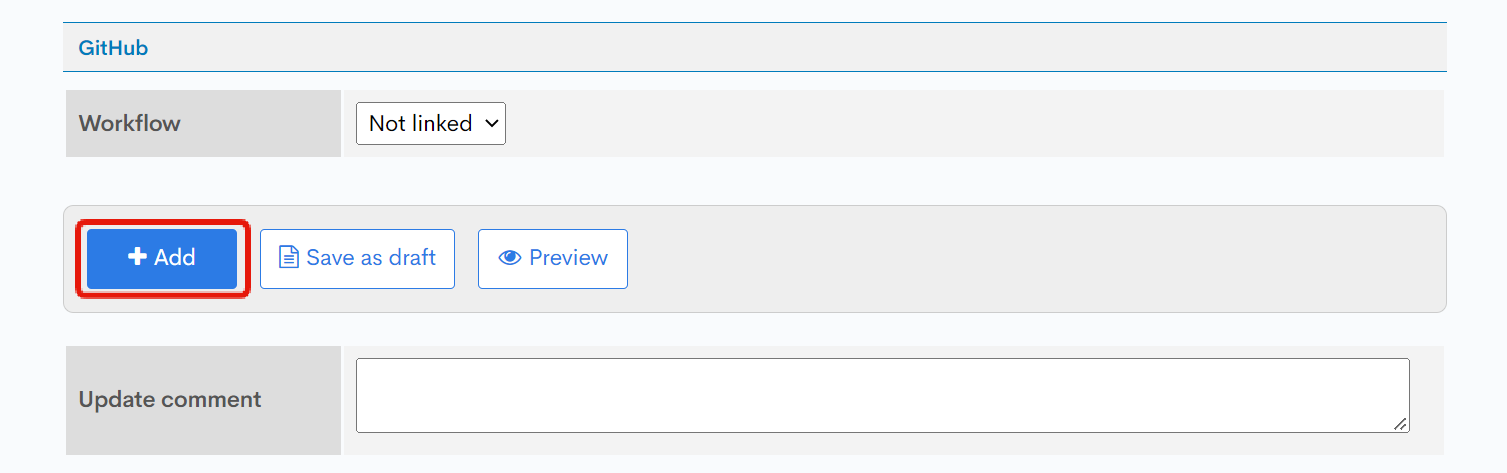
Enter your desired information in the editor. Make sure all the required fields (by default "Date" and "Title") are filled in.
Click [Add] at the bottom of the screen to save and publish the post.
On your front-end homepage, you should see the new post under "Latest articles". Click it to view the post content.
More information
In this tutorial, we explained how to launch your site in minutes using our demo template.
At the bottom of the sample site is a link to our front-end repository.
You can clone this repo and deploy it to KurocoFront. This will enable you to customize the design and functions of your site more freely.
For further information about setting up your own front-end and contents, see the links below:
If you have any other questions, feel free to contact our Support Team.
Related documents
Support
If you have any other questions, please contact us or check out Our Slack Community.