Registering notification subscribers
This article will explain the steps to register notification subscriber(s). Each notification will have its own subscribers, and e-mails will be sent to each notification's respective subscribers' e-mail addresses.
Registering notification subscribers
Access the subscriber list page
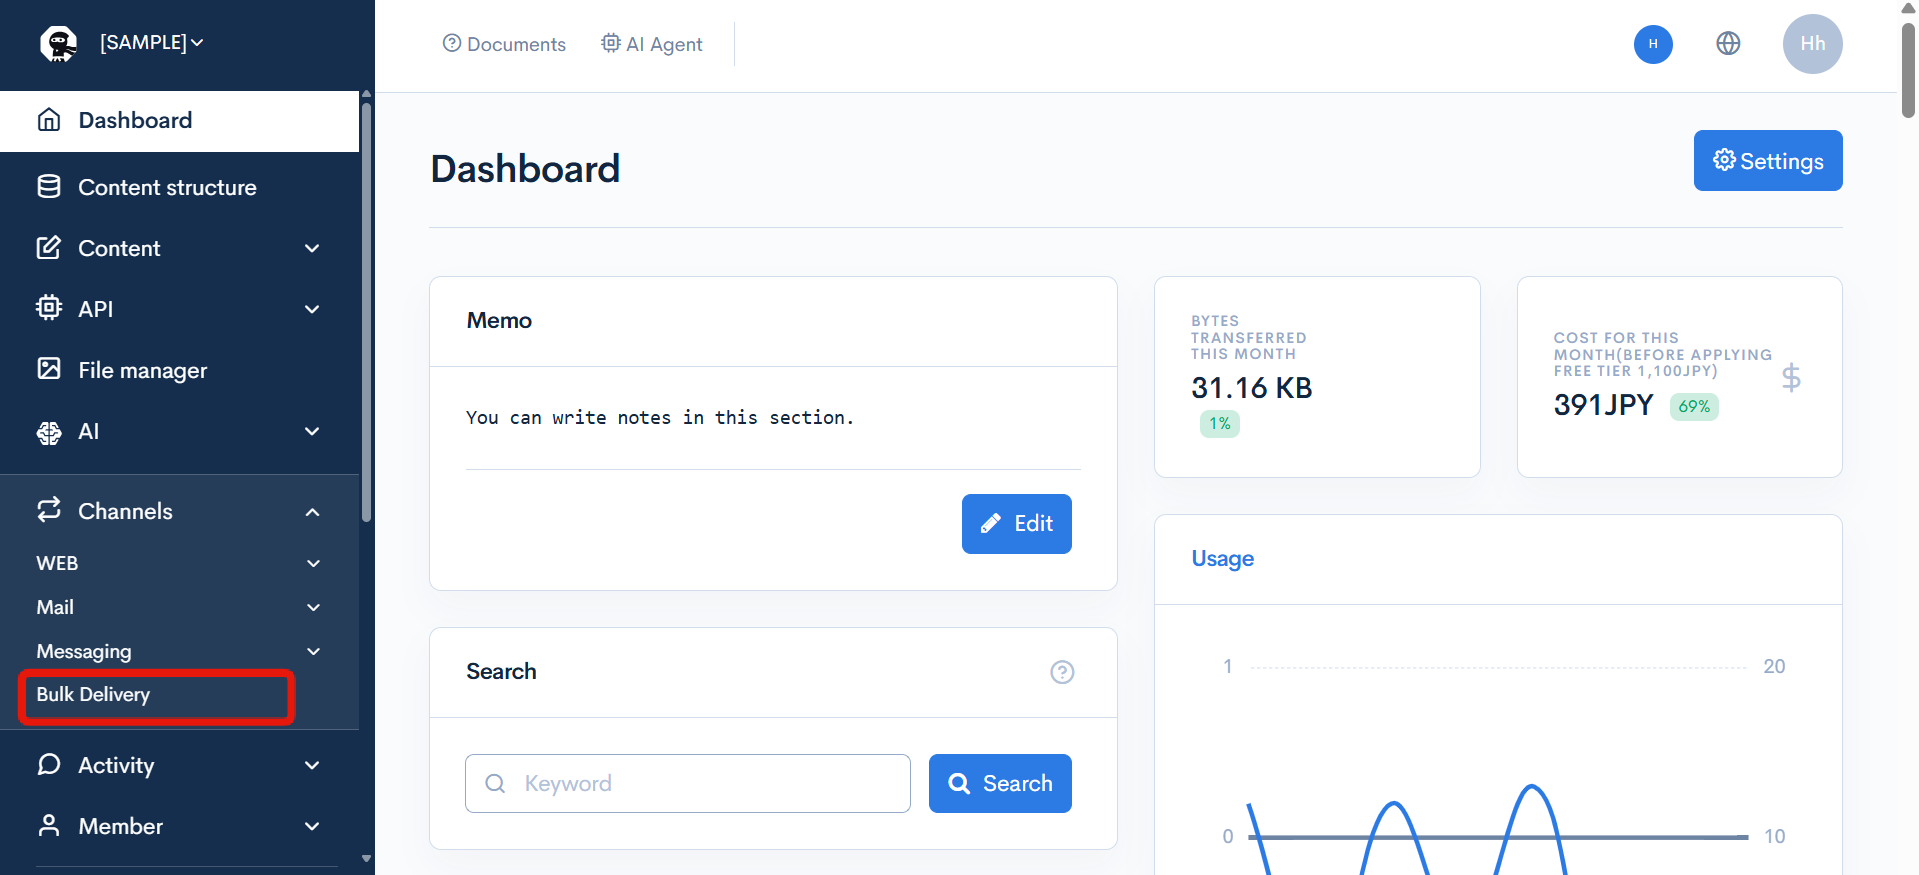
Select [Channels] -> [Bulk Notification].
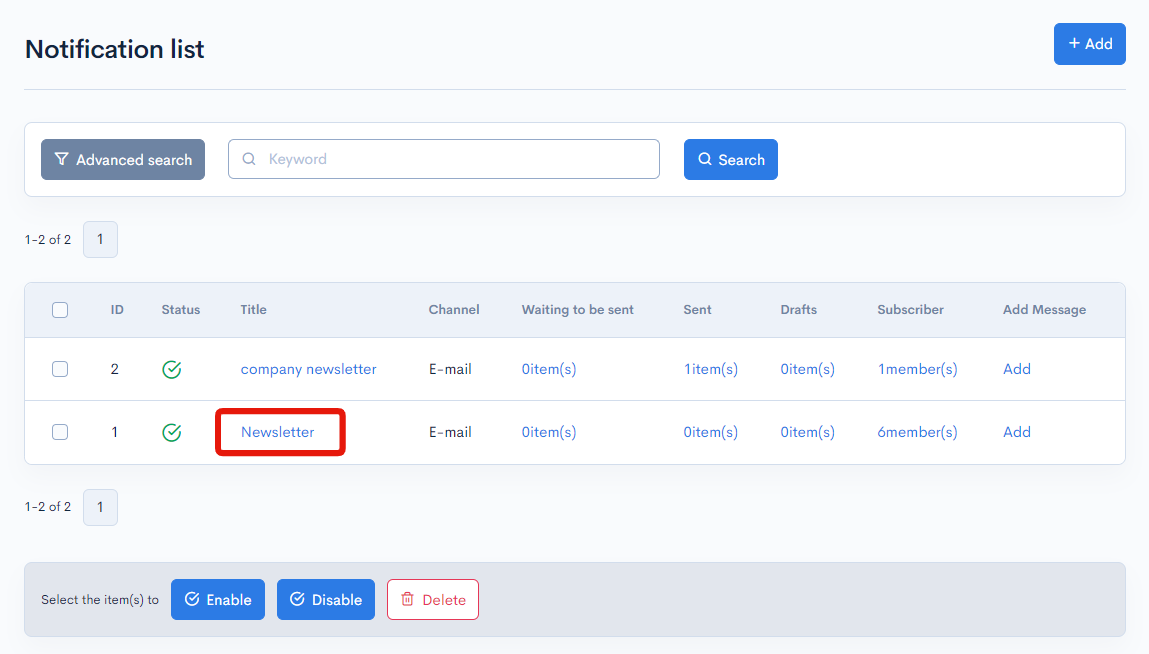
Click on the title of the notification to register its subscribers.
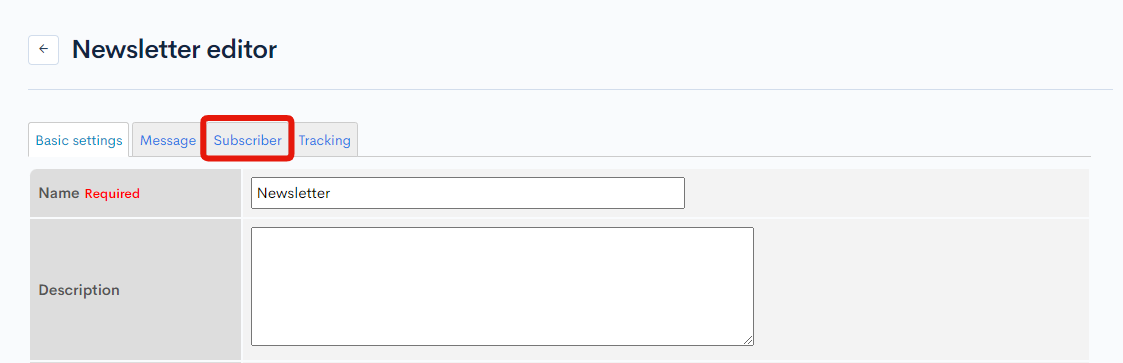
Click the "Subscribers" tab at the notification basic settings screen.
Registering subscriber(s)
There are two methods of registering subscriber(s).
- Registering subscribers one by one
- Registering subscriber(s) via CSV upload Each of the methods will be explained below.
Registering 1 subscriber at a time
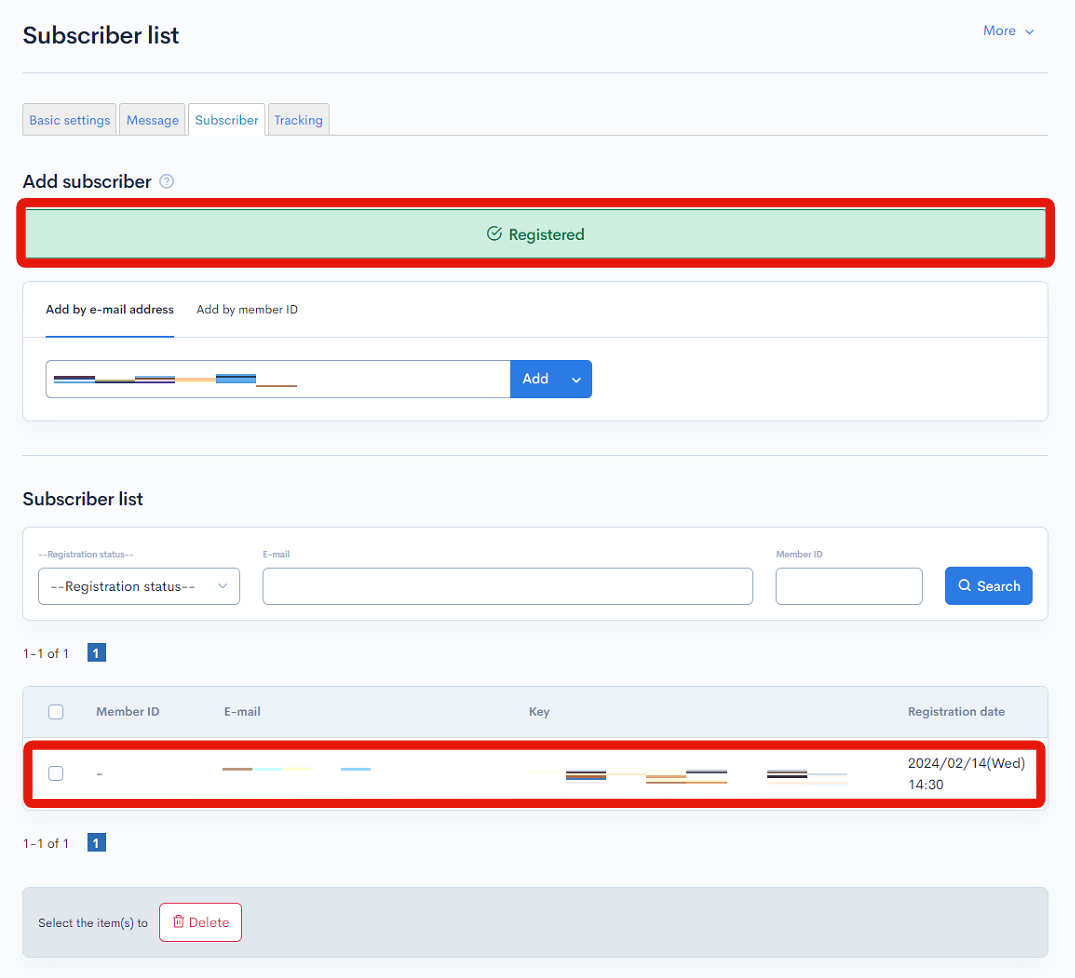
Enter the recipient's "E-mail address" or "Member ID" and click [Add].
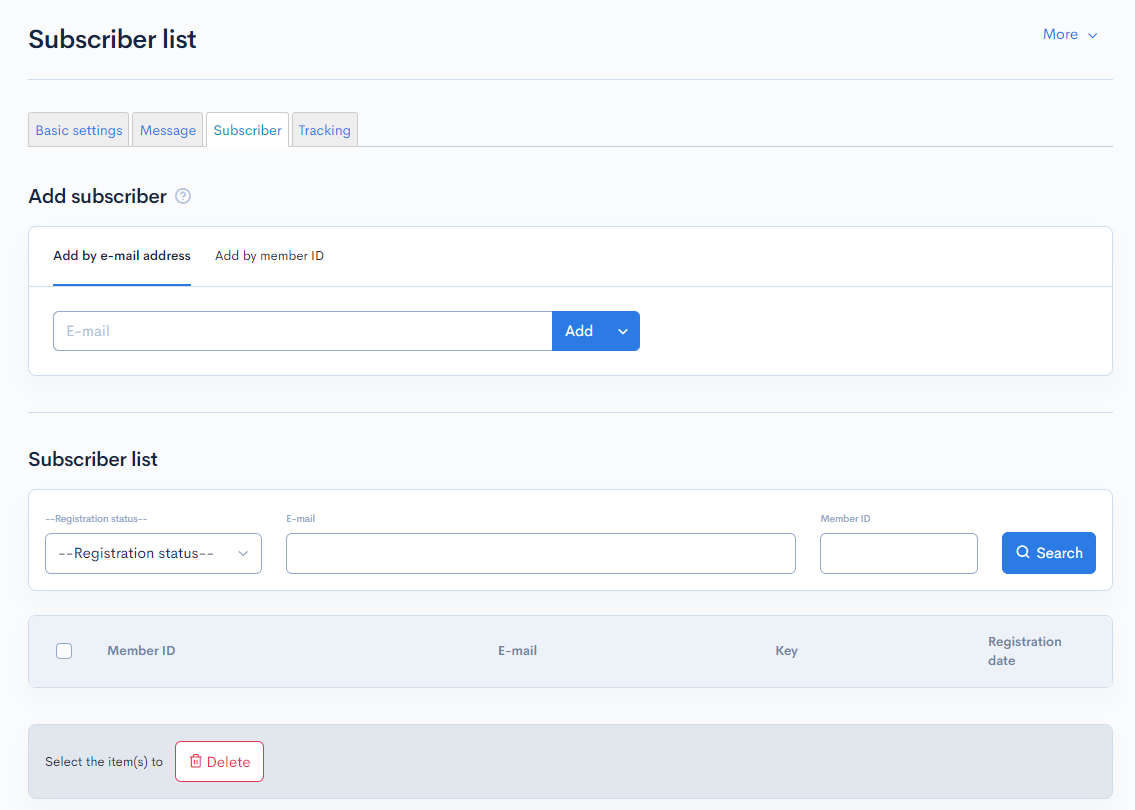
The message "Registered" will be displayed to confirm that the e-mail address has been added to the subscriber list.
Registering subscriber(s) via CSV upload
Preparing the CSV file
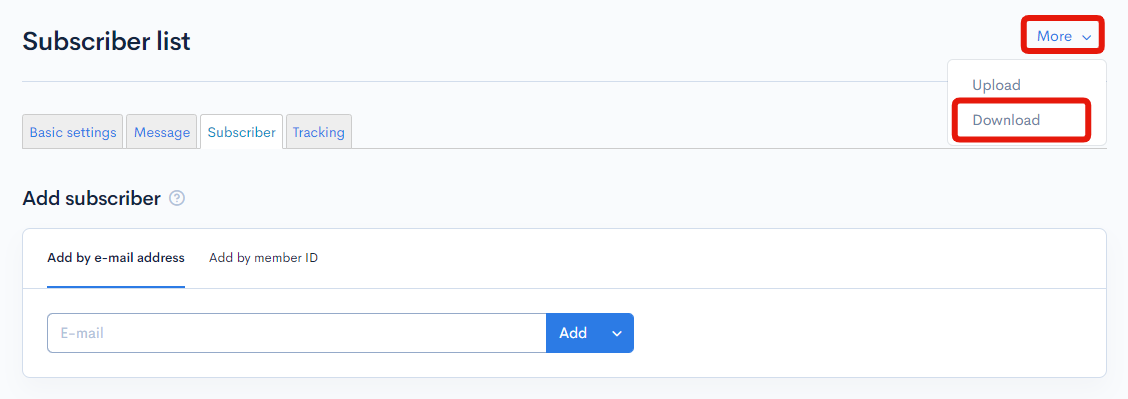
On the subscriber list page, click the [More] in the upper right corner and select [Download].
In the excel file, enter the "e-mail address" or "member ID" of the subsciber(s).

Uploading the CSV file
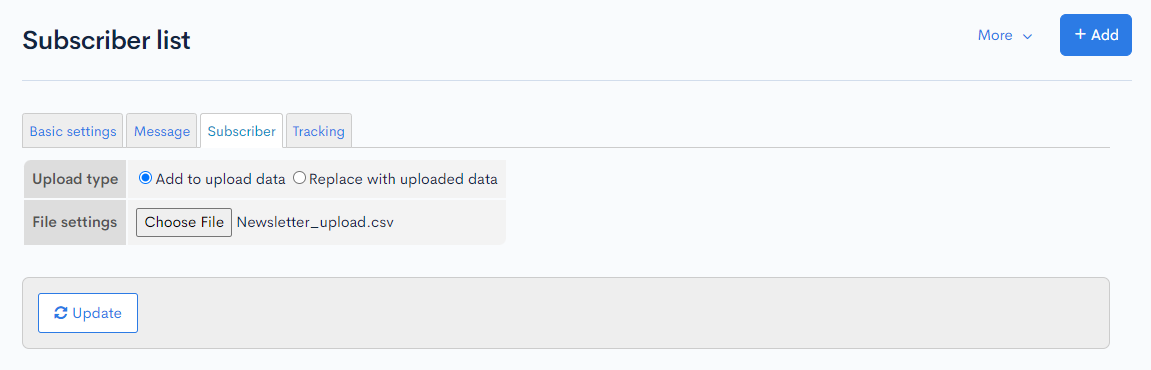
On the subscriber list page, click the [More] in the upper right corner and select [Upload].

Select the "Upload type" and upload the file, then click the [Update] button.
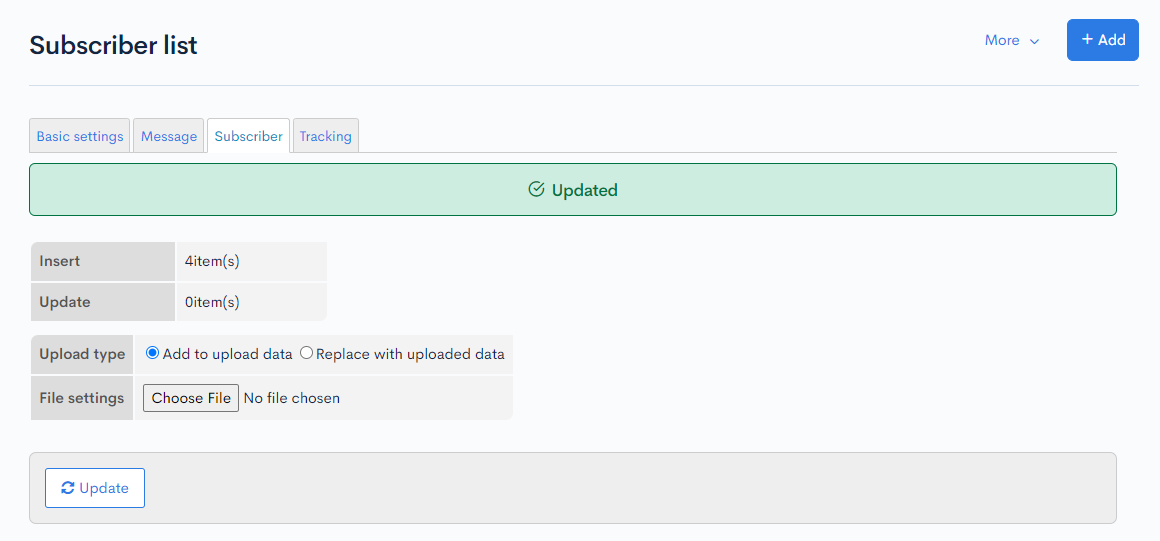
The message "Updated" will be displayed following a successful upload.
Confirming the registration of the new subscriber(s).
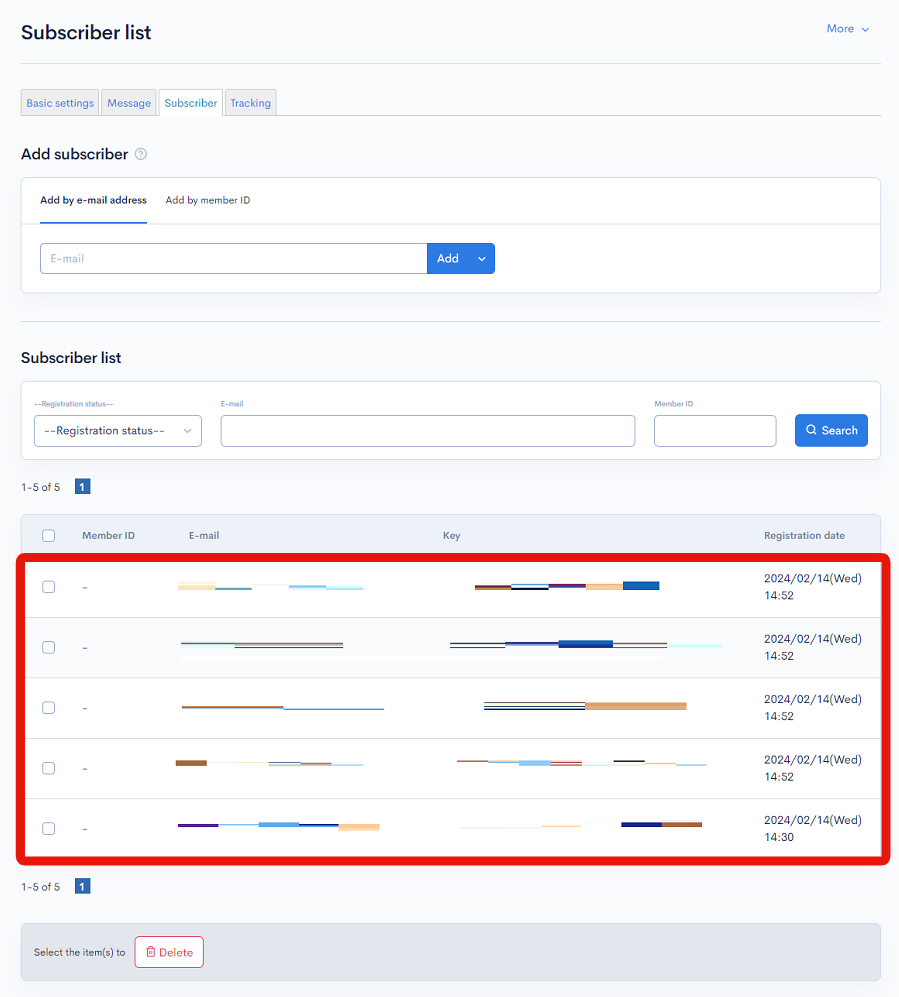
Return to the subscriber list page and verify the newly added subscriber(s) are displayed on the list.
This concludes the tutorial on notification subscriber registration.
Related documents
Support
If you have any other questions, please contact us or check out Our Slack Community.