Sending e-mail notifications
Overview
In Kuroco, you can create periodic notifications (such as newsletters) using the Notification module. Each entry or issue is called a "message", which can be managed through the Messages sub-module.
This tutorial explains the full delivery workflow of a simple e-newsletter issue.
What you'll learn
After completing this tutorial, you will know how to:
- Create a period notification
- Set and verify the mailing list
- Add a new entry to the periodic notification
- Schedule the delivery for a set date and time
- Verify notification statuses
Before you start
For this tutorial, we will be adding recipients to our mailing list from a custom member filter.
We will create a custom member filter called "Premium members" before add Notification. A detailed guide on how to do this can be found in Tutorial: Using custom member filters.
Make custom member filter
Filter conditions can be specified on the custom member filter screen. In the sidebar menu, select [Member] -> [Custom member filter] in the sidebar menu.
 The Custom member filter list will open in a new browser tab. From there, click [Add] in the upper right corner.
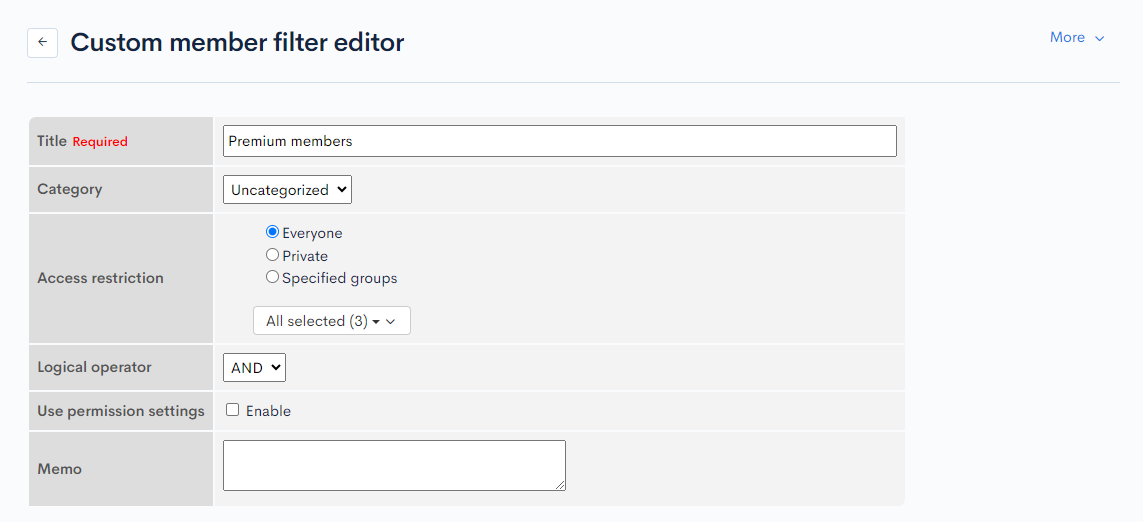
Set up a new filter called "Premium members". A detailed guide on how to do this can be found in Tutorial: Using custom member filters.
Creating a notification
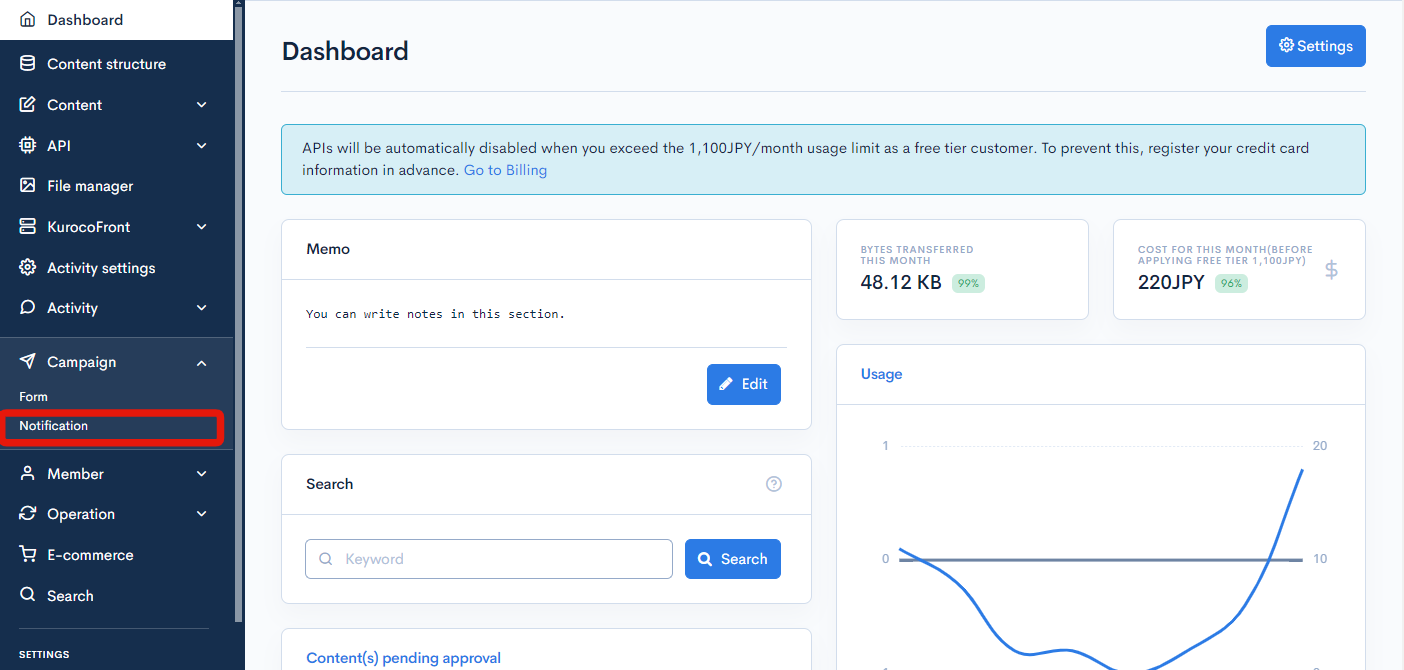
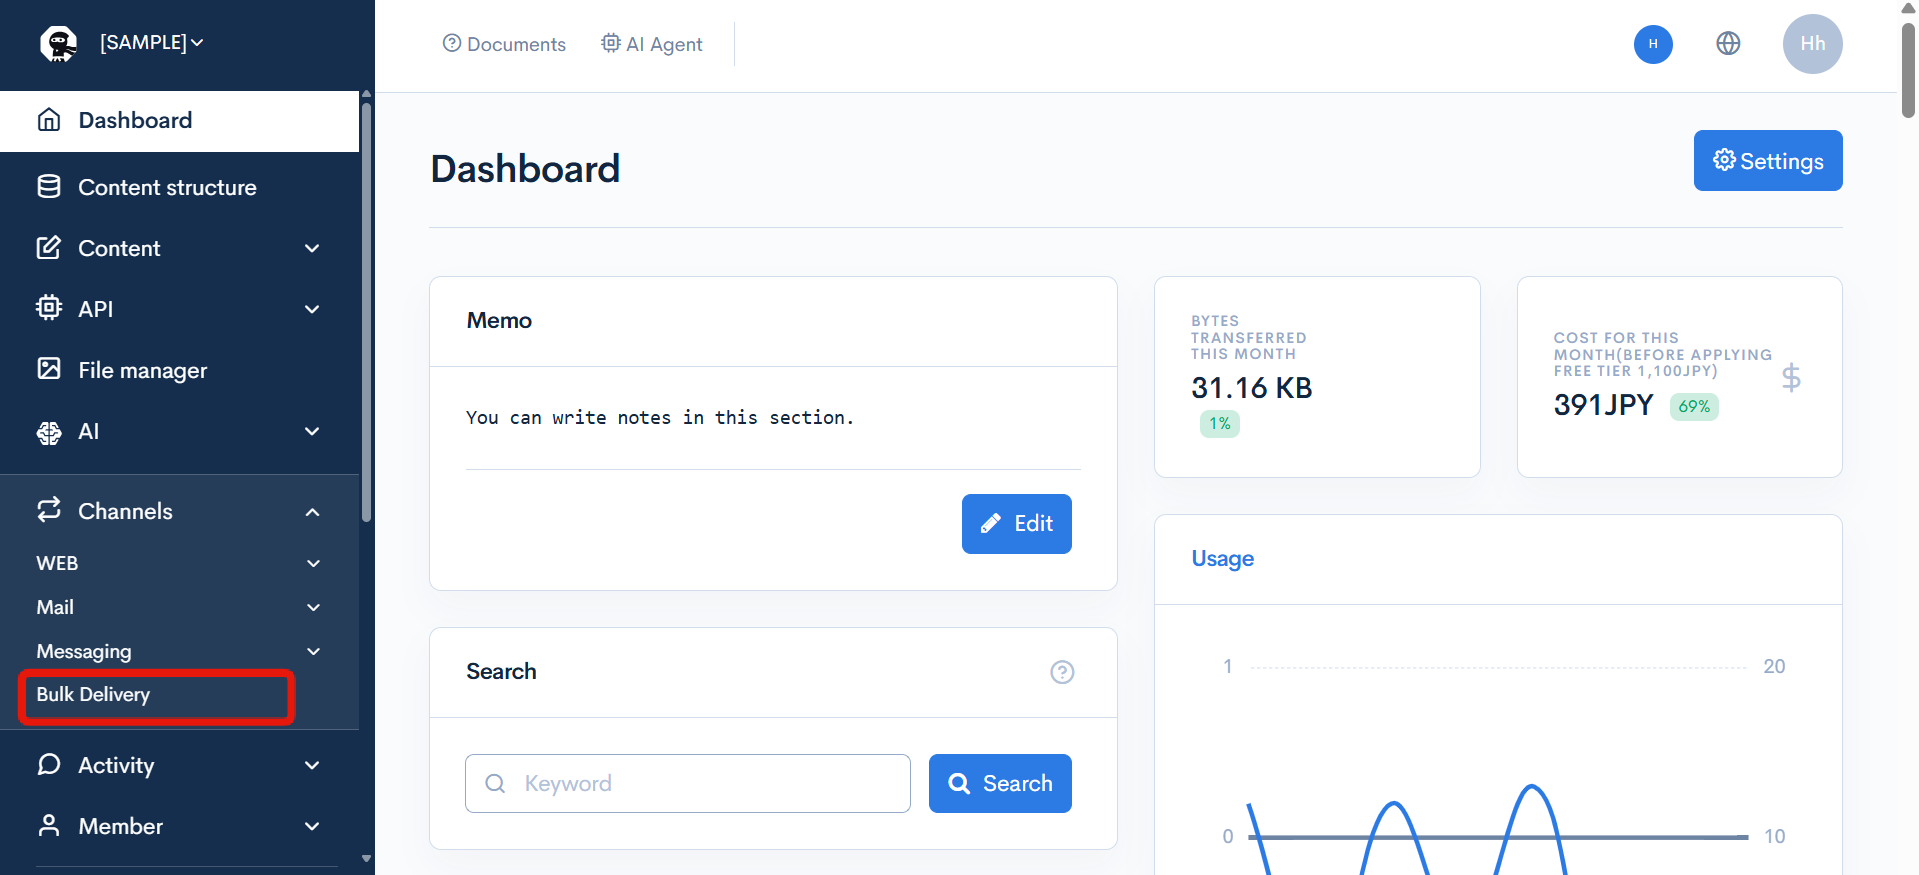
In the sidebar menu, select [Channels] -> [Bulk Notification].
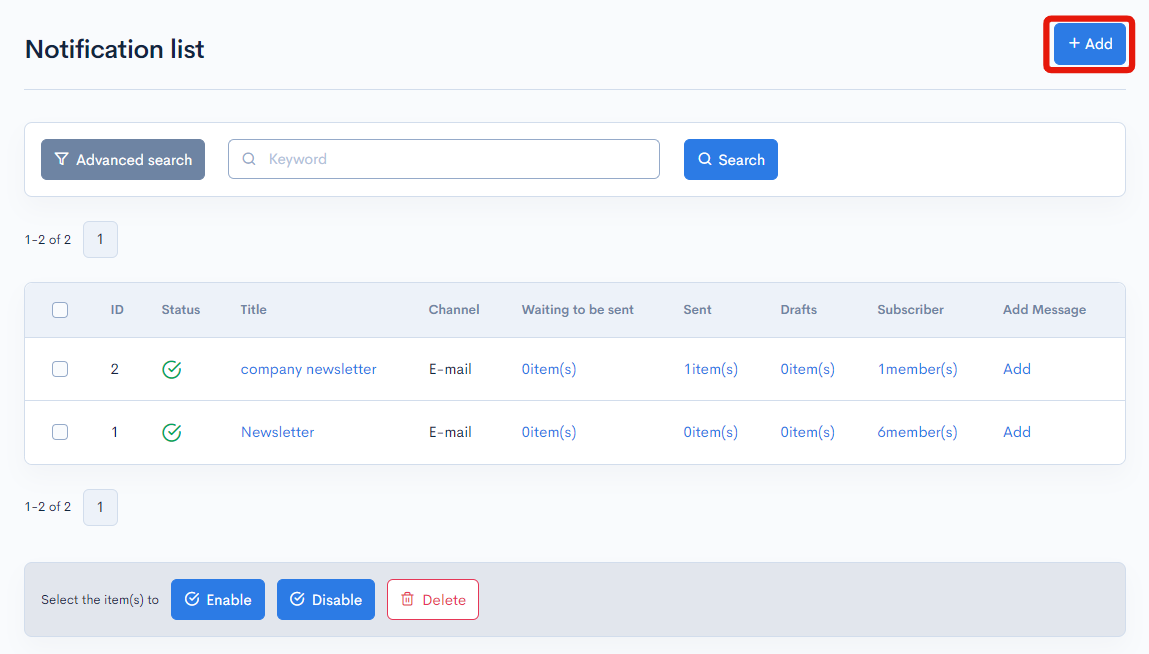
On the Notification list screen, click [Add] in the upper right corner.

For demo purposes, we will create a periodic notification called "Kuroco newsletter".
Fill in the following information in the editor:
| Field | Sub-field | Value |
|---|---|---|
| Name | Kuroco newsletter | |
| Information | Enter a short description of your notification (optional). | |
| Sender | E-mail address | Enter your "From" e-mail here (default = noreply@kuroco-mail.app). |

Click [Add] at the bottom of the screen.

Specifying the default recipients
Next, set the recipients of this notification series.
With the subscriber list
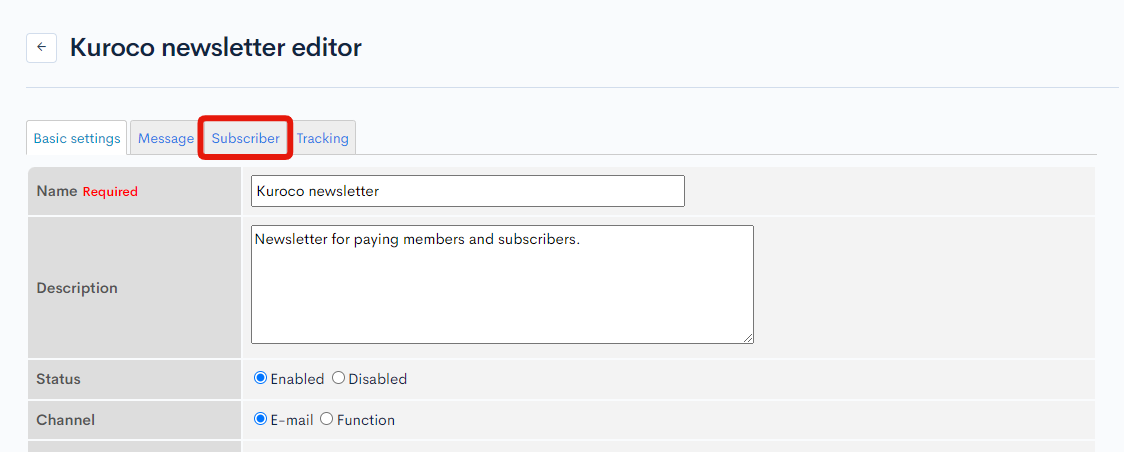
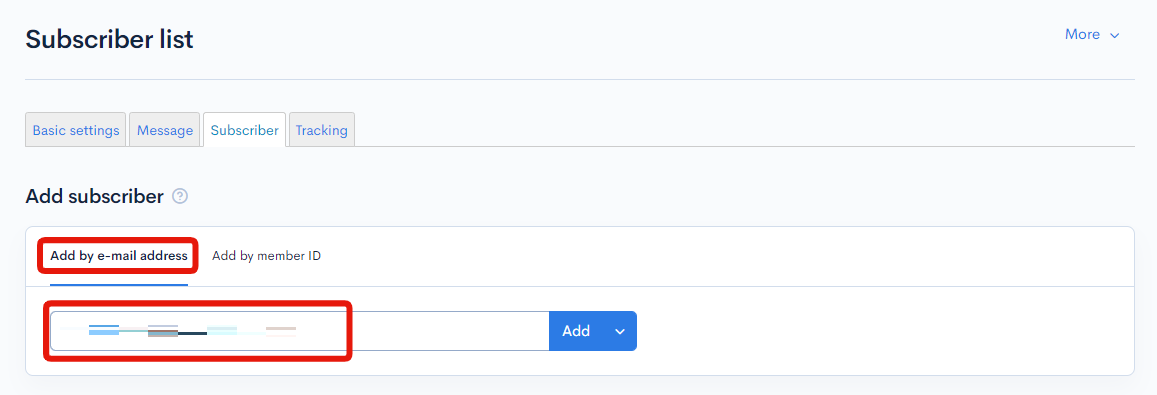
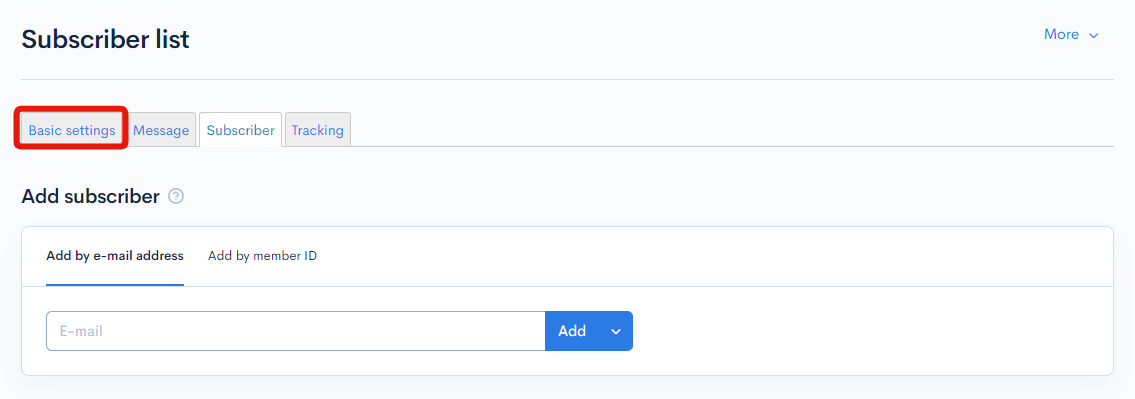
Click the [Subscribers] tab.
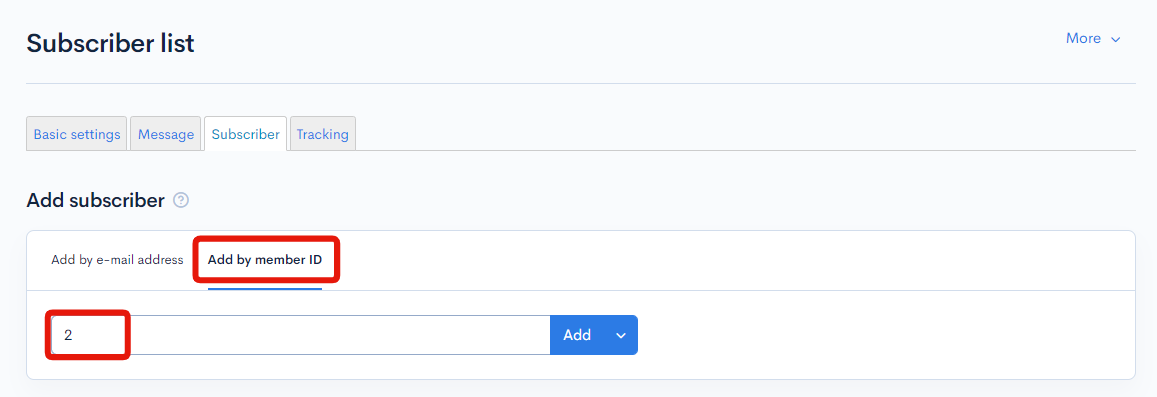
On the Subscribers screen, enter the member ID or e-mail (if member ID is not available) of the recipient and click [Add].
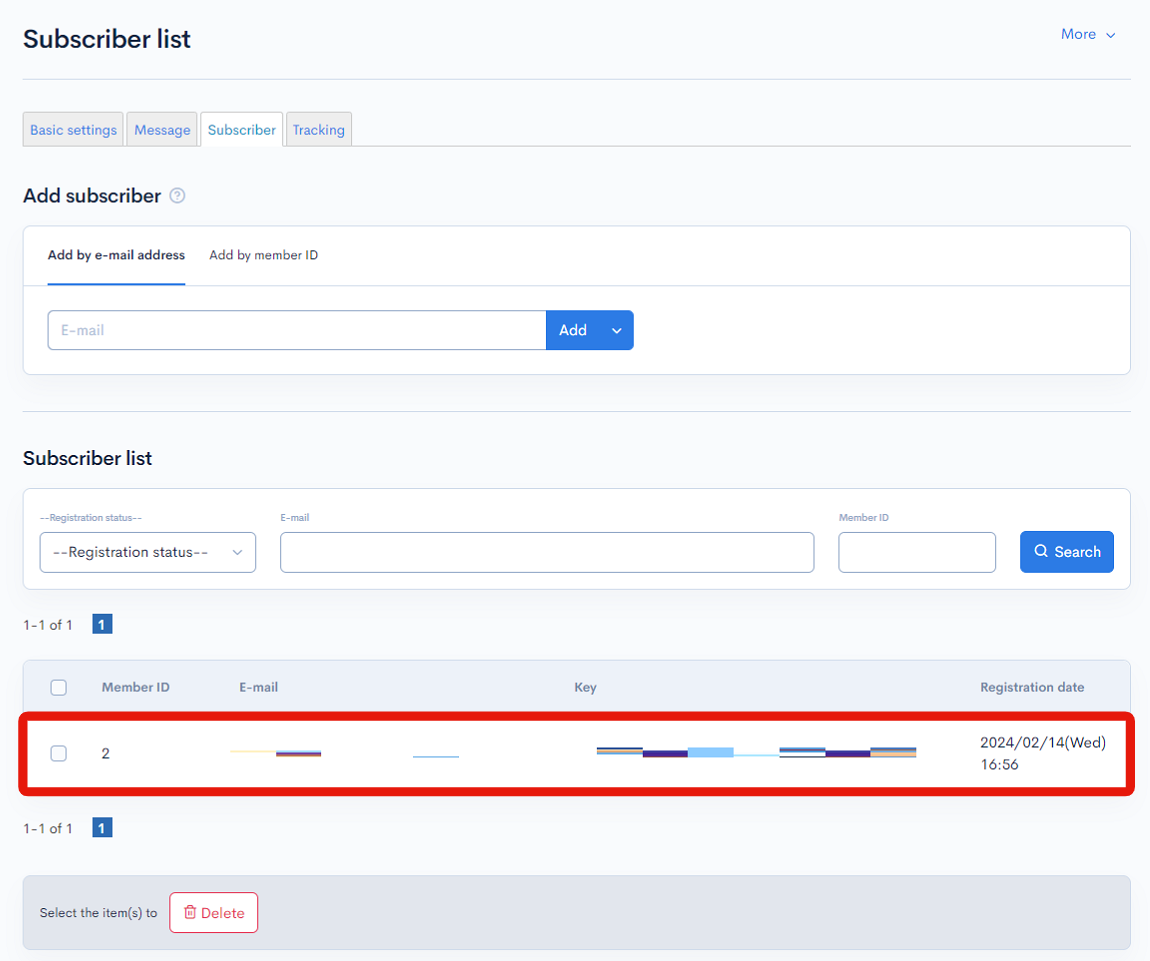
Verify the new entry in the notification subscriber list at the bottom.
Now, go back to the [Basic settings] tab.
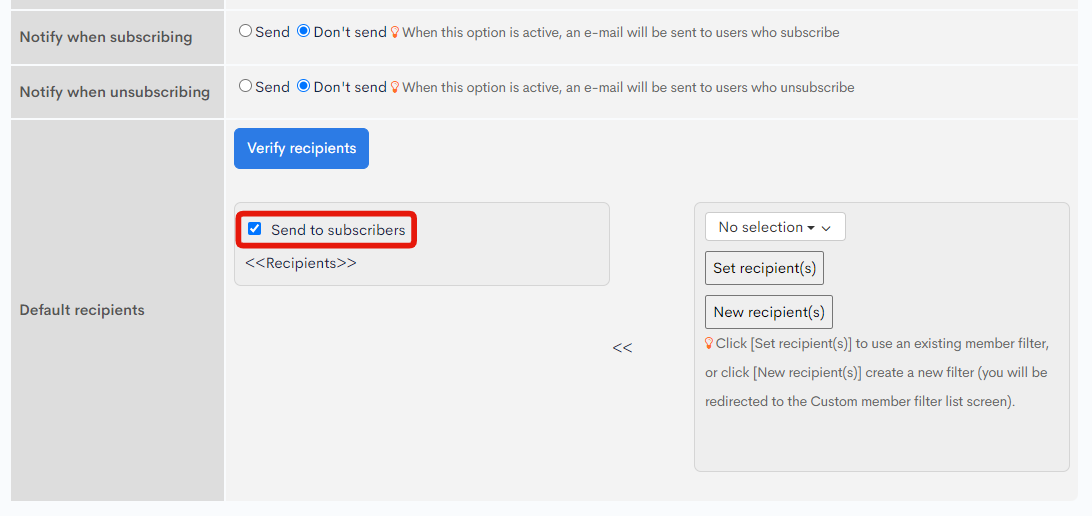
In "Default recipients", select "Send to subscribers".
With a custom member filter
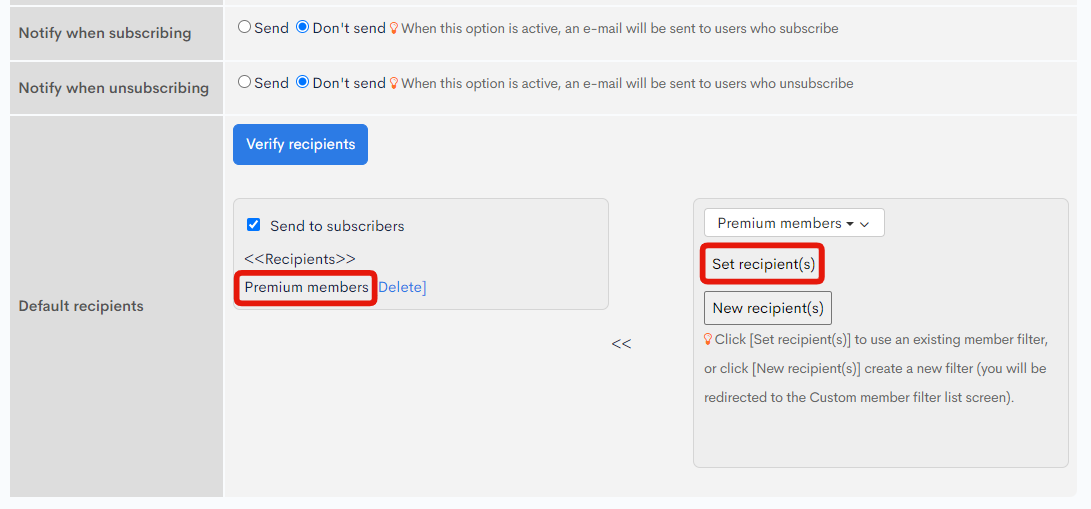
In "Default recipients" of the Basic settings tab, select "Premium members" from the dropdown list on the right.

Click [Set recipient(s)]. The filter name will appear under <<Recipients>> on the left.
Verifying the mailing list
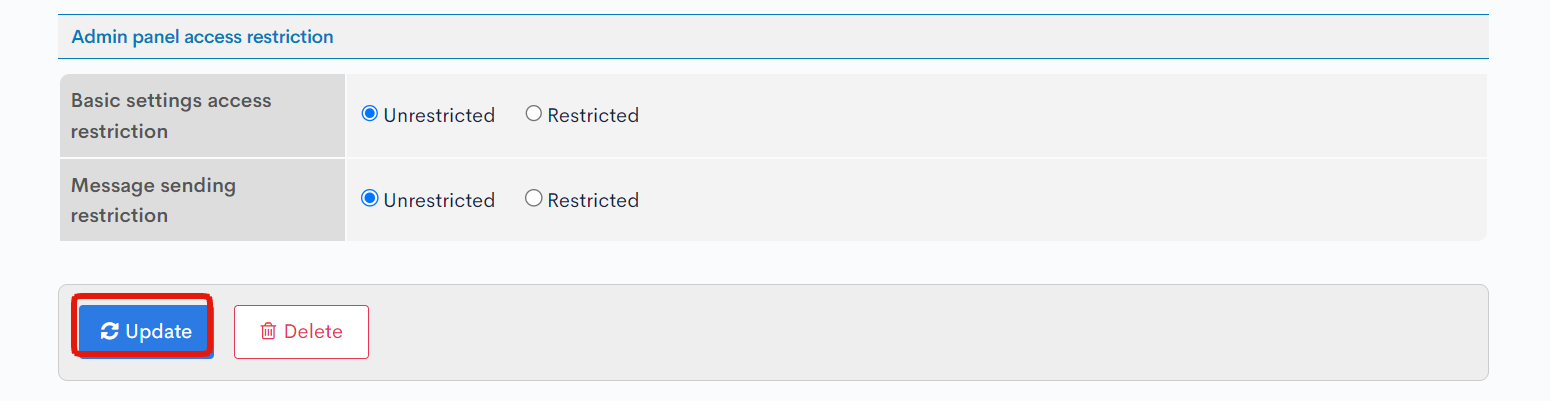
Click [Verify recipients] to view the recipients' e-mail addresses.
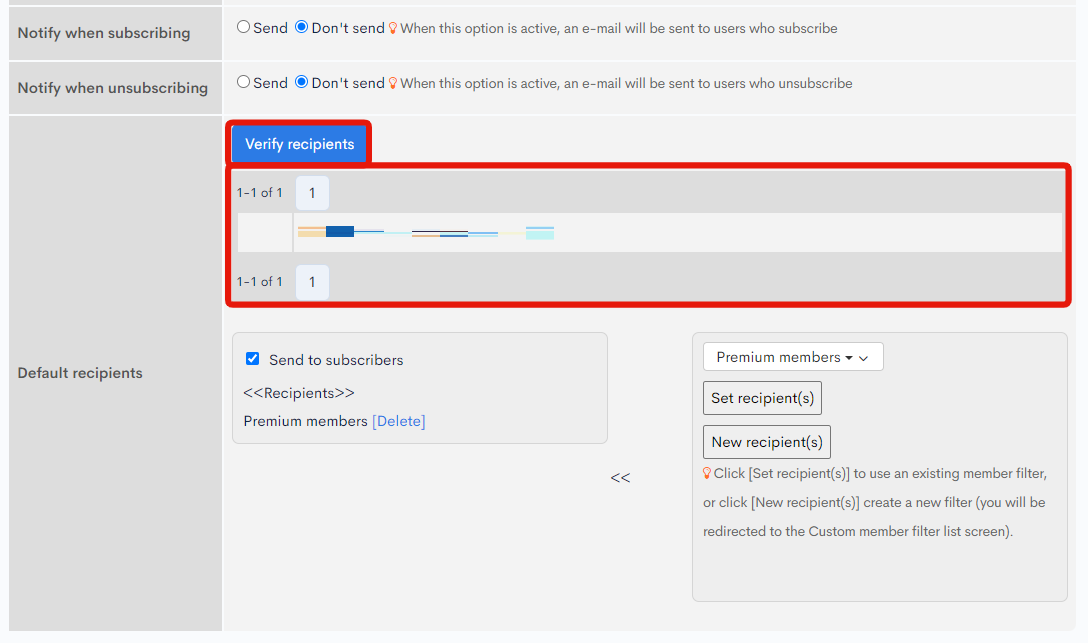
If there are no errors, click [Update] to save the settings.
If a selected recipient does not appear in the list, verify if "Don't subscribe to notifications" is unchecked on their Member editor page. For more information, see User guide: Member editor.
Composing a new message
Next, add a new entry to your newsletter.
In the notification editor, click the [Messages] tab.
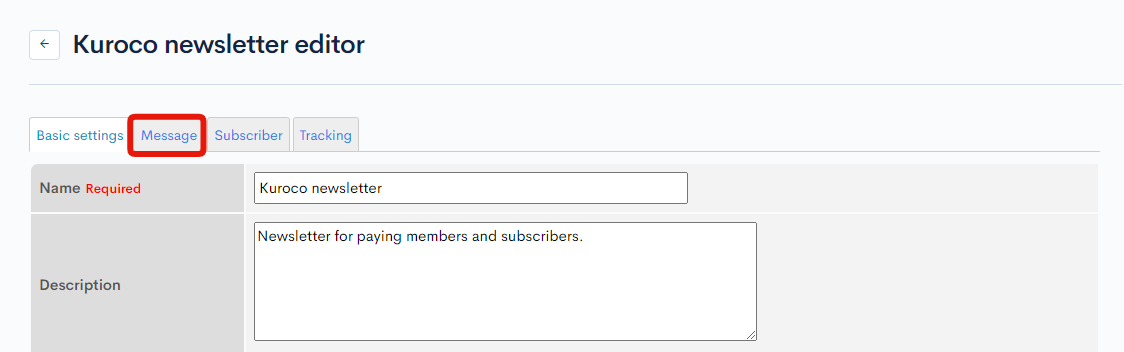
On the Messages screen, click [Add] in the upper right corner.

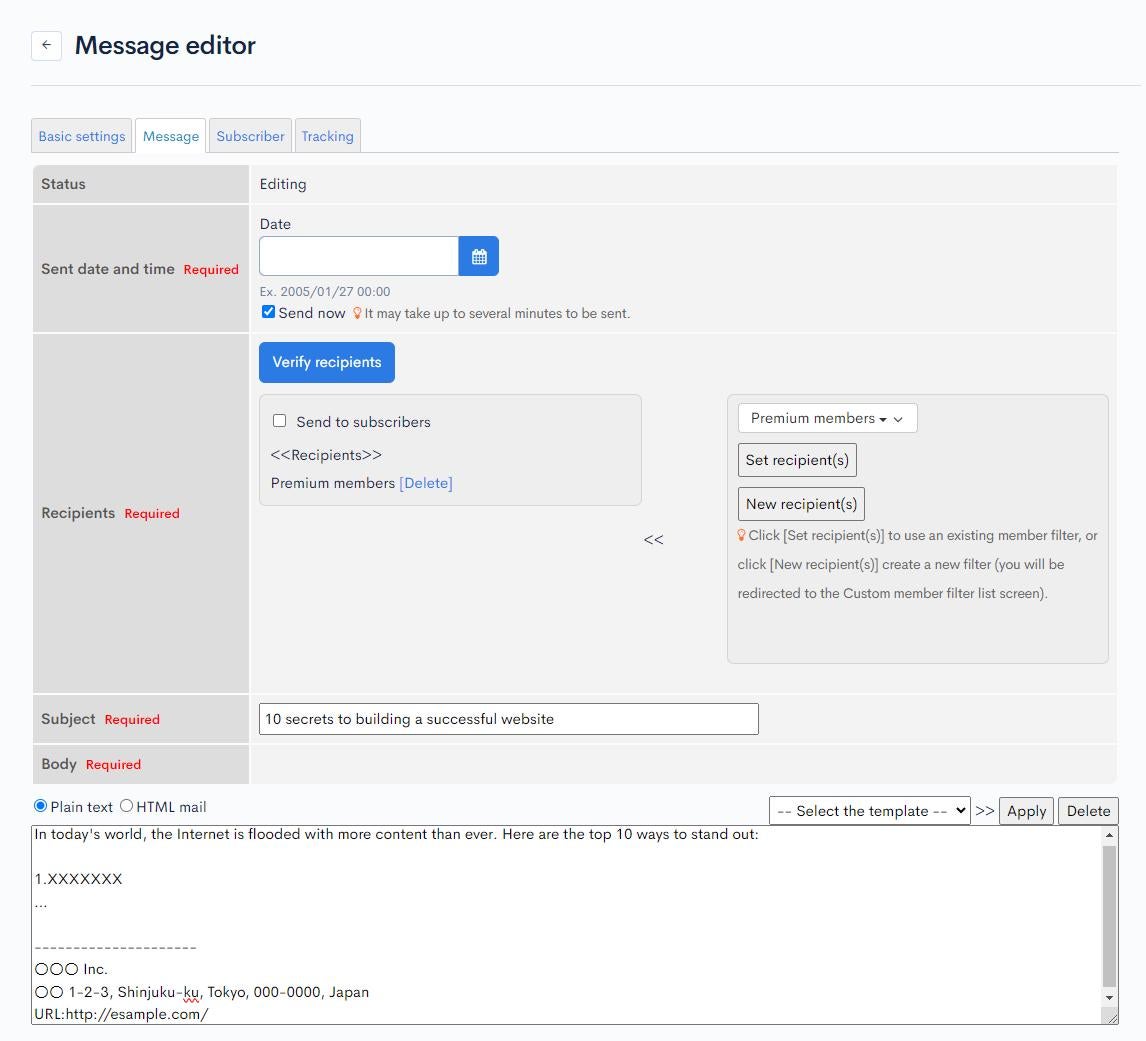
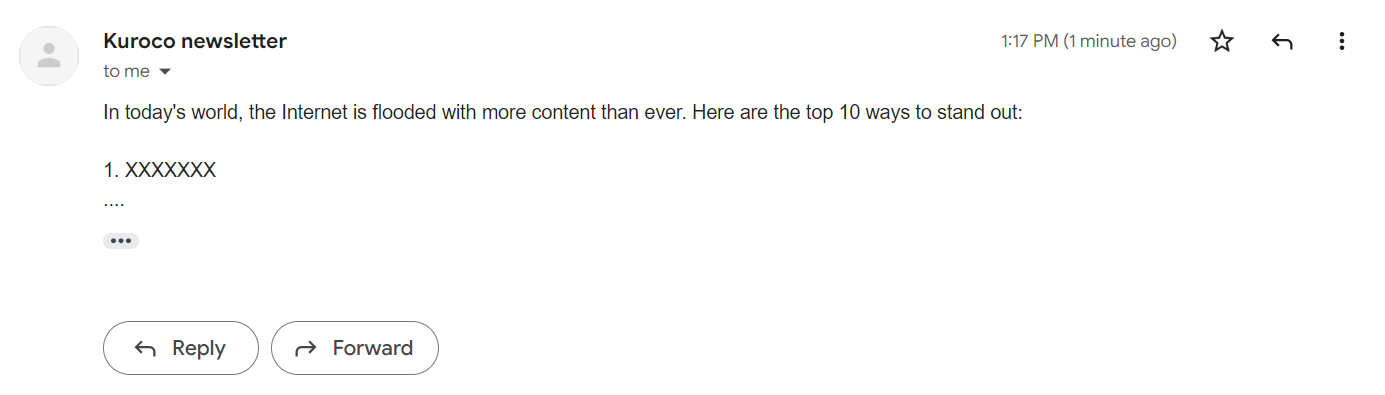
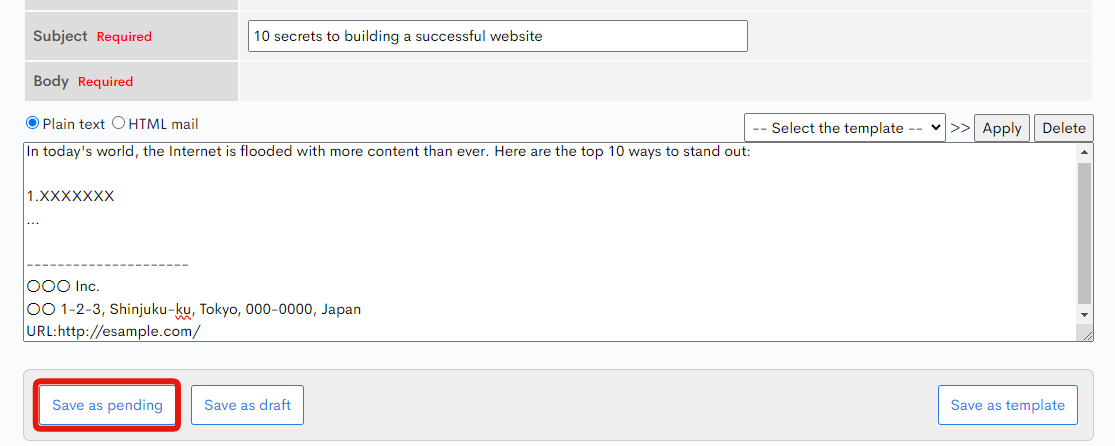
Fill in the required fields in the Message editor. (For a detailed explanation of each field, see User guide: Notification messages.)
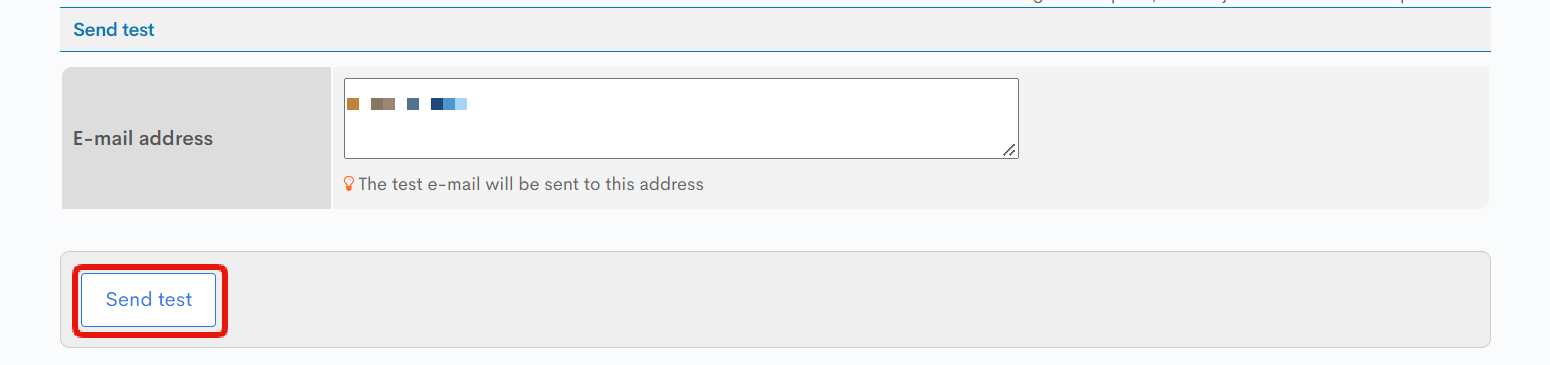
Under "Send test", you can enter your own e-mail address and click [Send test] to see a sample of the newsletter issue that will be delivered.
When you are done, click [Save as pending].
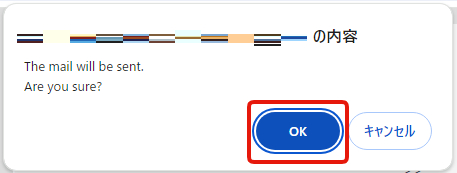
You will receive a confirmation prompt. Click [OK]. The notification will be sent out to your mailing list.
Scheduled delivery
In the above example, we selected "Send now" in "Send date and time" to dispatch the notification message immediately after saving it. Alternatively, you can schedule the delivery by manually setting the date and time.

Then, edit your message as usual and click [Save as pending].
Verifying the delivery status
You can verify the statuses of all the messages in a notification on the Messages screen.

More information
- User guide: Notification - Basic settings
- User guide: Notification - Messages
- User guide: Notification - Message editor
- Tutorial: Registering notification subscribers
- Tutorial: Using custom member filters
Related documents
Support
If you have any other questions, please contact us or check out Our Slack Community.