Setting up a Button to Synchronize Production Environment Data to the Verification Environment
Overview
Kuroco has a site synchronization feature that allows data synchronization between the main site and sub-sites. However, it usually requires update permissions for site management on the main site to perform this action.
If you do not want to grant significant permissions to operators or content creators, you can create an API on the main site to receive synchronization requests, allowing members without permissions on the main site to execute data synchronization.
Additionally, by providing a widget on the sub-site’s dashboard, it becomes possible to easily perform synchronization without having to log in to the main site.
In this tutorial, we will explain how to add a 'Perform Full Sync from Production' button to the dashboard of a sub-site, enabling members without update permissions on the main site to synchronize the latest data with just one click.
What You Will Learn
You will set up a button to execute full synchronization from the main site using the following steps:
- Preparation
- Setting up an API to Receive Synchronization Requests
- Adding Custom Function for Synchronization
- Adding Widgets to the Dashboard
- Synchronize to the Sub-site
- Verify the Operation
Prerequisites
It is assumed that the sub-sites have been added in the site list.
If you make a mistake in the direction of the site synchronization, you may unintentionally overwrite the data on the main site. It is recommended to take a backup before proceeding with the operation.
Main Site Configuration
Preparation
As summarized in the Sync item list, when executing full synchronization, APIs, custom function, and batch processing are also synchronized.
If only the main site's URL is registered in the API's CORS settings, after synchronization, the sub-site's CORS will also be limited to the main site's URL, and API requests from the sub-site's URL will no longer be accepted.
Therefore, to ensure that API requests can still be sent from the sub-site's URL to the sub-site's API after a full synchronization, it is necessary to include the sub-site's URL in the CORS settings as well.

Similarly, if site keys are hardcoded in the management screen URL or API domain in custom function or batch processing, adjust to retrieve and use them from constants.
For example:
{assign var=my_api_domain value="https://sitekey.g.kuroco.app"}
↓
{assign var=my_api_domain value=$smarty.const.ROOT_API_URL}
Setting up an API to Receive Synchronization Requests
Create an API for synchronization.
Creating an API
Click "Add" from the API section in the Kuroco management screen.

On the API creation screen, enter the following and click "Add".

| Field | Setting |
|---|---|
| Title | Sync |
| Version | 1.0 |
| Description | Sync |
The API has been created.

Security Configuration
Next, configure the security settings. Click on "Security".

Set the security to [static access token] and click [Save].

CORS Configuration
Next, configure CORS. Click [Operation CORS].

Click [Add Origin] in CORS_ALLOW_ORIGINS and add the following:
- Subsite admin URL
Click [Add Method] in CORS_ALLOW_METHODS and add the following:
- POST
- OPTIONS
Ensure that [Allow Credentials] is checked in CORS_ALLOW_CREDENTIALS.

Click [Save] if everything is okay.
Issuing a Static Access Token
Click on [Swagegr UI].

Set the expiration of the static access token and click [Generate].

Once the static access token is issued, make a note of the value.

Creating Endpoints
Click on [Add new endpoint] from the Sync API to create the following endpoint.

| Item | Setting |
|---|---|
| Path | sync_site |
| Category | API |
| Model | Api |
| Operation | request_api_post |
| name | sync_site |


Adding Custom Function for Synchronization
Once the endpoint is ready to accept requests, register custom function to execute synchronization.
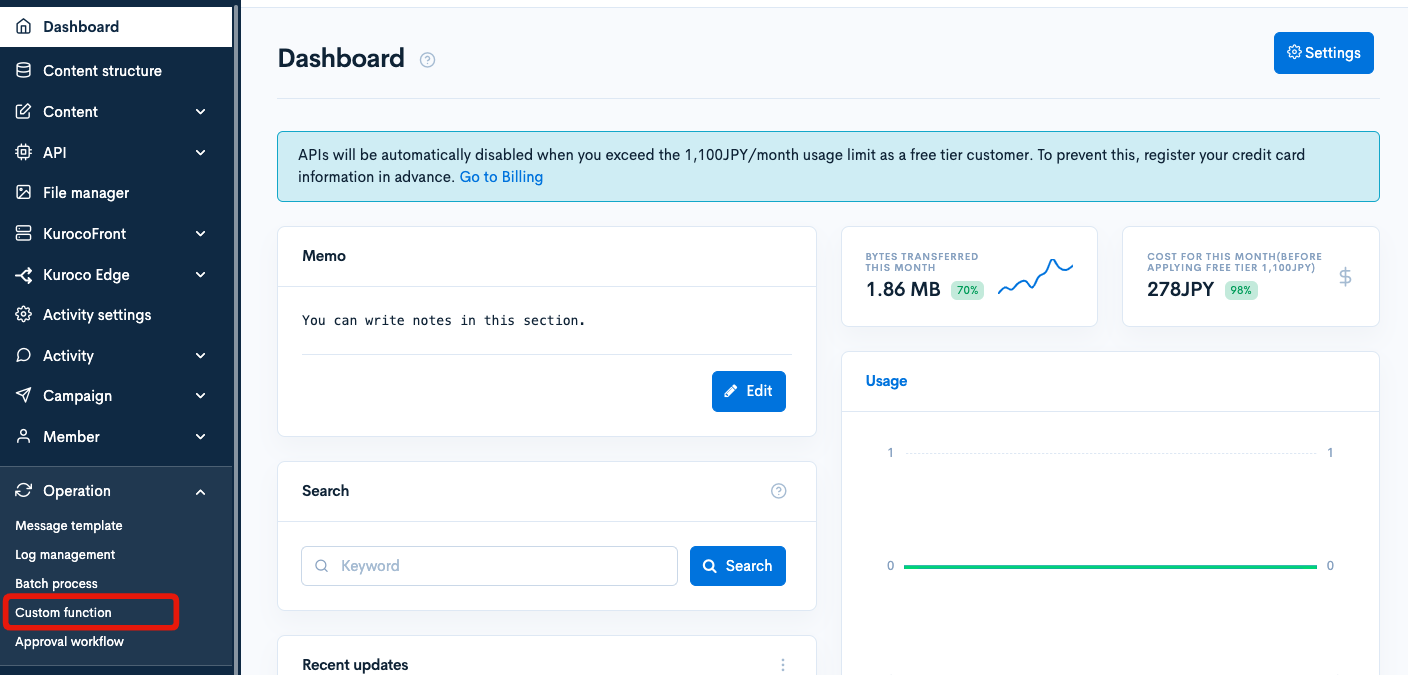
Click on [Operation] -> [Custom Function].

Click on [Add].

Create a custom function with the following operations:
- Call the function site_sync to perform site synchronization.
- Specify the main site's site key as a constant for the source site key from_site_key.
- Use the value obtained from the request variables for the target site key to_site_key.
- Set the synchronization type sync_type to 2 for a full synchronization.
- Log the executed site key and the name of the person who performed the operation.
| Item | Value |
|---|---|
| Title | sync_site |
| Identifier | sync_site (should match the name set in the endpoint of request_api_post) |
| Processing | The following content |
{site_sync from_site_key=$smarty.const.SITE_KEY to_site_key=$smarty.request.to_site_key  sync_type='2'}
{logger msg1="Executed full sync" msg2=$smarty.request.to_site_key msg3=$smarty.request.name}

Adding Widgets to the Dashboard
Next, display a button in the dashboard widget functionality to execute synchronization.
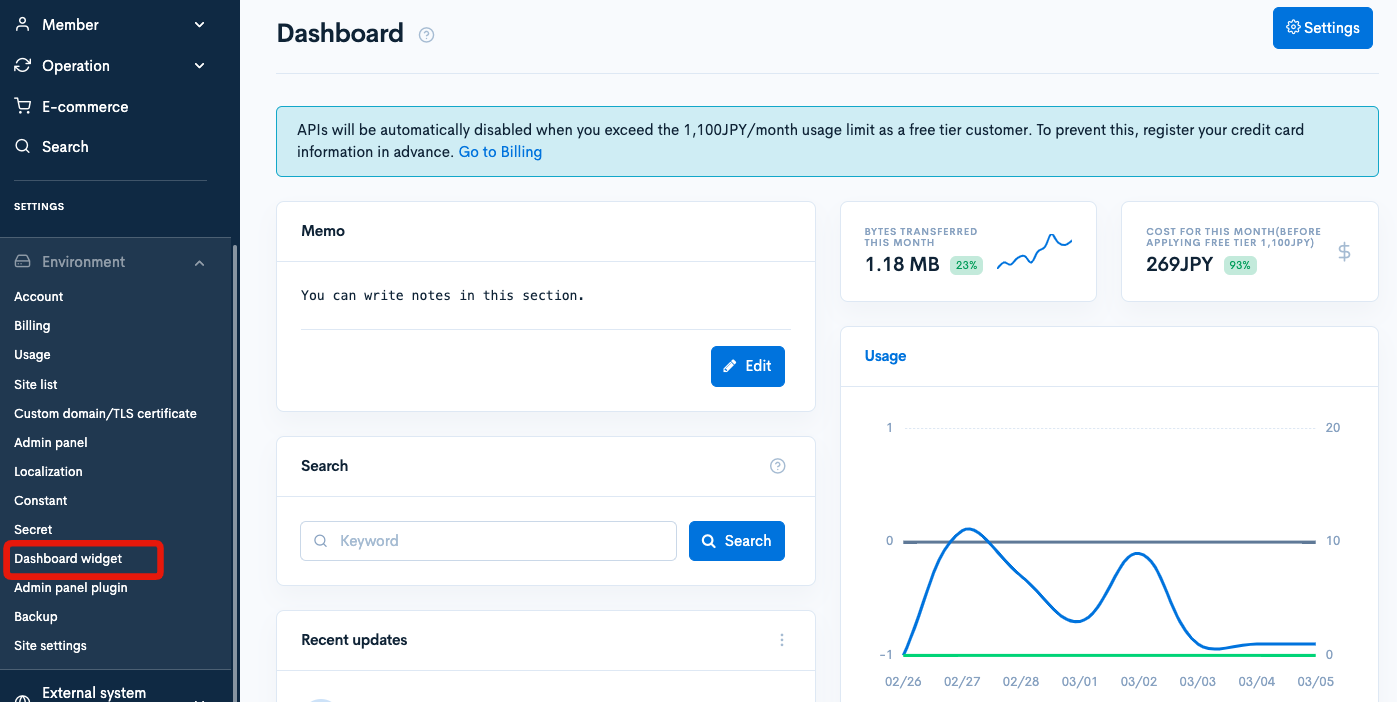
Click on [Settings] -> [Dashboard widgets].

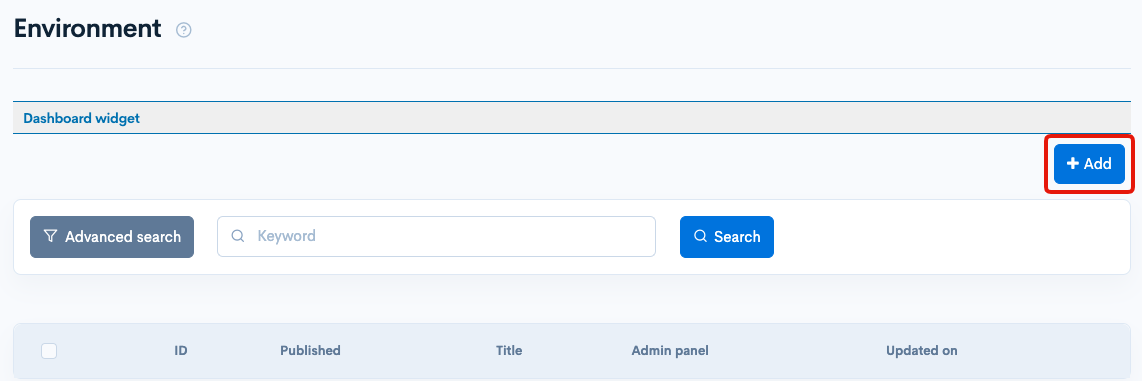
Click on Add.

Setting as follows:
If the site is not the main site, display the button [Execute full synchronization from the production environment], and when the button is clicked, post the site key and username to the main site's endpoint.
| Item | Content |
|---|---|
| Name | Any name |
| HTML | Code below |
| Access restriction | None |
| Admin screen | Normal version |
| Publication settings | Public |
{if $smarty.const.SITE_KEY != "YOUR_MAIN_SITE_SITEKEY"}
<form id="myForm" action="https://YOUR_MAIN_SITE_SITEKEY.g.kuroco.app/rcms-api/6/sync_site" method="POST">
    <input type="hidden" id="toURL" value="{$smarty.const.SITE_KEY}">
    <input type="hidden" id="member_NAME" value="{$smarty.session.name1}">
    <button type="button" onclick="submitForm()">Execute full synchronization from the production environment</button>
</form>

{literal}
<script>
    function submitForm() {
        var toURL = document.getElementById('toURL').value;  // Get value from hidden input
        var member_NAME = document.getElementById('member_NAME').value;  // Get value from hidden input
        var form = document.getElementById('myForm');
        var url = form.action;

        // Set options for POST request
        var requestOptions = {
            method: 'POST',
            headers: {
                'Content-Type': 'application/json',
                'X-RCMS-API-ACCESS-TOKEN': 'YOUR_STATIC_ACCESS_TOKEN'
            },
            body: JSON.stringify({
                to_site_key: toURL,
                name: member_NAME
            }),
        };

        fetch(url, requestOptions)
            .then(response => response.json())
            .then(data => {
                console.log('Success:', data);
                alert('Synchronization has been executed. Please wait a while for the changes to take effect.');  // Alert on success
            })
            .catch(error => {
                console.error('Fetch error:', error);
                alert('An error occurred.');  // Alert on error
            });
    }
</script>
{/literal}
{/if}
Replace YOUR_MAIN_SITE_SITEKEY and YOUR_STATIC_ACCESS_TOKEN with your main site's site key and the static access token issued on the main site.


Once you have entered the information, click [Add] to add the dashboard widget.
The function settings are now complete. Reflect it on the sub-site and verify its operation.
Synchronize to the Sub-site
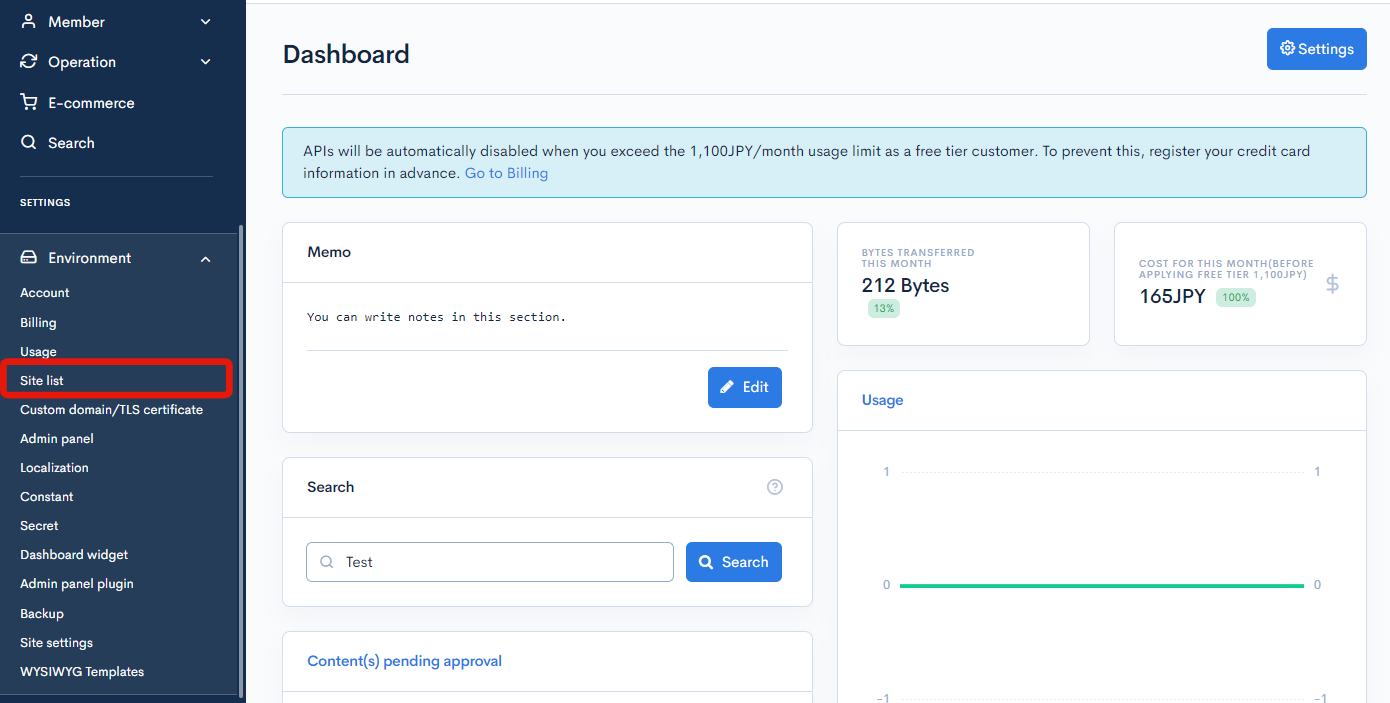
Click [Environment Settings] -> [Site List].

Click [Edit] for the sub-site to be synchronized.

Configure as follows and click [Update].
| Item | Value |
|---|---|
| Synchronize immediately | Check |
| Source Site Key | Specify the main site |
| App Sync/Full Sync | Select Full Sync |

Wait for the synchronization to take effect, and once you can see the added custom function or dashboard widgets on the sub-site, it is complete.
Verify the Operation
Check the following points to confirm if the process is executed as expected.
- The sync button is not displayed on the main site

- The sync button is displayed on the sub-site

- Clicking the sync button will synchronize the content added to the main site to the sub-site

- Checking the custom logs on the main site will show the site key and username of the site where the sync was performed

The setup is now complete.
The latest data from the main site can now be synchronized by the assigned personnel from the sub-site.
Related Documents
Support
If you have any other questions, please contact us or check out Our Slack Community.