Setting up Kuroco RAG
Overview
Kuroco RAG is a service that enhances the accuracy and reliability of generated AI models using information obtained from external sources.
This document aims to understand what can be achieved with Kuroco RAG by creating a GPT that generates answers by referencing content information stored in Kuroco.
The explanation will proceed using a Kuroco account, so if you do not have a Kuroco account, please register for an account from the free trial.
If you wish to use Kuroco RAG, please contact us below.
What You Will Learn
In the following steps, we will create a custom GPT that generates answers by referencing content information stored in Kuroco.
Prerequisites
You will need the following accounts, so please create them if you do not have them.
-
Kuroco Account: You need a valid Kuroco account. If you do not have an account yet, please register for an account from the free trial.
-
ChatGPT Plus, Team, or Enterprise Plan: To use GPTs (customized ChatGPT features), you need to have either the ChatGPT Plus, ChatGPT Team, or ChatGPT Enterprise plan.
If you do not have one, please consider upgrading.
Setting Up Kuroco
Enabling AI
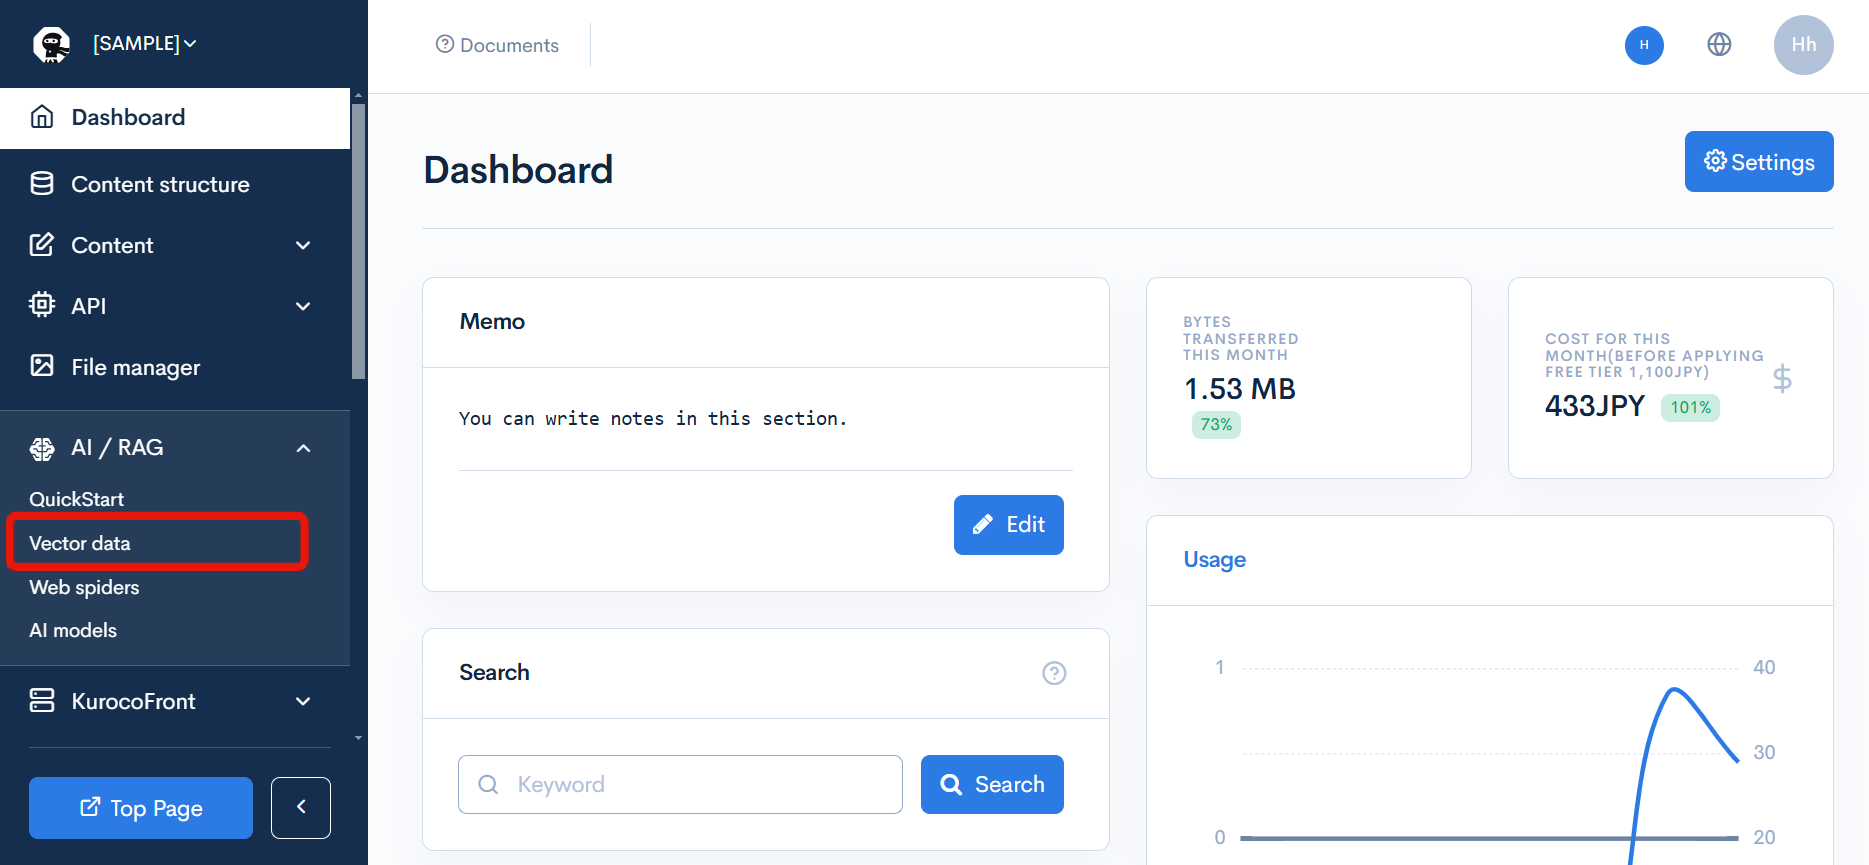
Click on [AI/RAG] -> [Vector Data].
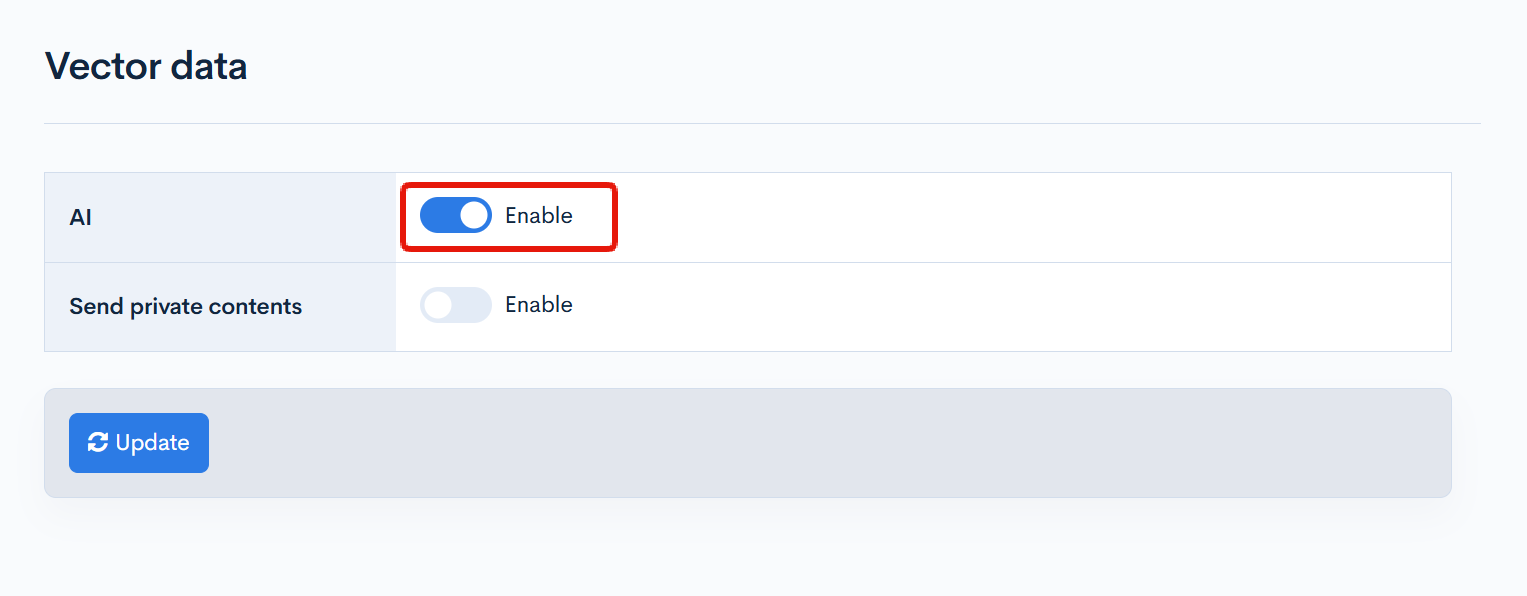
Enable "AI" and click [Update].
Registering Content
Register the content that ChatGPT will reference in Kuroco.
The registered content will be set up so that it can only be accessed via the API by the customized ChatGPT and cannot be referenced by others externally.
Creating the Content Structure
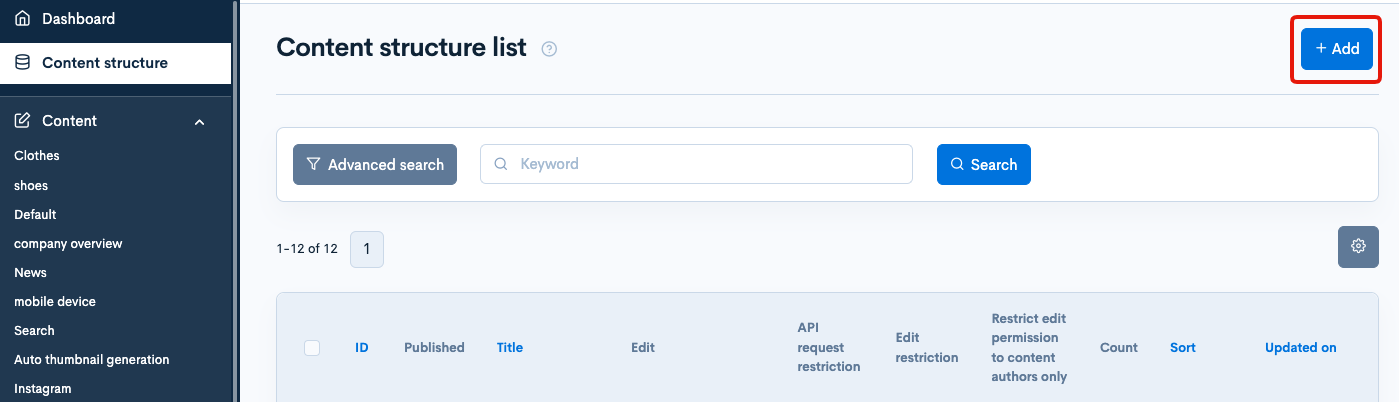
Click [Add] on the Content structure list page.
Configure the settings with the following details.
General
| Field | Setting |
|---|---|
| Name | RAG demo |

Field Settings
| Field | Slug | Field Name | Field Setting |
|---|---|---|---|
| ext_1 | None | WYSIWYG | WYSIWYG |

Search Settings
| Item | Setting |
|---|---|
| Convert to vector data | Enable |
| Embedding model | text-embedding-3-small |
| Keyword template (AI/Vector) | Default |

Once the settings are done, click on [Add] to add the content structure.
Adding the contents
Register information for OpenAI to use as content.
Click on [Add] from the Content list screen.

Here, we have added the following 3 contents as examples.
Remote Work Guidelines

Employee Benefits Guidebook

Contact Information

The example shows the registration of internal documents for an AI assistant intended for internal use.
In the tutorial, there are only three contents, but in actual operation, the entire employment regulations will be saved and used to allow the AI to search and check desired items from a large amount of text on behalf of the user.
Checking Vector Data
When a content is added or updated, it is automatically converted to vector data.
Click on [More] -> [Vector Template] from the content editing screen to check the generated keywords.

Additionally, you can check the progress and results of vector data generation on the [External System Integration] -> [AI] page.

Setting up the API
Next, prepare the API for the custom ChatGPT to retrieve content information.
Adding the API
Click "Add" from the API section in the Kuroco admin panel.

In the API creation screen, enter the following and click on "Add".
| Item | Setting |
|---|---|
| Title | RAG demo |
| Version | 1.0 |
| Description | This API allows you to retrieve information about the work regulations of Kuroco RAG Demo Corporation. |
| Order | 0 |

These settings will be used in ChatGPT later, so please write descriptions that explain what this API is for.
Security Settings
Next, configure the security settings.
Click on [Security] in the API page.

Set the security to [Static Access Token] and click on [Save].

CORS Configuration
Next, configure CORS settings.
Click on [Operation CORS].

Click on [Add Origin] for CORS_ALLOW_ORIGINS and add the following:
- Admin panel URL
https://chatgpt.com/
Click on [Add Method] for CORS_ALLOW_METHODS and add the following:
- GET
Click on [Add Header] for CORS_ALLOW_HEADERS and add the following:
- x-rcms-api-access-token
Enable [Allow Credentials] in CORS_ALLOW_CREDENTIALS
Verify that the checkbox for [Allow Credentials] is checked.

If everything is correct, click on [Save].
Issuing a Static Access Token
Click on [Swagger UI].

Set the expiration date for the static access token and click on [Generate].

Once the static access token is issued, make a note of the value.

Creating an Endpoint
Click on [Add a new endpoint] from the RAG demo API.

Create the following endpoint:
| Field | Setting |
|---|---|
| Path | search |
| Category | Content |
| Model | Topics |
| Operation | list |
| topics_group_id | ID of the content structure created earlier |
| cnt | Set to 3 to limit the number of entries returned in the API response |
| required_param | vector_search |


Once configured, click on [Add] to add the endpoint.
Exporting the OpenAPI Configuration File
Kuroco has the functionality to export OpenAPI, allowing you to output API information in a format compliant with OpenAPI specifications.
From the endpoint list screen, click on [Export OpenAPI].

A popup for the OpenAPI schema file download will appear.
Select the format as YAML, select the desired endpoints, and click [Export].

The downloaded YAML file contains all the settings for the endpoint URL and available parameters.
We will need to make some adjustments so that we are only allowing the vector_search parameter for ChatGPT by remove all parameters except vector_search from the parameters section.

Also, set the required field for vector_search to true.

The YAML file will look like the following example.
openapi: 3.1.0
info:
  title: 'RAG demo'
  version: '1.0'
  description: 'This API allows you to retrieve information about the work regulations of Kuroco RAG Demo Corporation.'
servers:
  -
    url: 'https://your-domain-here.g.kuroco.app'
    description: 'API Backend'
paths:
  /rcms-api/8/search:
    get:
      tags:
        - Content
      summary: ''
      description: |

        ### **Topics::list (v1)**


        ## Controller parameters

        > **topics_group_id** `27`

        > **cnt** `3`

        > **required_param** `vector_search`

      parameters:
        -
          name: vector_search
          schema:
            type: string
            format: ''
          in: query
          required: true
          style: form
          explode: true
          description: 'Vector search'
      responses:
        '200':
          description: 'Topics data successfully fetched'
        '404':
          description: 'Topics data could not be found'
      security:
        -
          Token-Auth: []
      operationId: getRcmsApi8Search
components:
  schemas: {  }
  securitySchemes:
    Token-Auth:
      type: apiKey
      in: header
      name: X-RCMS-API-ACCESS-TOKEN
Once this is done, the preparation on the Kuroco side is complete.
ChatGPT Configuration
Creating GPT
Access https://chat.openai.com/ and log in.
Click on [Explore GPTs] in the sidebar, then click on [+ Create] in the top right corner of the page.

The GPT creation screen will open, configure it as follows in the [Configure] tab:
| Field | Value |
|---|---|
| Name | Kuroco RAG Demo Co., Ltd. Internal Rules Assistant |
| Description | Answers questions based on the employment regulations of Kuroco RAG Demo Co., Ltd. |
| Instructions | To provide efficient and accurate responses, follow the guidelines below when interacting with users: 1. Always send a request to the specified endpoint before answering. 2. Guessing answers based on information not obtained from the endpoint is prohibited. 3. Do not answer questions that are deemed irrelevant to the business. |

Scroll down to the bottom of the screen and click on [Create new action].

Paste the content of the modified openapi.yaml file that was downloaded from Kuroco earlier, then click on the gear icon next to Authentication.

Configure as follows and click on [Save]:
| Field | Value |
|---|---|
| Authentication Type | API Key |
| API Key | Static access token issued by Kuroco |
| Authentication Type | Custom |
| Custom Header Name | X-RCMS-API-ACCESS-TOKEN |

Click on [Test].

GPT will attempt to communicate with Kuroco, click on [Allow].
Verify that the data is retrieved to complete this configuration.

Click [Create] and specify the publish settings to complete the creation of the GPT.
Verification of Operation
When you access the GPT you have created and ask a question, you can see that it will answer by referring to the content you have stored in Kuroco.
If the answer is not as intended, you can update and adjust the instructions for the GPT.

With this, the creation of GPT using Kuroco RAG is now complete.
Kuroco RAG plays a role in facilitating the management and coordination of information provided to GPT, while GPT enhances the accuracy of the generated AI by referencing external content.
Support
If you have any other questions, please contact us or check out Our Slack Community.