Set form response data to member information of users that automatically registered via form submission
Overview
By checking the "Automatic user registration" option in the form basic settings, you can automatically register users with the email address that submitted the form response. In this tutorial, we will introduce how to add form response data to the member information of automatically registered users using custom function.
What you'll learn
You'll learn how to set up the following functions:
- Setting up the API used in custom function
- Creating custom function
- Setting the created custom function as the API post-process
- Verifying the operation using Swagger
Prerequisites
This tutorial assumes that the feature to automatically register member after a form submission has already been set up by referring to the following tutorial:
Setting up the API used in custom function
Next, we will set the following APIs used in custom function.
API settings for internal processing
It is recommended to create a separate API for endpoints that are used only within Kuroco. Therefore, first, create a new API for internal use. If it has already been added, you can skip the next step.
Creating API
Click [Add] from the API in the Kuroco Admin panel.
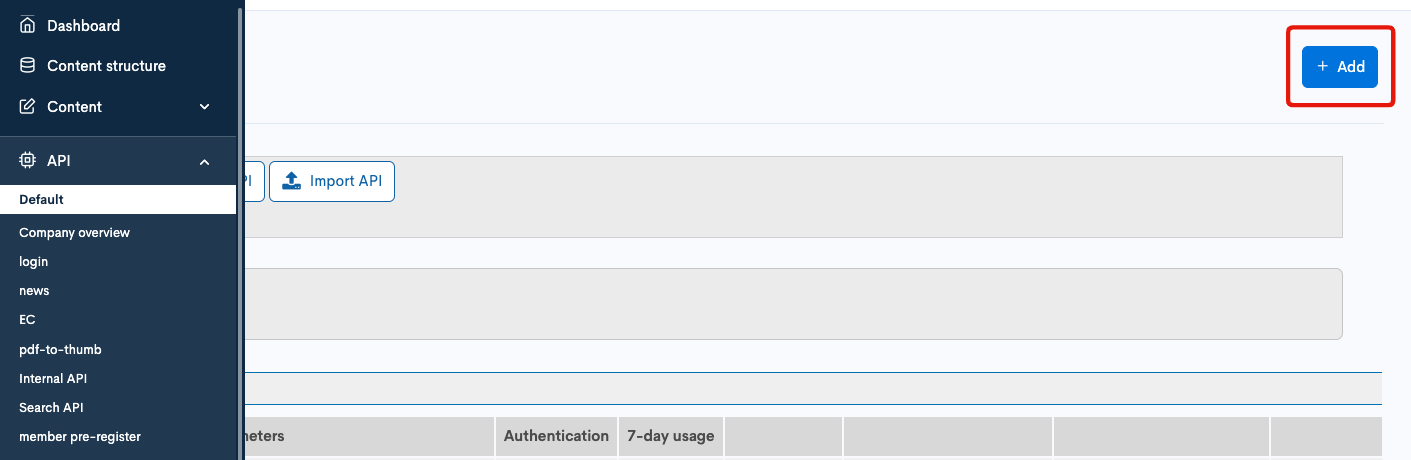
The API creation screen is displayed. Enter the following information and click [Add].
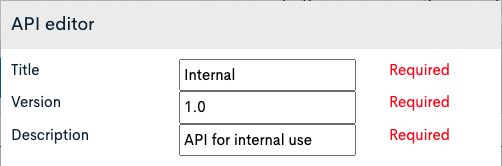
| Item | Setting |
|---|---|
| Title | Internal |
| Version | 1.0 |
| Description | API for internal use |
This completes the API creation.
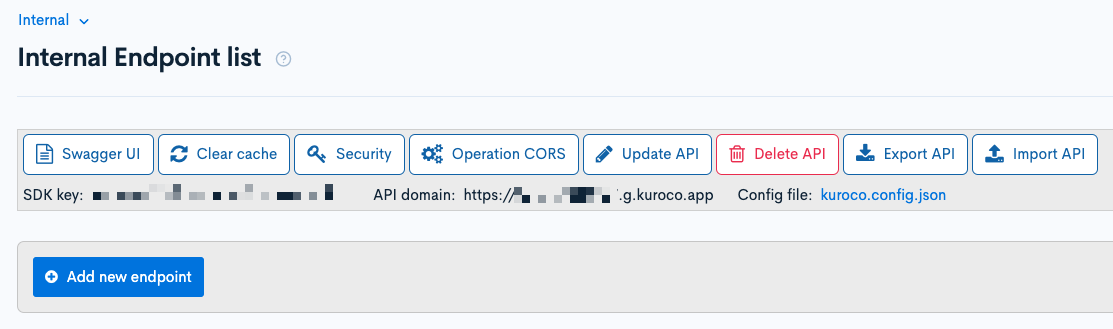
Security settings
Next, configure the security settings. Click on [Security].
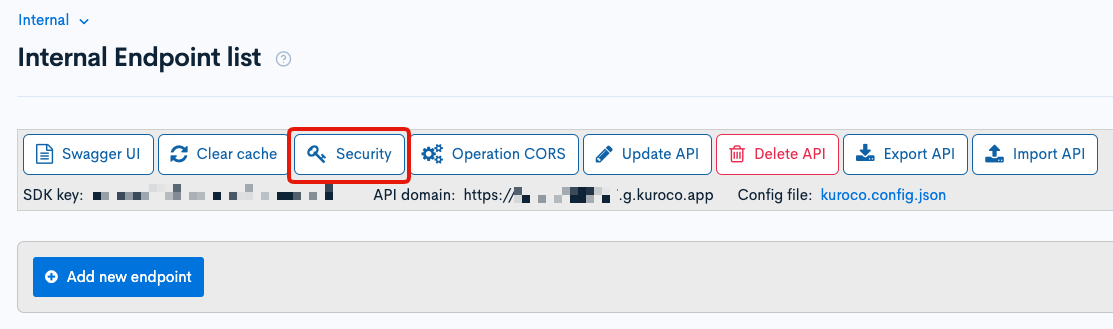
Set security to [Dynamic access token] and click [Save].

After setting security to [Dynamic access token], the message "Since this API is configured to use token, it is recommended to add an endpoint that implements Authentication::Login::token." is displayed, but it can be ignored if it is only for internal use.

CORS settings
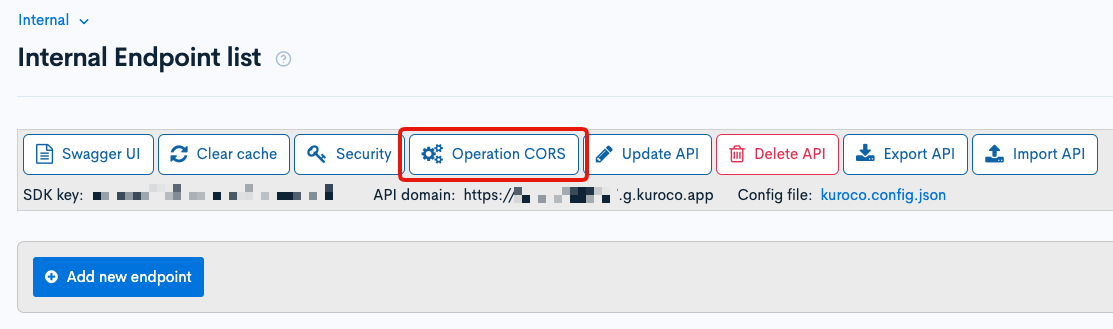
Next, configure the CORS settings. Click on [Operation CORS].
Click [Add Origin] in CORS_ALLOW_ORIGINS and add the following:
- Admin panel URL
Click [Add Method] in CORS_ALLOW_METHODS and add the following:
- GET
- POST
- OPTIONS
Make sure that [Allow Credentials] is checked in CORS_ALLOW_CREDENTIALS.
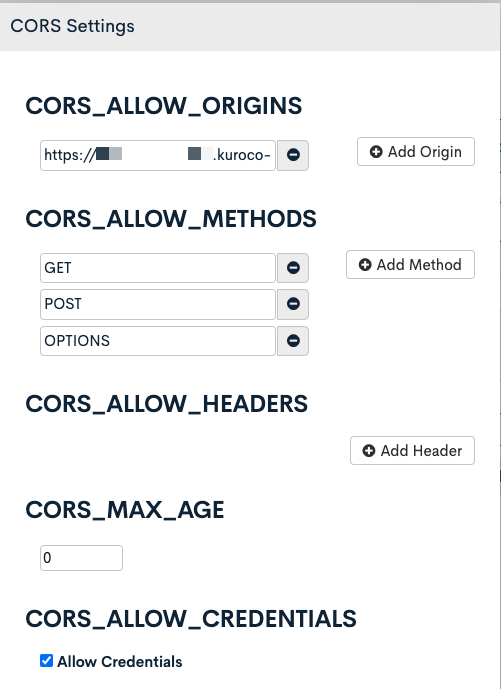
Click [Save] after setting.
Create API endpoints for internal processing
We will create endpoints that will be used in the newly created API.
In this tutorial, we will configure the following two endpoints:
- Form response information detailed acquisition API
- Member update API
Creating an form response information detailed acquisition API
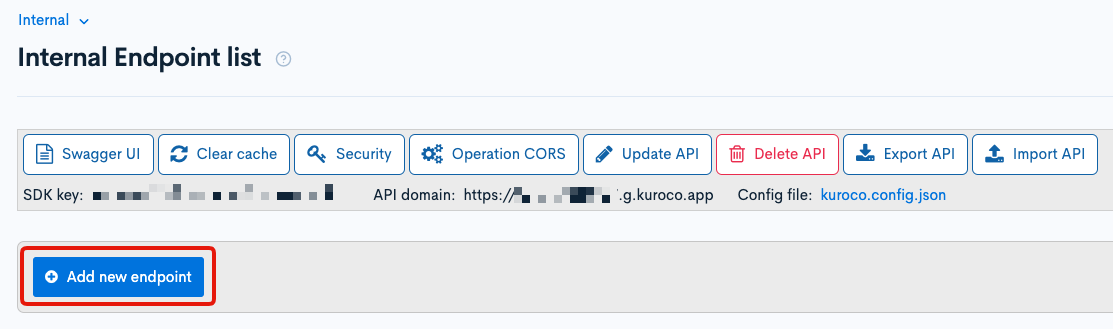
Click [Add new endpoint].
Create the following endpoint:
| Item | Setting |
|---|---|
| Path | inquiry_details |
| Category | Form |
| Model | InquiryMessage |
| Operation | details |
| GroupAuth | Admin Although it is an internal processing API group and is not called from the frontend, access restrictions are added as a precaution. |
| inquiry_id | Specify the ID of the form created in the "Prerequisites" section. |
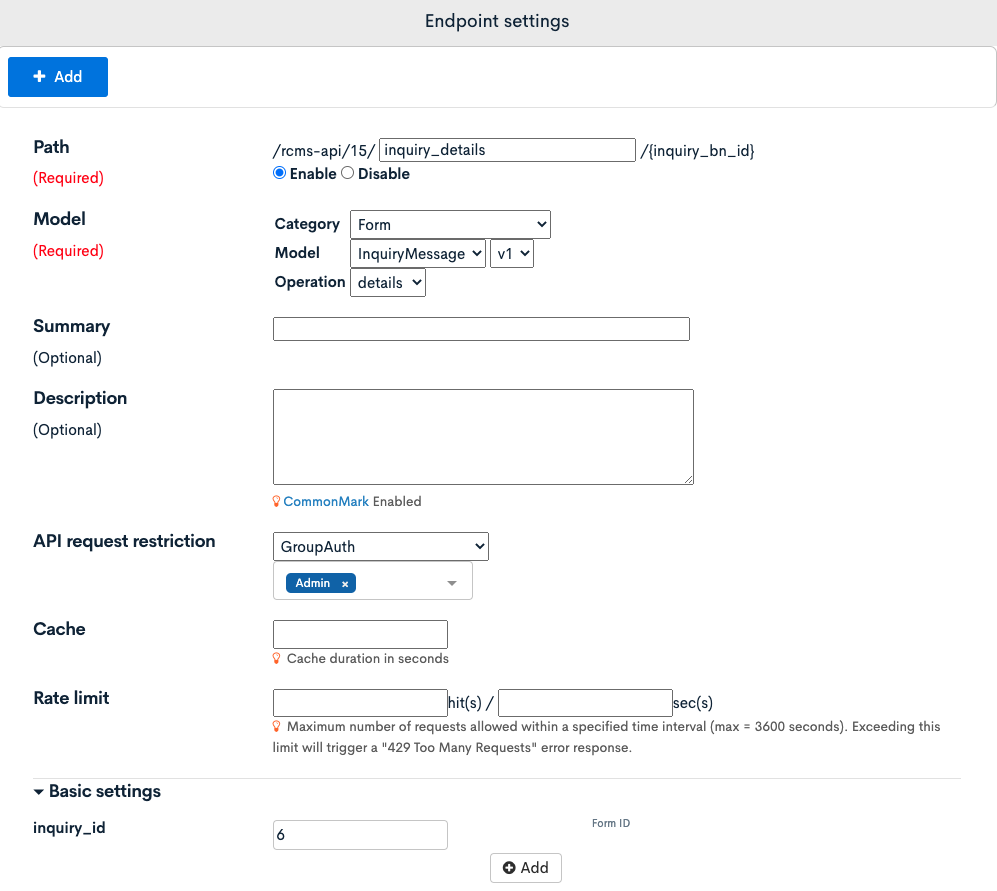
Click [Add] to add the endpoint.
Creating a Member Update API
Click [Add a new endpoint].
Create the following endpoint.
| Field | Value |
|---|---|
| Path | self-member-update |
| Category | Member |
| Model | Member |
| Operation | update |
| self_only | Check |
The above are the bare minimum settings. Please adjust the settings such as allowed_group_ids and use_columns accordingly for your site.
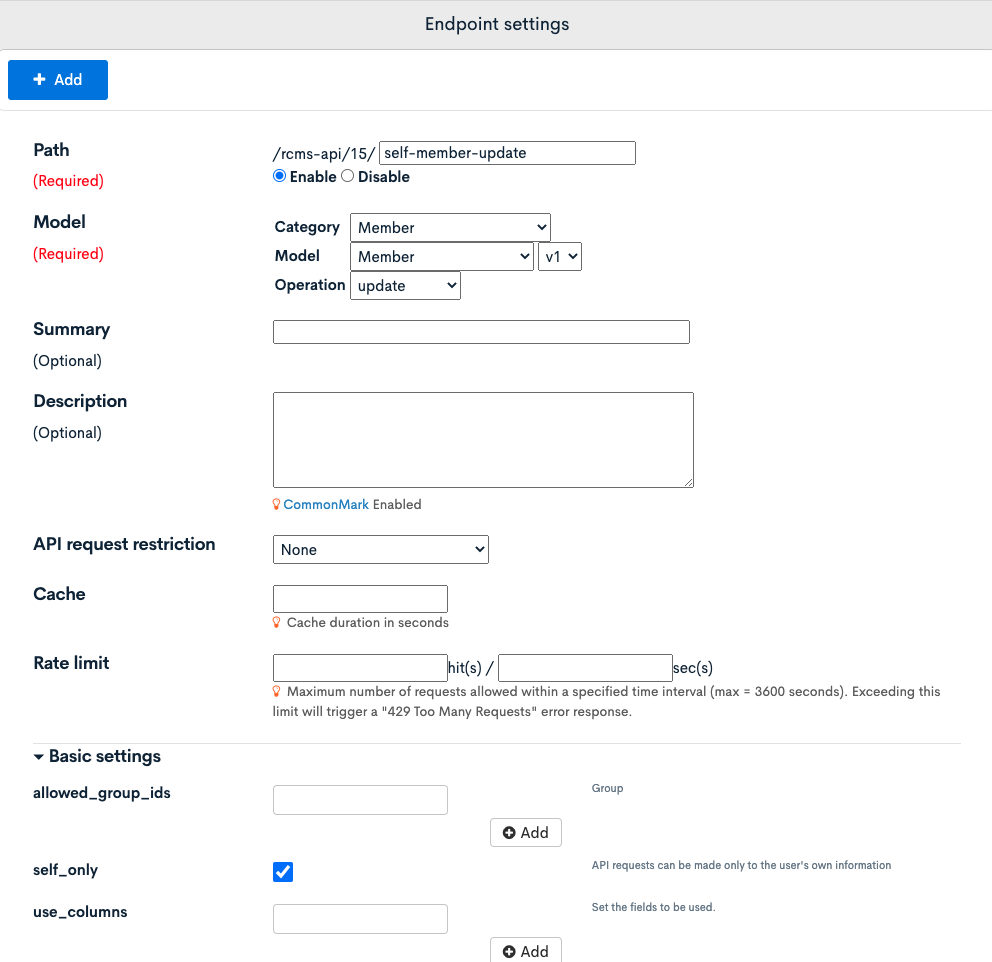
After configuring, click [Add] to add the endpoint.
Creating Custom function
Now, let's create custom function.
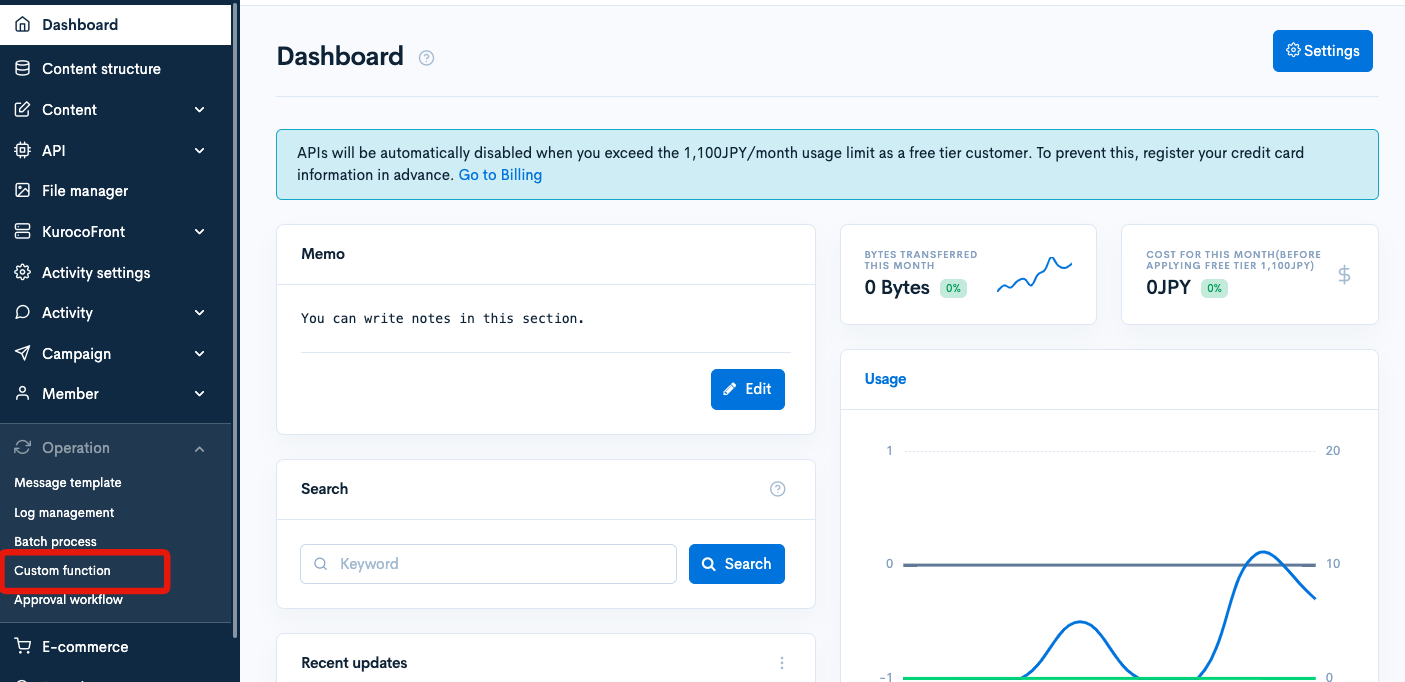
1. Display the list of custom function
Click [Operation] -> [Custom function] on the menu.
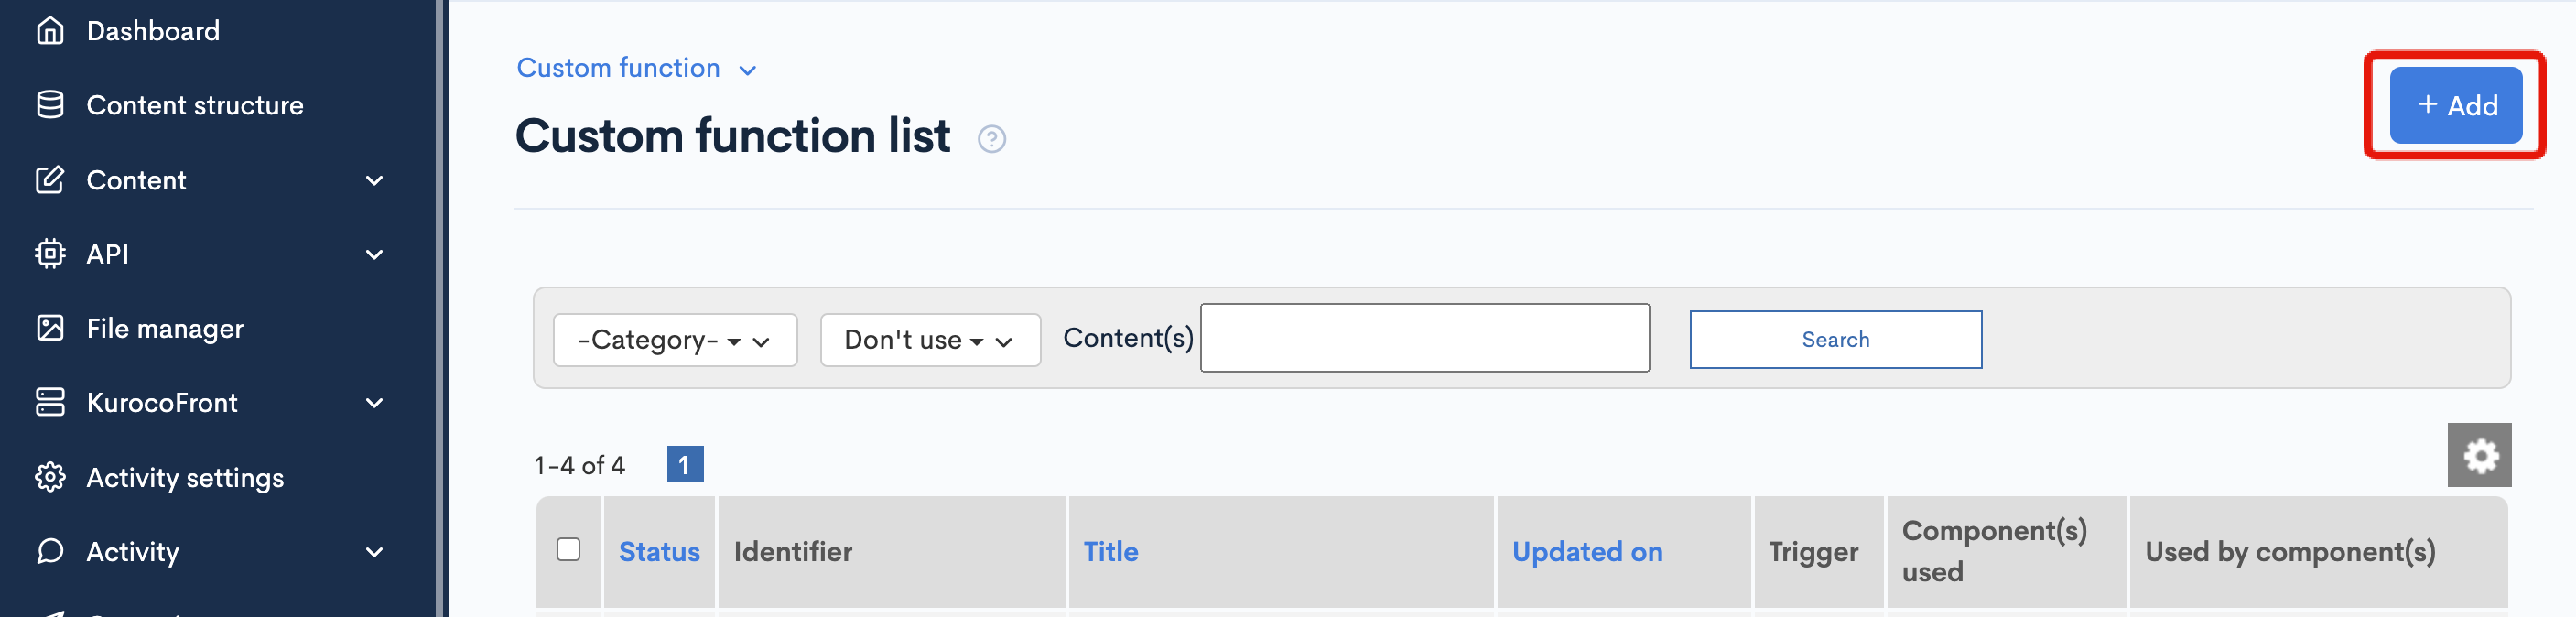
2. Accessing the custom function editor page
Click [Add] in the upper right corner of the custom function list screen.
Then, the custom function editor will be displayed.
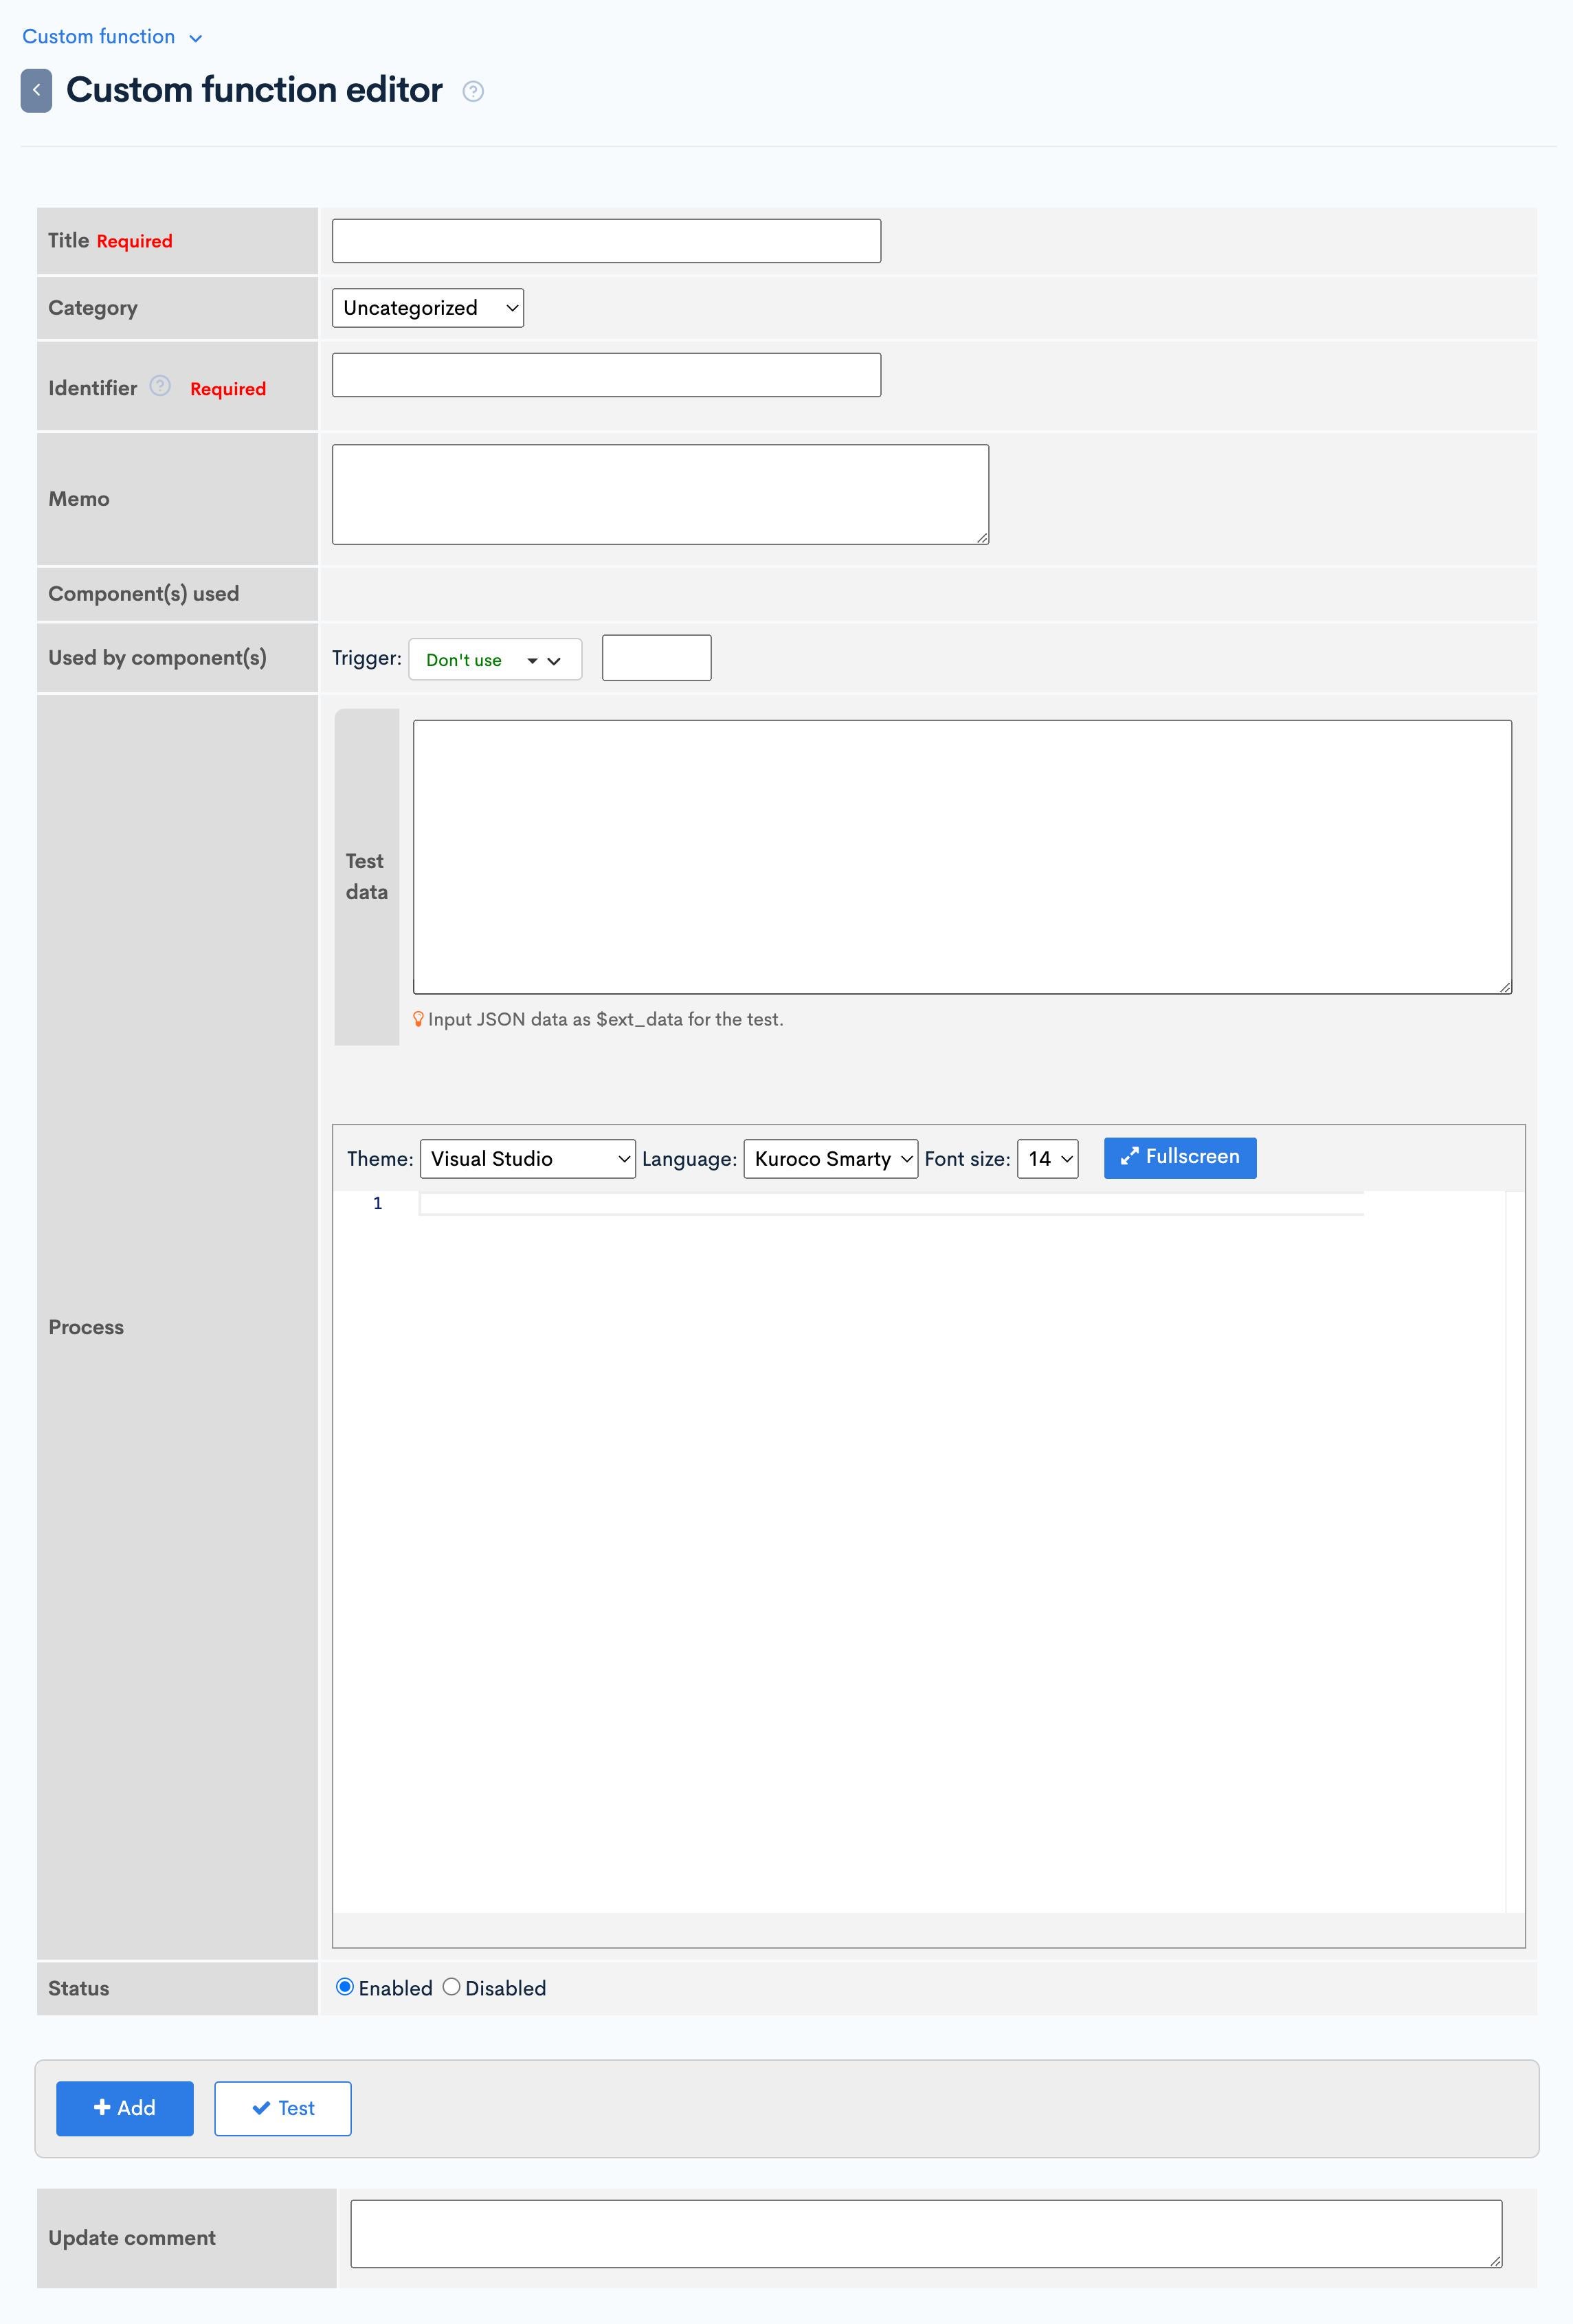
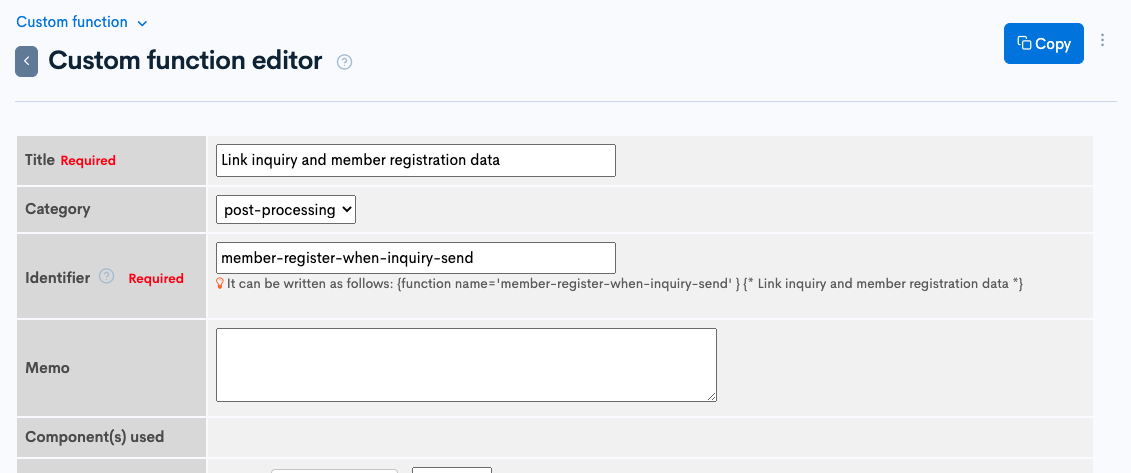
3. Enter the title and identifier
Let's create custom function. First, enter the title and identifier as follows:
- Title: Link inquiry and member registration data
- Identifier: member-register-when-inquiry-send
The title and identifier cannot overlap with other custom functions. Please avoid using the same name as other contents, e.g. the name of the endpoints to be implemented.
Custom function
Enter the function to update the registered member information based on the contents of the form response as follows:
{assign var=update_member_flg value=1}

{* Perform processing only if the user is not logged in (if the user is already registered, they have already been registered) *}
{if $smarty.session.member_id}
    {assign var=update_member_flg value=0}
{/if}

{* If there is already a registered member, add judgment processing to the preprocess and uncomment the following part *}
{*}
{assign_session var=exist_member_flg key='exist_member_flg'}
{if $exist_member_flg}
    {assign var=update_member_flg value=0}
{/if}
{*}

{if $update_member_flg}
    {* Get member ID from inquiry data *}
    {assign var=inquiry_bn_id value=$json.id}
    {api_internal endpoint='/rcms-api/2/inquiry_details/'|cat:$inquiry_bn_id member_id=1 method='GET' var=inquiry_response status_var=status}
    {if $status==1}
        {assign var=member_id value=$inquiry_response.details.member_id}
        {if $member_id}
            {* Get inquiry information *}
            {assign var=tel value=$inquiry_response.details.ext_01}
            {assign var=address value=$inquiry_response.details.ext_03}
            {assign var=sex value=$inquiry_response.details.ext_04.key}{* If it is a selection format, link the key *}
            {assign var=birth value=$inquiry_response.details.ext_05}

            {* Update member information *}
            {assign_array var=queries values=''}
            {assign var=queries.tel value=$tel}
            {assign var=queries.address1 value=$address}
            {assign var=queries.ex_sex value=$sex}
            {assign var=queries.ex_date value=$birth}
            {api_internal endpoint='/rcms-api/2/self-member-update' method='POST' member_id=$member_id queries=$queries var=member_response status_var=status}
            {if $status==1}
                {* Processing succeeded *}
            {else}
                {* Error processing *}
                {logger msg1='member-register-when-inquiry-send' msg2='Cannot set member ext data' msg3=$queries msg4=$member_response}
            {/if}
        {else}
            {* Error processing, case where member registration has failed with standard processing *}
            {logger msg1='member-register-when-inquiry-send' msg2='Cannot get member_id from inquiry details' msg3=$inquiry_response}
        {/if}
    {else}
        {* Error processing *}
        {logger msg1='member-register-when-inquiry-send' msg2='Cannot get inquiry details' msg3=$inquiry_response}
    {/if}
{/if}
{$json|@json_encode}
Form item settings for member items
The custom function above corresponds to the following form settings/member settings.
Configure the following settings in the respective pages, "Form Item Settings" and "Member's Extended Item Settings".
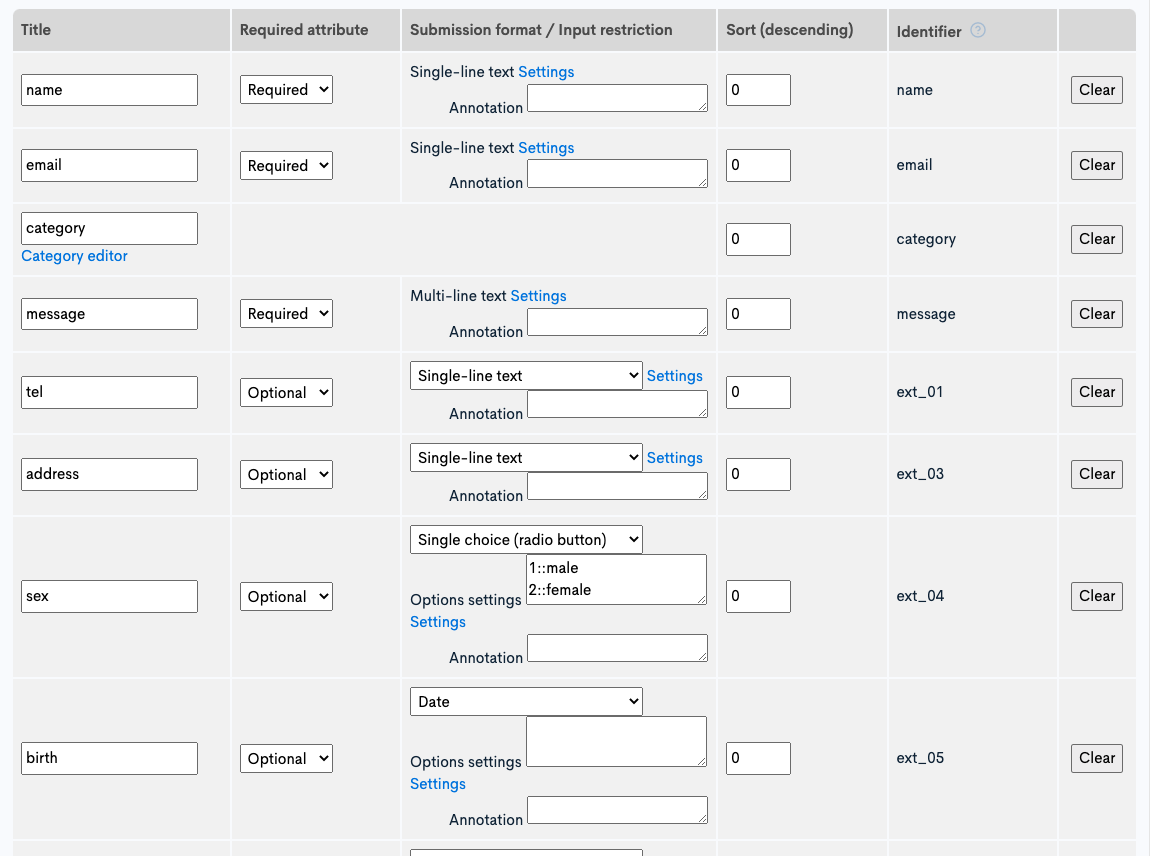
| Form Item | Form Key Name | Member Item | Member Key Name | Type | Note |
|---|---|---|---|---|---|
| name | name | Last Name First Name | name1 name2 | Text | Not set for cooperation because it is set by the standard member registration process |
| Text | Not set for cooperation because it is set by the standard member registration process | ||||
| tel | ext_01 | Phone number | tel | Text | |
| address | ext_03 | Address 1 | address1 | Text | |
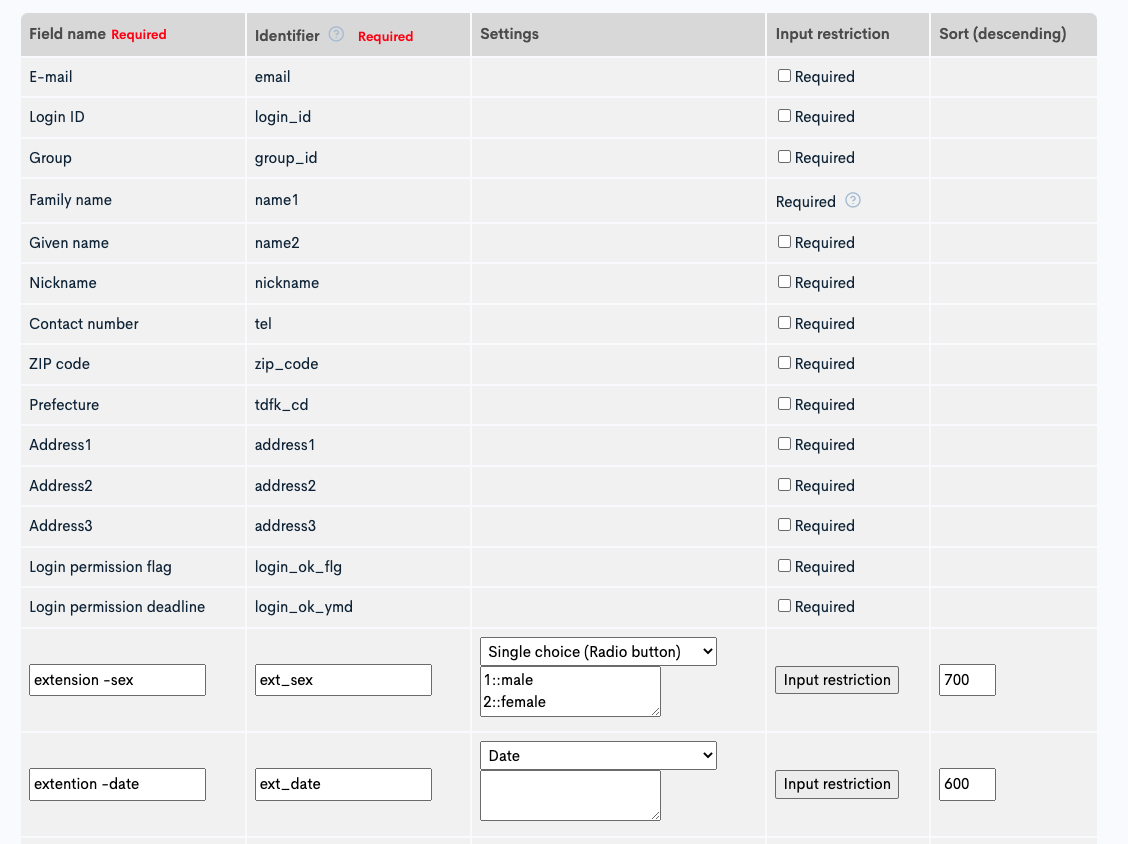
| sex | ext_04 | Extended-Gender | ex_sex | Select | The options are set to the following for both forms and members. 1::male 2::female 3::other |
| birth | ext_05 | Extended-Birthday | ex_date | Date format |
Form Item Settings
Member Item Settings
4. Save custom function
After entering the code for the custom function, click the [Add] button to save.

5. To only link form data and member items during the initial registration
The process of registering a member via form submission is only performed when the email address of the existing member does not exist.
Therefore, if you do not want to link the form data for users that are already registered as members, add the following process in the pre-process, and uncomment the following code described in the post-process.
Uncomment the following code in the post-process
{*If there are already registered members, add a determination process to the pre-process and uncomment the following part.*}
{*}
{assign_session var=exist_member_flg key='exist_member_flg'}
{if $exist_member_flg}
    {assign var=update_member_flg value=0}
{/if}
{*}
Pre-process custom function to check if user is already registered as a member
{assign_session key='exist_member_flg' value=0}
{if $smarty.request.email}
    {*filter member information with email*}
    {assign var=email value=$smarty.request.email}

    {assign_array var=method_params values=''}
    {assign var=method_params.filter value='email='|cat:$email}
    {api_method var=list model="Member" method="list" method_params=$method_params}
    {if $list.list|@count > 0}
        {*If exists, do not register new ones or update*}
        {assign_session key='exist_member_flg' value=1}
    {/if}
{/if}
The custom function setup is now complete.
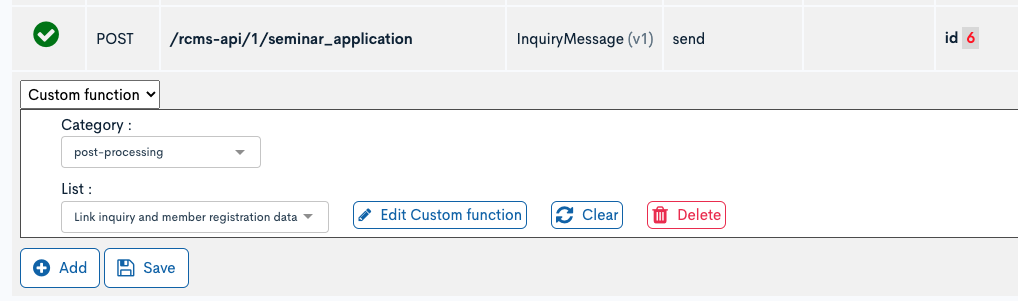
Set the created custom function as a post-process in the endpoint
Set the post-process for the form submission endpoint created in the "Prerequisites" section from the API list screen.
Verify the operation using Swagger.
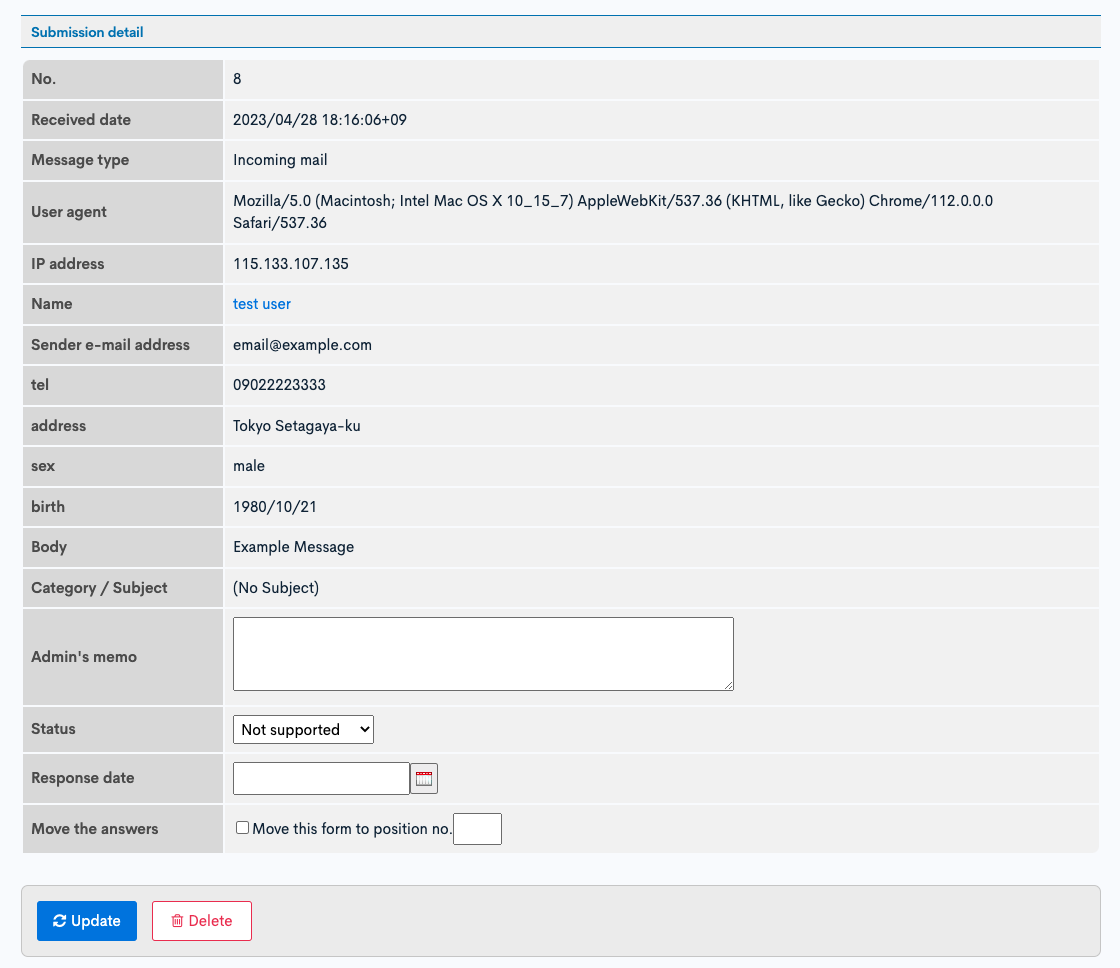
- Call the InquiryMessage:send endpoint with the following sample data from Swagger.
- Confirm that the added member information contains the same information as the form submission.
Sample data
{
  "name": "test user",
  "email": "email@example.com",
  "ext_01": "09022223333",
  "ext_03": "Tokyo Setagaya-ku",
  "ext_04": "1",
  "ext_05": "1980-10-21",
  "body": "Example Message",
  "inquiry_category_id": 6
}
inquiry_category_id may be different depending on the environment.
Member information after registration
Related documents
Support
If you have any other questions, please contact us or check out Our Slack Community.