Create a group that becomes a superuser only when accessed from the internal network.
By setting IP address restrictions for a "group," you can create a group where permissions are granted only when accessed from the specified IP addresses. In this example, we will create a group that behaves as a superuser only when accessed from the internal network.
Creating a new group
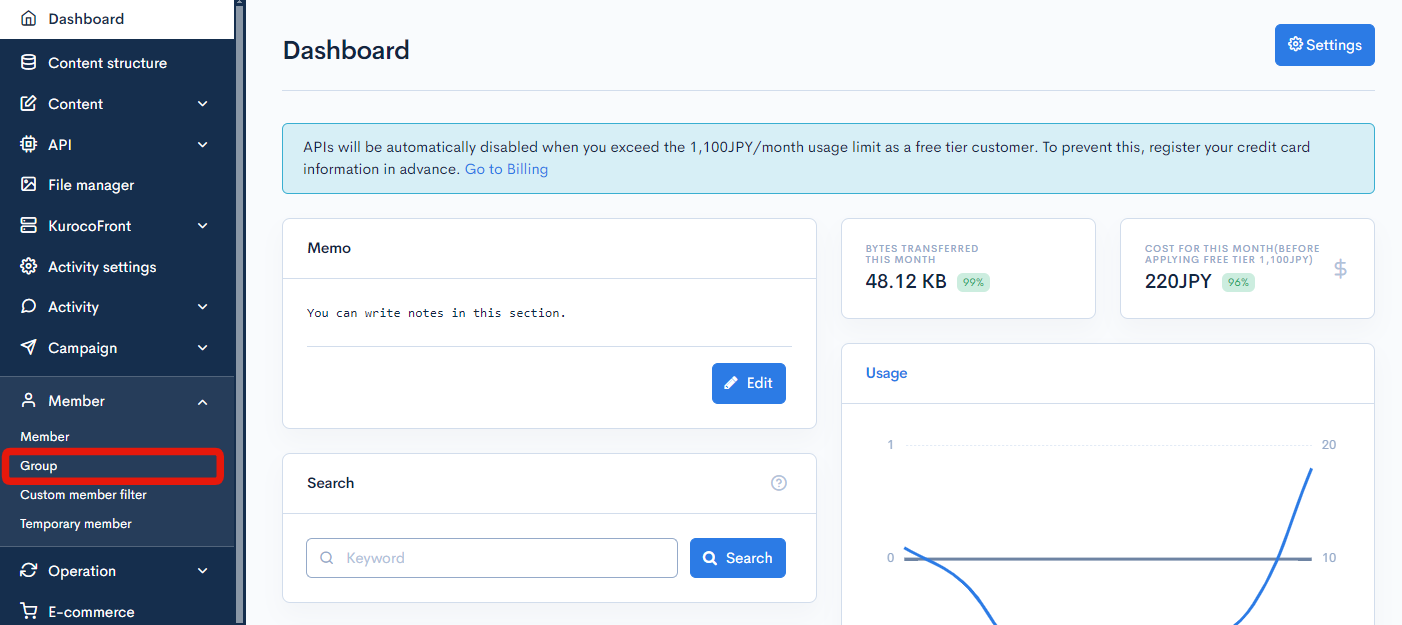
1. Accessing the group list page
Click on [Member] -> [Group] to access the group list page.
2. Click on [Add] button
Click the [Add] button on the top right of the screen to access the page to add groups.

3. Basic group settings setup
Refer to Basic Group Settings for basic group settings setup.
As an example, the basic group settings are set as follows:
- Group name: Administrator (internal network only)
- User type: Superuser
- IP Address Restriction: Insert the allowed IP address
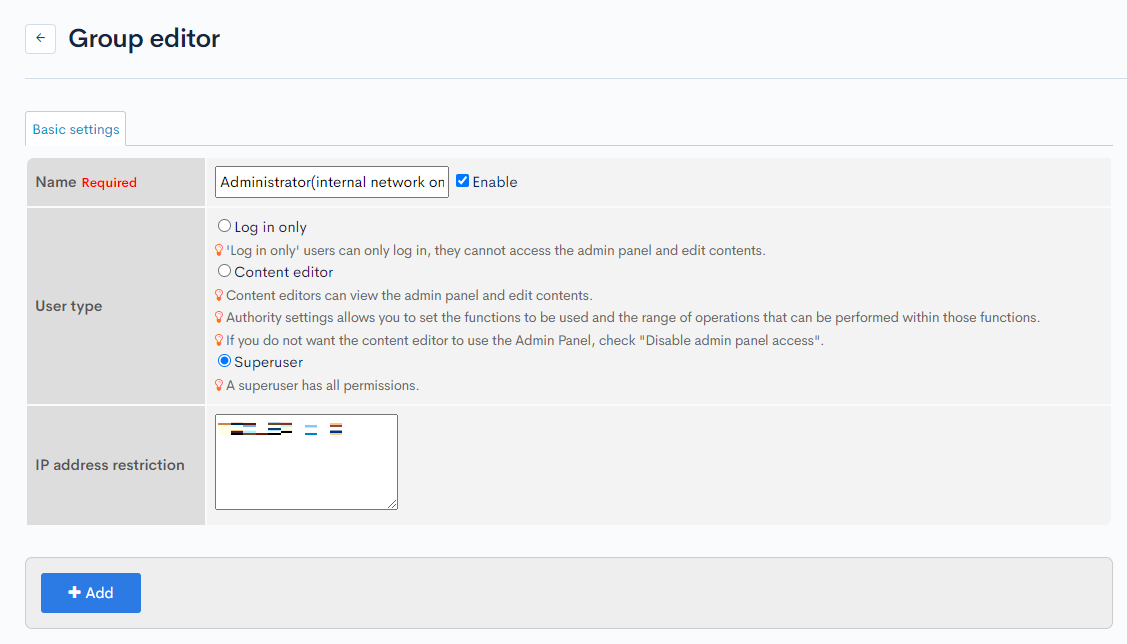
After confirming the group details, create the group by clicking the "Add" button at the bottom of the screen.
In the next step, the member will be assigned to their respective group(s).
Changing the group that a member belongs to
1. Open the manage member page
Access the manage member page. Reference: Manage member.
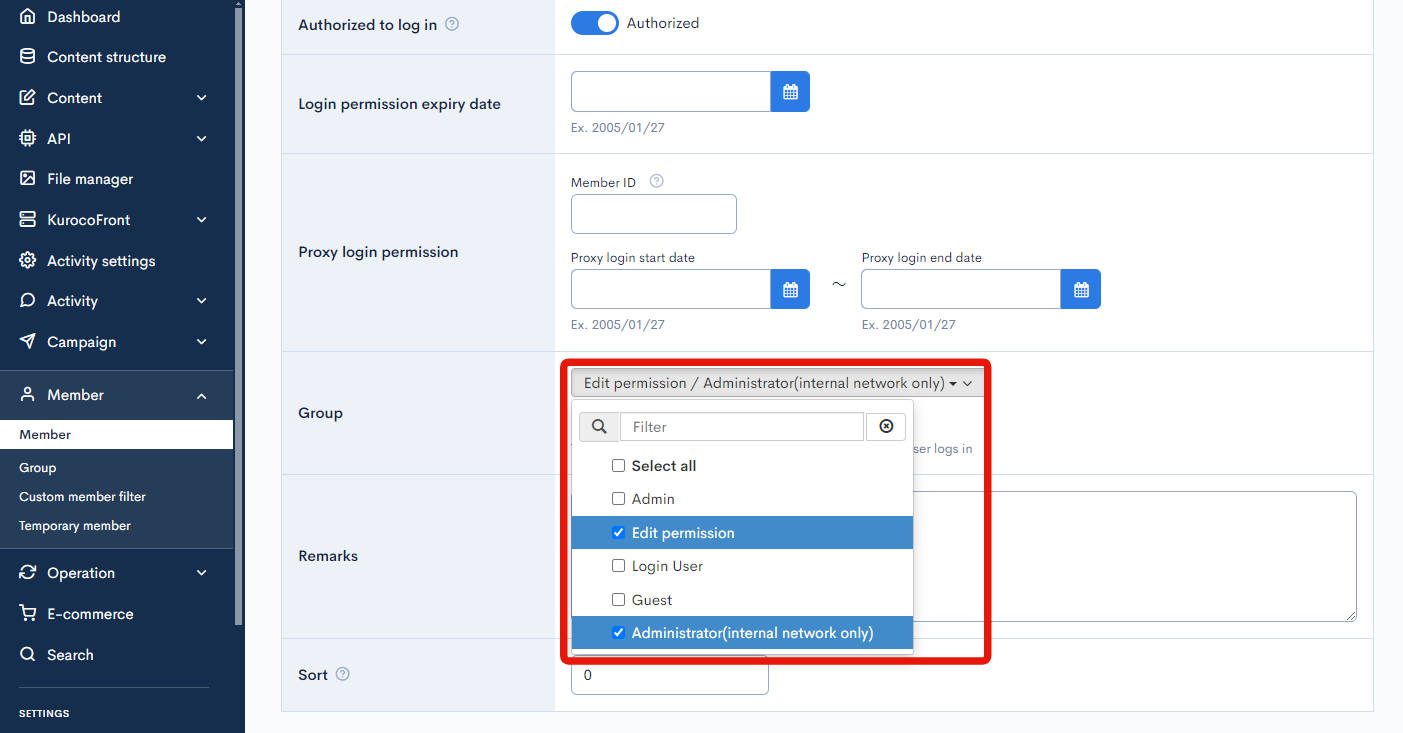
2. Edit the group section
On the [ID Info] tab, click the dropdown list on the [Group] section and select the groups you want to set.
Select "Edit permission" and "Administrator (internal network only)" this time.
Click [Update] at the bottom of the screen to create the group.
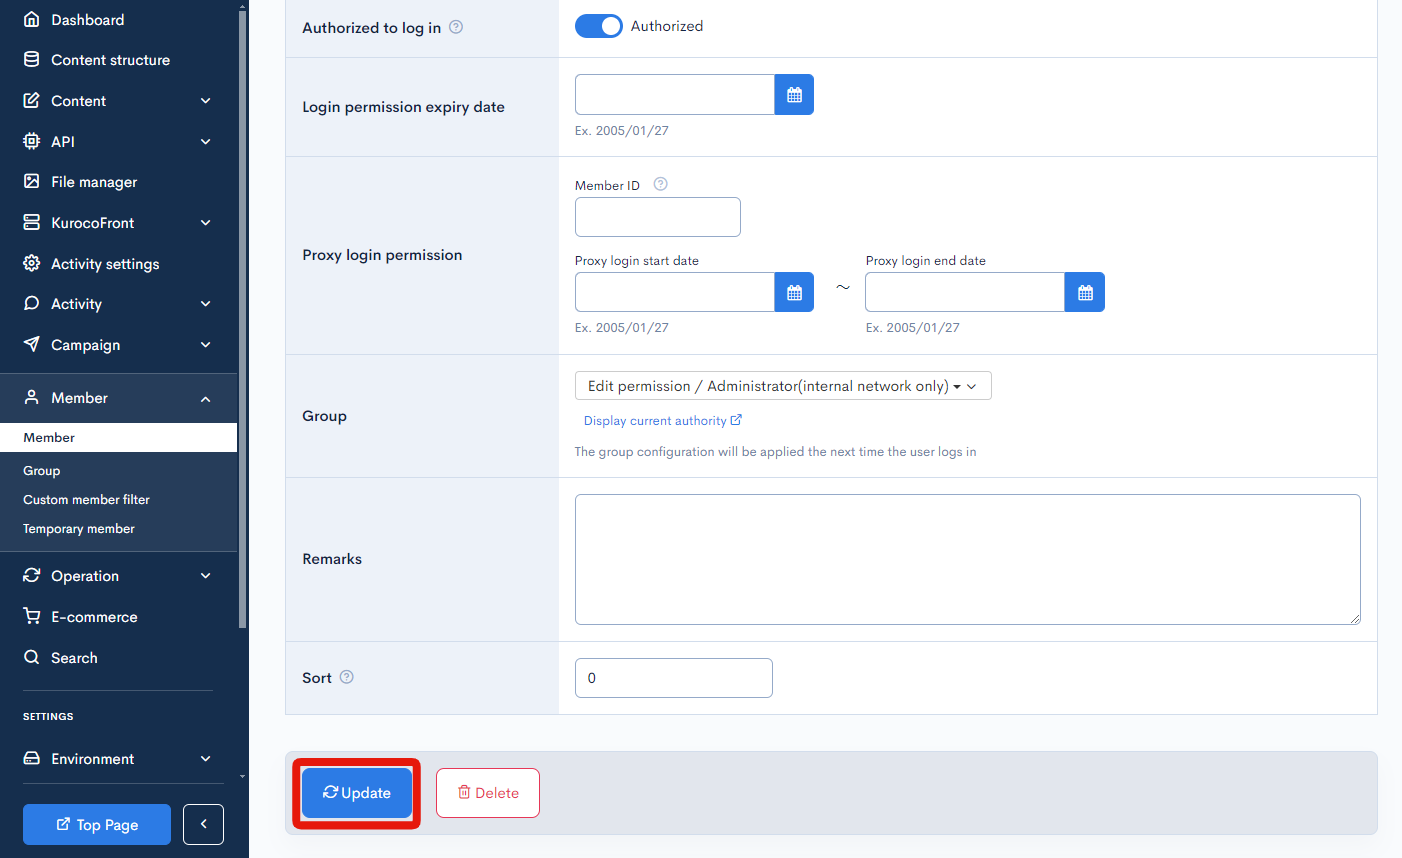
When the user logs in from the internal network IP address, the "Edit permission" and "Administrator (internal network only)" authorization are granted. However, when logging in from other IP addresses, only the "Edit permission" authorization is granted to the user.
Related documents
Support
If you have any other questions, please contact us or check out Our Slack Community.