Building a membership website on Kuroco from the sample site template
We have provided an open-source sample website template. Copy it to get started on your Kuroco project and build your own simple membership site.
Repository: https://github.com/diverta/front_nuxt_auth
Demo site
The demo site used for this tutorial can be accessed through this link: https://dev-nuxt-auth.g.kuroco-front.app/
Before you start
Please note the following prerequisites for this tutorial.
Nuxt
This project uses Nuxt.js. Please make sure you have it ready in your environment before you begin.
GitHub
You will need to push the source to GitHub to deploy the project. To do so, you will need a GitHub account.
Site building
After verifying your prerequisites, you can start to build your site.
Clone the membership site sample repository
Clone the source code from the sample repository to your local directory. Run the following command in your terminal:
git clone https://github.com/diverta/front_nuxt_auth.git
Then, navigate to the front_nuxt_auth directory. Install and run the project as follows:
cd front_nuxt_auth
npm install
npm run dev
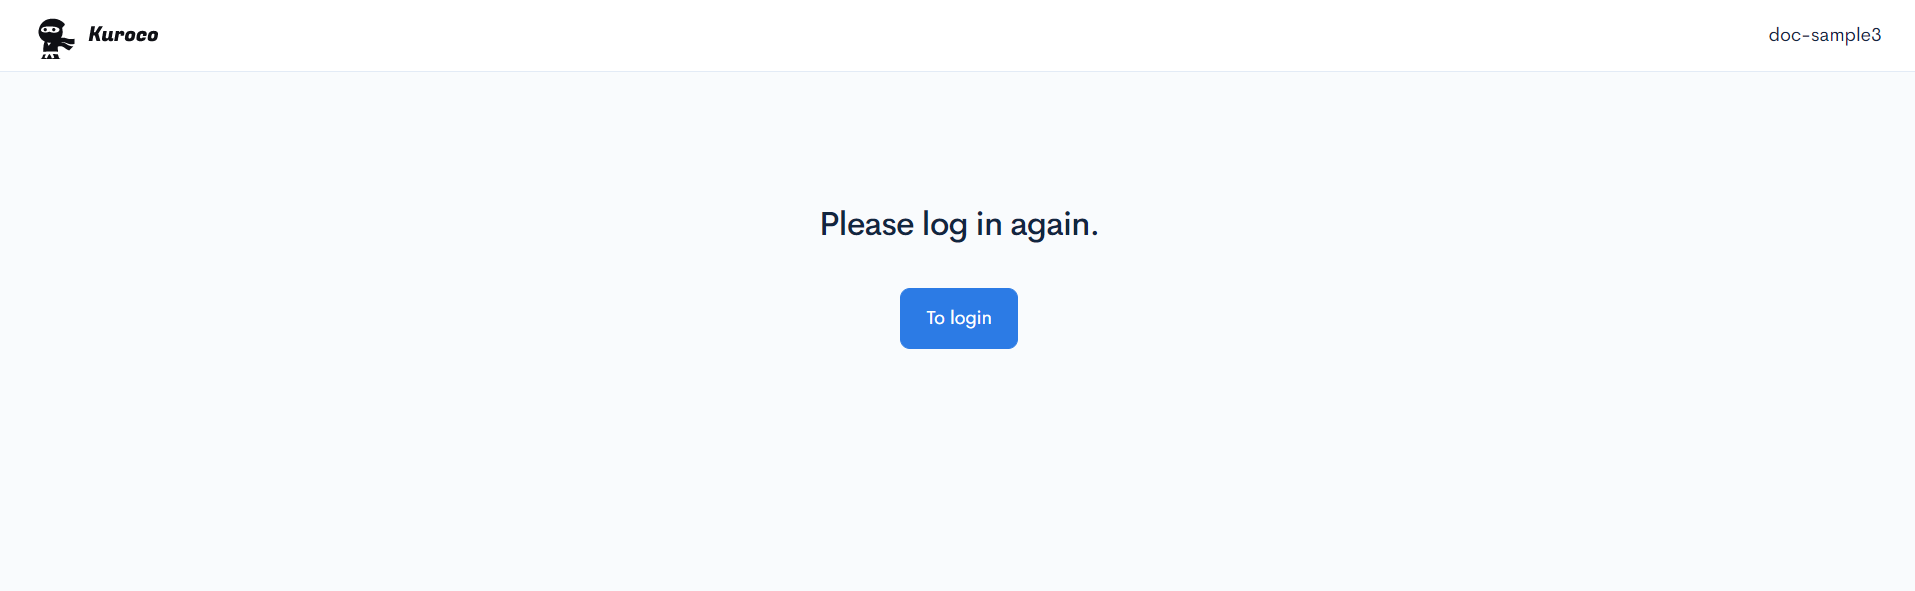
Go to http://localhost:3000 in your browser. You should see the login page below.

Create your GitHub repository and push your file
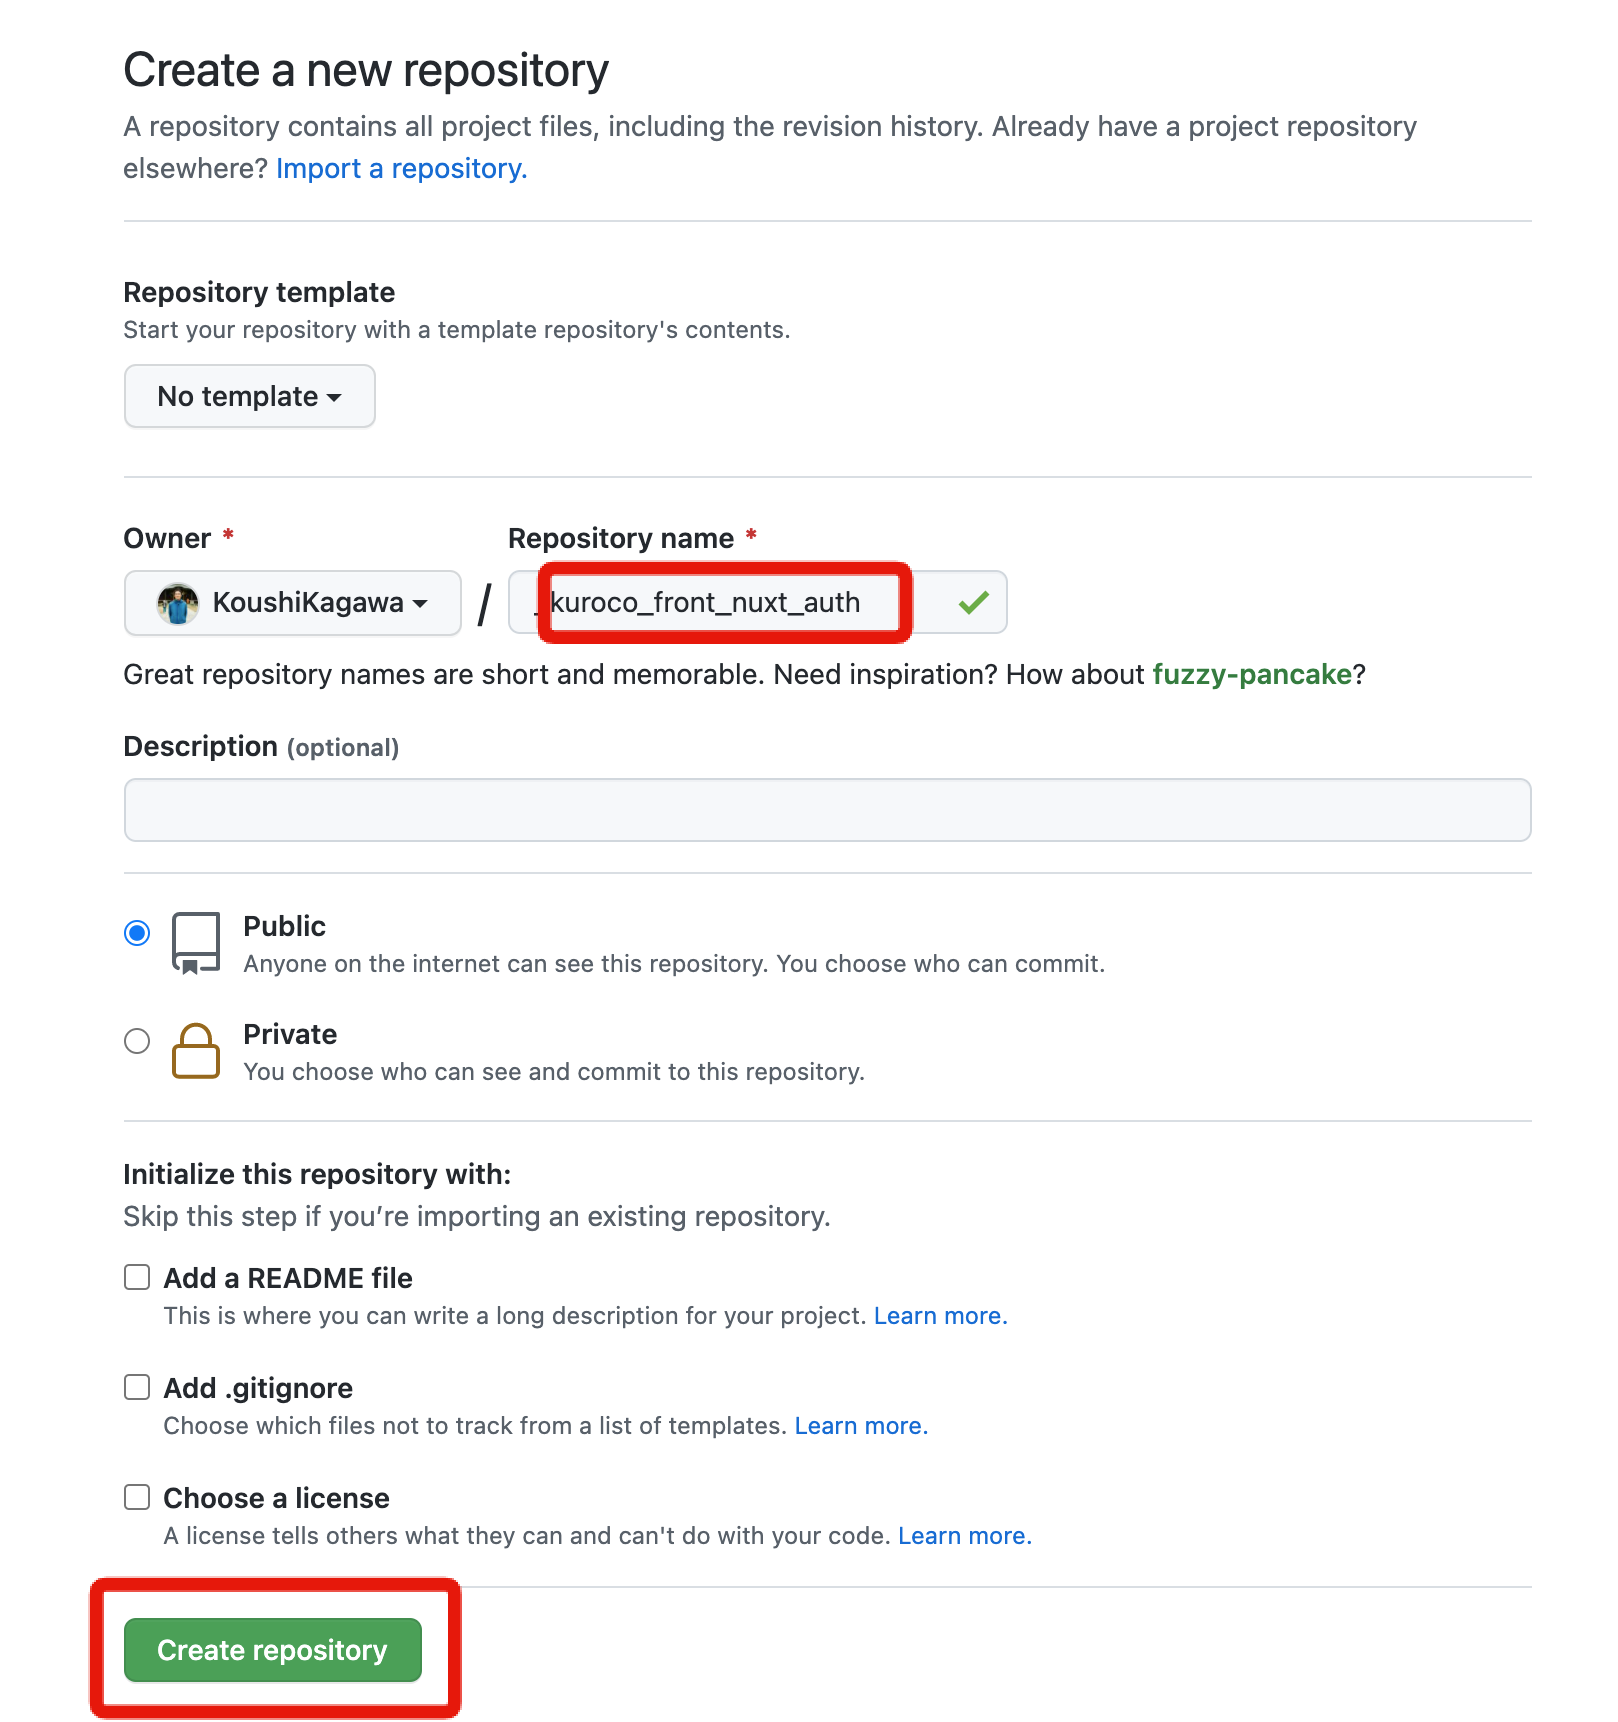
Next, push the repository you cloned earlier to your own repository. Log in to GitHub and select [Repositories] -> [New].
 You will be redirected to the repository creation screen. Fill in the required information and click [Create repository]. For this tutorial, we will use
 kuroco_front_nuxt_auth as the repository name.
 Now that you have created your repository, you can push the file you cloned earlier to it. Run the following command in your terminal:
git remote set-url origin https://github.com/[GitHub account]/[kuroco_front_nuxt_auth].git
Note
Substitute the following items with your own account information:
GitHub account: your GitHub usernamekuroco_front_nuxt_auth: the repository you created earlier
You have now changed the remote repository. To verify this, run the following command:
git remote -v
You should see a change to the repository you have set up.
origin  https://github.com/[GitHub account]/[kuroco_front_nuxt_auth].git (fetch)
origin  https://github.com/[GitHub account]/[kuroco_front_nuxt_auth].git (push)
Now run the command below to push your file to the GitHub repository where it was created.
git push -u origin main
Verify that the file has been pushed to the repository.
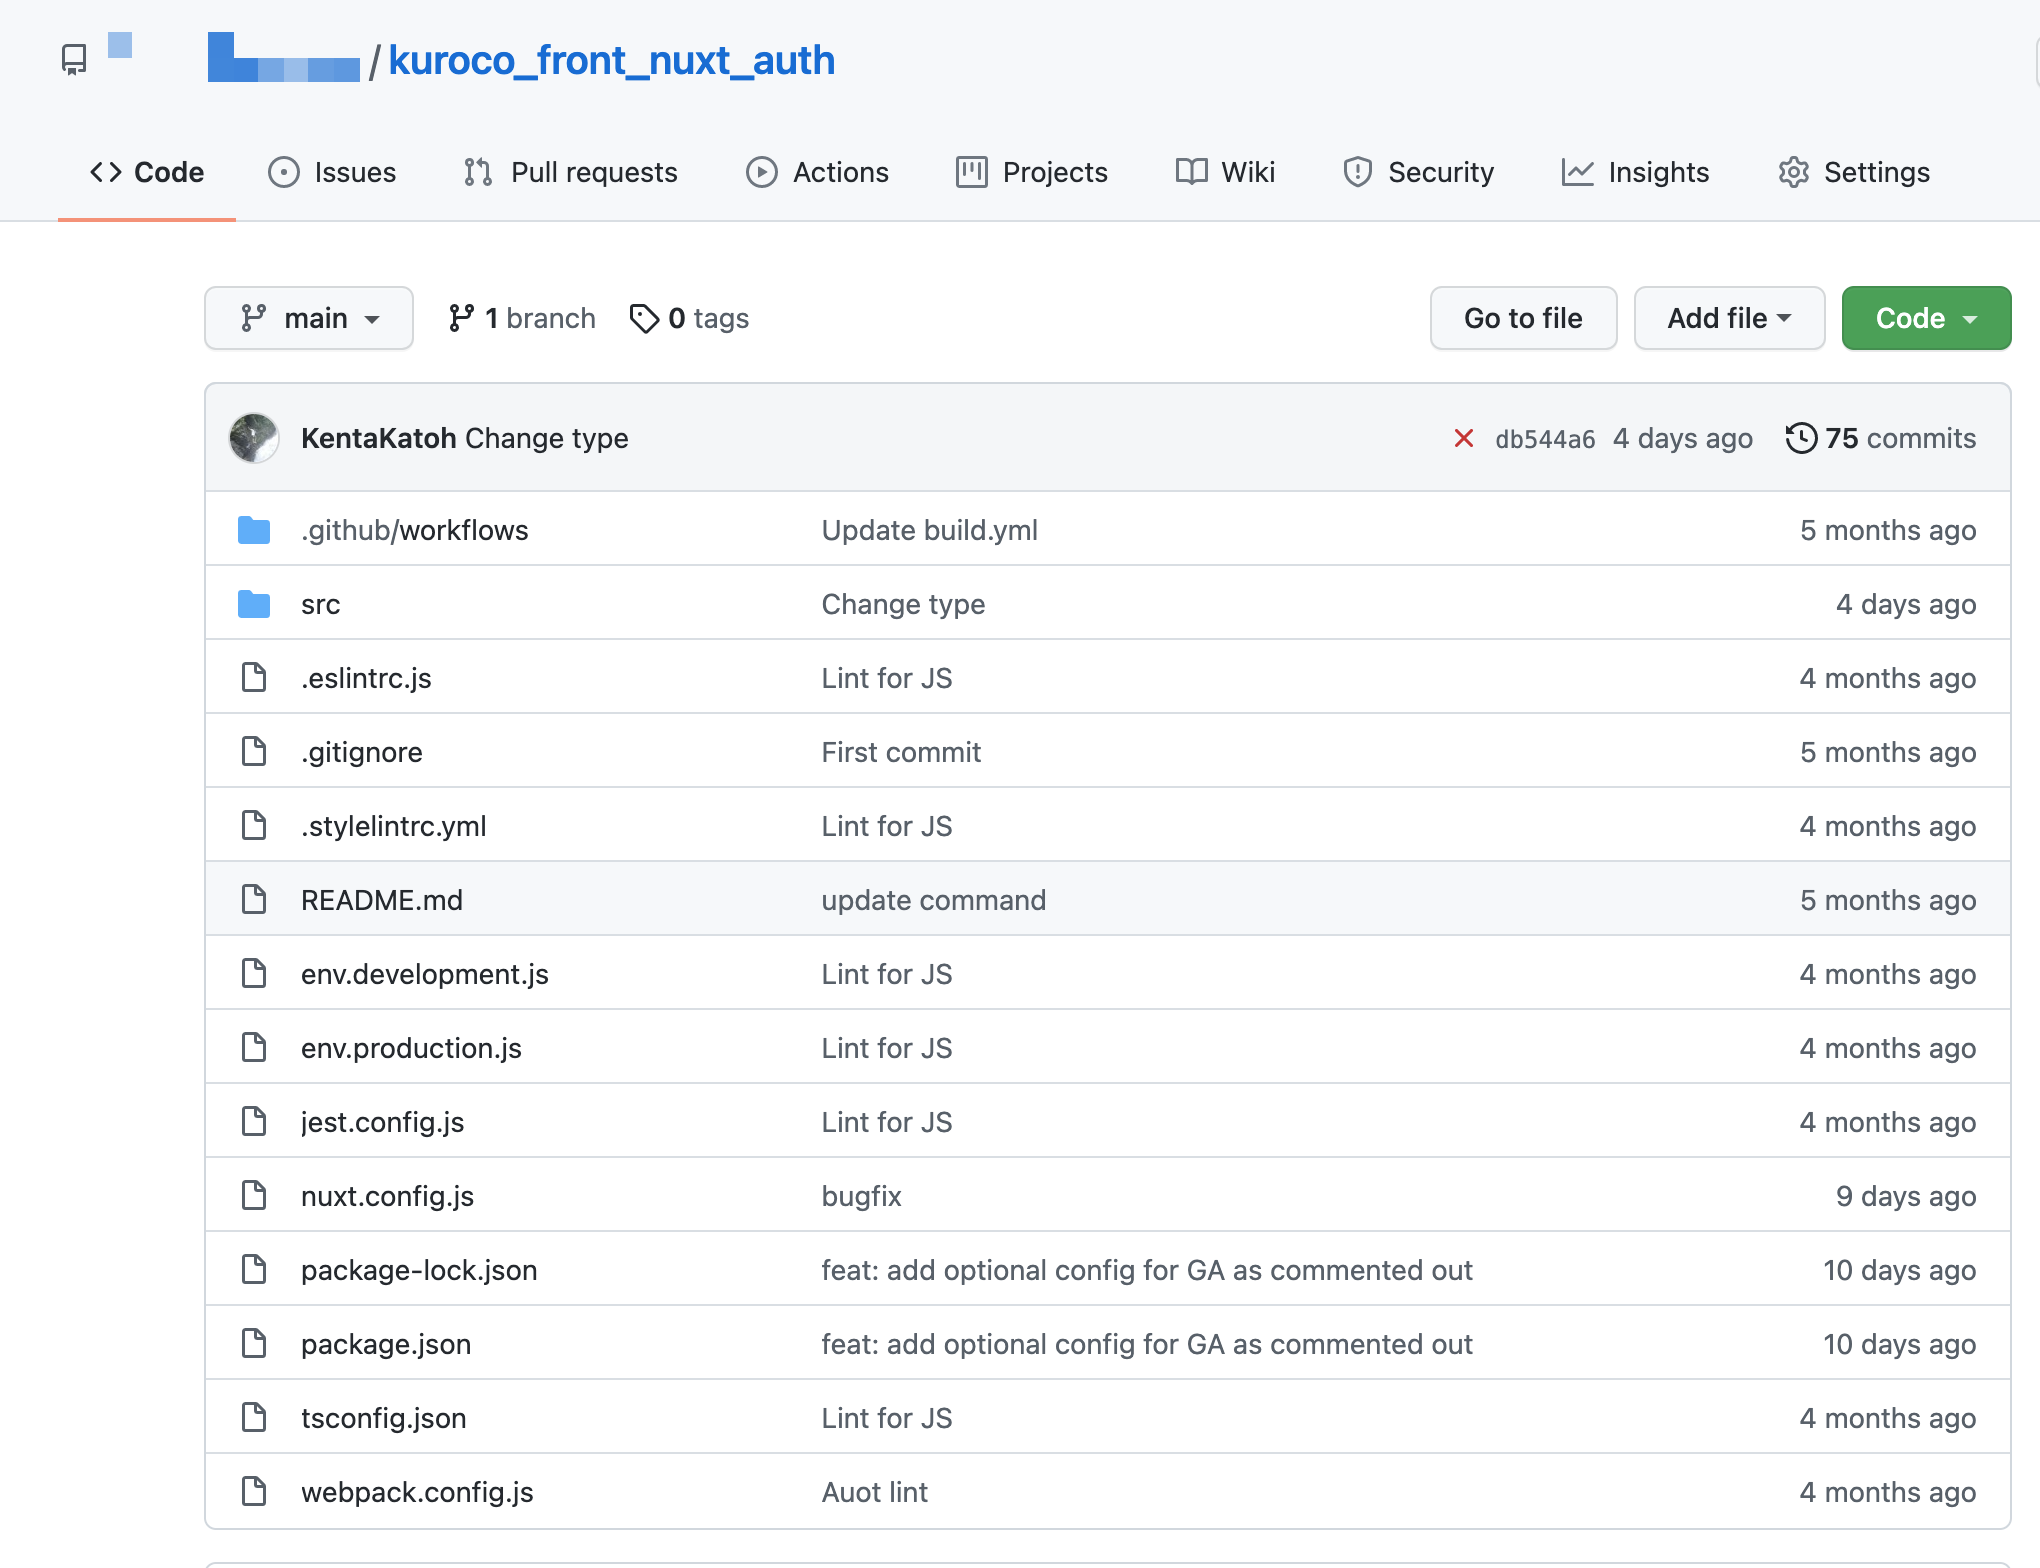 This concludes the front-end preparation. The next step is to link your GitHub repository to your Kuroco project.
A note on handling Git push errors:
Since this sample site includes a yml file for GitHub Actions, an error may occur depending on your GitHub settings. For more information, see FAQ: I get an error message when I push to GitHub. How do I resolve this error?.
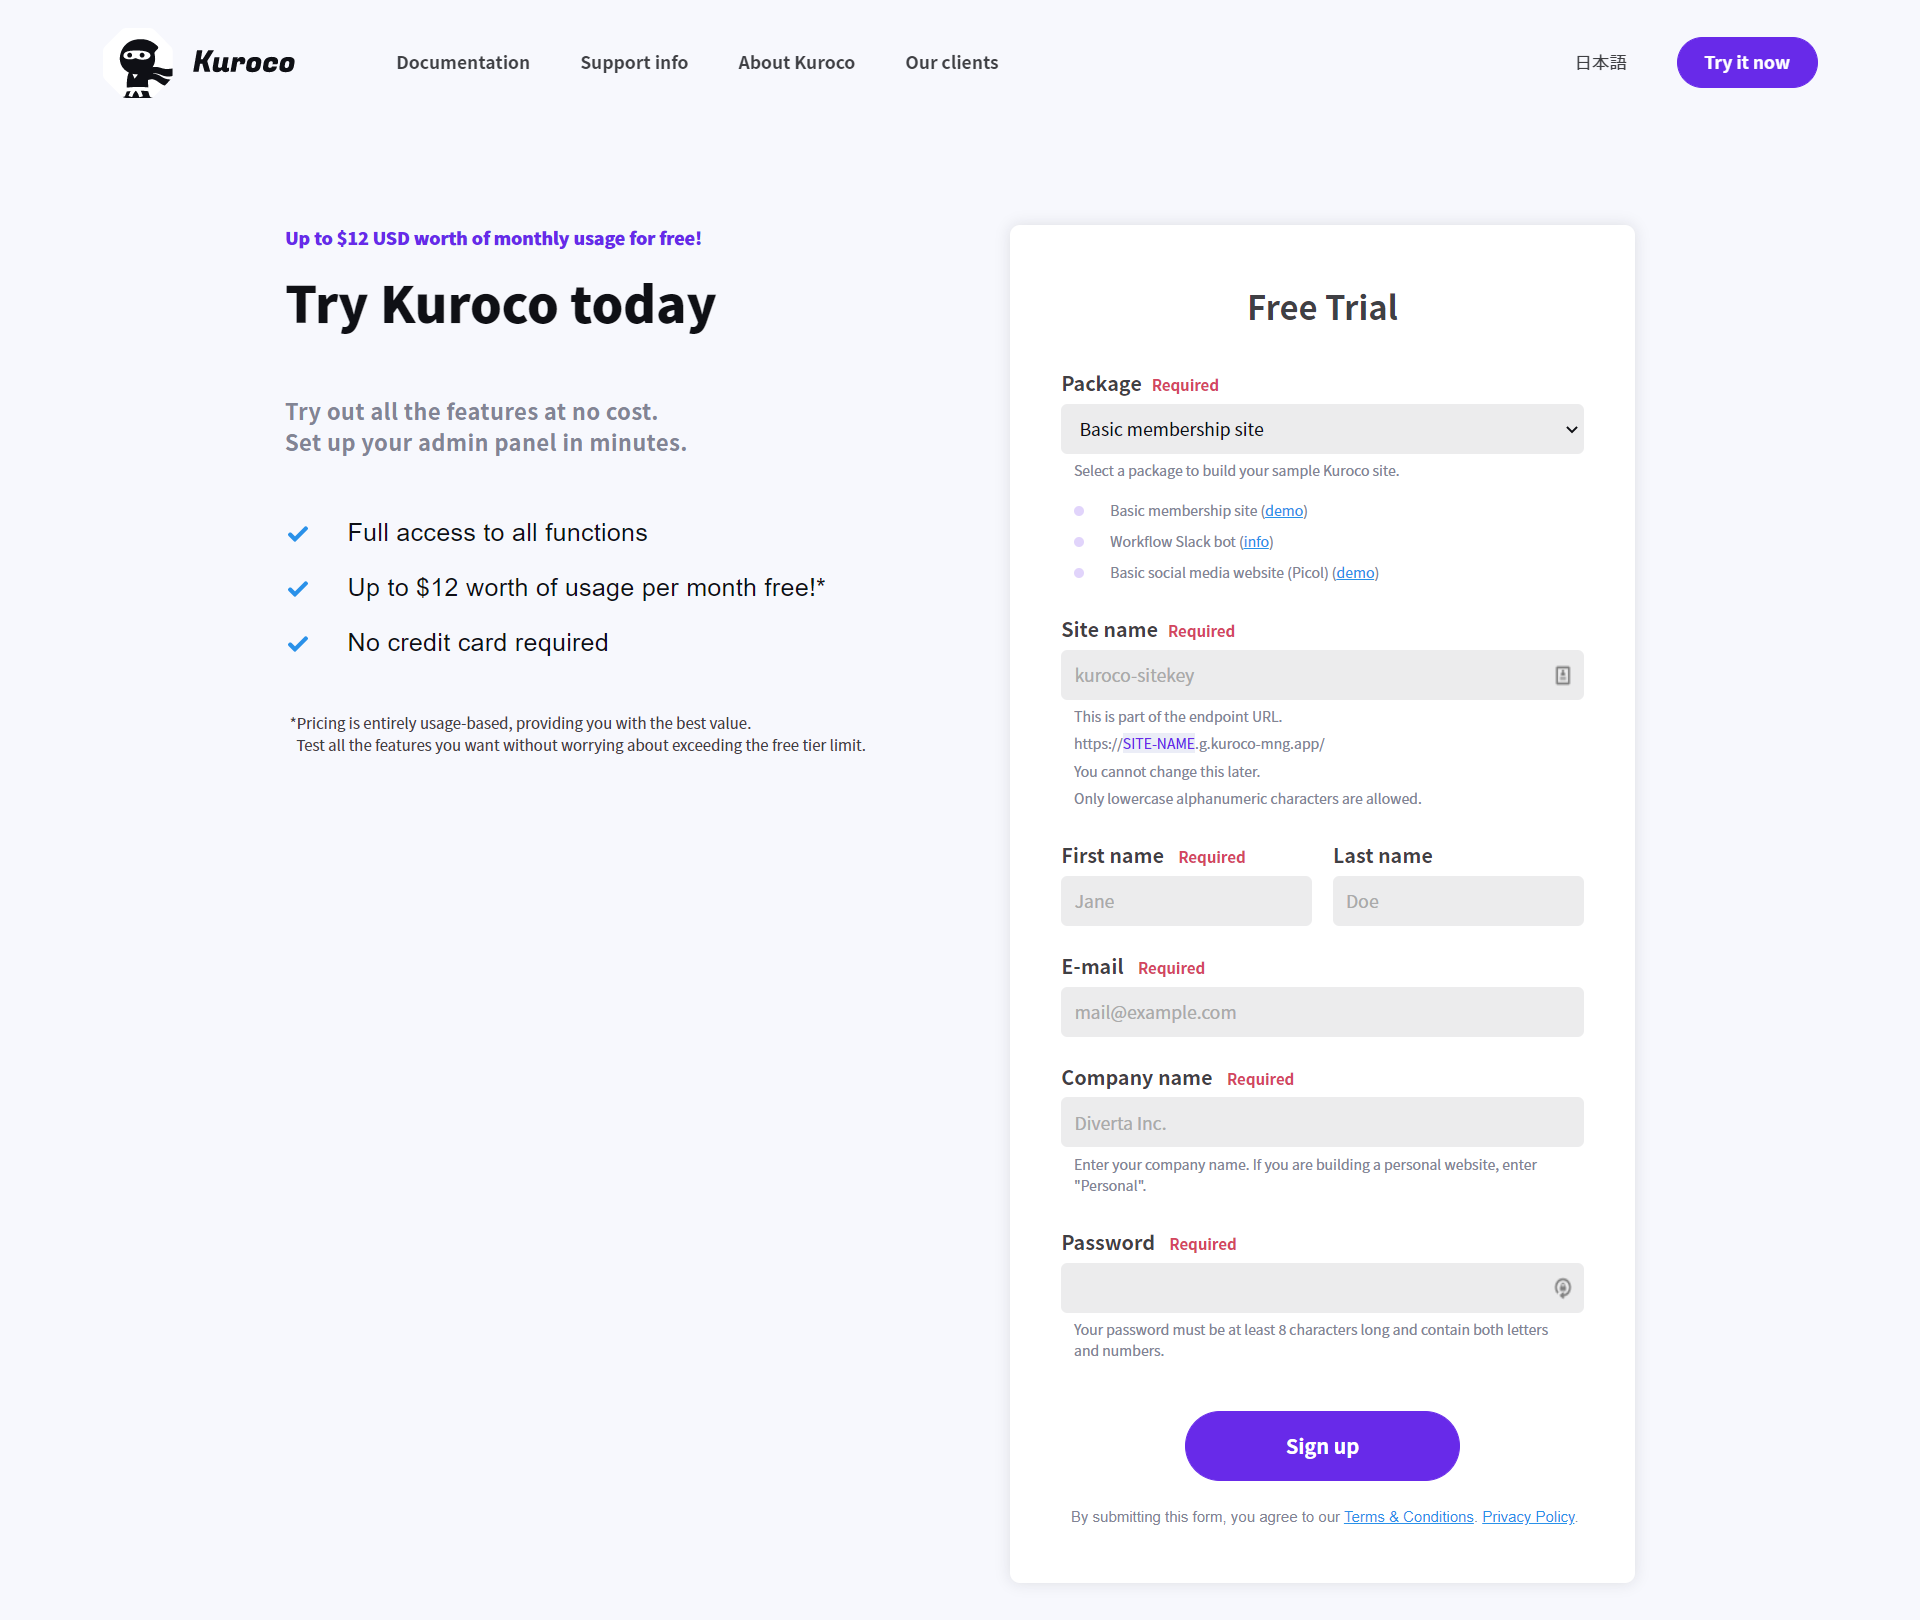
Sign up for Kuroco
The next step is to register for a Kuroco account. Navigate to the Free Trial page, fill in the required fields, and click [Sign up].
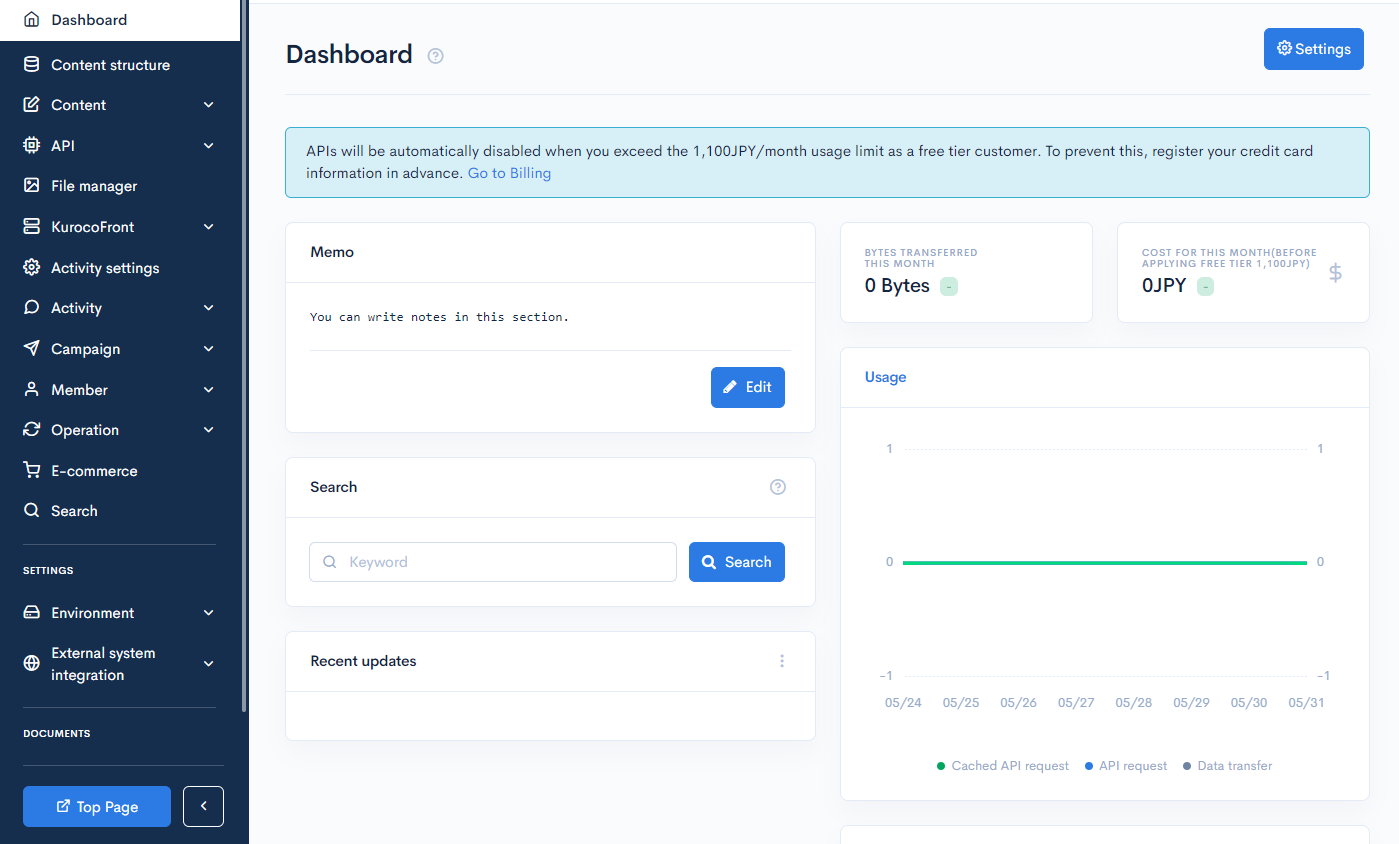
 You will receive a sign-up confirmation e-mail in your inbox. Click the admin panel URL in the e-mail and log in with your account details. You should see the following screen:
Configure CORS
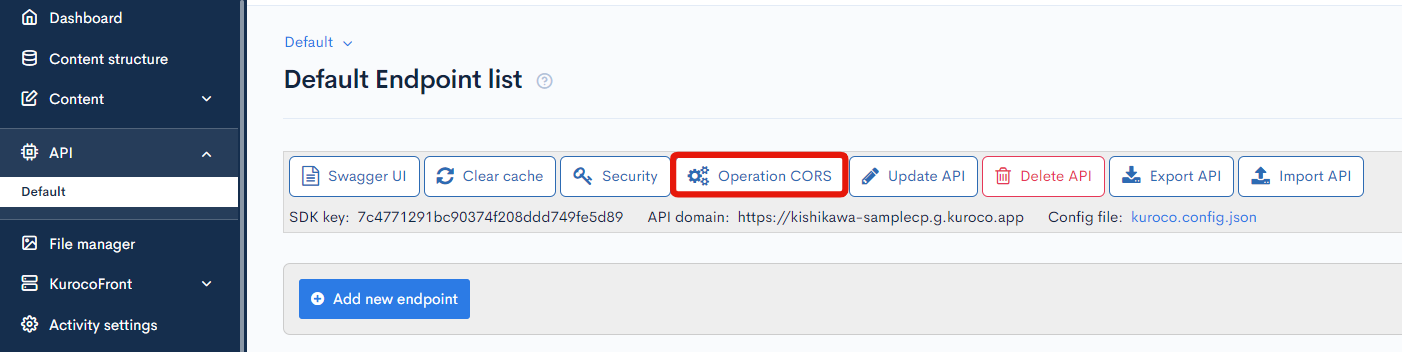
In the left sidebar menu, select [API] -> [Default]. Then, click [Operation CORS].
Under "CORS_ALLOW_ORIGINS" in the settings dialog, click [Add Origin].
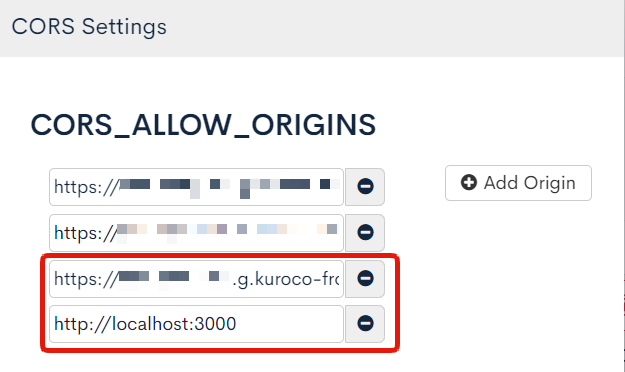
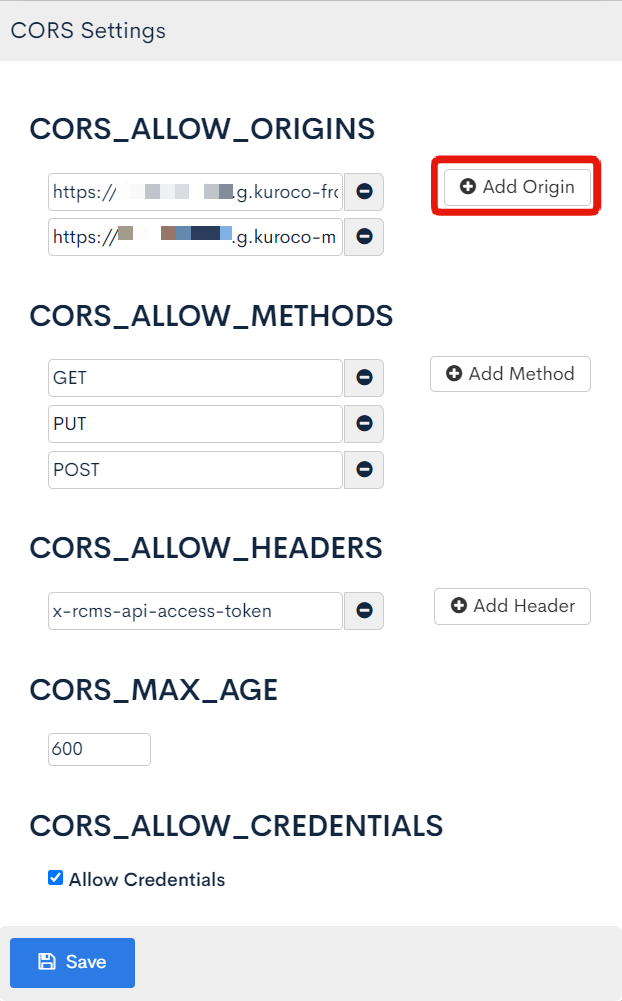 Add the two entries below and click [Save].
- Your front-end domain name
http://localhost:3000
You can find your front-end domain name in [Environment] -> [Account] (see User guide: Account settings for more information).
If you do not use an original domain, your front-end domain name is simply https://SITE-KEY.g.kuroco-front.app. Since this has already been registered under "CORS_ALLOW_ORIGINS", there is no need to enter it again manually.
Configure KurocoFront
Now, let's link the GitHub repository you cloned earlier to Kuroco using KurocoFront.
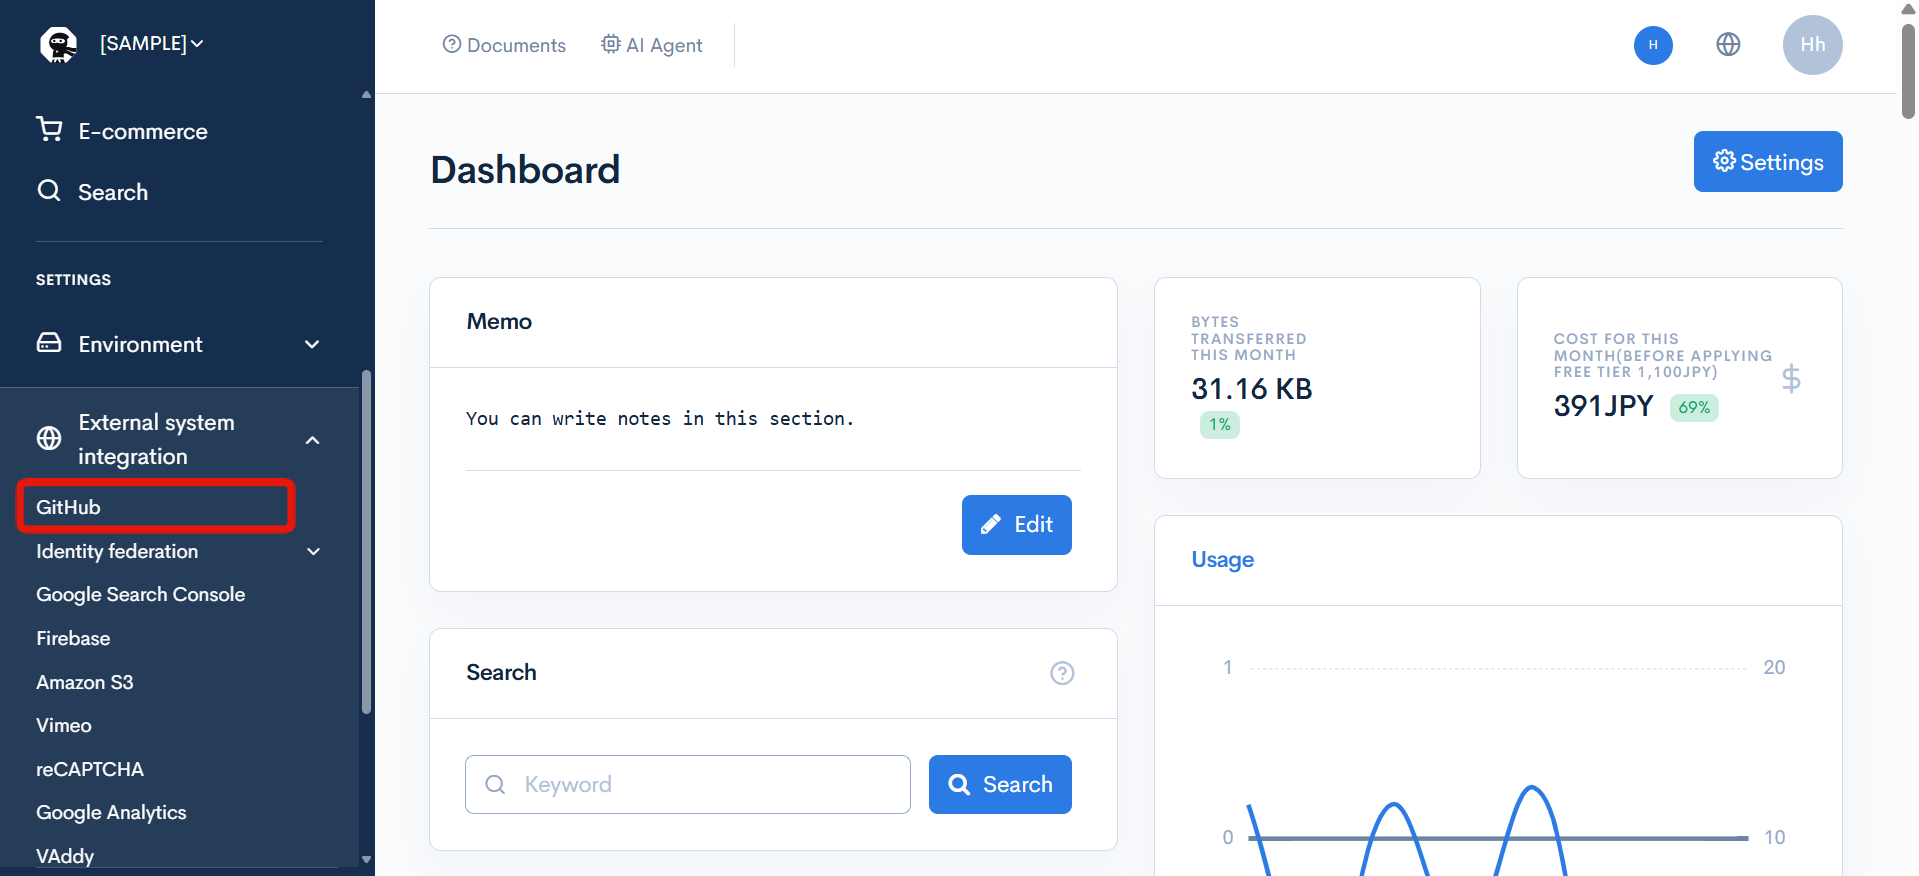
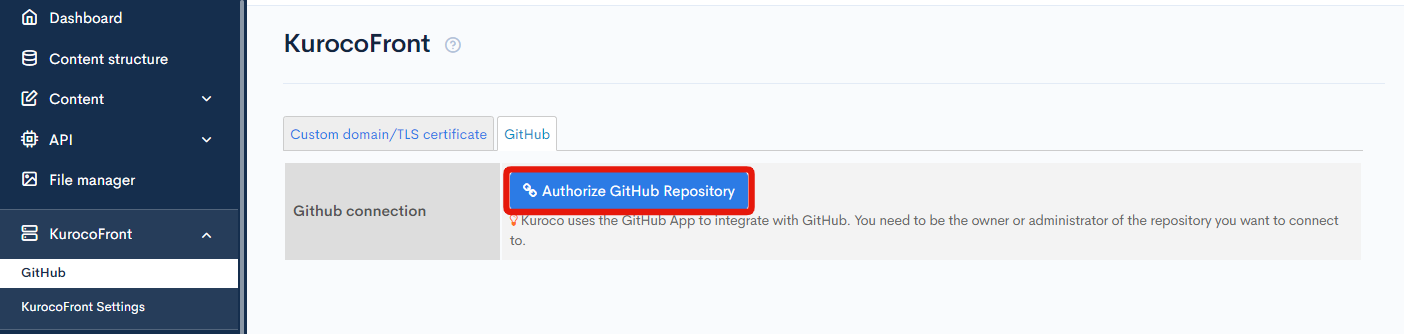
In the left sidebar menu, select [External system integration] -> [GitHub].
 Click [Authorize GitHub Repository].
 Log in to your GitHub account.
 You will be redirected to the following page:
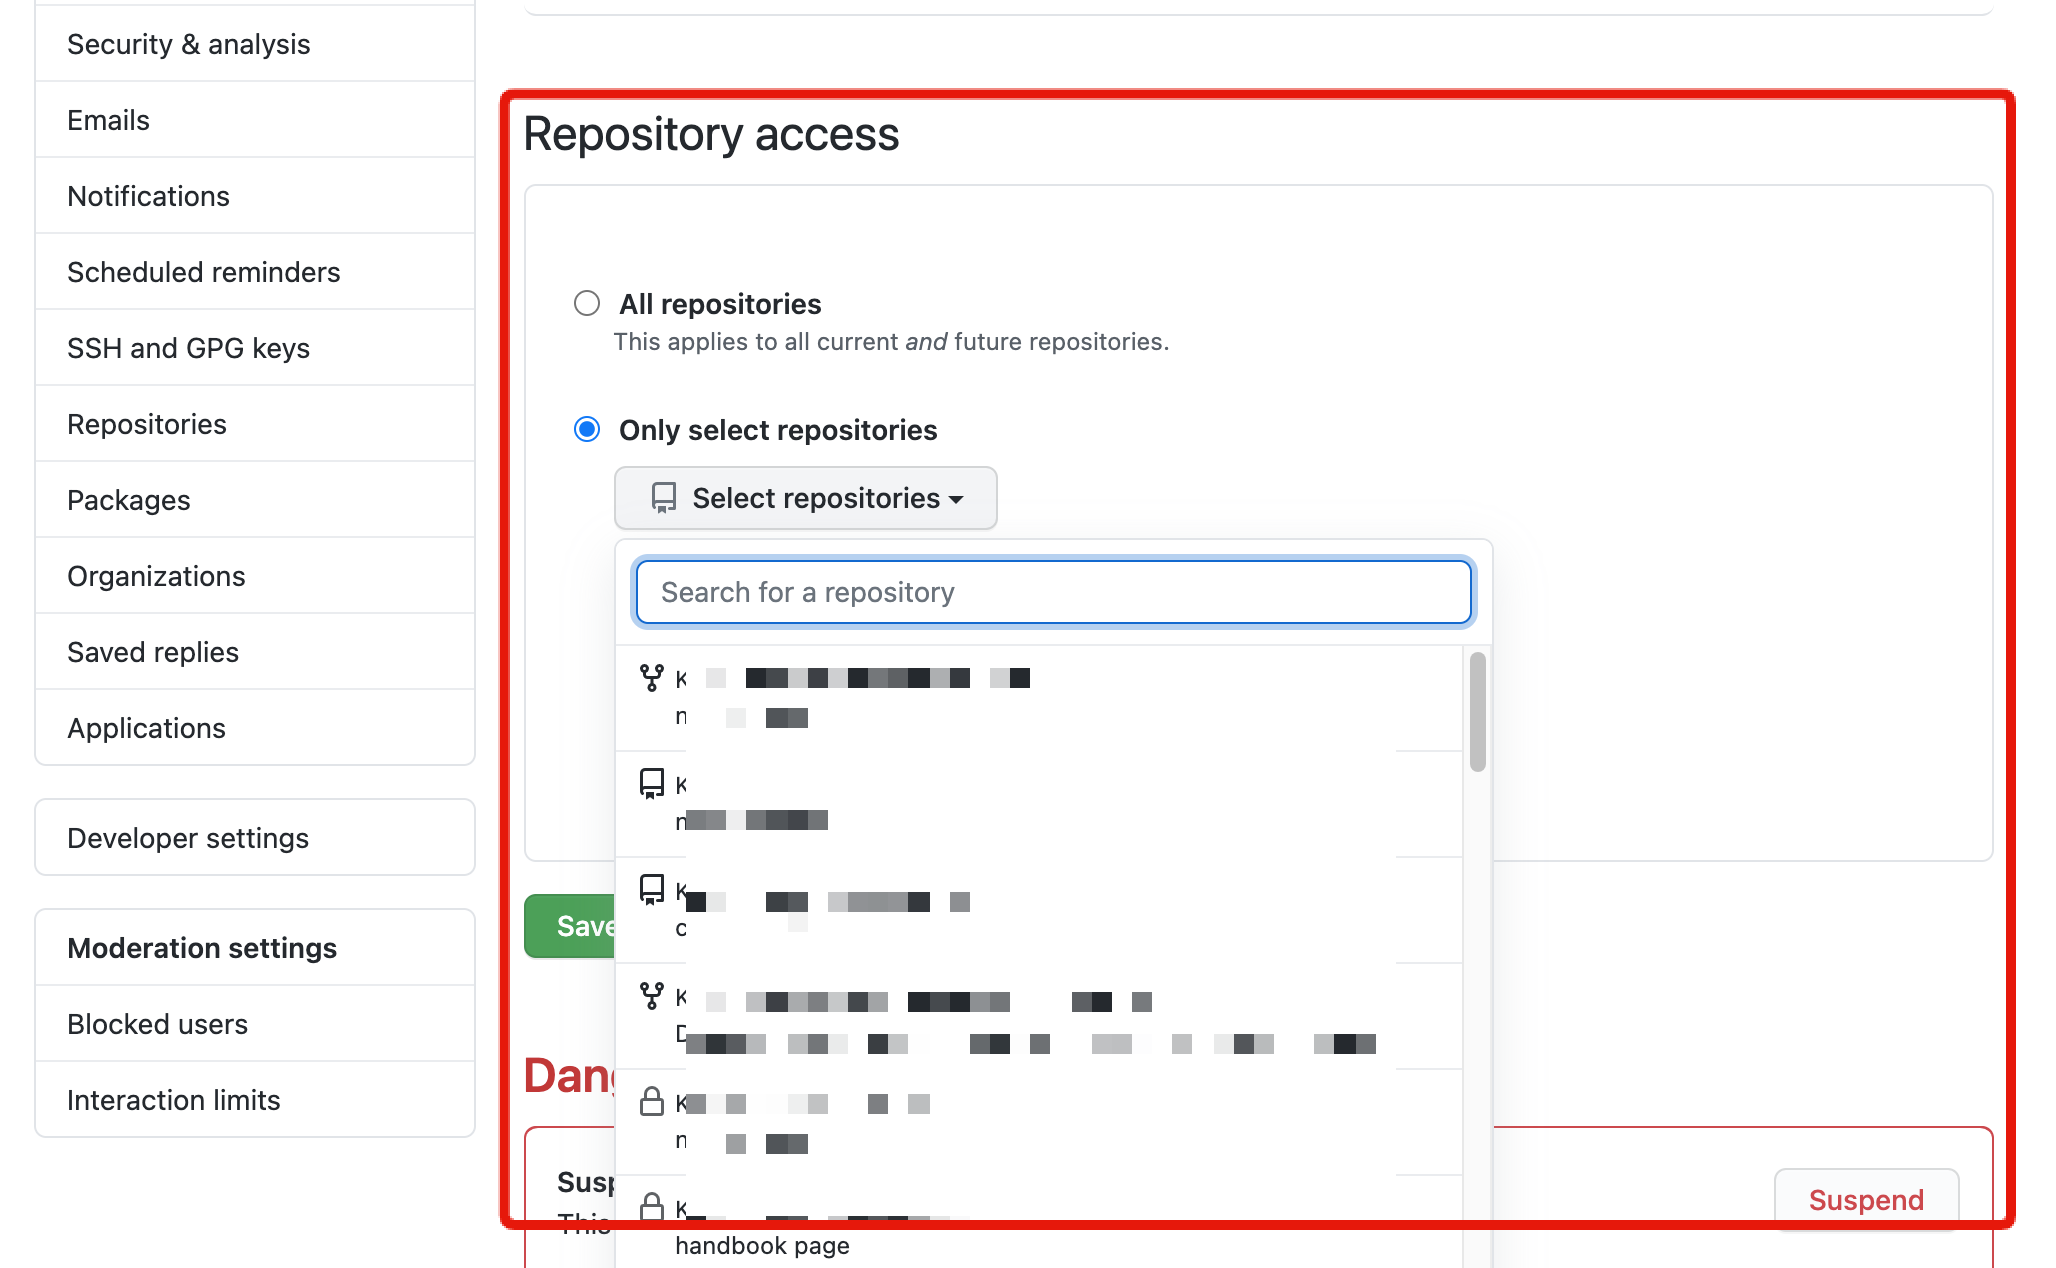
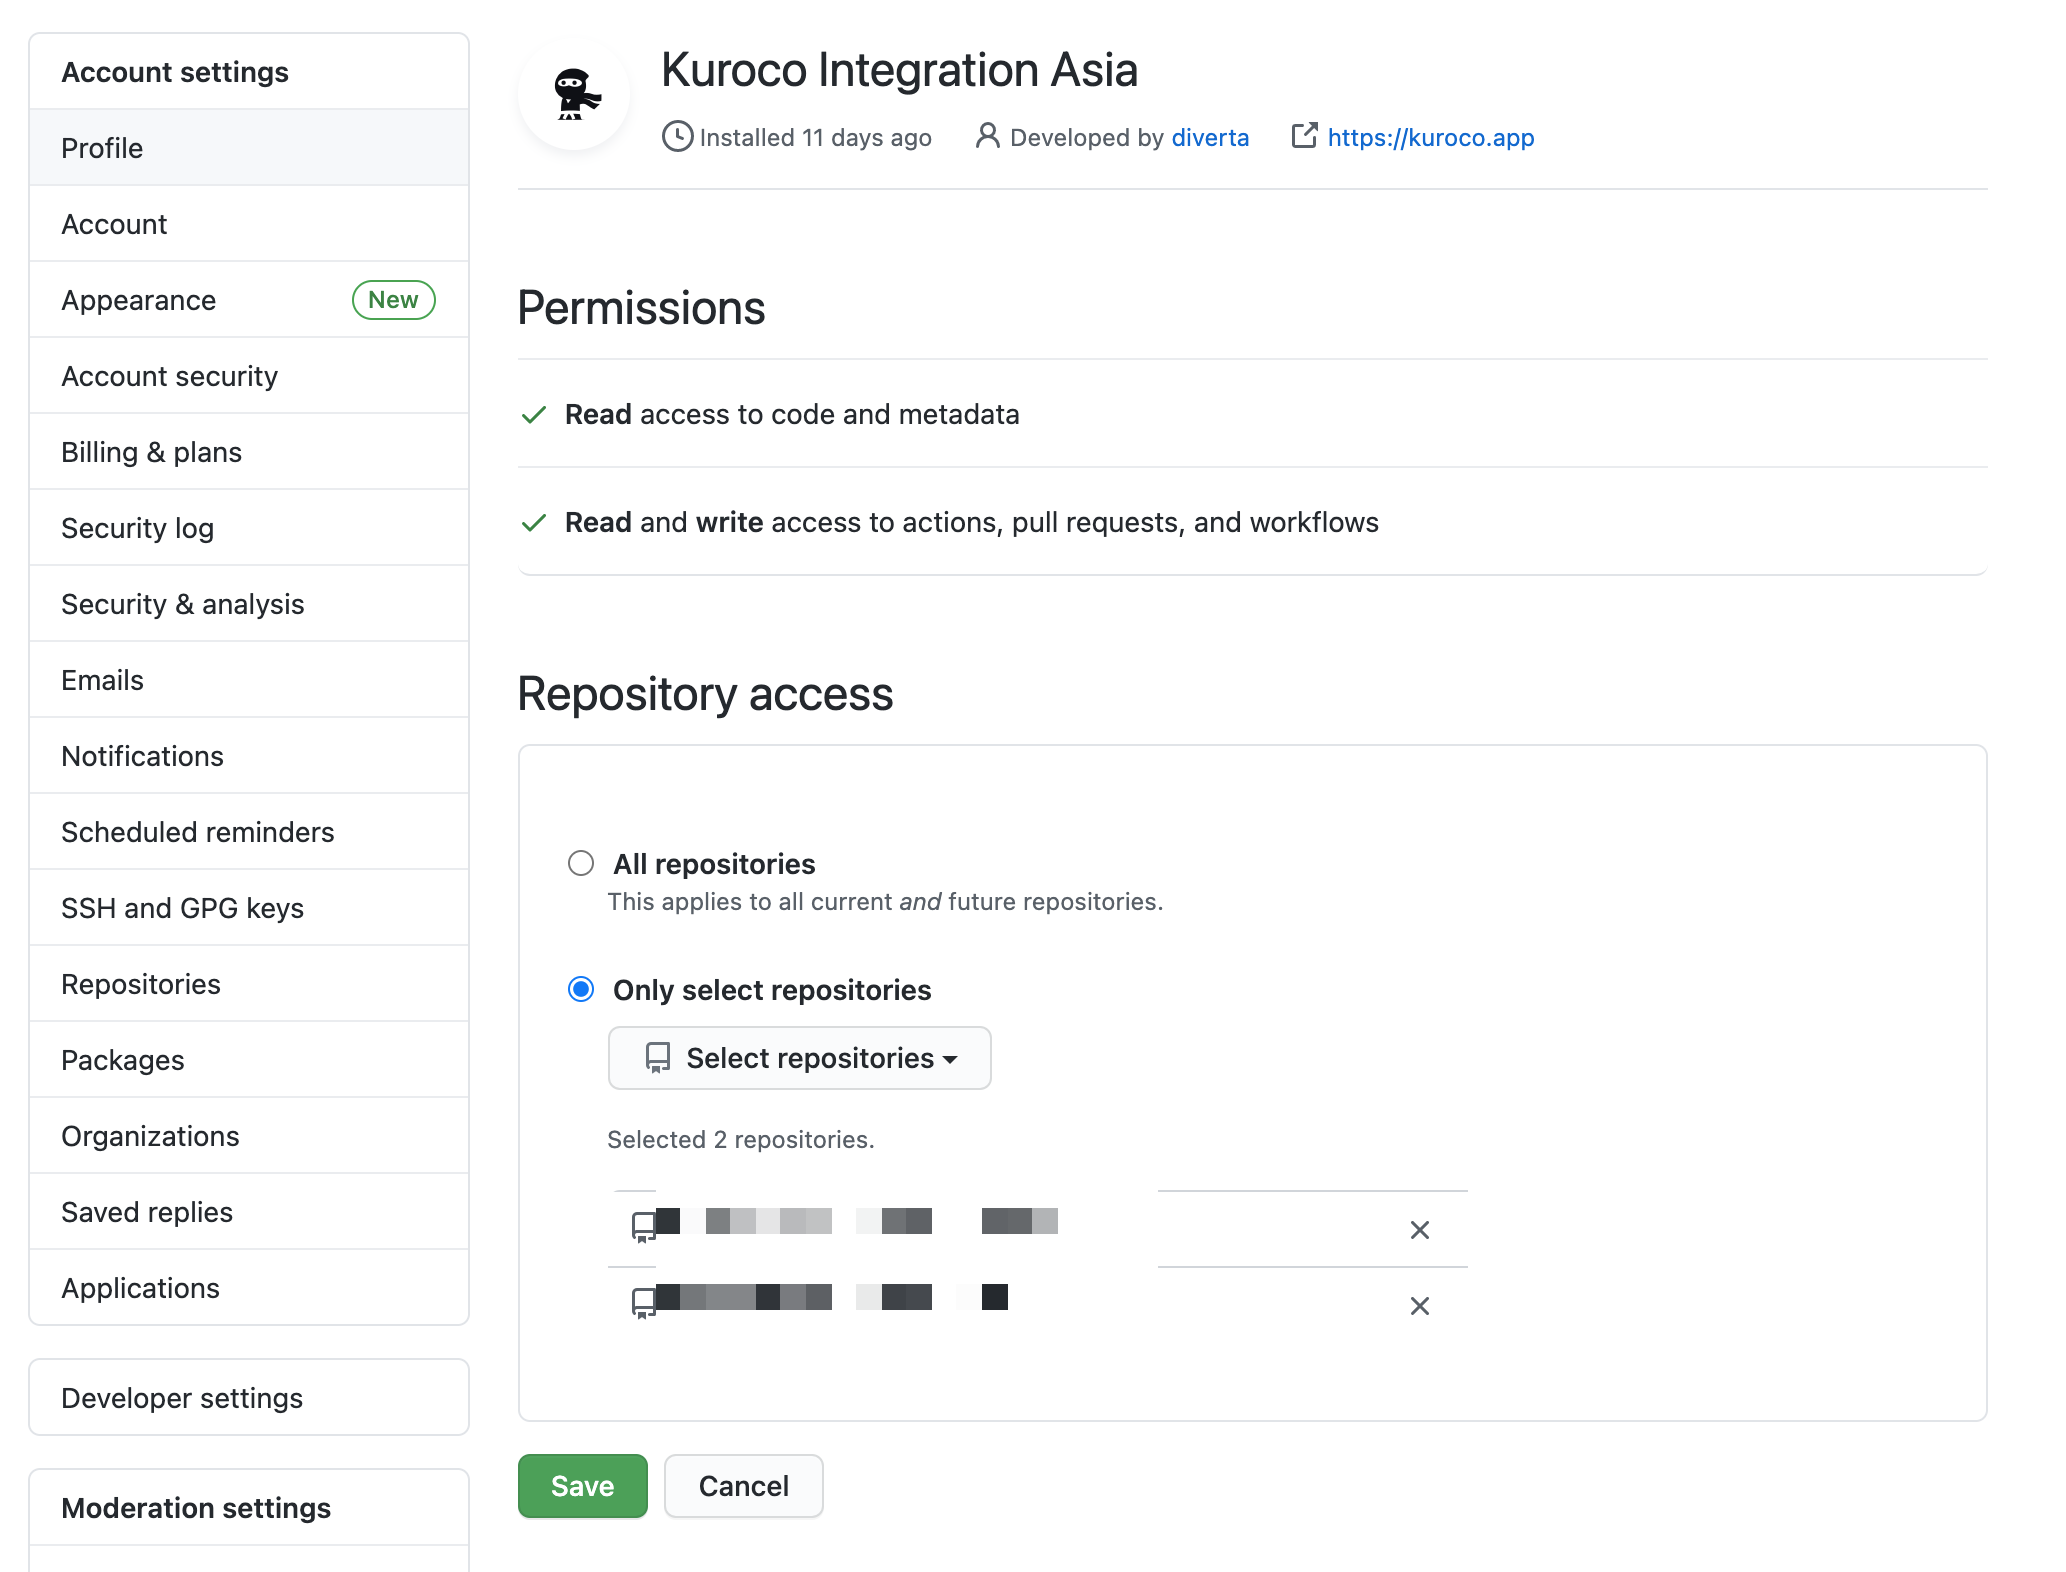 Under "Repository access", select the repository you want to link.
You can change your repository access settings afterwards. If you are using one account for multiple Kuroco projects, select all the relevant repositories here.
You can only connect to repositories for which you have administrative privileges.
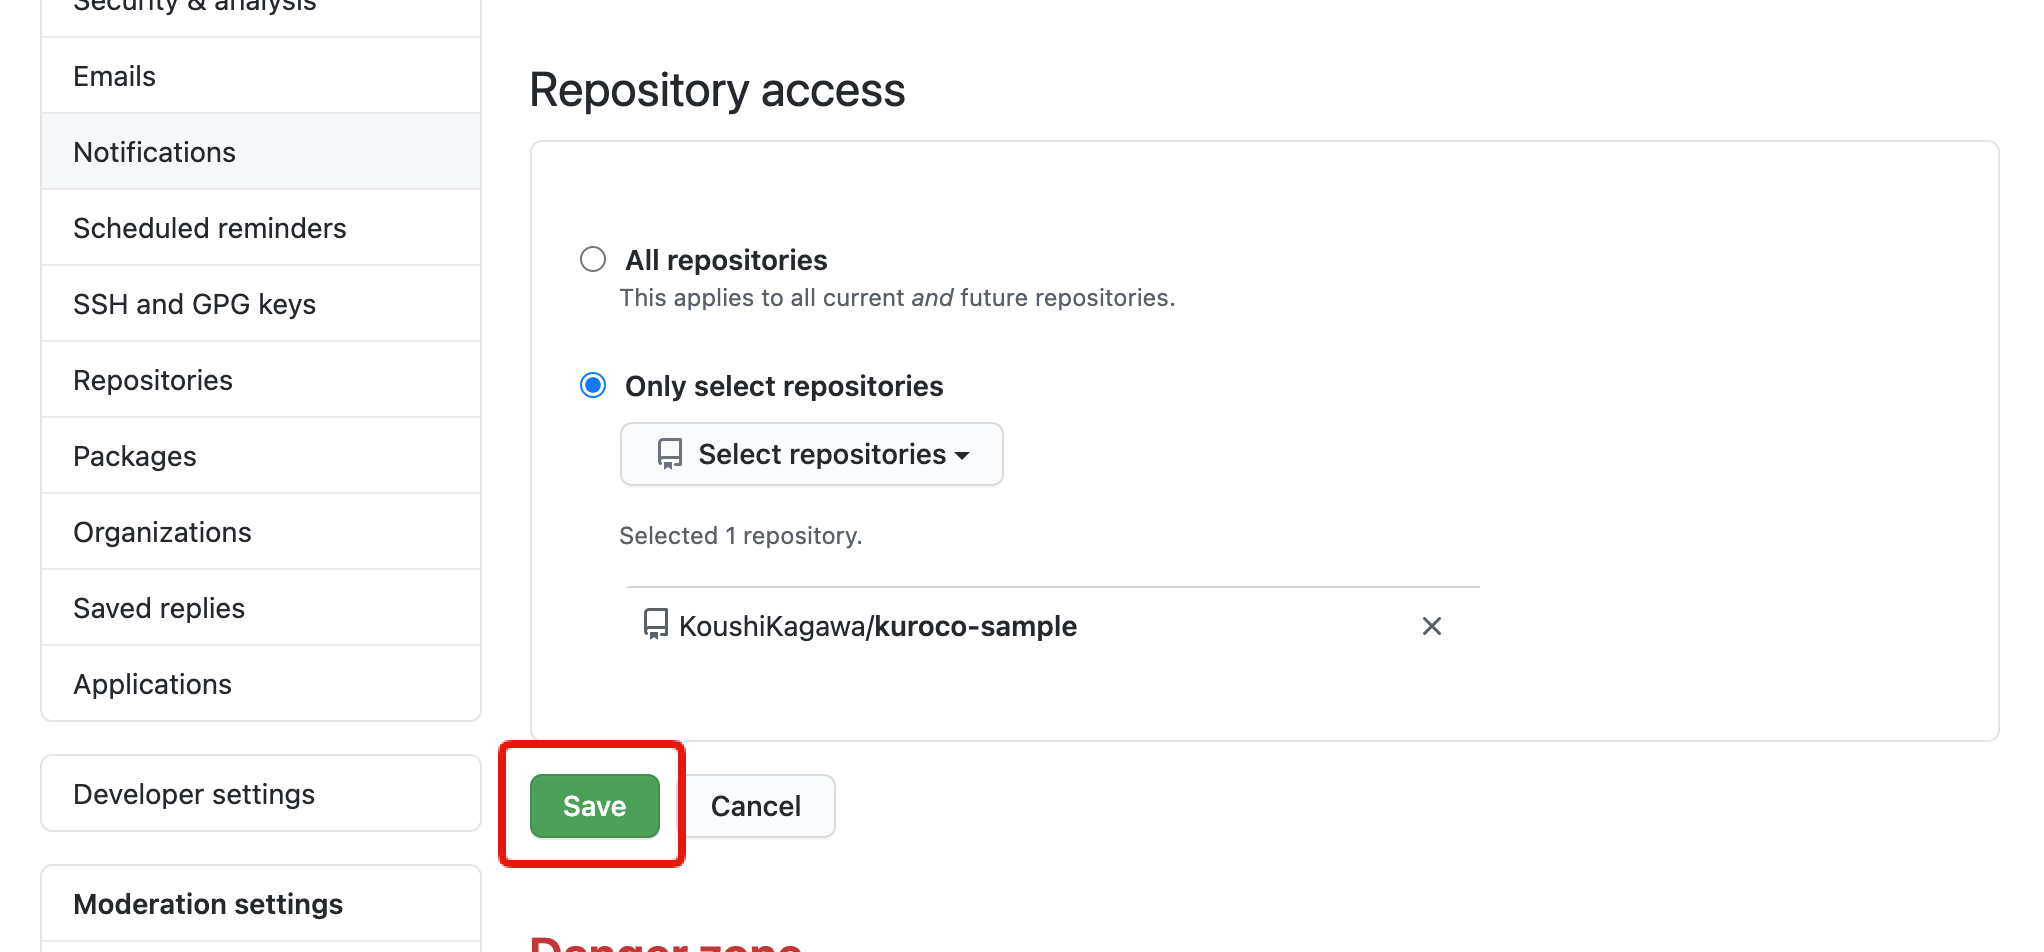
After you have selected your respository, click [Save].
 You will be prompted to log in to Kuroco again.
 Once logged in, you will be redirected to the KurocoFront screen.
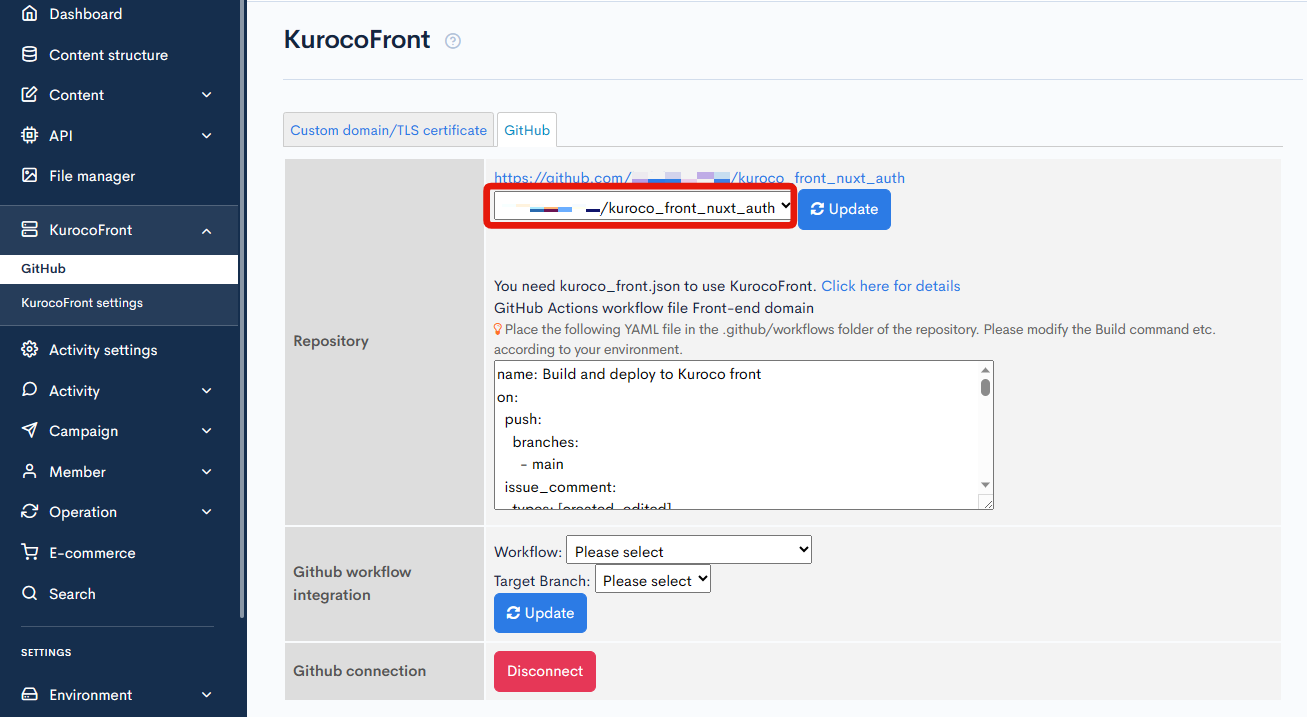
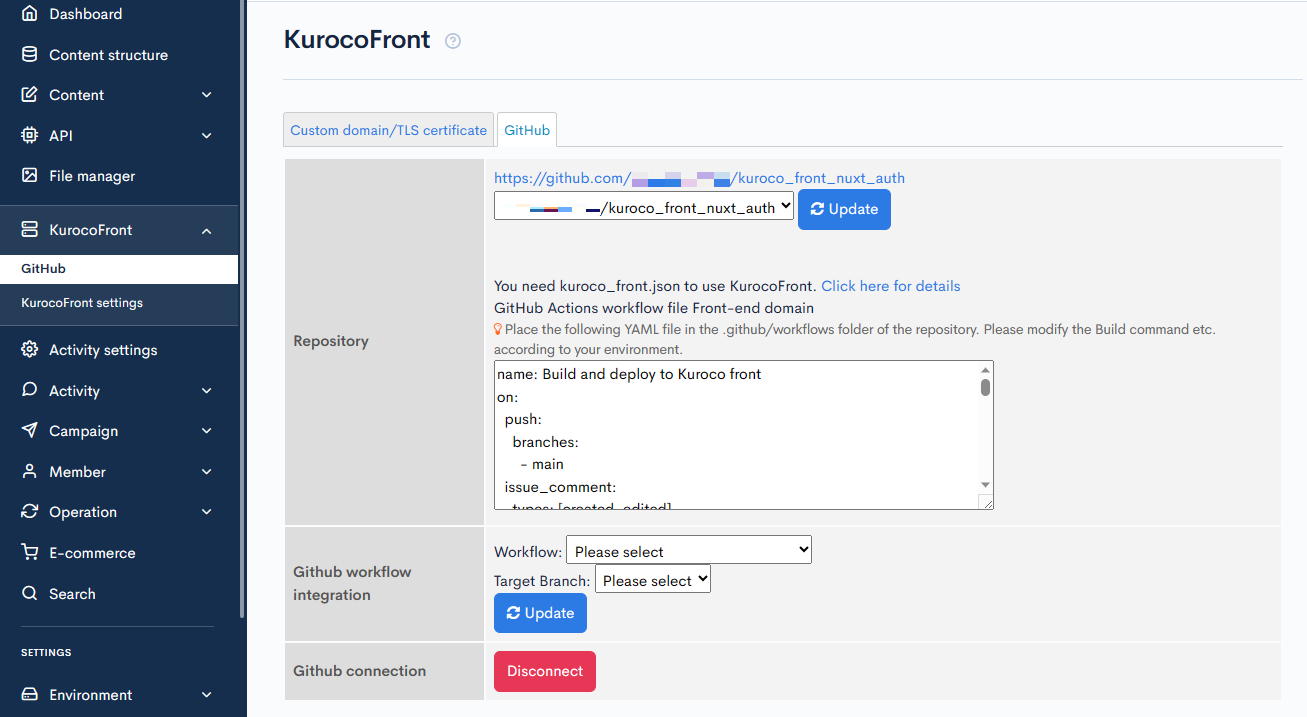 Select the cloned repository in the dropdown list.
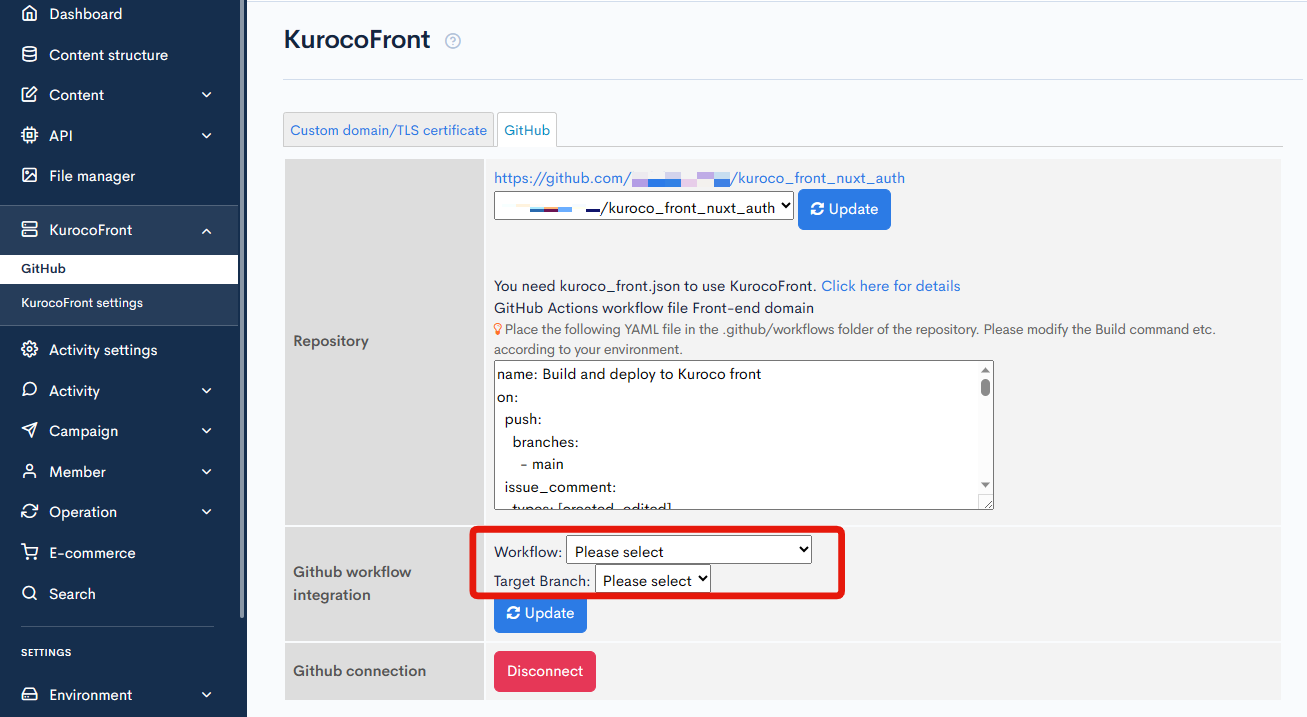
 Select the following for "Dispatch workflow" and then click [Update].
- Workflow: Build and deploy to KurocoFront
- Target branch: main
Modify build.yml
The next step is to modify the /.github/workflow/build.yml file.
Go back to [External system integration] -> [GitHub] and copy the content in the "Repository" text area.
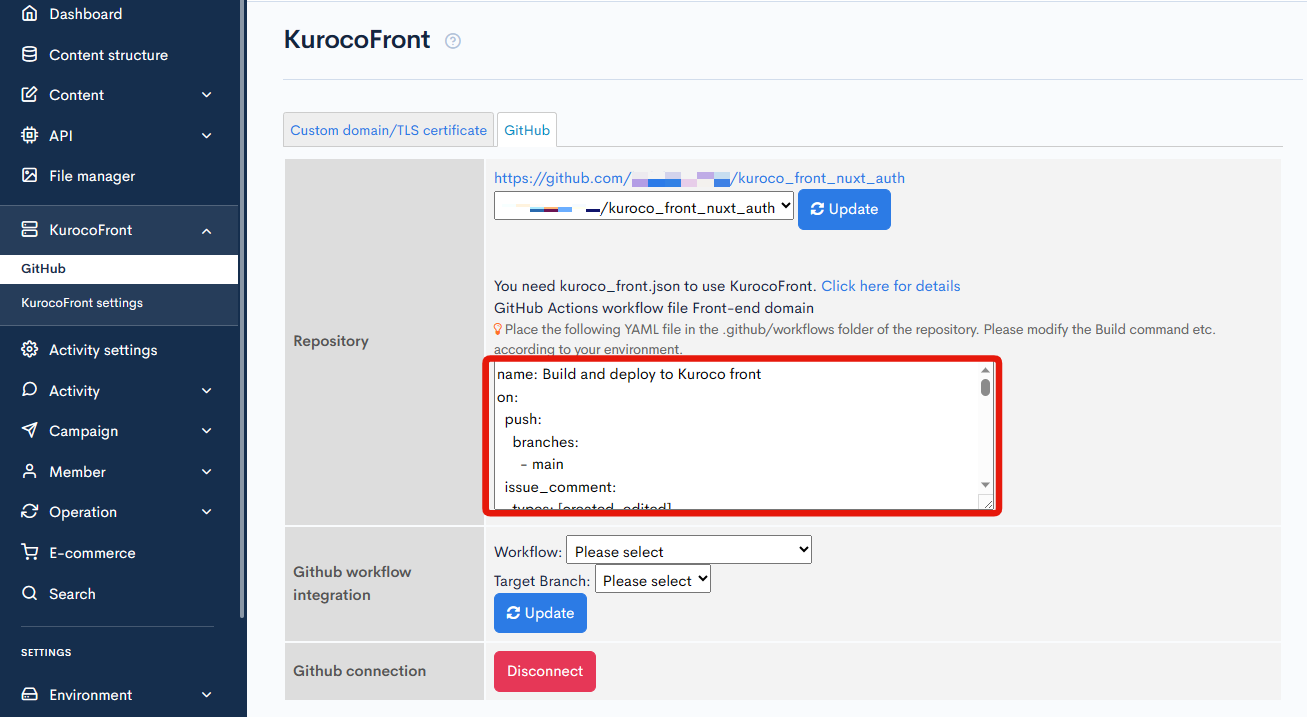 Open
Open /.github/workflow/build.yml and overwrite it with the copied content.
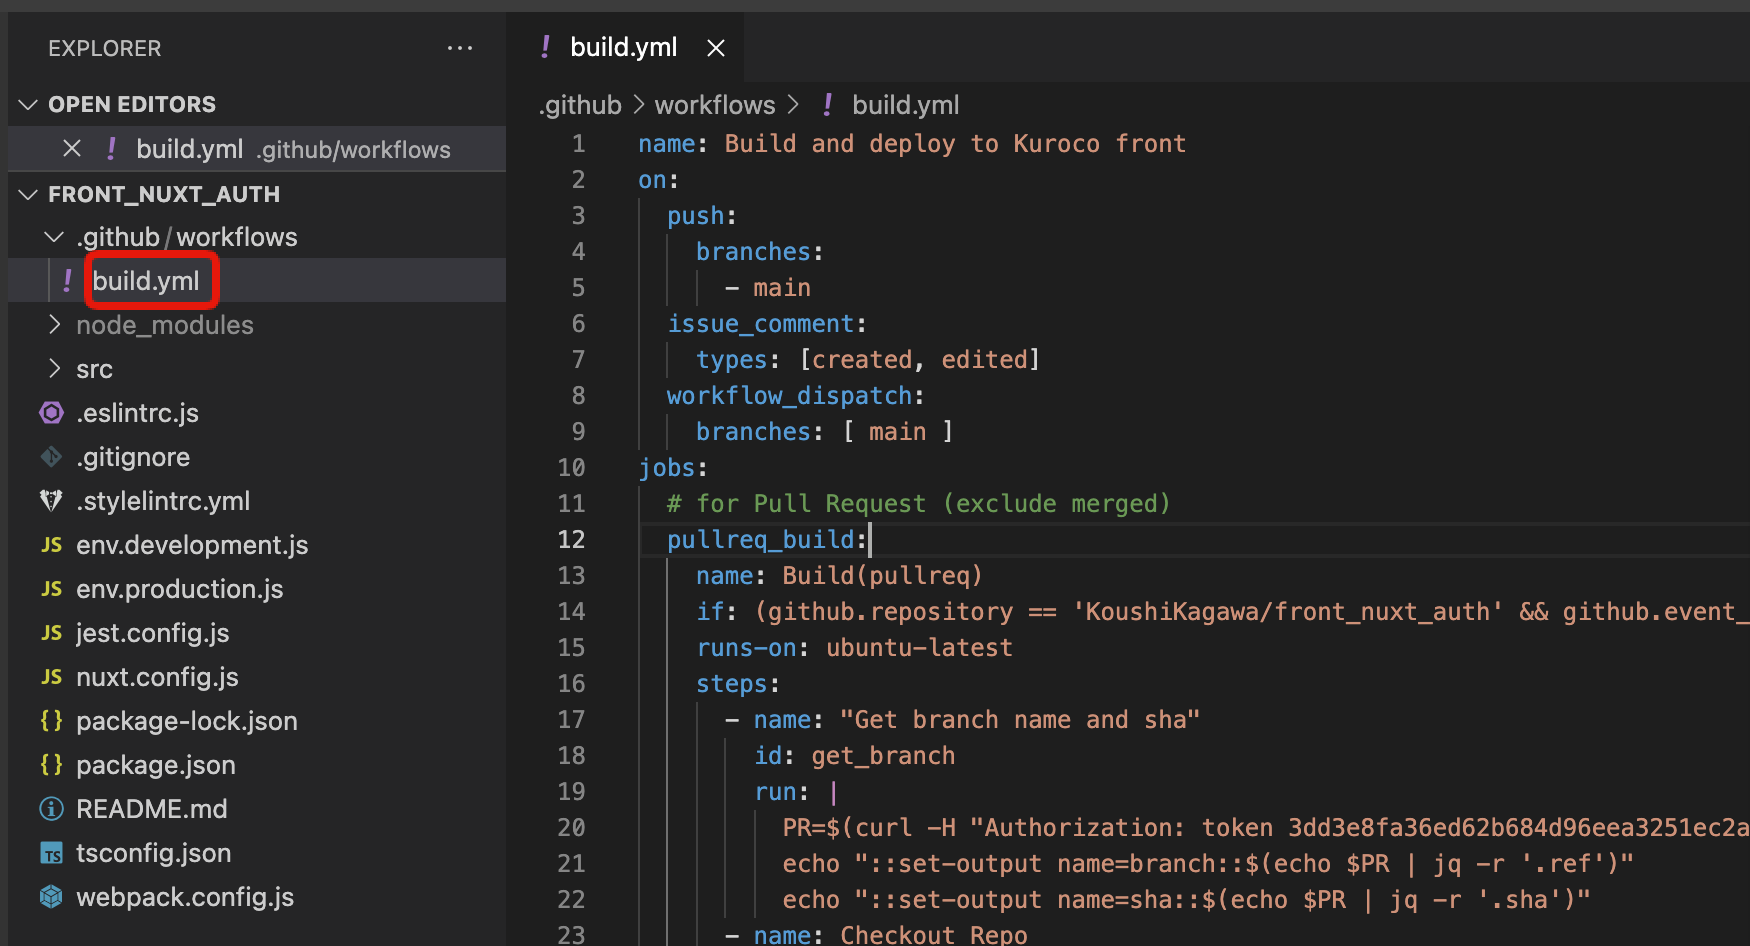 Save the file and push it to GitHub. This will run the corresponding GitHub Actions.
You can click the "Actions" tab in GitHub to check the build status.
 If the build is successful, it will automatically deploy.
Check your site display
In Kuroco's admin panel, click [Top Page].
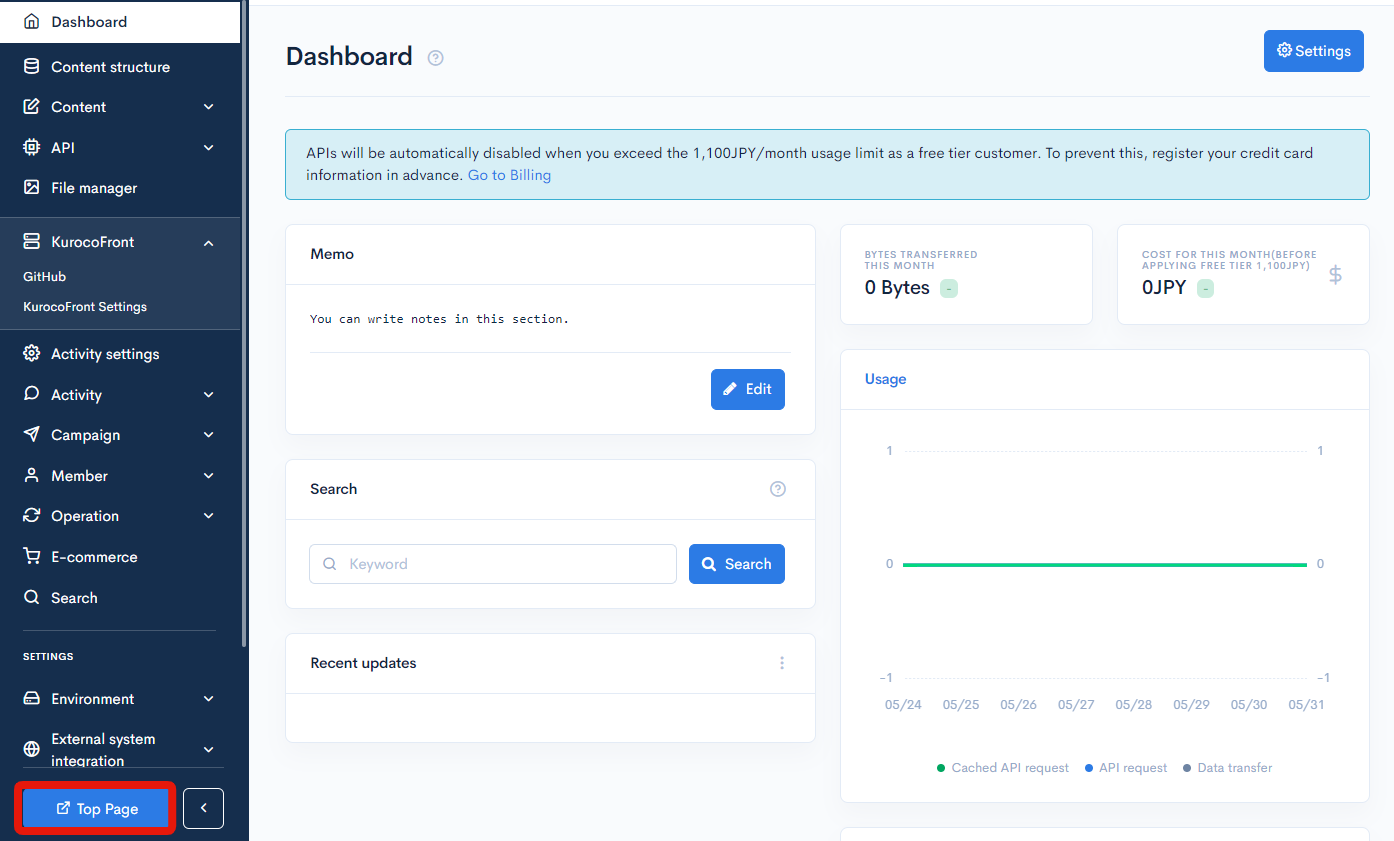 You will be redirected to the site cloned from
 front_nuxt_auth.
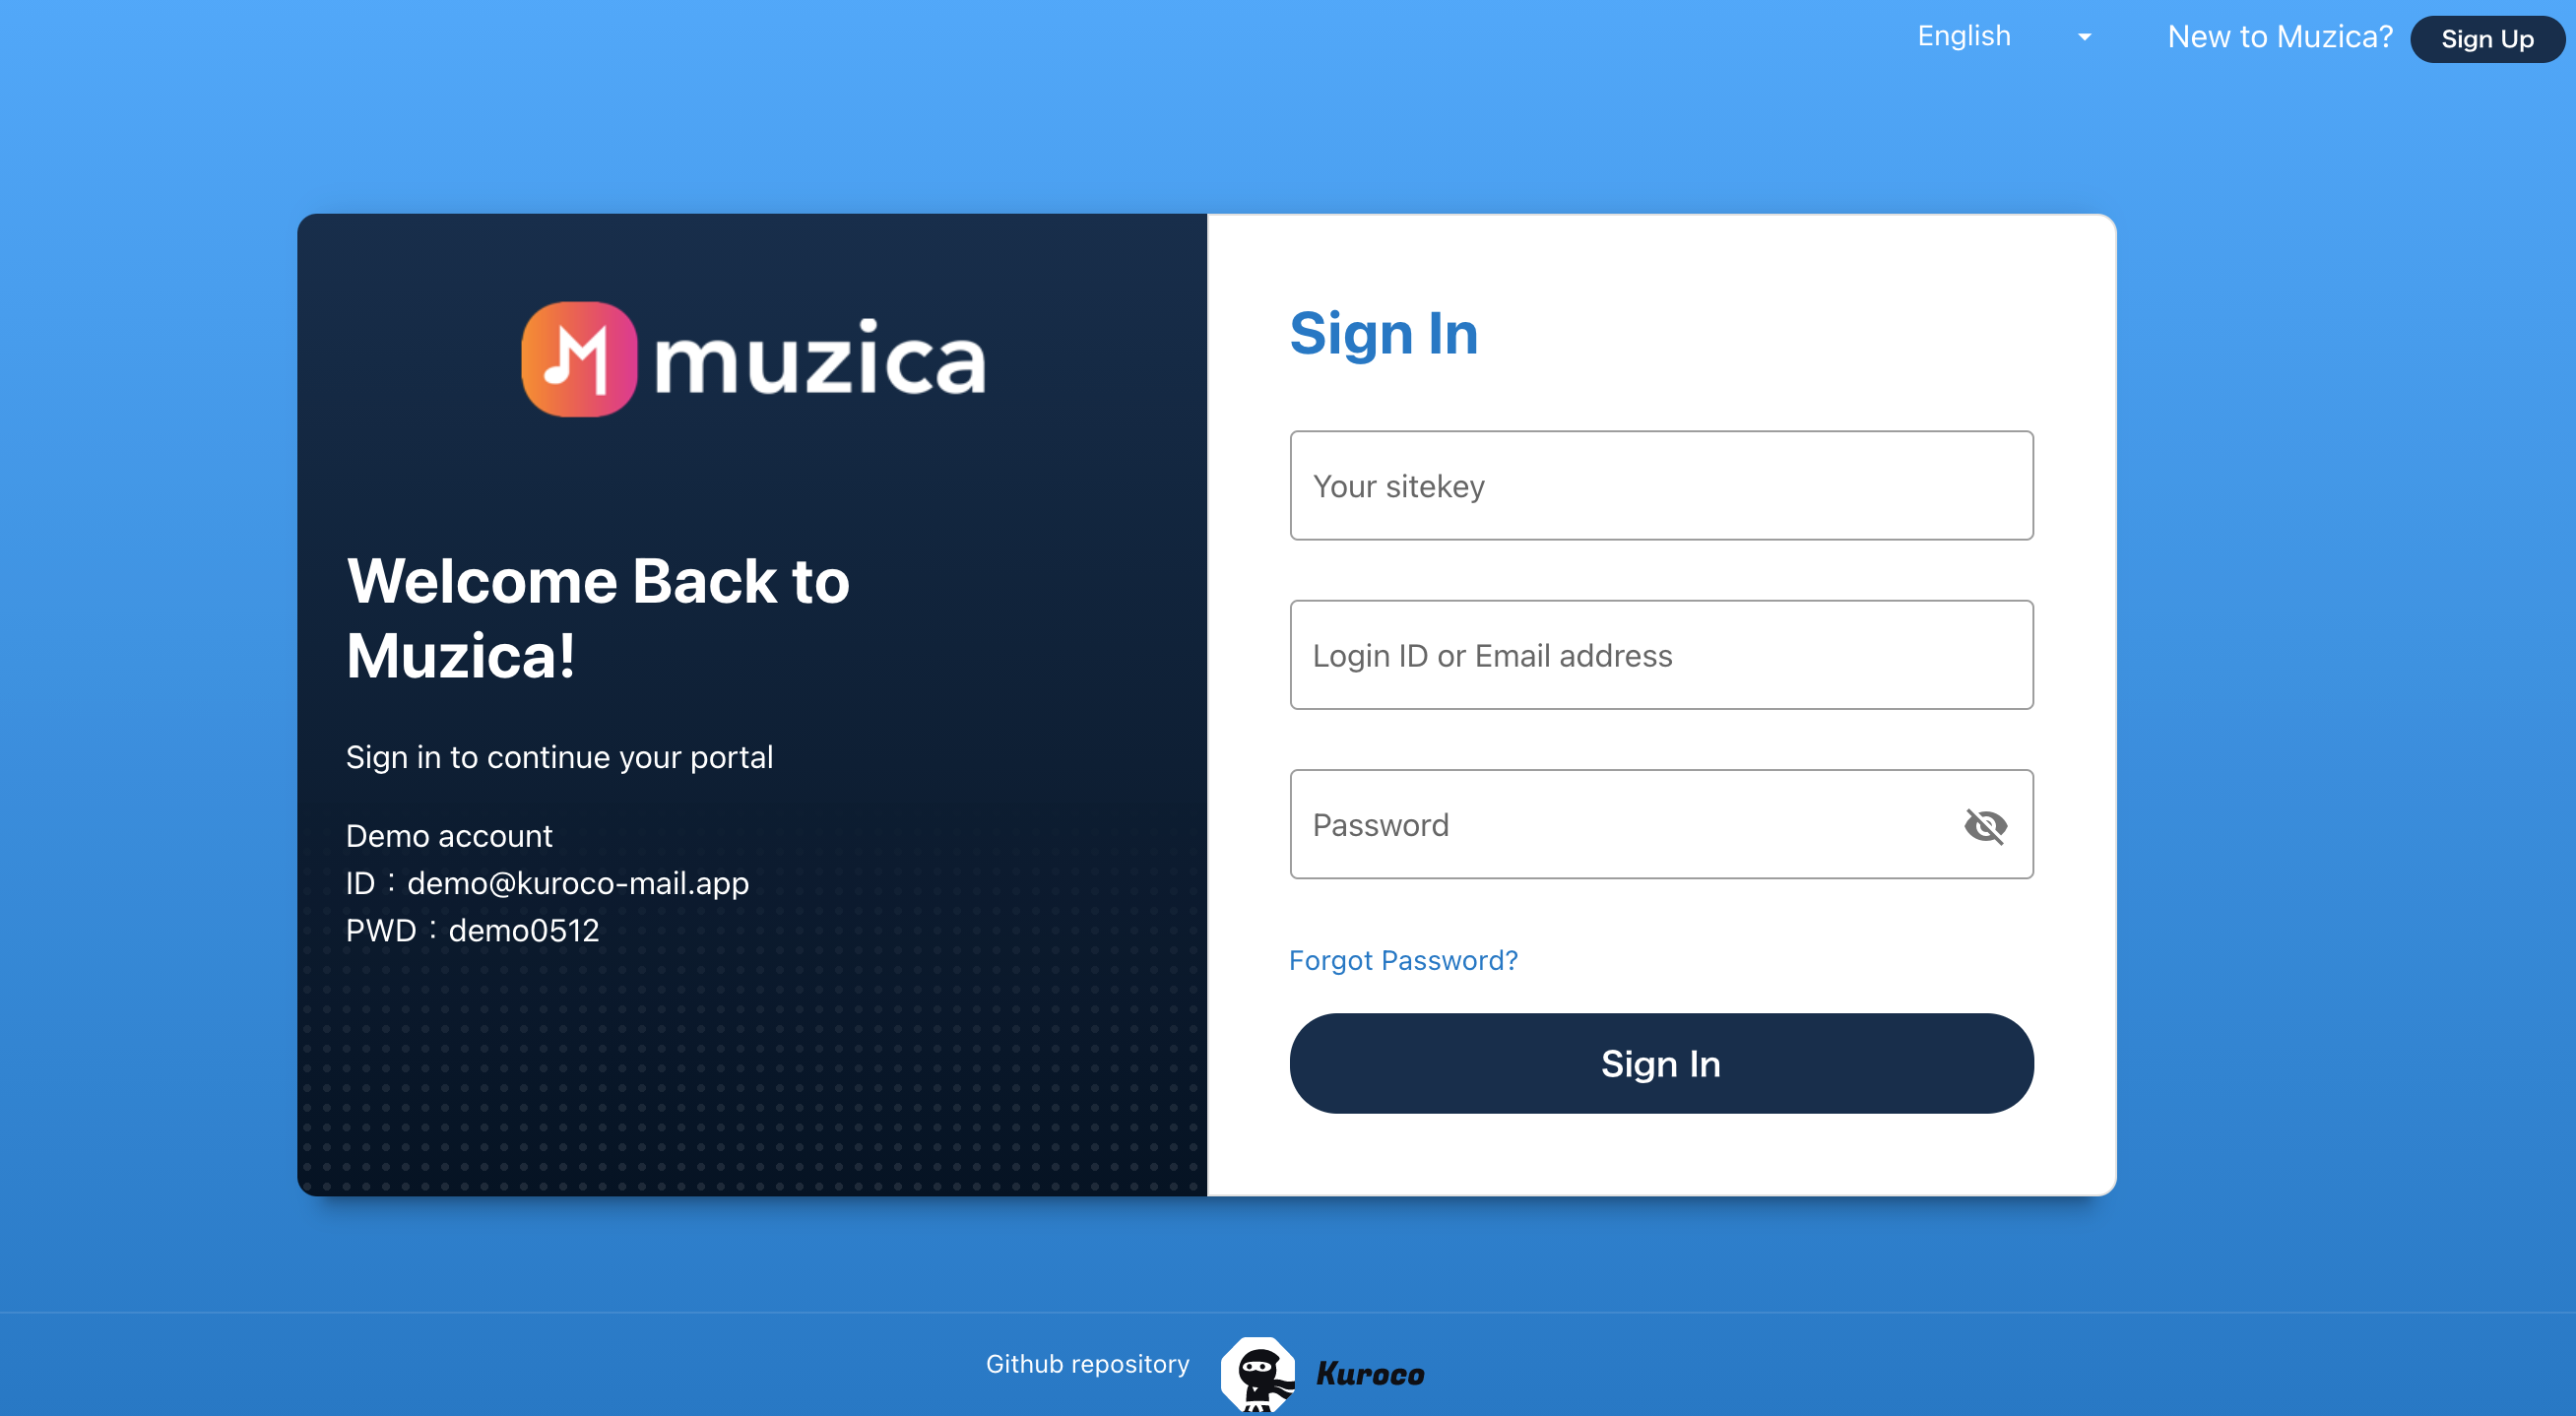 Your login details are as follows:
- Your sitekey
- ID: the e-mail address you signed up for Kuroco with
- Password: Your Kuroco account password
After you have filled in your login details, click [Sign in]. You will be redirected to the landing page.
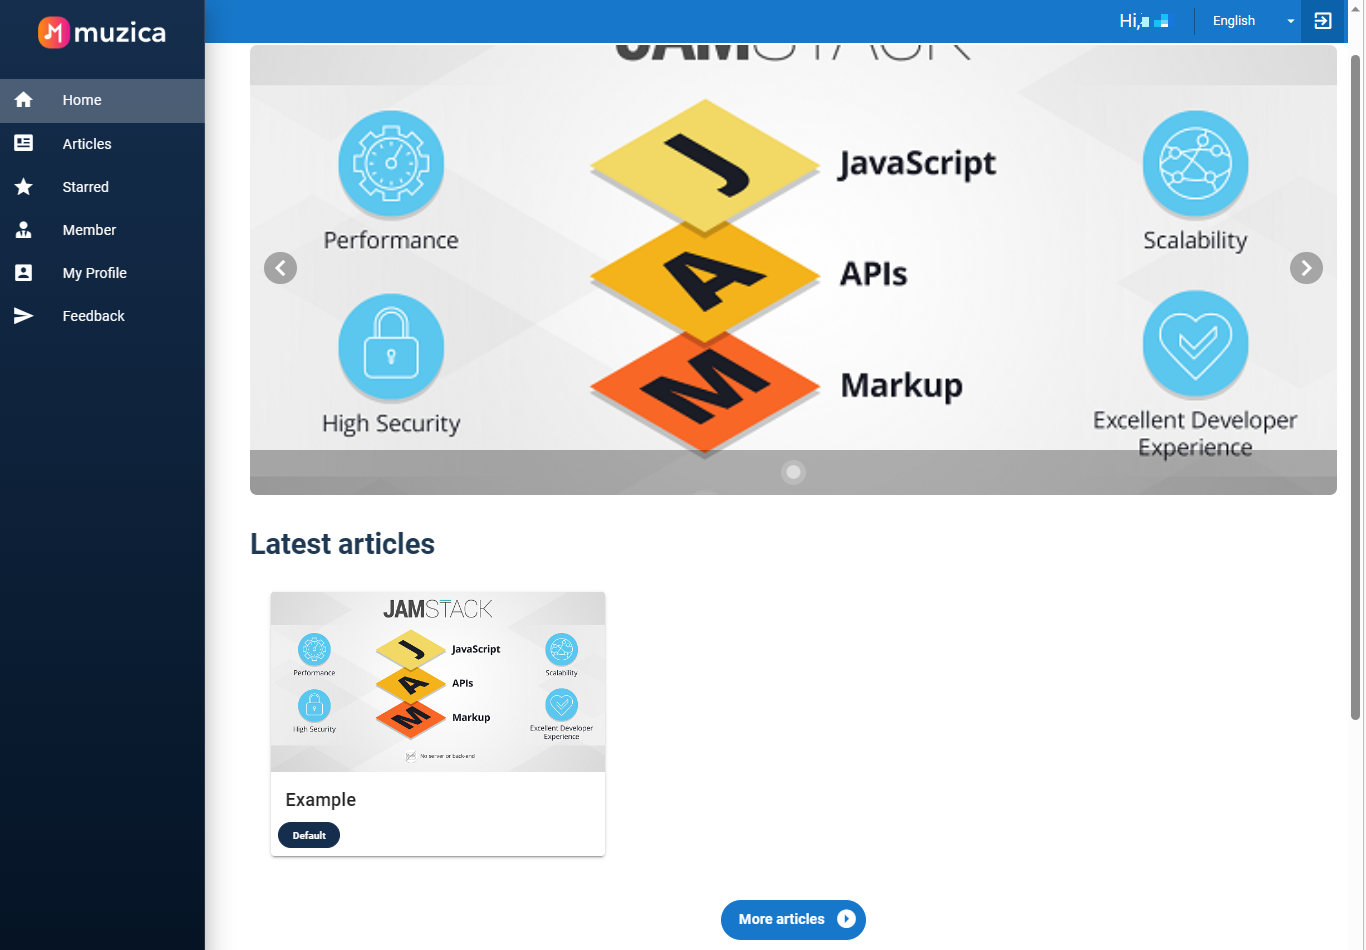 Since the sample site only contains one content post, only one entry is shown under "Latest articles".
If you are using a region other than "Asia Region(Tokyo)", the API domain will be different, so please locate the relevant sections and make the necessary adjustments.
Example: .g.kuroco.app → .g3.kuroco.app
Use cases
Adding a new post
In the admin panel sidebar menu, select [Content] -> [Default]. Click [Add] in the upper right corner of the screen.
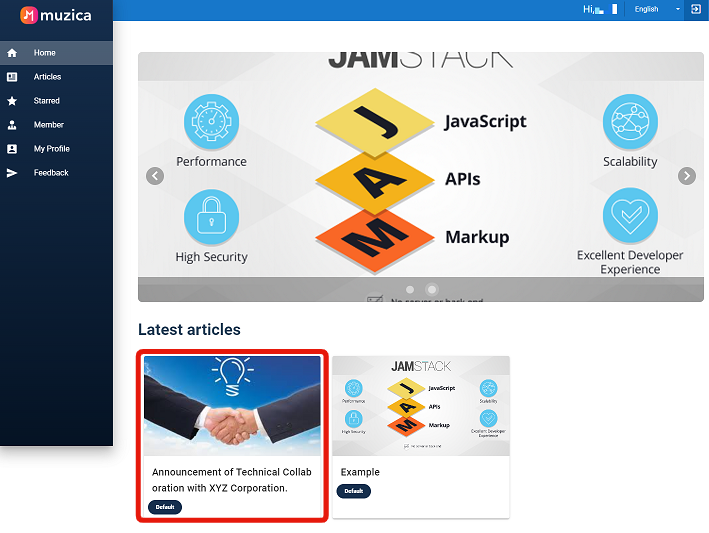
 In the content editor, fill in the required fields and click [Add].


The new content will appear under "Latest articles".
Reference: Site Overview
Function list
This section presents the site map for the project.
- Login/logout
- Member registration
- Password reminder
- Content list
- Content details
- Favorites function
- Member list
- Member details
- Edit own profile
- Contact form
Frameworks used
The following technologies and frameworks are used for this project:
Further questions
The above is a simple tutorial on replicating the sample membership site.
Please contact our Support Team if you have any questions or concerns.
For any coding issues, please submit an issue or pull request directly in the repository.
Related documents
- Using Kuroco's sample site
- Explanation of Sample Membership Site
- Separating development and production environments for your sample membership site
- Deploying the data source from GitHub to KurocoFront
- Is there a reference document for using the front_nuxt_auth template?
- I get an error message when I push to GitHub. How do I resolve this error?
Support
If you have any other questions, please contact us or check out Our Slack Community.