Separating development and production environments for your sample membership site
Overview
This tutorial explains how to separate the development environment from the production environment. Doing so allows you to verify any updates or modifications before they are published to the production site.
What you'll learn
The following process will be used to separate the development and production environments.
- Custom domain configuration
- GitHub settings
- Modifications to the GitHub Actions build file
- npm script verification
.envfile verification and modification- Activity verification
Before you start
To begin this tutorial, you should have built a site by copying the open-source sample membership site (NuxtAuth-based KurocoFront template site). If you have not done so, see Tutorial: Building a membership website on Kuroco from the sample site template.
For this tutorial, we will create two types of environments:
- Development
- Production
You will be verifying and publishing your code step by step from the development to the production environment.
We will create a branch on GitHub for each environment, and the relevant GitHub Actions will be executed each time the branch is updated. We will also set up a flow that automatically updates the front-end of the corresponding environment.
Custom domain configuration
Refer to Tutorial: Using your own custom domain name on KurocoFront on how to set up your domain.
Also, modify the front-end domain and API domain so that they form a subdomain relationship (i.e., matching domains or first-party cookies).
Due to third-party cookie restrictions, the sample membership site may not be able to store cookies using the cookie login method for certain browser/usage environments.
See: Tutorial: Display topic data with Security: Cookie
GitHub settings
For this tutorial, you need to split the GitHub repository into two branches as follows.
| Item | Branch |
|---|---|
| Production environment | main |
| Development environment | develop |
For more on branch splitting, refer to GitHub Docs: Managing branches.
We recommend protecting your main branch to prevent releases to unexpected production environments. For more information on this topic, see GitHub Docs: Managing a branch protection rule.
.env file verification and modification
First, create the ./env.${environment}.js file for the development/production environment. This time, we will create it as follows.
env.development.jsenv.production.js
Modify these files for each Kuroco environment you have created. In this tutorial, we are modifying them as follows:
module.exports = {
    META_TITLE: 'Nuxt Auth',
    ROBOTS: 'index',
    BASE_URL: 'https://[Original-domain]'
};
module.exports = {
    META_TITLE: '[Dev] Nuxt Auth',
    ROBOTS: 'noindex',
    BASE_URL: 'https://[Original-domain]'
};
The original API domain should match the one you set up in Custom domain configuration.
By configuring it this way, you can dynamically change the following.
- Production environment META_TITLE: Nuxt Auth
- Development environment META_TITLE: [Dev] Nuxt Auth
Update nuxt.config.js
Update nuxt.config.js as follows.
const environment = process.env.APP_ENV; // <- (※1)
const envSettings = require(`./env.${environment}.js`);

import vuetify, { transformAssetUrls } from 'vite-plugin-vuetify';
export default defineNuxtConfig({
    runtimeConfig: {
        public: {
            kurocoApiDomain: 'https://dev-nuxt-auth.a.kuroco.app'
        }
    },

    app: {
        head: {
            title: envSettings.META_TITLE,  // <- (※2)
            htmlAttrs: {
                lang: 'ja'
            },
(*1) the value of envSettings used will be dynamically changed based on the value specified in APP_ENV.
- For
build:require('./env.develop.js') - For
build-prod:require('./env.production.js')
In (*2), the META_TITLE values are defined in the respective env.${environment}.js files.
APP_ENV is specified in the YAML file.
Modifications to the GitHub Actions build file
Modify the existing /.github/workflow/build.yml file as needed on the develop and main branches, respectively.
Make the following changes:
- Create build definitions for
developandmain - Update build file events
- Set build and deploy locations for each environment
- Create
kuroco_front.jsonfor the development environment
Create build definitions for develop and main
Make two build files, one for the production environment and one for the development environment:
- For production:
.github/workflows/build.yml. - For development:
.github/workflows/develop.yml.
Since .github/workflows/build.yml already exists, you can simply copy it. However, .github/workflows/develop.yml needs to be created from scratch.
Set build and deploy locations for each environment
Modify the build behavior to fit each environment.
In this tutorial, we will modify the following npm scripts:
- For production: APP_ENV=production
- For development: APP_ENV=development
First, in .github/workflows/build.yml for the production environment, specific APP_ENV to production.

name: Build and deploy to Kuroco front
on:
  push:
    branches:
      - main
  issue_comment:
    types: [created, edited]
  workflow_dispatch:

env:
  APP_ENV: production

concurrency:
Next, modify .github/workflows/develop.yml for the development environment.
Click [External system integration] -> [GitHub] and copy the content in the GitHub Actions workflow file staging site text area.

Overwrite the .github/workflows/develop.yml file with the copied contents.
Next, in .github/workflows/build.yml for the production environment, specific APP_ENV to development.
name: Build and deploy to Kuroco front
on:
  push:
    branches:
      - main
  issue_comment:
    types: [created, edited]
  workflow_dispatch:

env:
  APP_ENV: development

concurrency:
Update build file events
Next, modify each build file such that events are triggered only by updates to the following branches:
- For production:
main - For development:
develop
Paste the code below into .github/workflows/develop.yml.

name: Build and deploy to Kuroco front(develop)
on:
  push:
    branches:
      - develop
  issue_comment:
    types: [created, edited]
  workflow_dispatch:

env:
  APP_ENV: development

concurrency:
Create kuroco_front.json for the development environment
Copy the kuroco_front.json file in the /public directory to create kuroco_front_dev.json.

Also, you need to apply kuroco_front_dev.json only to develop.yml. Insert the code below into develop.yml.
       - name: Checkout Repo
         uses: actions/checkout@v4
         with:
           ref: ${{ steps.get_branch.outputs.branch }}
+      - name: Copy kuroco_front.json
+        run:  cp public/kuroco_front_dev.json public/kuroco_front.json
       - name: Use Node.js
         uses: actions/setup-node@v4
         with:
     steps:
       - name: Checkout Repo
         uses: actions/checkout@v4
+      - name: Copy kuroco_front.json
+        run:  cp public/kuroco_front_dev.json public/kuroco_front.json
       - name: Use Node.js
         uses: actions/setup-node@v4
         with:
For more information, see FAQ: What is kuroco_front.json?.
Activity verification
Confirmation of file configuration
Let us verify the contents we have set so far.
The YAML file and kuroco_front.json are separated for the production environment and the development environment, so the main branch and the development branch both have the following file structure.
.github\workflows
  - build.yml
  - develop.yml
public
  - kuroco_front_dev.json
  - kuroco_front.json

Confirmation of build
Once the push for each environment is completed, access the respective repository on GitHub and click on [Actions].
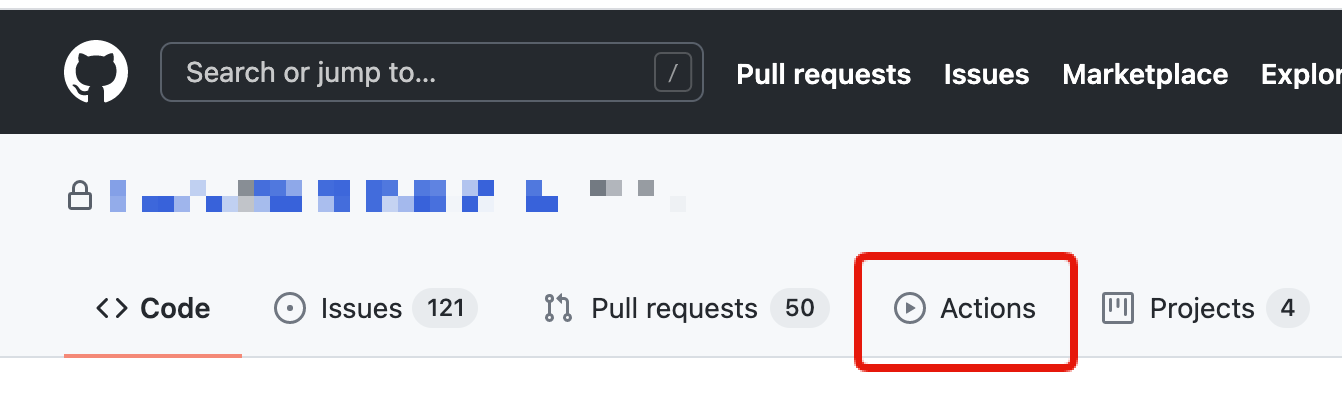
You should see a list of active or completed Actions.
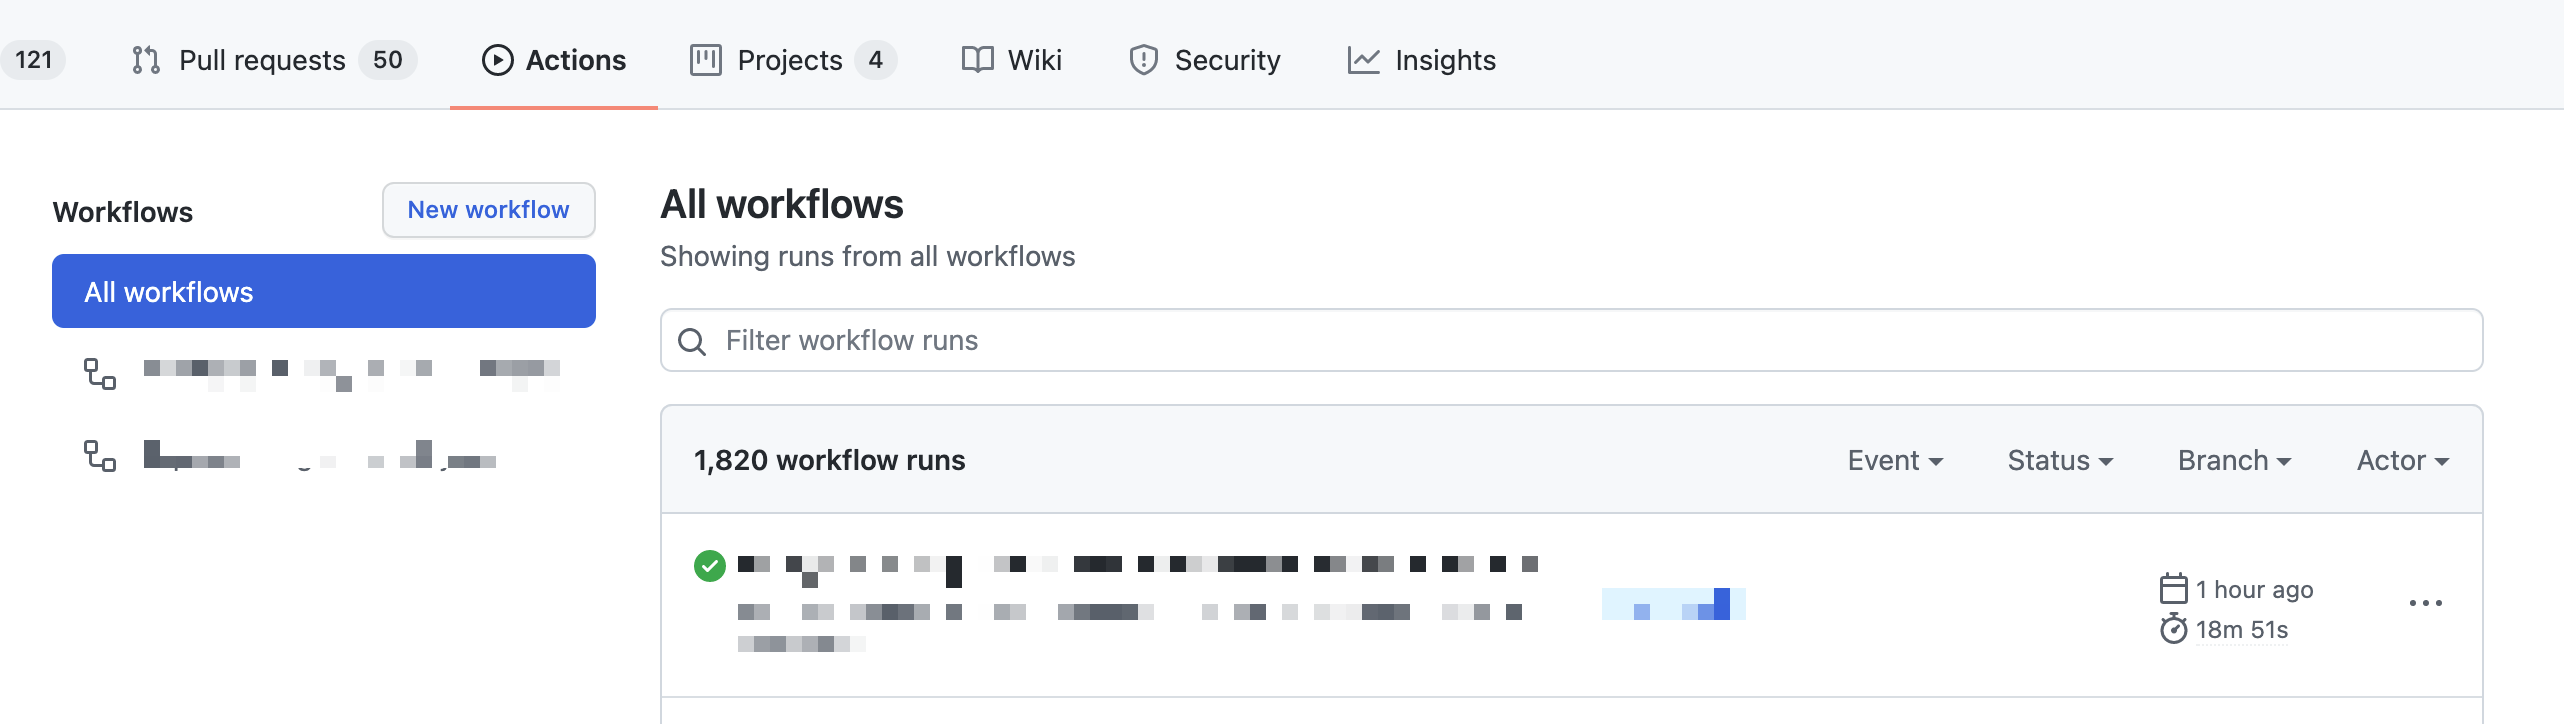
When the build is completed, verify that the META_TITLE of the development environment reads **[Dev] Nuxt Auth**.
Related documents
Support
If you have any other questions, please contact us or check out Our Slack Community.