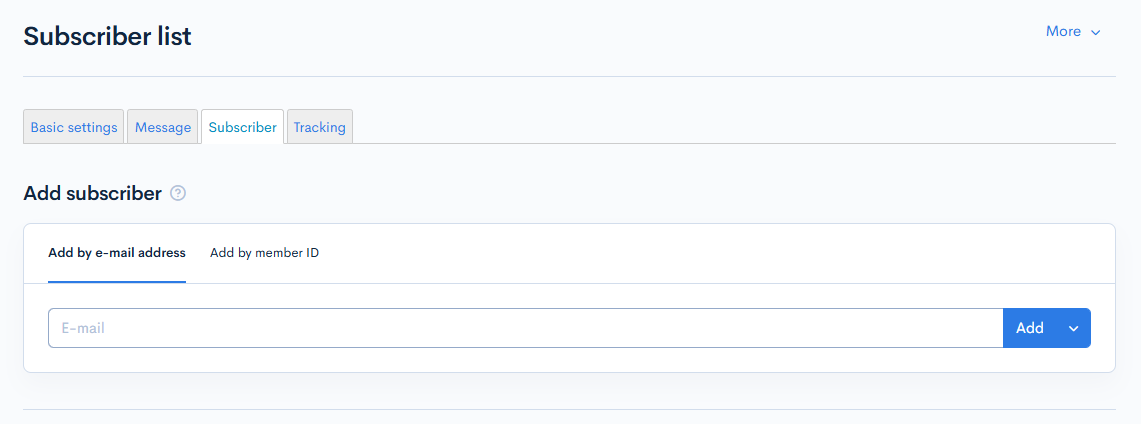
Subscribers
Use the notification subscribers screen to specify member e-mail addresses. You can enter them manually or upload them as a batch in CSV format.
Accessing the screen
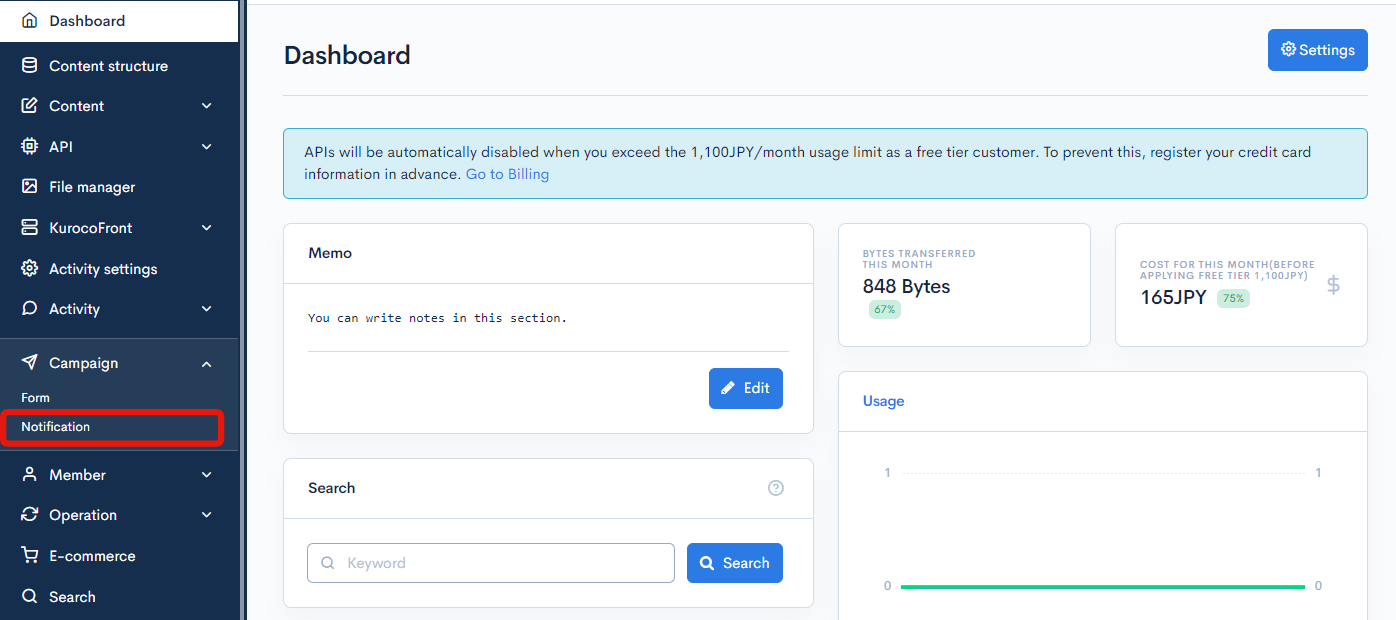
In the left sidebar menu, click [Campaign] -> [Notification].
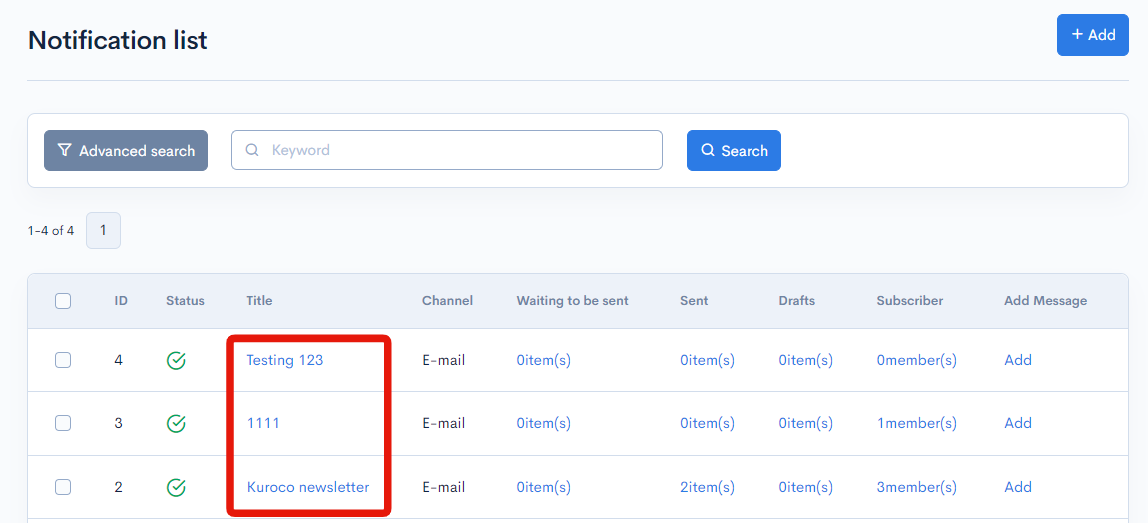
Click on the title of the notification you want to edit.
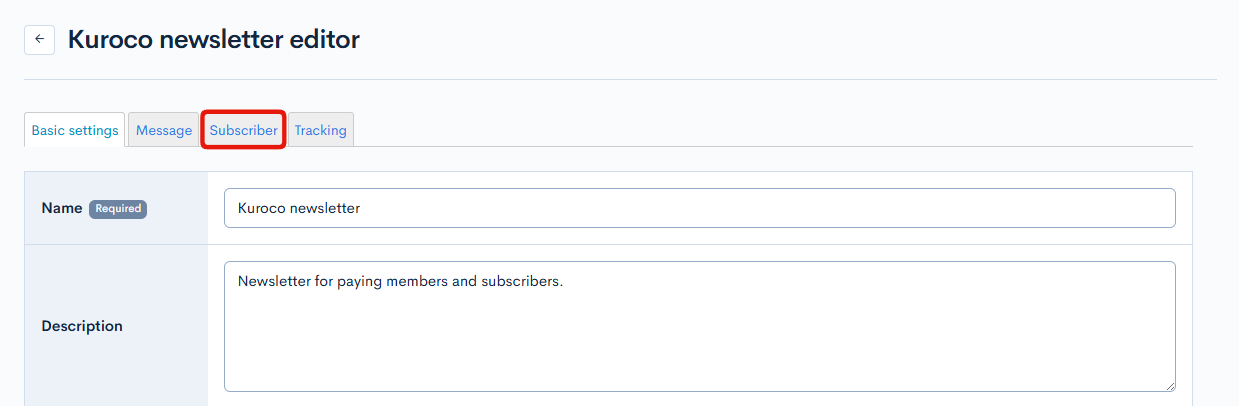
On the notification editor screen, click the "Subscribers" tab.
Item descriptions
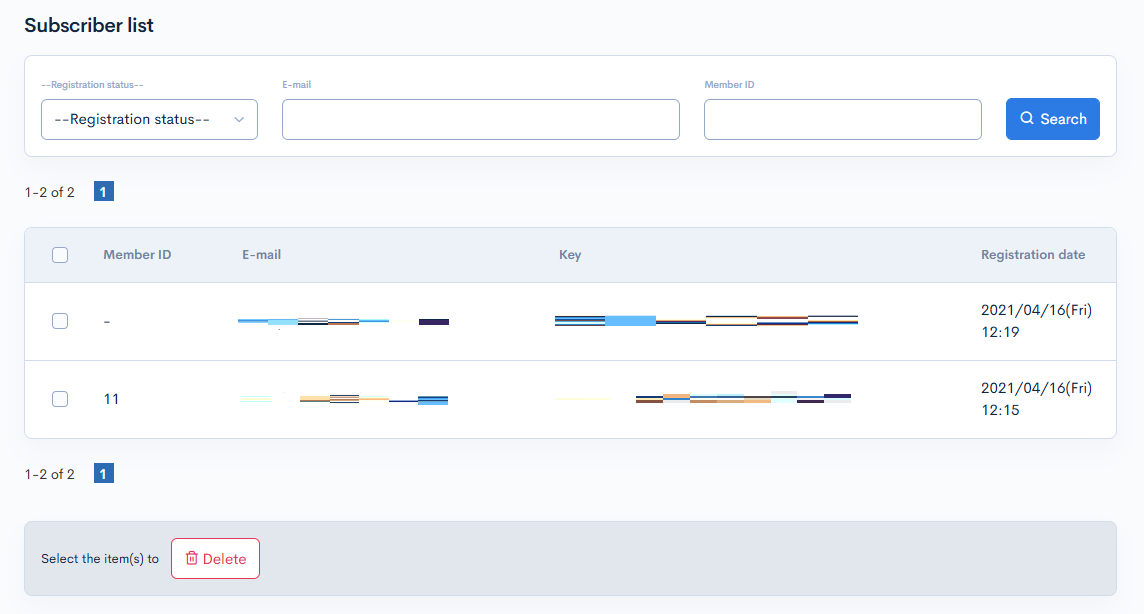
| Item | Description |
|---|---|
| Add by e-mail address | Adds the input e-mail address. |
| Add by member ID | Adds the input member ID. |
| Search | Filter the subscriber list by subscription status, e-mail address, or member ID. |
| Member ID | Unique ID assigned when a user subscribes on the member screen or when a CSV member list is uploaded. Note: If a member ID is linked to an e-mail address, the recipient is automatically changed when the address changes. |
| Key | Key of the subscriber. |
| Registration date | Date and time of subscription. |
Batch actions
Delete
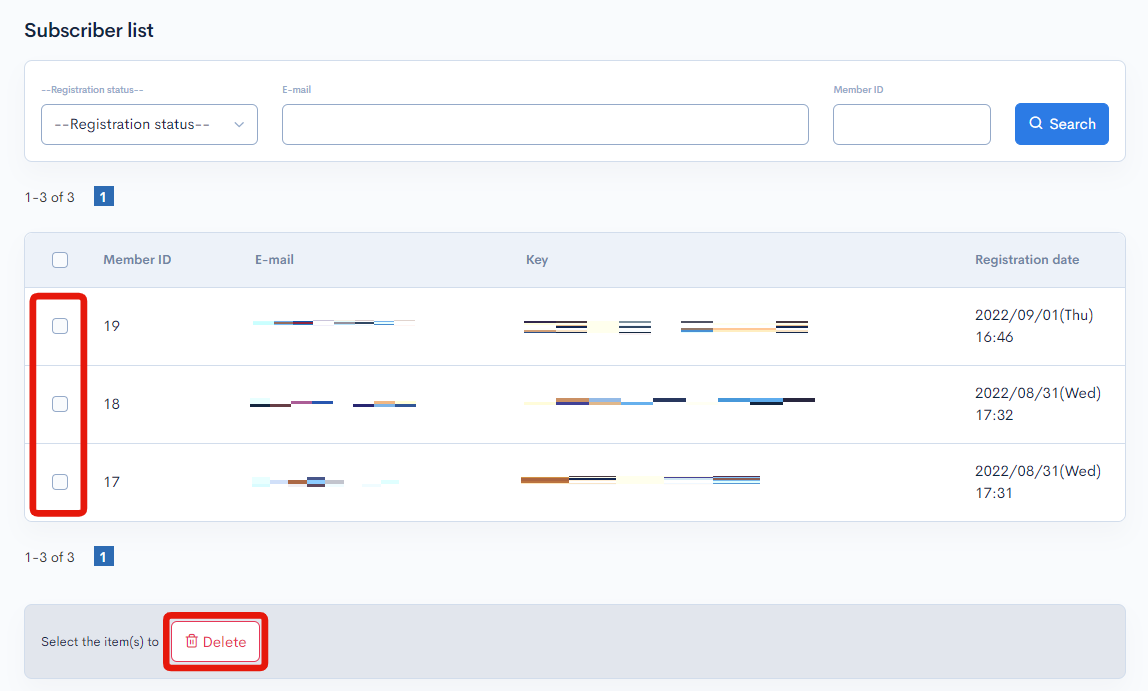
Select the desired members using the checkboxes in the left-most column, and click [Delete] to remove them from the subscriber list.
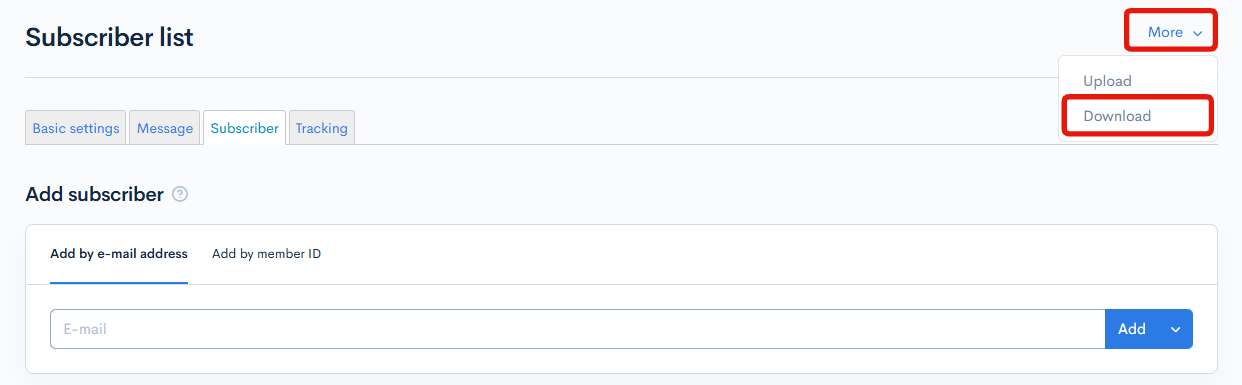
Download
Click the [More] in the upper right corner of the screen to download the subscriber list as a CSV file.tings.
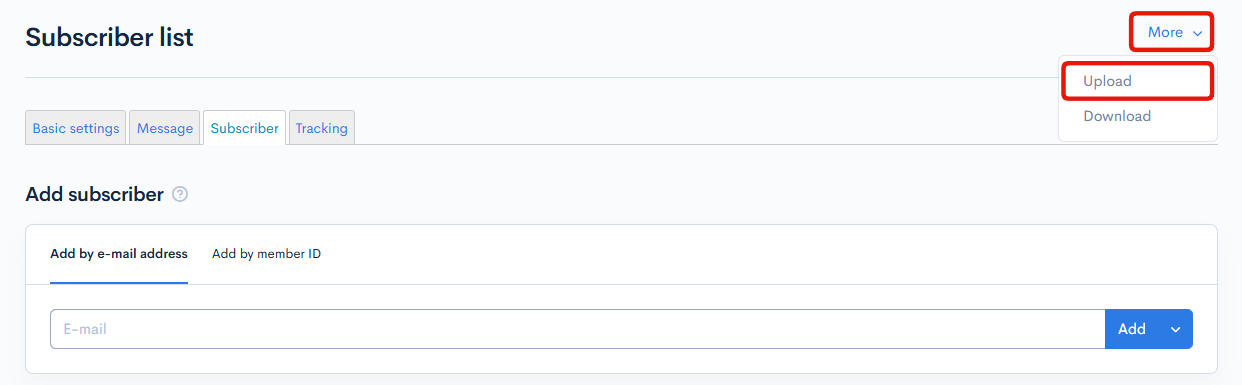
Upload
Click the [More] in the upper right corner of the screen to upload the subscriber list as a CSV file.tings.
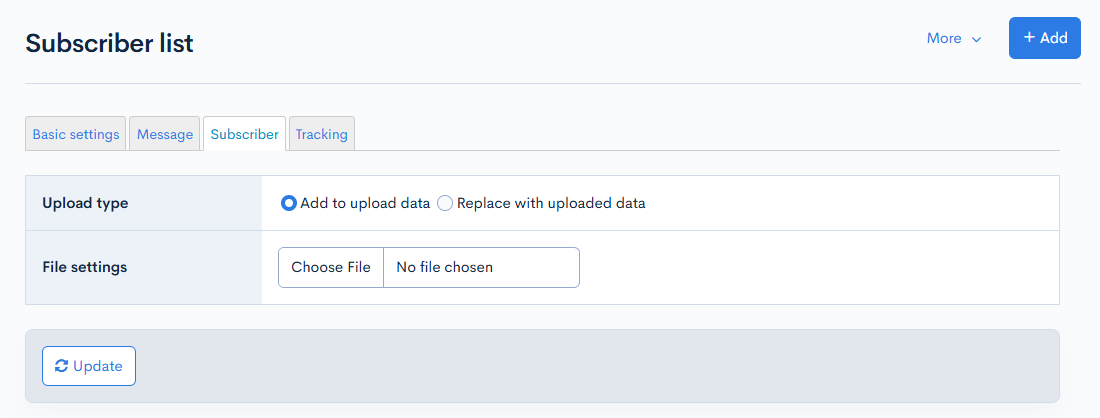
| Item | Description |
|---|---|
| Upload type |
|
| File settings | Click "Choose File" to select a CSV file to upload. |
| Update | Click to execute the upload. |
Related documents
Support
If you have any other questions, please contact us or check out Our Slack Community.