Creating a Subscription Form for Subscribers
Overview
This tutorial explains how to create a form to register and unsubscribe subscribers for a delivery feature in a Nuxt.js project using Kuroco.
The MagazineSubscriber::subscribe/unsubscribe endpoint for registering/unsubscribing from the delivery only requires posting the email, but if the URL of the endpoint is known, it is possible to register/unsubscribe someone else's email address.
Therefore, in this tutorial, we will introduce two methods: requiring login and using a key to unsubscribe from the delivery.
What you will learn
We will implement the following two operations to register and unsubscribe subscribers for the delivery:
- Require login to register and unsubscribe from the delivery
- Making subscription registration and cancellation without login required
Prerequisites
This page assumes that a project using Kuroco and Nuxt.js has already been set up.
If you haven't done so yet, please refer to the following tutorial.
This tutorial is written with the following versions:
Nuxt2: v2.15.8
Nuxt3: v3.8.0
Require login to register and unsubscribe from the delivery
We will implement the functionality for registering and unsubscribing from deliveries to work only when logged in.
The endpoint set to require login (self_only configuration) does not work when posting email, but it will be used to register and unsubscribe from deliveries by posting the user's own member_id while logged in.
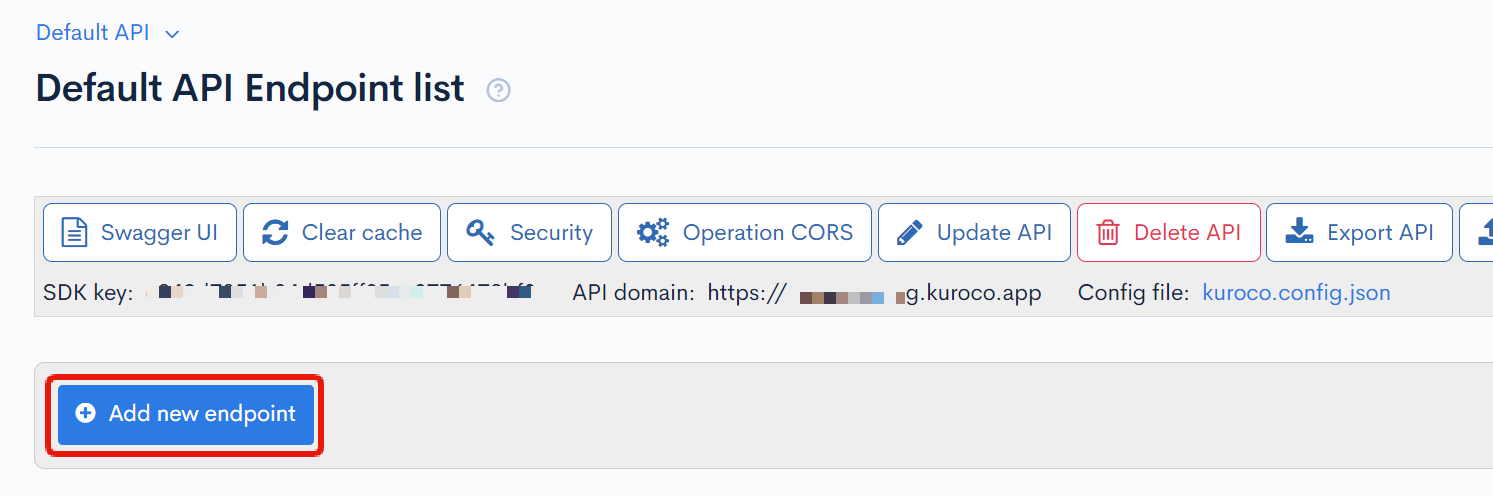
Registering the endpoints
Click on [Add new endpoint] to create the endpoint for registering the delivery and the login endpoint.
Endpoint for registering the delivery
Set the following information and click [Add].
| Field | Setting |
|---|---|
| Path | magazine_subscribe |
| Category | Delivery |
| Model | MagazineSubscriber |
| Operation | subscribe |
| allow_magazine_id | 1 |
| self_only | Check the box |
Endpoint for unsubscribing from the delivery
Set the following information and click [Add].
| Field | Setting |
|---|---|
| Path | magazine_unsubscribe |
| Category | Delivery |
| Model | MagazineSubscriber |
| Operation | subscribe |
| allow_magazine_id | 1 |
| self_only | Check the box |
Login endpoint
Use the default login endpoint that is already set up. If it does not exist, create a login endpoint with the following information:
| Field | Setting |
|---|---|
| Path | login |
| Category | Authentication |
| Model | Login |
| Operation | login_challenge |
Profile endpoint
Use the default profile endpoint that is already set up. If it does not exist, create a profile endpoint with the following information:
| Field | Setting |
|---|---|
| Path | profile |
| Category | Authentication |
| Model | Login |
| Operation | profile |
Frontend implementation
Next, create a form for subscribing to the magazine delivery on the frontend.
Create the following files so that they can be displayed in the /subscribe_with_login directory.
Additionally, the error messages are displayed as-is from Kuroco by receiving the response of the post process errors.
- Nuxt2
- Nuxt3
loading...
loading...
The above sample code is minimal for reference purposes.
When using it in practice, please also use libraries for validation processing and login functionality.
Confirming the operation
Subscribe
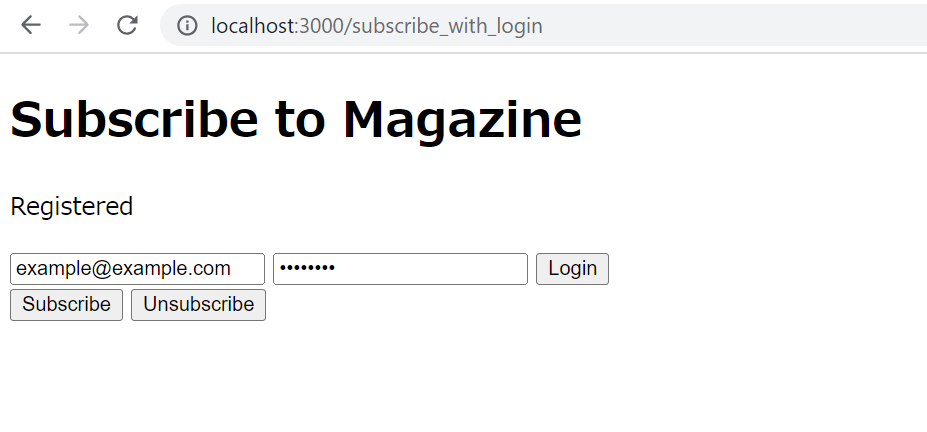
Run npm run dev to confirm the operation.
After logging in at the URL /subscribe_with_login, when you click [Subscribe], an API request is made to the Kuroco endpoint, and you can see the message "Registered".
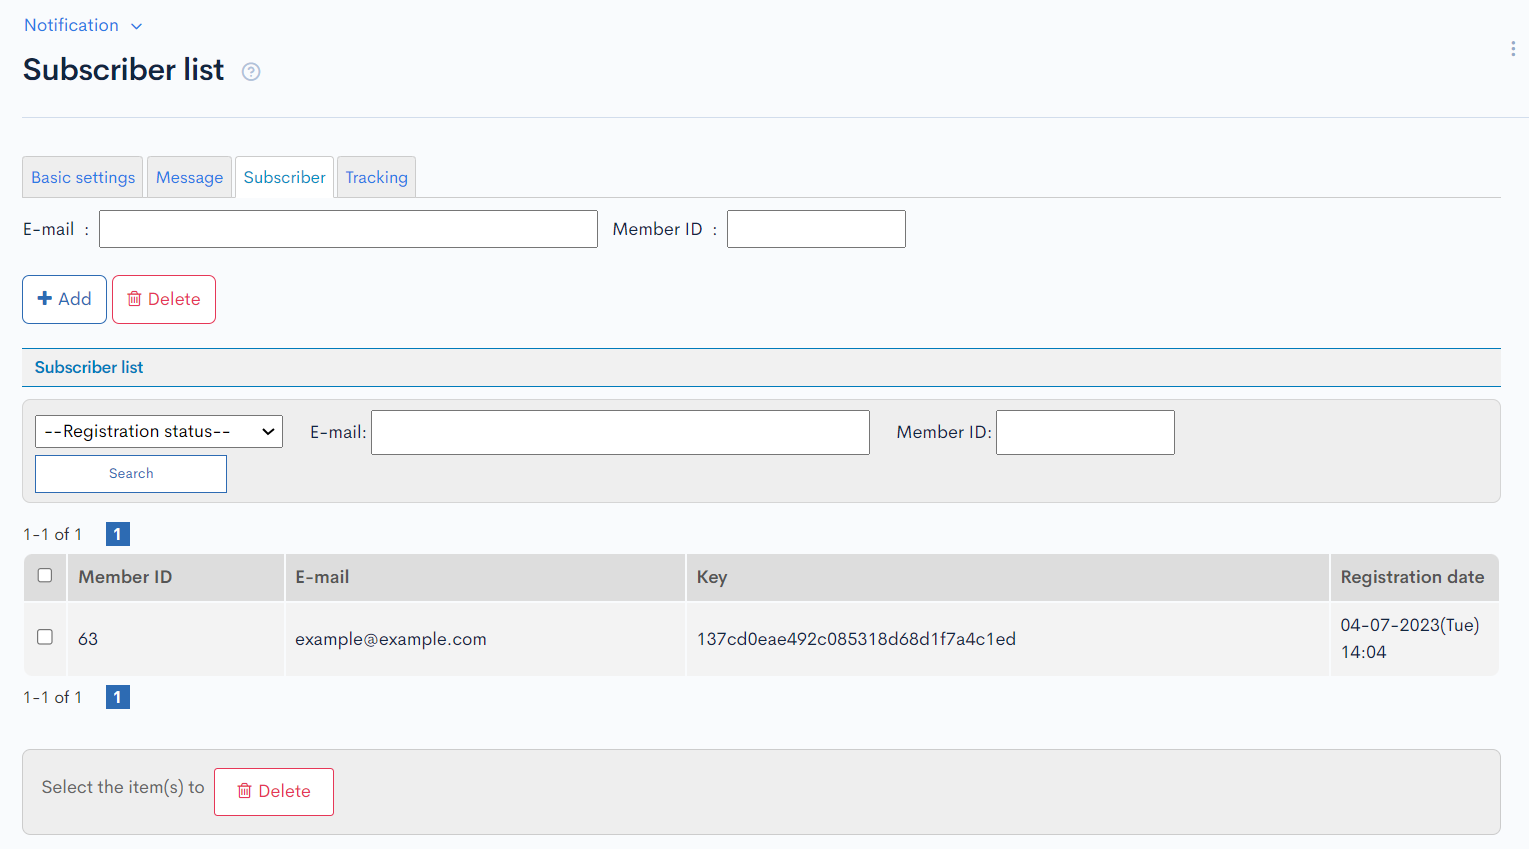
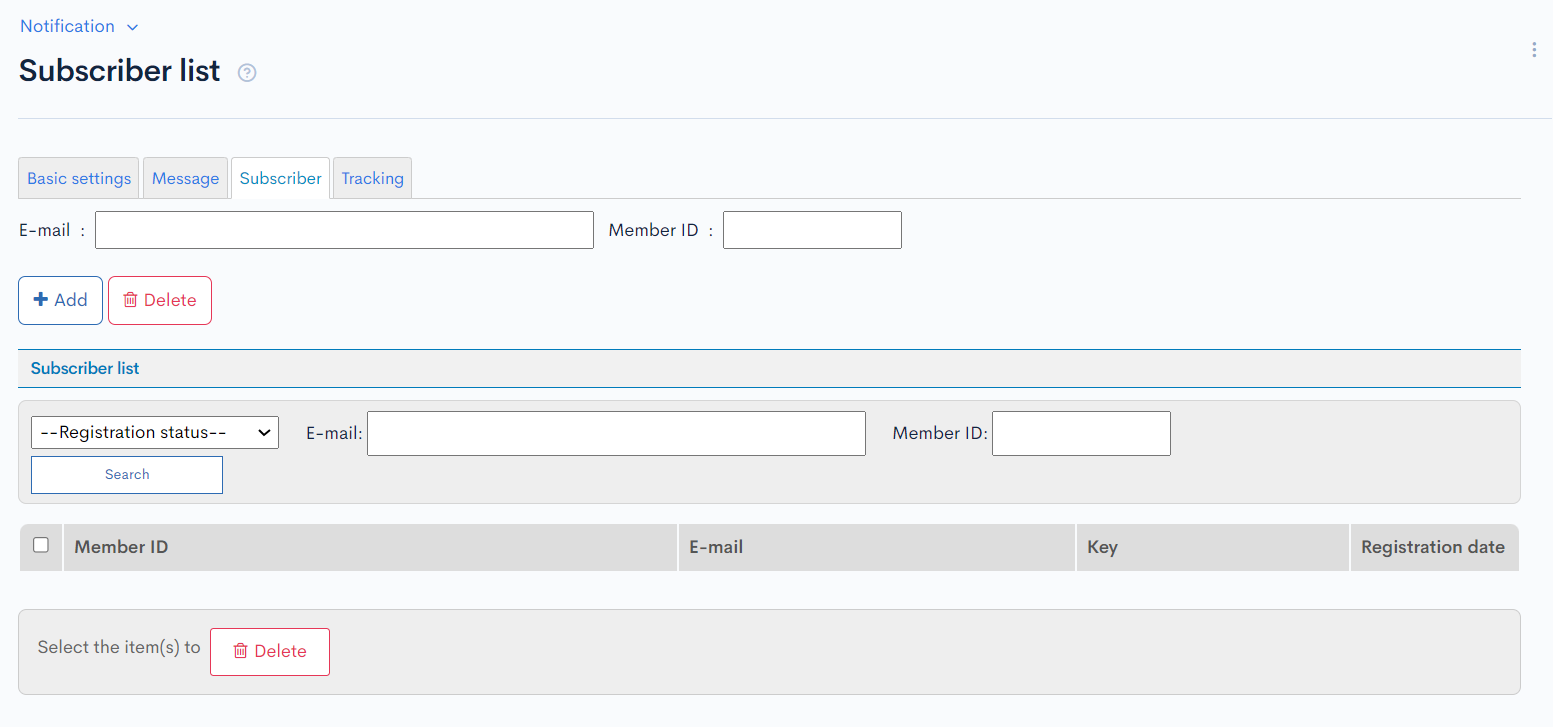
When you check the Subscribers page, you can see that the subscriber has been registered.
Unsubscribe
Next, when you click [Unsubscribe], an API request is made to the Kuroco endpoint, and you can see the message "Resigned".
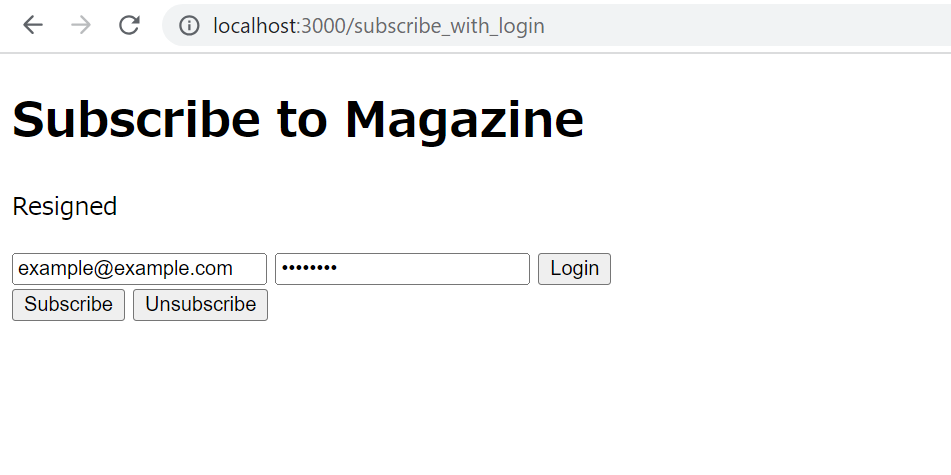
On the Subscribers page, you can see that the subscriber has been removed.
Making subscription registration and cancellation without login required
Modify the implementation so that subscription registration can be done with just an email, and subscription cancellation can be done by clicking the [Unsubscribe] link in the subscription message.
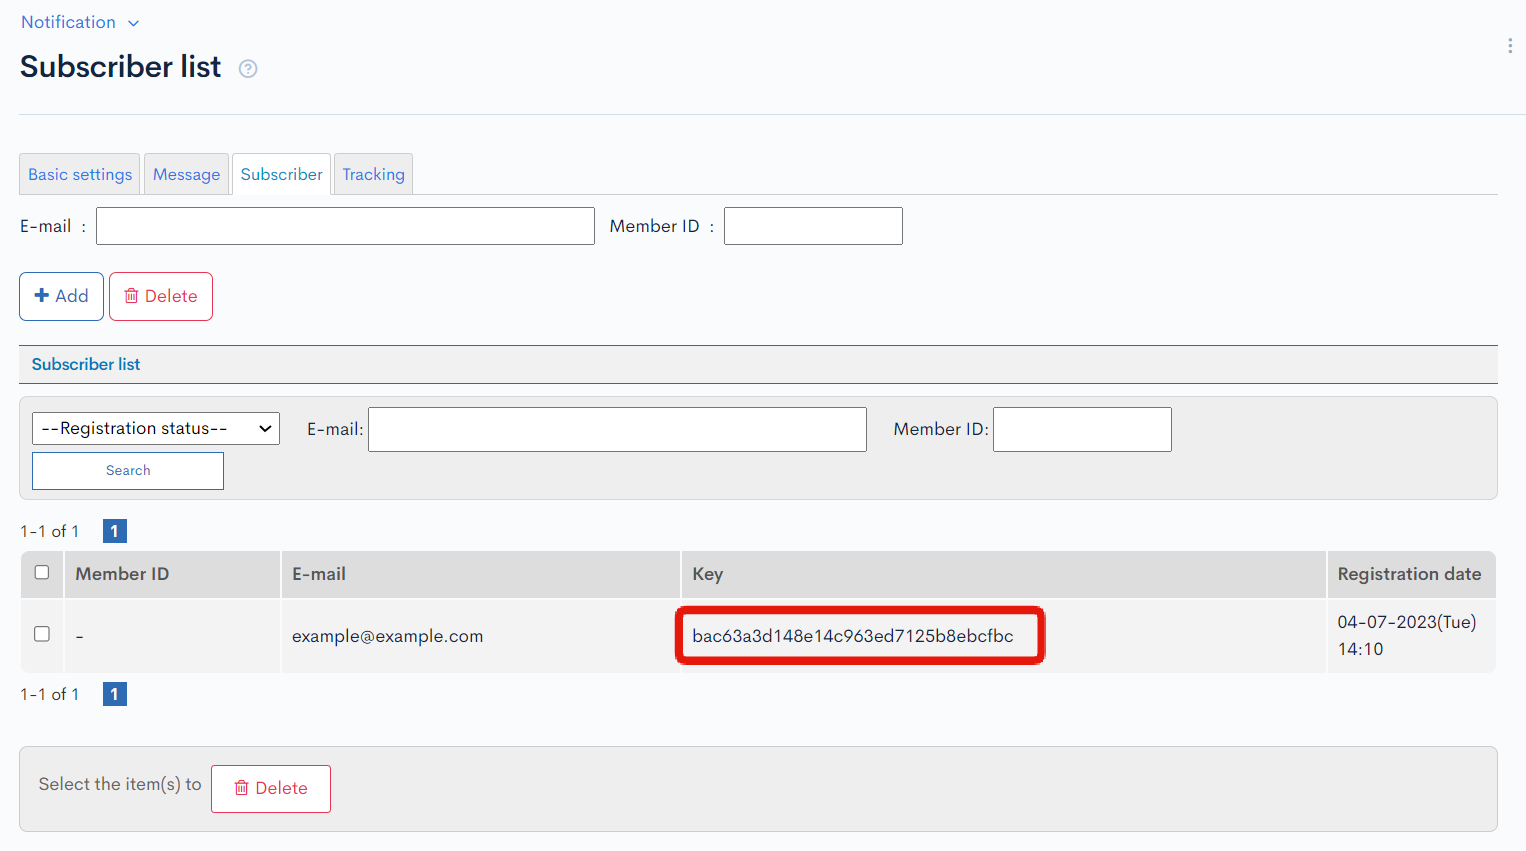
For unsubscribing without logging in, use the key assigned to each subscriber to prevent unauthorized cancellation of other people's subscriptions.
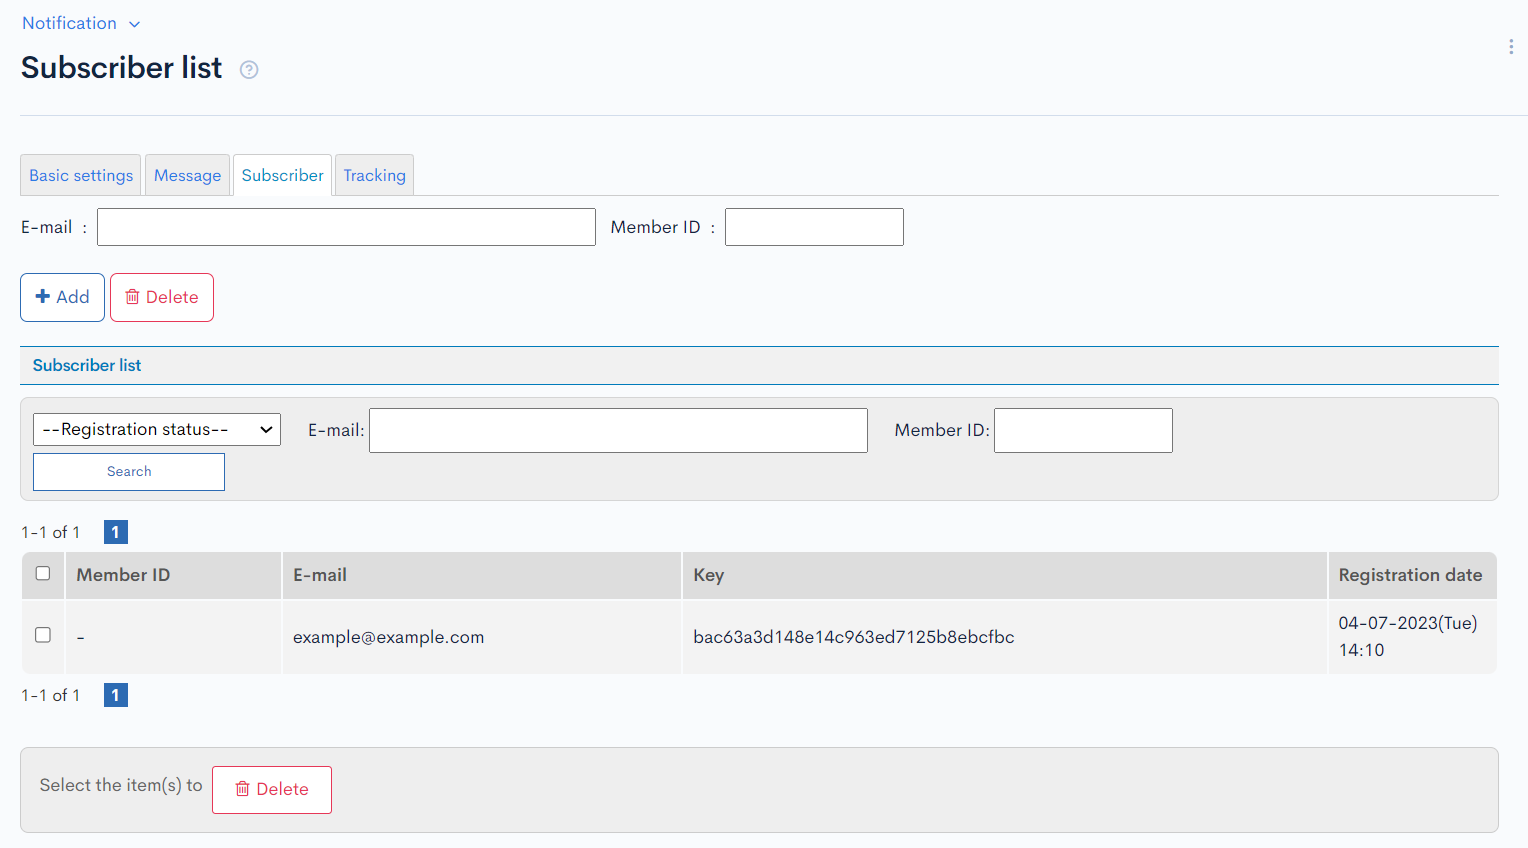
You can check the key on the Subscribers page in the management screen.
Registering Endpoints
Click on [Add New Endpoint] to create endpoints for subscription registration and login.
Subscription Registration Endpoint
Set the following information and click on "Add".
| Field | Setting |
|---|---|
| Path | magazine_subscribe_with_key |
| Category | Subscription |
| Model | MagazineSubscriber |
| Operation | subscribe |
| allow_magazine_id | 1 |
Subscription Unsubscribe Endpoint
Set the following information and click on "Add".
| Field | Setting |
|---|---|
| Path | magazine_unsubscribe_with_key |
| Category | Subscription |
| Model | MagazineSubscriber |
| Operation | subscribe |
| allow_magazine_id | 1 |
| required_key | Check the box |
Creating Custom Processing
The key for unsubscribing from the subscription is displayed in Subscribers page. Create a custom processing to make this key usable within the subscription message.
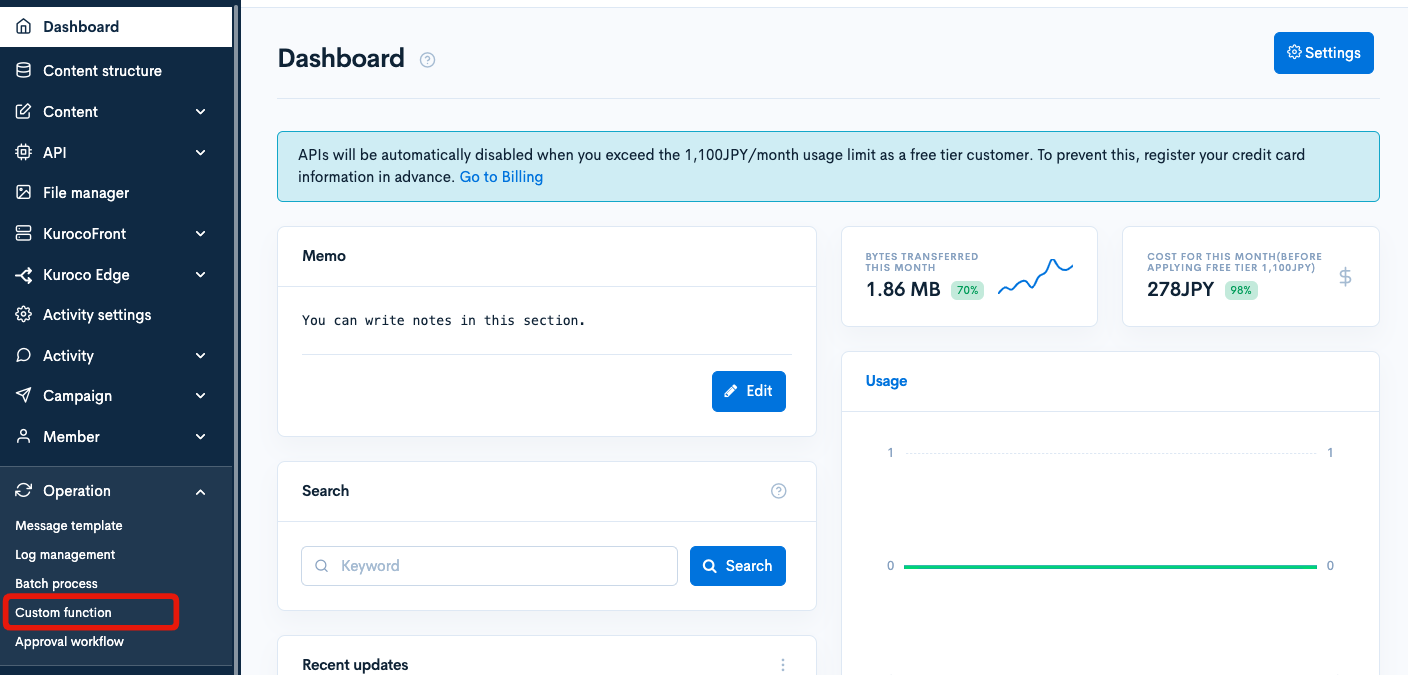
Click on [Operation] -> [Custom function].
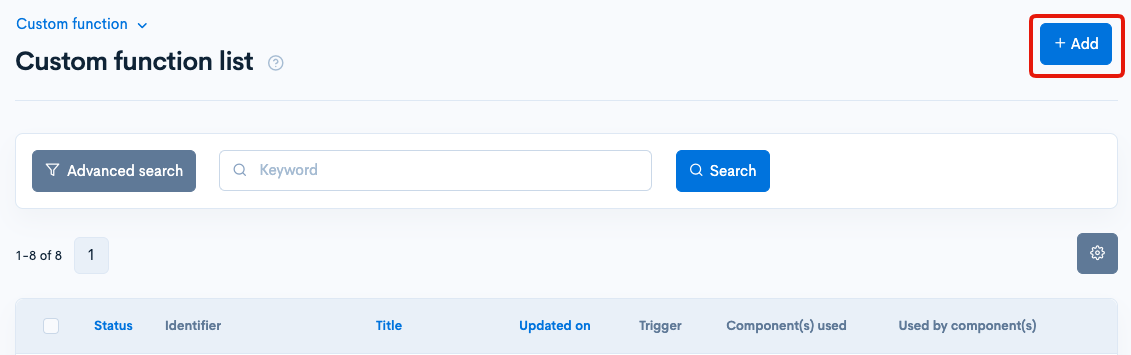
Click on [Add].
Enter the following information:
| Field | Setting |
|---|---|
| Title | Insertion of Magazine (to make key and email usable) |
| Identifier | substitution_key |
| Component using this | Trigger: Insertion of SubscriptionValue: 1 |
| Processing | The following code |
{assign_array var=substitutions values=''}
{assign var=substitutions.key   value=$member_info.key}
{assign var=substitutions.email value=$member_info.email}
Frontend Implementation
Create a page for subscription registration and a page for subscription unsubscribe in the frontend.
First, create a page for subscription registration.
Create the following files so that they can be displayed in the /subscribe_with_key directory.
- Nuxt2
- Nuxt3
loading...
loading...
Next, create a page for subscription unsubscribe.
Create the following files so that they can be displayed in the /subscribe_with_key/unsubscribe directory.
The page for subscription unsubscribe assumes that it will be accessed through a link specified in the subscription message.
- Nuxt2
- Nuxt3
loading...
loading...
Confirmation of operation
Register for delivery
Run npm run dev to confirm the operation.
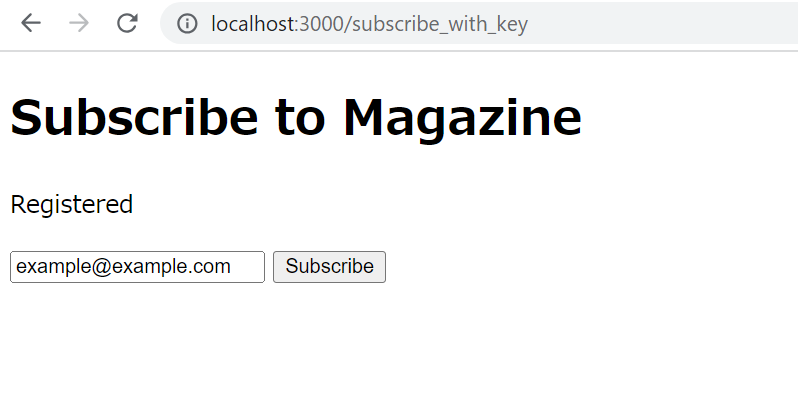
When you enter an email address in the URL /subscribe_with_key and click [Subscribe], an API request is made to Kuroco's endpoint, and you can see the message "Registered".
When you check the Subscribers page, you can see that the subscriber is registered.
Send a delivery message
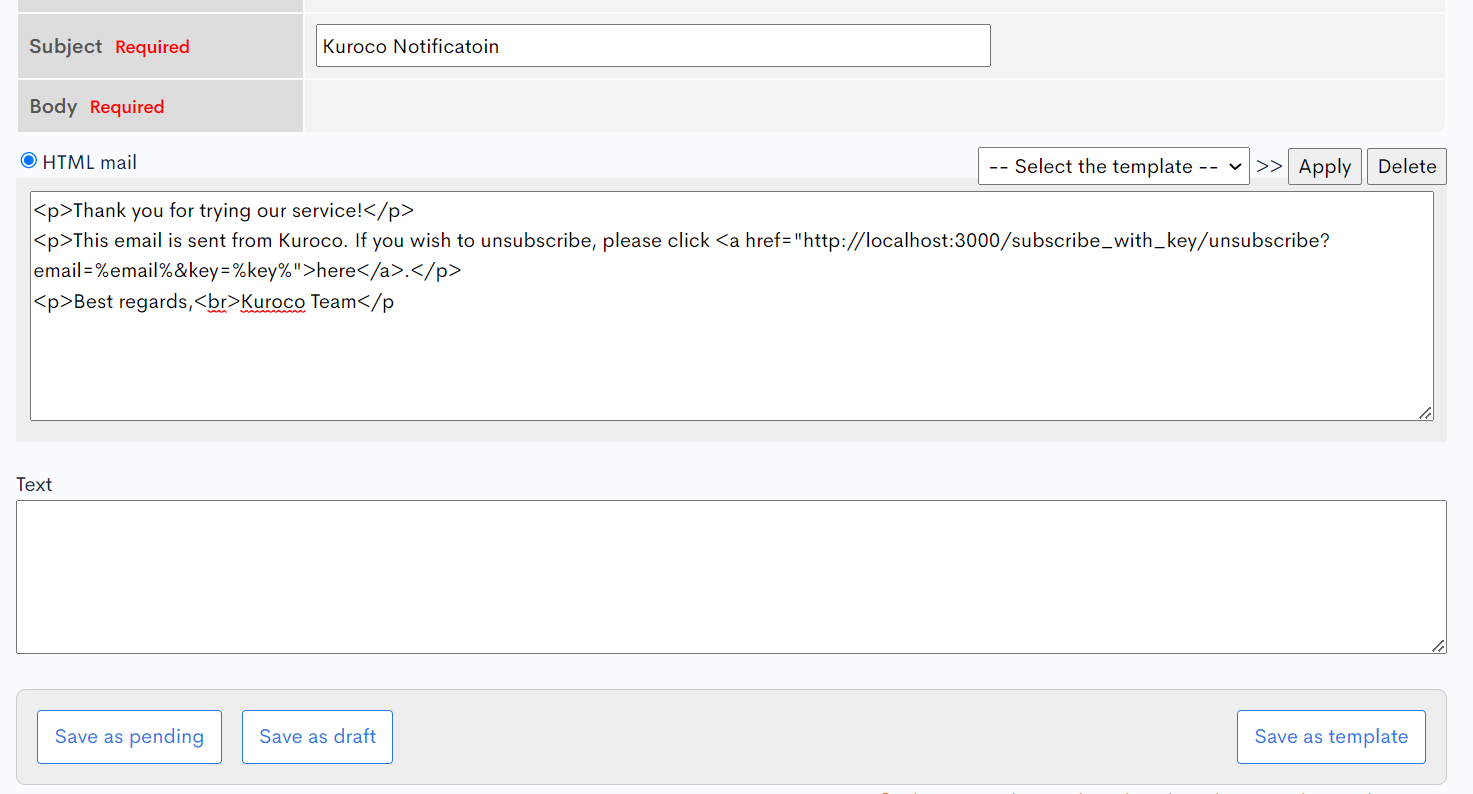
Send the following email to the subscriber from Notification Message Editor.
<p>Thank you for trying our service!</p>
<p>This email is sent from Kuroco. If you wish to unsubscribe, please click <a href="http://localhost:3000/subscribe_with_key/unsubscribe?email=%email%&key=%key%">here</a>.</p>
<p>Best regards,<br>Kuroco Team</p>
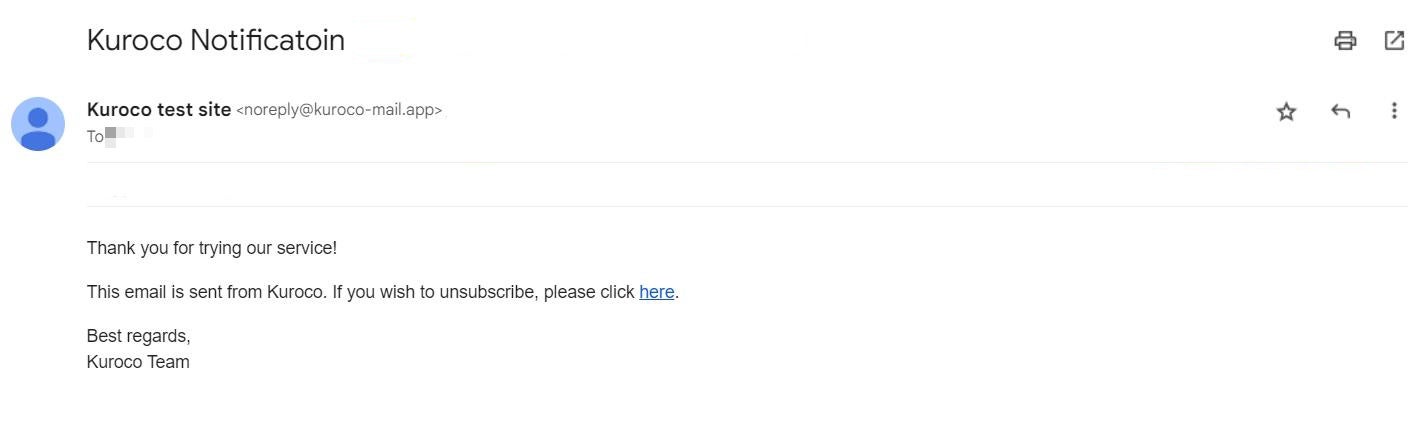
You will receive a delivery message with a link to the unsubscribe page.
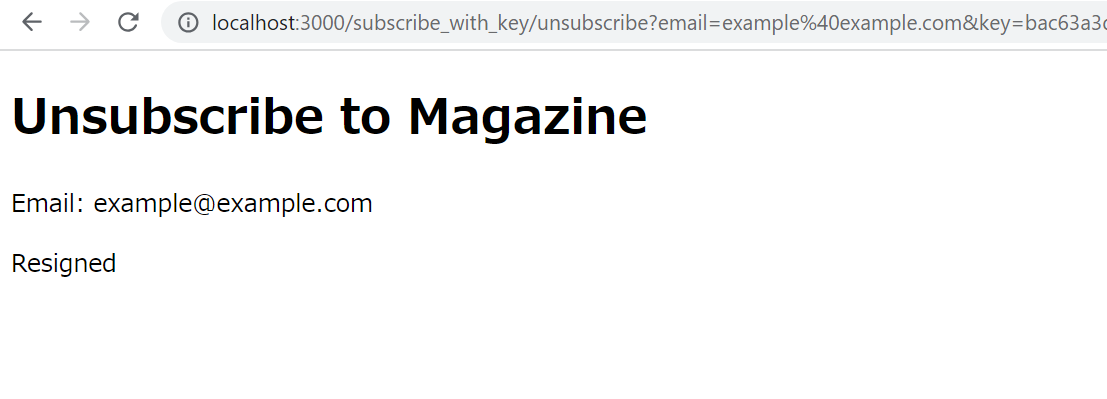
Unsubscribe using the link in the message
Accessing the link will send the email and key attached as query parameters to Kuroco's endpoint, completing the unsubscribe process.
This concludes the explanation of how to build a form to register and unsubscribe subscribers for the delivery function.
Related Documents
Support
If you have any other questions, please contact us or check out Our Slack Community.