OAuth SP
The OAuth SP screen allows you to view, add, and update the OAuth SP settings for your site.
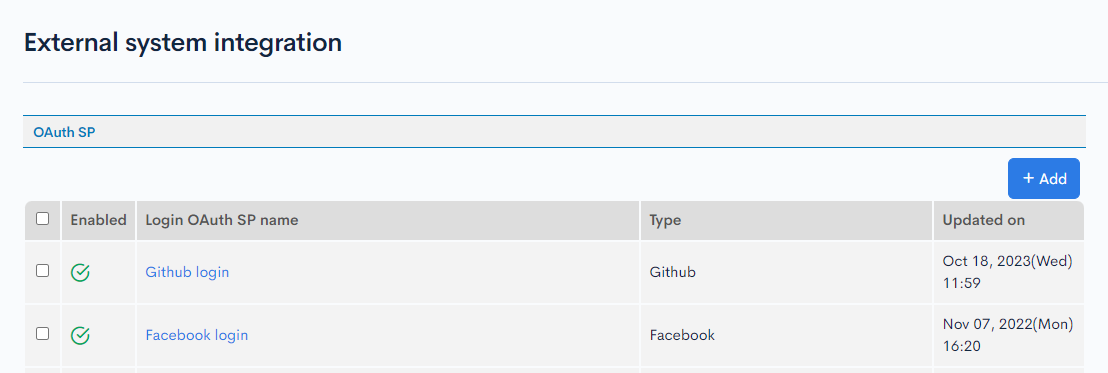
OAuth SP list
Accessing the screen
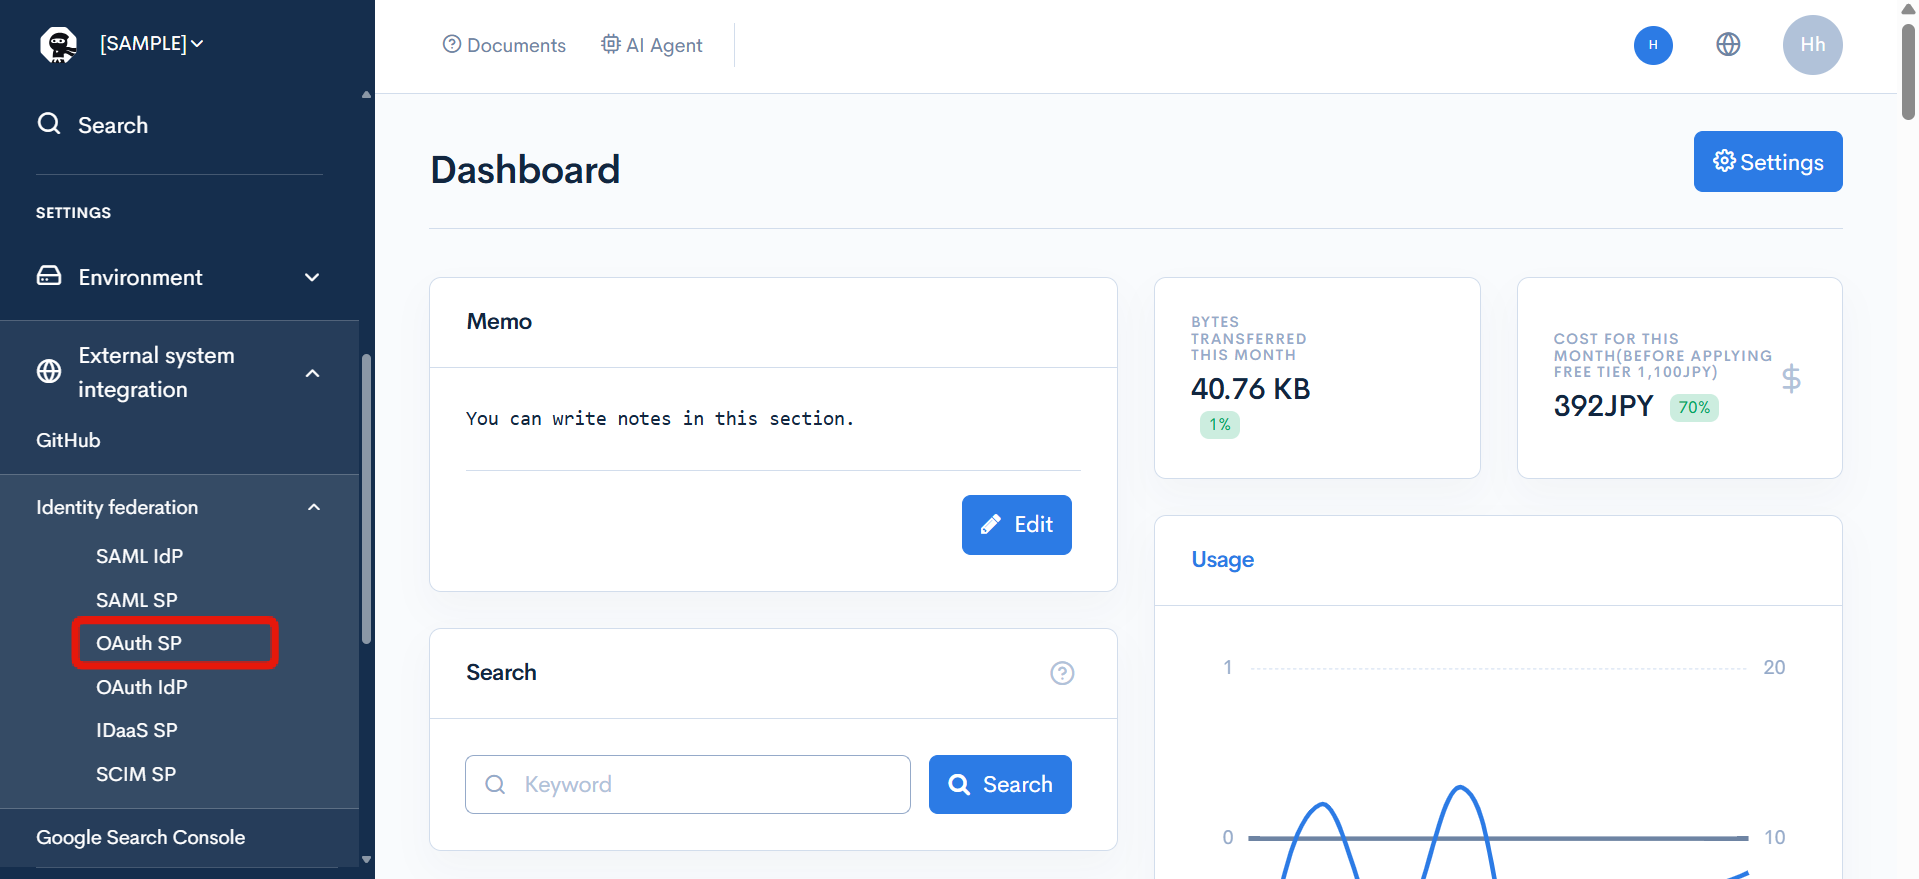
In the left sidebar menu, under "SETTINGS", click [External system integration] -> [Identity federation] -> [OAuth SP].
Field descriptions
| Field | Description |
|---|---|
| Enabled | Status of the OAuth SP. : Enabled : Enabled : Disabled : Disabled |
| Login OAuth SP name | Name of the OAuth SP. |
| Type | Type of OAuth SP. |
| Updated on | Date and time of last update to the OAuth SP. |
OAuth SP editor
Accessing the screen
In the left sidebar menu, under "SETTINGS", click [External system integration] -> [Identity federation] -> [OAuth SP].
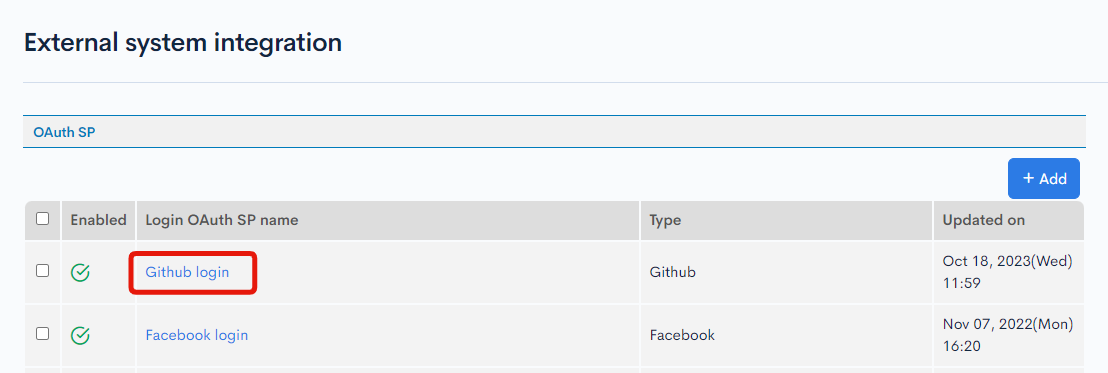
On the OAuth SP list screen, click the name of the OAuth SP you want to edit.
Item descriptions
OAuth SP editor

| Item | Description |
|---|---|
| Login OAuth SP name | Name of the OAuth SP. Check the "Enable" box to enable the current settings. (Note: The test function can be used even if the OAuth SP settings are disabled.) |
| Target domain | Target domain of the OAuth SP (admin panel URL or API domain). |
| Type | Service that will use the OAuth SP login.
|
| Login URL | URL for the user login. |
| Client ID | Security ID obtained when creating a new OAuth application with the identity provider. (Note: Store your client ID in a safe place, and do not use the same client ID for multiple providers.) |
| Client secret | Security key obtained when creating a new OAuth application with the identity provider. Store your client secret in a safe place. |
| (API) Generate grant token | A list of APIs with dynamic access tokens set for security will be displayed. When generating a Grant token with SSO, please check the APIs you want to use. When SSO is performed with the displayed URL, the grant_token parameter will be added to the URL upon transition to the return URL, so please use this to issue an access token. |
| Use Private URL | Enabling [Allow private IPs for return URL domains] allows you to set URLs such as http://(your IP address) or http://localhost:3000/ as the return URL.
|
| Return URL (success) | URL that user will be redirected to upon successfully logging in. |
| Return URL (error) | URL that user will be redirected to if login fails. |
| Automatic user registration | Option to enable automatic registration. Disabling this option redirects all unregistered users to the return URL (error) when they try to log in via SSO. |
| Store the ID in member ext col and link without using email | If enabled, the OpenID from the identity provider will be used to authenticate the user. (Note: Once this setting has been configured, do not change it again, as it may prevent users from logging in.) |
| Save user access token | Enabling this option stores the users' access tokens in the database for future logins. Any refresh tokens from the identity provider will also be stored. Tokens will be refreshed each time the user logs in. |
Actions

| Button | Description |
|---|---|
| Update | Apply all changes made on this screen. |
| Test | Test the OAuth SP settings to verify the fields that contain the necessary data. Click update to save the entered data before executing a test. |
| Delete | Delete the current OAuth SP. |
Additional settings
If you select Custom for the OAuth SP type, enter the settings for your identity provider of choice in the additional fields that appear. Most of these settings can be found in the documentations of the identity provider.
OAuth SP editor
| Field | Description |
|---|---|
| Login URL (Use Path Parameter for spid checkbox) | Some IdP doesn't allow Return URLs with Query Parameters, in that case, check this checkbox to use Path Parameter instead. |
| Authorize URL | URL to which the user will be redirected for sign in. This is obtained from the identity provider. |
| Token URL | URL used to obtain the access token for the code. This is obtained from the identity provider. |
| Resource URL | URL used to obtain login credentials via an access token. This is obtained from the identity provider. |
| IdP mapping with registration fields | Enter the user's first and last names for IdP mapping. |
| Required data scope | Scope of data to be requested from the identity provider. To configure multiple scopes, click [Add]. |
| Scope separator | For multiple scopes, specify the scope separator. You can find this information in the documentation of the identity provider. By default, the comma , is used, but you may choose from a list of options depending on the provider. |
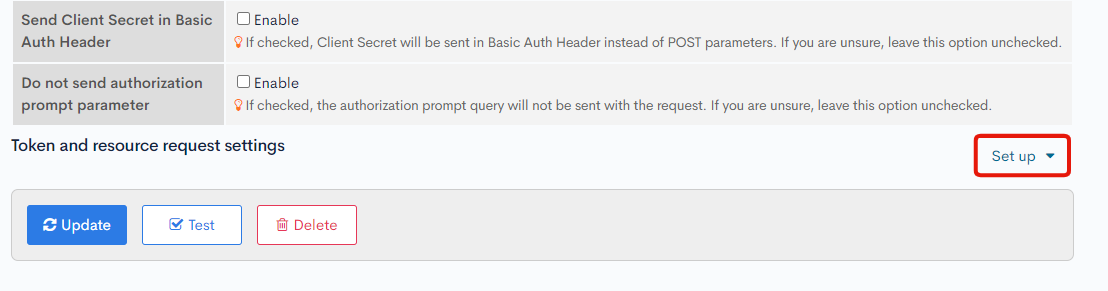
| Send client secret in basic auth header | Option to send the client secret in the basic authentication header. When unchecked, it will be sent in the URL parameter. You can find this setting in the documentation of the identity provider. If you are unsure, leave the box unchecked. |
| Do not send authorization prompt parameter | When this option is enabled, the authorization prompt query will not be sent with the request. You can find this setting in the documentation of the identity provider. If you are unsure, leave the box unchecked. |
Token and resource request settings
Click [Set up] to expand this section.
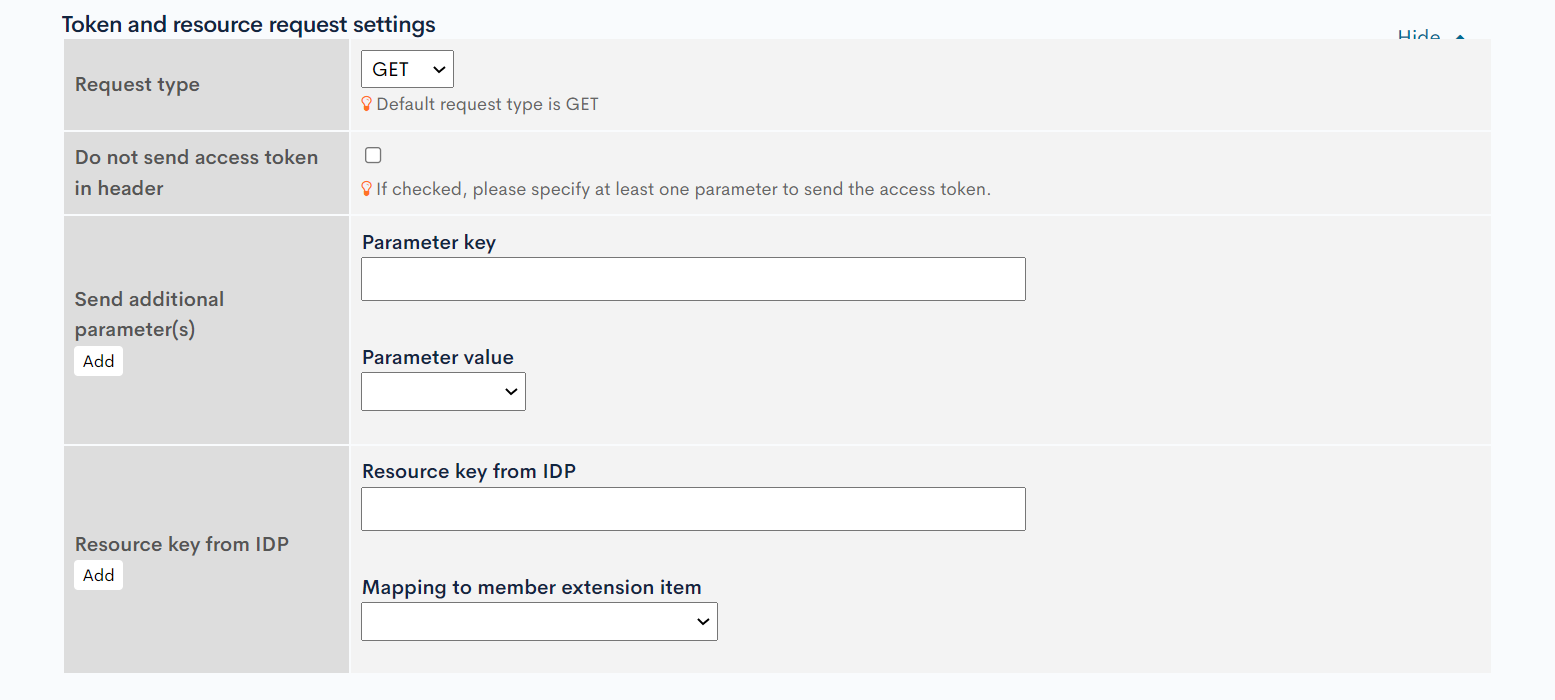
| Item | Description |
|---|---|
| Request type | Type of request sent to the identity provider. The default value is GET. If your identity provider requires POST requests, specify it here. |
| Do not send access token in header | When this option is enabled, one or more parameters must be specified to send the access token. |
| Send additional parameter(s) | Specify the parameter key and value to be sent in the request. Some identity providers may require additional parameters. |
| Resource key from IdP | Specify the key for mapping the response from the identity provider and the column in the t_member_header table the data will be mapped onto. |
Related documents
Support
If you have any other questions, please contact us or check out Our Slack Community.