How to implement OAuth based SSO using GitHub
Overview
Kuroco has the functionality of an OAuth service provider and can implement SSO. In addition, we have prepared several external services as presets, making it easy to configure for supported services.
In this tutorial, we will implement login under the following conditions as an example of SSO with OAuth authentication:
- Login to the Kuroco admin panel
- Use GitHub OAuth
- Login to Kuroco with a member who has the same email as GitHub
With OAuth authentication, any user with an account on the IdP (Identity Provider) can log in, regardless of their organization. Therefore, if you are using SSO for admin panel login, we recommend using SAML authentication, which allows access control on a per-organization basis.
This tutorial uses the admin panel as the target domain for ease of verification, but for production use of SSO login to the admin panel, please consider SAML authentication.
OAuth SSO is well-suited for frontend use. To implement it on your frontend, use the OAuth SP configuration from this tutorial, then refer to Using Single Sign-On Login in Frontend to implement access token issuance.
What you will learn
You will learn how to implement SSO using OAuth service provider with the following steps.
Before you start
Due to changes in GitHub specifications, the method of obtaining the Client ID and Client secrets may be different from this tutorial. Please check the latest information on GitHub for details.
Kuroco Configuration
Add OAuth Service Provider Configuration
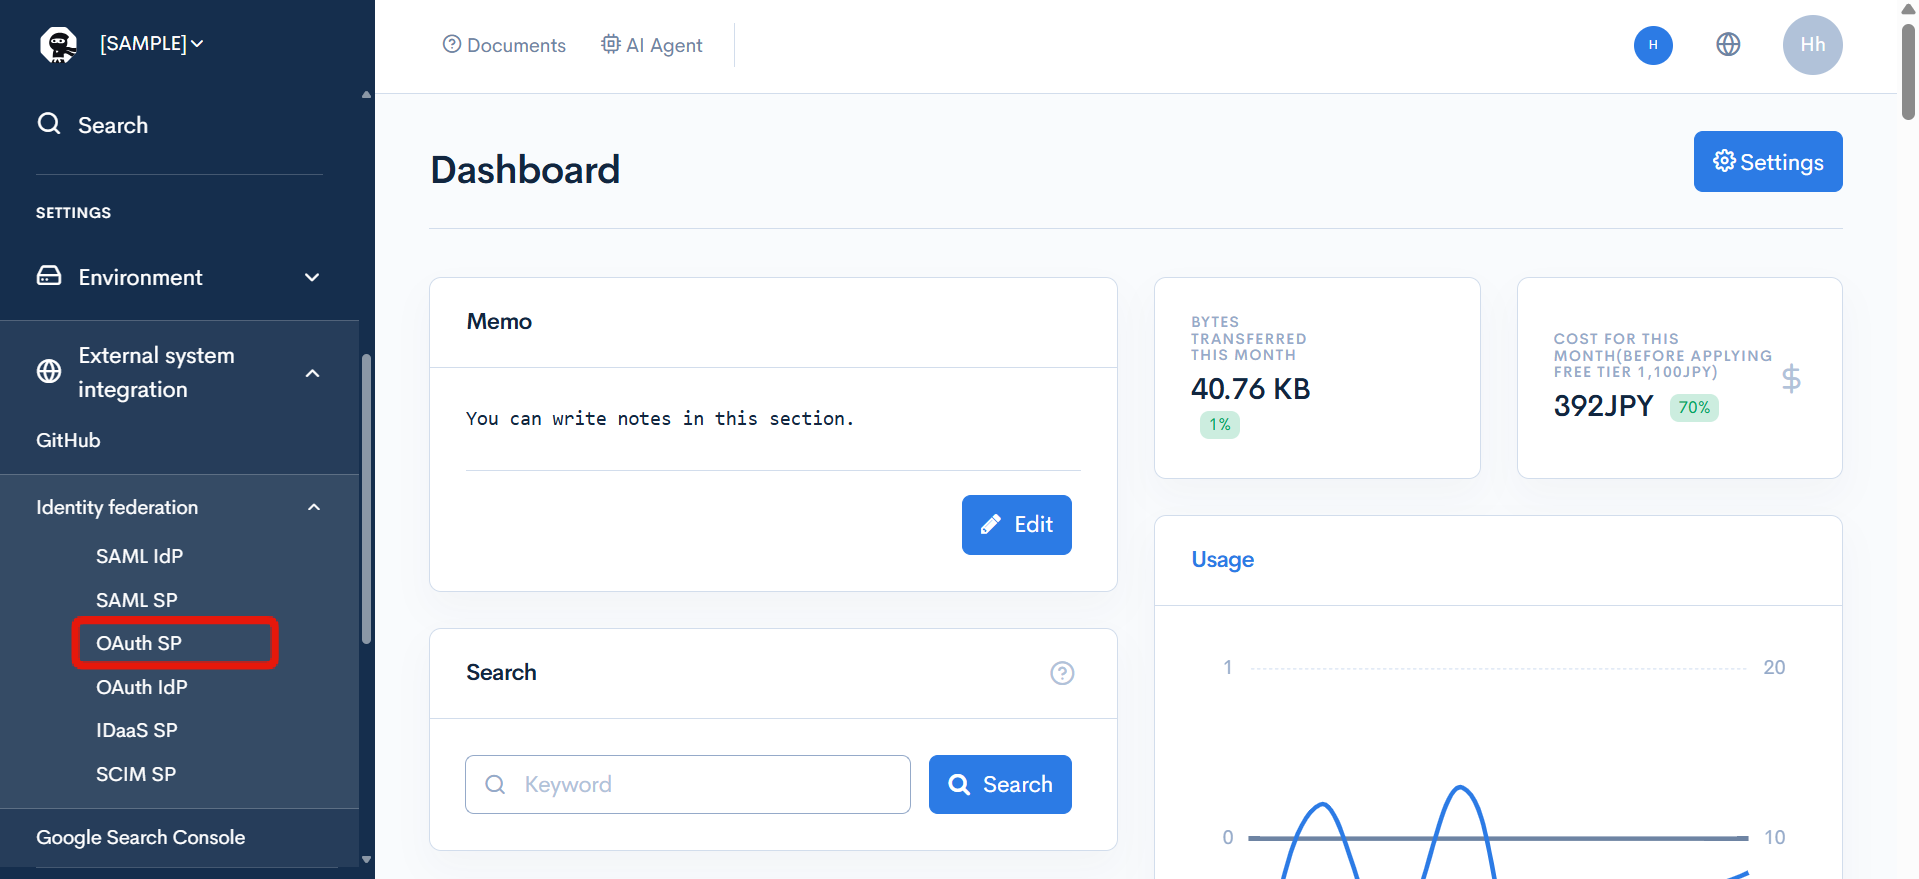
Click [External System Integration] -> [Identity federation] -> [OAuth SP].
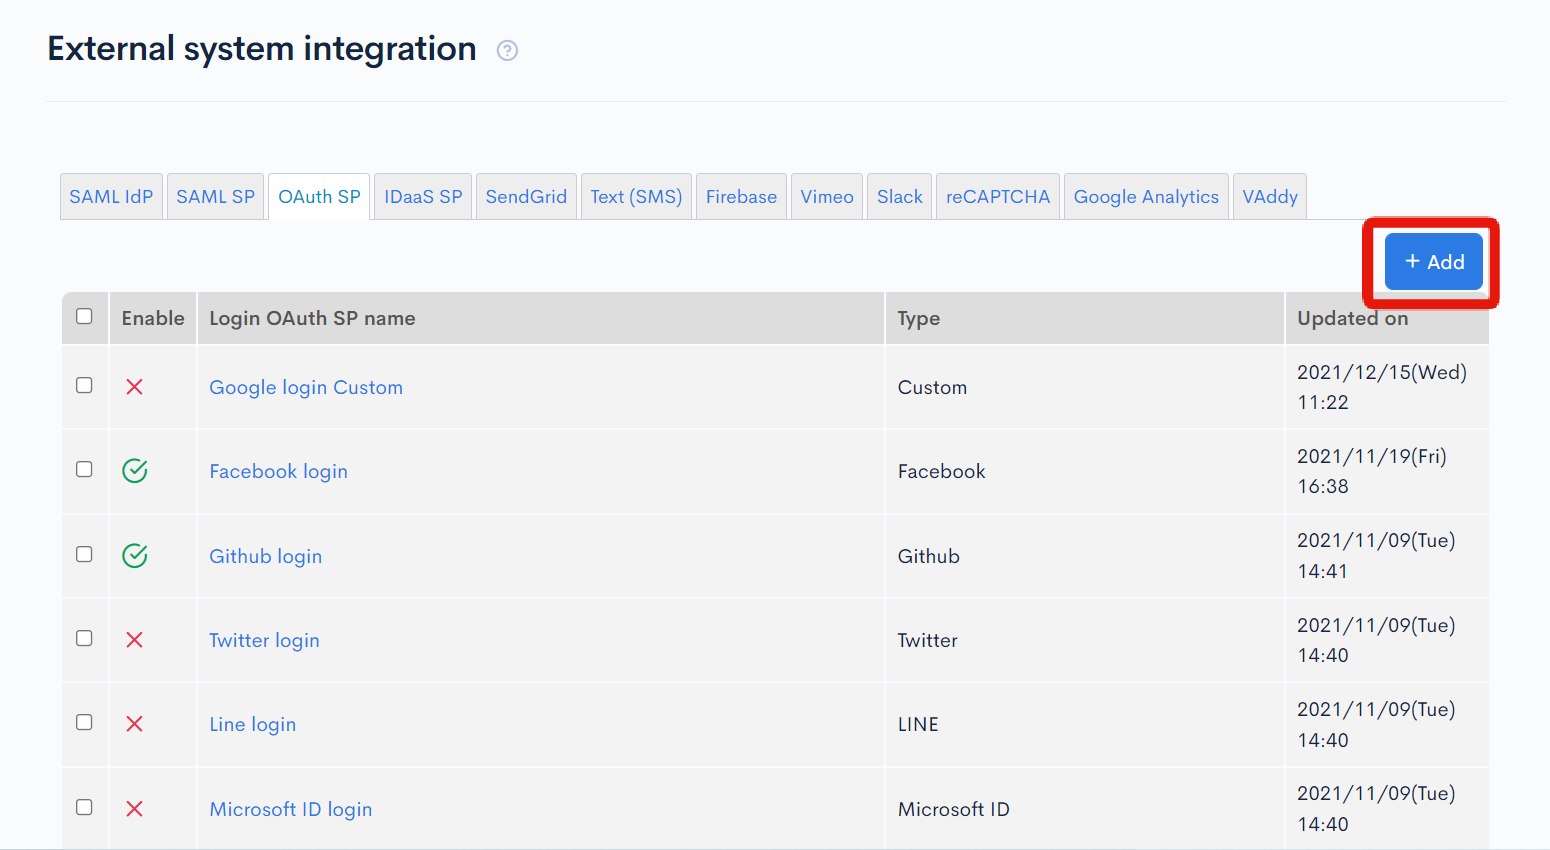
Click [Add].
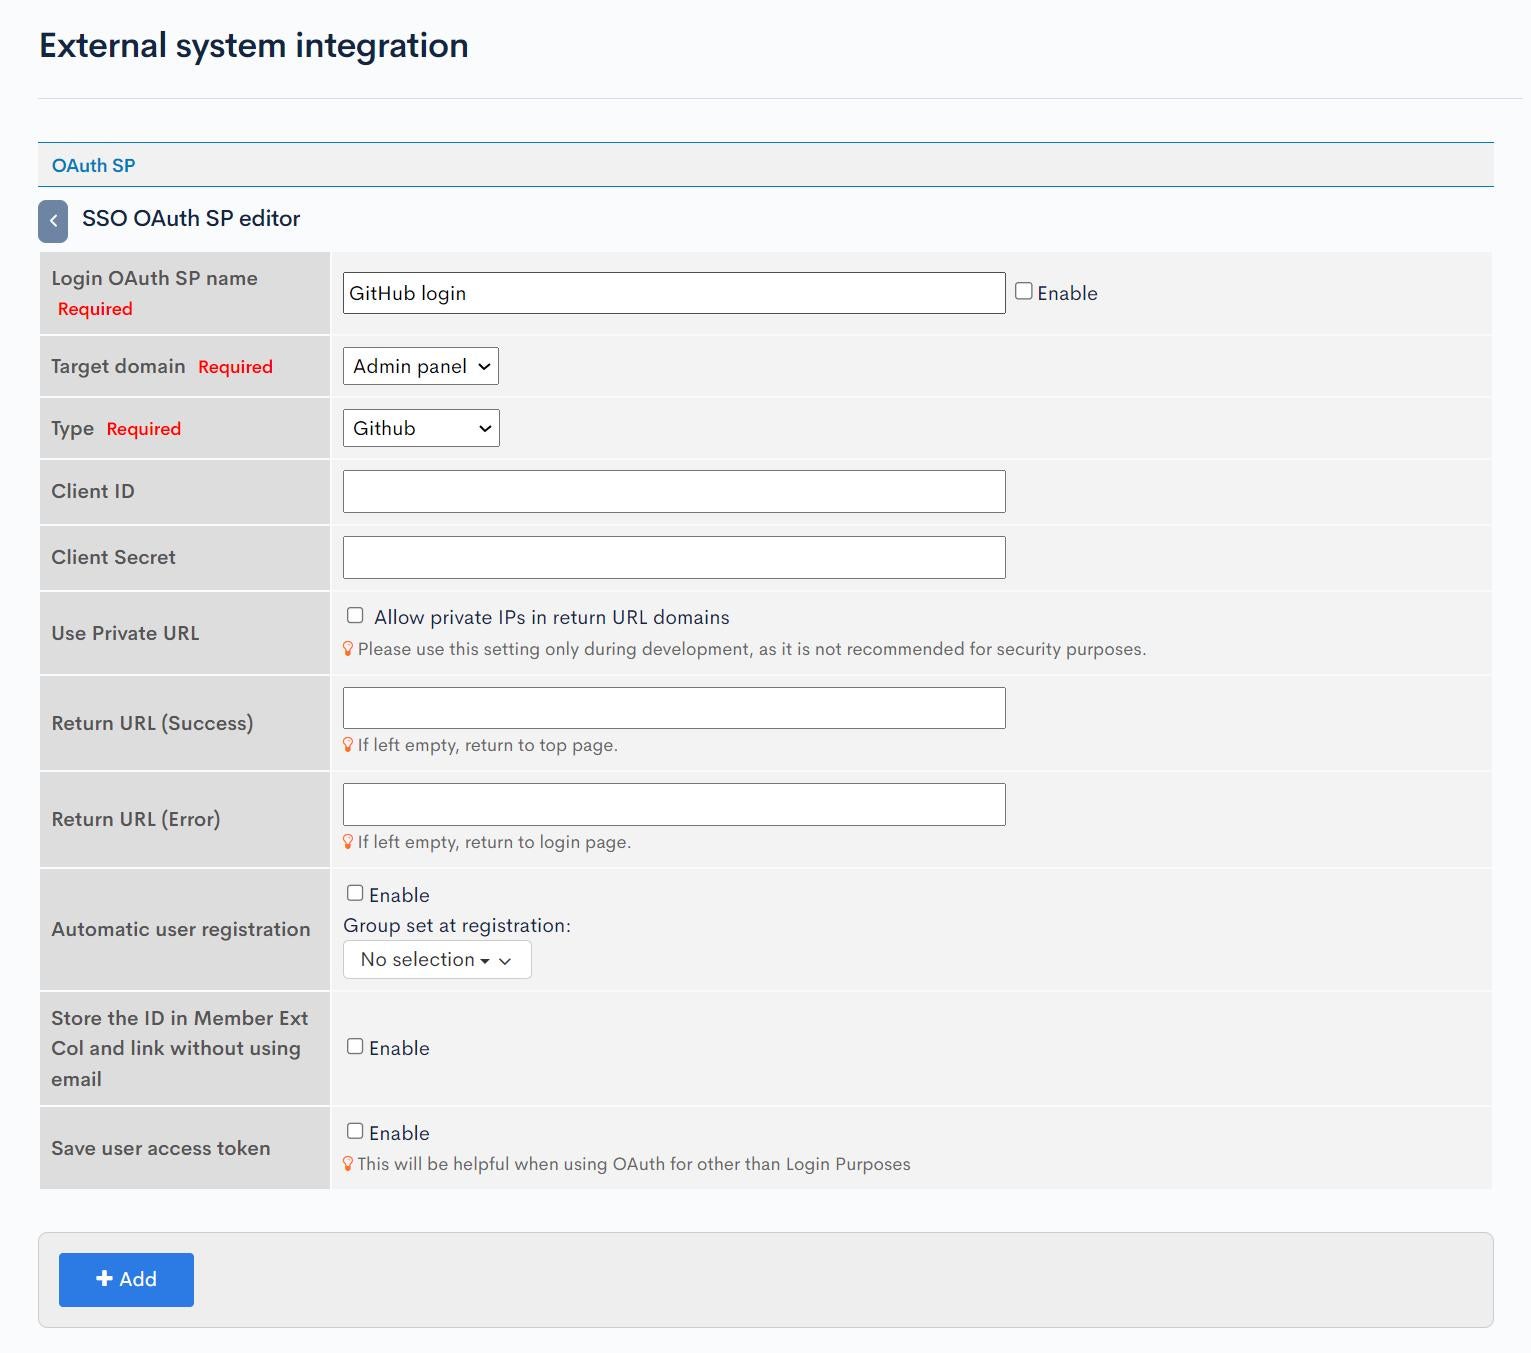
The OAuth SP editing screen will appear. Enter the following and click [Add].
| Item | Setting |
|---|---|
| OAuth SP Name | Any name you like |
| Target Domain | Admin Panel |
| Type | GitHub |
| Automatic User Registration | Do not check |
| Store ID in member extension item without using Email | Do not check |
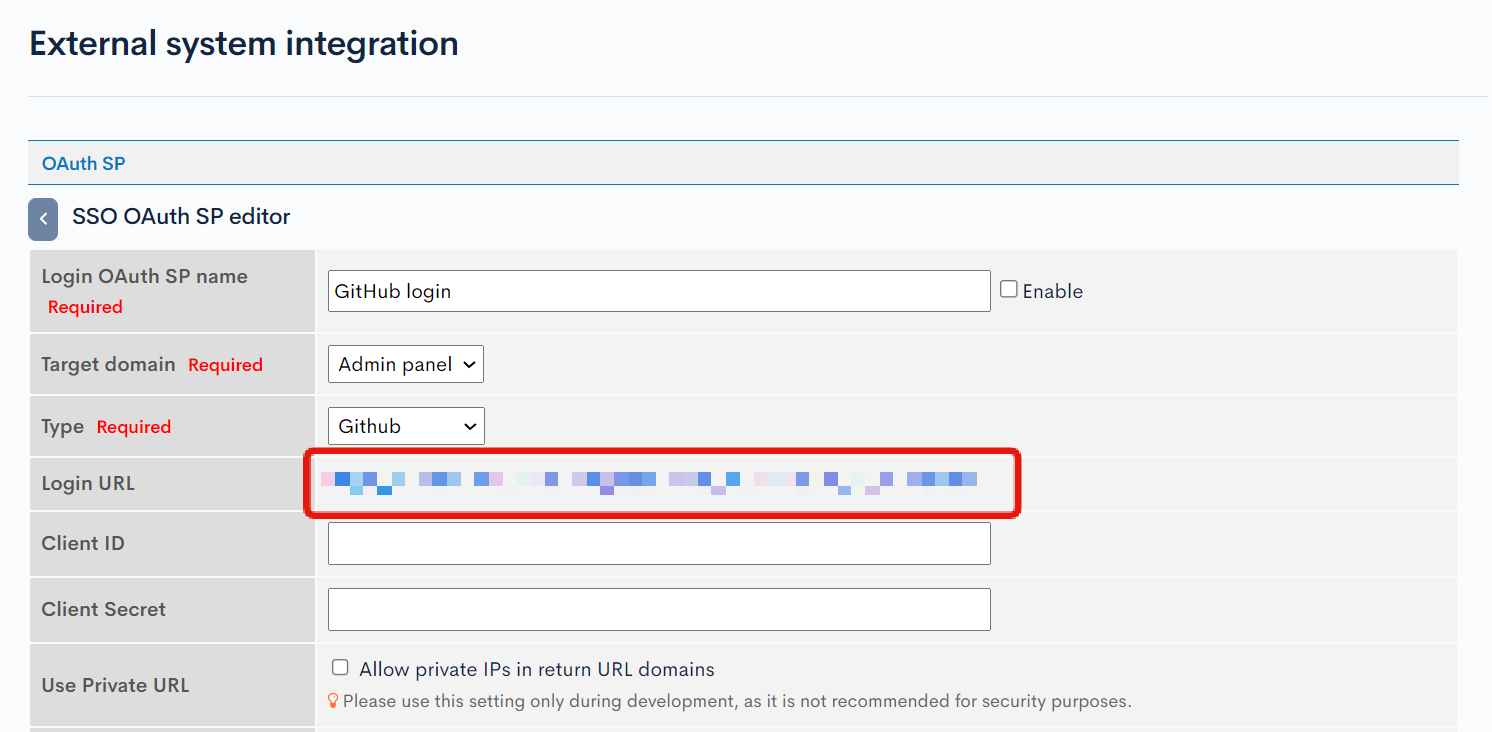
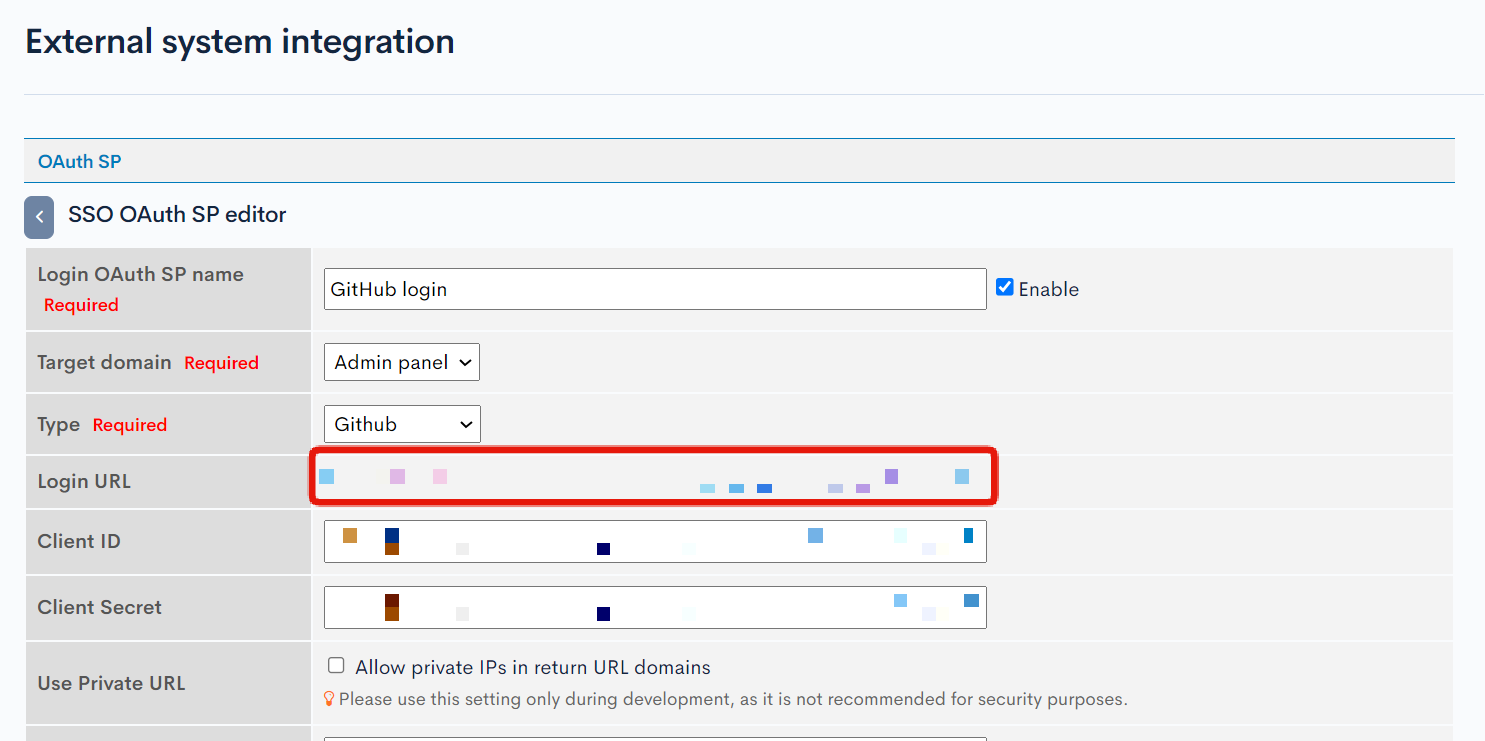
From the editing screen of the added OAuth SP, make a note of the login URL.
GitHub Configuration
Add OAuth Apps
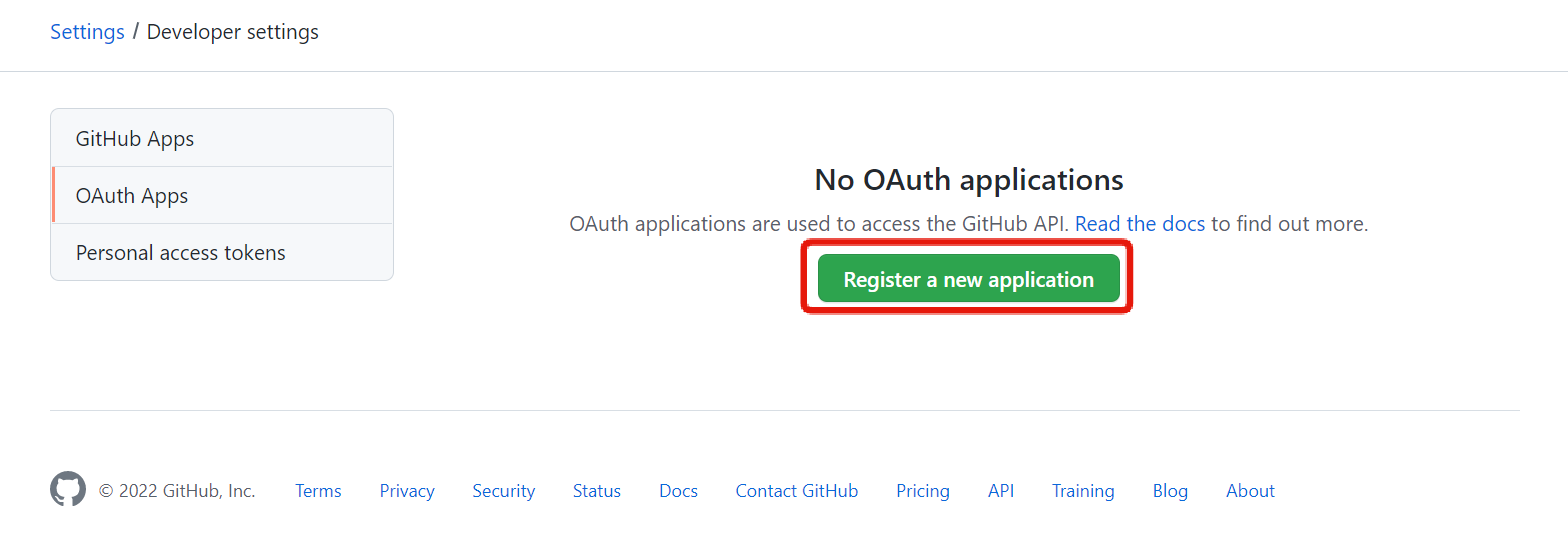
Next, configure GitHub settings. Access the GitHub OAuth Apps Settings page and click [New OAuth App].
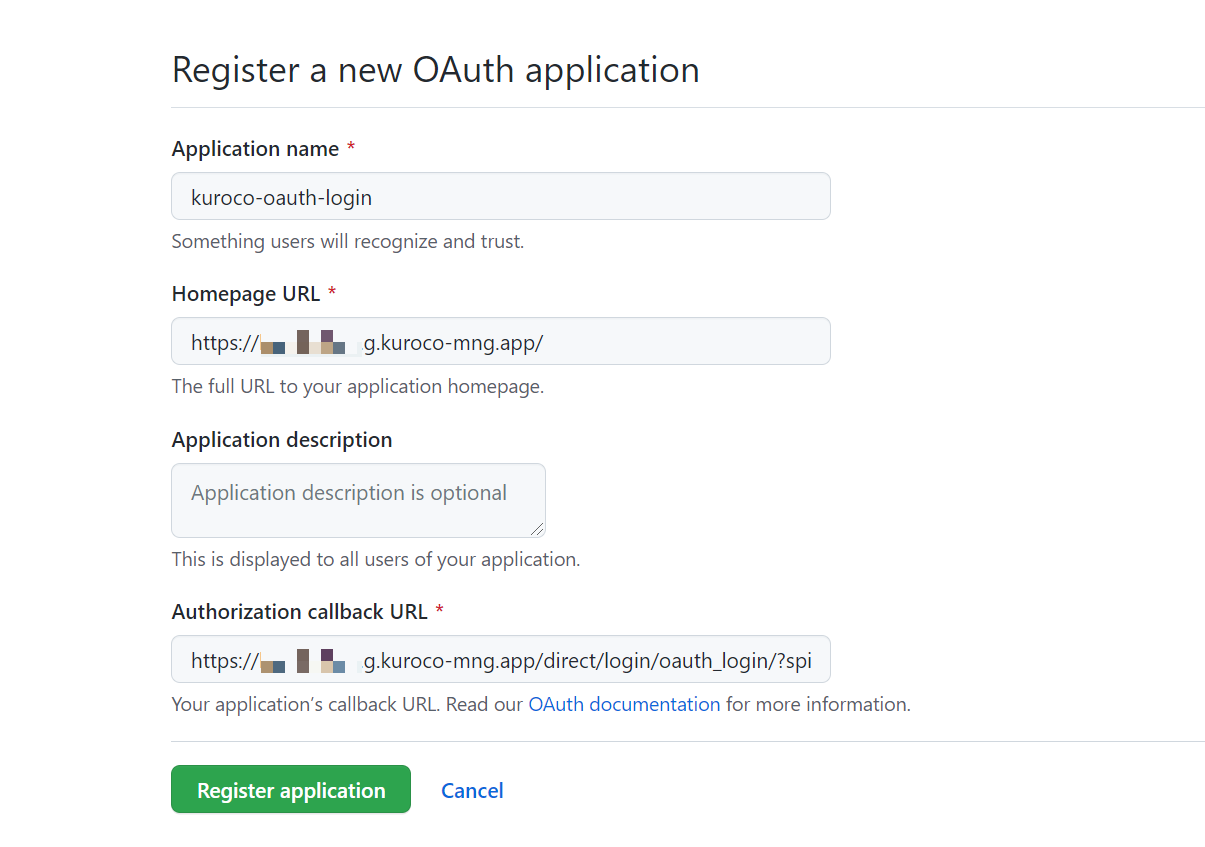
Enter the following information and click [Register application].
| Item | Setting |
|---|---|
| Application name | Any name you like |
| Homepage URL | URL of your site |
| Authorization callback URL | The login URL noted in Add OAuth Service Provider Configuration |
Generate a Secret Key
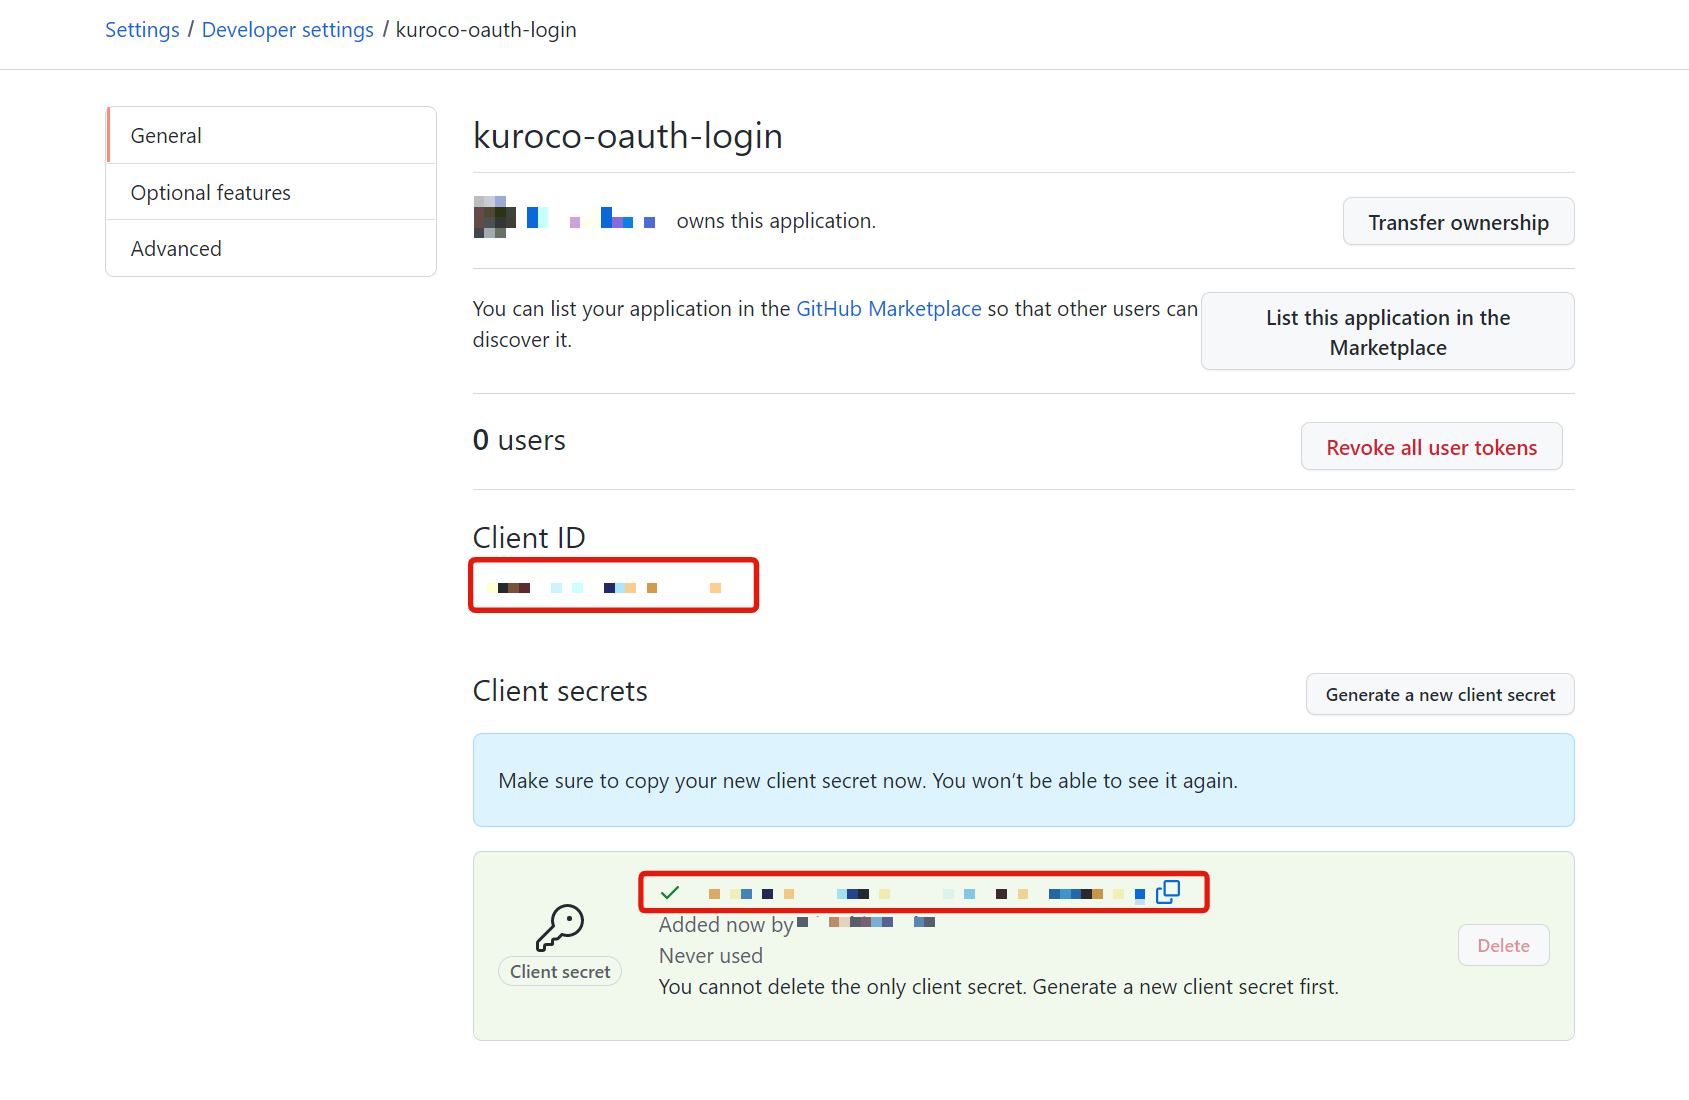
Click [Generate a new client secret] on the page of the added OAuth Apps.

Make a note of the Client ID and the generated Client secret. Once you navigate away from the page, the Client secret cannot be displayed again.
Update Kuroco OAuth SP Configuration
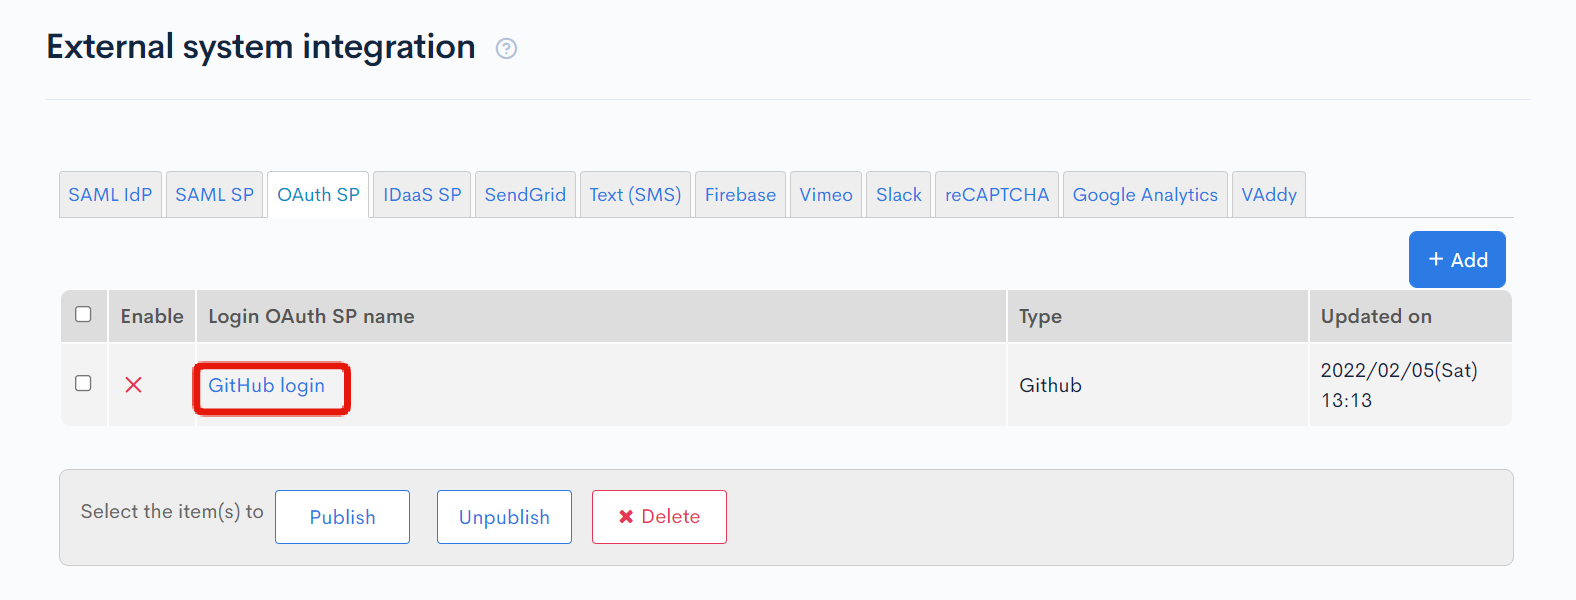
Once the GitHub configuration is complete, go back to the Kuroco settings. Click [External System Integration] -> [Identity federation] -> [OAuth SP].
Click on the name of the OAuth SP that you added in Add OAuth Service Provider Configuration.
To complete the configuration of SSO OAuth SP, enter the client secret and client ID obtained from Generate a Secret Key, check the box for "Enabled", and click "Update".
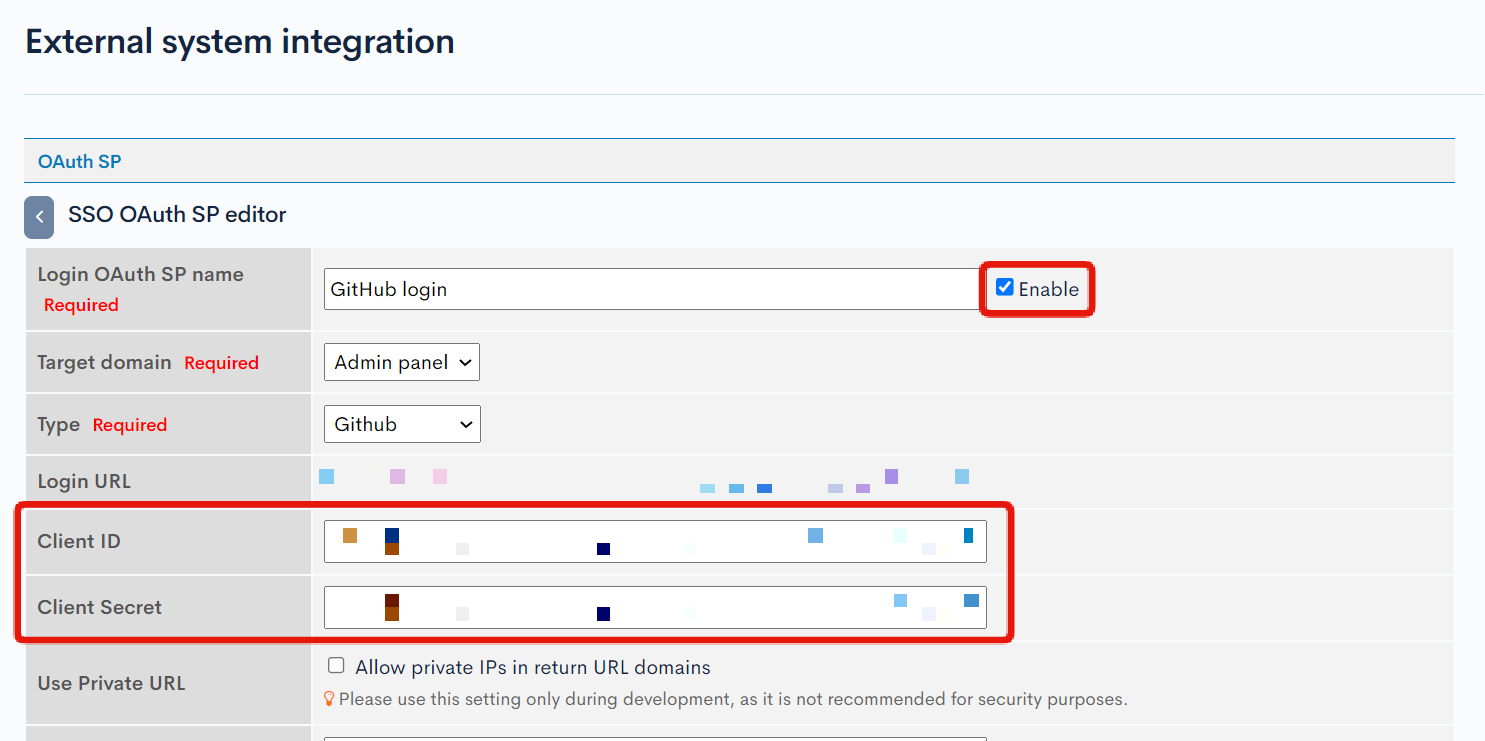
That's it! The configuration of SSO OAuth SP is now complete.
How to Use
After setting the target domain in the management screen, the login page will automatically add the option to "Log in with External Account" after adding the SP configuration.
Clicking the link will redirect to the GitHub login page.
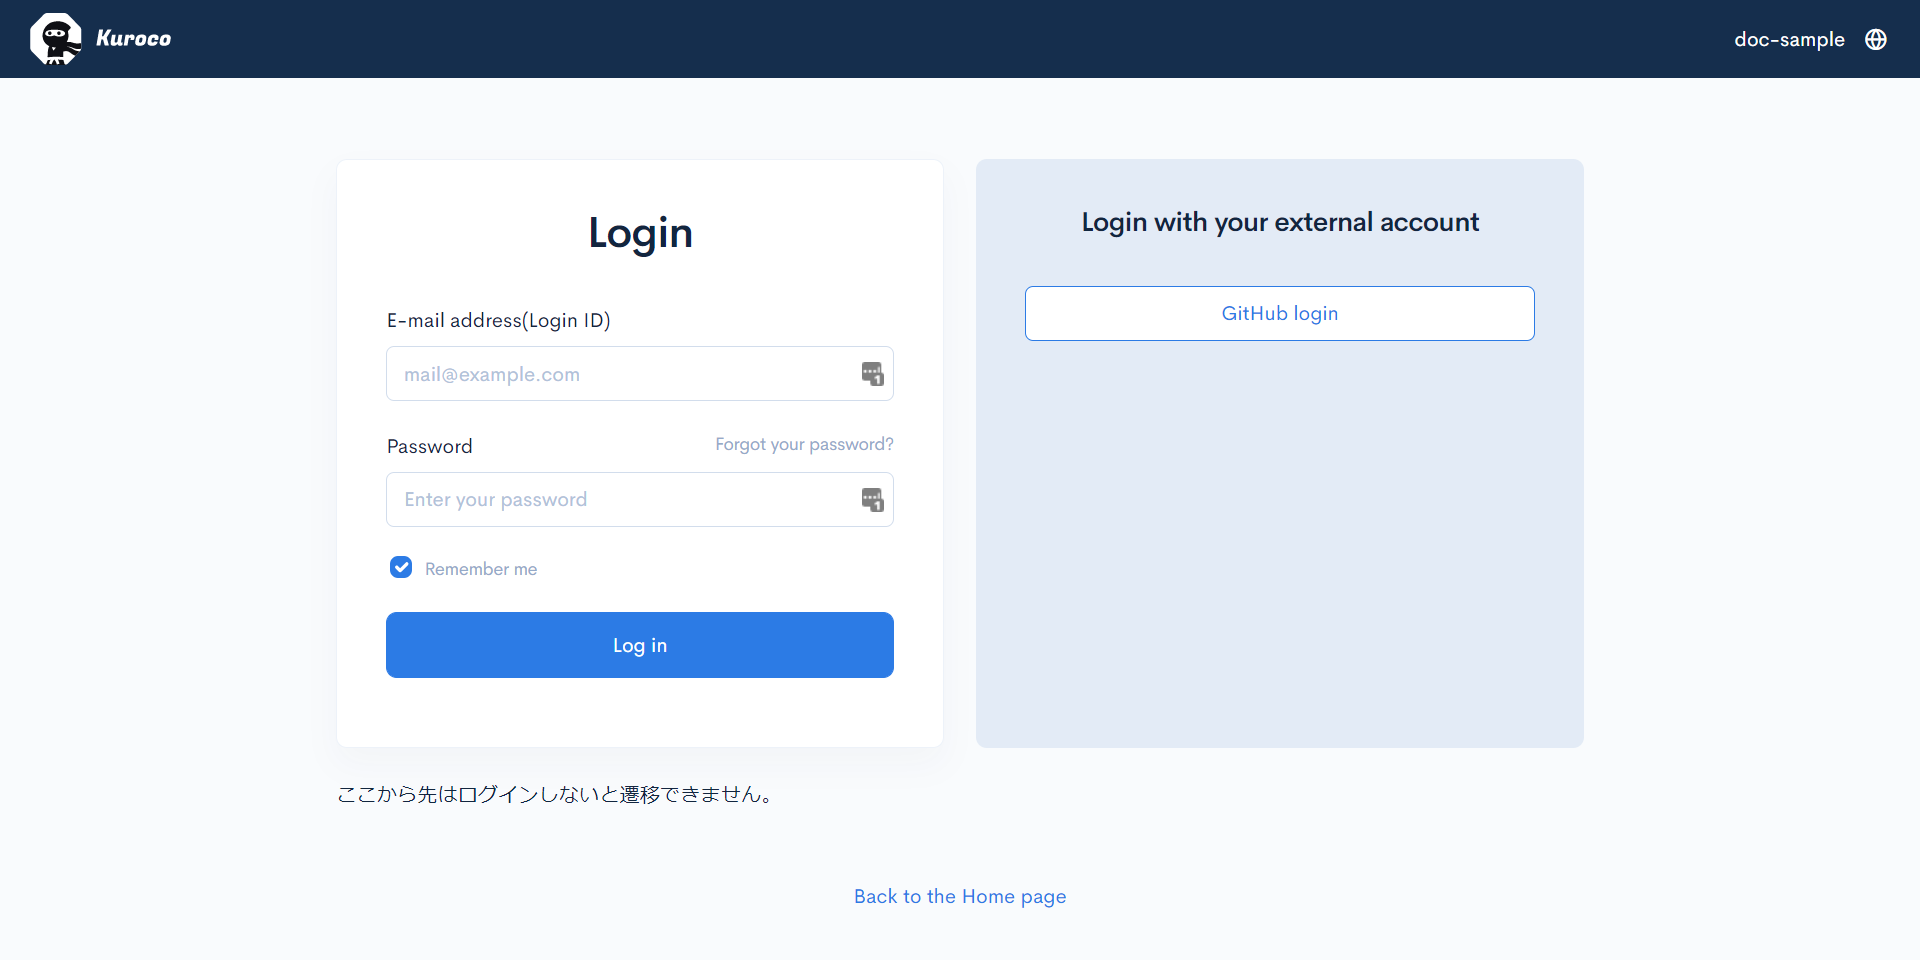
Additionally, it is also possible to create a custom login page using the login URL of the SSO OAuth SP editing screen.
References
Where to Obtain Client ID and Secret Key
The following table shows where to obtain the client ID and secret key for major identity providers that can be selected in the type setting.
Please refer to it if you are implementing SSO with an IdP other than GitHub.
| IdP | URL | Client ID, Secret Key Name |
|---|---|---|
| GitHub | https://github.com/settings/developers | Client ID, Client secrets |
| https://console.cloud.google.com/apis/credentials | Client ID, Client Secret | |
| https://developers.facebook.com/apps | App ID, App Secret | |
| LINE | https://developers.line.biz/console/ | Channel ID, Channel Secret |
About Custom
For services that are not available in the type selection, you can implement SSO using the custom type and OAuth authentication.
First, make sure that the identity provider you are trying to connect to supports the OAuth 2.0 specification.
If it is supported, check the documentation of the identity provider and configure it with SSO OAuth SP.
In addition, clicking [Test] on the SSO OAuth SP editing screen allows you to test if the configuration is correct. This allows you to check the response returned from the identity provider and configure the parameters accordingly.
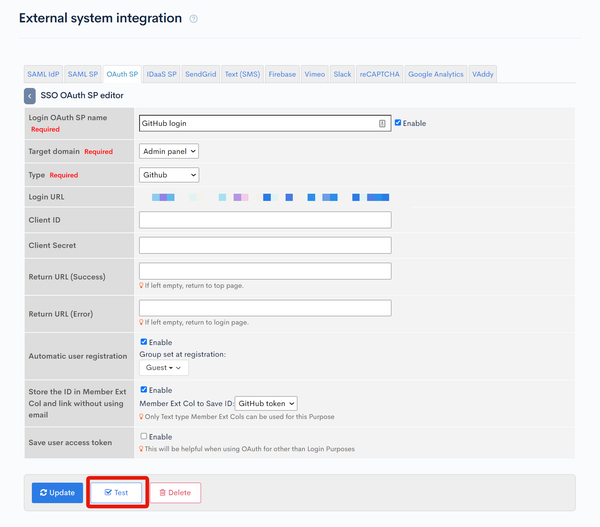
Unsaved data cannot be tested. Before running the test, you need to update the configuration data first.
Related documents
Support
If you have any other questions, please contact us or check out Our Slack Community.