Integrating preview page
In this tutorial, we will introduce how to use the preview feature in a project using Kuroco.
For the frontend code, we will introduce two types: Nuxt.js and Next.js.
This tutorial is written with the following versions of code.
Nuxt2: v2.15.8
Nuxt3: v3.8.0
Next.js: v13.4.12 (Using App Router)
This page assumes that a project has already been built with Kuroco.
If you haven't built one yet, please refer to the following tutorial.
Nuxt.js: Kuroco Beginner's Guide
What is Preview?
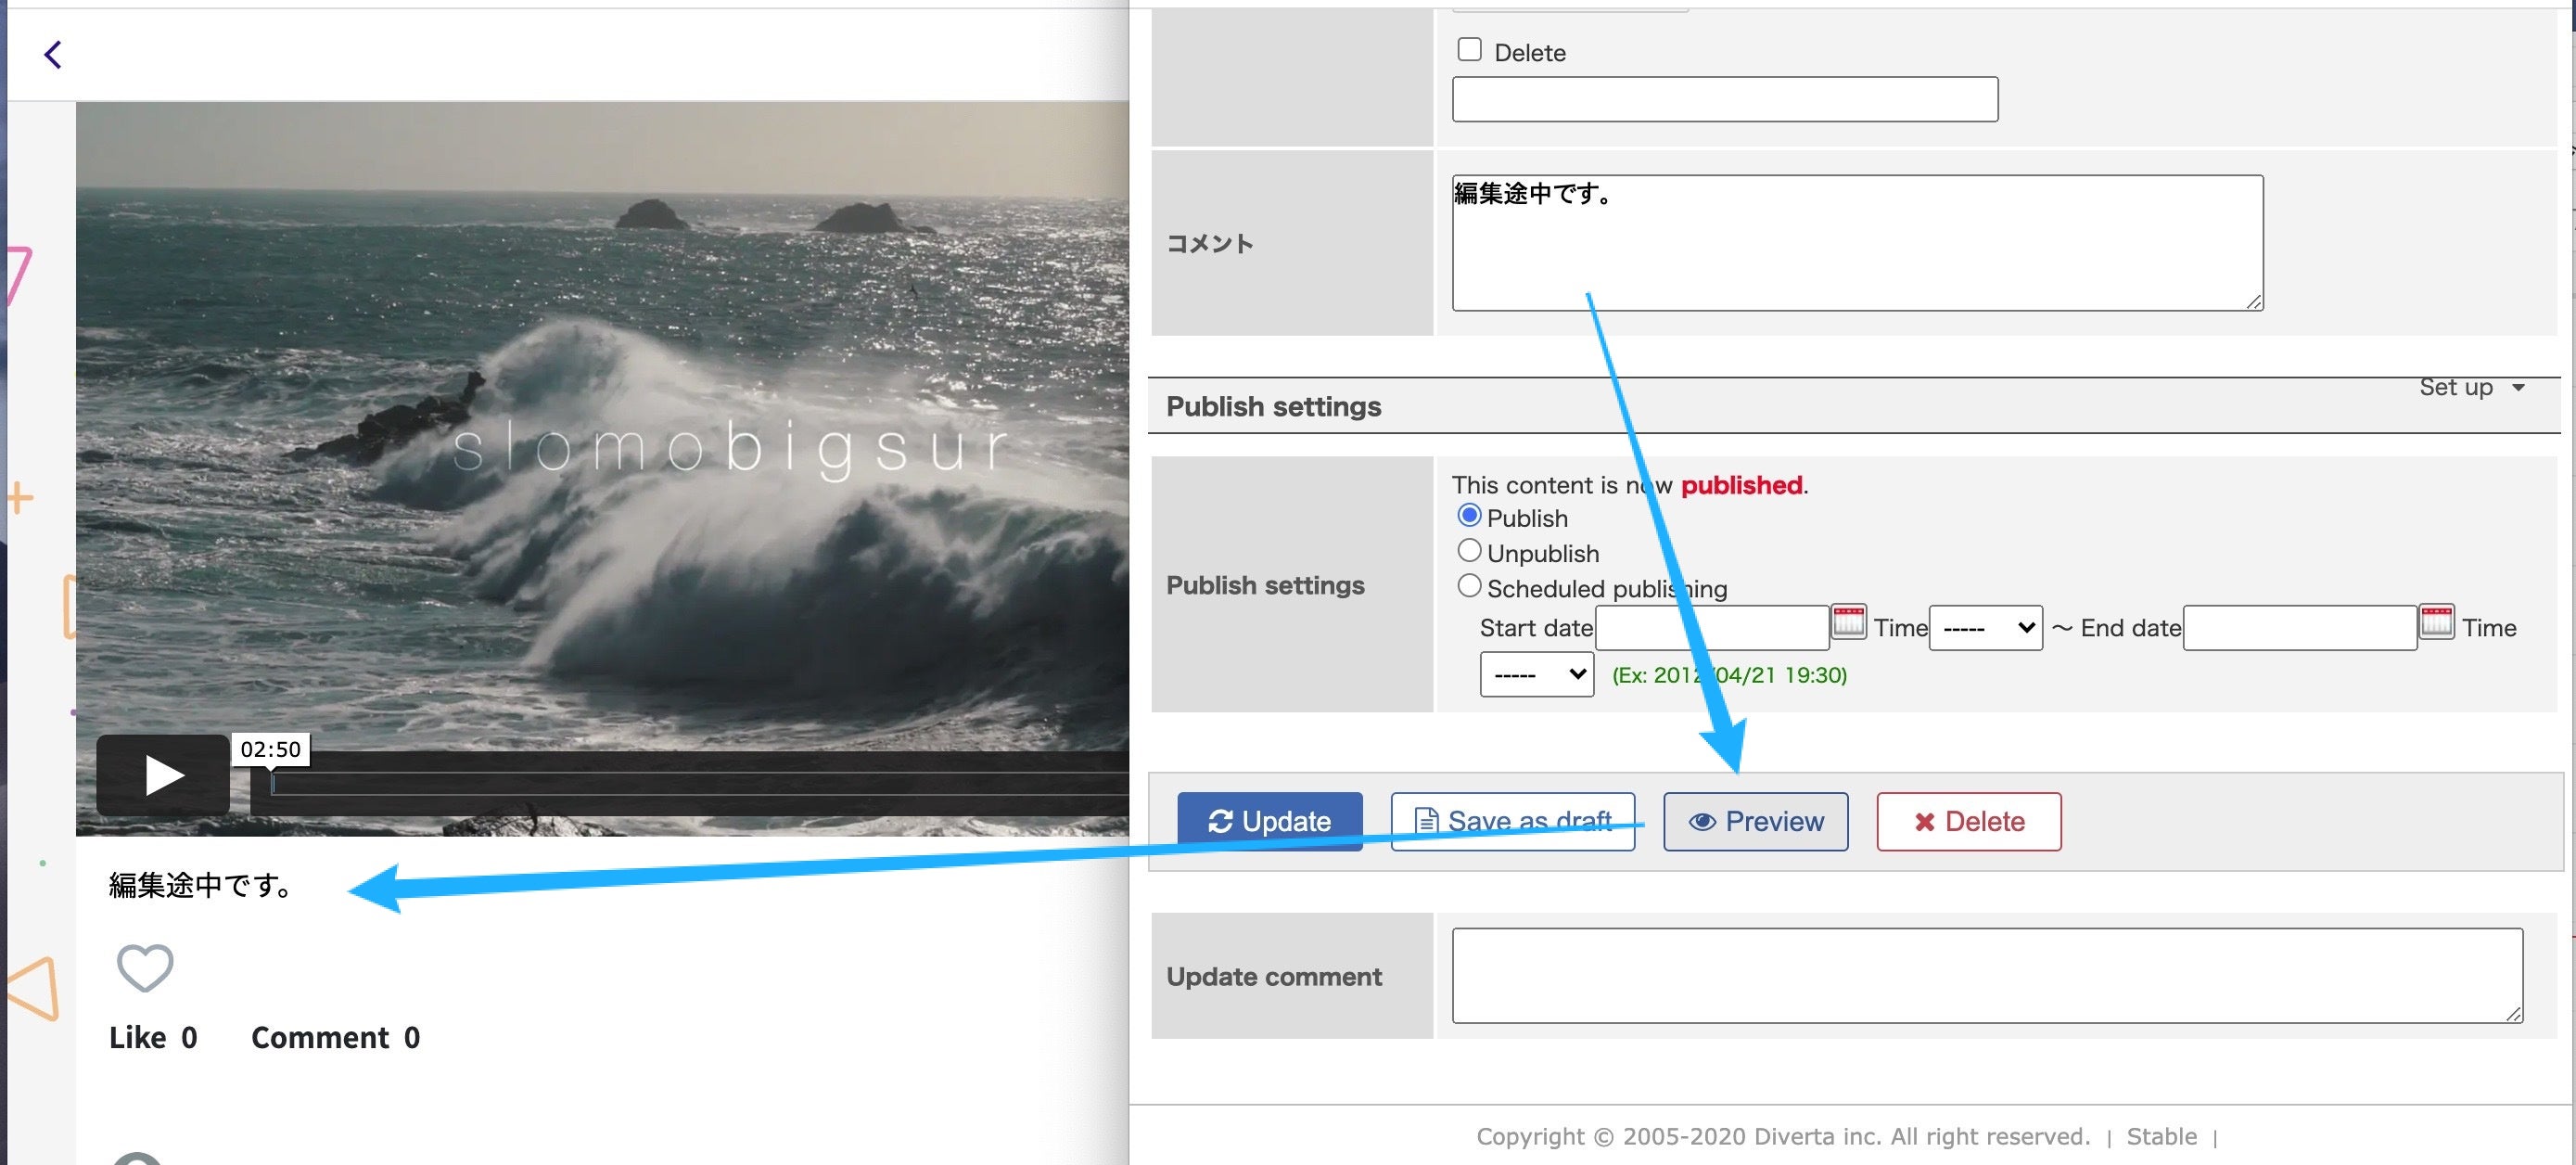
Preview is a feature that allows you to preview content.
When creating/editing content, it is a convenient feature to be able to preview the screen after creating/editing the content on the web page without updating the content.
You can preview it by clicking the "Preview" button in the Content Editing and even if you haven't made any changes to the content by clicking the "Save/Update" button, you can preview the content you are editing immediately.
 This feature does not work by default and requires various settings and frontend coding.
In this article, we will introduce the steps to display Kuroco's preview on the frontend.
Setting the URL of the Preview Screen
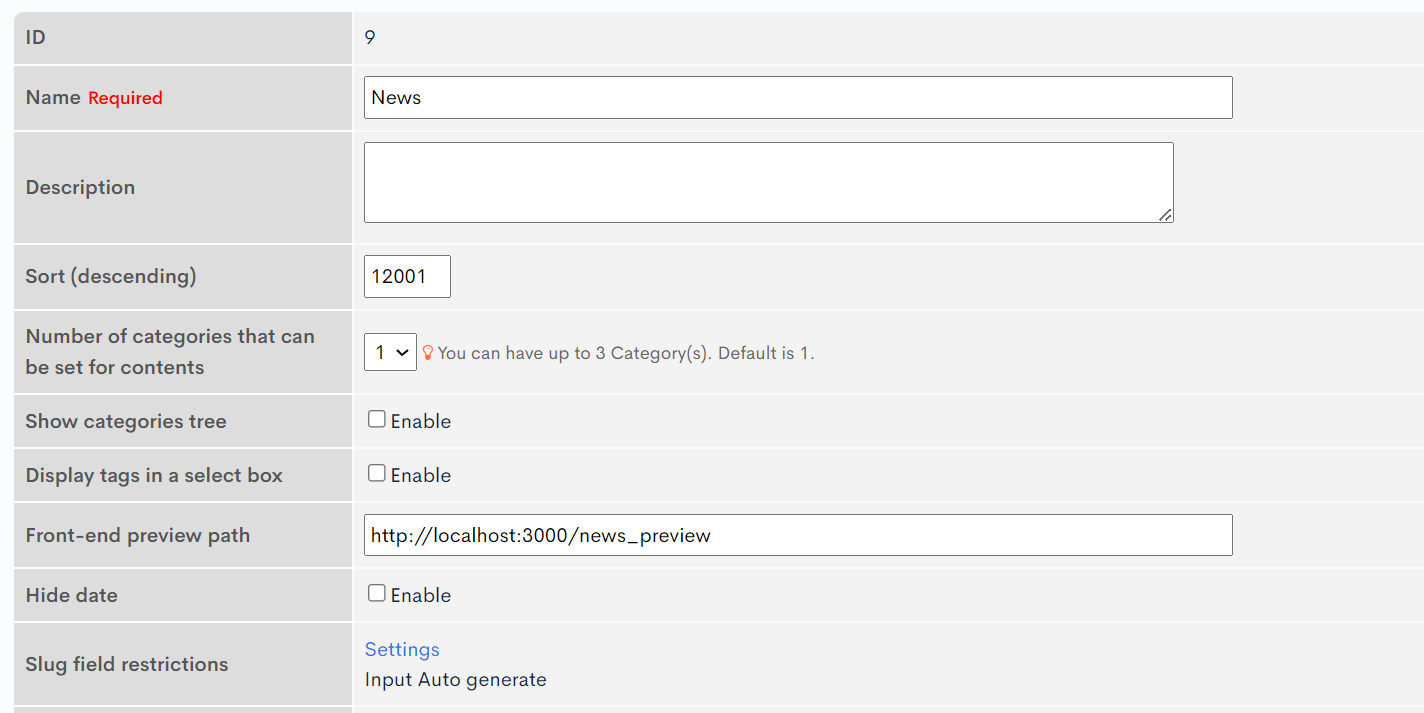
In the Content structure screen, set the URL of the preview screen in the "URL of the page to be previewed" field.
Here, we will set it to link to the http://localhost:3000/news_preview screen.
One of the following URLs will be set as the link destination of the "Preview" button.
- If a relative path is specified, it will be [Frontend Domain] + relative path URL.
- If a URL including a protocol is specified, that URL will be used.
The link will include a URL query parameter with a newly generated one-time token.
${URL}?preview_token=aaaAAA000999&validUntil=1234567890
Absolute Path and Relative Path
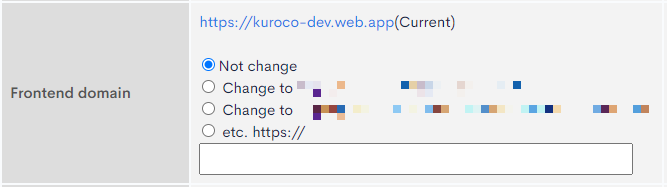
In the example of the image, an absolute path is specified, but if a relative path is specified and [Frontend Domain] is as shown in the image below:
 and the "URL of the page to be previewed" is as shown in the image below:
 the URL of the link destination will be:
https://kuroco-dev.web.app/sub/feed/preview/?preview_token=aaaAAA000999&validUntil=1234567890
[Frontend Domain] can be confirmed/changed in the Account Settings.
Checking the Settings
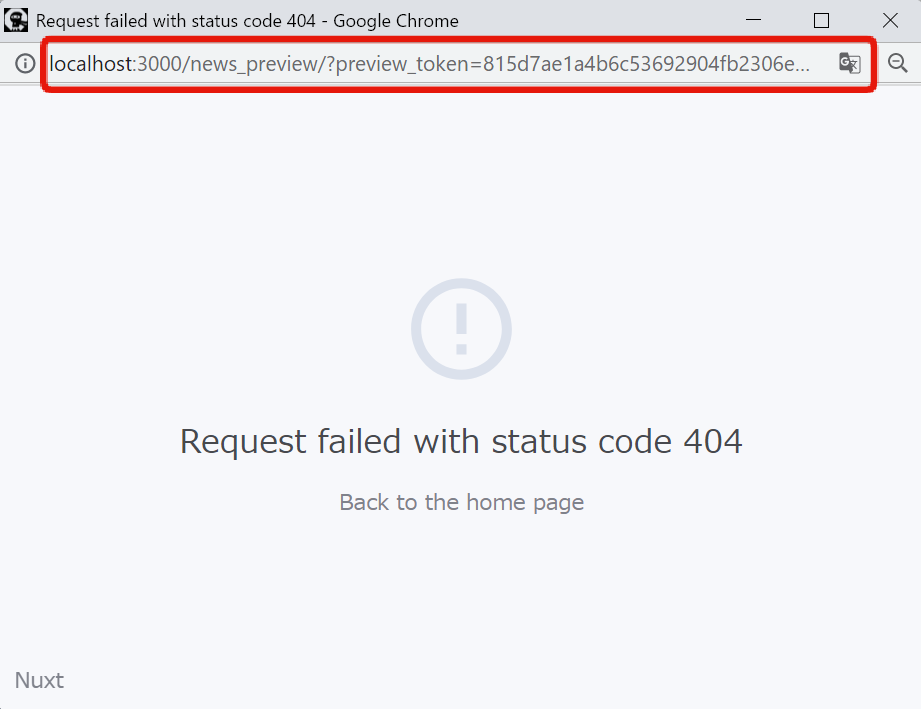
Check if the link destination of the preview button is set to the URL you configured.
Click the "Preview" button on the Content Editing screen.
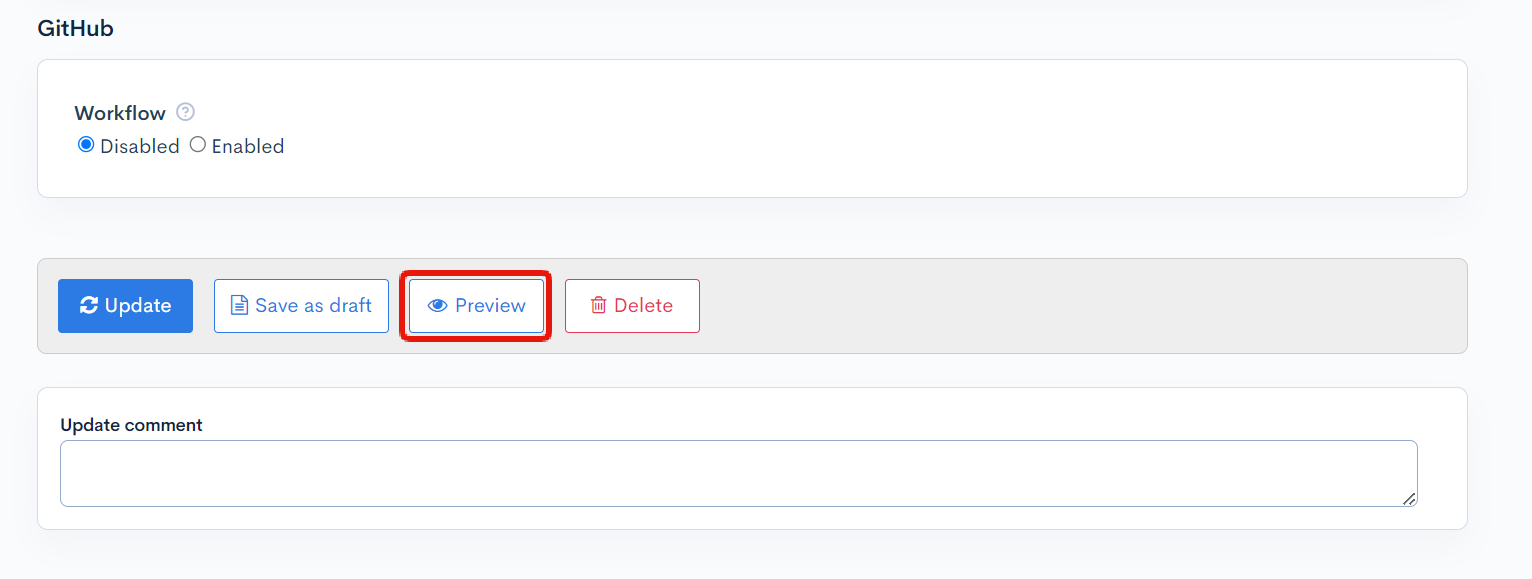
You can see that it is set to http://localhost:3000/news_preview?preview_token=....
Creating a Preview API
Configure API settings
Next, register the API.
Click [API] -> [Default] on the Kuroco management screen.
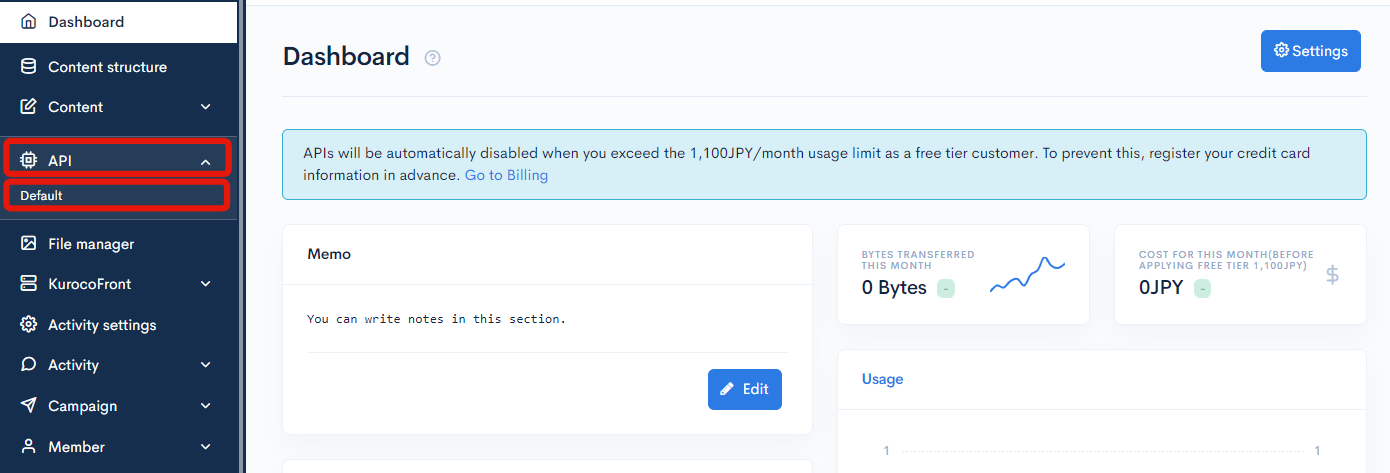
Click [Add].

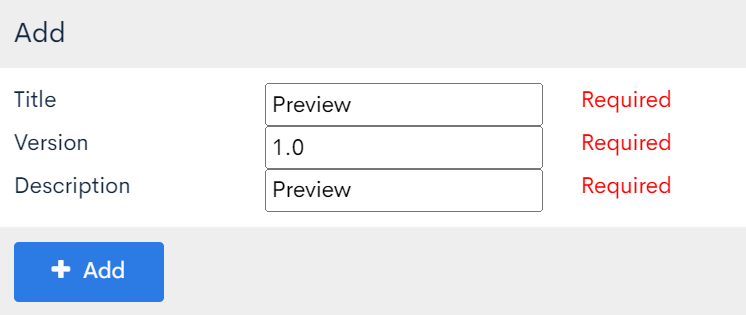
Enter the title, version, and description, and click [Add].
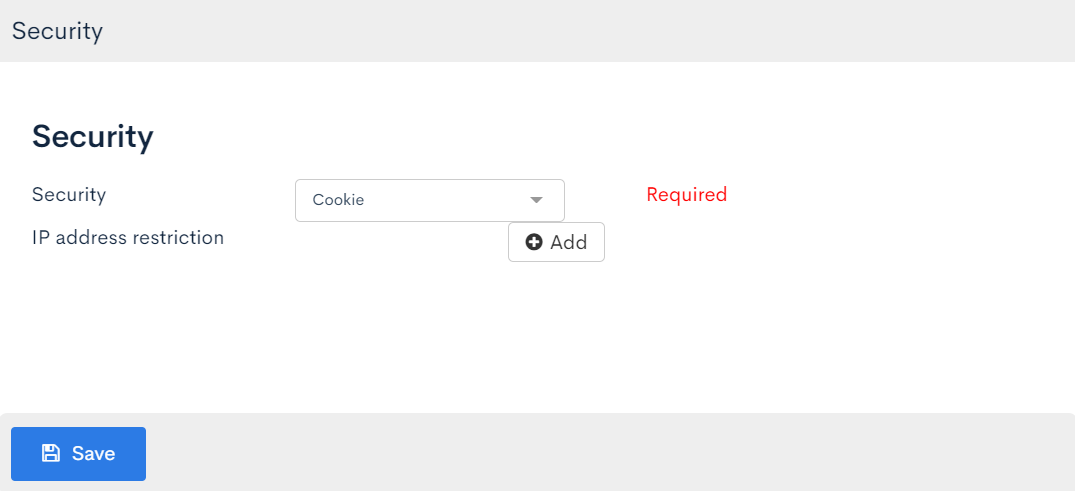
After adding the API, configure the security settings.
Click [Security].
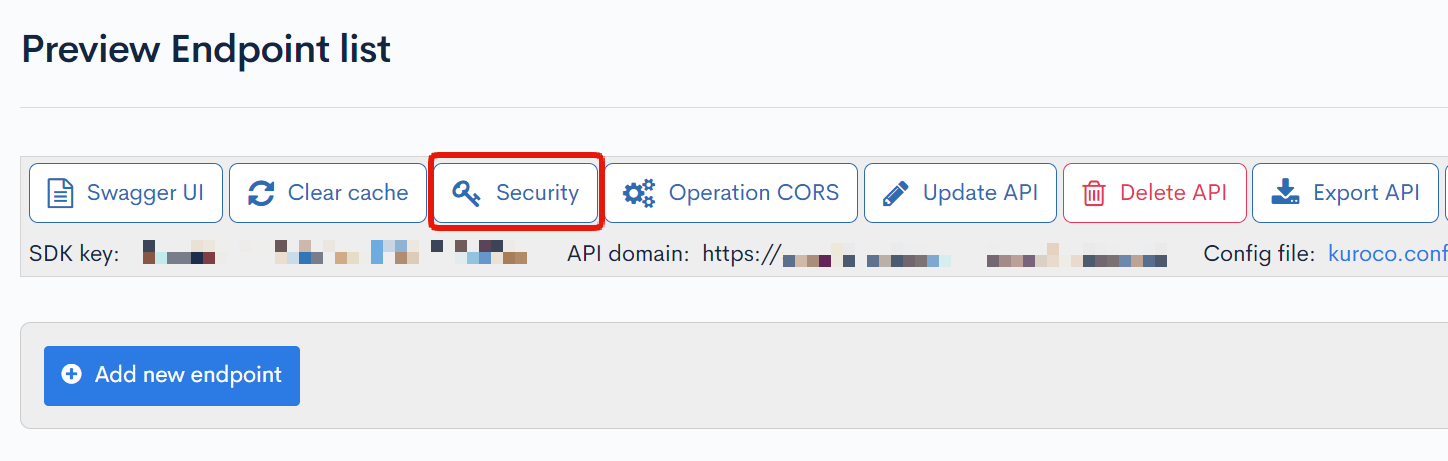
Select [Cookie] and click [Save].
Note:
If you use a cookie as a security token, there may be issues with third-party cookies if the API domain and frontend domain are different, and authentication may not work in Safari, etc.
You need to set the frontend and API domains with subdomain differences, so please set the API domain using Custom Domain/TLS Certificate and change the API domain from Account Settings.
(Chrome works fine, so we recommend that you first build it in Chrome during development and testing.)
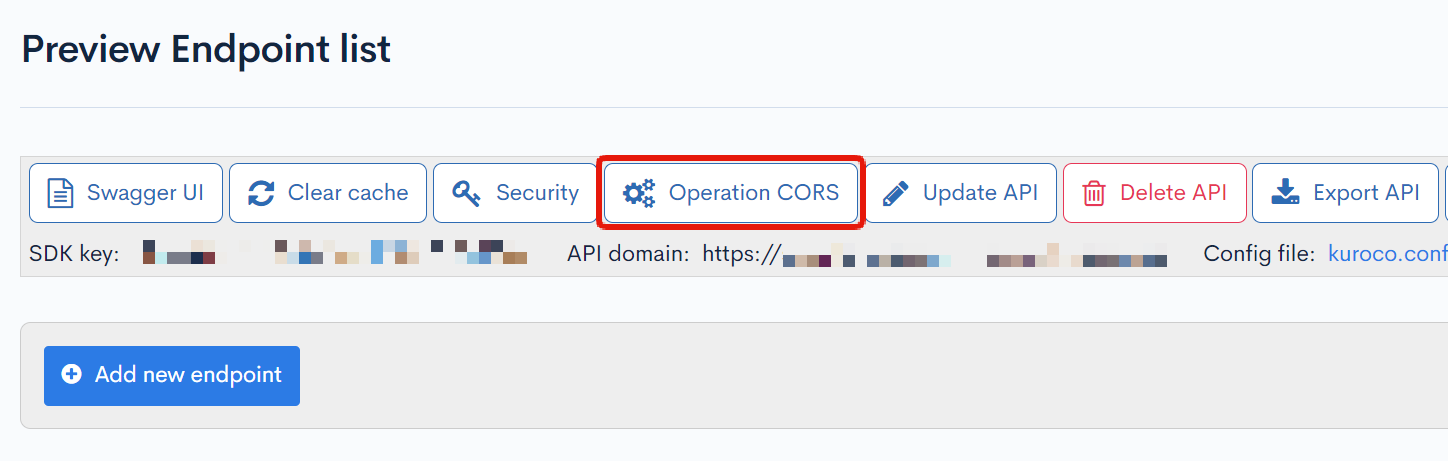
Configure CORS settings
Click [Operation CORS].
Click [Add Origin] in CORS_ALLOW_ORIGINS and add the following:
http://localhost:3000/- Frontend domain
Click [Add Method] in CORS_ALLOW_METHODS and add the following:
- GET
- POST
- OPTIONS
Make sure that [Allow Credentials] is checked in CORS_ALLOW_CREDENTIALS.
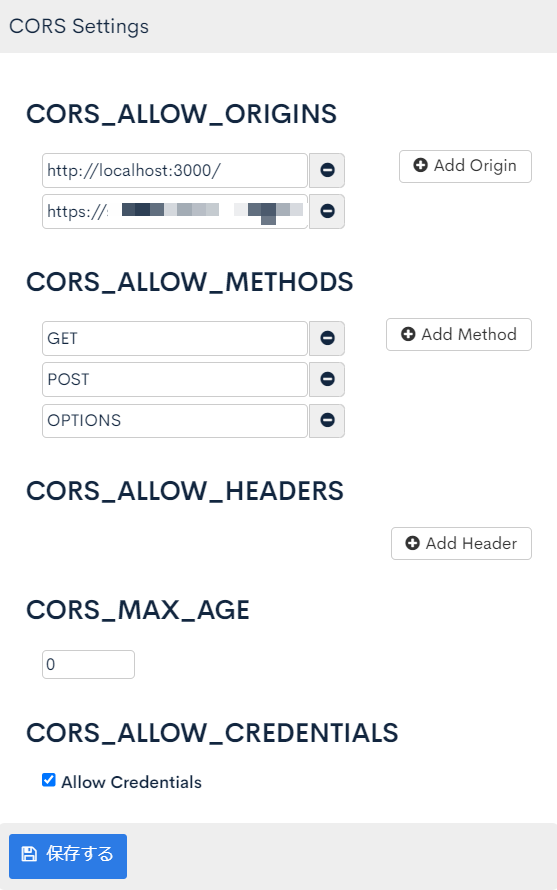
Click [Save] if there are no issues.
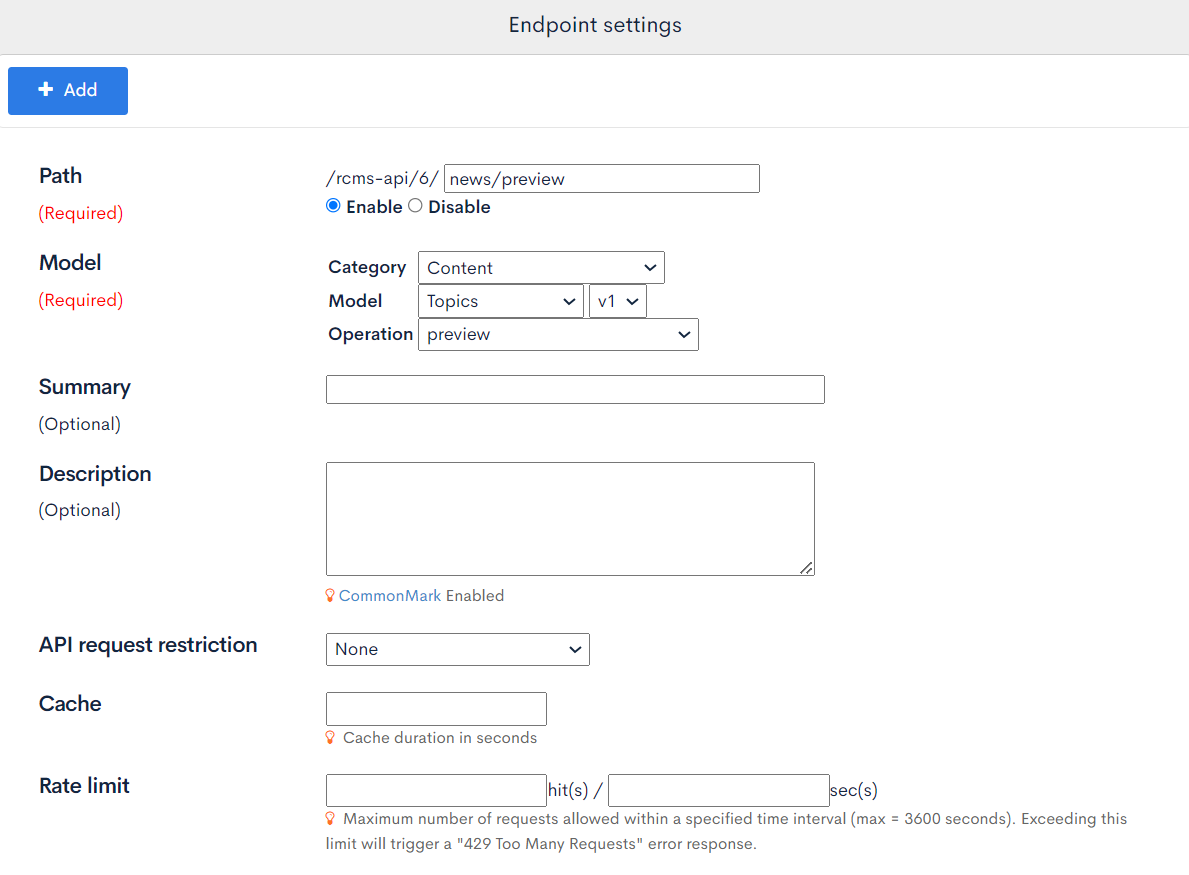
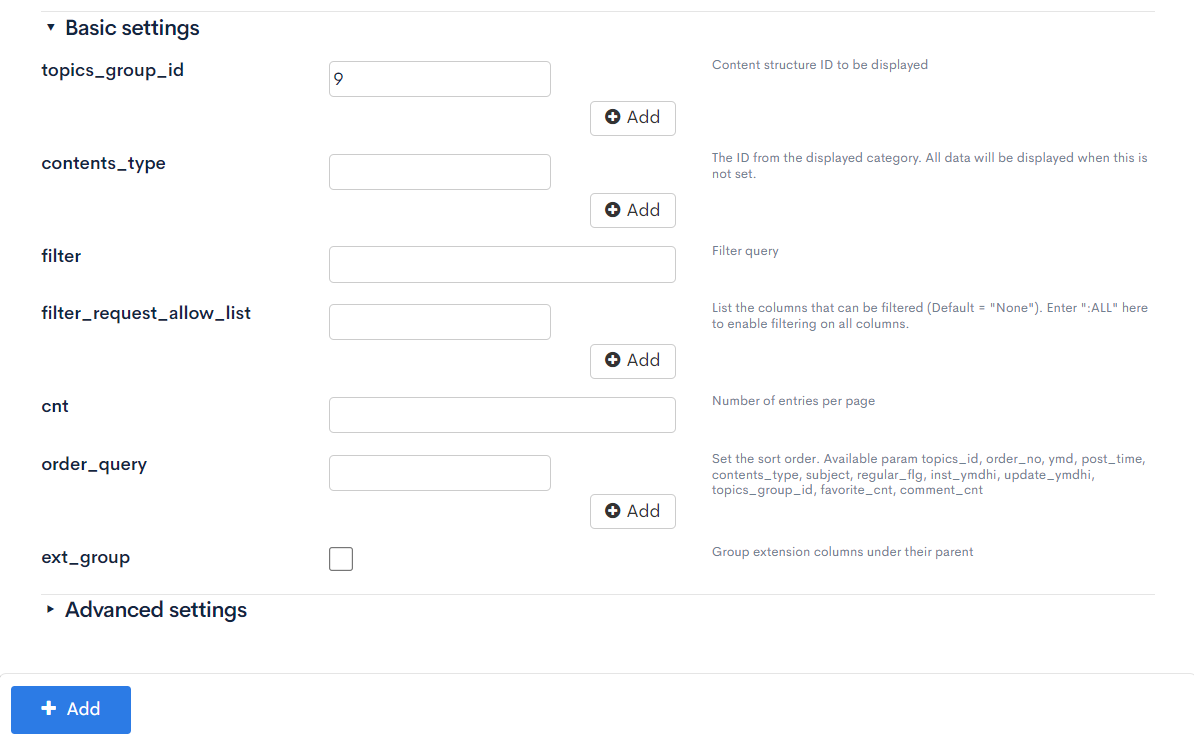
Configure the endpoint
Create an endpoint to retrieve preview content data with the following settings.
Since a one-time token will be issued, please specify None for the API request limit.
For topics_group_id, enter the ID of your content structure.
| Setting | Value | |
|---|---|---|
| Path | news/preview | |
| Enable/Disable | Enable | |
| Model | Category | Contents |
| Model | Topics | |
| Operation | preview | |
| Authentication | None | |
| topics_group_id | 9 |
Add the frontend
Add a page to display the preview.
Create the following file with the directory name "news_preview" so that the page can be displayed.
- Nuxt2
- Nuxt3
- Next.js
loading...
loading...
loading...
Replace /rcms-api/6/news/preview with the URL of your own endpoint.
Finally, let's test the functionality. By clicking the "Preview" button, you should be able to retrieve the content being edited before saving.
Related documents
Support
If you have any other questions, please contact us or check out Our Slack Community.