Creating a page to subscribe or unsubscribe from multiple notification at once
Overview
By setting the self_only parameter in the MagazineInfo::list endpoint, you can retrieve a list of notification that you are subscribed to.
In this tutorial, we will use this endpoint to create a page that displays multiple notification and their subscription status, and allows you to subscribe or unsubscribe from them all at once.
What you'll learn
You will learn how to add and retrieve comments with a hierarchical structure using the following steps:
- Preparing multiple notification
- Setting up the endpoints
- Implementing the frontend
- Confirm the operation
Prerequisites
This page assumes that you have already set up a project with Kuroco and Nuxt.js, and have implemented a login screen.
If you haven't done so yet, please refer to the following tutorials.
Beginner's guide to Kuroco
Building a login page using Kuroco and Nuxt.js
This tutorial is written with the following versions:
Nuxt2: v2.15.8
Nuxt3: v3.8.0
Preparing multiple notification
First, register multiple notification in the Kuroco admin panel.
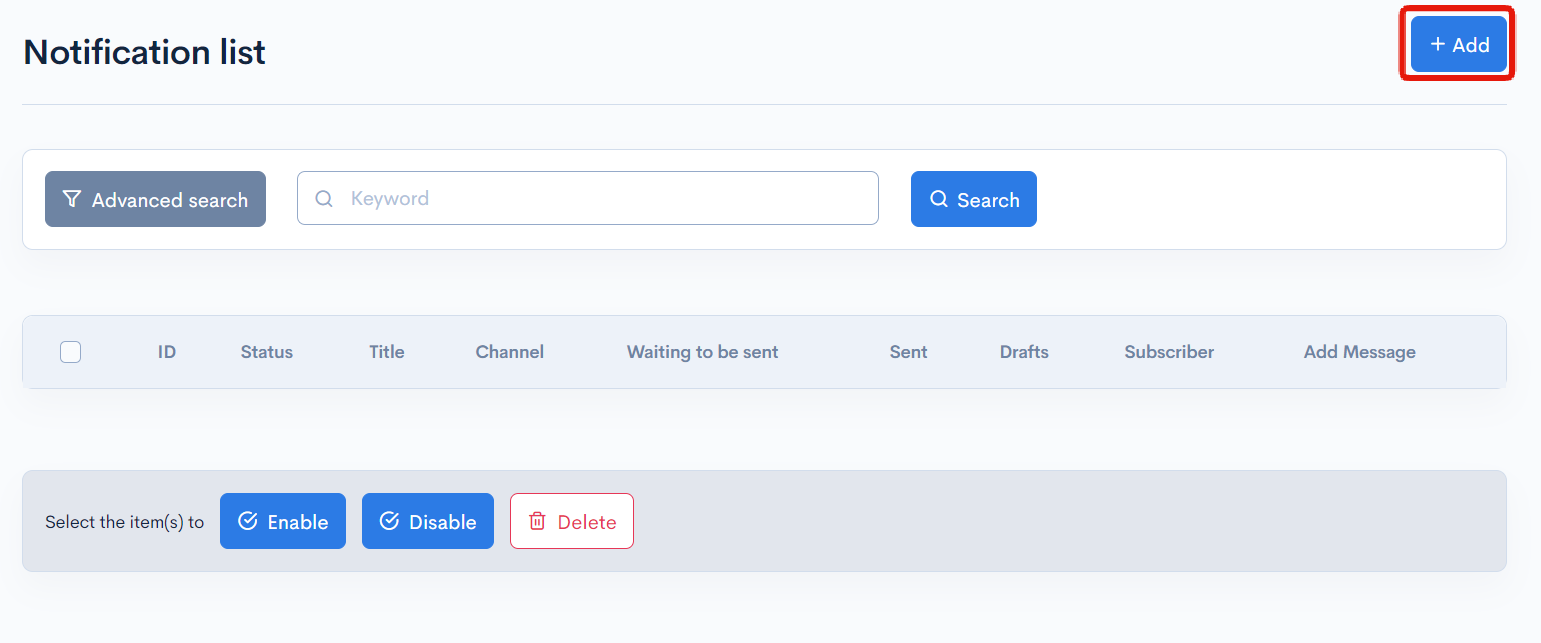
Go to [Channels] -> [Bulk Notification] to navigate to the newsletter list, and click [Add] in the upper right corner to register a newsletter.
For this tutorial, we have prepared three notification as shown below.
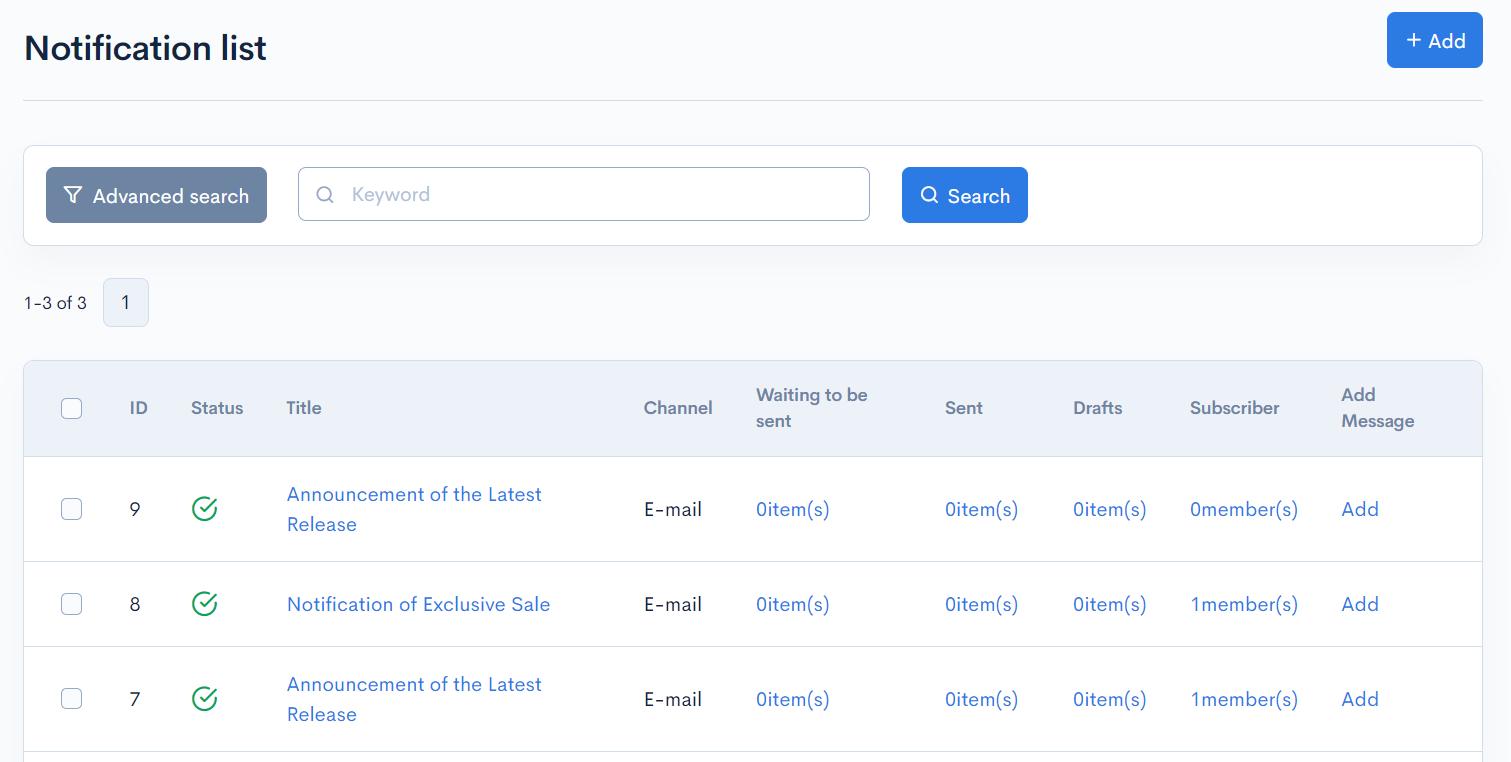
Please make a note of the notification ID as it will be set to the endpoint.
Setting up the endpoints
Add the endpoints to the API settings where the Login::login_challenge endpoint is configured.
This allows requests to be made to the endpoints using the authentication information from the logged-in user.
Please note that authentication information cannot be shared between different APIs.
In this case, we will set up three endpoints: one to retrieve a list of notification that the user is subscribed to, one to subscribe to a newsletter, and one to unsubscribe from a newsletter.
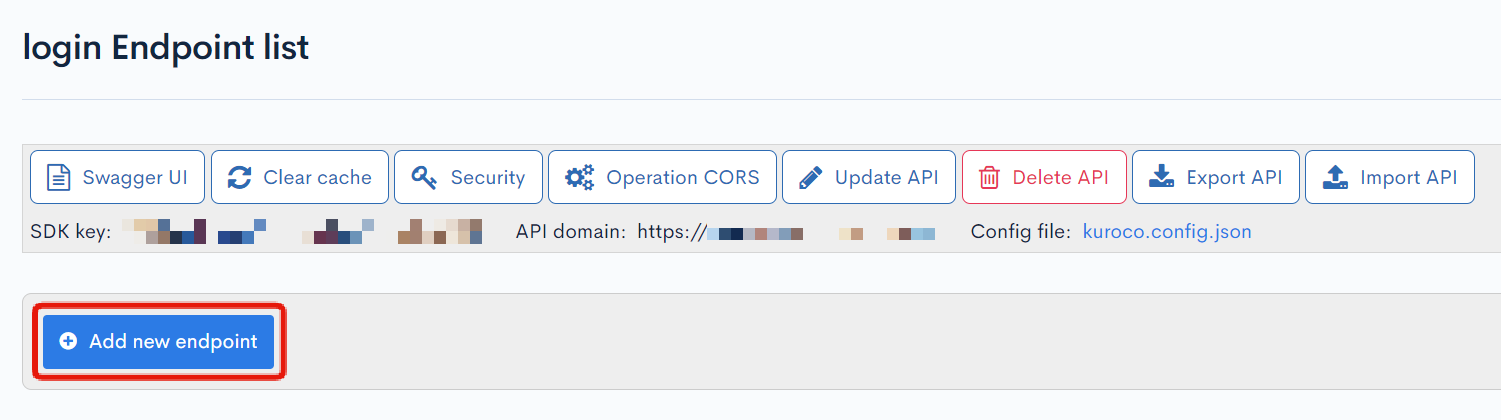
Click [Add New Endpoint] to create each endpoint.
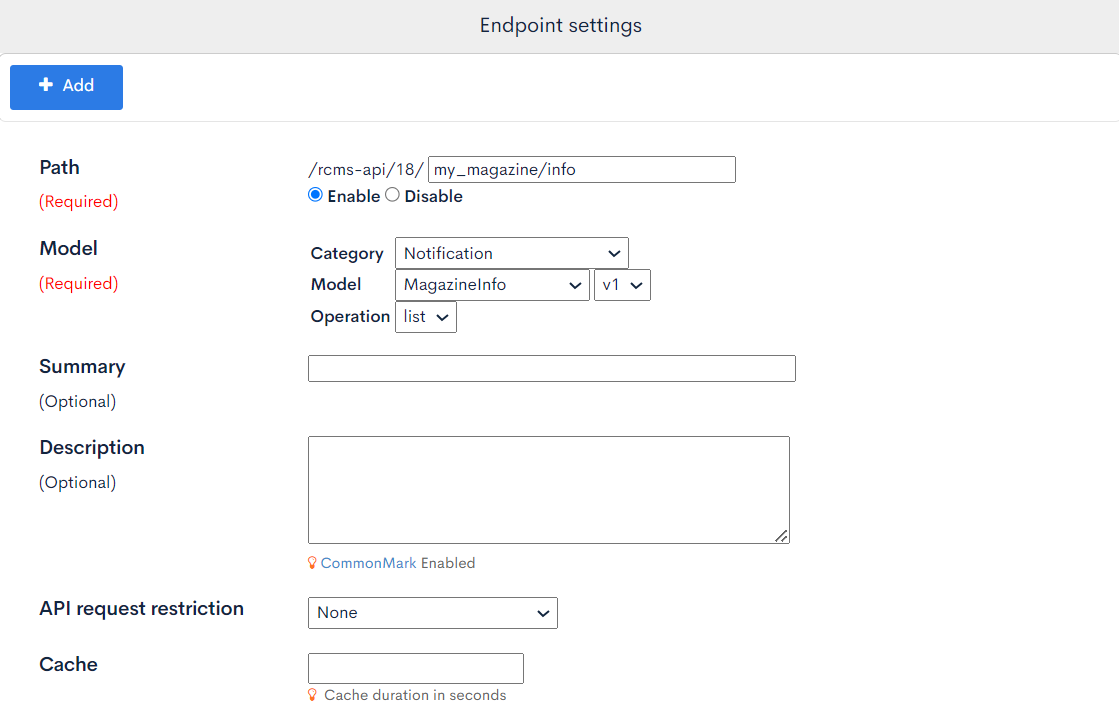
Endpoint to retrieve a list of notification
| Field | Setting |
|---|---|
| Path | my_magazine/info |
| Category | Magazine |
| Model | MagazineInfo |
| Operation | list |
| magazine_id | Enter the notification IDs targeted for the response 7 8 9 |
| self_only | Check the box |
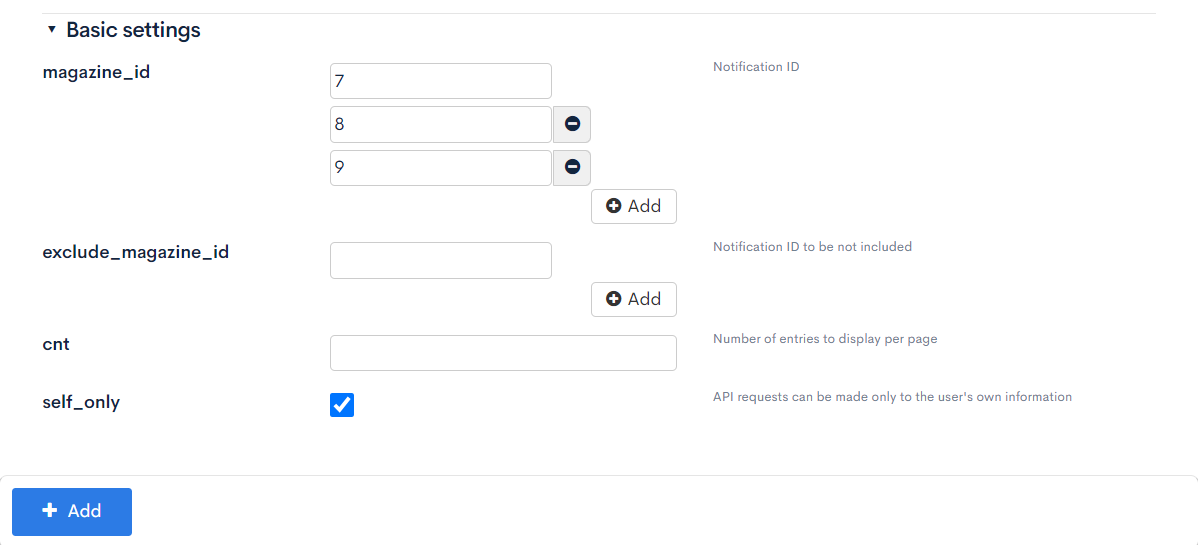
By enabling self_only, only the notification that the user is subscribed to will be included in the response.
If you want to retrieve a list of notification regardless of subscription status, create a separate endpoint for MagazineInfo::list without self_only and use it.
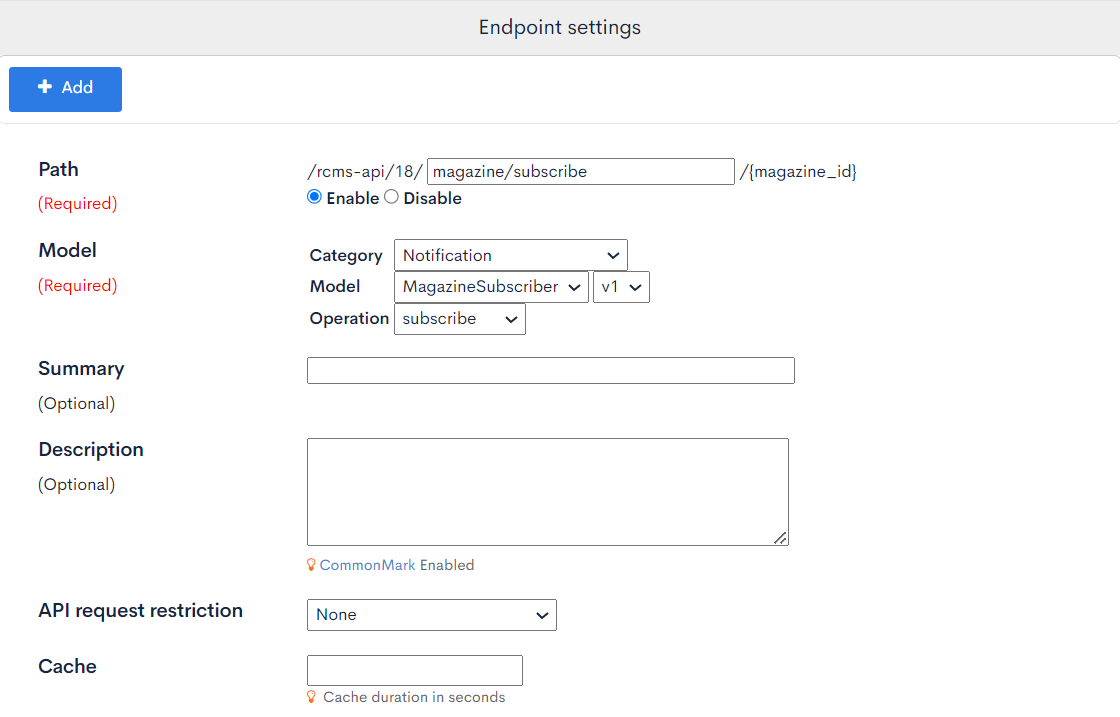
Endpoint to subscribe to a newsletter
| Field | Setting |
|---|---|
| Path | magazine/subscribe |
| Category | Magazine |
| Model | MagazineSubscriber |
| Operation | subscribe |
| allow_magazine_id | Enter the notification IDs to allow subscribe using the endpoint 7 8 9 |
| self_only | Check the box |
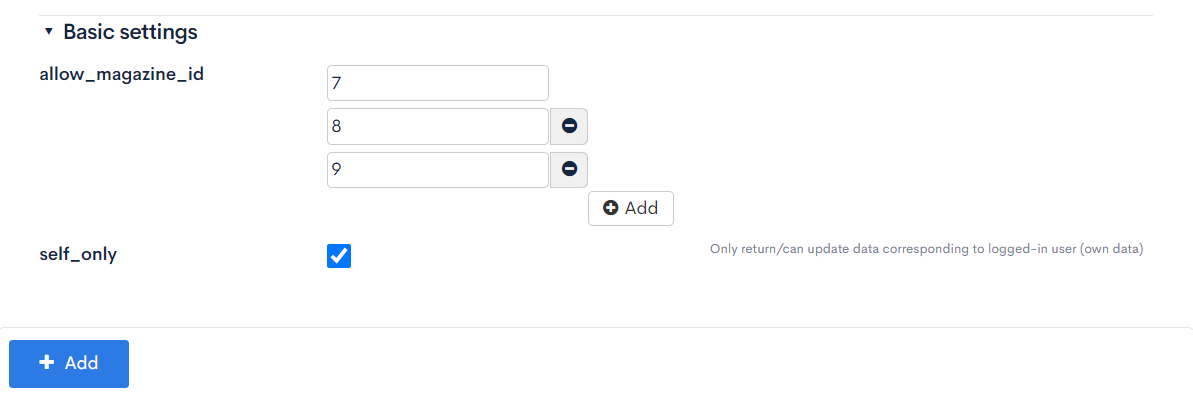
If self_only is not checked, please be careful as others can be added as subscribers if they know the endpoint.
If allow_magazine_id is not specified, please be aware that subscriber registration will be possible for all notification.
Endpoint to unsubscribe
| Item | Setting |
|---|---|
| Path | magazine/unsubscribe |
| Category | Magazine |
| Model | MagazineSubscriber |
| Operation | unsubscribe |
| allow_magazine_id | Enter the notification IDs to allow unsubscribe using the endpoint 7 8 9 |
| self_only | Check the box |

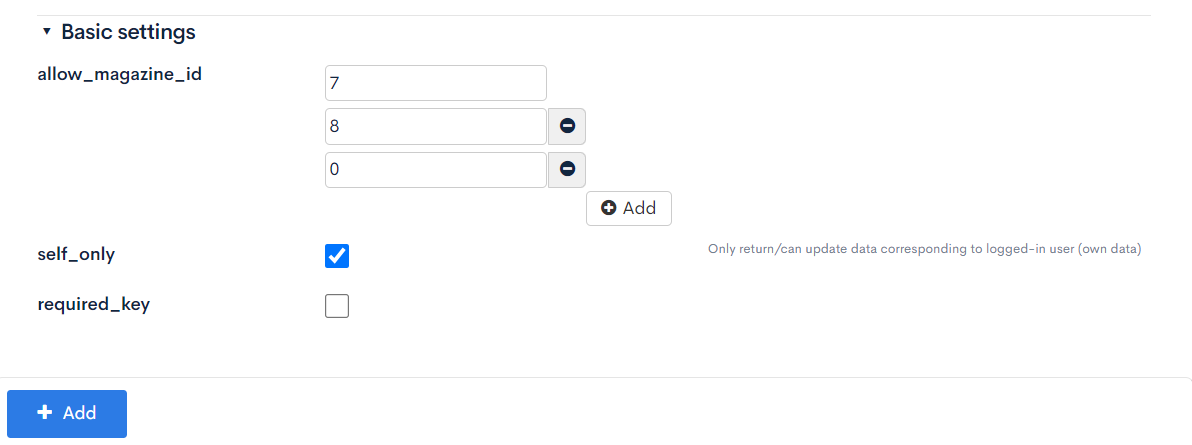
If self_only is not checked, please be careful as others can delete subscriptions of others if they know the endpoint.
If allow_magazine_id is not specified, please be aware that deletion of subscriber registration will be possible for all deliveries.
Although it is not used in this tutorial, you can use the MagazineSubscriber::list endpoint to get a list of subscribers for the delivery.
By applying a filter such as search_mail_address contains "@example.com", you can search by the domain name of the email address.
Please use it when implementing an administrator's management screen.
Implementing the frontend
Create the following file.
- Nuxt2
- Nuxt3
loading...
loading...
In this example, we use radio buttons to display the subscription status and send an API request immediately when there is a change.
If you add a Submit button and send a POST request all at once when submitting, it may take time to process if the number of deliveries increases.
Consider omitting requests to notification that have not changed or registering new subscription statuses in batches for processing.
Confirm the operation
After logging in and accessing the target directory, you can confirm that the list of deliveries is displayed and an API request is sent when the subscription status is updated.
Related Documents
Support
If you have any other questions, please contact us or check out Our Slack Community.