Implementing Two-Factor Authentication on the Login Screen
Overview
Kuroco's login endpoint requires preparation of parameters to implement two-factor authentication, making it easy to implement two-factor authentication using Email, Authenticator, and SMS.
In this tutorial, we will verify the login behavior of two-factor authentication using three authentication methods and introduce the frontend code that utilizes it.
What you will learn
You will implement two-factor authentication on the login screen using the following steps:
Prerequisites
This page assumes that you have already built a project with Kuroco and Nuxt.js.
If you haven't built it yet, please refer to the following tutorial.
This tutorial is written with the following versions:
Nuxt2: v2.15.8
Nuxt3: v3.8.0
This document explains the configuration flow for Cookie-based authentication.
If you plan to use a dynamic access token, please also refer to Authentication method for dynamic access tokens.
Verify the behavior of two-factor authentication
Two-Factor Authentication via Email
Creating an Endpoint
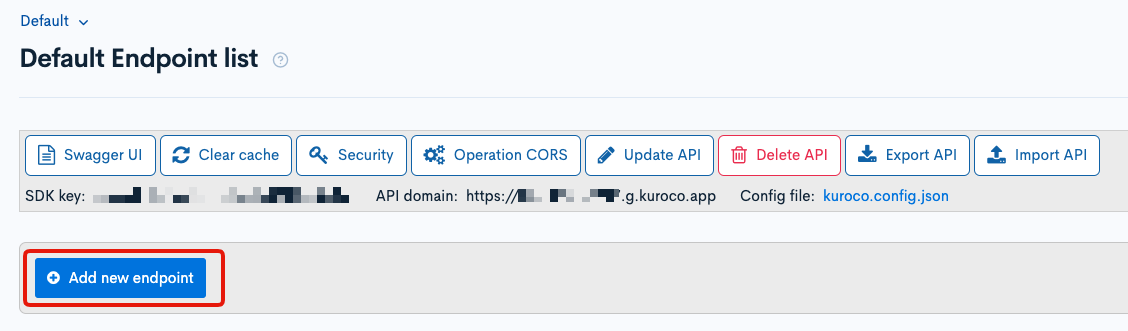
Click "Add New Endpoint" in any API.
Configure the following settings:
| Field | Setting |
|---|---|
| Path | 2steplogin/email |
| Category | Authentication |
| Model | Login |
| Operation | login_challenge |
| twofactor_method |
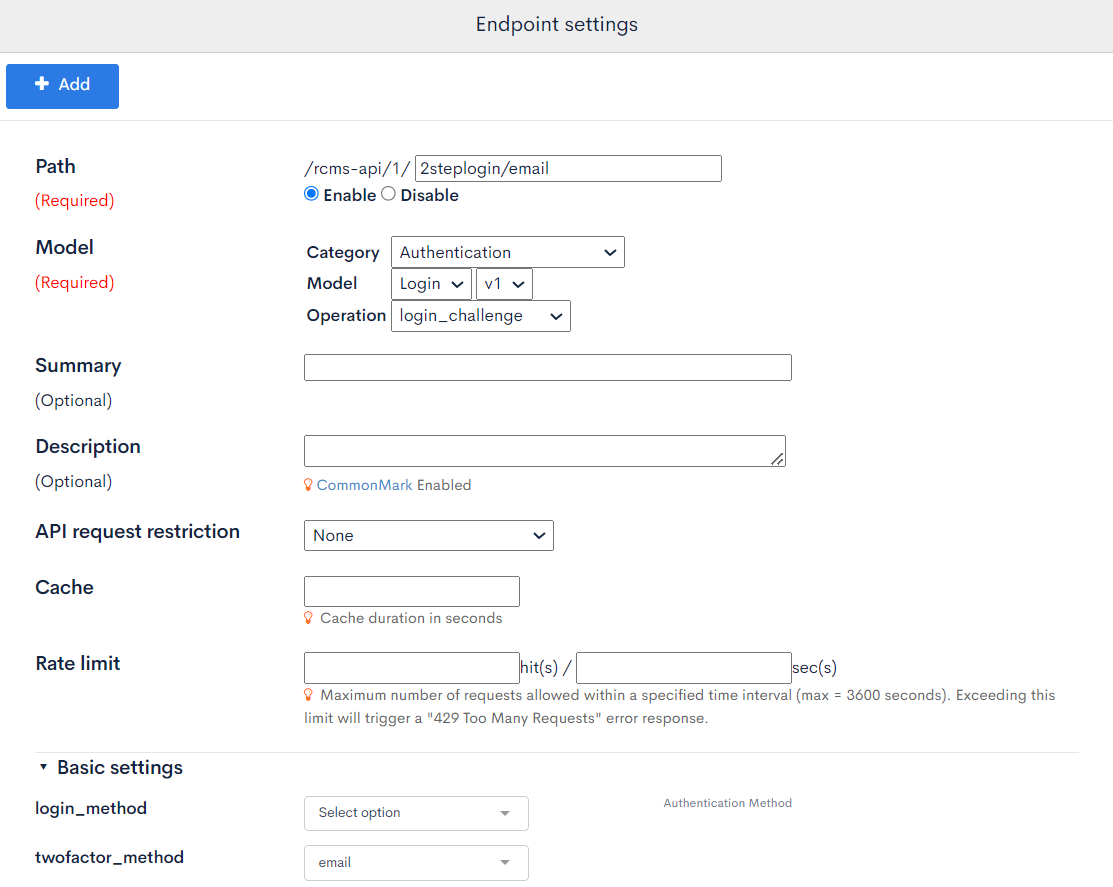
Once the settings are done, click "Add" to add the endpoint.
Verifying the Behavior with SwaggerUI
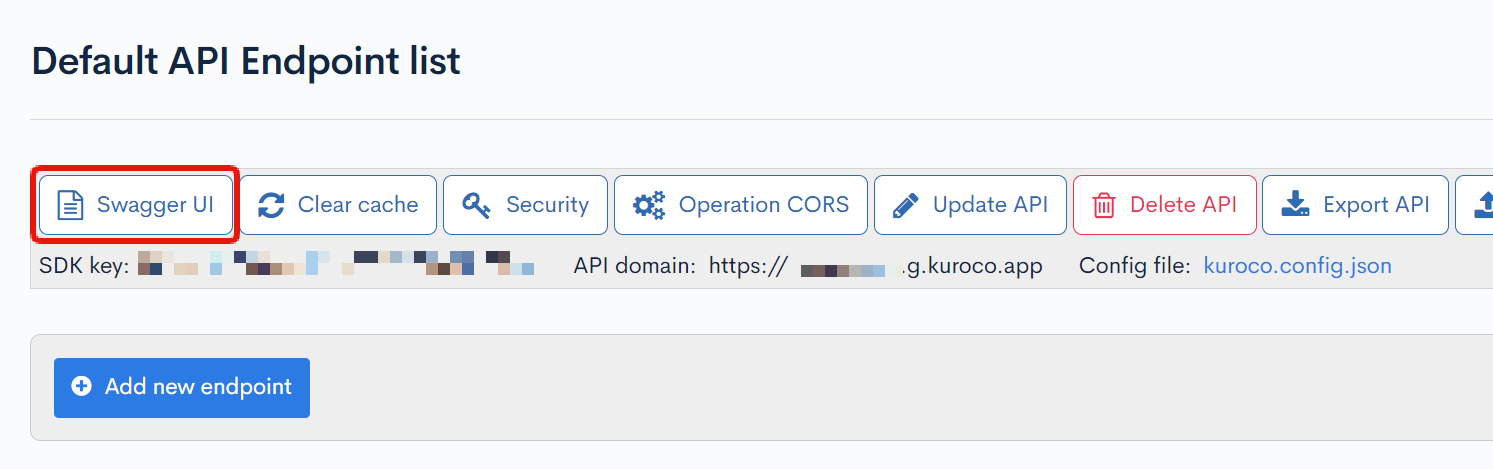
Click [Swagger UI] on the target API.
Open the added endpoint and click "Try it out".
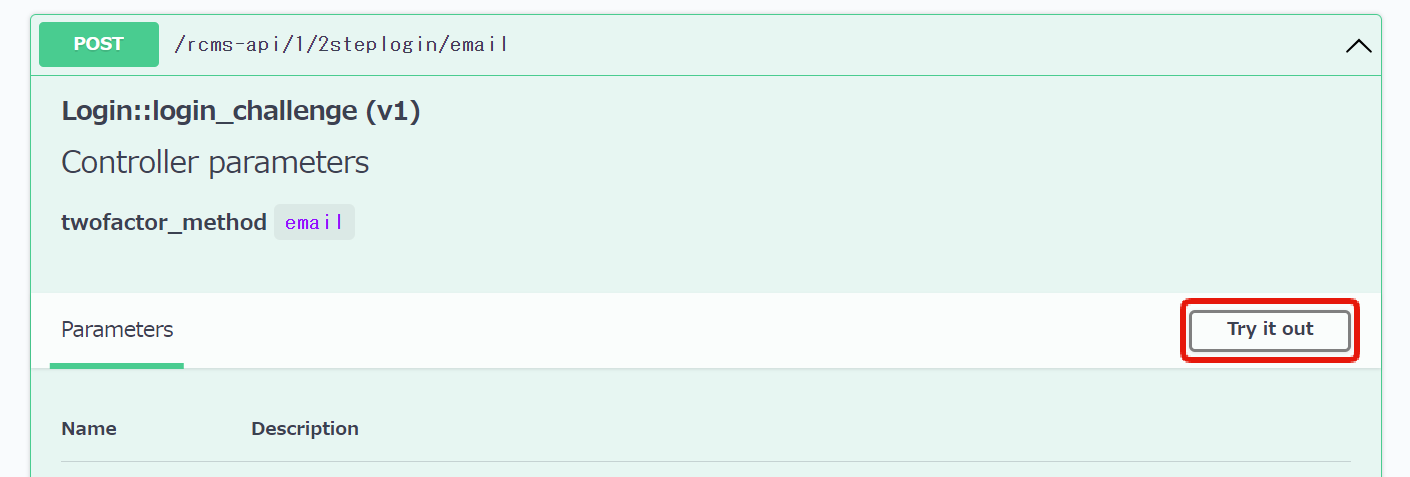
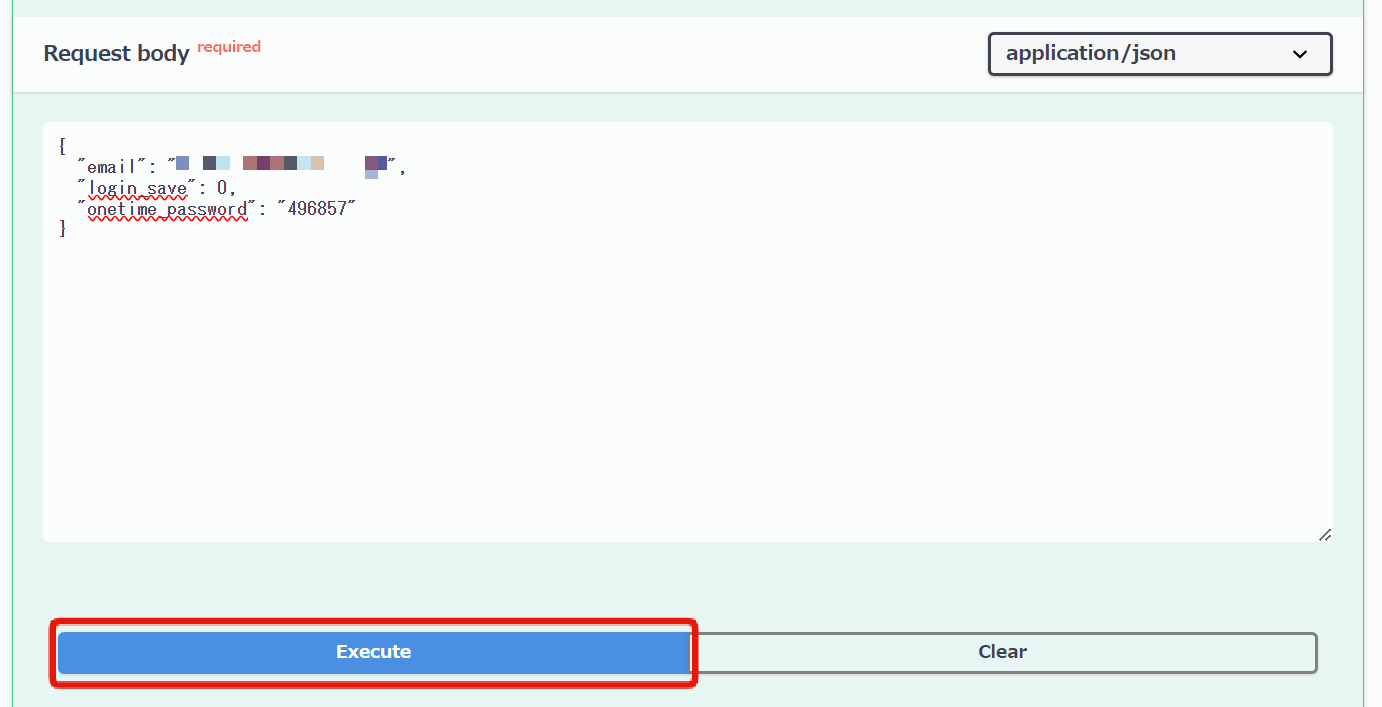
Enter the authentication information and click "Execute".

If the correct authentication information is entered, the response "Two-factor authentication required" will be returned.
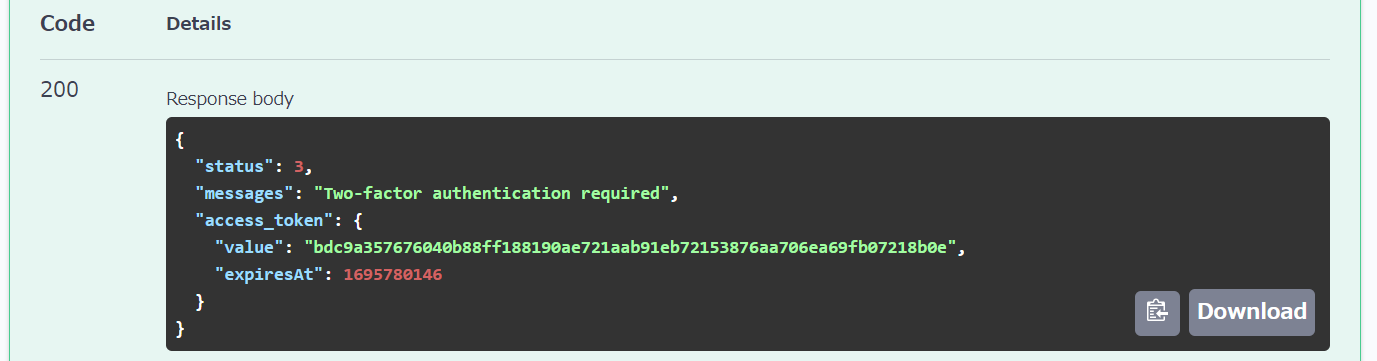
An authentication code will be sent to the user's email address.
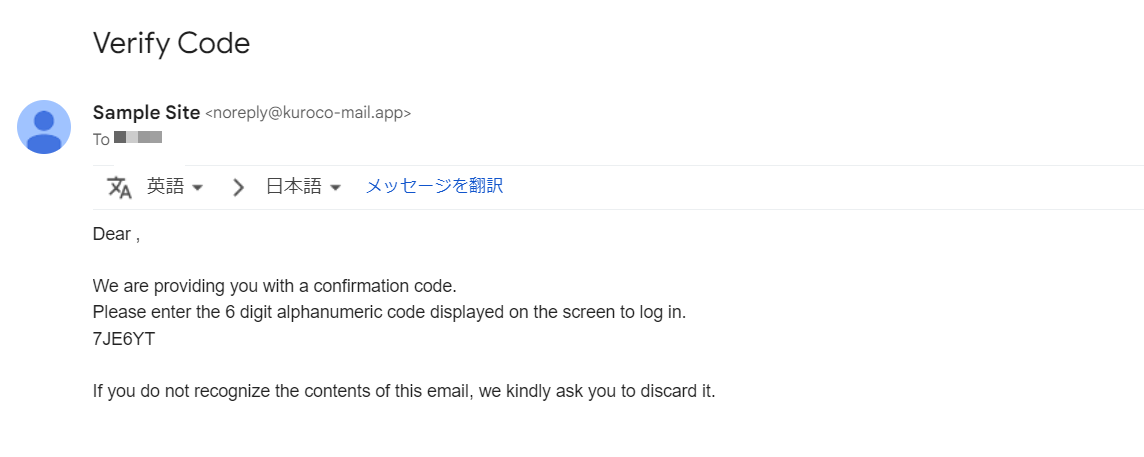
The content of the notification can be edited using the message template for login/authentication_code.
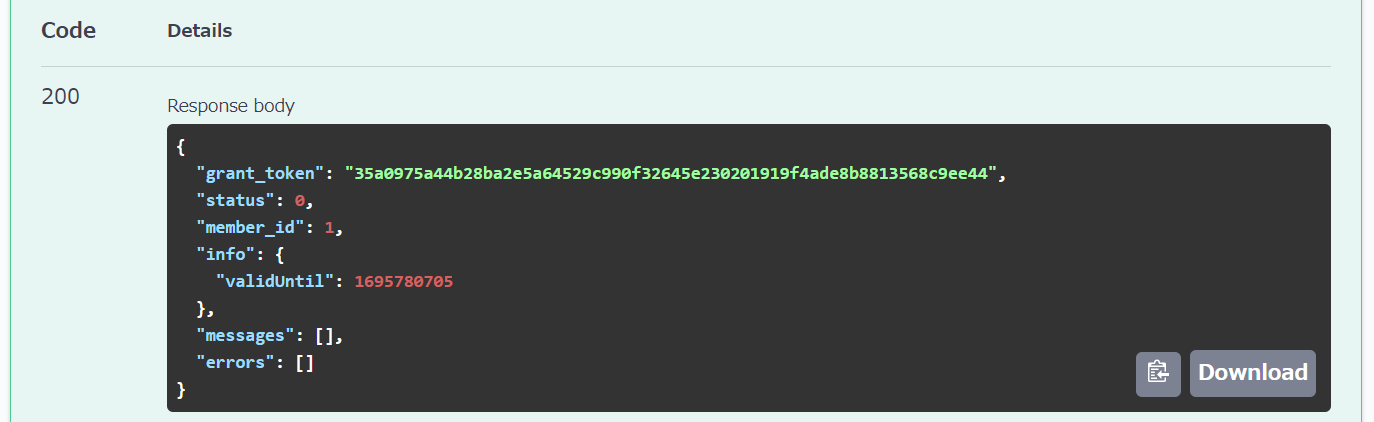
Remove password from the request body, enter onetime_password, and click "Execute" again.

A grant_token is issued, confirming that the login was successful.
Two-Factor Authentication via Authenticator
To use two-factor authentication via Authenticator, you first need to set up a one-time password in the Kuroco admin panel.
Setting Up the Use of One-Time Passwords
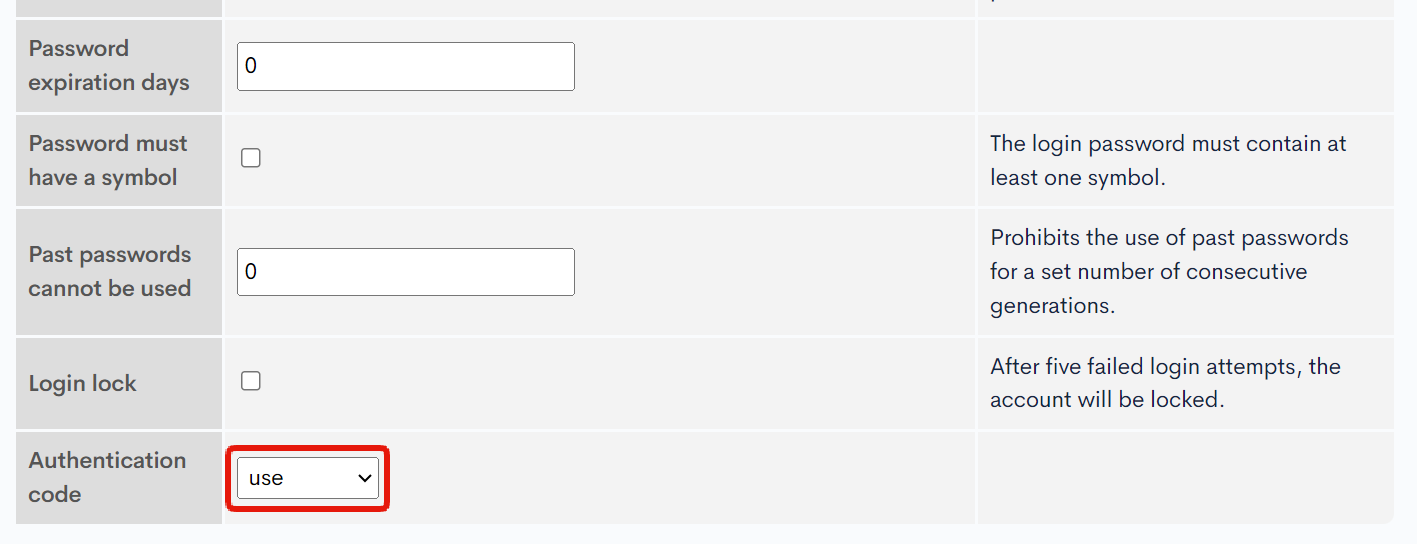
Click [Environment] -> [Site settings].
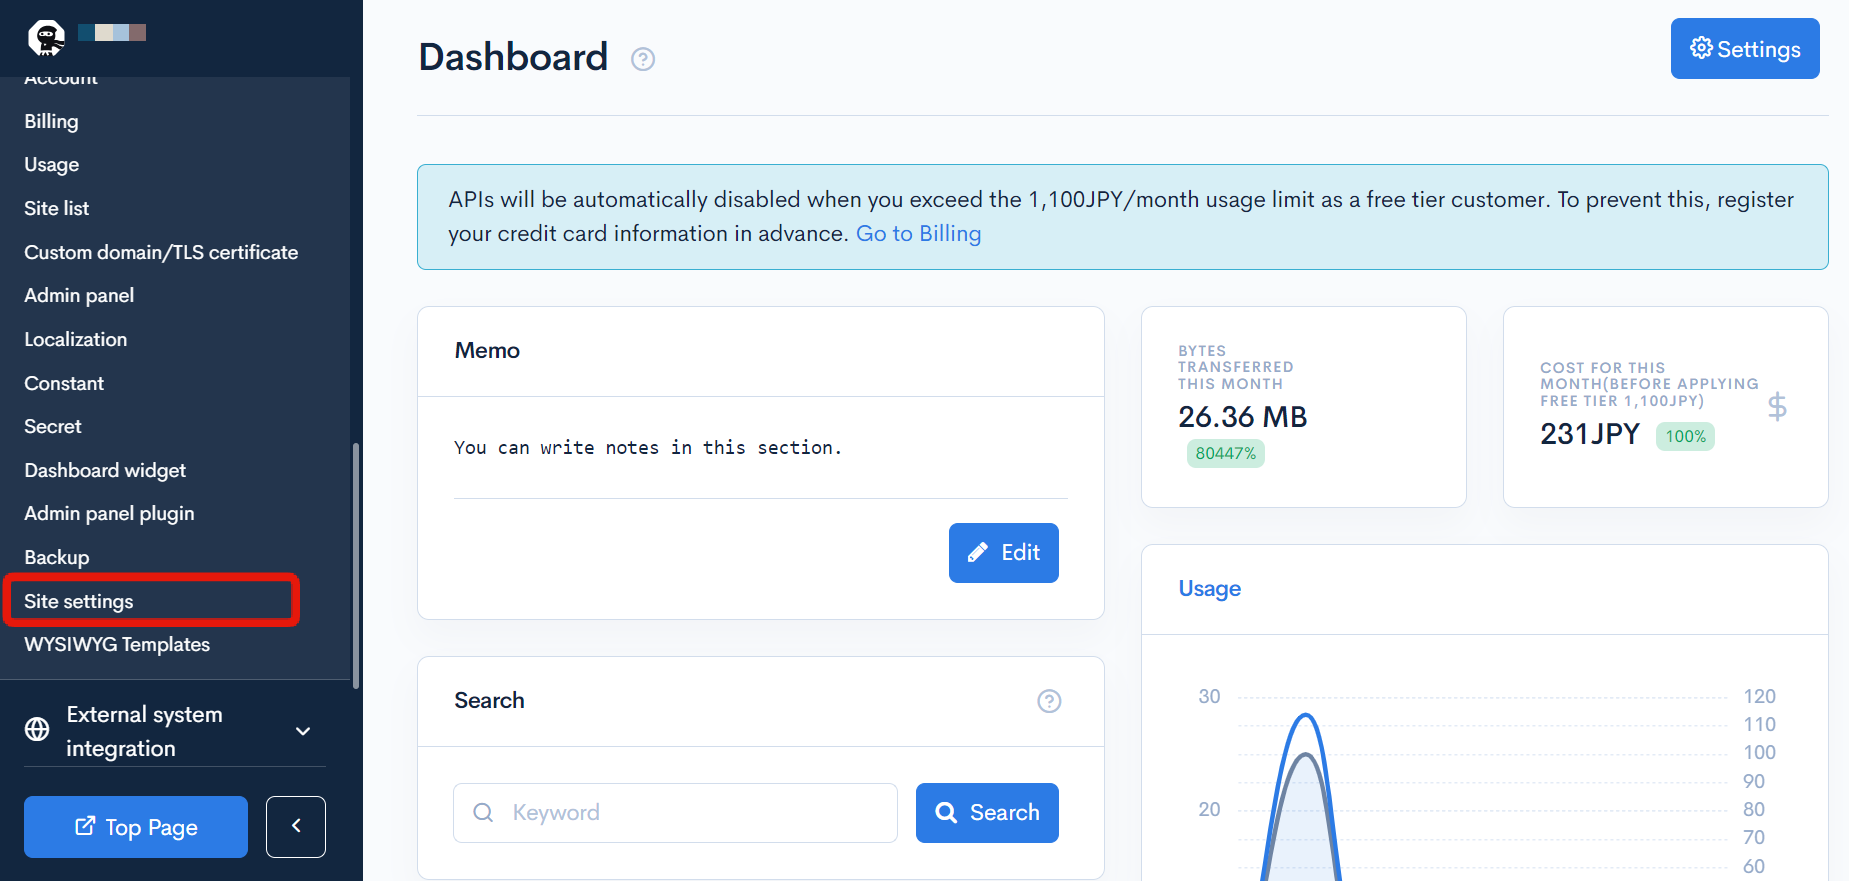
Set the Authentication code in the Login section to [Use].
Registering a one-time password
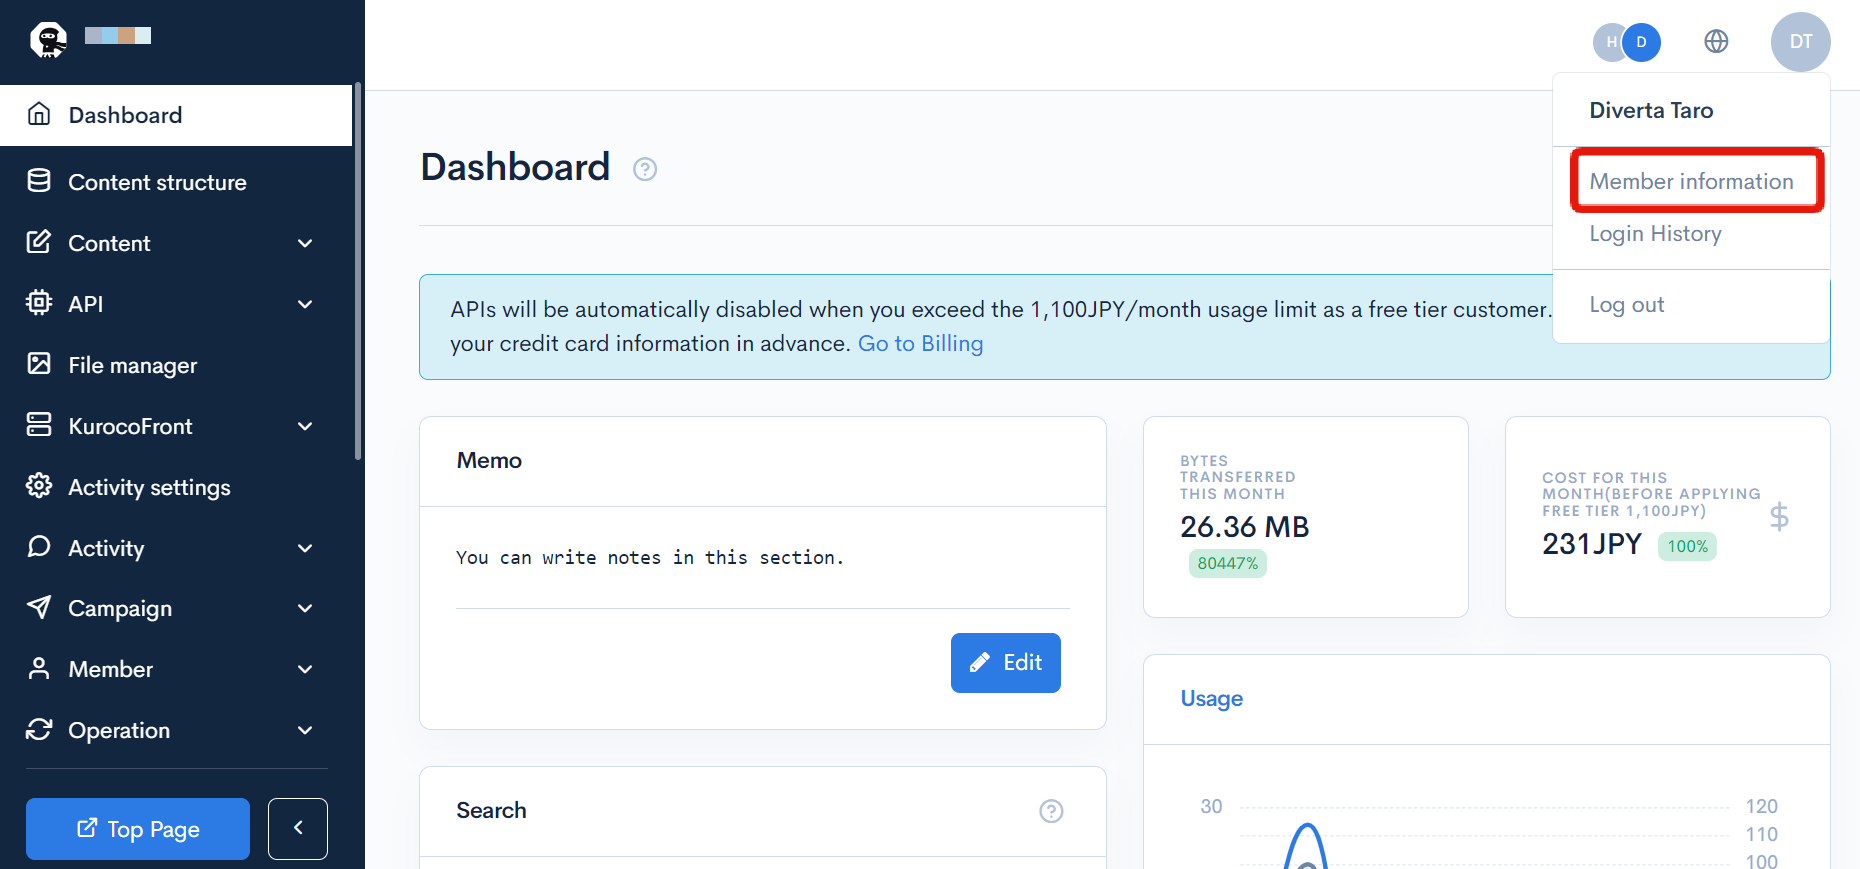
You can register a one-time password from the member settings in the admin page. Go to your member information by clicking [Member] -> [Member] or by clicking your icon in the upper right corner of the admin page.
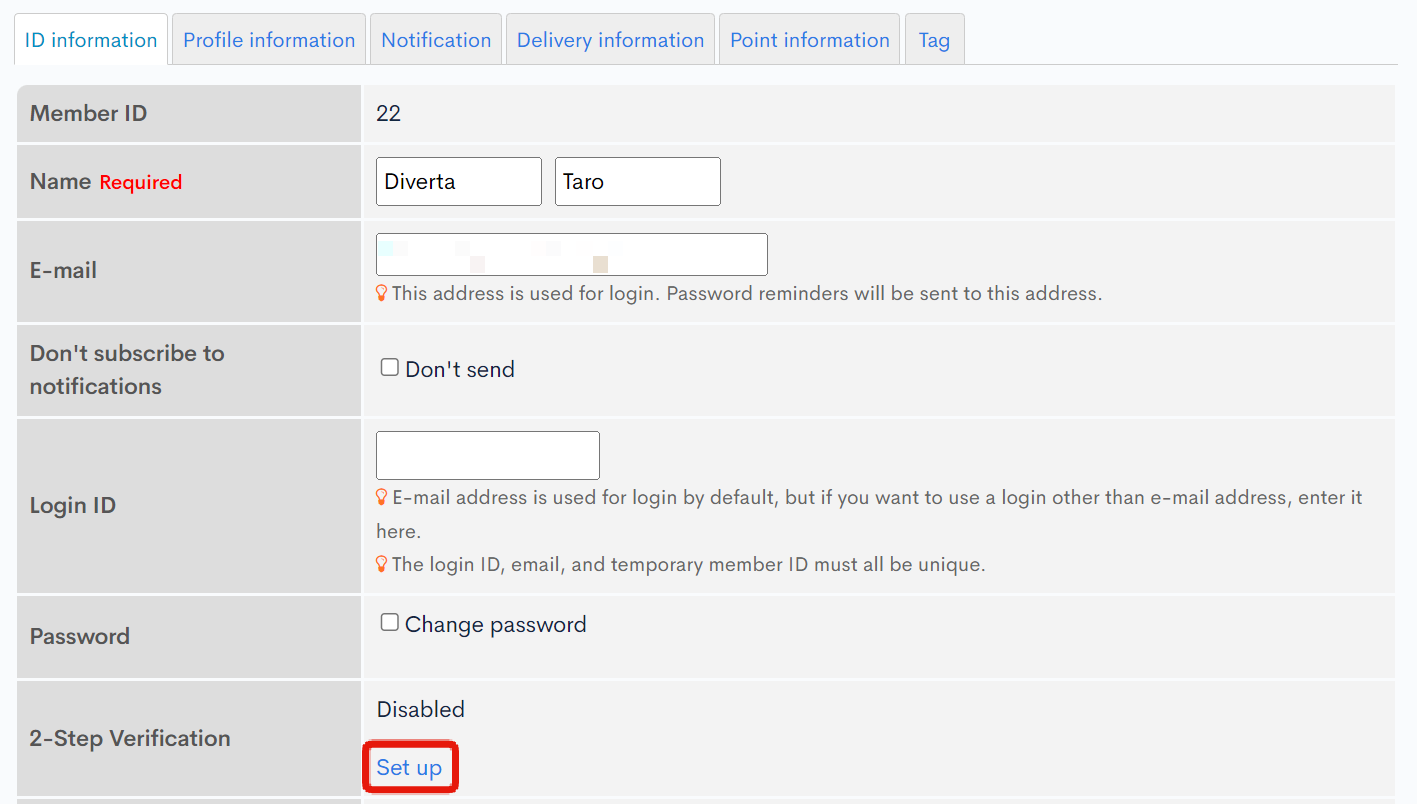
Click [Set up] for 2-Step Verification in the ID information tab.
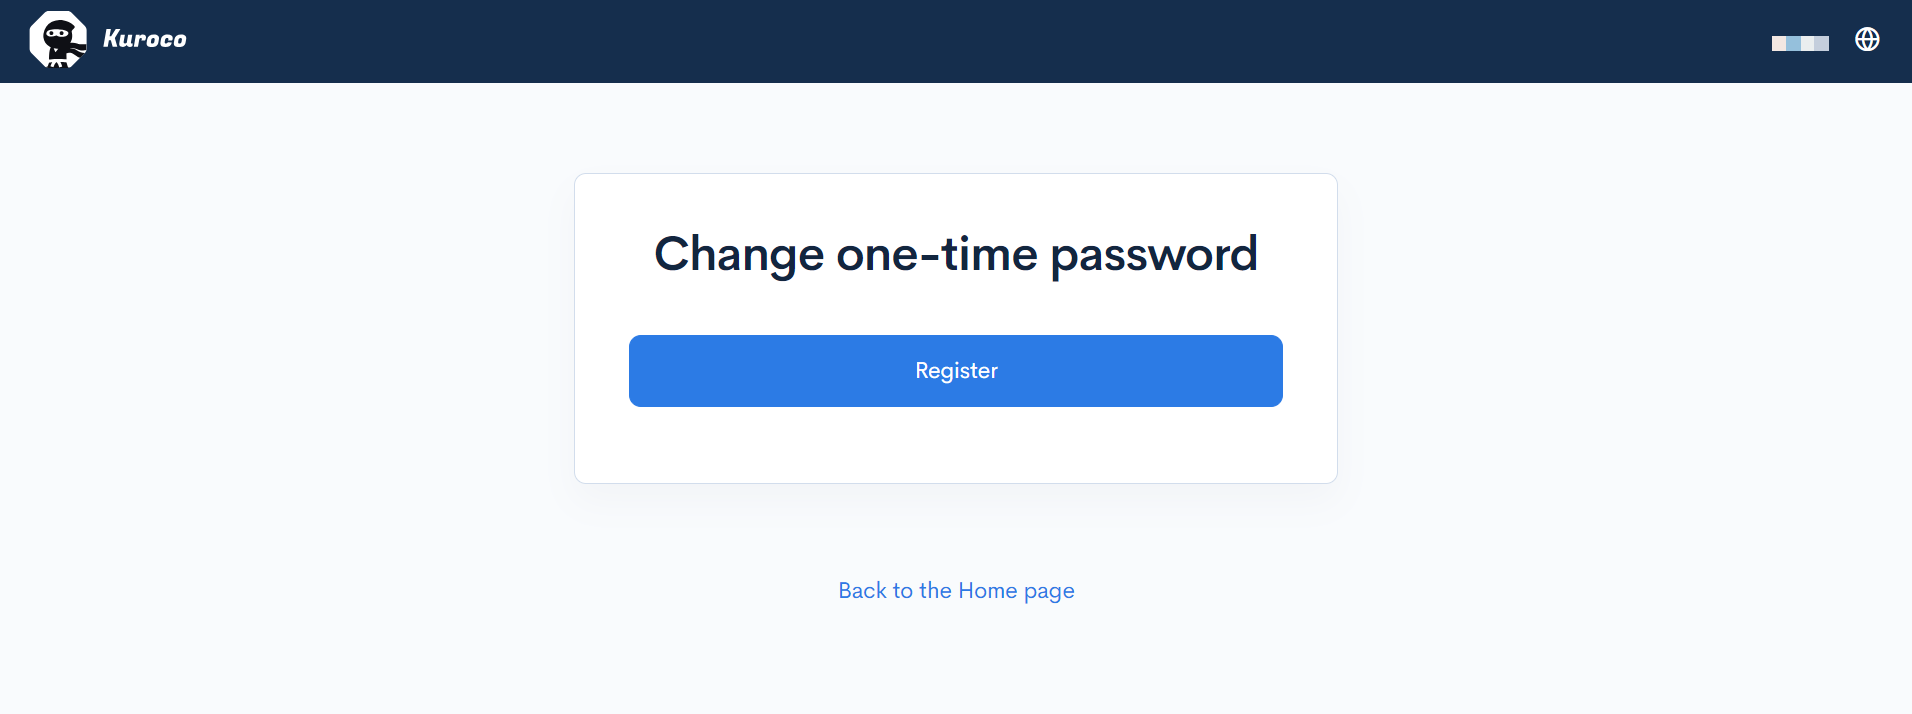
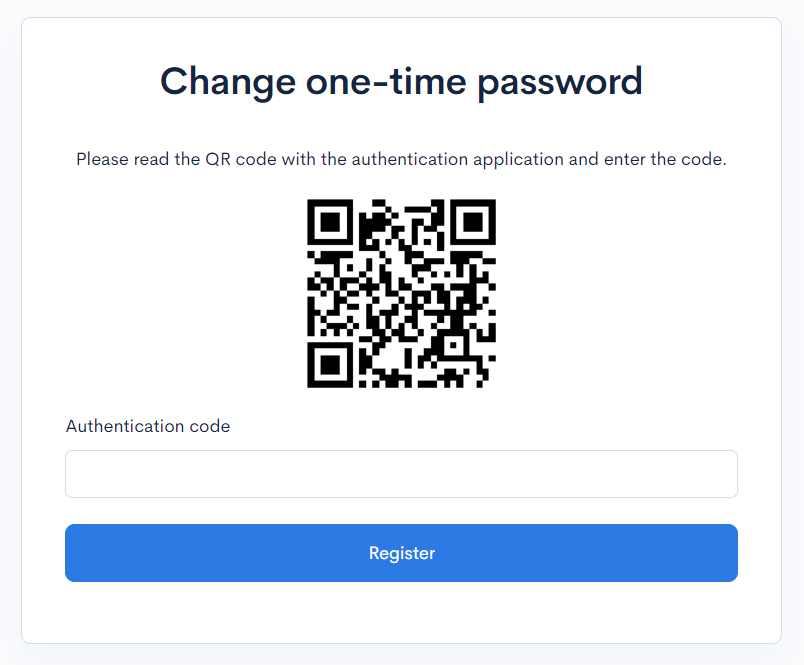
The one-time password setup screen will open, so click [Register].
Open the Google Authenticator app, scan the QR code, and enter the 6-digit authentication code.
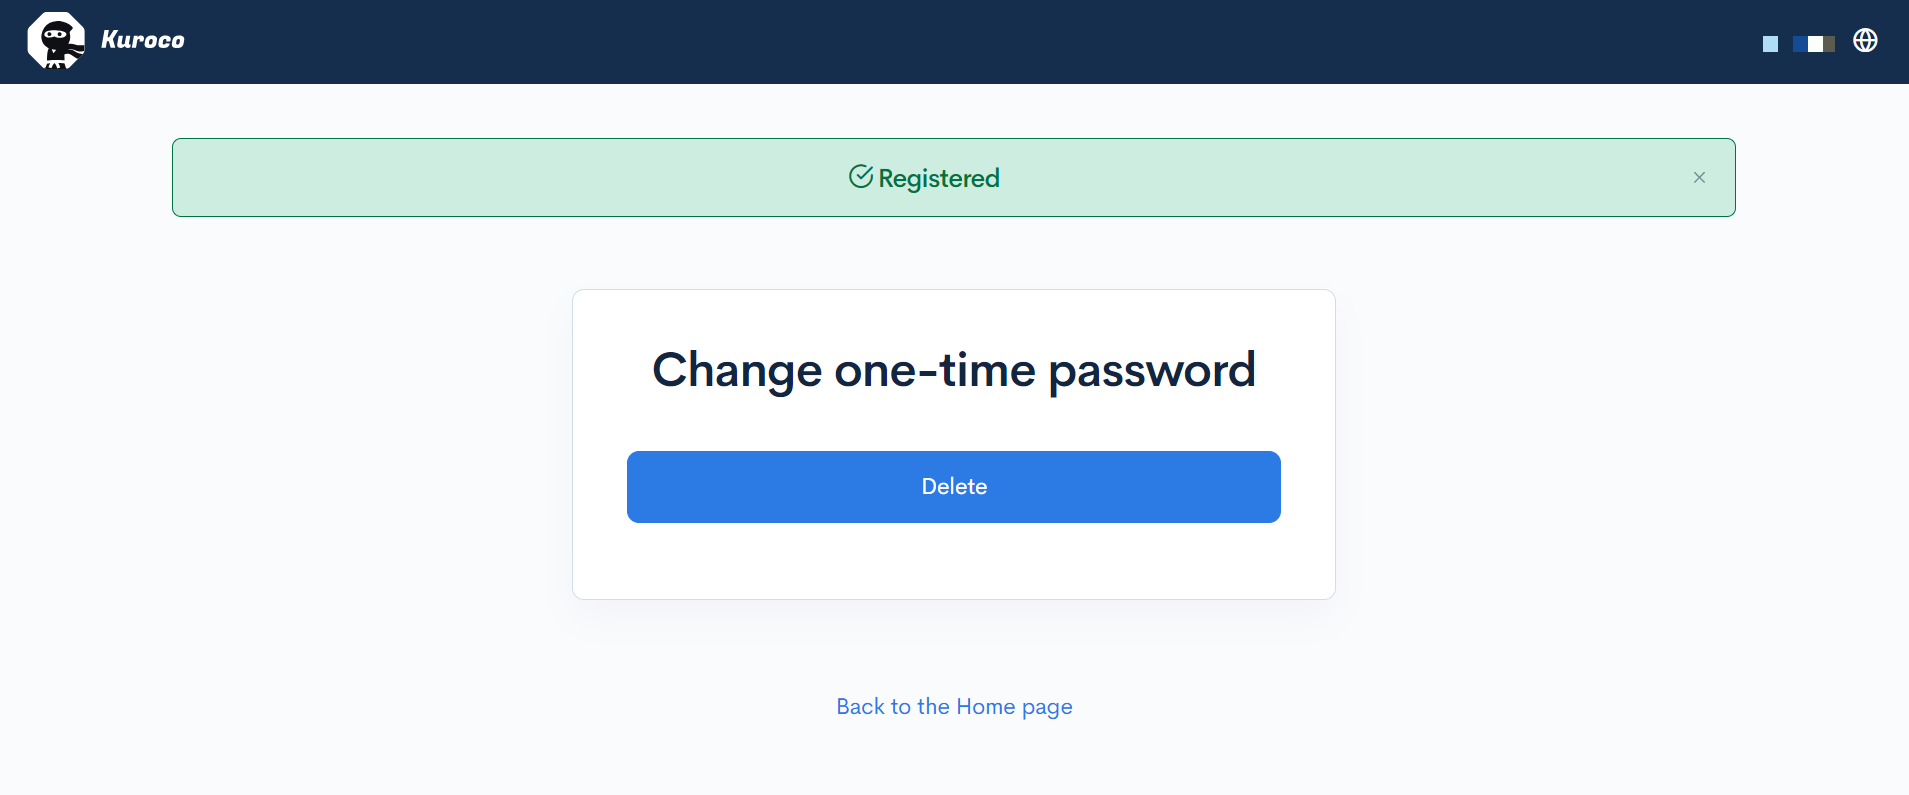
Once you see the message "Registered", the setup is complete.
Creating an endpoint
Once you are ready to use the one-time password, click on "Add new endpoint" in any API.
Configure the following:
| Item | Setting |
|---|---|
| Path | 2steplogin/code |
| Category | Authentication |
| Model | Login |
| Operation | login_challenge |
| twofactor_method | code |
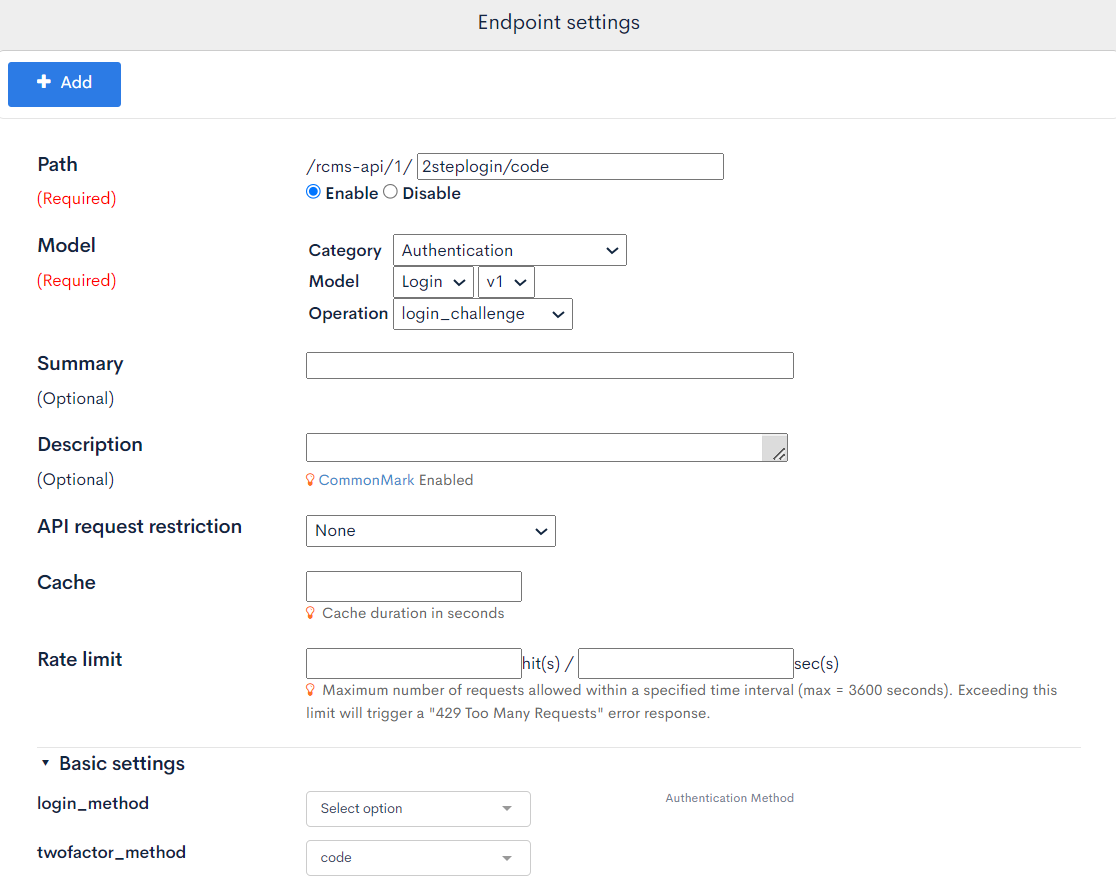
Once the configuration is complete, click on [Add] to add the endpoint.
Confirming the operation with SwaggerUI
Click on [Swagger UI] in the target API.
Open the added endpoint and click on [Try it out].
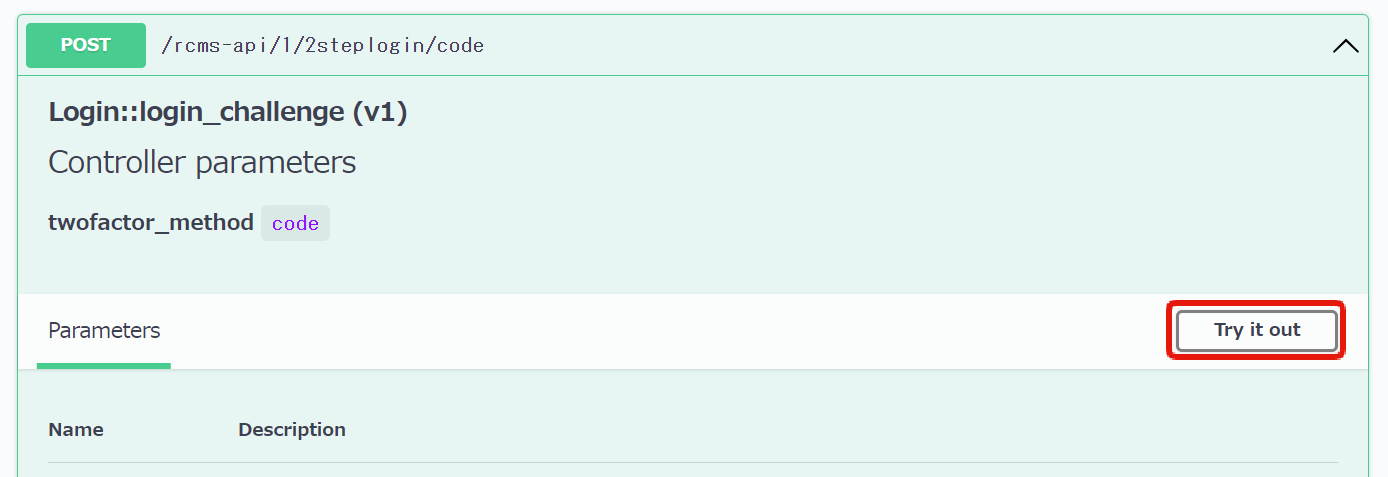
Enter the authentication information and click on [Execute].
If the correct authentication information is entered, the response "Two-factor authentication required" will be returned.
Open the Google Authenticator app on your device and check the authentication code.
Remove password from the request body, enter onetime_password, and click [Execute] again.
A grant_token is issued, confirming that login was successful.
Two-factor authentication via SMS
To use two-factor authentication via SMS, integration with Twilio is required. Also, the member's phone number must be a Japanese domestic phone number starting with "090", "080", "070", or "060". First, please refer to the following document for the settings.
Creating an endpoint
Once you are ready to use SMS, click on "Add new endpoint" in any API.
Configure the following:
| Item | Setting |
|---|---|
| Path | 2steplogin/sms |
| Category | Authentication |
| Model | Login |
| Operation | login_challenge |
| twofactor_method | sms |
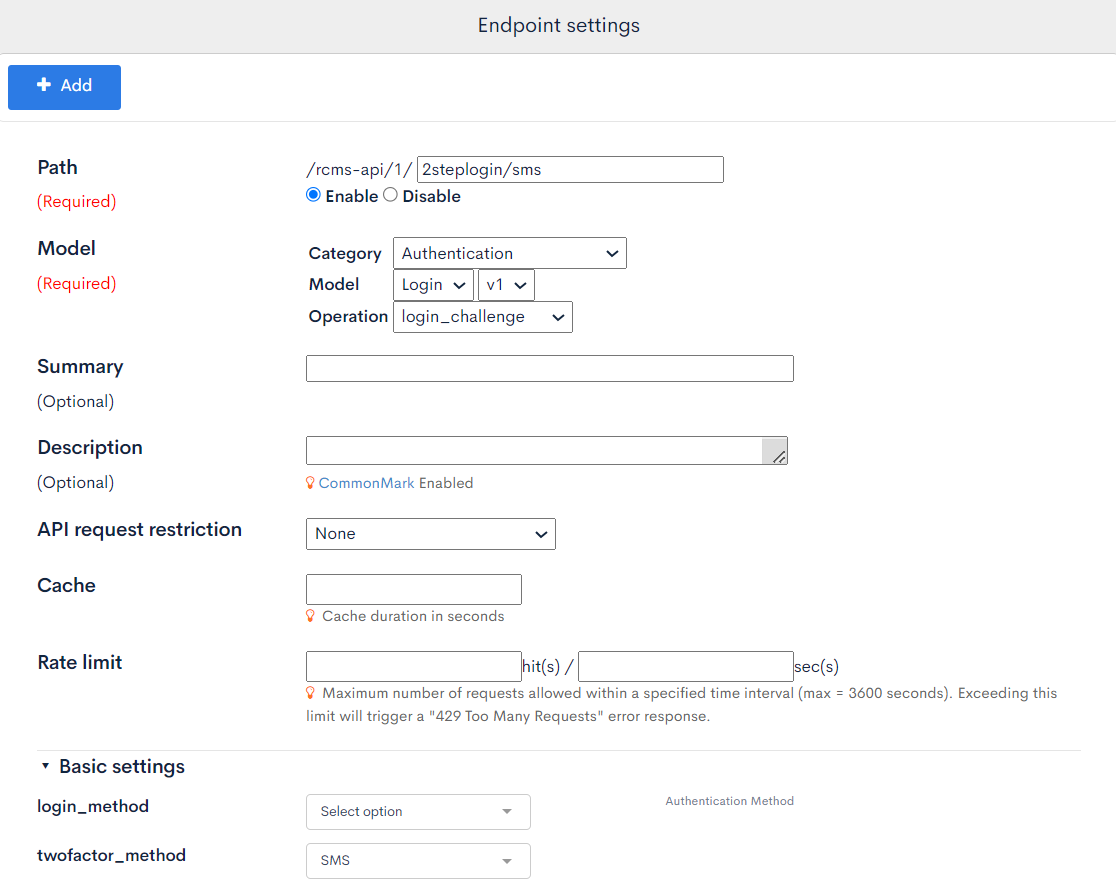
After setting, click [Add] to add the endpoint.
Verify operation with SwaggerUI
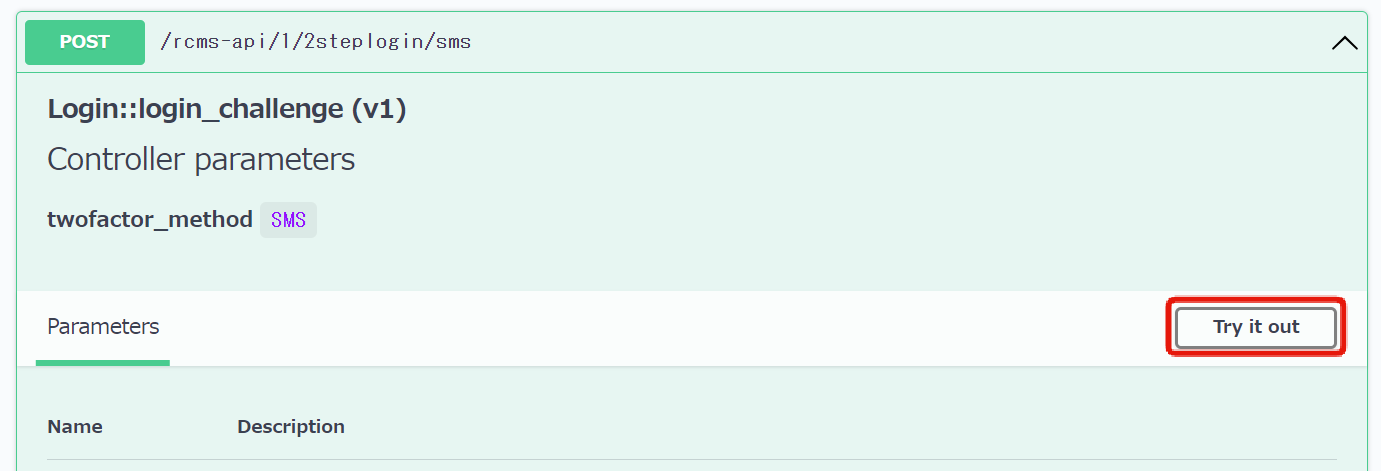
Click [Swagger UI] from the target API.
Open the added endpoint and click [Try it out].
Enter authentication information and click [Execute].
If the correct authentication information is entered, the response "Two-factor authentication required" will be returned.
You will receive an authentication code via SMS, so check the value.
The content of the notification can be edited in the message template of login/sms_authentication_code.
Remove password from the request body, enter onetime_password, and click [Execute] again.
A grant_token is issued and it is confirmed that login is successful.
Forcing Additional Authentication
Even if the twofactor_method parameter is set, the login will be successful if no additional authentication information is registered.
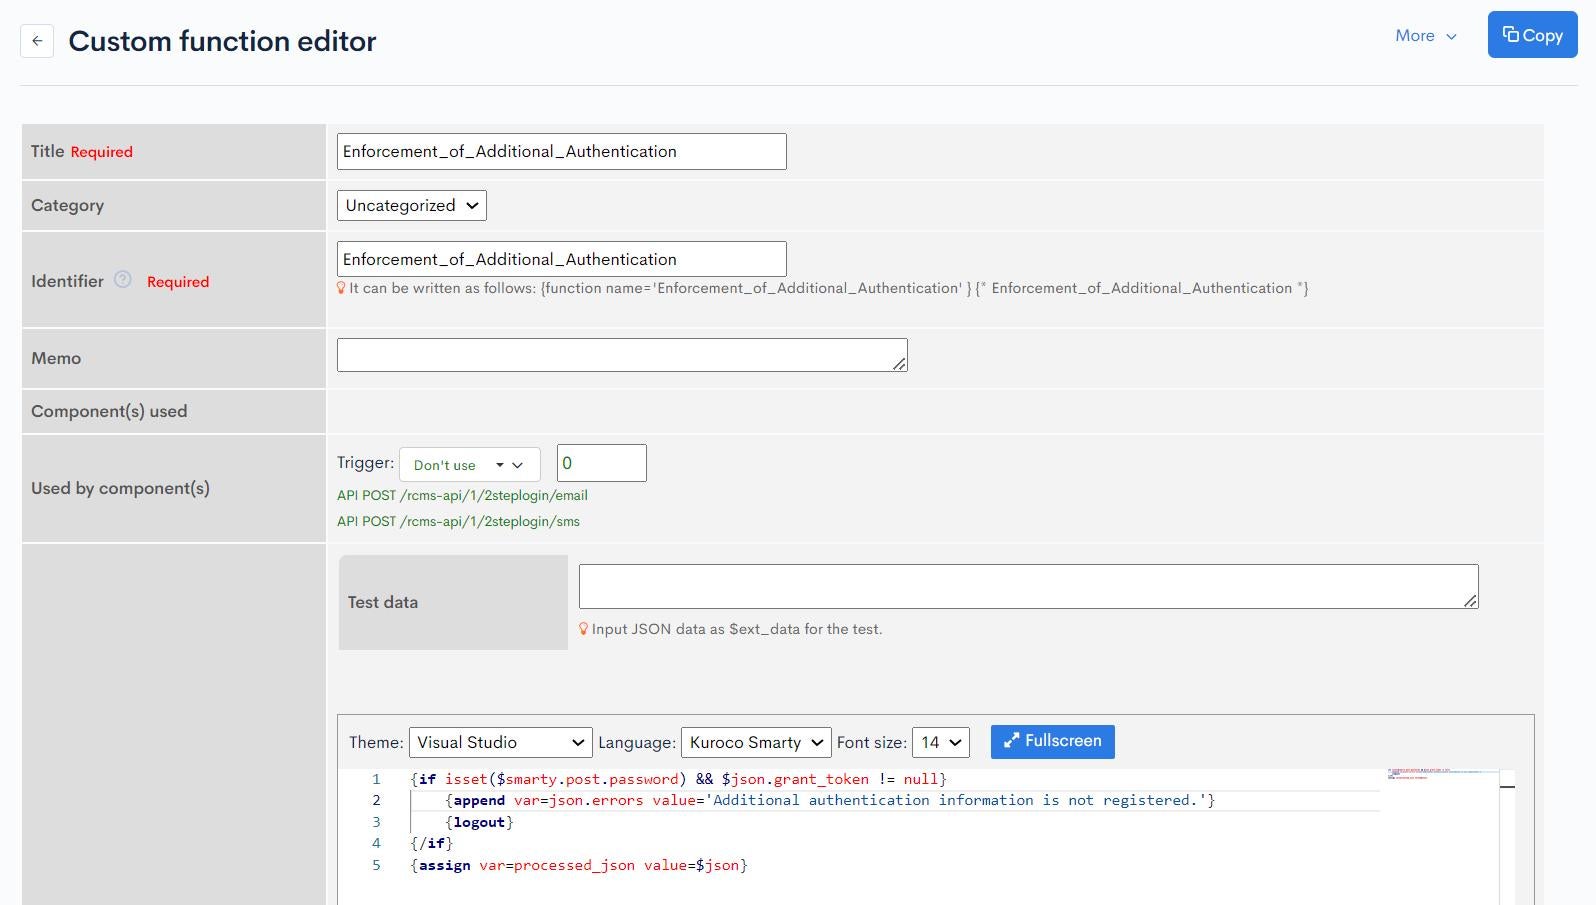
It is assumed that the user will be prompted to register a phone number, etc. after logging in, but if you want to display an error without logging in, create a custom process and set it as post-processing.
The following is an example of post-processing that logs out forcibly and displays an error response when logging in is completed without going through the additional authentication information step.
{if isset($smarty.post.password) && $json.grant_token != null}
    {append var=json.errors value='Additional authentication information is not registered.'}
    {logout}
{/if}
{assign var=processed_json value=$json}
Implementing the frontend
Finally, implement the behavior confirmed with SwaggerUI on the frontend.
Create a file named index.vue in the /login/2step_login/ directory.
The following is an example of two-step authentication using email.
- Nuxt2
- Nuxt3
loading...
loading...
The above sample code is minimal for reference purposes.
When using it in practice, please also use form validation processing and libraries such as @nuxt/auth.
Please change the part /rcms-api/1/2steplogin/email to the URL of your own endpoint.
Verification
Once you have executed and confirmed the operation, the implementation of two-step authentication on the login screen is complete.

Authentication Method for Dynamic Access Tokens
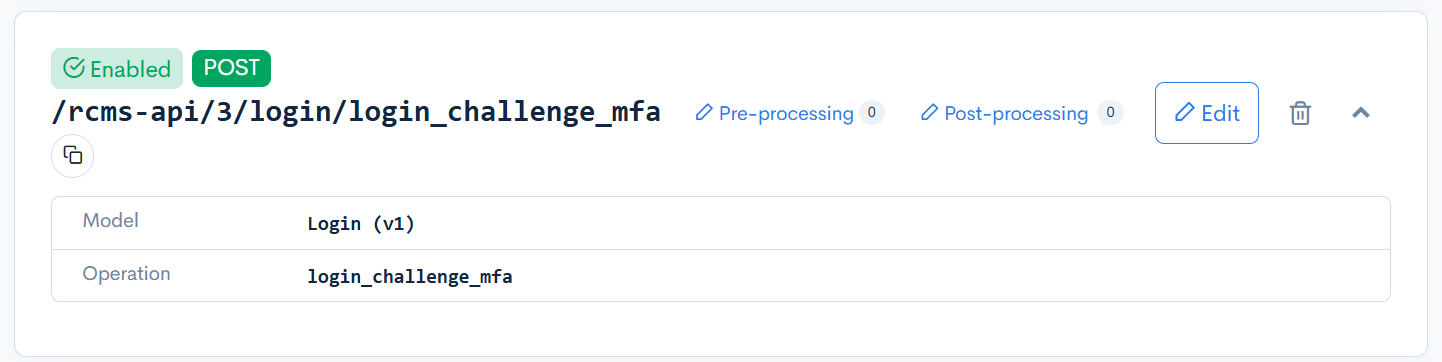
When using a dynamic access token, use the Login::login_challenge_mfa endpoint for the second-step authentication.
The flow to obtain an access token is as follows:
-
Send a POST request with
email/passwordto the Login::login_challenge endpoint to obtain anmfa_access_token.
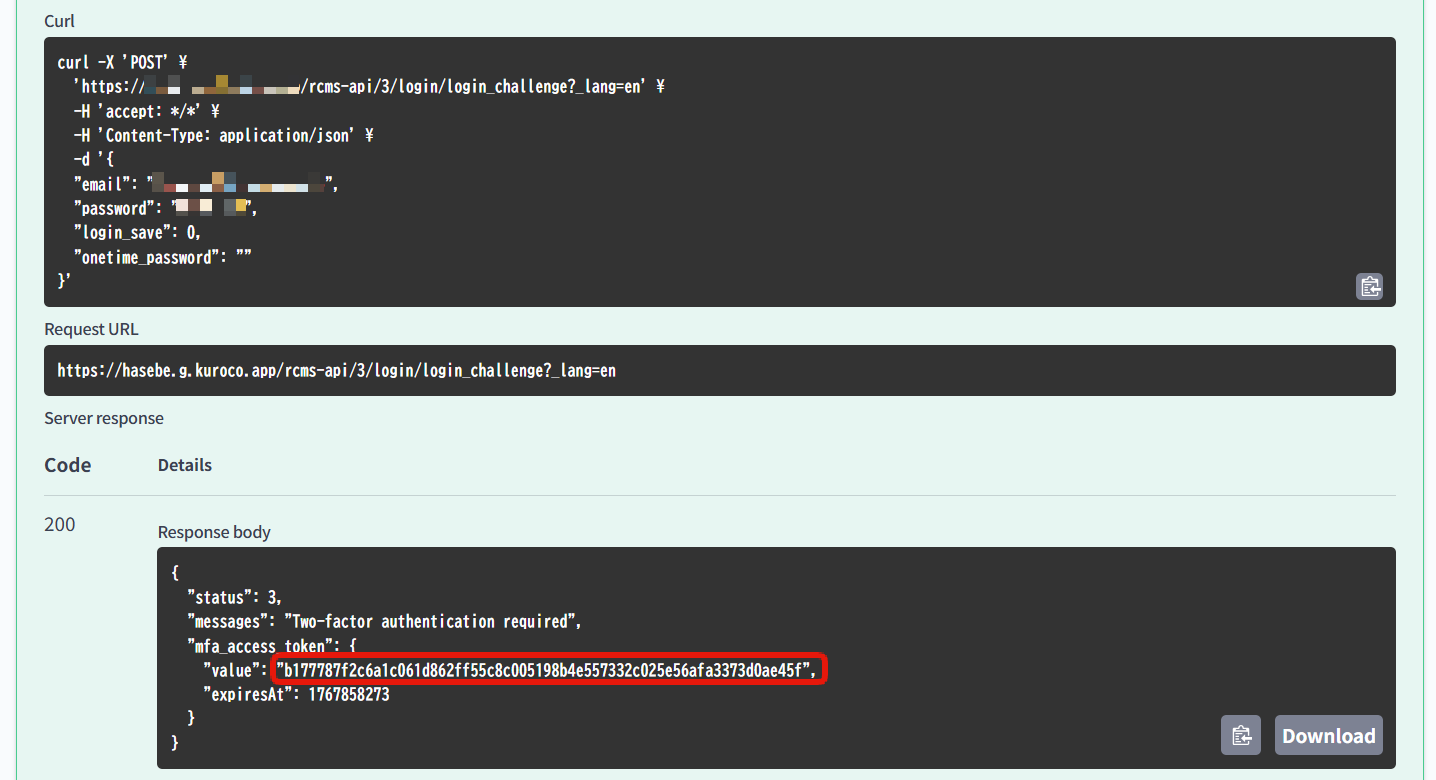
-
Send the following request to the Login::login_challenge_mfa endpoint to obtain a
grant_token:- Include the
mfa_access_tokenin theX-RCMS-API-ACCESS-TOKENheader - Include
onetime_passwordin the request body
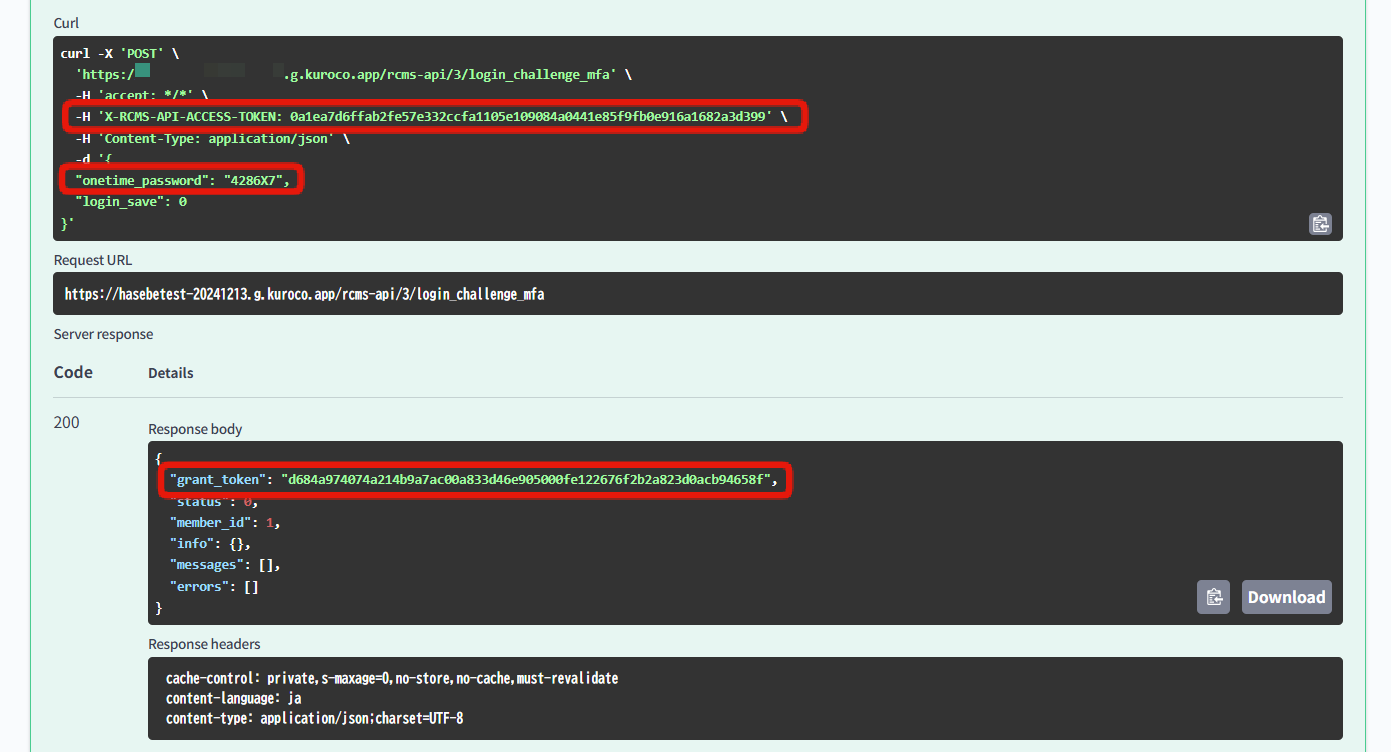
- Include the
-
POST the
grant_tokento the Login::token endpoint to obtain an access token.
Related Documentation
Support
If you have any other questions, please contact us or check out Our Slack Community.