Implementing Two-Factor Authentication on the Member Registration Screen
Overview
This tutorial explains how to implement two-factor authentication on the member registration screen by issuing a random 6-digit authentication code during new member registration.
In this tutorial, we will introduce two-factor authentication using email, but you can also implement two-factor authentication using SMS by integrating with Twilio using the same steps.
What you will learn
To implement two-factor authentication during new member registration, you will need to follow the following steps:
Prerequisites
This page assumes that you have already built a project with Kuroco and Nuxt.js.
If you haven't done so yet, please refer to the following tutorials.
If you want to implement two-factor authentication using SMS, you will also need to follow the tutorial below.
This tutorial is written with the following versions:
Nuxt2: v2.15.8
Nuxt3: v3.8.0
Preparations
Creating APIs
We will use the Default API and the Internal API for internal processing.
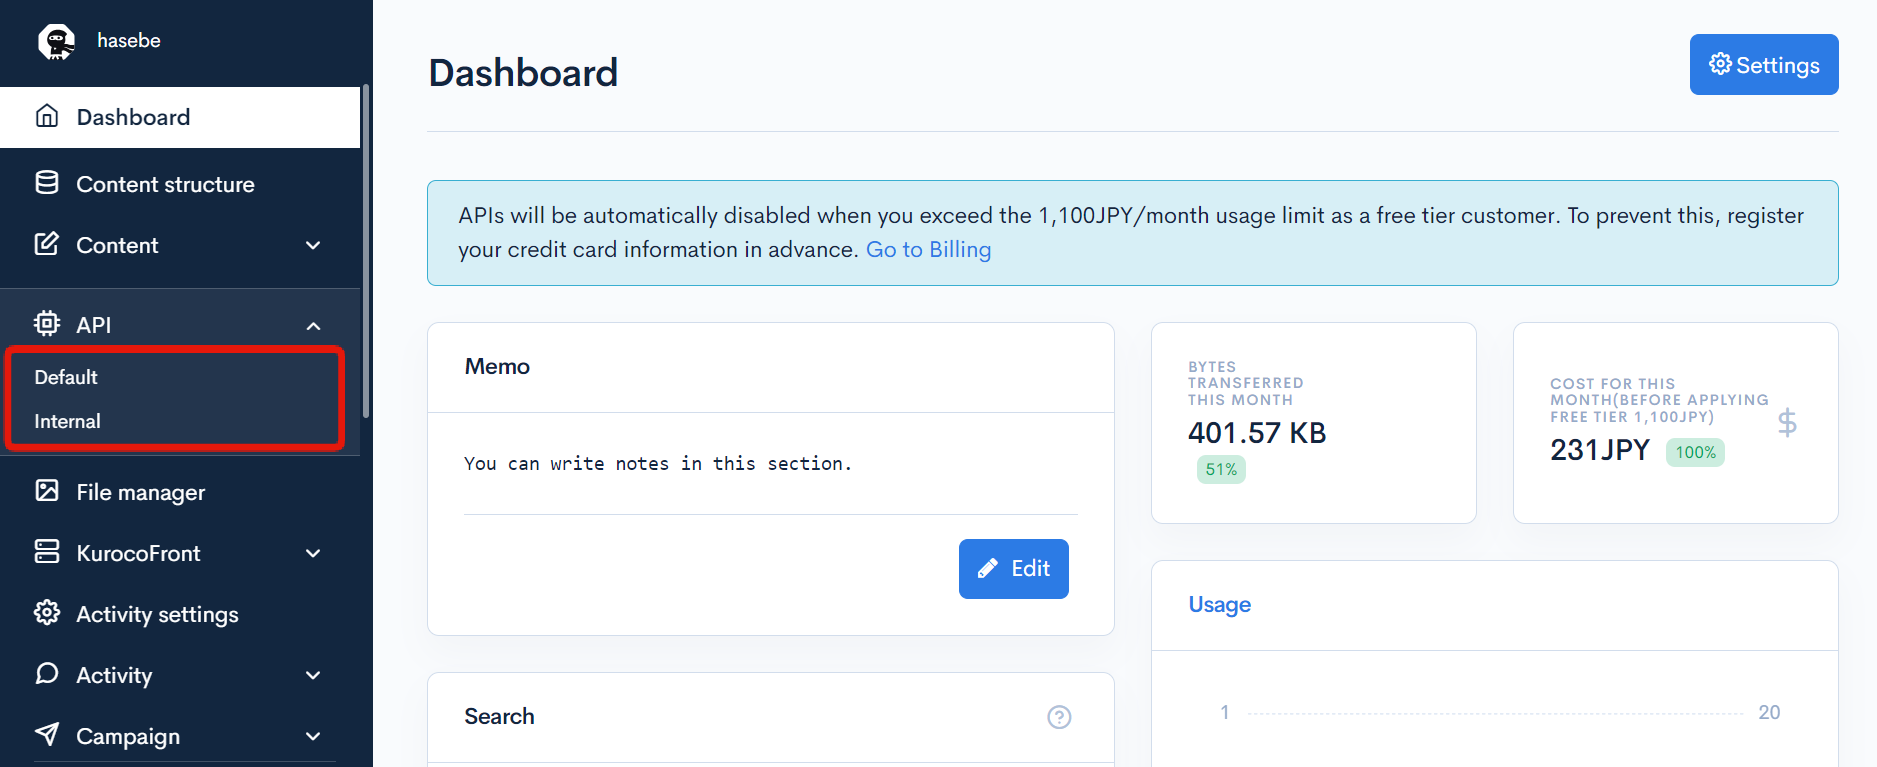
Creating the Internal API
It is recommended to create separate APIs for endpoints that are only used internally in Kuroco.
Therefore, first, create a new API for internal use.
If you have already added it, you can proceed to the next step.
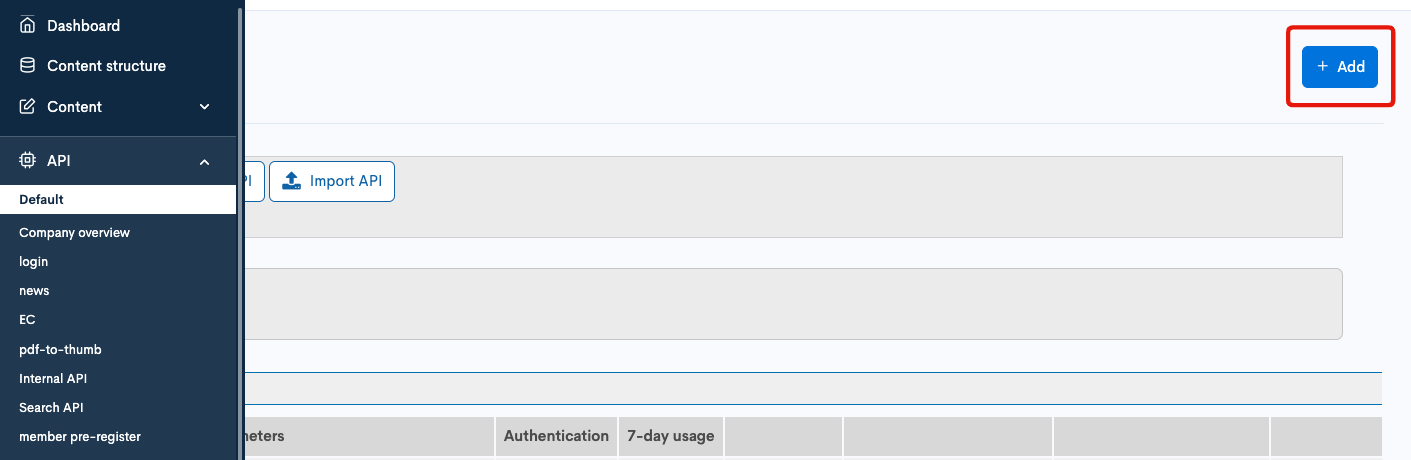
Creating an API
Click [Add] from the API in the Kuroco Admin panel.
On the API creation screen, enter the following and click "Add".
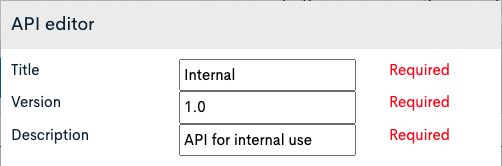
| Item | Setting |
|---|---|
| Title | Internal |
| Version | 1.0 |
| Description | API for internal use |
The API has been created.
Security configuration
Next, configure security. Click [Security].
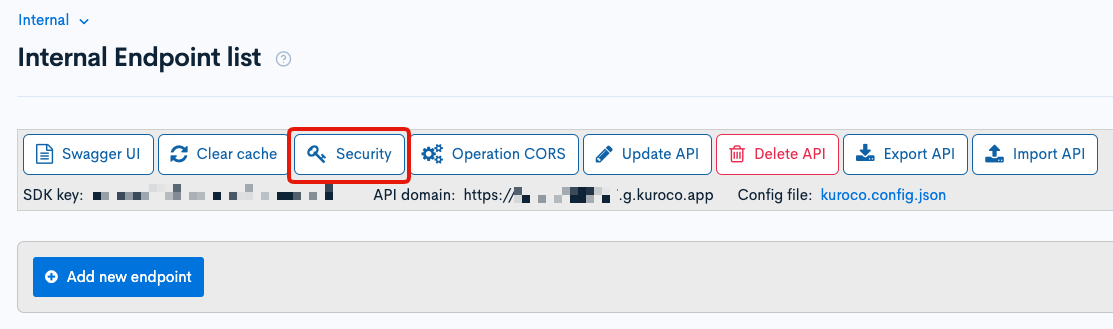
Set the security to [Dynamic Access Token], and click [Save].

After setting security to a dynamic access token, it is recommended to use the Login::token endpoint, but it can be ignored if it is for internal use only.

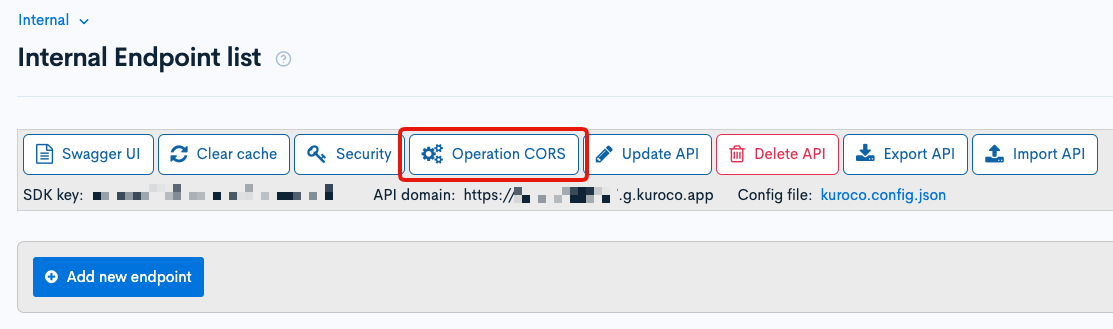
Setting CORS
Next, we will configure CORS. Click [Operation CORS].
Click [Add Origin] for CORS_ALLOW_ORIGINS and add the following:
- Admin panel URL
Click [Add Method] for CORS_ALLOW_METHODS and add the following:
- GET
- POST
- OPTIONS
Check that [Allow Credentials] is selected for CORS_ALLOW_CREDENTIALS.
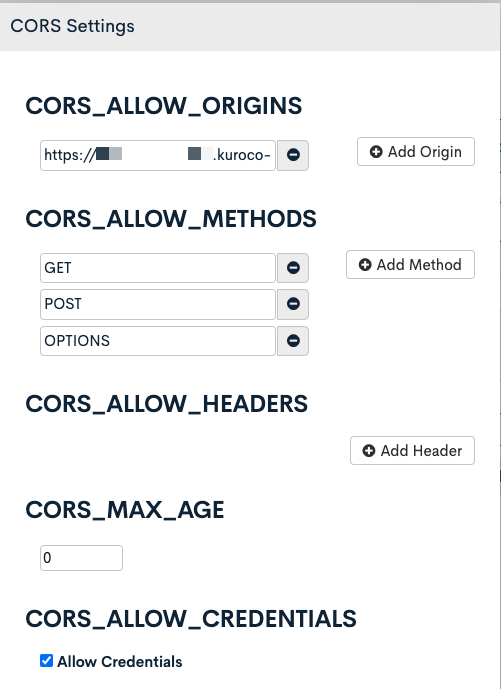
Click [Save] if there are no problems.
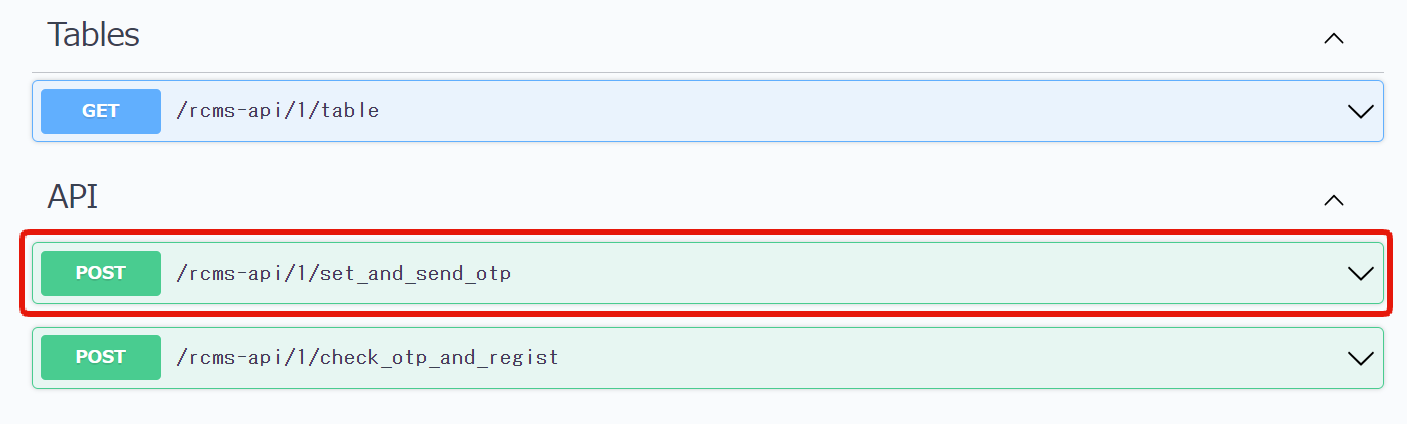
Two-Factor Authentication for Member Registration
Now, let's implement two-factor authentication for member registration. The following 3 steps are assumed for user operations from the frontend:
| Step | Frontend (User) Operation | Kuroco Process | API Used |
|---|---|---|---|
| 1 | Send basic information for member registration | Create a provisional member | Member::invite |
| 2 | Access the invitation email URL and click the button to send the authentication code | Access the provisional member information using email_hash, add a one-time password, and send an email | Api::request_api Member::invite MemberProvisional::update |
| 3 | Enter the one-time password and send it | Access the provisional member information using email_hash, and if the one-time password matches, register the member | Api::request_api Member::invite Member::insert |
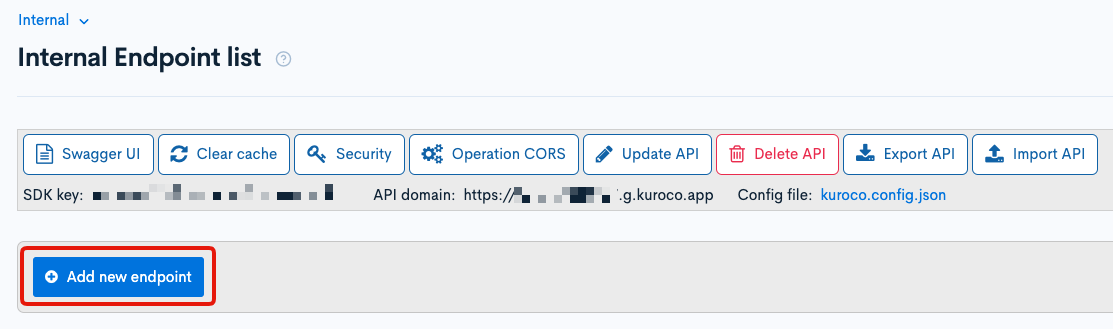
Creating Endpoints
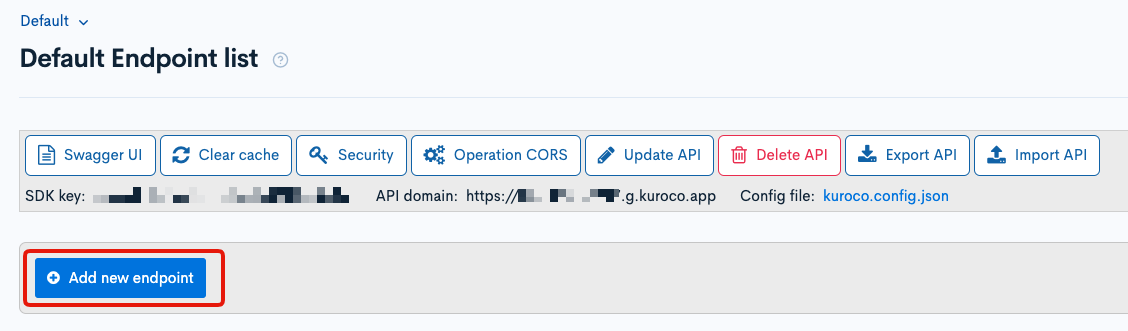
Click [Add New Endpoint] from the Default API to add endpoints.
This time, we will create the following endpoints:
- Endpoint for creating provisional members
- Endpoint to call custom function to create and send OTP
- Endpoint to check OTP and complete registration
Endpoint for creating provisional members
| Item | Setting |
|---|---|
| Path | 2step_member_invite |
| Category | Member |
| Model | Member |
| Operation | invite |
Endpoint to call custom function to create and send OTP
| Item | Setting |
|---|---|
| Path | set_and_send_otp |
| Category | API |
| Model | Api |
| Operation | request_api_post |
| name | set_and_send_otp |
Endpoint to check OTP and complete registration
| Item | Setting |
|---|---|
| Path | check_otp_and_regist |
| Category | API |
| Model | Api |
| Operation | request_api_post |
| name | check_otp_and_regist |
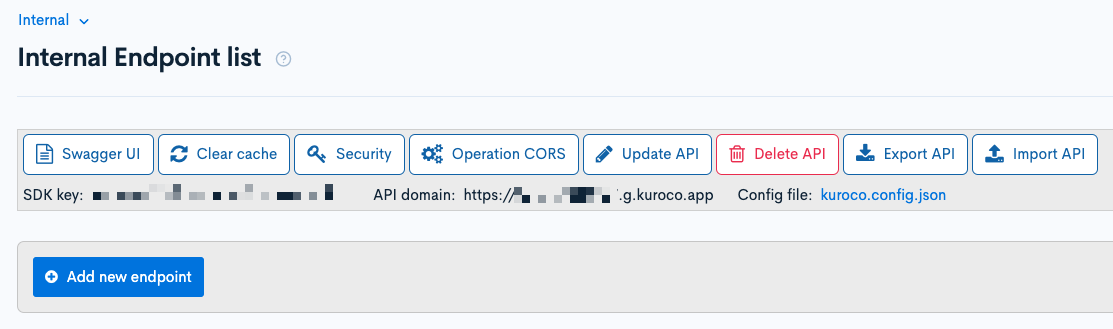
Creating Internal Endpoints
Click [Add New Endpoint] from the Internal API to add endpoints.
This time, we will create the following endpoints:
- Endpoint for updating provisional members
- Endpoint for member registration
Endpoint for updating provisional members
Create an endpoint for updating provisional members with the following settings:
| Item | Setting |
|---|---|
| Path | pre_member_update |
| Category | Member |
| Model | MemberProvisional |
| Operation | update |
Endpoint for member registration
Create an endpoint for member registration with the following settings:
| Item | Setting |
|---|---|
| Path | 2step_member_regist |
| Category | Member |
| Model | Member |
| Operation | insert |
| default_group_id | Enter the ID of the member group to apply. You can confirm the group ID from Groups. |
| login_ok_flg | Check the box |
Creating Custom Function
Custom Function for Issuing and Sending OTP
Create a custom function that generates a one-time password and its expiration date, updates temporary member information, and sends the one-time password to the user.
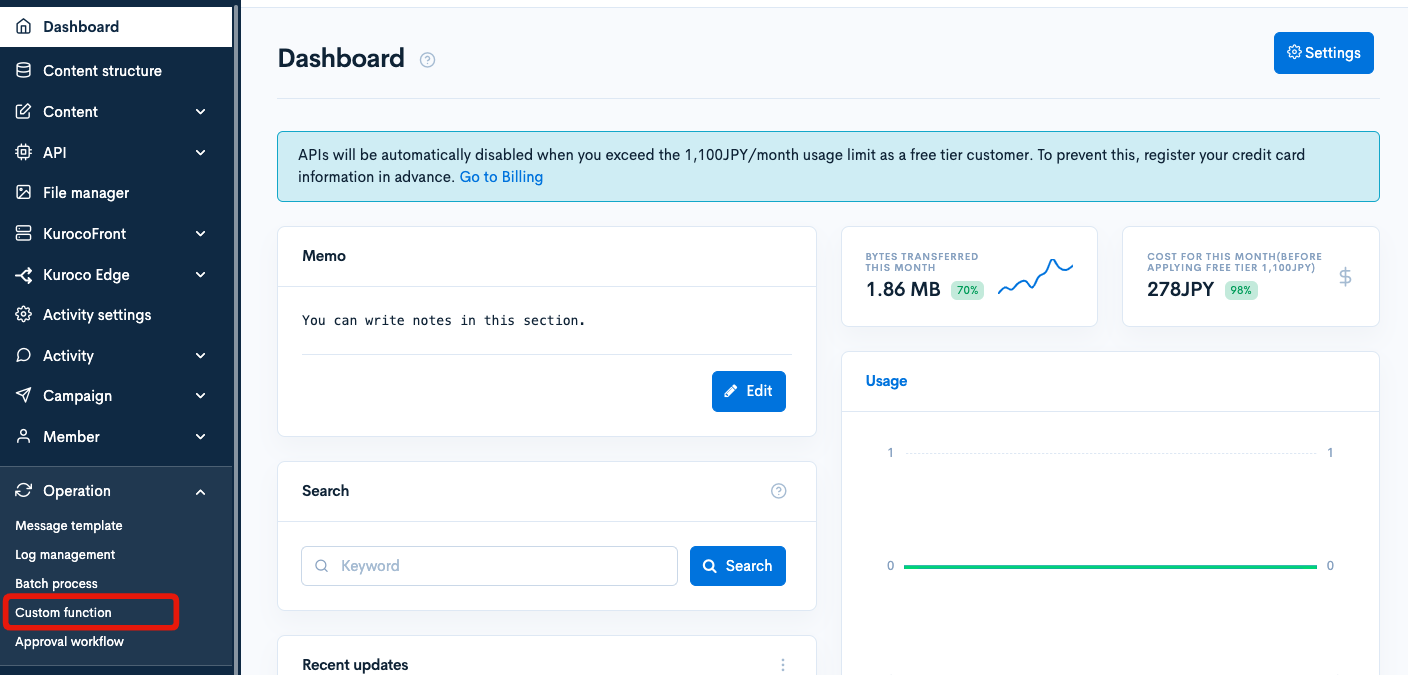
Click [Operations] -> [Custom function].
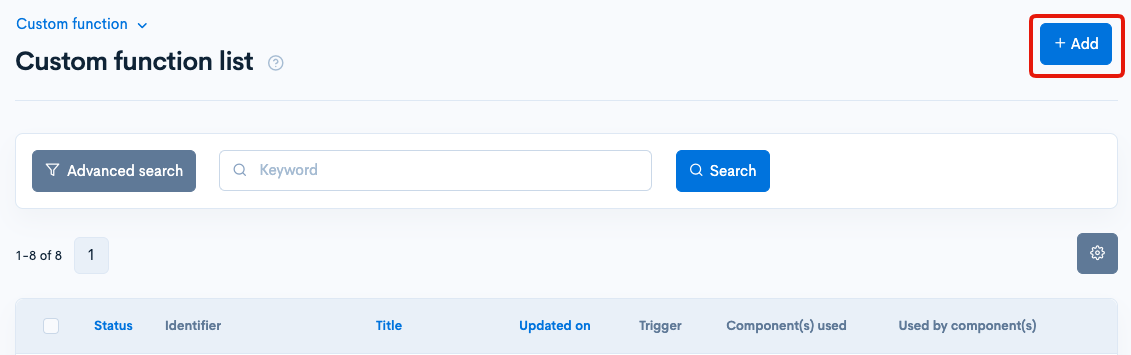
Click [Add].
Enter the following:
| Item | Setting |
|---|---|
| Title | set_and_send_otp |
| Identifier | set_and_send_otp |
| Processing | Code below |
loading...
If you want to send the one-time password via SMS, modify the to=$pre_member_info.data.email part of sendmail to
to=".$pre_member_info.data.ext_info.tel@twilio.r-cms.jp"
Custom Function for Matching Authentication Codes
Create a custom function that registers a member using Member::insert when the one-time password matches.
Click [Operations] -> [Custom function].
Click [Add].
Enter the following:
| Item | Setting |
|---|---|
| Title | check_otp_and_regist |
| Identifier | check_otp_and_regist |
| Processing | Code below |
loading...
Verifying the Operation with SwaggerUI
Once you have prepared the Kuroco API and custom function, use SwaggerUI to verify the operation.
Send a Member Registration Request
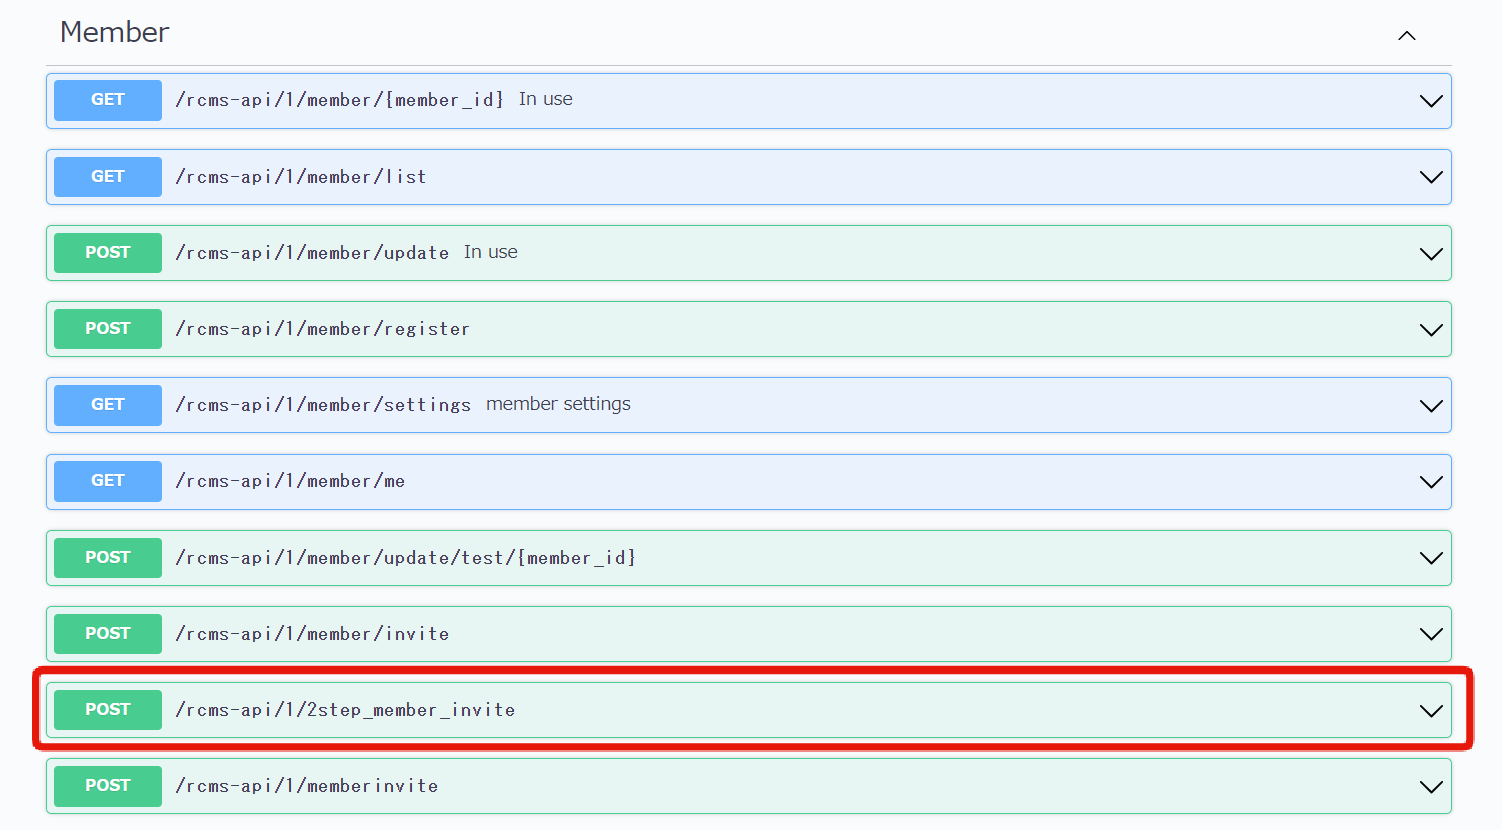
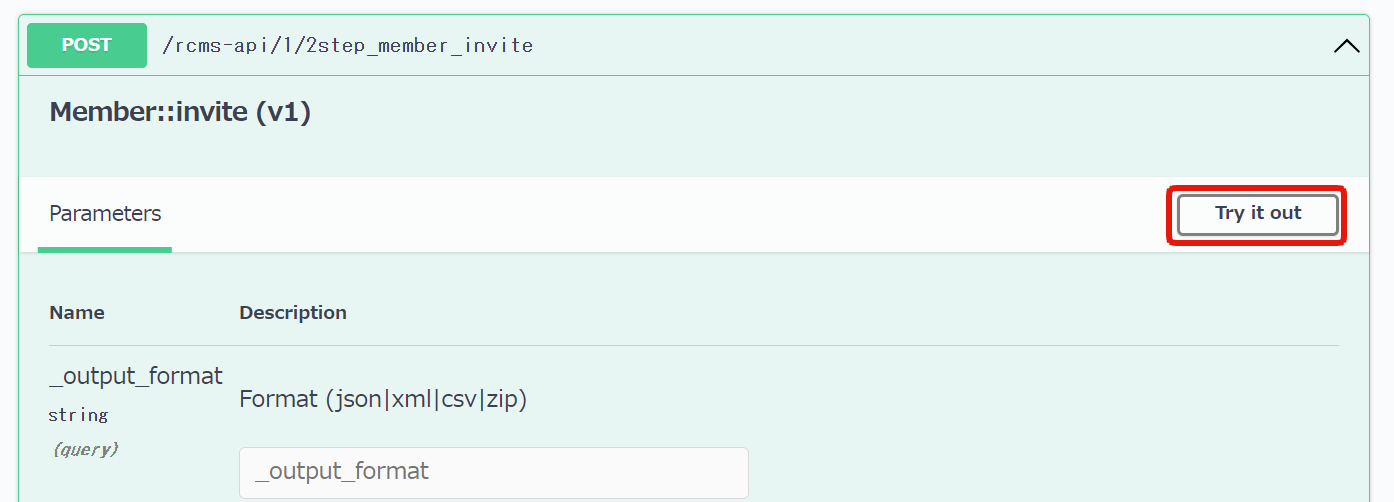
Click /rcms-api/1/2step_member_invite in the SwaggerUI of the Default endpoint.
Click [try it out].
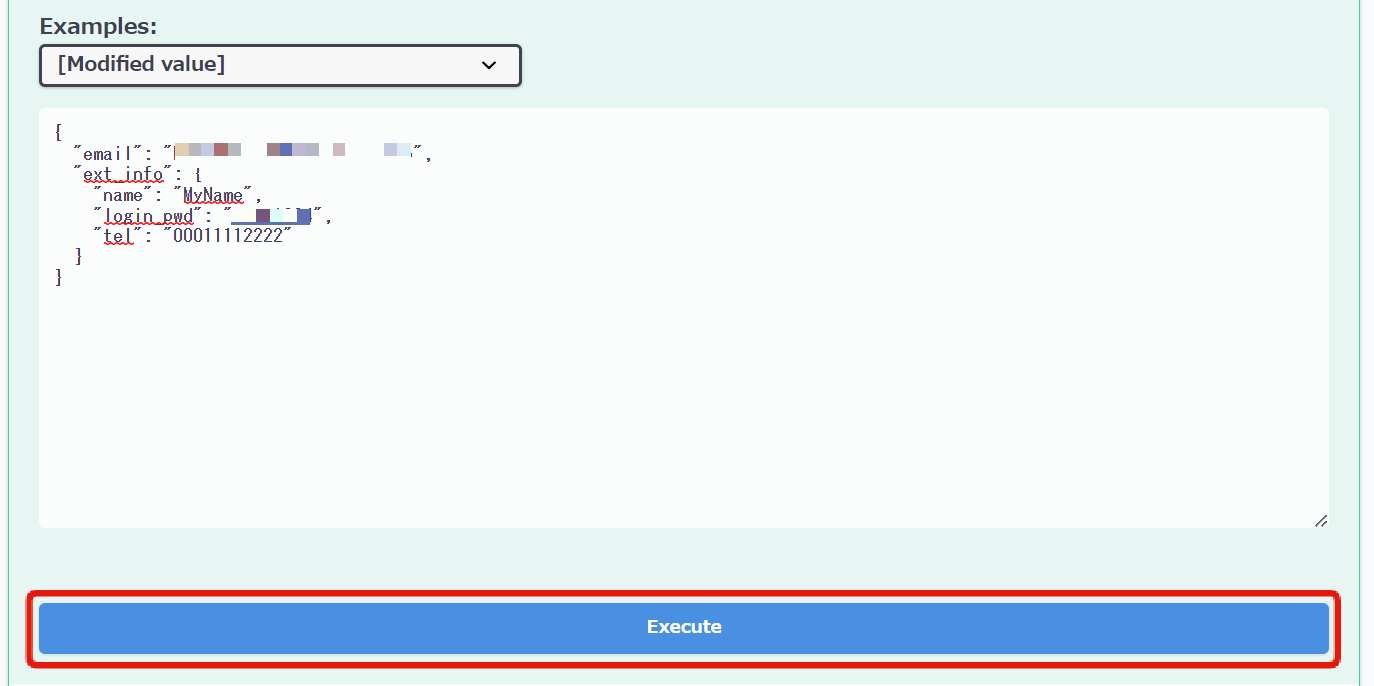
Enter the following in the Request body and click [Execute]:
{
  "email": "example@dexample.com",
  "ext_info": {
    "name": "MyName",
    "login_pwd": "********",
    "tel": "00011112222"
  }
}
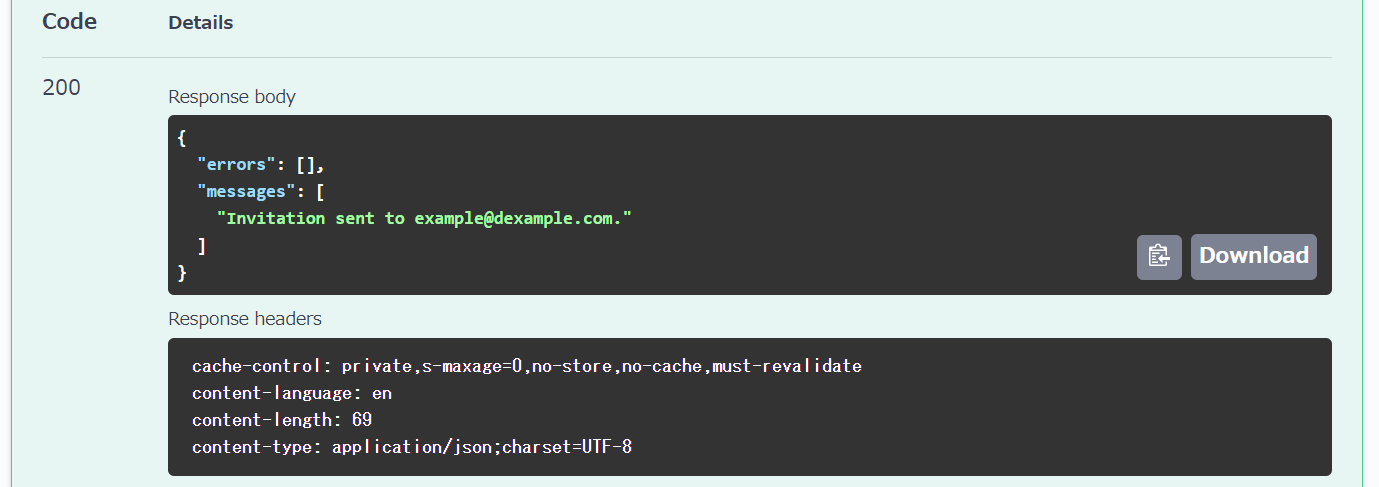
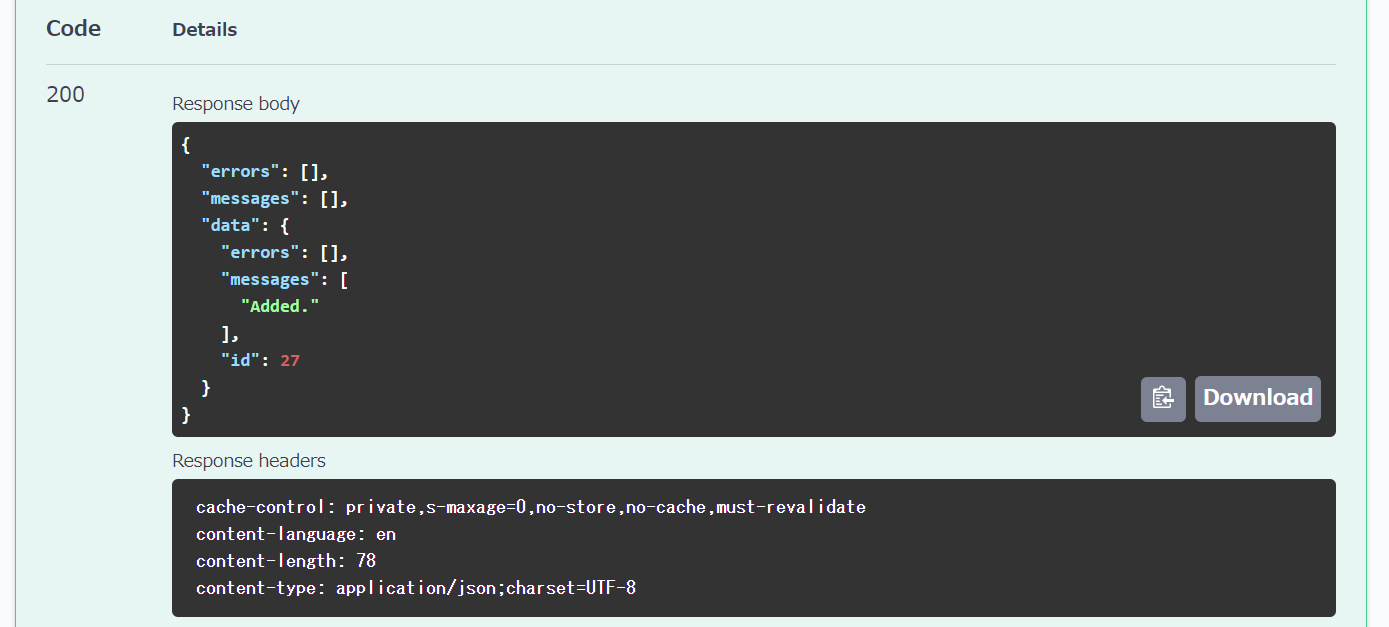
Check the 200 response.
Copy the key from the invitation email.
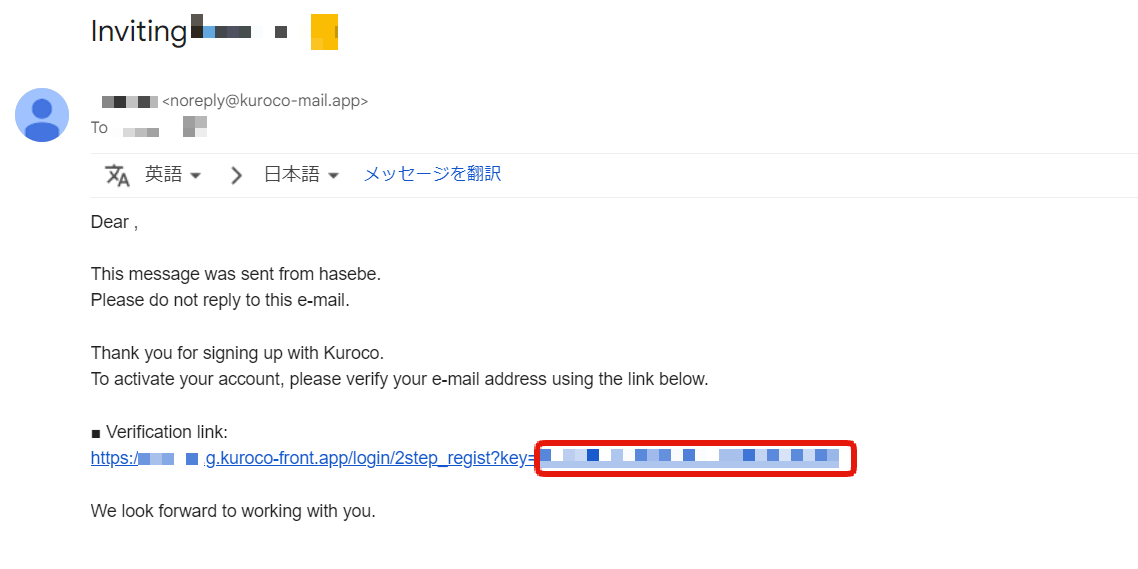
You can edit the content of the invitation email using the template for Message Templates.
Modify the link part to {$smarty.const.ROOT_URL}/login/2step_regist?key={$preregist_key} so that you can directly transition from the email.
Send a Request to Send the One-Time Password
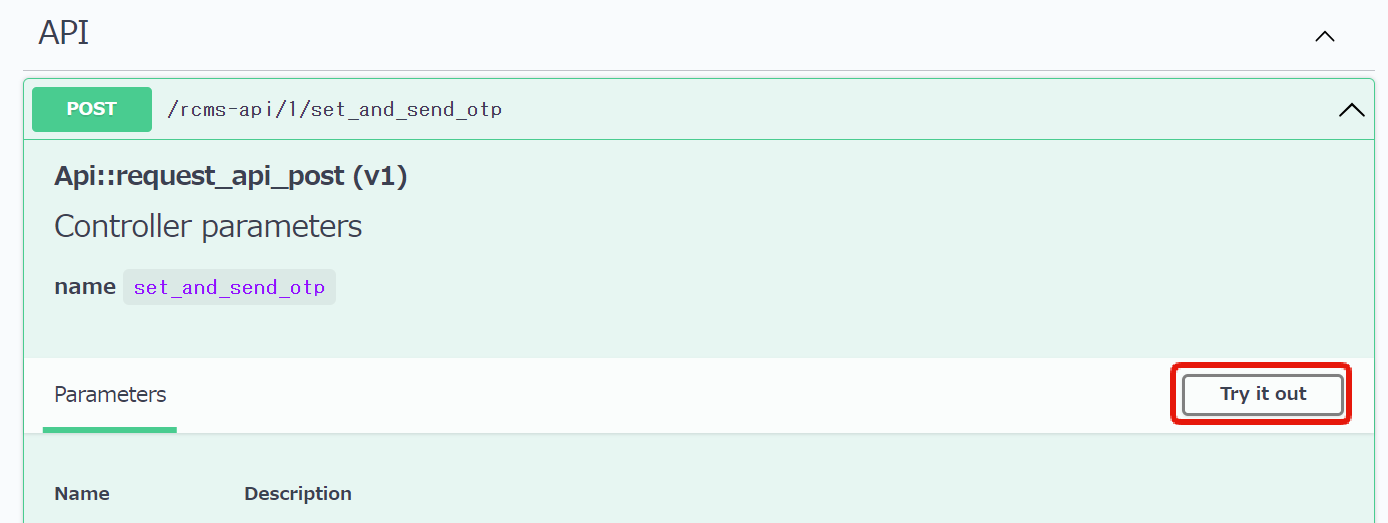
Click /rcms-api/1/set_and_send_otp.
Click [try it out].
Enter the following in the Request body and click [Execute]:
{
  "email_hash": "KEY"
}
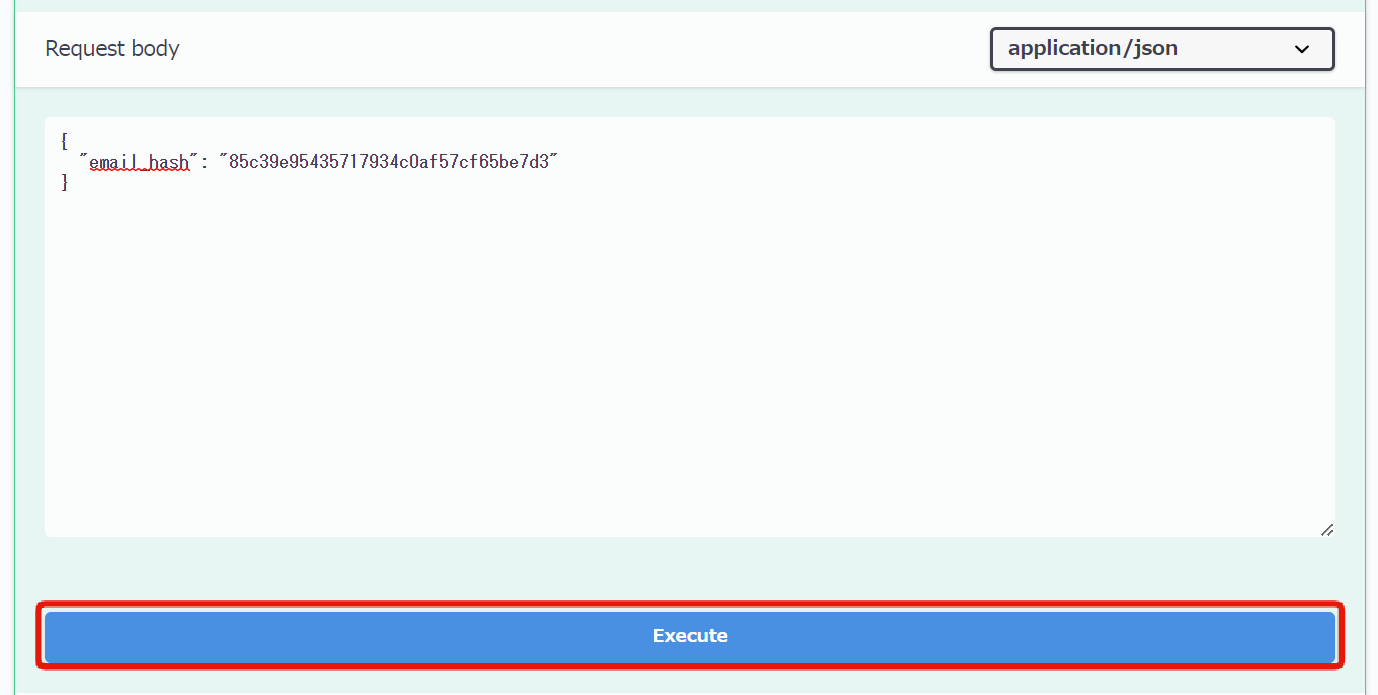
Replace "KEY" with the key copied from the invitation email.
Check the 200 response.
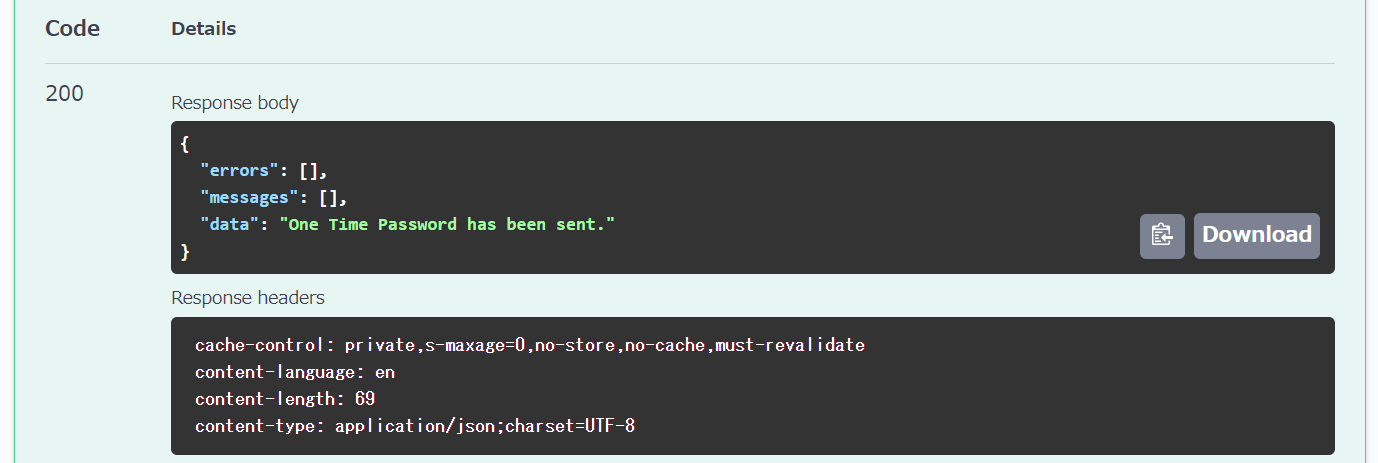
Confirm the one-time password that will be sent to your email.
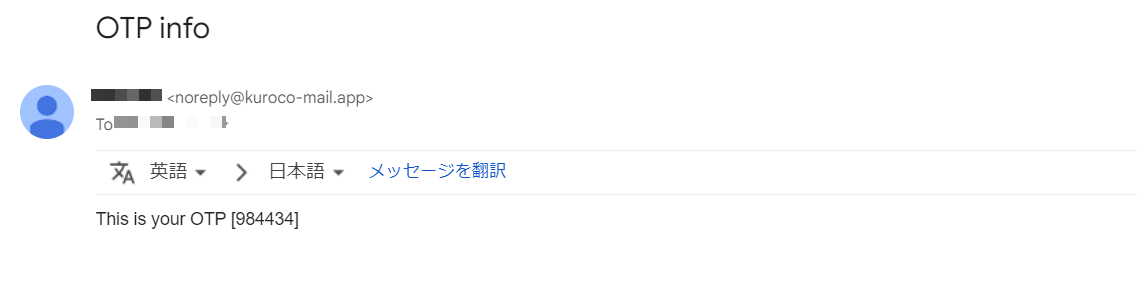
Sending the One-Time Password
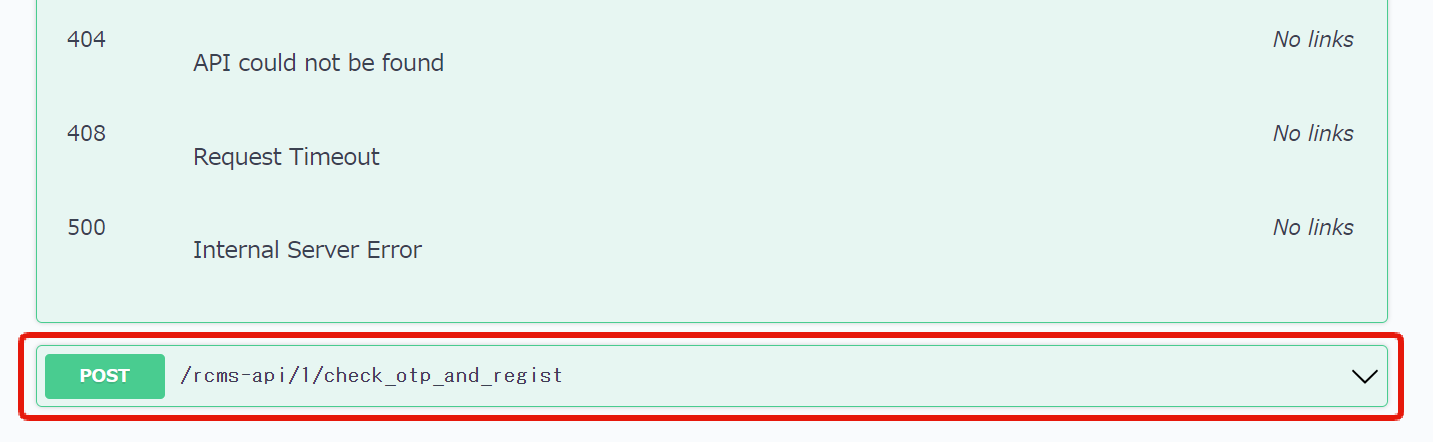
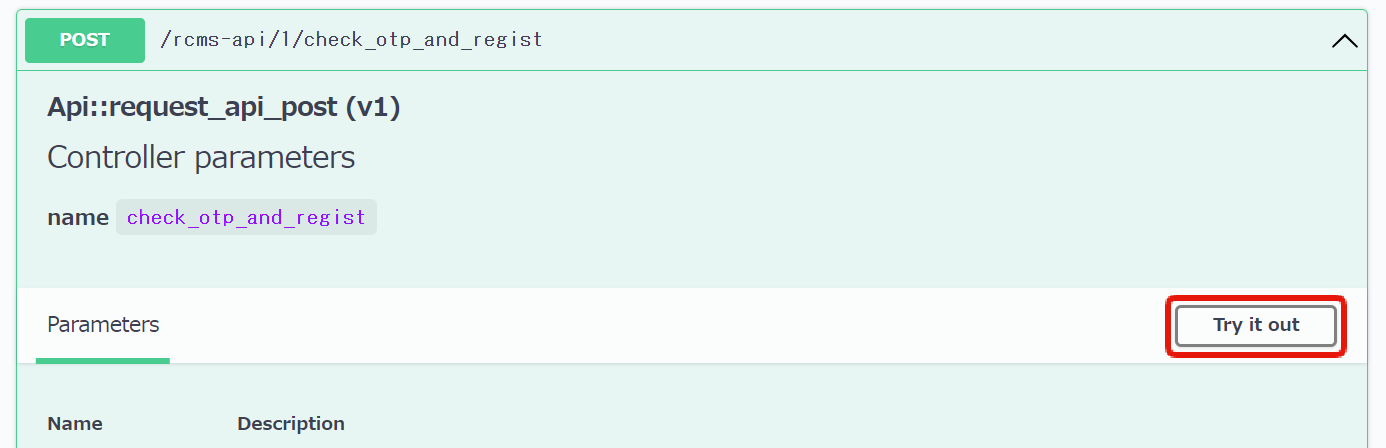
Click on /rcms-api/1/check_otp_and_regist.
Click on [try it out].
Enter the following in the Request body and click [Execute].
{
  "email_hash": "KEY",
  "otp":"OTP"
}
Replace "OTP" and "KEY" with the key from the invitation email that you copied earlier.
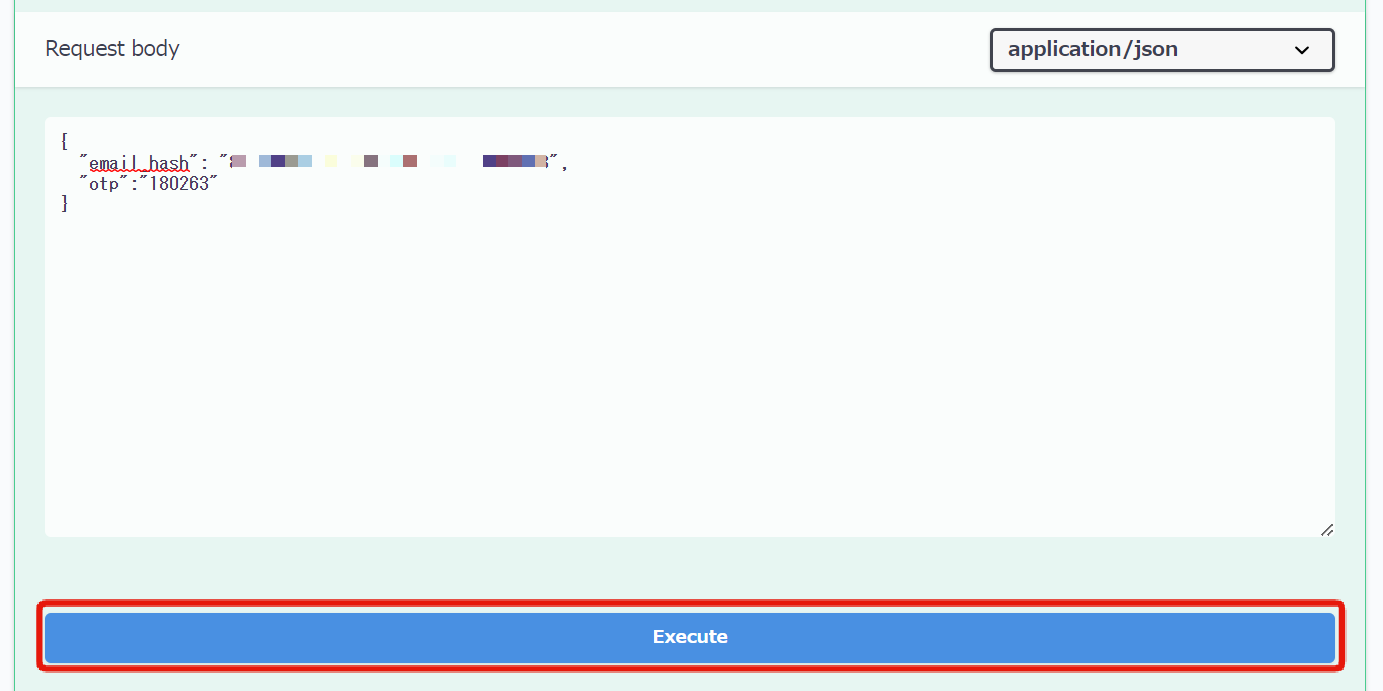
Check the response with status code 200.
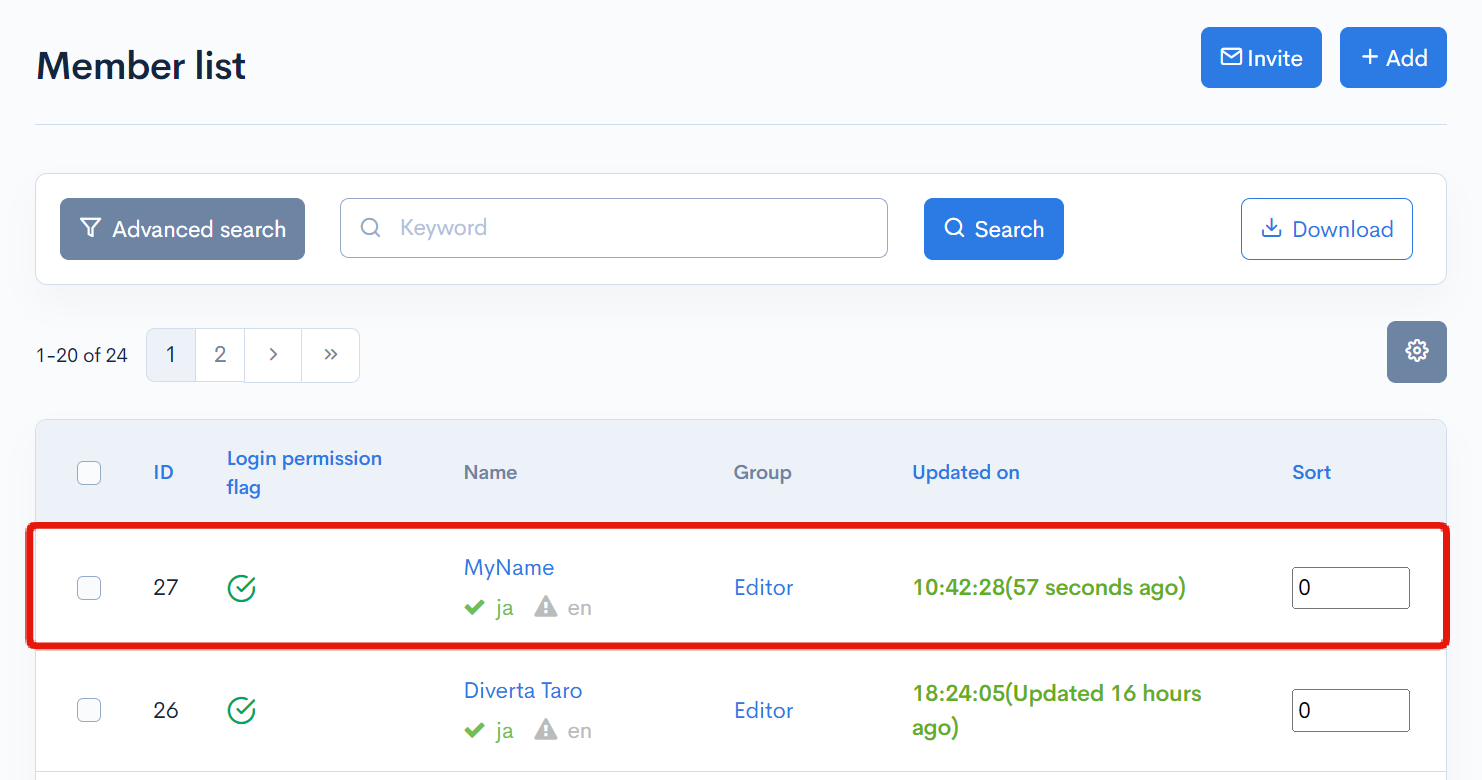
When you navigate to the member information list, you can confirm that the user has been registered.
This completes the configuration on the Kuroco side. Please implement the functionality in the frontend based on the behavior confirmed in SwaggerUI.
Implementing the Frontend
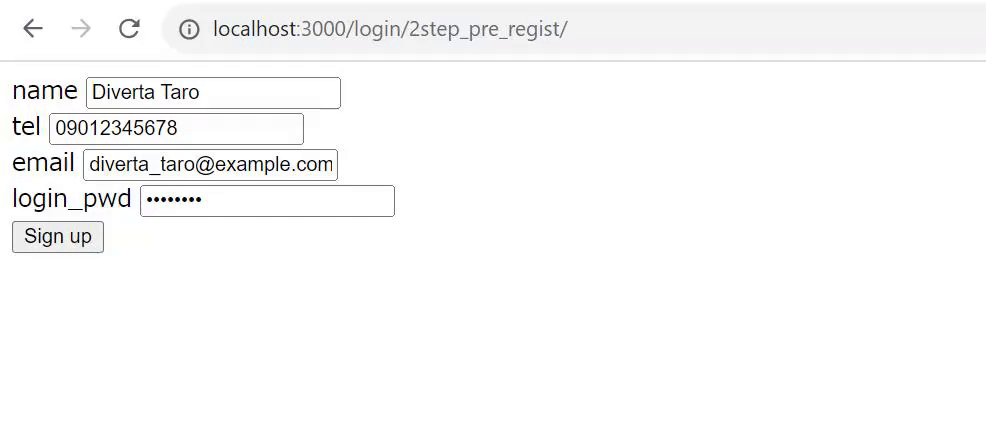
Creating a Page for Pre-registration
Create the following files to be displayed in the /login/2step_pre_regist/ directory.
- Nuxt2
- Nuxt3
loading...
loading...
The provided sample code is minimal and for reference purposes only. Please add form validation logic as needed.
Creating a Page for Registration
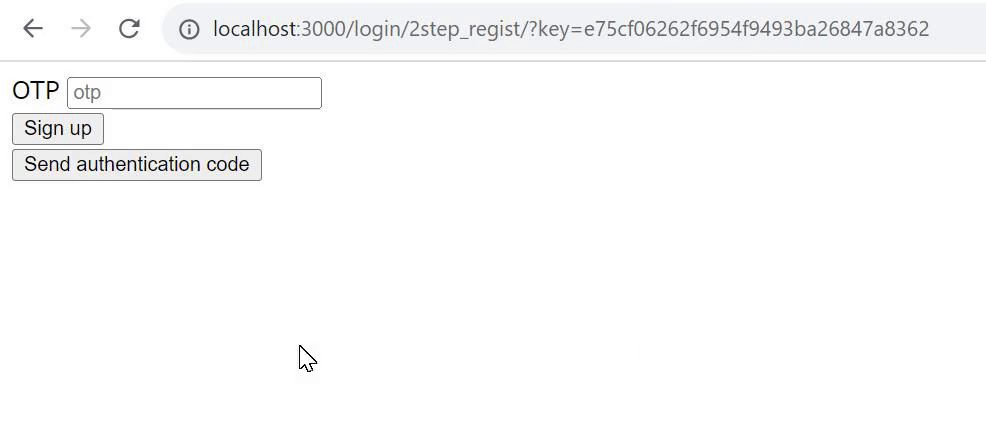
Create the following files to be displayed in the /login/2step_regist/ directory.
- Nuxt2
- Nuxt3
loading...
loading...
The email_hash is received as a query parameter.
Testing
Adjust the code according to your environment and perform testing. Once you have confirmed that it works, the implementation of two-step authentication for new member registration is complete.
Pre-registration
Additional Authentication Code Registration
Related Documents
- Beginner's guide to Kuroco
- Setting up a new member registration form with Kuroco and Nuxt.js
- How to implement member registration with authentication function
- Message Template
- Smarty Plugin
- Creating a custom function endpoint
- How to implement original validation in API by using custom function
- Implementing Two-Factor Authentication on the Login Screen
Support
If you have any other questions, please contact us or check out Our Slack Community.