Building the Account Information Display, Update, and Delete Screens
Overview
This tutorial explains how to create screens for displaying, updating, and deleting account information in a Nuxt.js project using Kuroco.
What you'll learn
You'll learn how to create screens for displaying, updating, and deleting account information using the following steps.
Prerequisites
This page assumes that you have already set up a project with Kuroco and Nuxt.js, and have implemented a login screen.
If you haven't done so yet, please refer to the following tutorials.
Beginner's guide to Kuroco
Building a login page using Kuroco and Nuxt.js
This tutorial is written with the following versions:
Nuxt2: v2.15.8
Nuxt3: v3.8.0
Setting up Endpoints
Add the endpoints to the API configuration where the Login::login_challenge endpoint is set.
This allows requests to be made to the endpoints using the authentication information from the login.
Please note that authentication information cannot be shared between different APIs.
In this case, we will set up three endpoints: one for displaying member information, one for updating member information, and one for deleting member information.
By enabling the self_only parameter for all three endpoints, access will be restricted to the member's own information only.
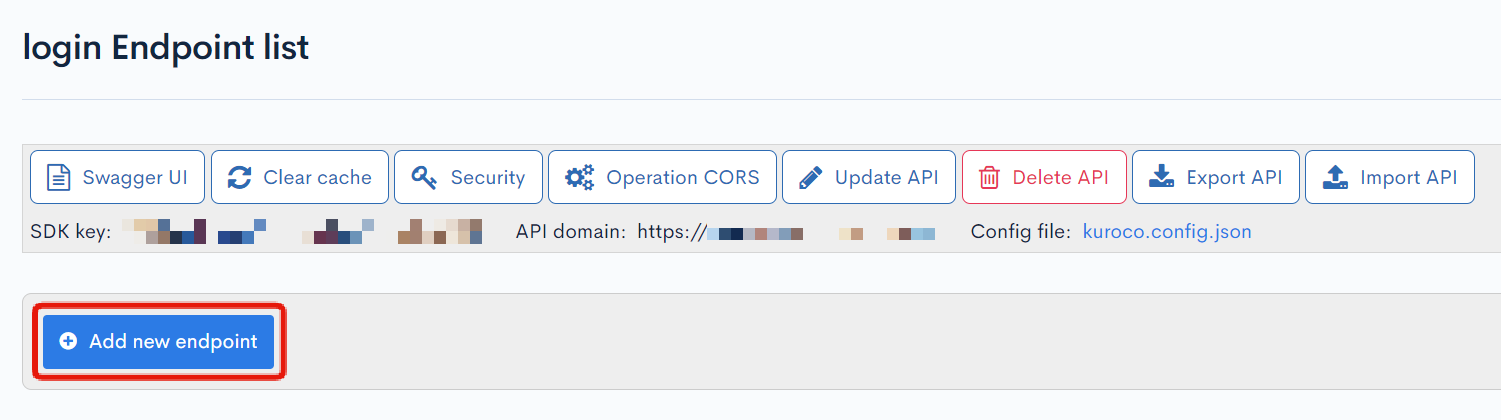
Click on [Add New Endpoint] and create the following endpoints.
Endpoint for displaying member information
| Field | Setting |
|---|---|
| Path | member/details |
| Category | Member |
| Model | Member |
| Operation | details |
| self_only | Check the box |

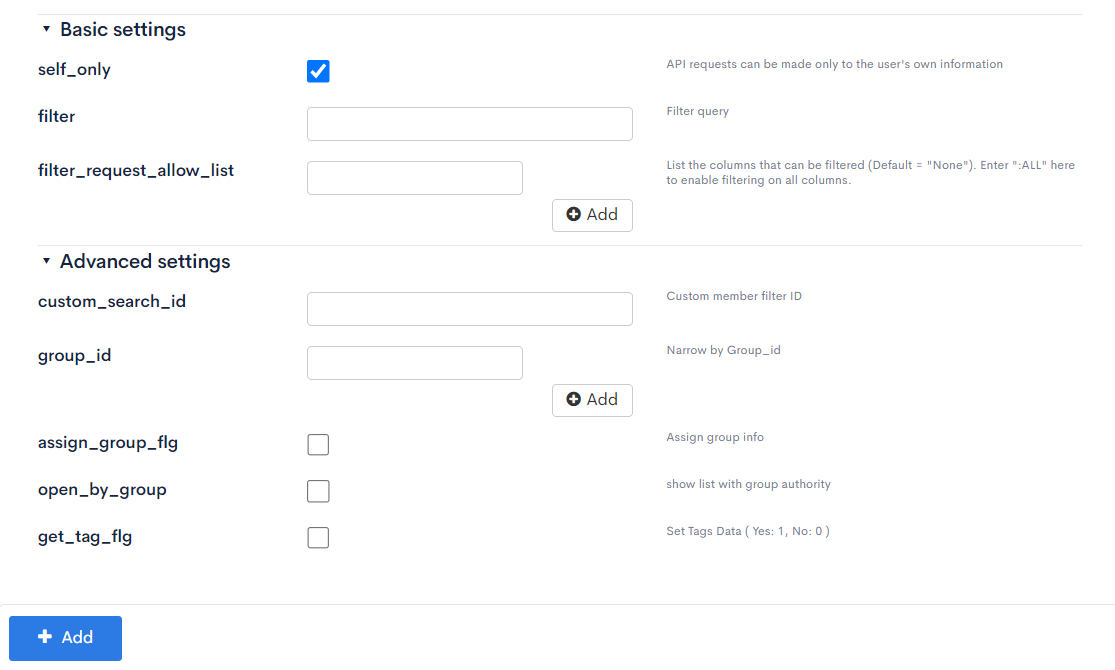
If the self_only parameter is not enabled, anyone with knowledge of the endpoint URL can retrieve arbitrary member information.
In such cases, restrict users who can send requests to the endpoint by applying API request limits. You can effectively limit the members that can be retrieved from the endpoint by configuring parameters such as custom_search_id or group_id. Additionally, using the Allow list in post-processing allows you to narrow down the items in the response.
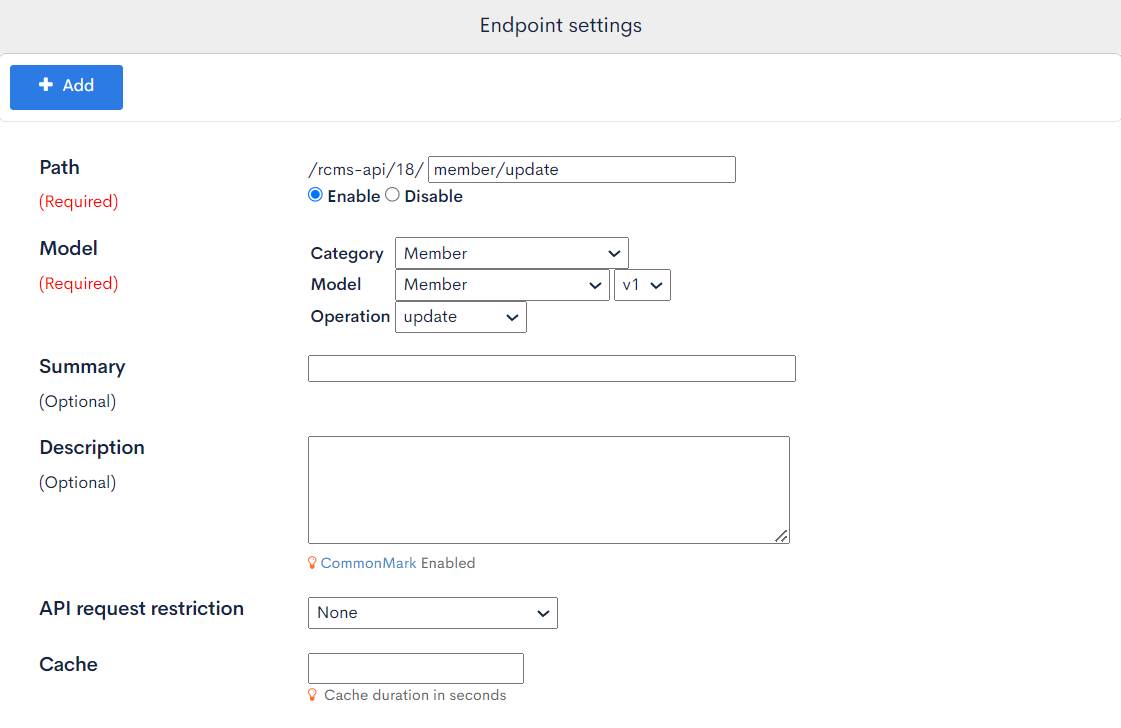
Endpoint for updating member information
| Field | Setting |
|---|---|
| Path | member/update |
| Category | Member |
| Model | Member |
| Operation | update |
| self_only | Check the box |
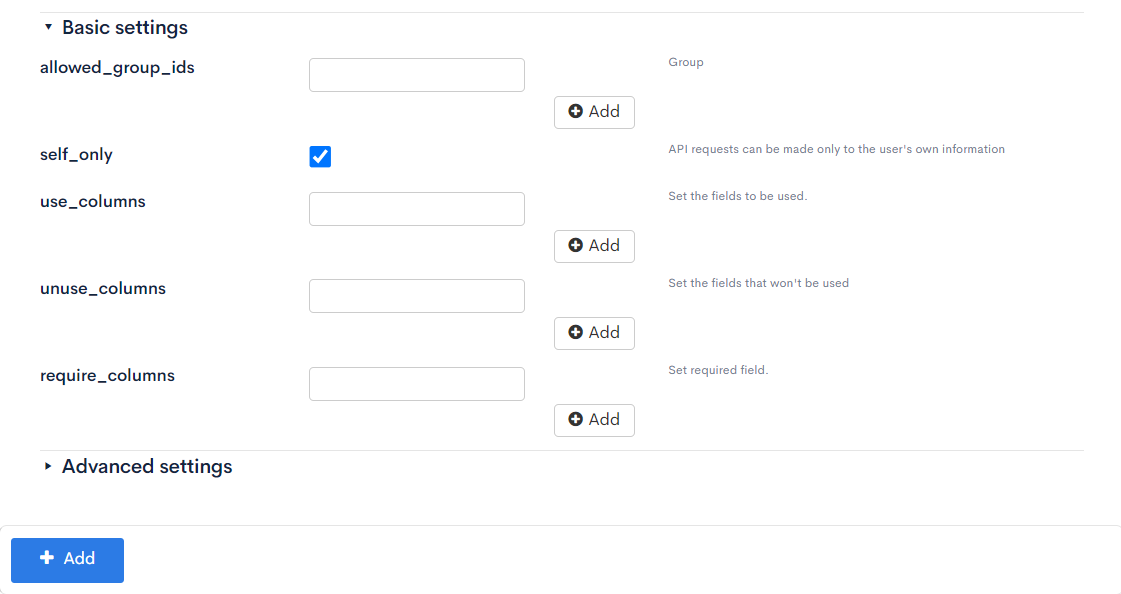
If the self_only parameter is not enabled, users with permitted API requests can update the member information of others.
Be cautious when configuring users with permission to make API requests, and consider using the following parameter settings:
allowed_group_ids: Restricts the ability to make requests to change group membership only to the group IDs set in this parameter.use_columns: Limits updates to only the items specified by keys set in this parameter.unuse_columns: Restricts updates to items specified by keys set in this parameter.
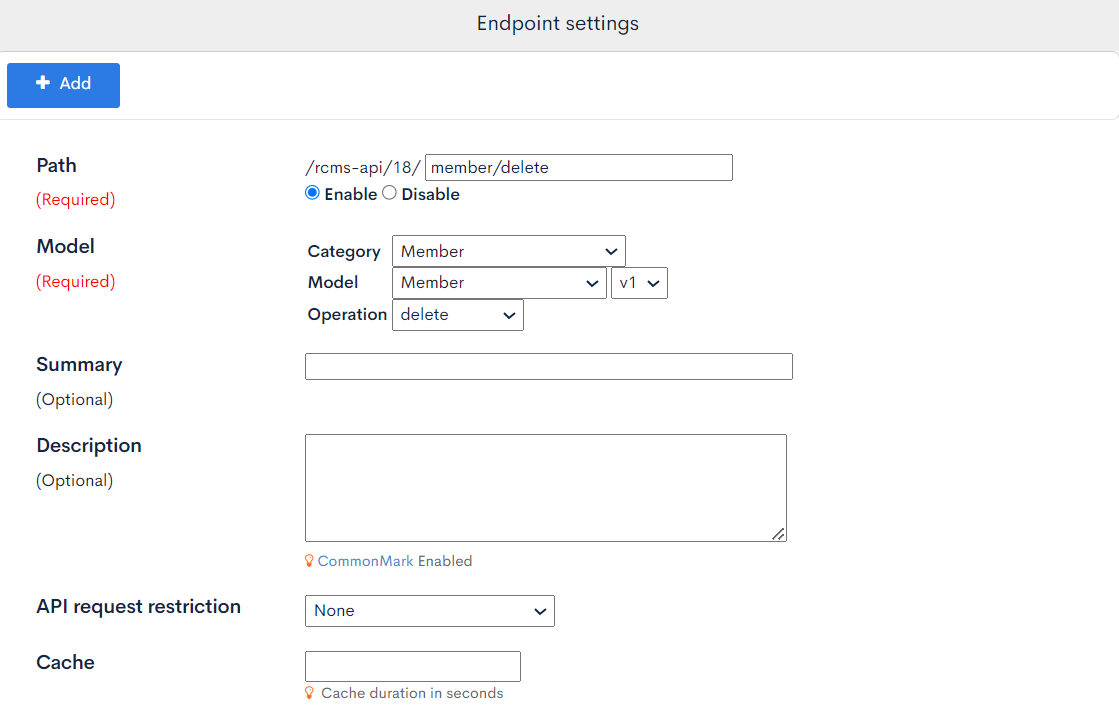
Endpoint for deleting member information
| Field | Setting |
|---|---|
| Path | member/delete |
| Category | Member |
| Model | Member |
| Operation | delete |
| self_only | Check the box |
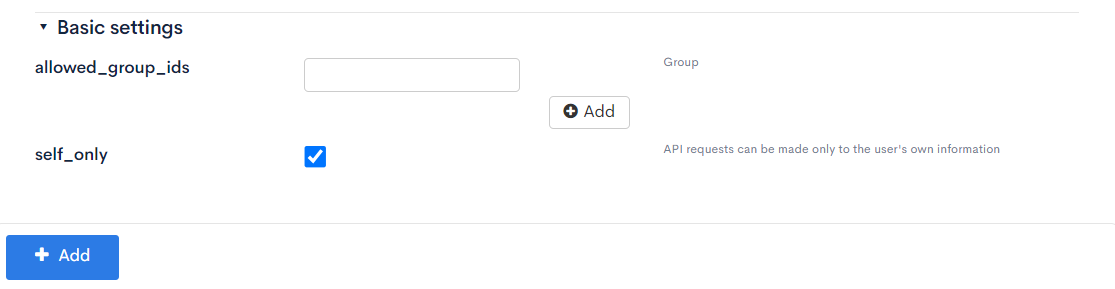
If the self_only parameter is not enabled, users with authorized API requests can delete the member information of others.
Restrict users who can send API requests by configuring API request limits, and use the allowed_group_ids parameter to limit the users who can be deleted based on groups.
Implementing the Frontend
Displaying Member Information
First, retrieve and create a screen to display your own member information.
Create the following files:
- Nuxt2
- Nuxt3
loading...
loading...
After logging in, accessing the target directory will allow you to view member information.
Updating Member Information
Create the following files:
- Nuxt2
- Nuxt3
loading...
loading...
After logging in and accessing the target directory, you can input member information, and by clicking the [Update] button, you can confirm that it can be updated.
Deleting Member Information
Create the following files:
- Nuxt2
- Nuxt3
loading...
loading...
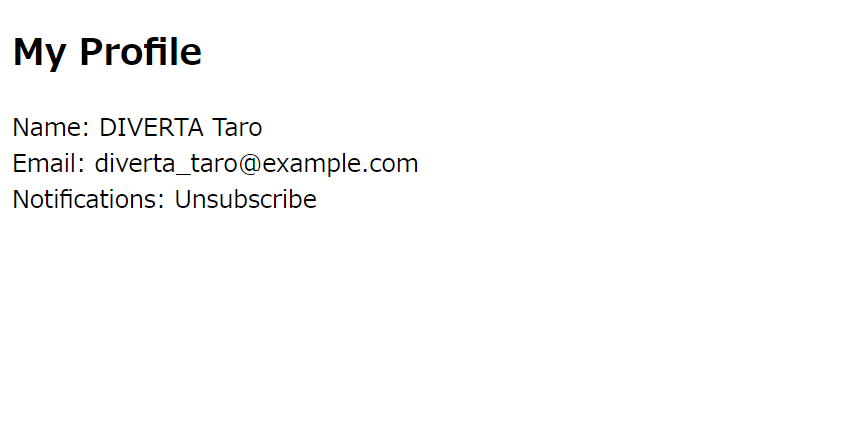
After logging in and accessing the designated directory, a warning message will be displayed just before deletion. By clicking the [Proceed] button, you can confirm that your information can be deleted.
With this, the implementation of displaying, updating, and deleting account information is complete. In the tutorial, only the minimum required items are displayed and updated, so please adjust the items to be displayed according to your requirements.
Related Documents
Support
If you have any other questions, please contact us or check out Our Slack Community.