How to use CKEditor Placeholder feature with API and Custom Function
Overview
Placeholders are a useful tool for creating flexible and customizable content. With them, we can easily adapt our content based on the situation. We can also maintain common text that is spread throughout multiple contents.
This tutorial will explain how to maintain common text or property that is spread throughout multiple contents using CKEditor Placeholder feature, API, and Custom Function. We will have two placeholders, my_name and my_address. These placeholders will be replaced with some values on the fly (in API request).
What you'll learn
You will learn how to set up WYSIWYG placeholder functionality by following these steps:
Prepare content structure
Prepare a content structure with one WYSIWYG extension field.
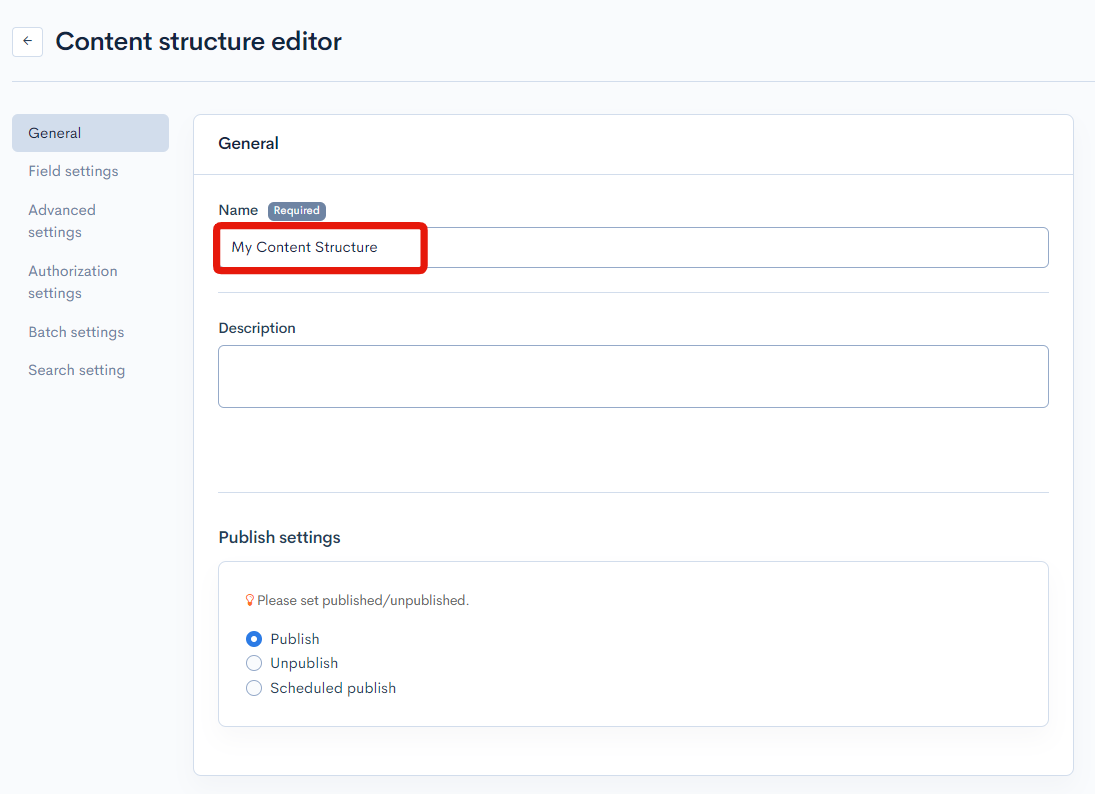
Click [Add] from the Content structure screen.

Set the following:
| Item | Setting | |
|---|---|---|
| General | Name | My Content Structure |
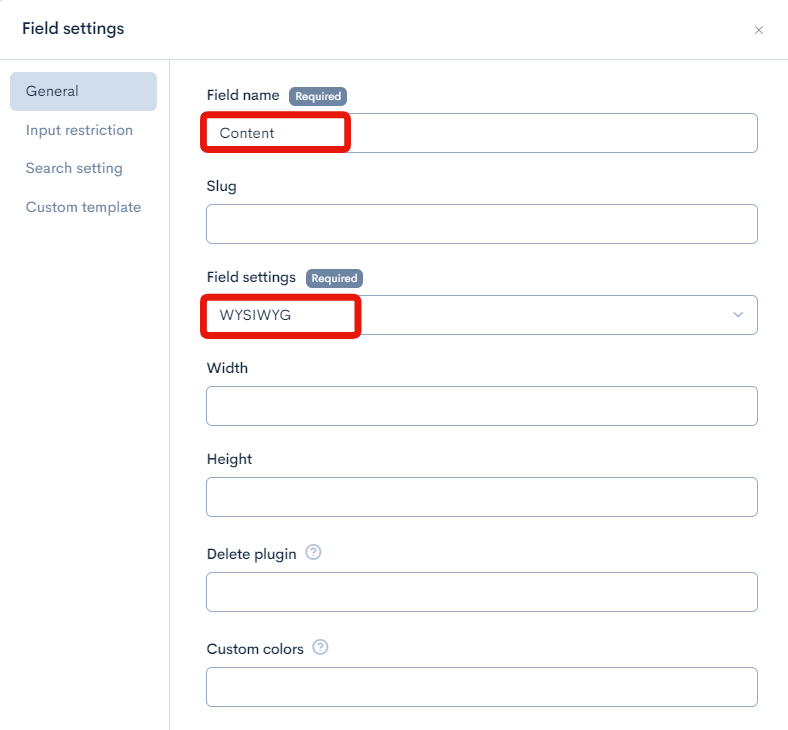
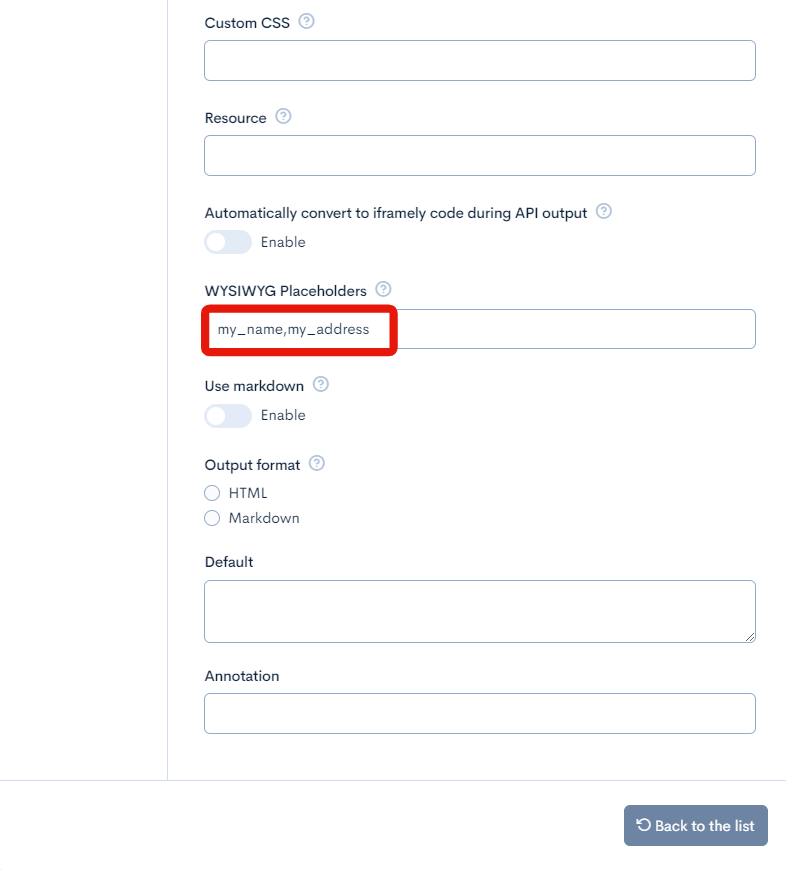
| Field settings | Field settings | Field name: Content Field settings: WYSIWYG WYSIWYG placeholders: my_name,my_address |
Note that placeholders should be eparated by commas (,) and without spaces after the commas.
Create Contents
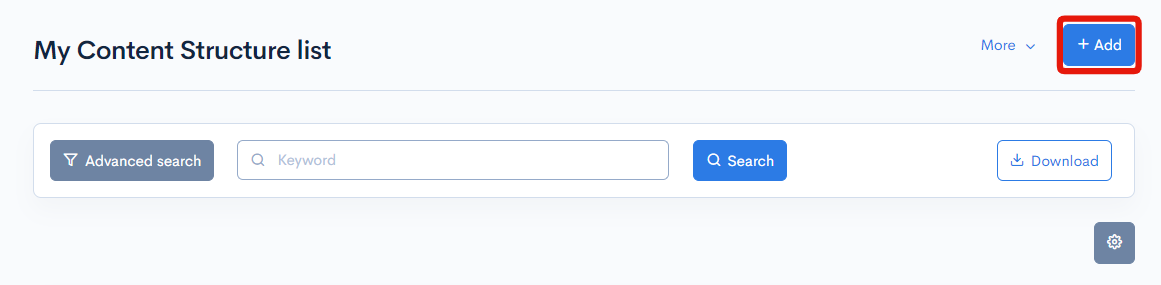
Create two contents within the content structure we created in the previous step. Make sure to put the placeholders into the content.
Click [Add] from the content list screen.
Enter the following and click "Add":
| Item | Setting |
|---|---|
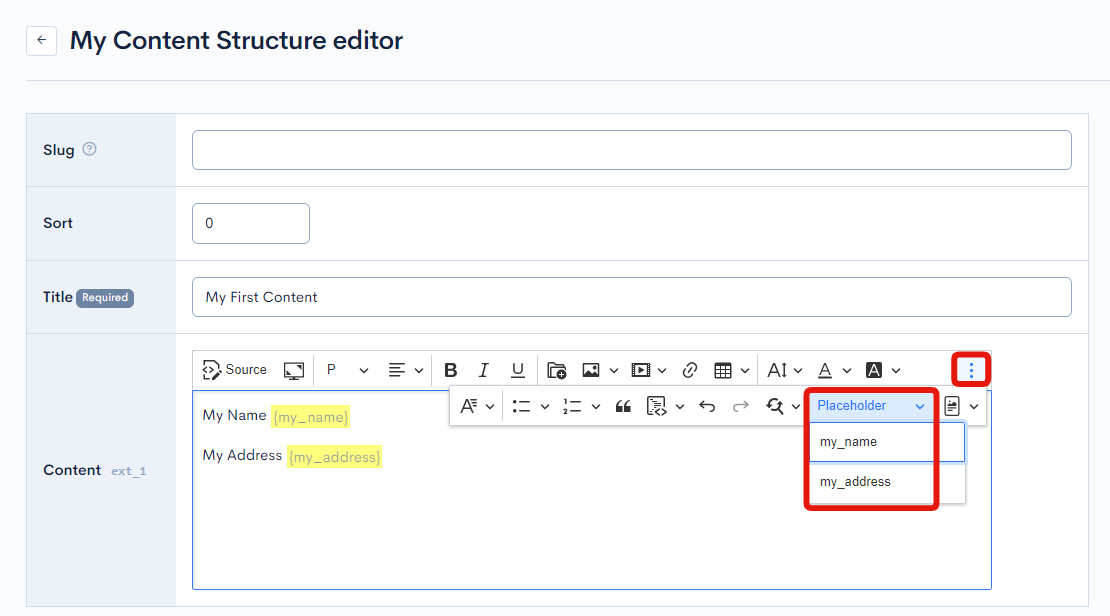
| Title | My First Content |
| Content | Any text using my_name and my_Address. Once you set the placeholders, Placeholder is added to the WYSIWYG editor, so set the placeholders from here. |
Enter the following and click "Add":
| Item | Setting |
|---|---|
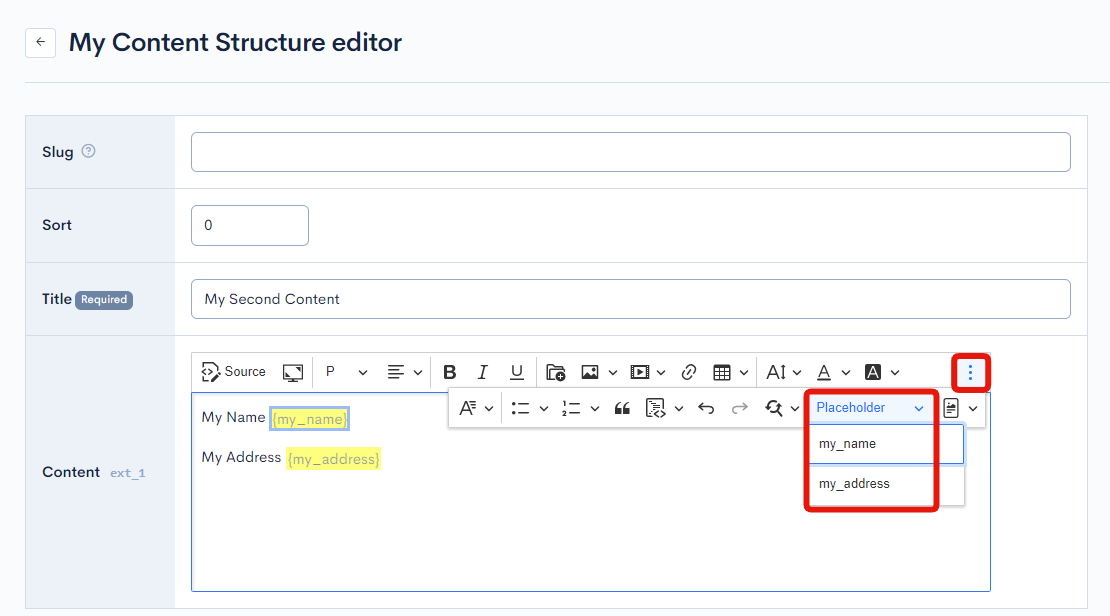
| Title | My Second Content |
| WYSIWYG | Any text using my_name and my_Address. Once you set the placeholders, Placeholder is added to the WYSIWYG editor, so set the placeholders from here. |
Create custom function
Create a custom function to replace my_name and my_address placeholders with real values.
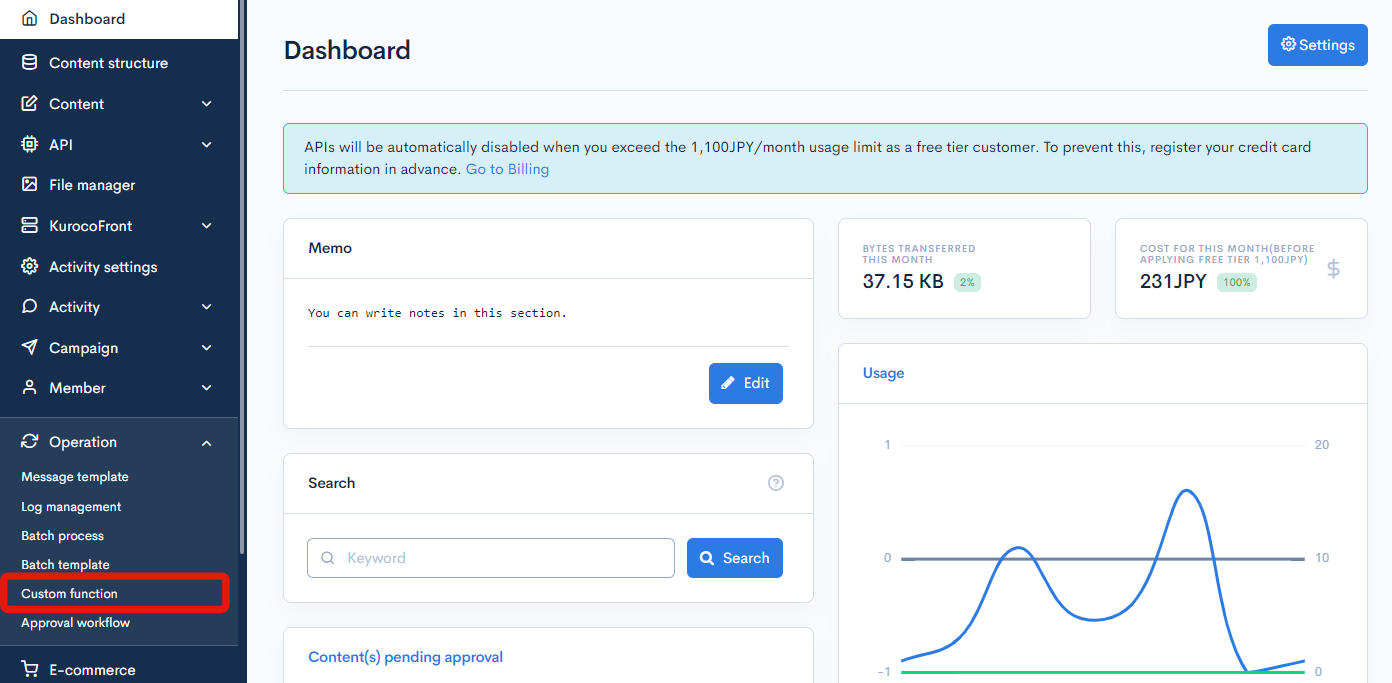
Click [Operation] -> [Custom function].
Click [Add].

Enter as follows:
| Item | Setting |
|---|---|
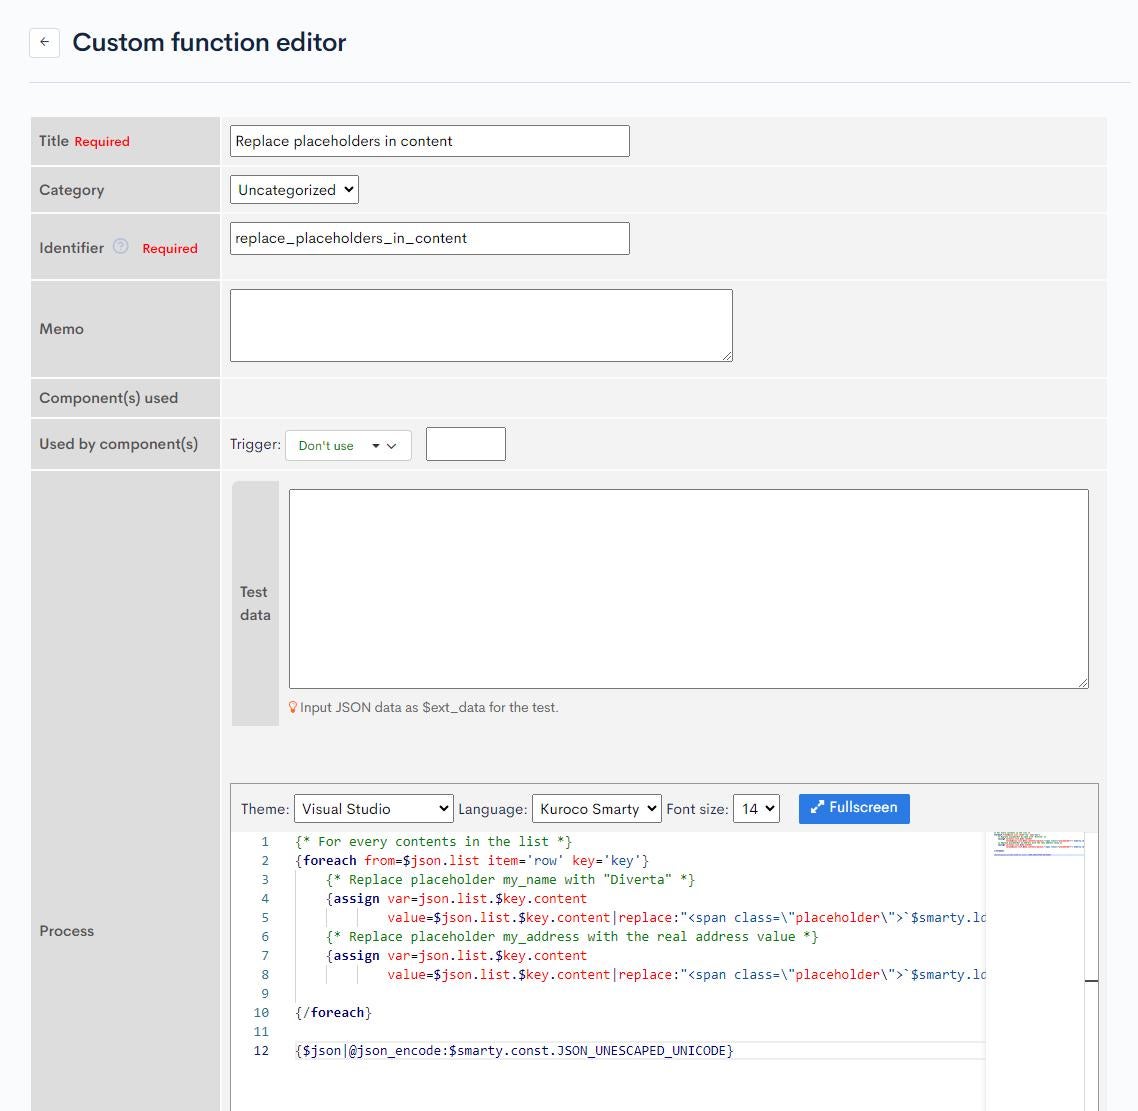
| Title | Replace placeholders in content |
| Identifier | replace_placeholders_in_content |
| Process | The following code |
{* For every contents in the list *}
{foreach from=$json.list item='row' key='key'}
    {* Replace placeholder my_name with "Diverta" *}
    {assign var=json.list.$key.content
            value=$json.list.$key.content|replace:"<span class=\"placeholder\">`$smarty.ldelim`my_name`$smarty.rdelim`</span>":'Diverta'}
    {* Replace placeholder my_address with the real address value *}
    {assign var=json.list.$key.content
            value=$json.list.$key.content|replace:"<span class=\"placeholder\">`$smarty.ldelim`my_address`$smarty.rdelim`</span>":'Central Plaza 6F 1-1 Kaguragashi Shinjuku-ku, Tokyo, Japan'}

{/foreach}

{$json|@json_encode:$smarty.const.JSON_UNESCAPED_UNICODE}
Once you have entered the information, click [Add] to add the custom processing.
Create API endpoint
Create one API endpoint with category Content, model Topics, and list Operation. Set topics_group_id parameter with the ID of content structure in the previous step.
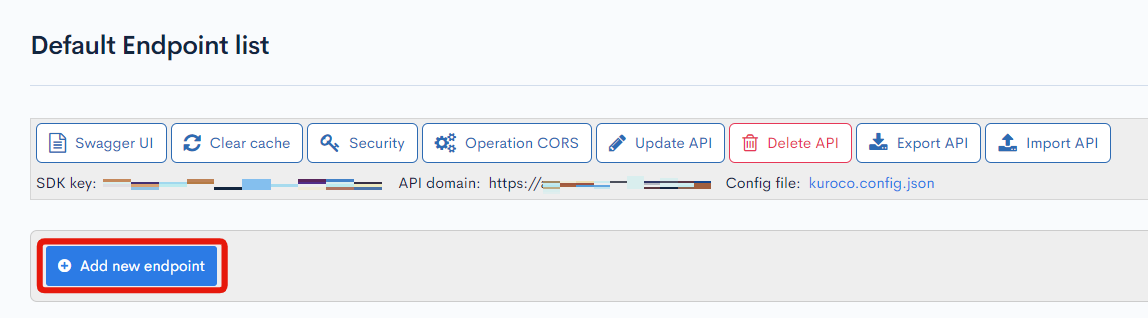
Adding an endpoint
From the Endpoint List page, click [Add new endpoint].
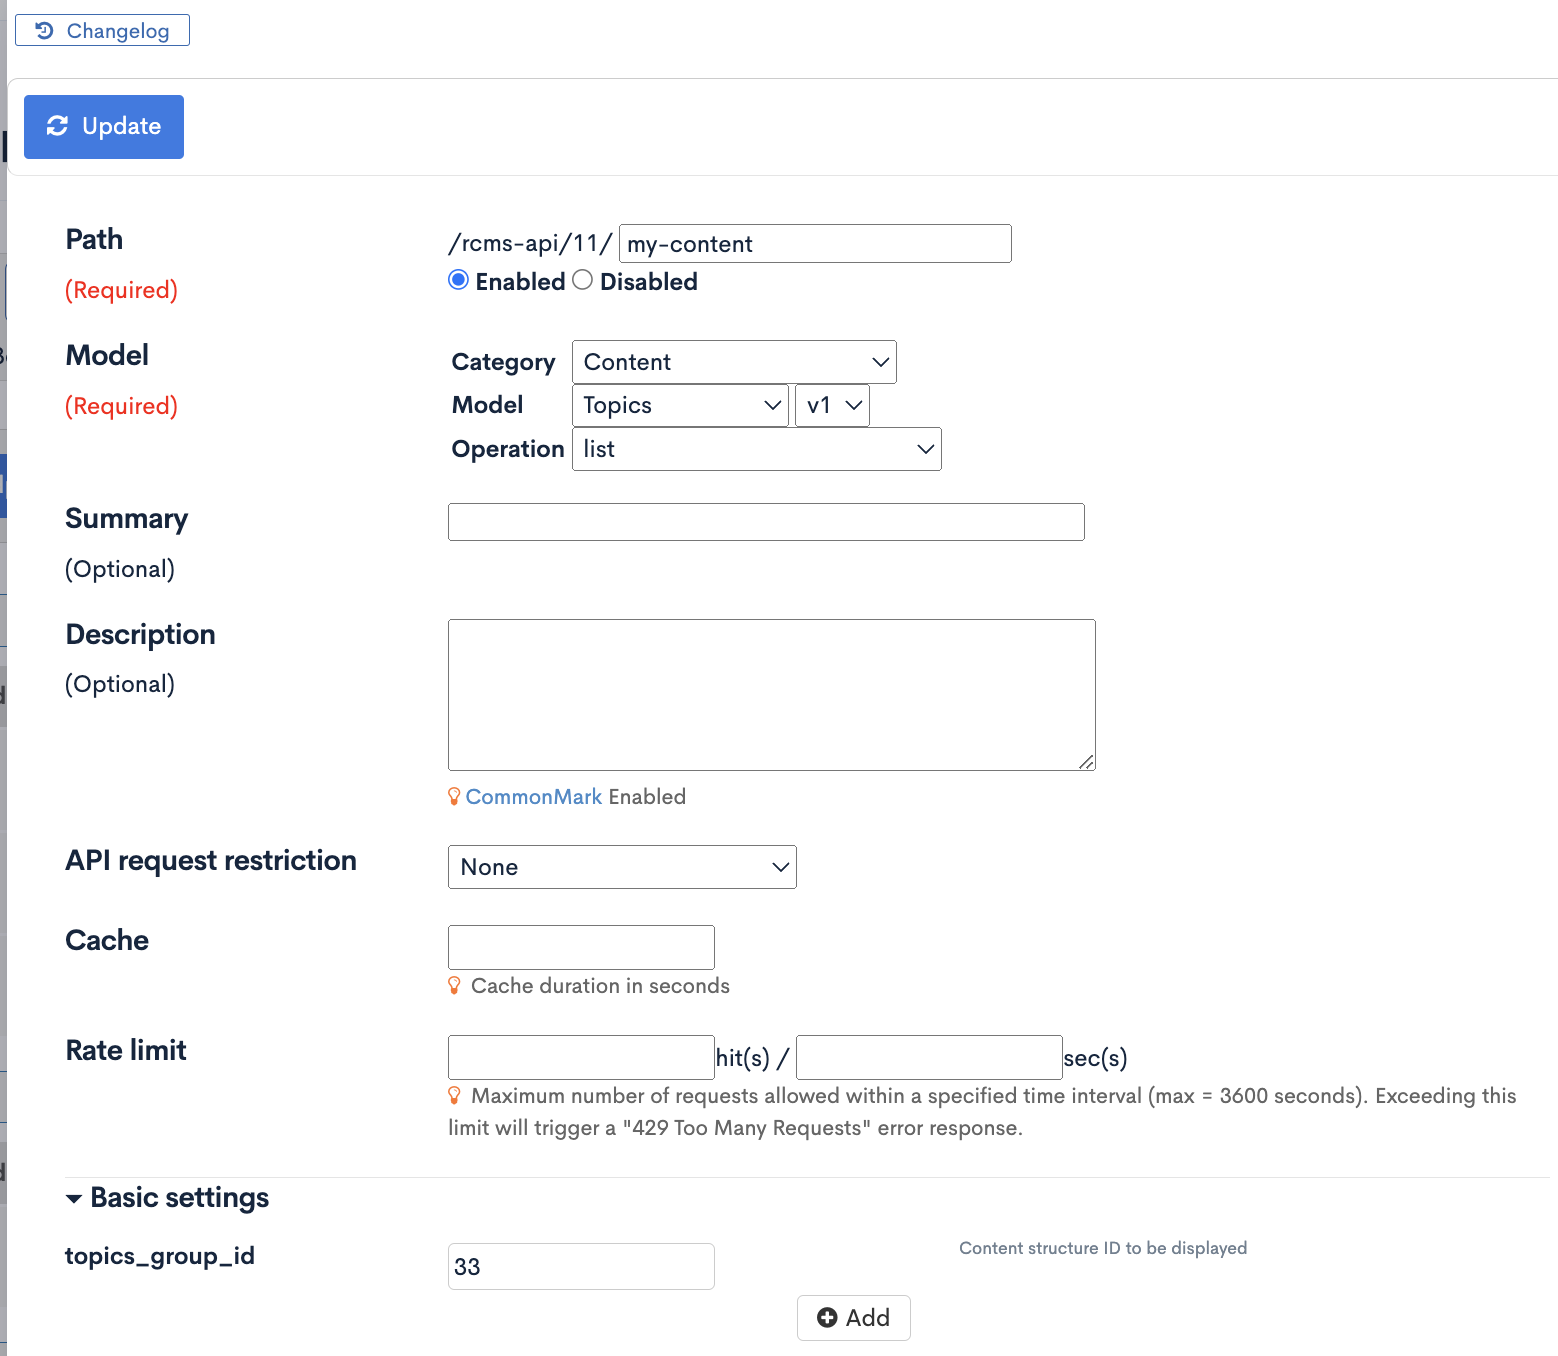
Create the following endpoint:
| Field | Setting |
|---|---|
| Path | my-content |
| Category | Content |
| Model | Topics |
| Operation | list |
| topics_group_id | ID of the created content structure |
Adding post-processing to the endpoint
Use the custom function we made from the previous step as a post-process for the API endpoint. We can also add an allow list post-processing to simplify the API response
From the Endpoint List page, click [Post-processing].

To simplify the API response, add the "Allow List" post-process and configure it as follows:
| Field | Setting |
|---|---|
| Allow list | list.subjectlist.content |
| Custom function | Replase placeholders in content |
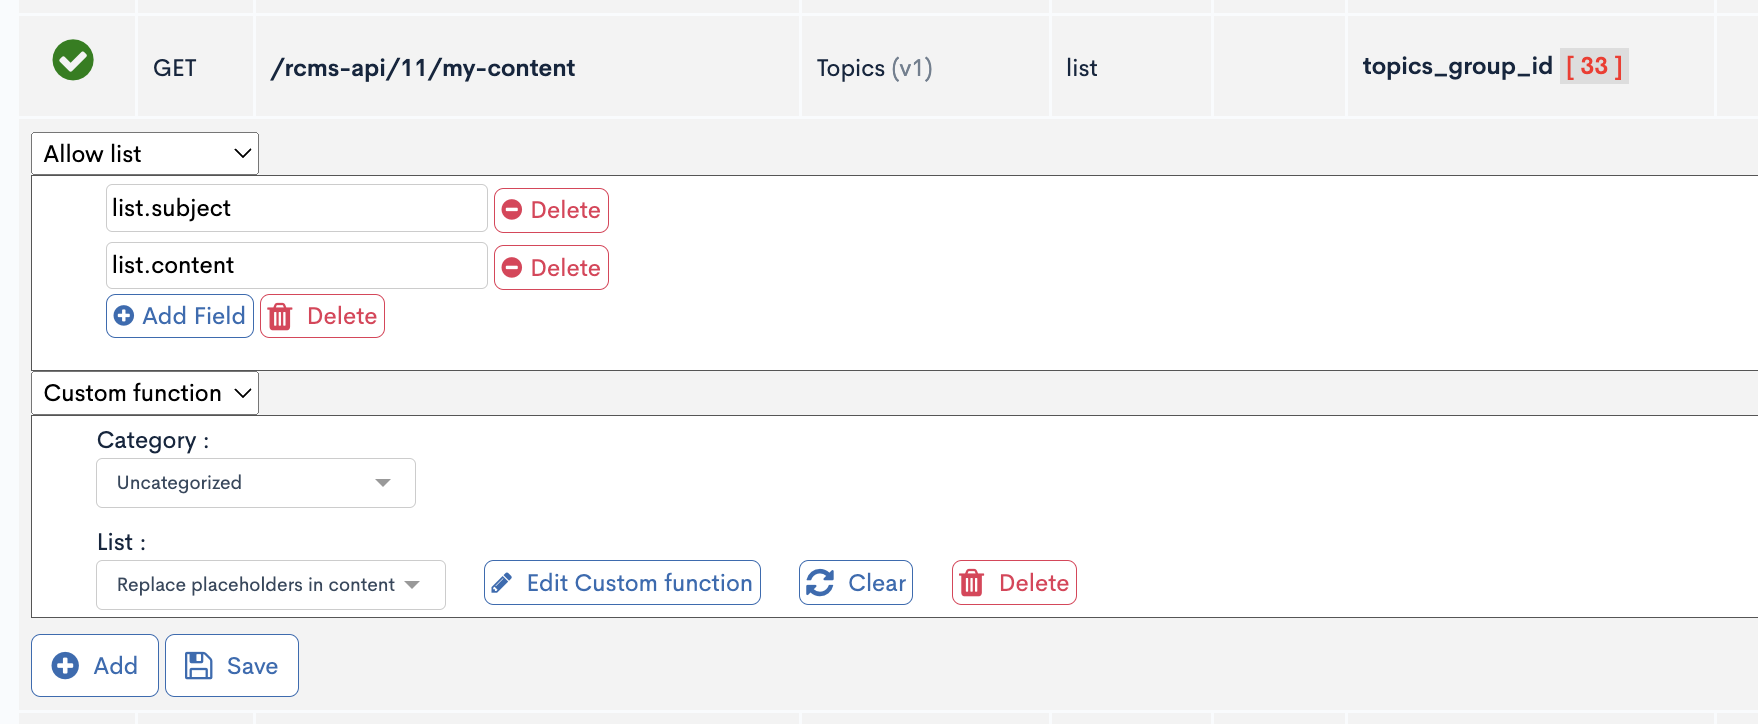
Once the settings are configured, click [Save] to save the post-processing configuration.
See the result
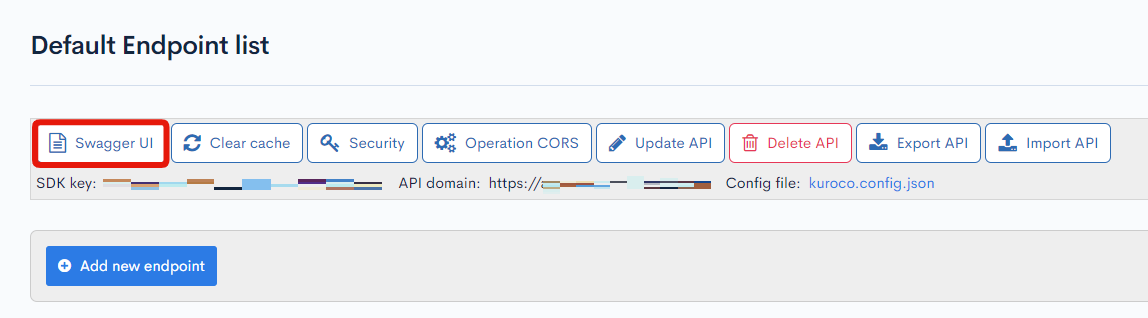
Try to fetch the API endpoint in Swagger and see the result.
From the Endpoint List page, click [SwaggerUI].
Click [Try it out] for the created endpoint.
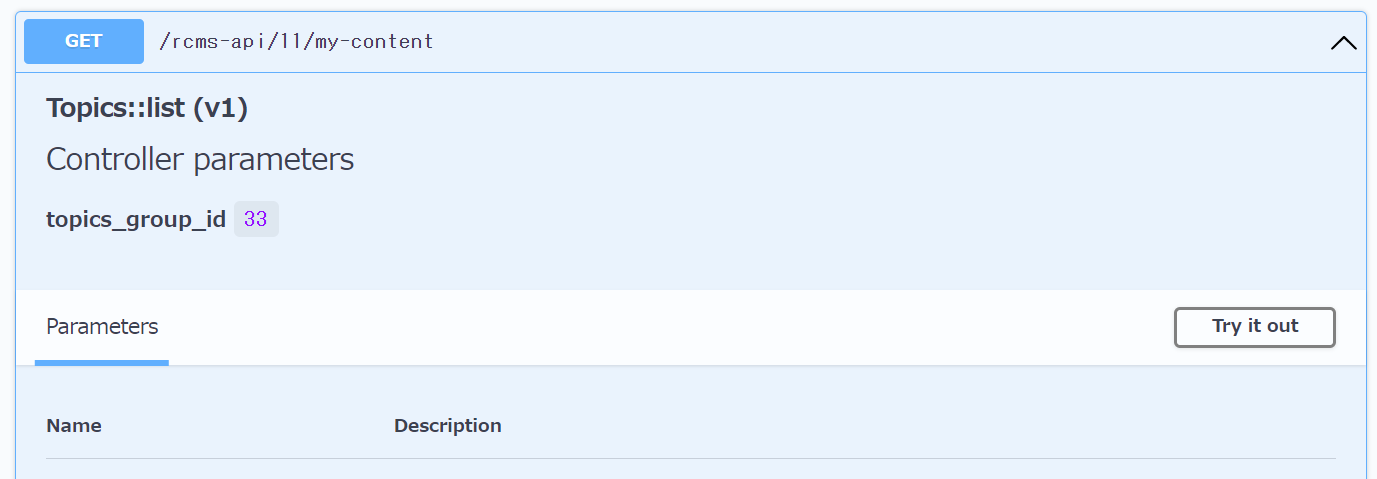
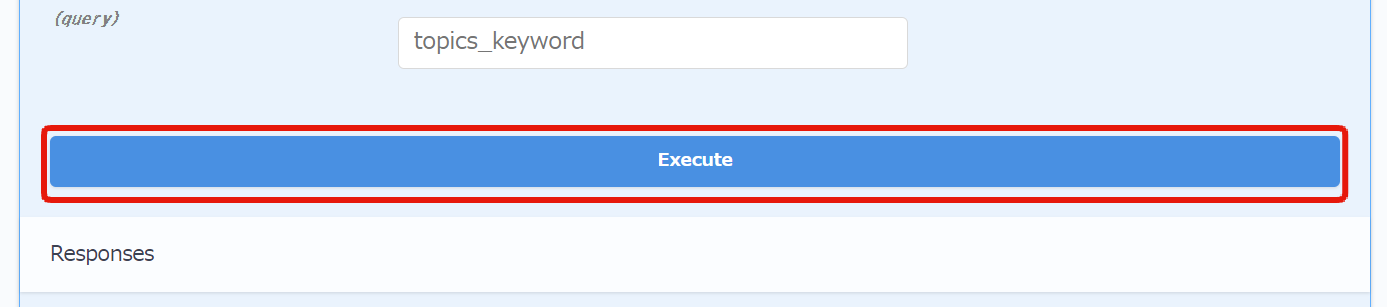
Click [Execute].
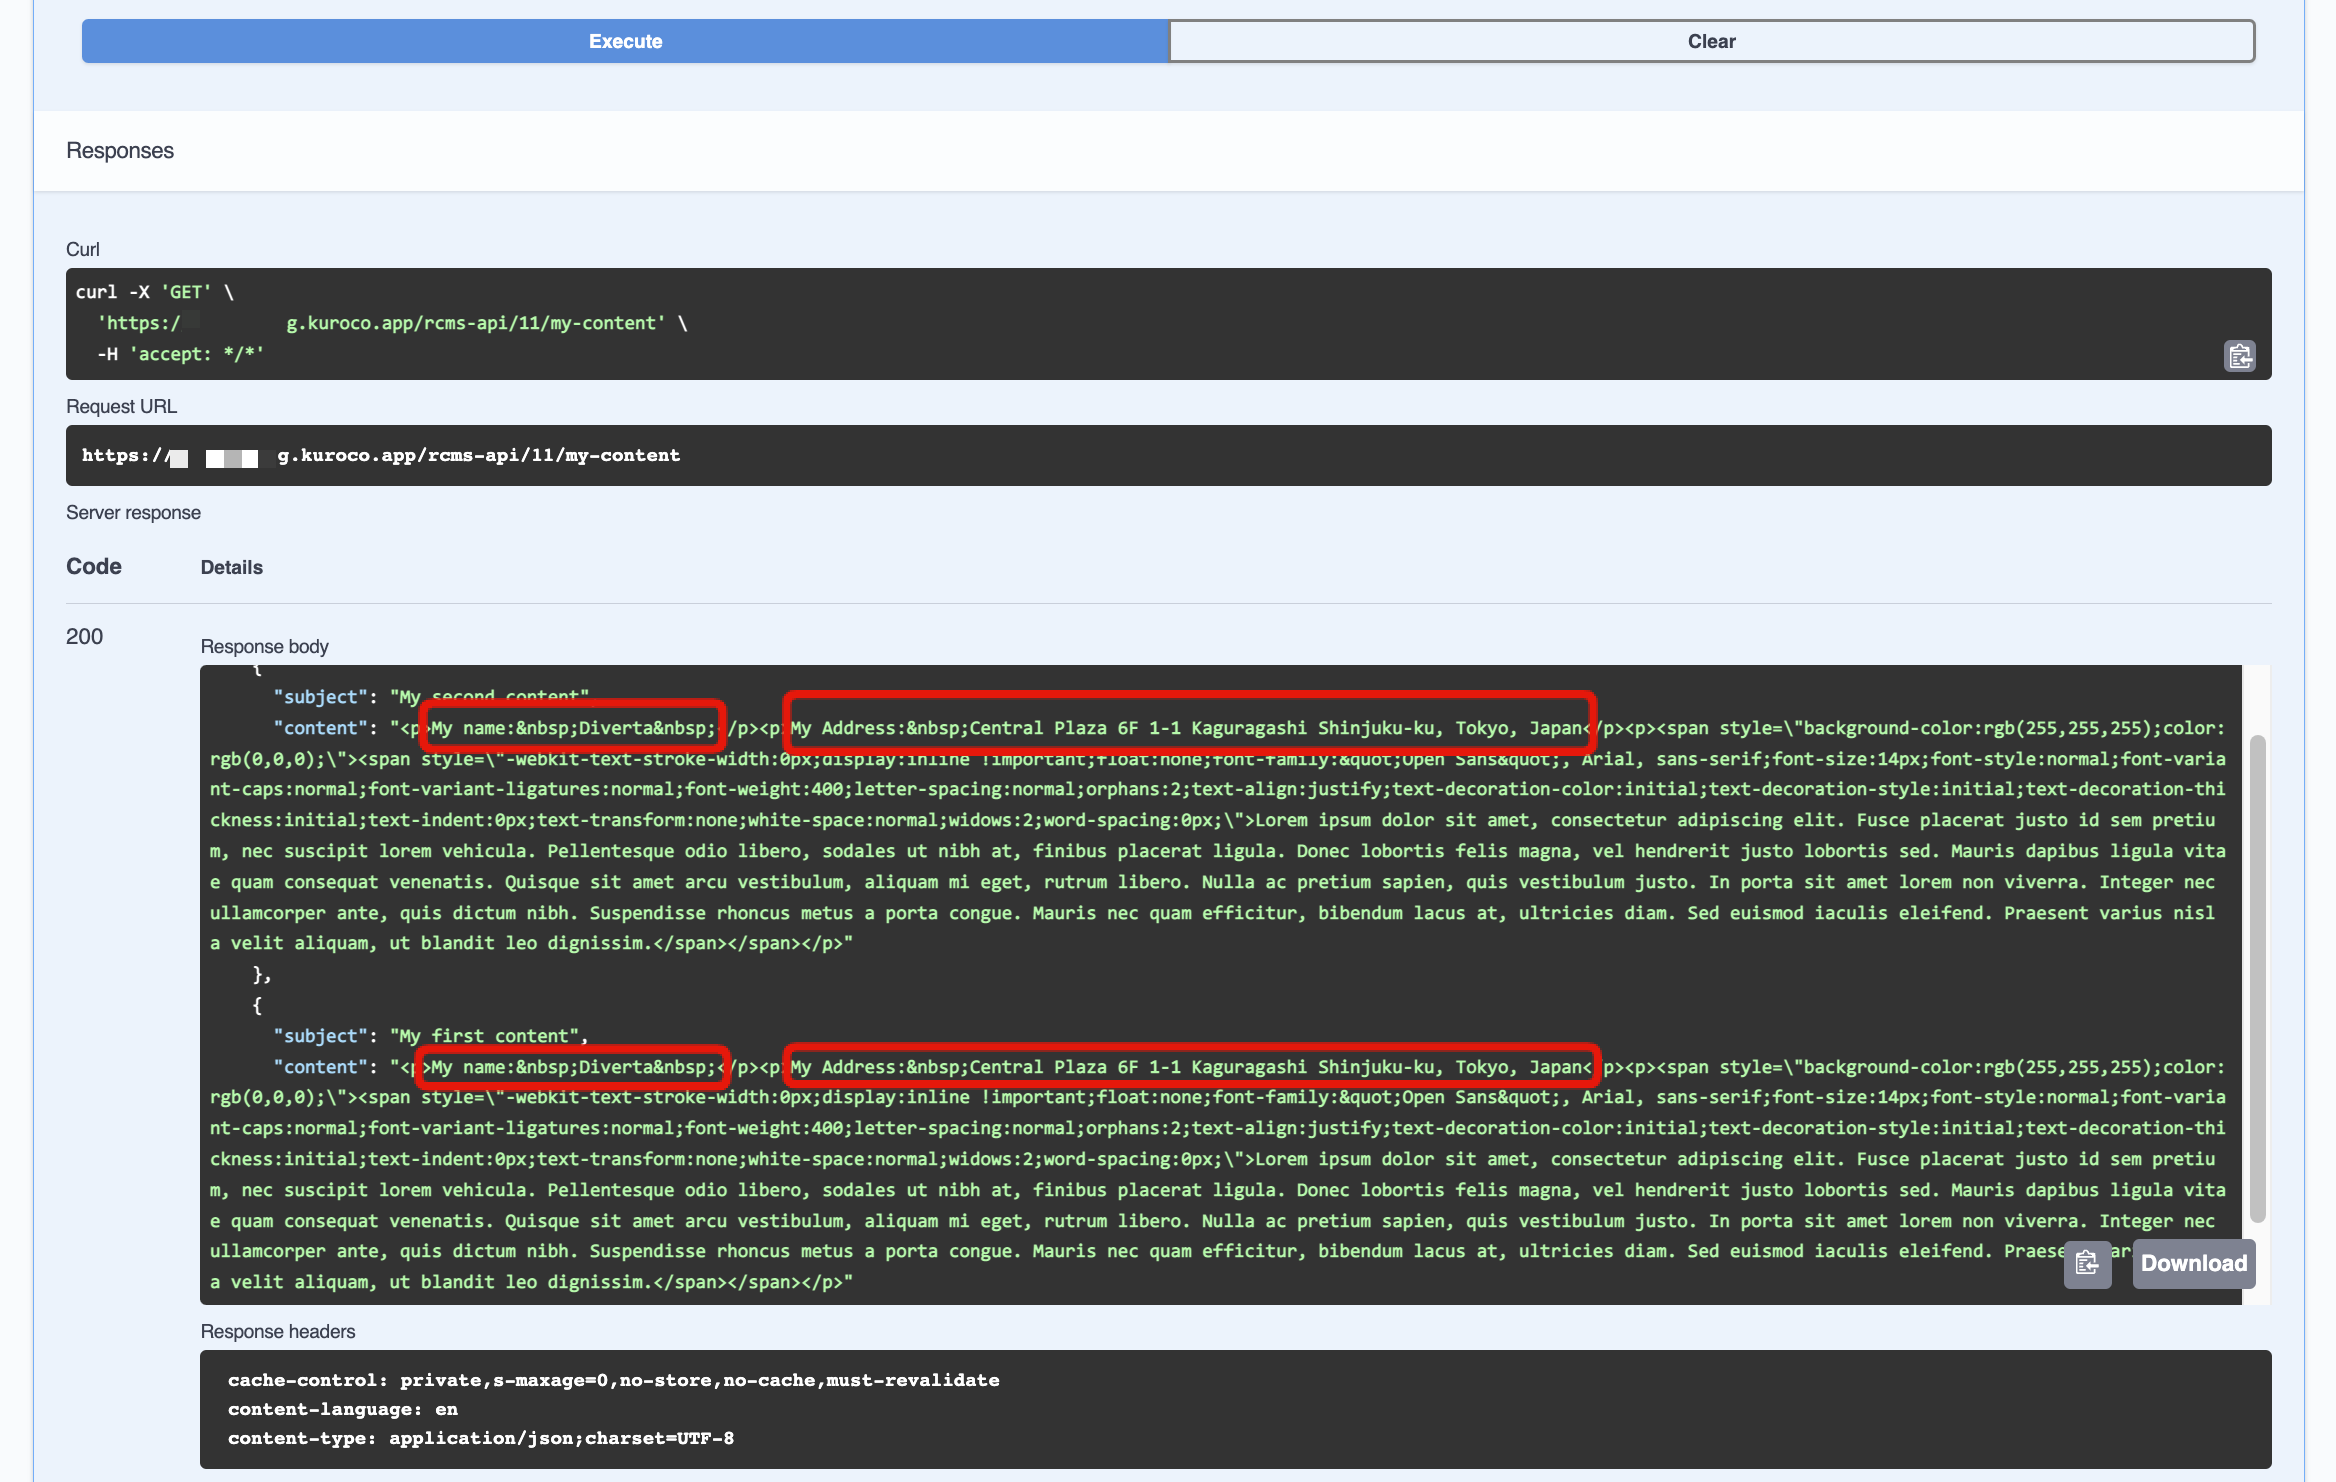
Placeholders have been replaced with the real values.
More information
Support
If you have any other questions, please contact us or check out Our Slack Community.