How to use Approval Workflow
By using the approval workflow, you can divide the tasks of creating and publishing articles.
This can be useful when different individuals are responsible for each task or when you want to check the content of an article before publishing it.
Prerequisites
As prequisites, please prepare the following:
- An account each for the editor and the approver
- Content structure to be used for the approval workflow
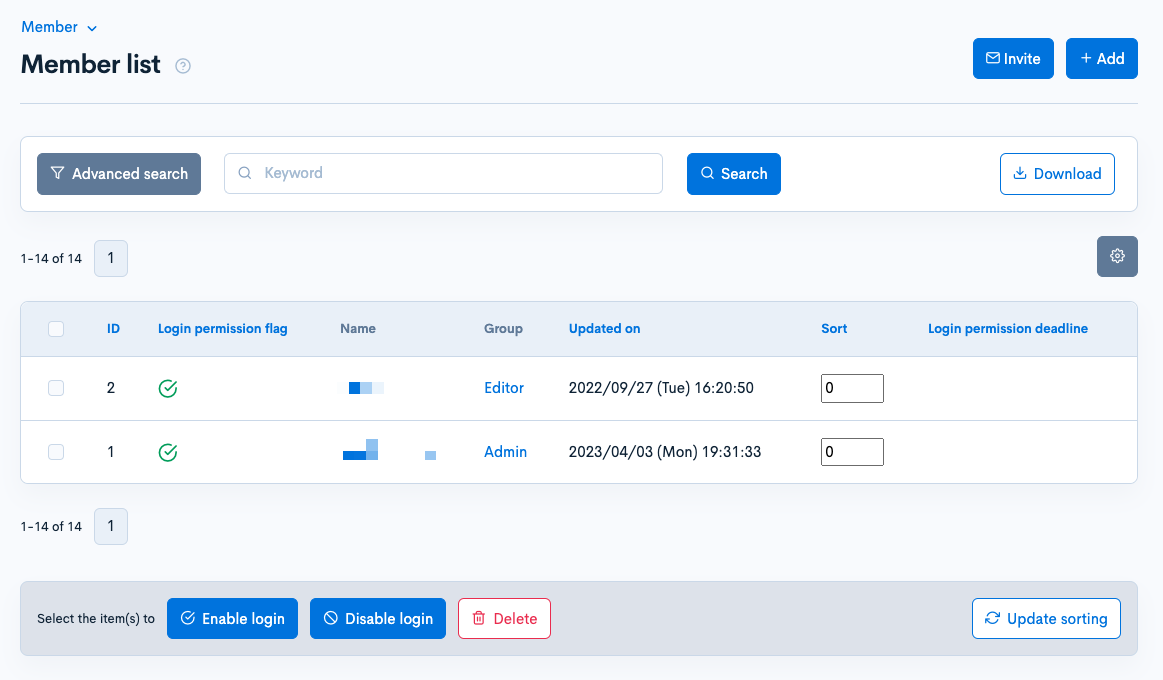
1. Creating members
Refer to Adding members to add an account as an editor and an account as an administrator.
As an example, we created the following accounts:
2. Creating content structure
Refer to Creating Content structure to create a content structure to be included in the approval workflow.
As an example, we created a simple content structure as follows:
| Field Name | Content |
|---|---|
| Name | Announcement (Approval required) |
| Content input method | TEXTAREA |

Creating an Approval Workflow
Accessing the Approval Workflow editor page
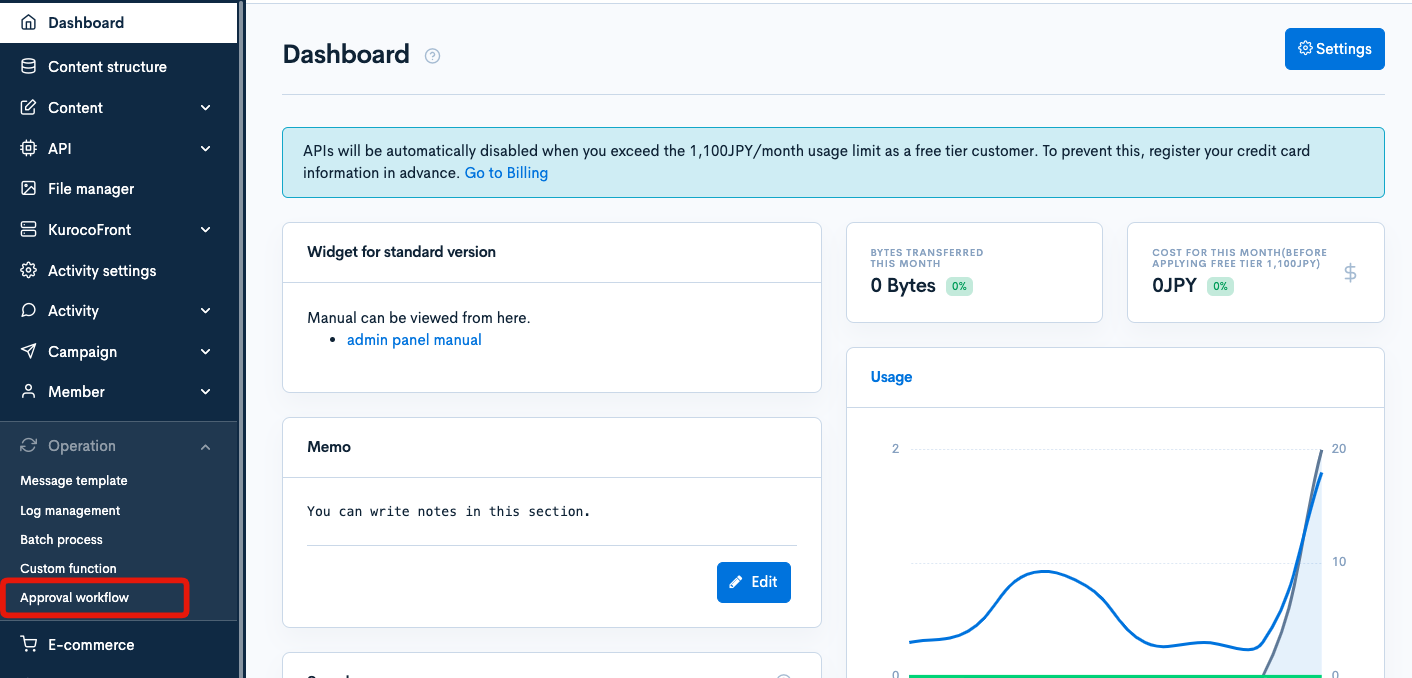
Log in with the Admin account and click [Operation] > [Approval Workflow] from the side menu.
Click [Add] in the upper right corner of the screen.

Basic settings
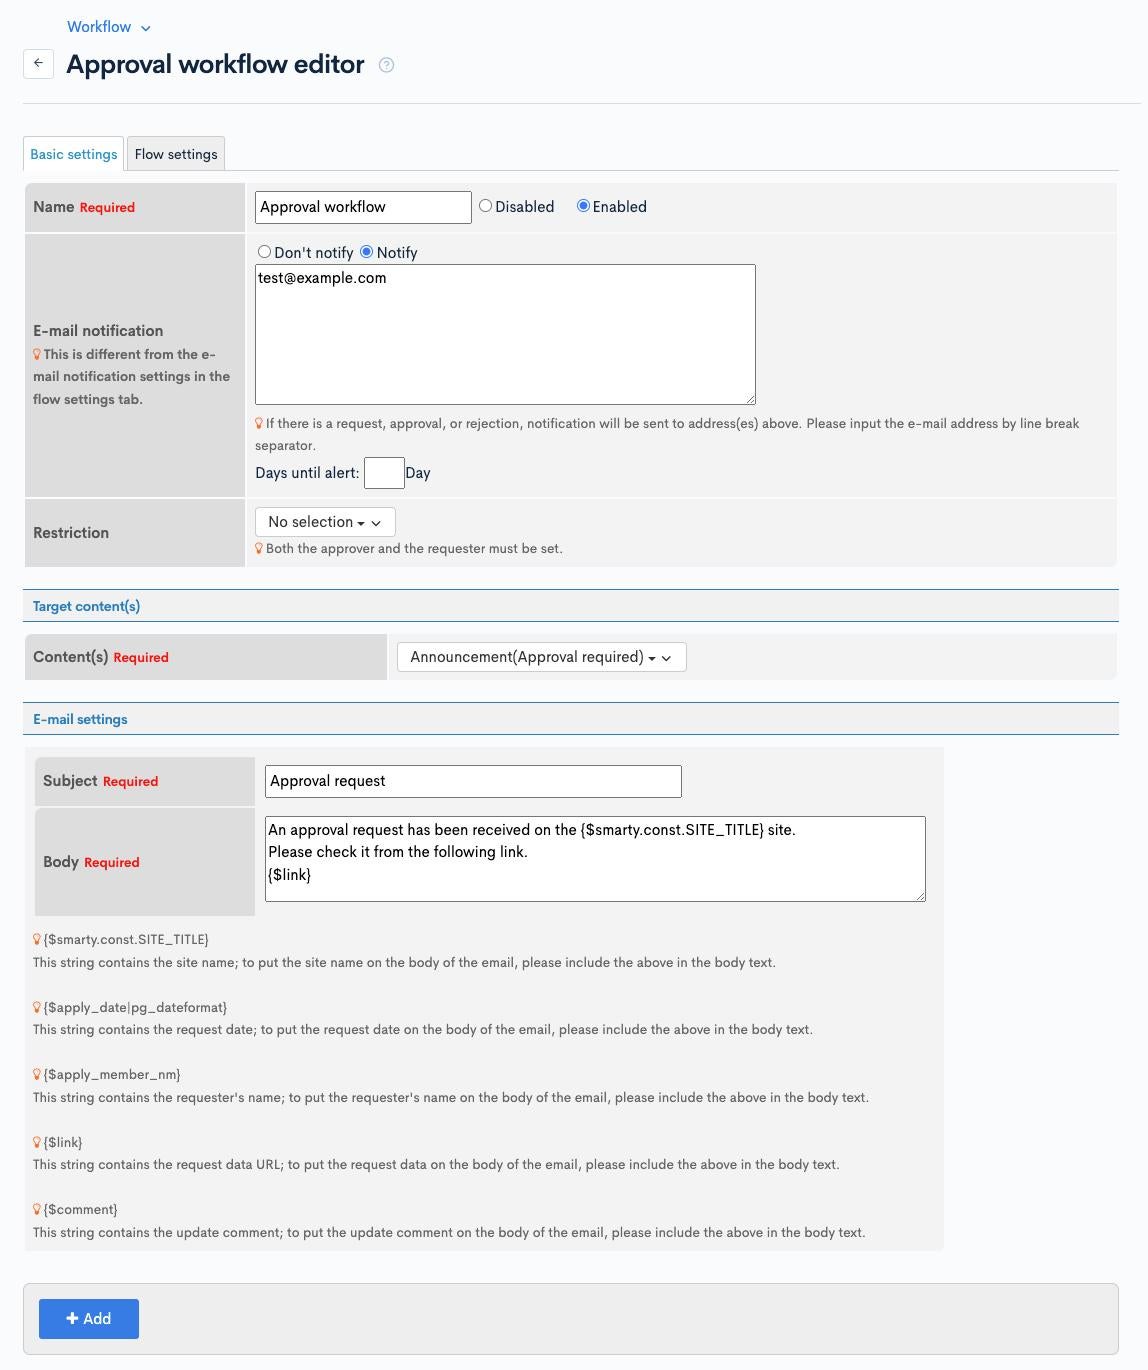
Enter the required items in [Basic Settings] and click [Add].
As an example, the following settings were entered:
| Heading | Field Name | Content |
|---|---|---|
| Name | Approval Workflow | |
| Enabled/Disabled | Enabled | |
| Email Notification ※1 | Notify | |
| Email addresses other than the approvers and applicants | ||
| Usage Restrictions | None | |
| Target Content | Content | Announcement (Approval required) |
| Email Settings | Enter the content of the email to be sent when the application is completed. Enter the following content here: |
※1 This setting adds and sends notification emails to the applicants and the approvers specified in the Flow Settings. If there are duplicate email addresses, the [Flow Settings] take precedence.
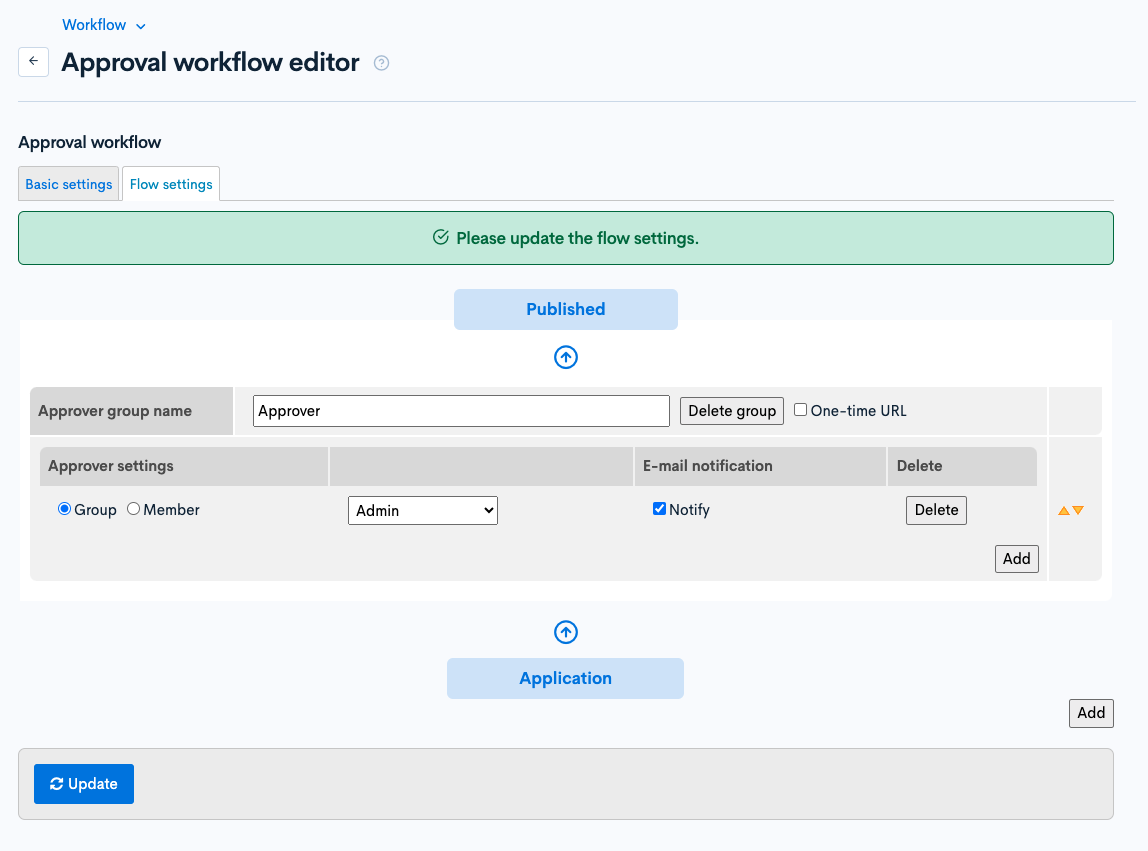
Flow settings
After adding the Approval Workflow, you will be automatically redirected to the [Flow Settings] tab to set the flow of approvals from application to publication.
Select the group or member as the approver and click [Update].
As an example, we will specify the Admin account as the approver.
By default, two approval groups are displayed. Click [Delete group] for one of the approval groups.
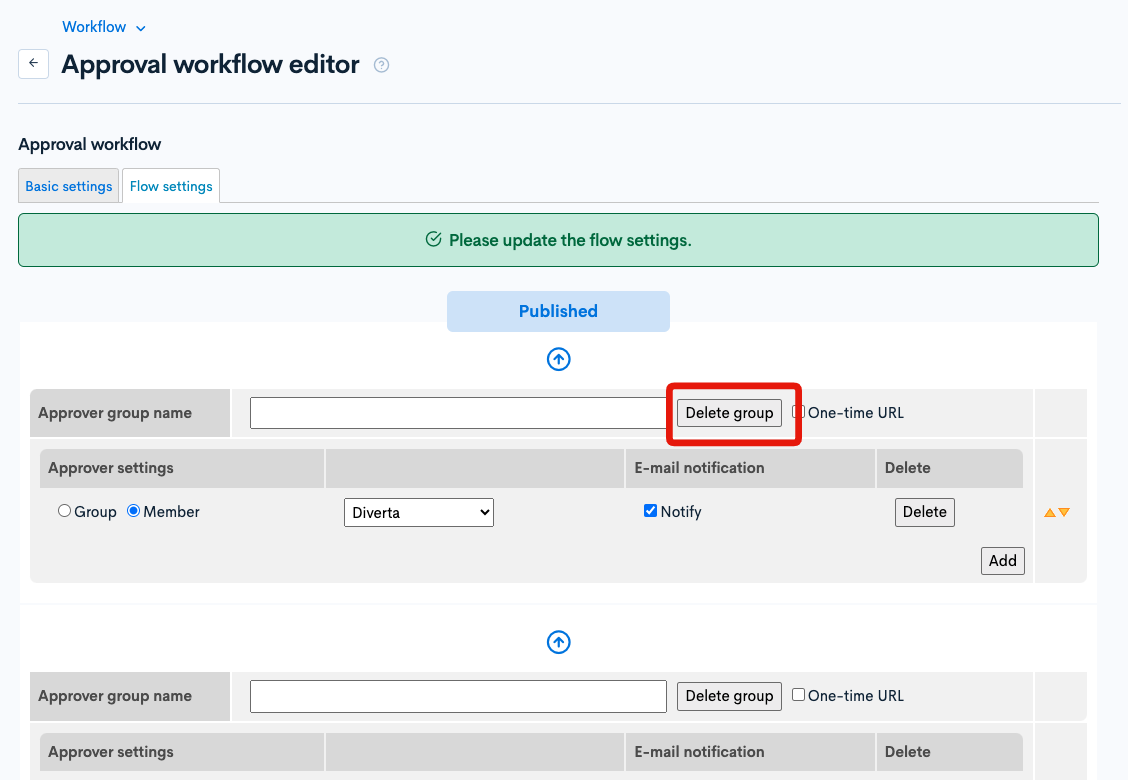
Set the approver as follows:
| Item | Content |
|---|---|
| Approval Group Name | Approver |
| Approver Settings | Group |
Admin | |
| Email Notification | Notify |
Set Approval Workflow on the Content submitting for approval
The content selected in the "Target Content" of Basic Settings will display the workflow settings at the bottom of the content editor screen.
- Workflow
- Approval date and time After setting these, click [Add] to assign the workflow to the content.
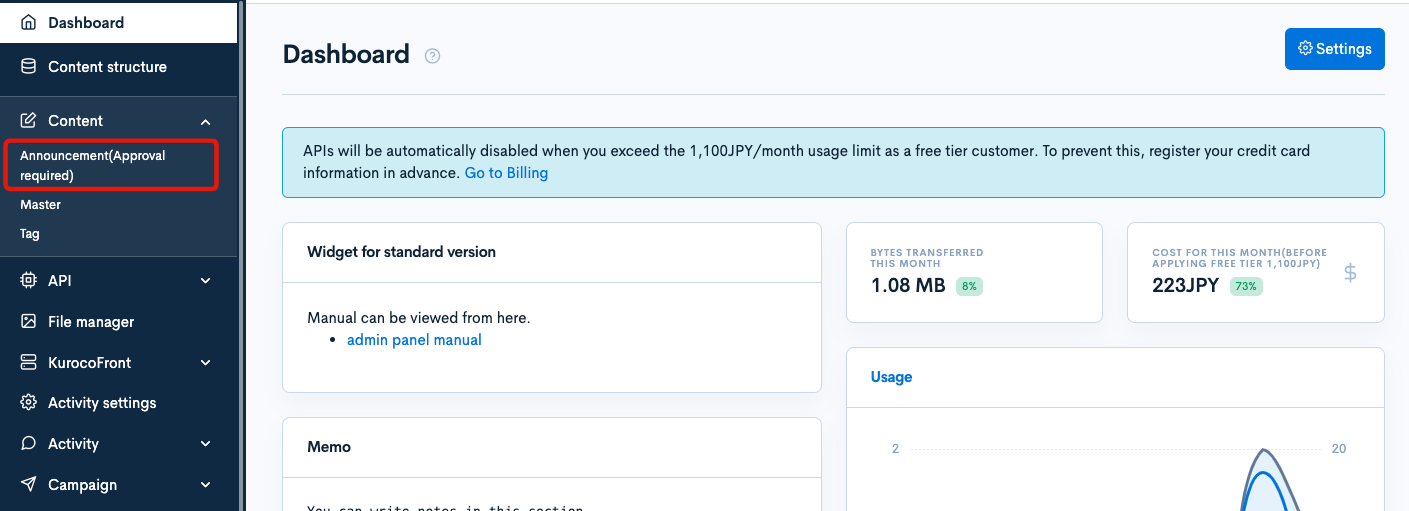
Access the Content Structure editor page
Log in with the account of the Editor.
Expand the [Content] menu from the side menu, and then click the content selected in the "Target Content" of Basic Settings.
In this case, click [Announcement (Approval required)].
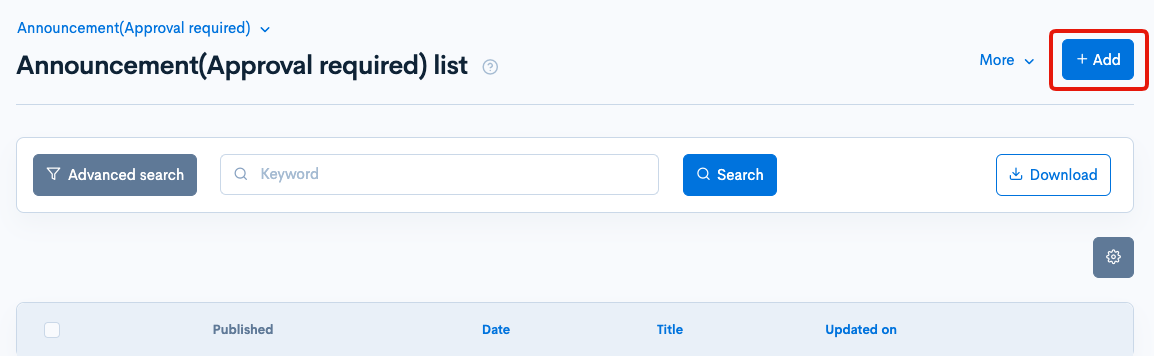
Click [Add] in the upper right corner of the screen.
Set the "Approval workflow settings"
At the bottom of the editor page, there is a section titled "Approval workflow settings", set it as follows.
| Item | Content |
|---|---|
| Workflow | Approval Workflow |
| Approval date and time | Not set |
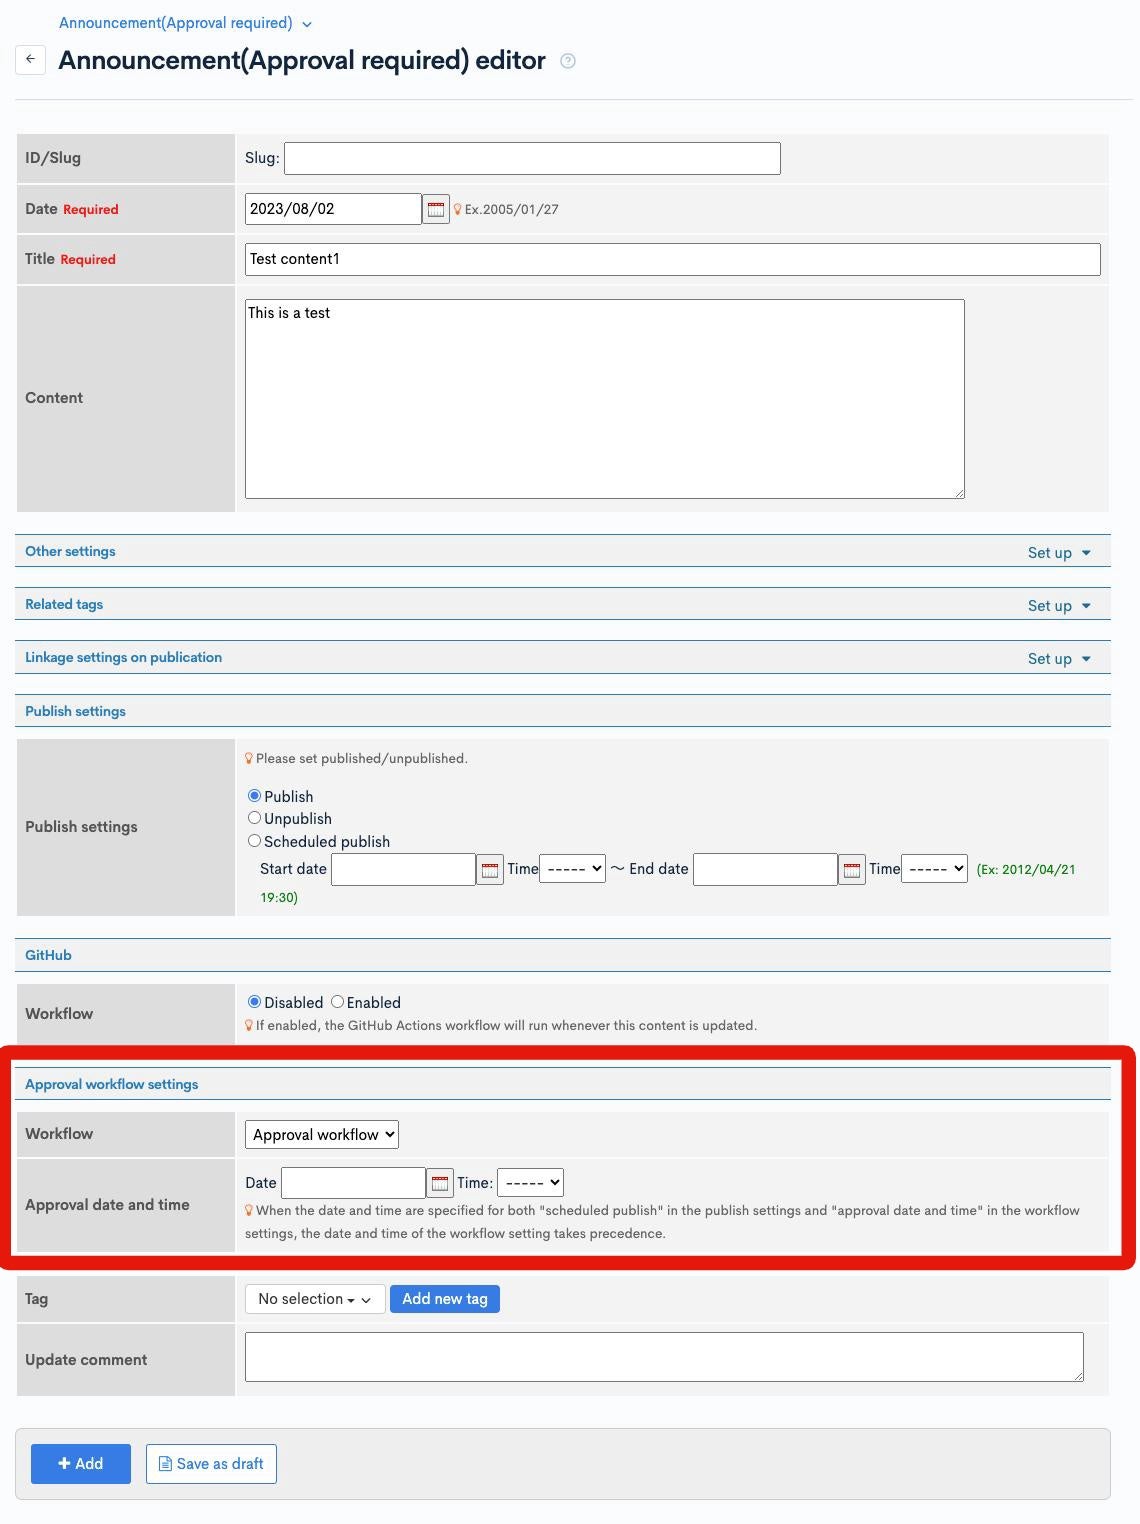
Click [Add] to submit the approval request.

Checking the approval request data
You can access the approval request details page where you can approve/reject the application in two ways:
- Access from the link in the approval request email.
- Directly accessing the page by logging in to the management screen with the account of the approver.
In this exercise, we will access the page from the link in the approval request email.
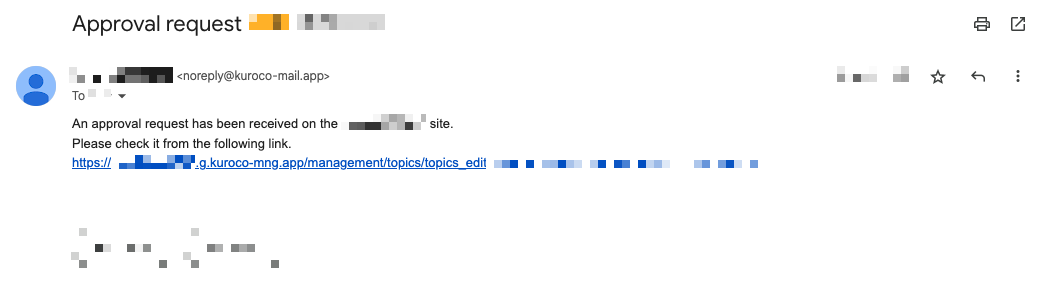
Access from the link in the approval request email.
After the application is completed, the following approval request email will be sent to the approver (in this case, Admin).
The content of the email is set in [Email Settings] of Basic Settings.
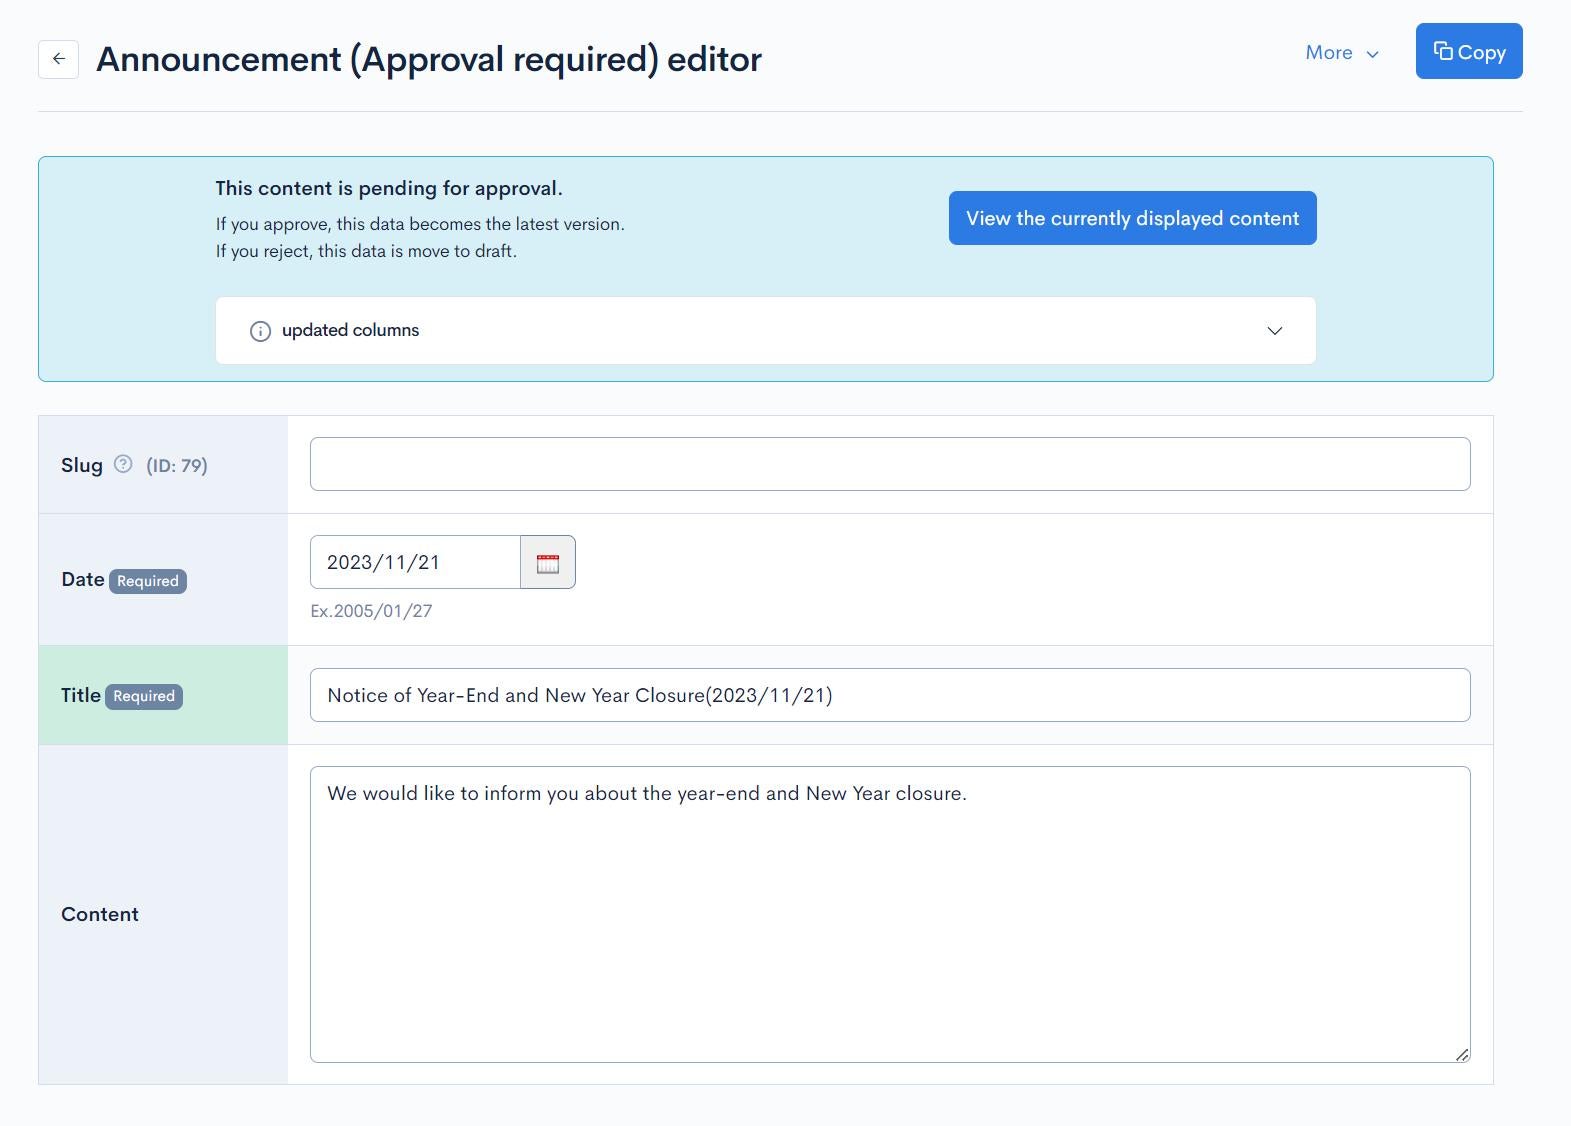
Click on the link to be redirected to the login screen and then to the approval request details page.
The data under review will highlight the names of items where changes have occurred.
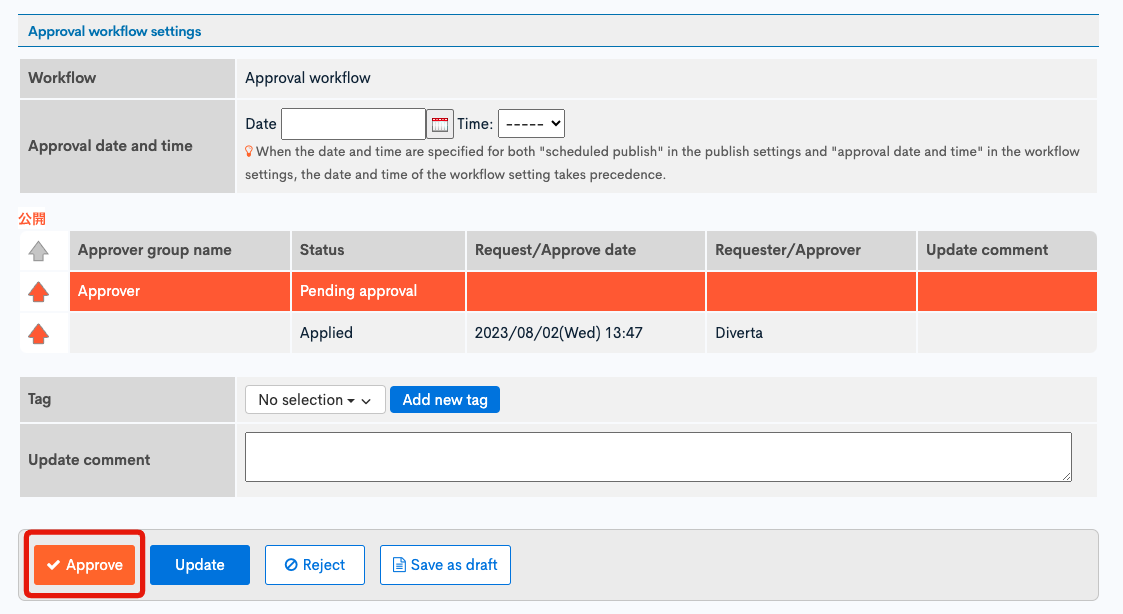
Approving the approval request
Click [Approve] to complete the approval workflow.
In the "Approval Workflow" section, you can check the overall flow and the current status.
For superusers, approval is possible even if they are not set as "Approvers" in the approval flow settings.
When all the approvals set in the flow are completed, the content will be published.

Checking the approval notice email
The following approval notification email will be sent to the email address of the applicant, approver, and the email(s) set in [Email Notification] of Basic Settings.
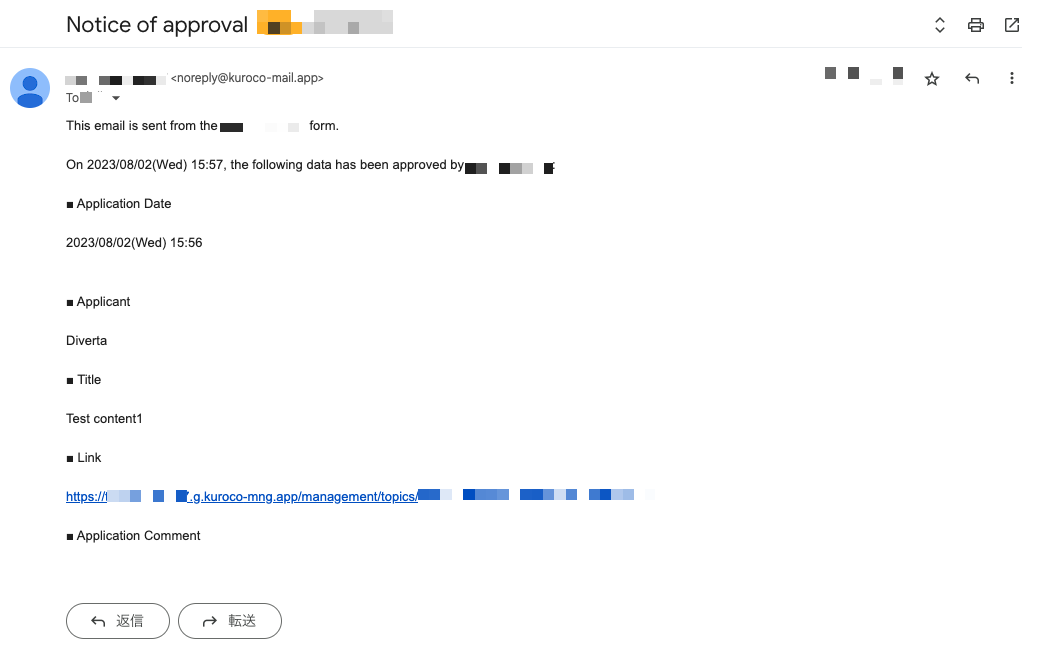
The email for approval completion and rejection notification can be edited in Message Template.
Related Documents
Support
If you have any other questions, please contact us or check out Our Slack Community.