How to Register an MCP Connector in Claude.ai
This page explains how to connect Kuroco MCP to Claude.ai.
By connecting MCP, you can simply ask a question in Claude.ai such as "How do I configure authentication in Kuroco?" and get an answer based on the knowledge registered in Kuroco.
Terminology
What is MCP (Model Context Protocol)?
It is a standard specification that lets an AI (such as Claude.ai) connect to external tools and data. Kuroco provides an MCP server, allowing Claude.ai to call Kuroco APIs directly.
What is a connector?
It is a feature in Claude.ai for integrating with external services. By registering an MCP server, Claude.ai can call that service's tools.
Prerequisites
Claude.ai plan
| Plan | Connector usage |
|---|---|
| Free | You can add up to one custom connector |
| Pro / Max | You can add multiple custom connectors |
| Team / Enterprise | A member with Organization owner permissions adds and manages connectors |
On the Team / Enterprise plan, you cannot add a connector without owner permissions. If the "Connectors" menu is not displayed, ask the owner of your workspace to add it.
Preparation on the Kuroco side
You need a Kuroco API endpoint with the MCP server enabled (for example, https://{your-site}.g.kuroco.app/rcms-api/{id}/mcp).
If you have not yet configured the MCP server, first complete the setup by referring to Model Context Protocol (MCP) Integration with Kuroco.
To connect via a connector (OAuth), the target API's security must be set to Dynamic Access Token (or Cookie). APIs whose security is Static Token or Privileged Static Token use header authentication instead of OAuth. See the MCP Client Configuration for details.
Step 1: Open the Connectors screen
-
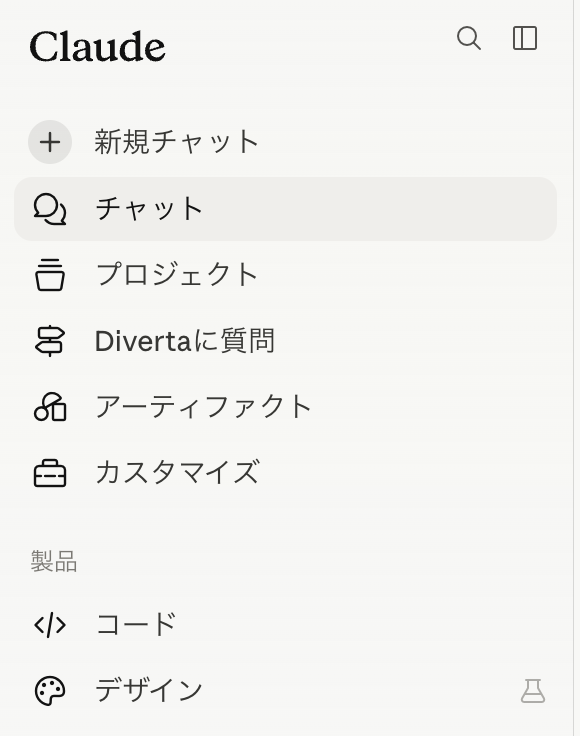
Click "Customize" in the left sidebar of Claude.ai.
-
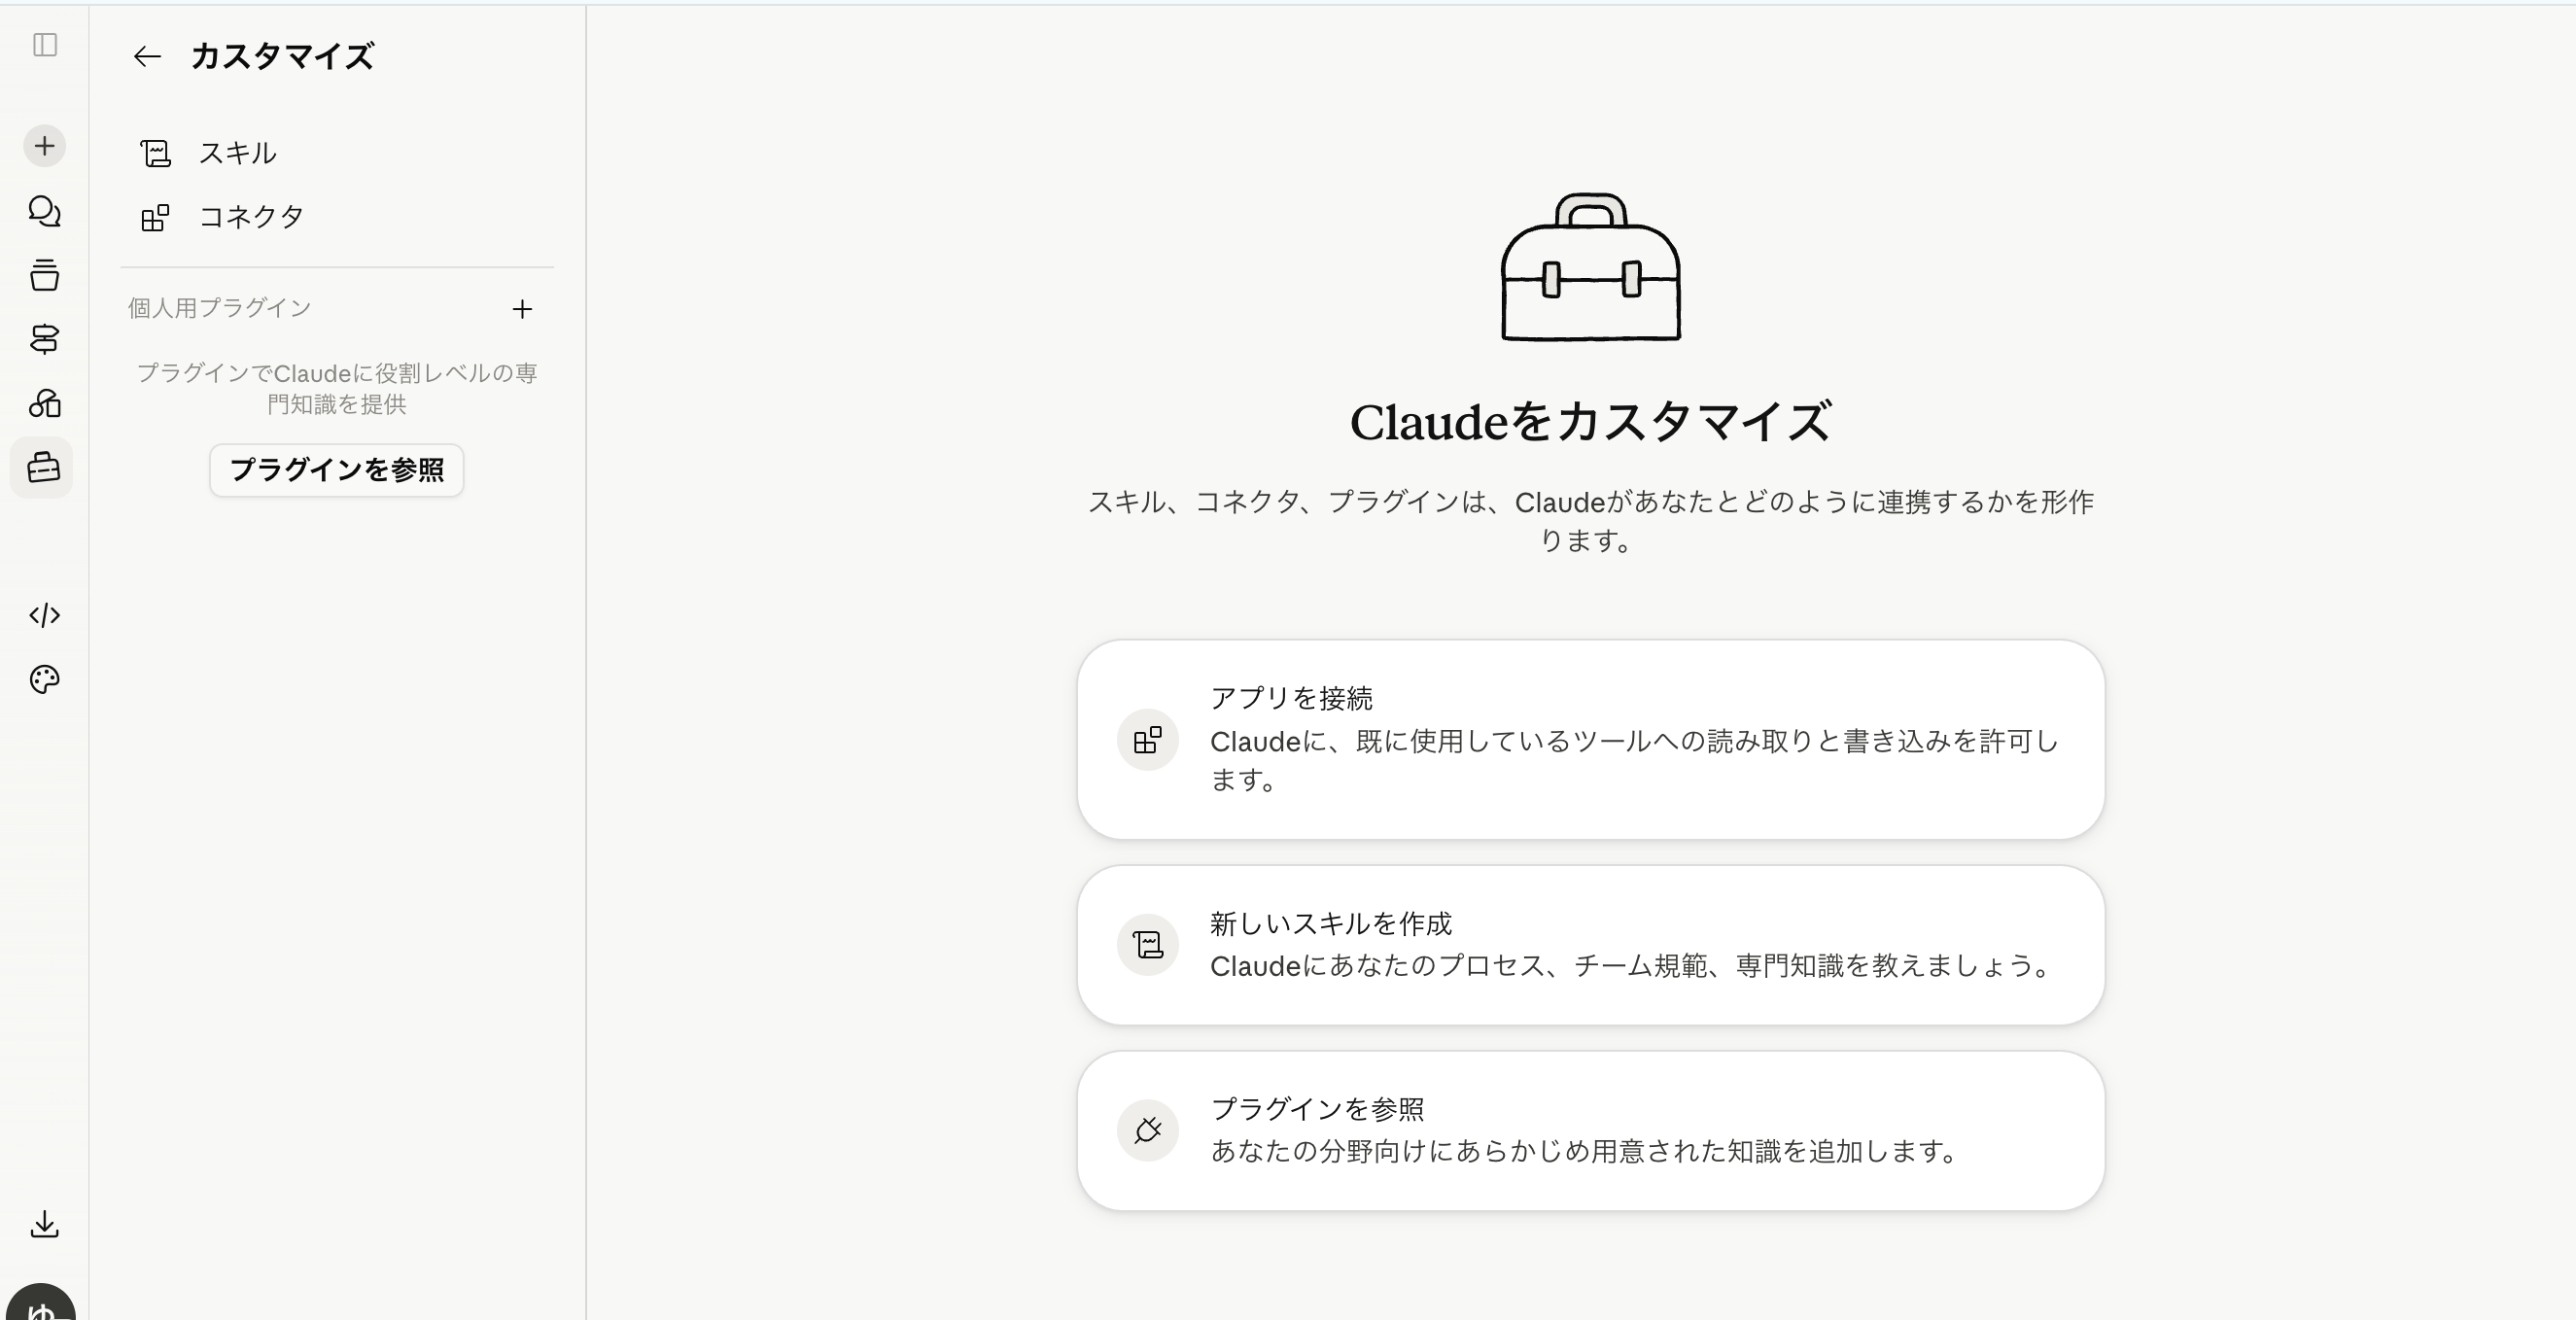
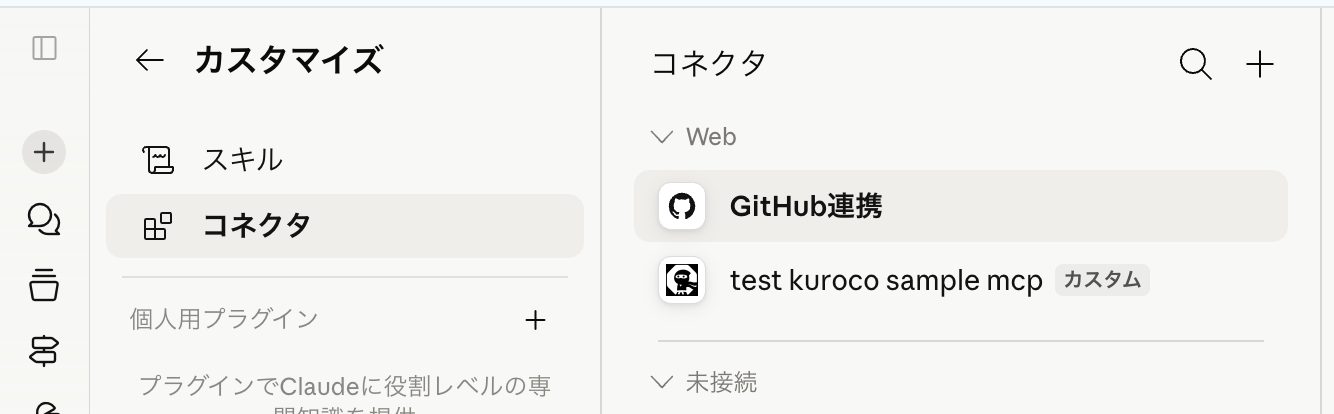
The Customize screen opens. Click "Connectors" in the left menu.
You can reach the same screen from the account icon at the bottom left → "Settings" → "Customize" → "Connectors".
Step 2: Add a custom connector
-
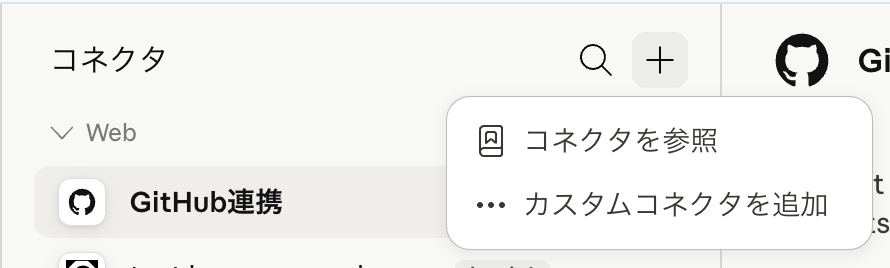
Click the "+" button at the top right of the connector list screen.
-
When the menu appears, click "Add custom connector".
-
The "Add custom connector" dialog opens. Enter the following items.
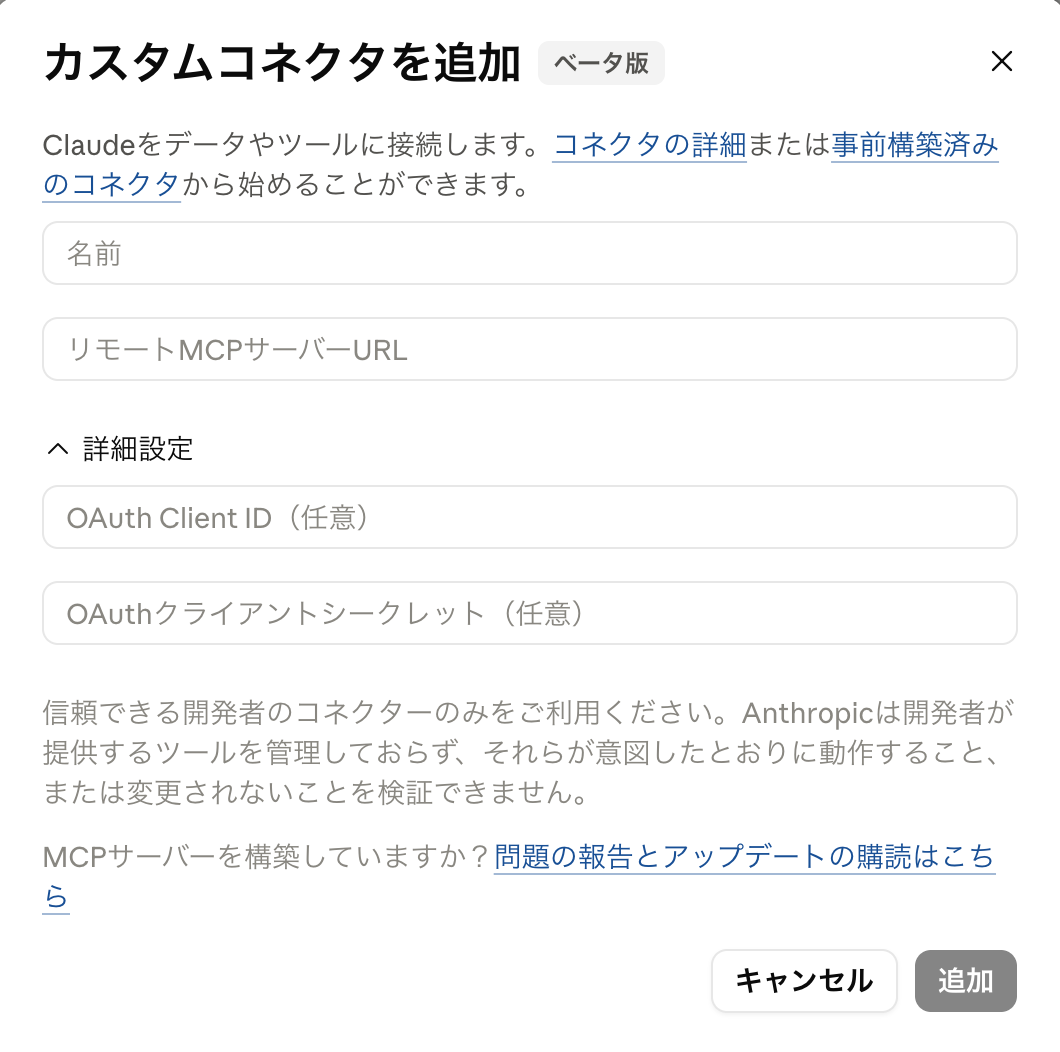
Item Value to enter Example Name The connector name (arbitrary) KurocoRemote MCP server URL The Kuroco MCP endpoint URL https://{your-site}.g.kuroco.app/rcms-api/{id}/mcpOAuth Client ID The Client ID issued by Kuroco in a later step (enter later) OAuth Client Secret Not required for this setup (leave blank)
Do not click "Add" at this point. You first need to configure OAuth on the Kuroco side. You may leave this dialog open, or close it and reopen it later.
Step 3: Create an OAuth Authorization Server in Kuroco
Log in to the Kuroco admin panel and create an OAuth Authorization Server using the following steps.
If you enable Client ID Metadata Documents (URL client IDs) on the authorization server, you can connect without the client registration in Step 4 and without entering a Client ID (Claude supports CIMD). See the MCP Client Configuration for details. This page walks through the manual client registration flow.
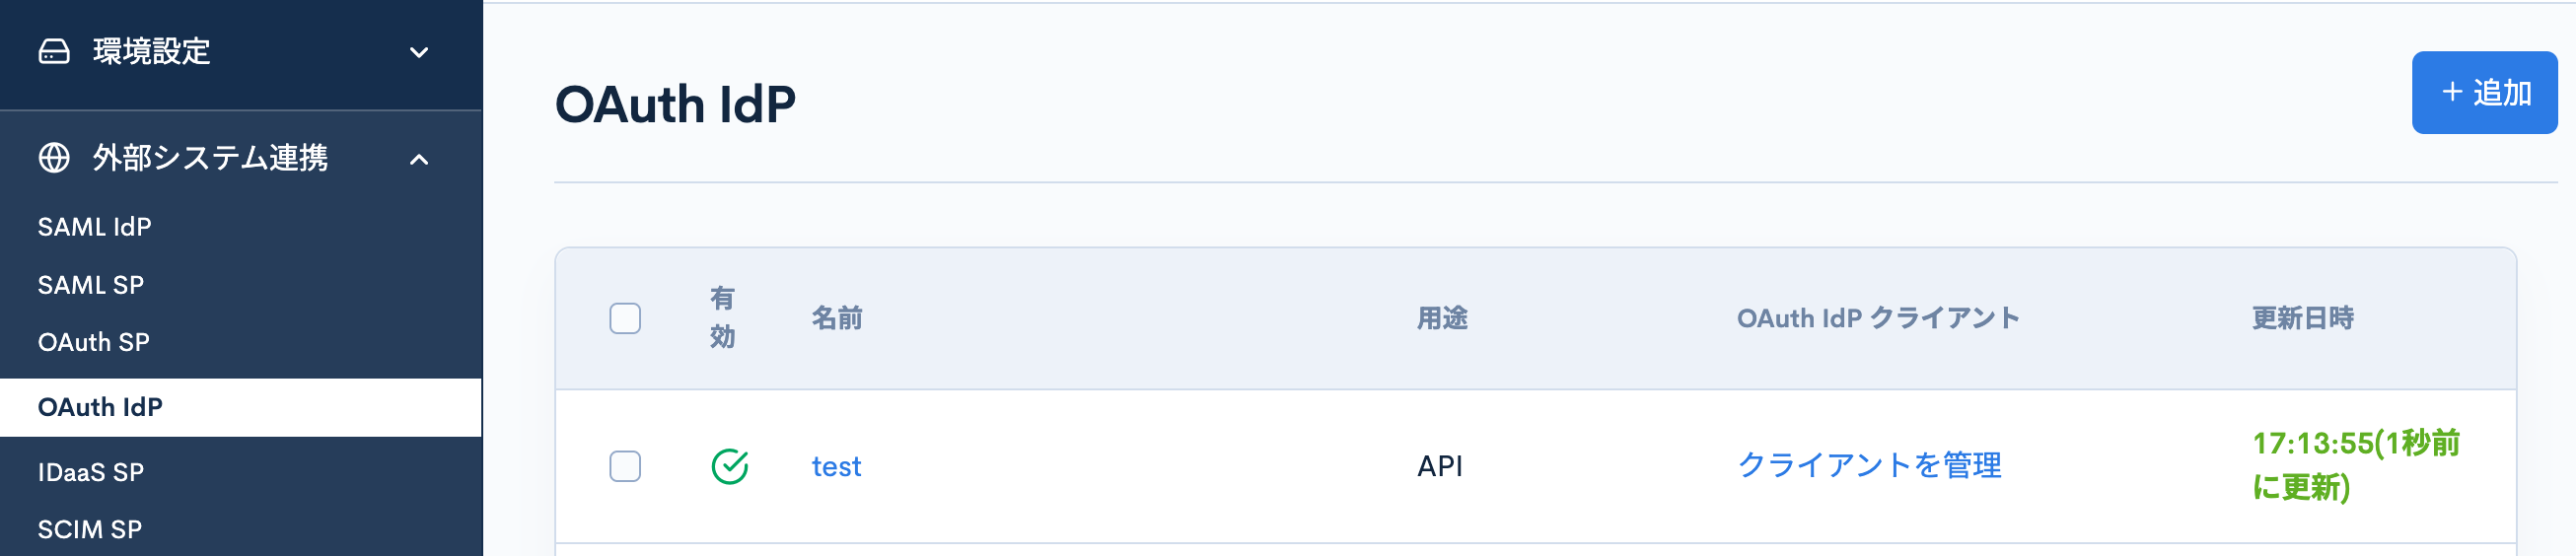
3-1. Open the OAuth Authorization Server list
From the left menu, open "External System Integration" → "OAuth Authorization Server".
3-2. Add an OAuth Authorization Server
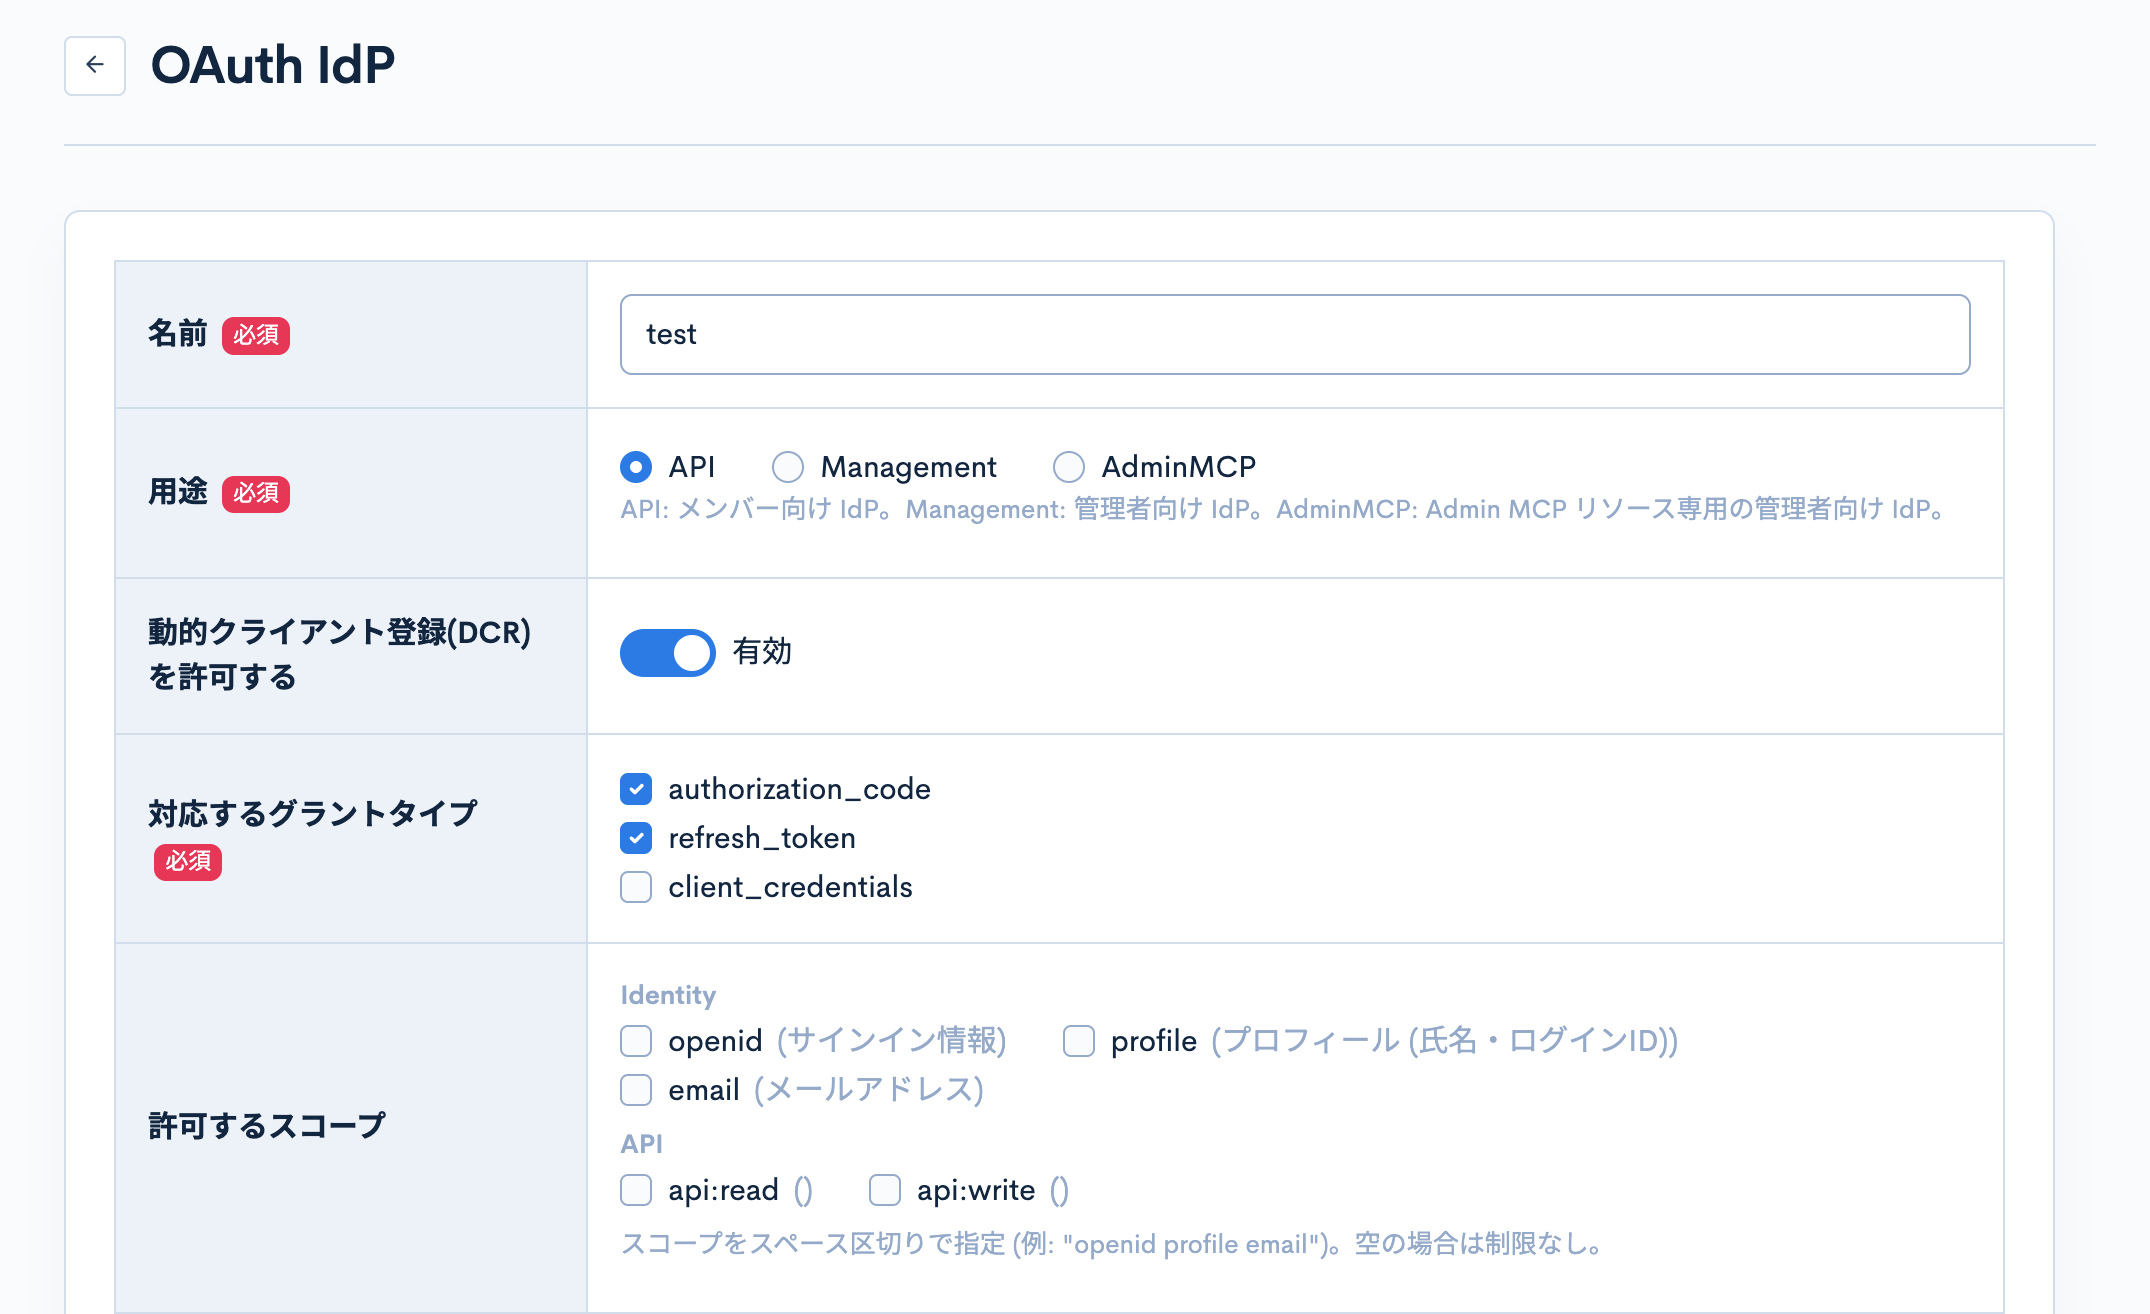
Click the "+ Add" button at the top right and configure it as follows.
Change the URL to match your own Kuroco domain.
| Item | Value |
|---|---|
| Name | Arbitrary (e.g., claude) |
| Purpose | API |
| Supported grant types | Check authorization_code and refresh_token |
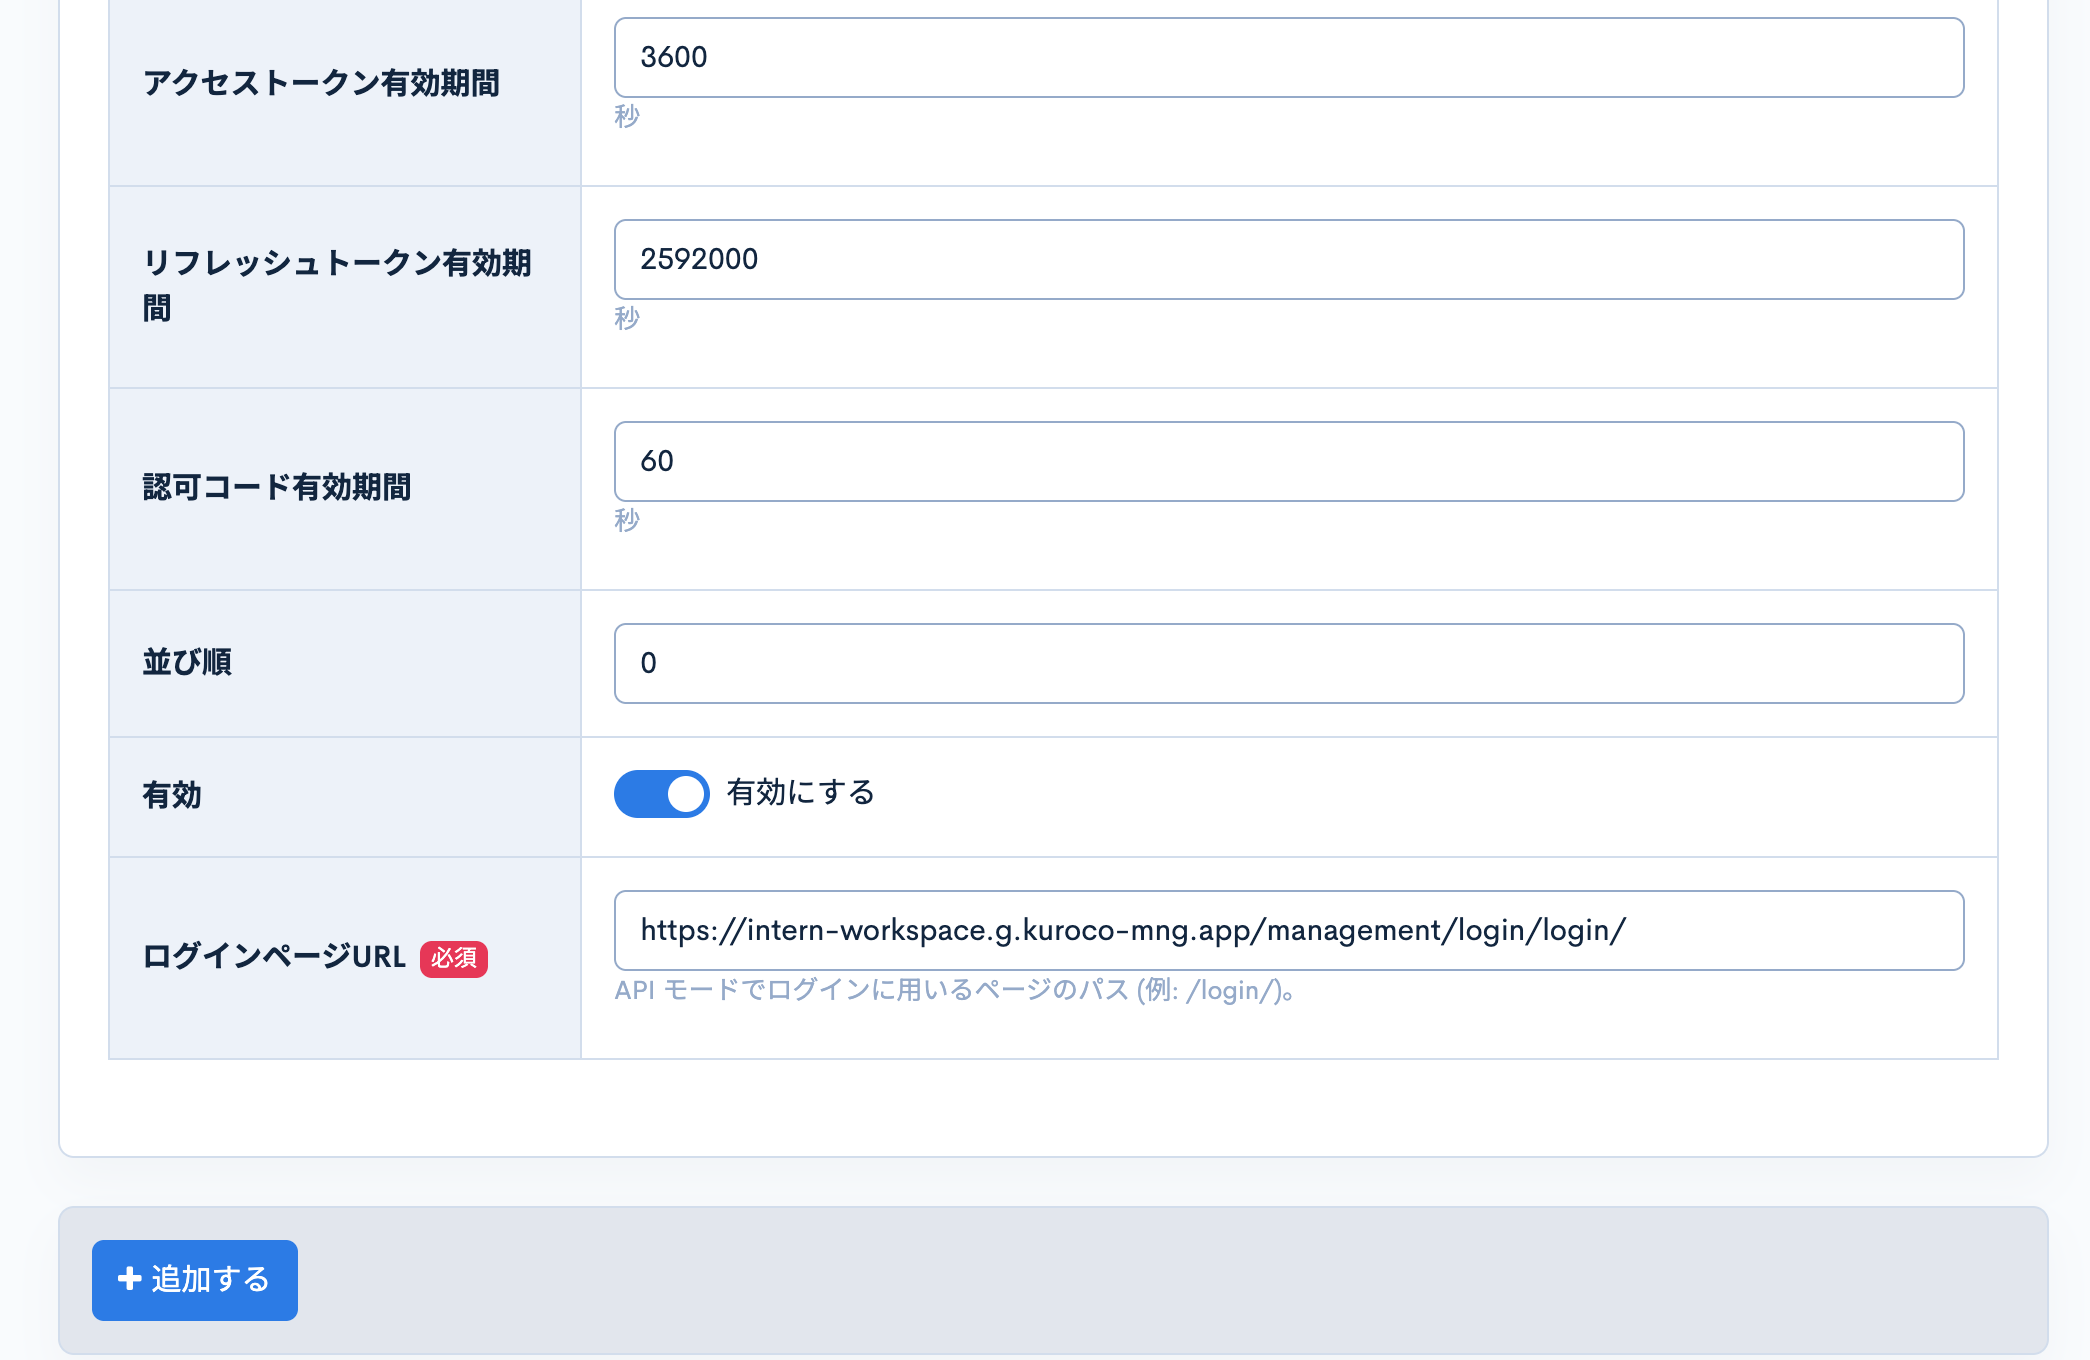
| Access token lifetime | 3600 (seconds) |
| Refresh token lifetime | 2592000 (seconds) |
| Authorization code lifetime | 60 (seconds) |
| Enabled | ON |
| Login page URL | https://{your-domain}.g.kuroco-mng.app/management/login/login/ |
Once the settings are complete, click "Add" to save.
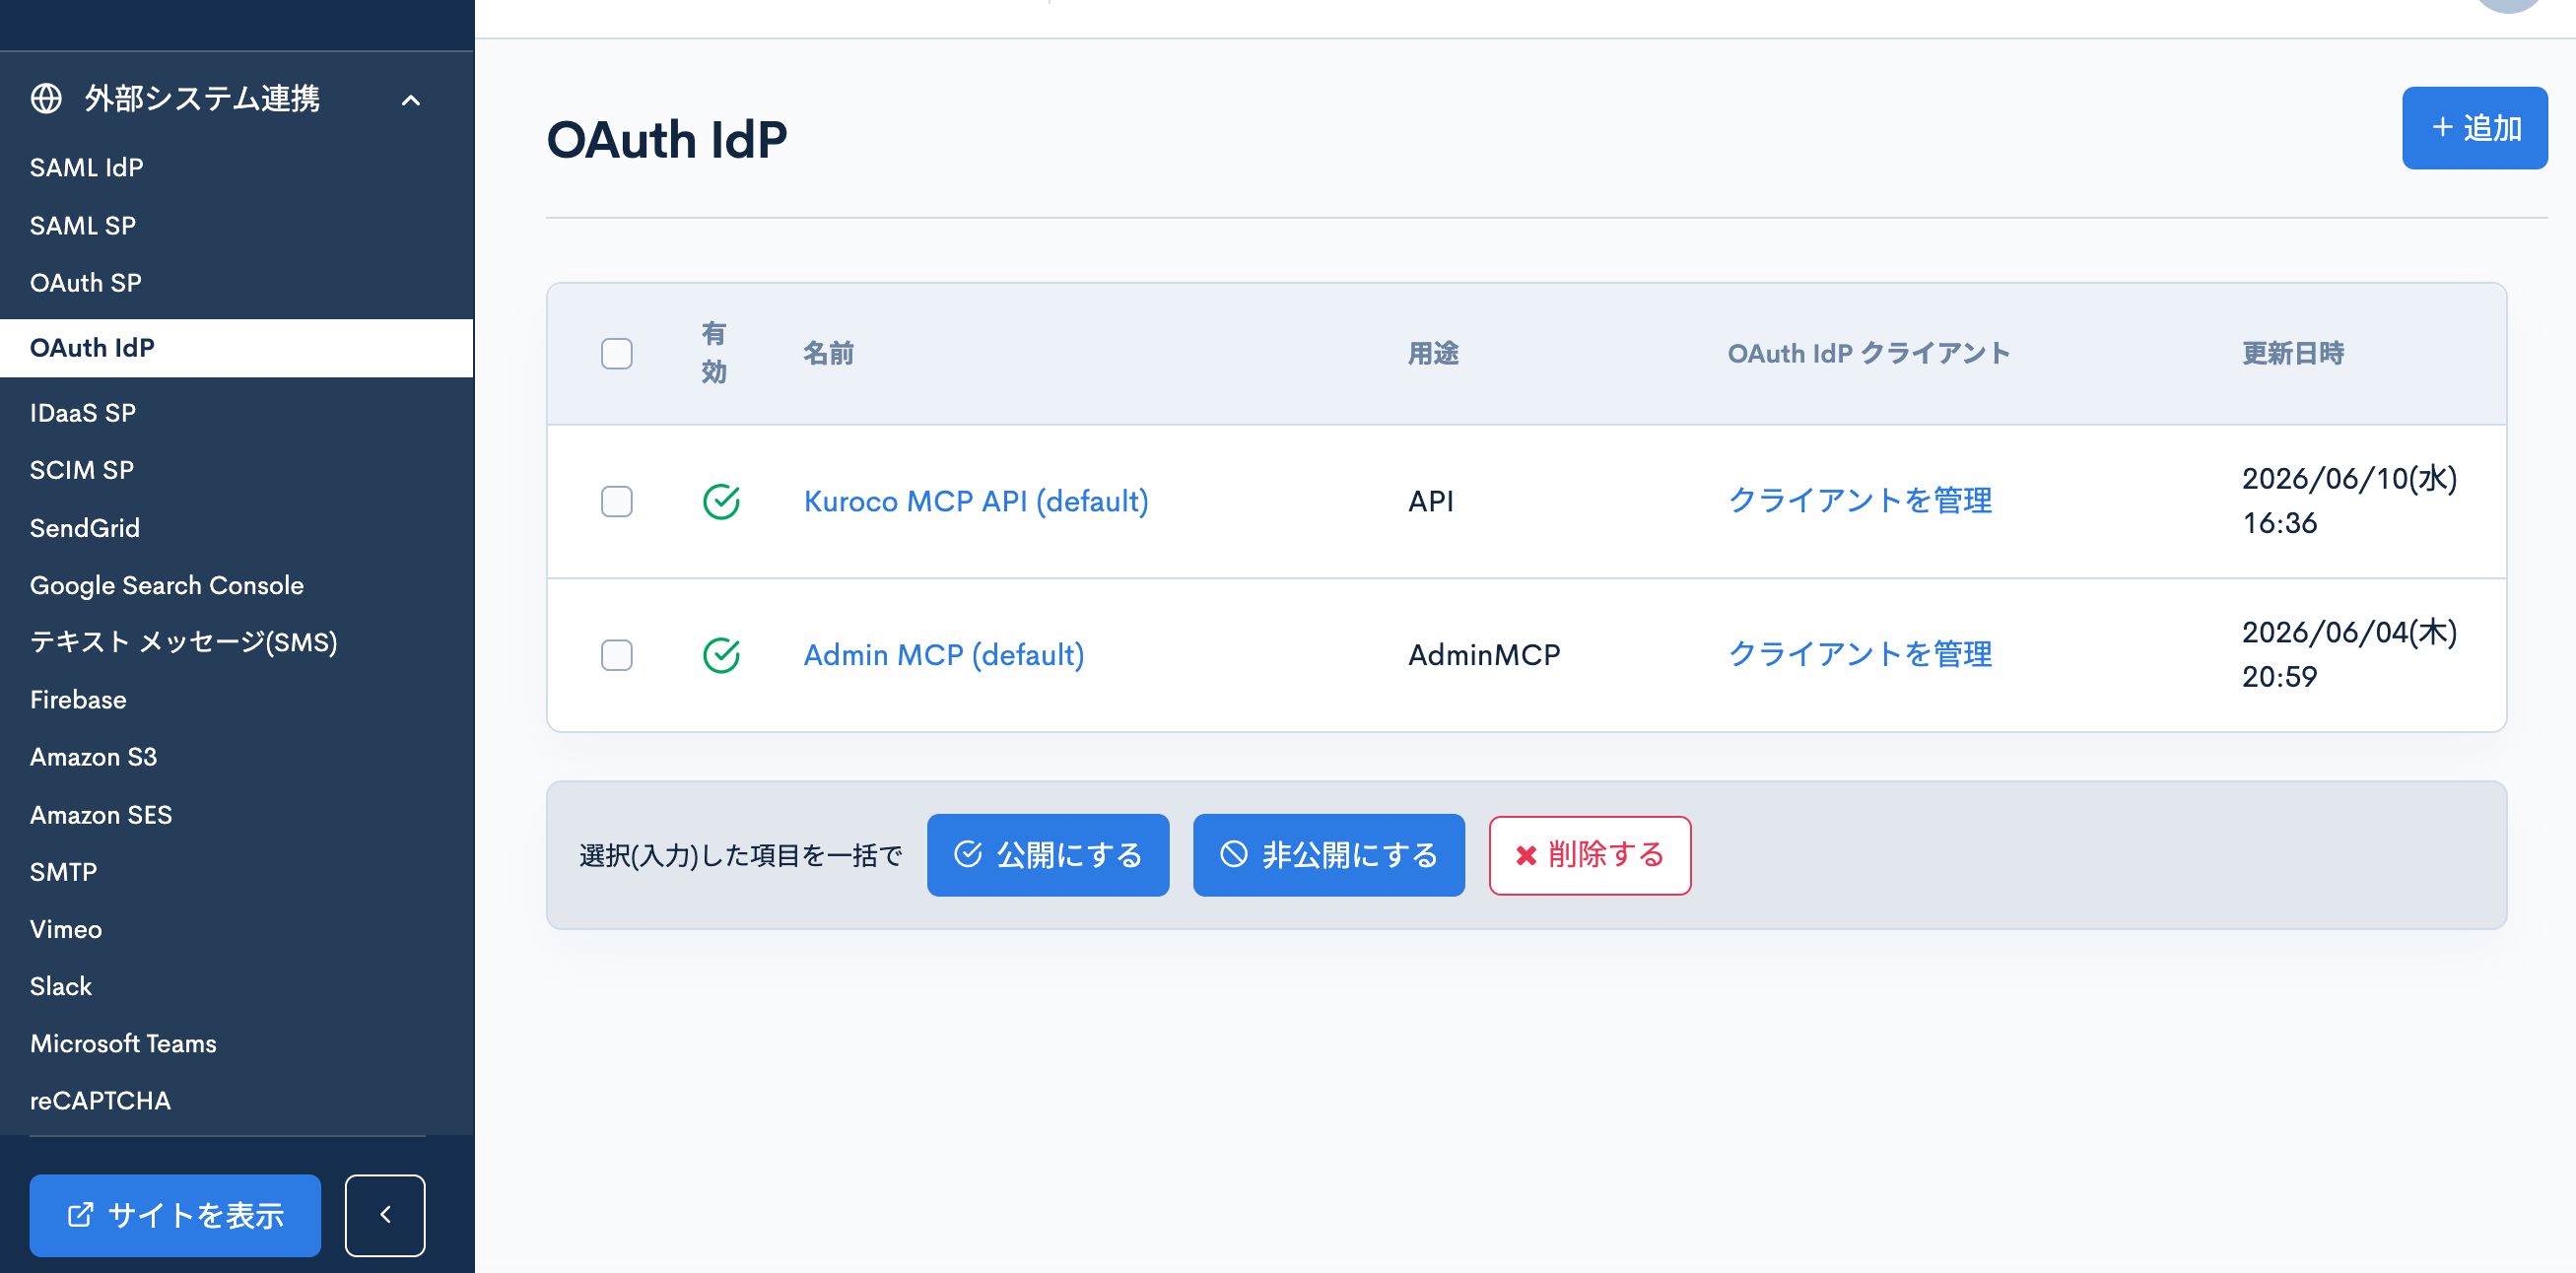
After adding, the created authorization server appears in the list screen.
We recommend keeping a single authorization server with the "API" purpose. Kuroco may have automatically created a default "API"-purpose authorization server (Kuroco MCP API (default)) the first time it was needed. If an "API"-purpose authorization server already exists — for another service such as ChatGPT, or as the default — do not create a new one; instead, add a client for claude from that authorization server's "Manage clients".
Step 4: Add an OAuth Authorization Server client
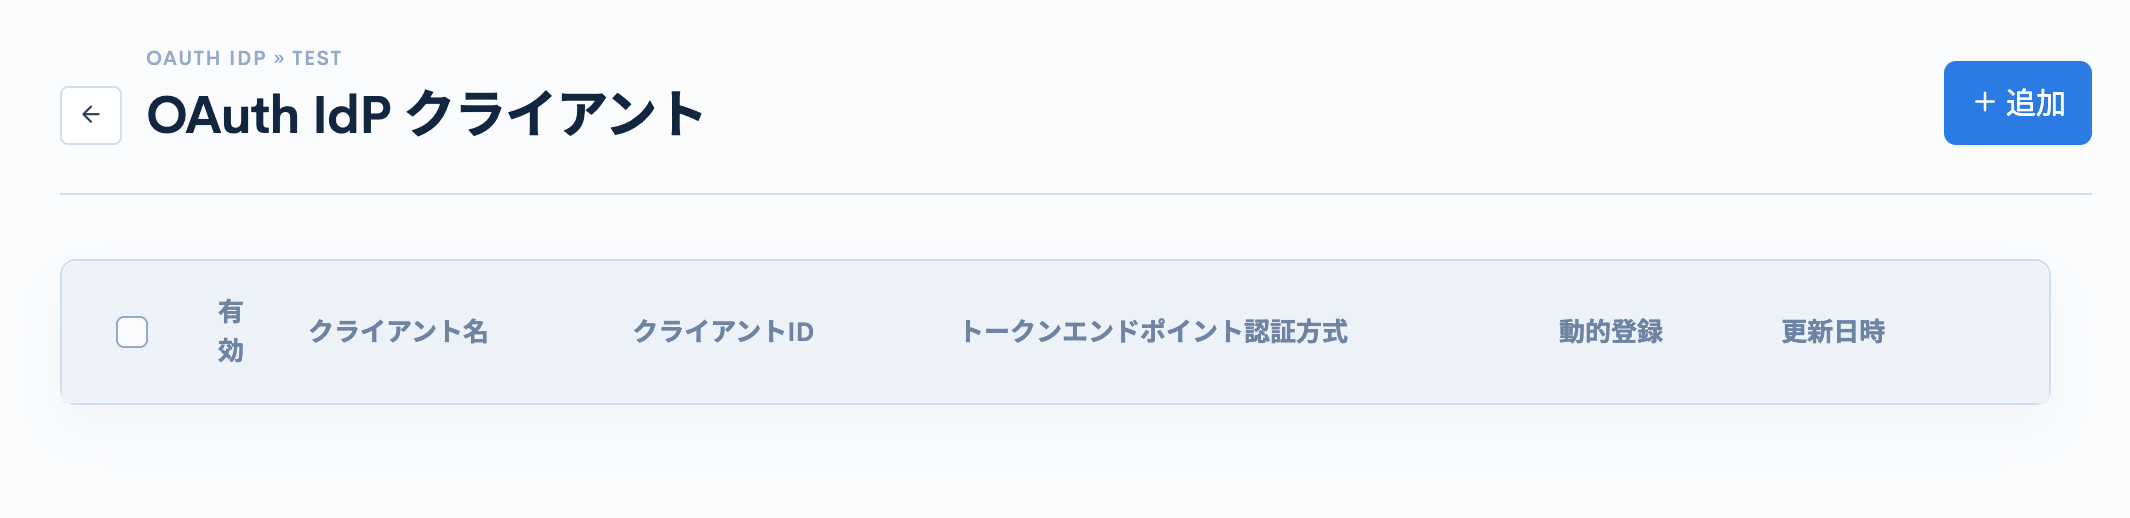
4-1. Open the client list
On the authorization server list screen, click "Manage clients" in the row of the authorization server you created.
The OAuth Authorization Server client list opens. Click the "+ Add" button at the top right.
4-2. Add a client
Configure it as follows.

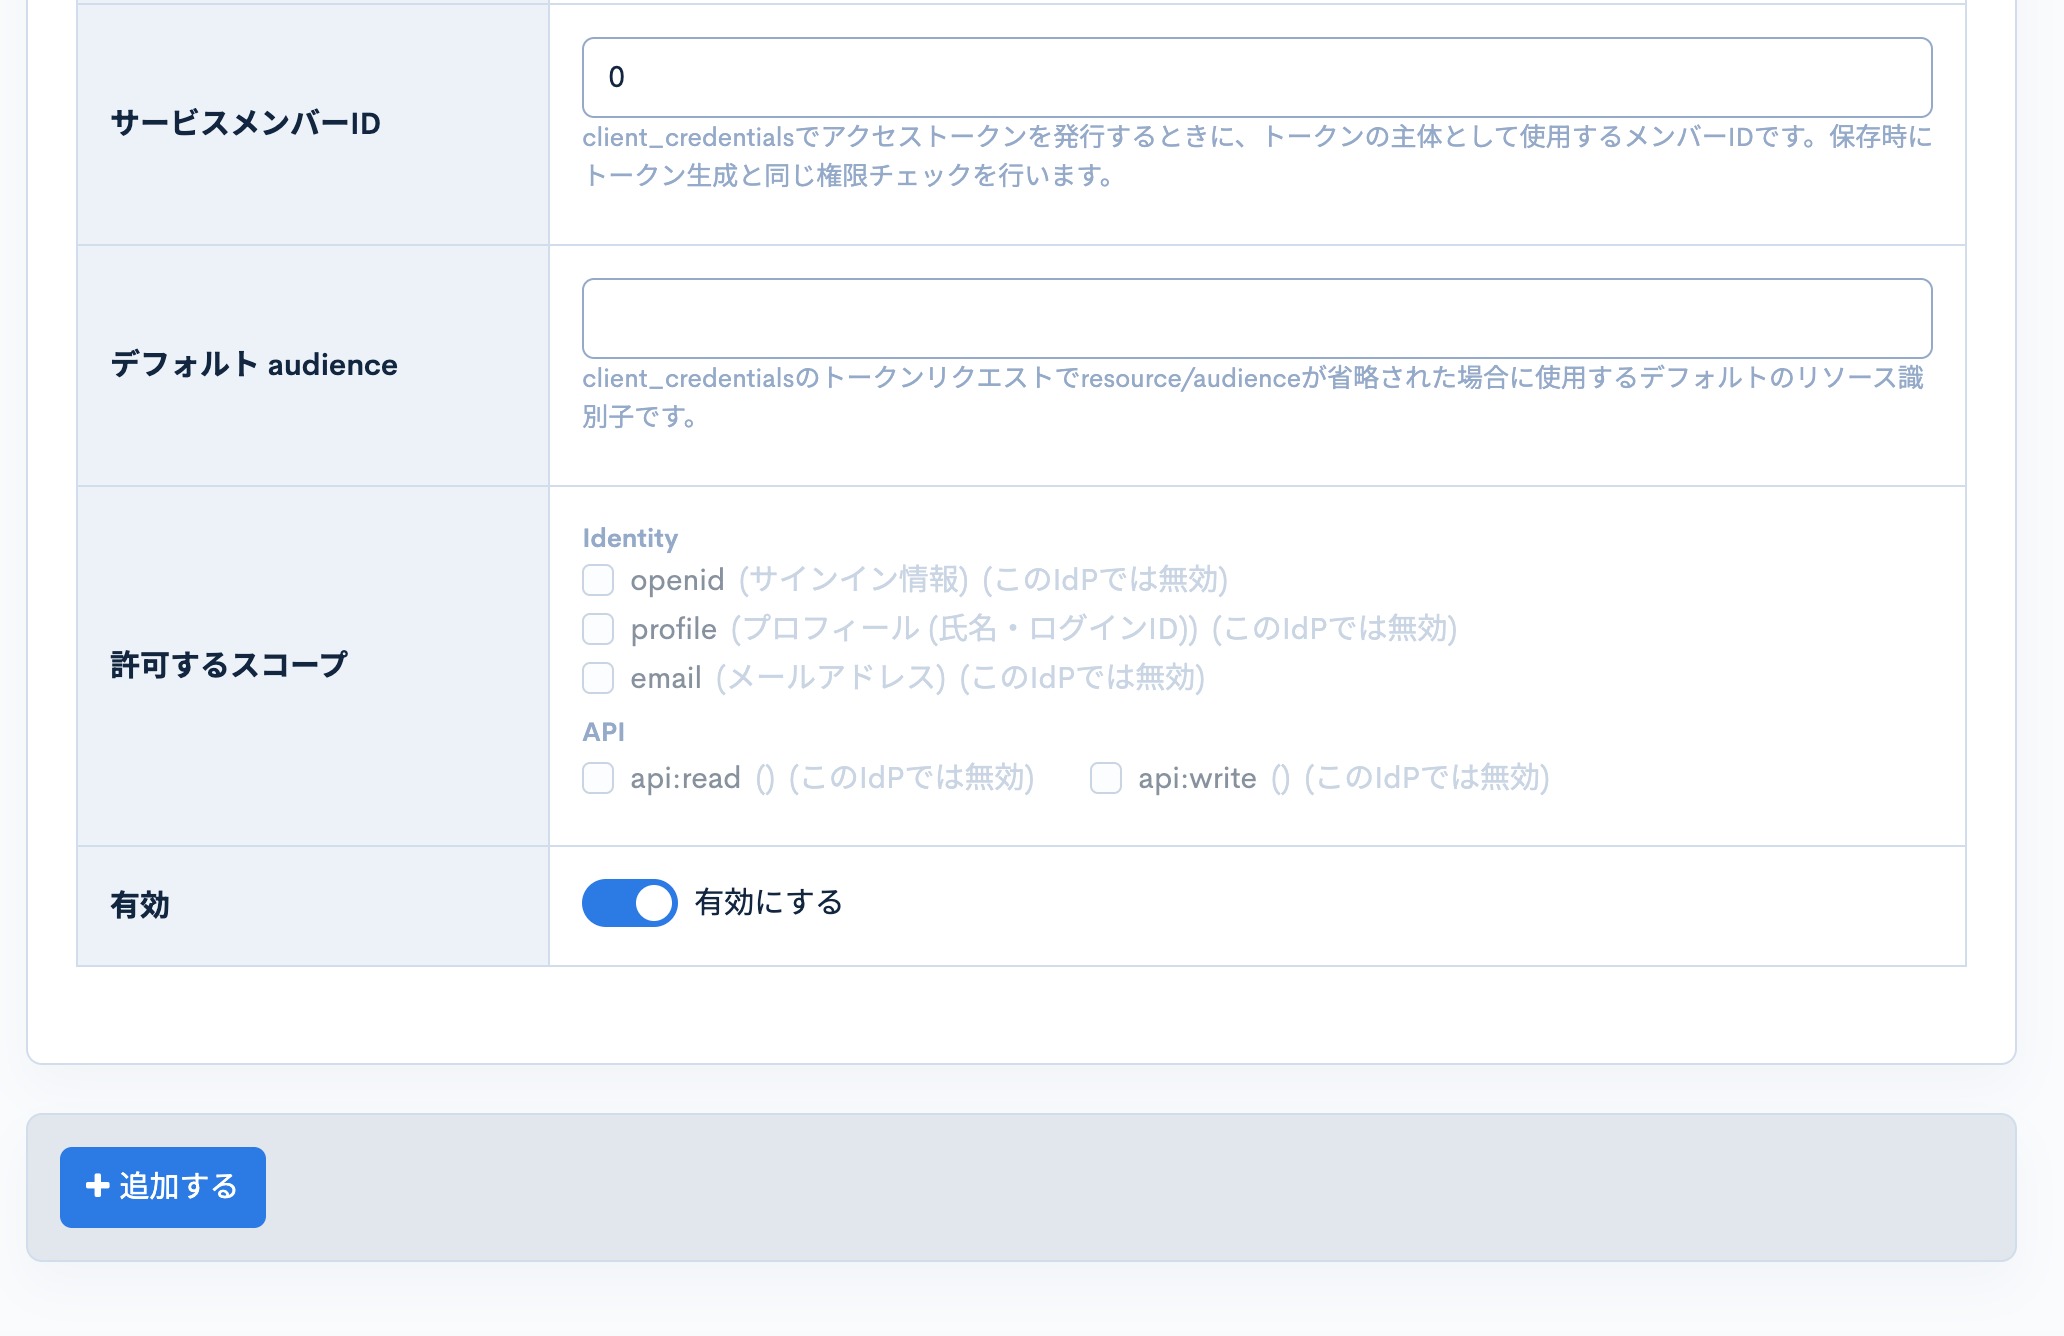
| Item | Value |
|---|---|
| Client name | Arbitrary (e.g., claude) |
| Token endpoint authentication method | none (public client (PKCE only)) |
| Redirect URI | https://claude.ai/api/mcp/auth_callback |
| Supported grant types | Check authorization_code |
| Enabled | ON |
When you click "Add", a Client ID is issued automatically. Make a note of the Client ID displayed in the client list.
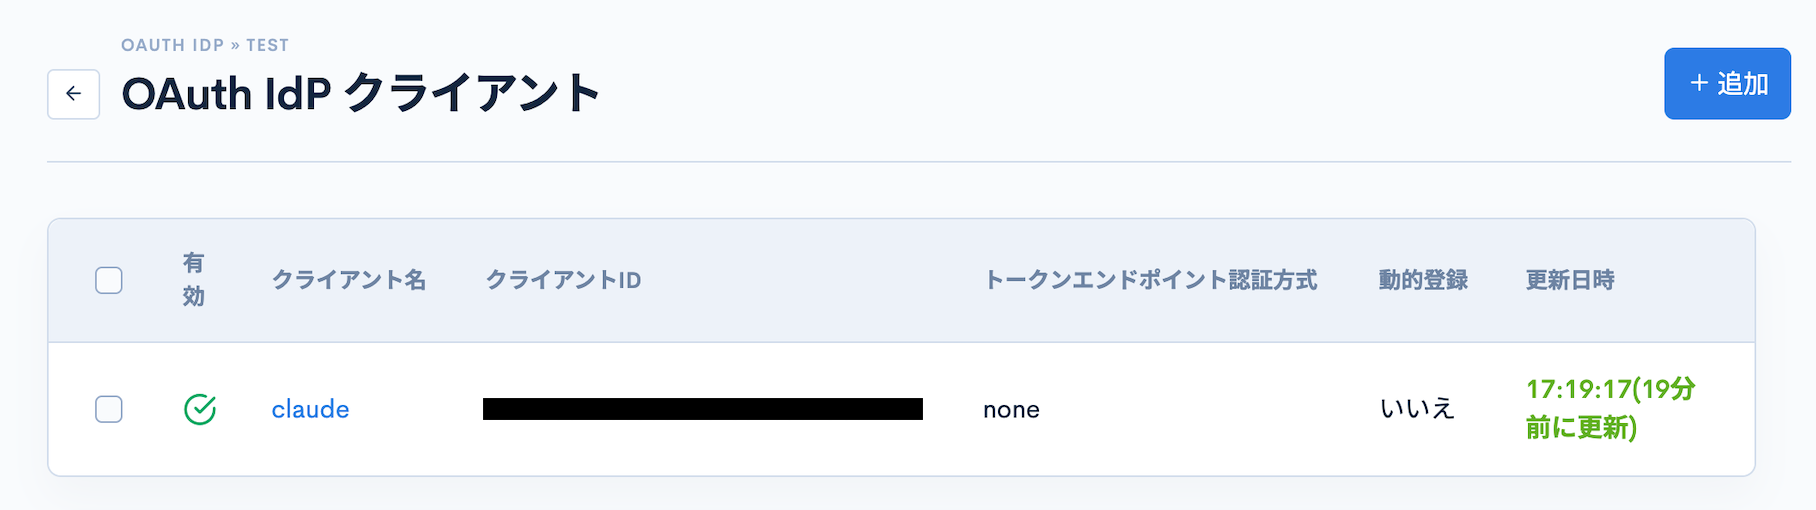
Because the authentication method is set to none (PKCE only), you only need to enter the Client ID on the Claude.ai side. No client secret is required.
Step 5: Enter the Client ID in Claude.ai and connect
-
Open the "Add custom connector" dialog from Step 2 (leave it as is if it is still open).
-
Enter the following.

Item Value to enter Name Arbitrary (e.g., Kuroco)Remote MCP server URL https://{your-site}.g.kuroco.app/rcms-api/{id}/mcpOAuth Client ID The Client ID you noted in Step 4 OAuth Client Secret Leave blank -
Click "Add".
-
It is added to the connector list, and a "Connect" button appears on the detail screen.
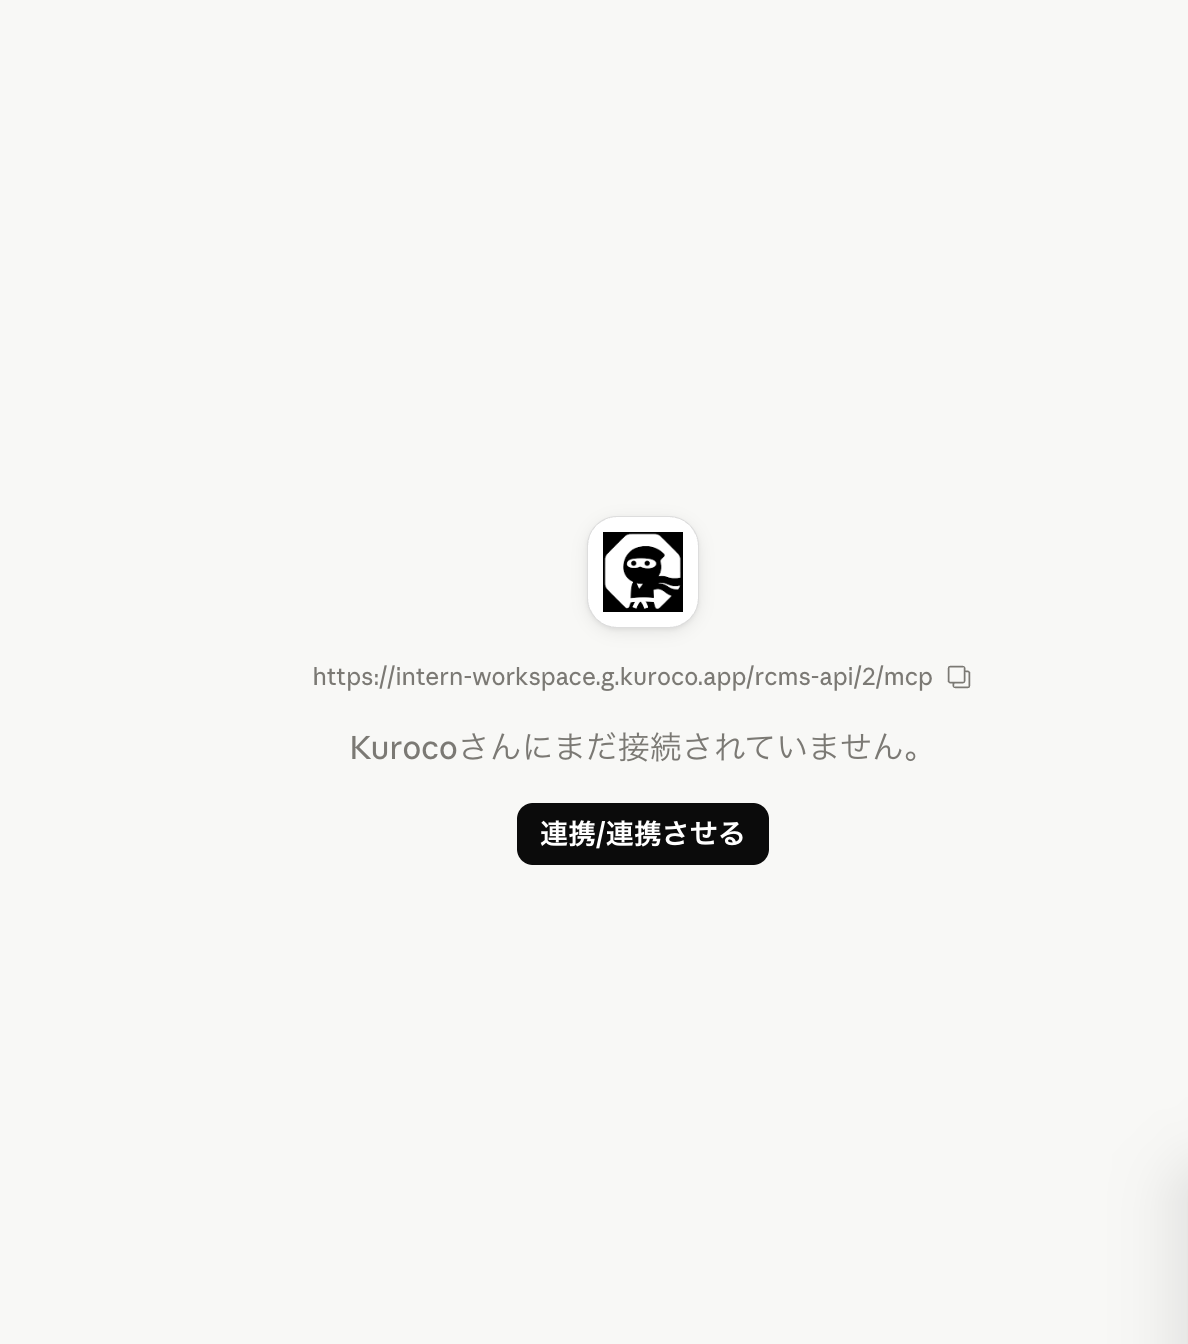
-
When you click "Connect", the Kuroco login screen opens.
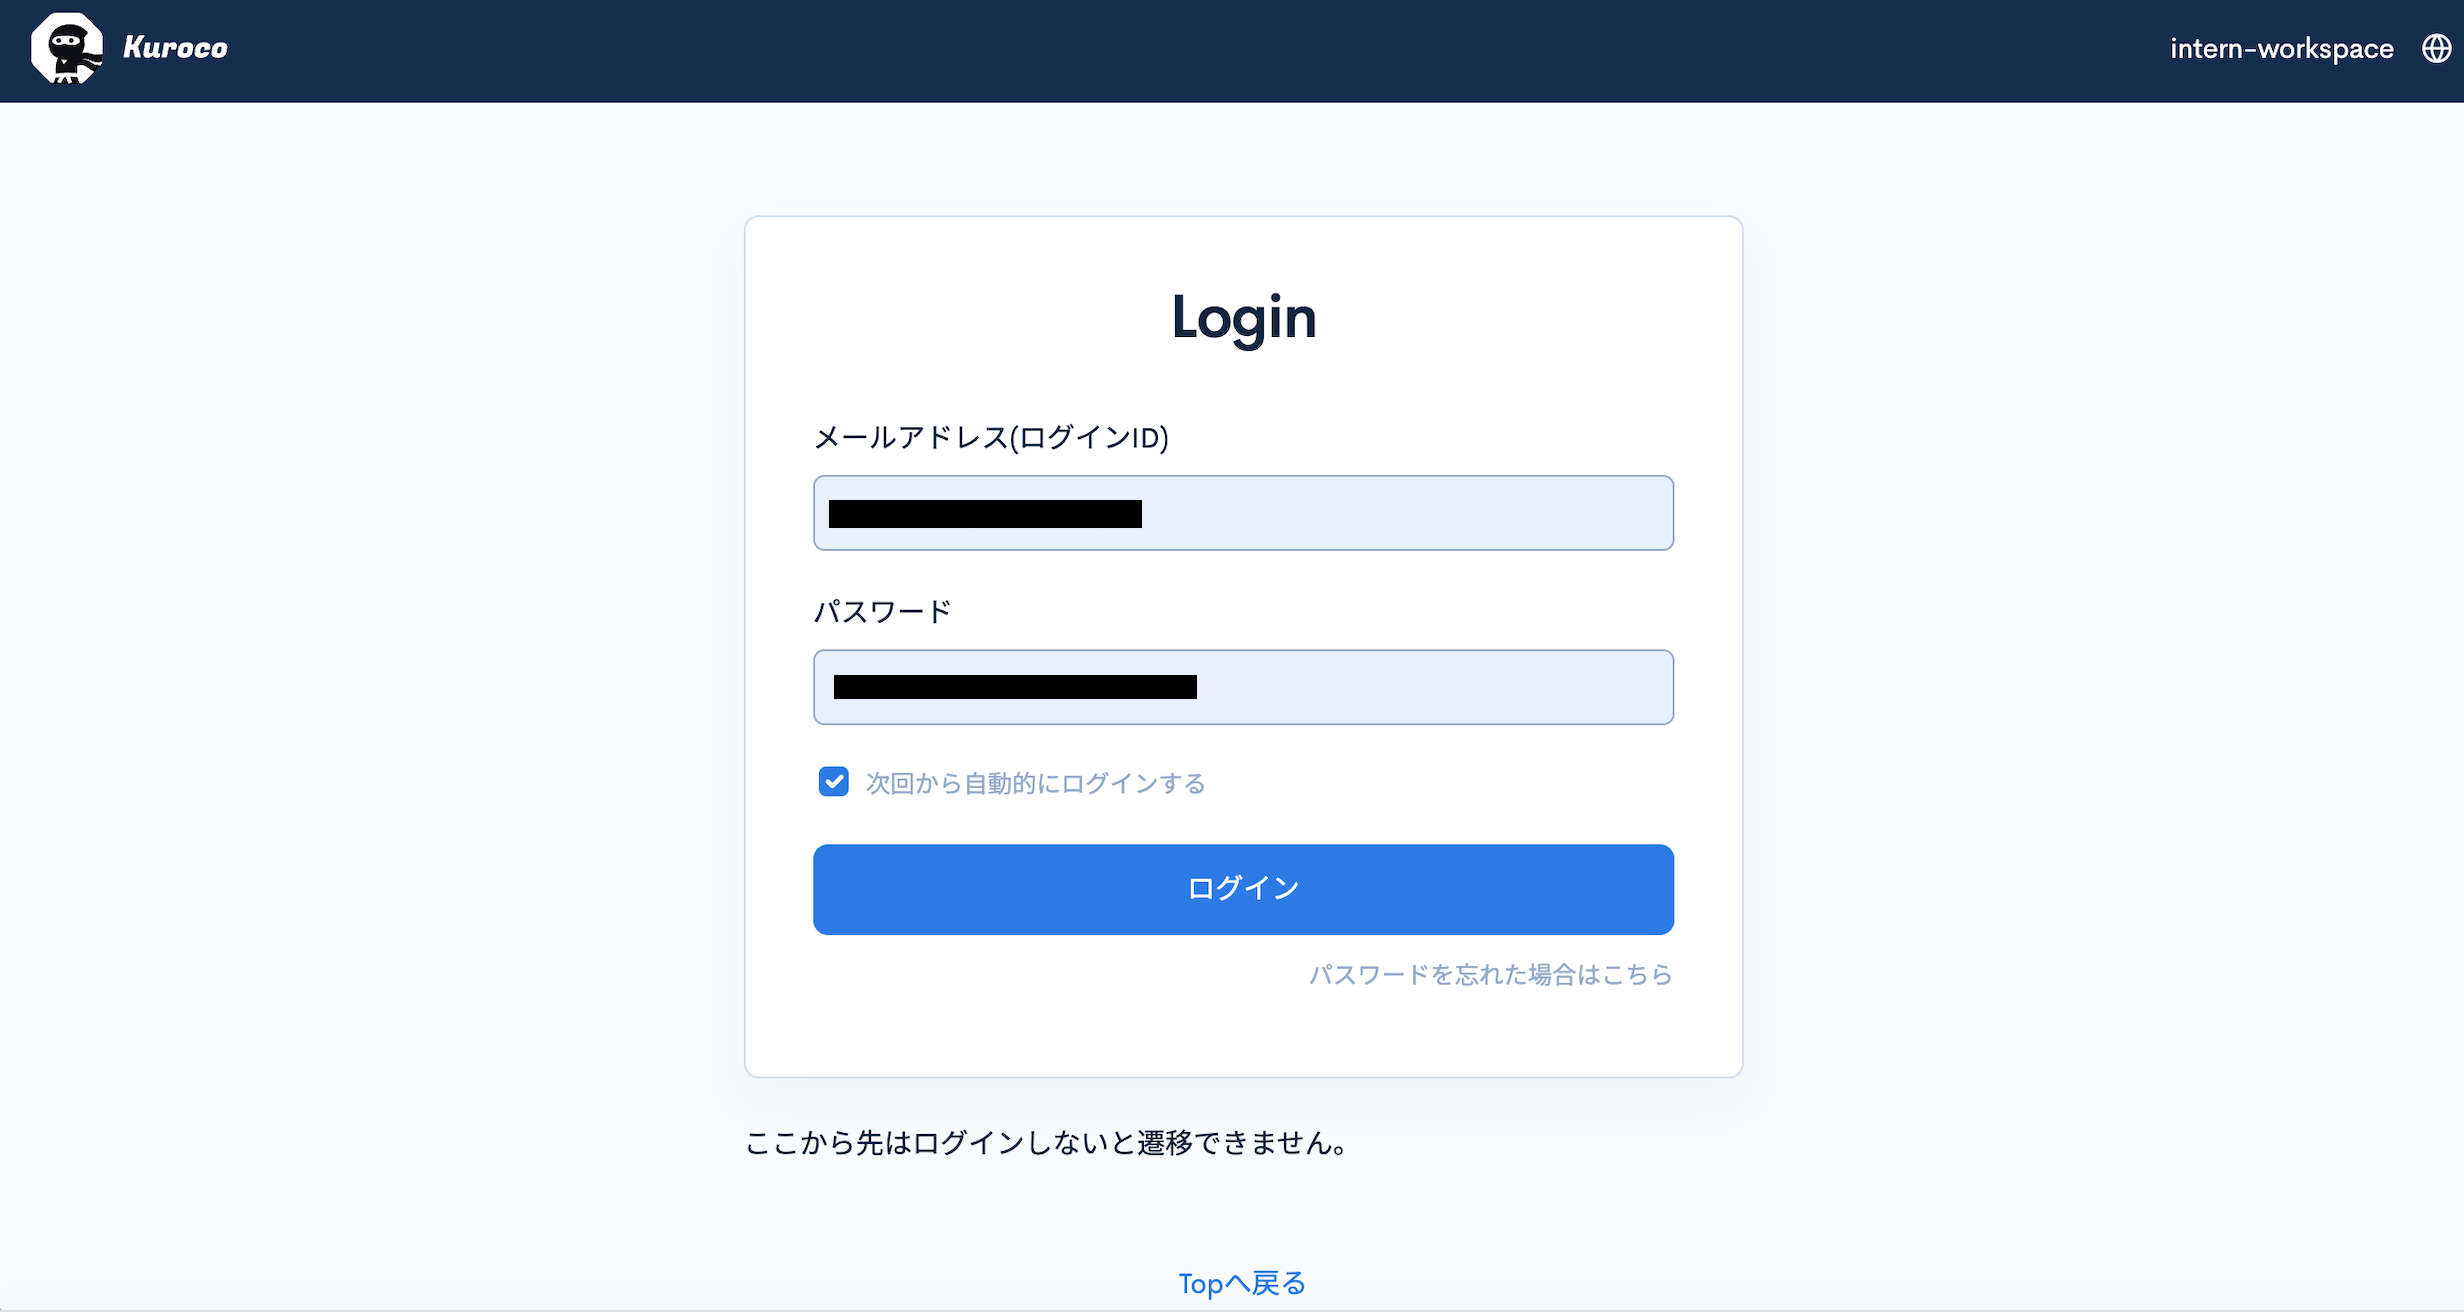
-
After you log in with your Kuroco account, an access permission confirmation screen appears.
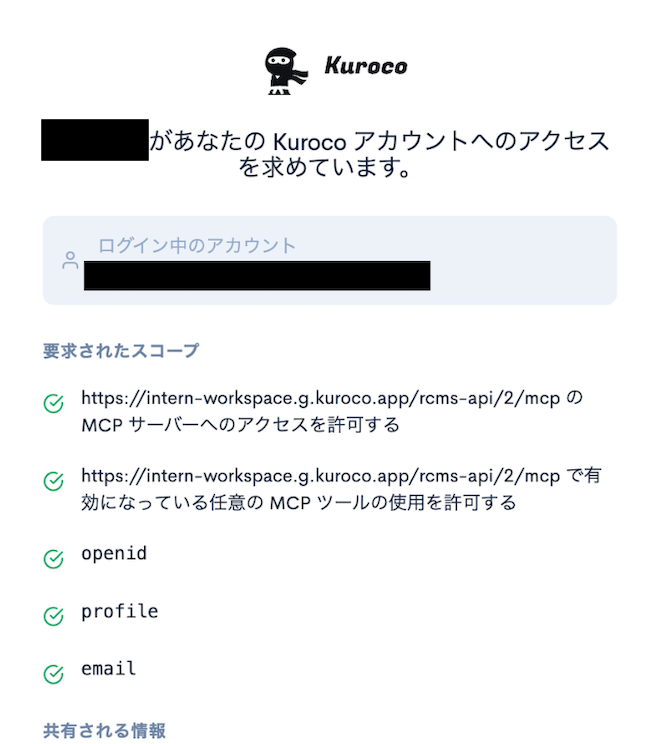
-
Review the content and click "Allow" to complete authentication. The connector is now in a connected state.
Perform the operations from login to "Allow" quickly. If the authorization code lifetime (60 seconds) expires, you will get a Consent request is invalid or expired error. In that case, start over from "Connect" on the Claude.ai side.
Step 6: Verify the connection
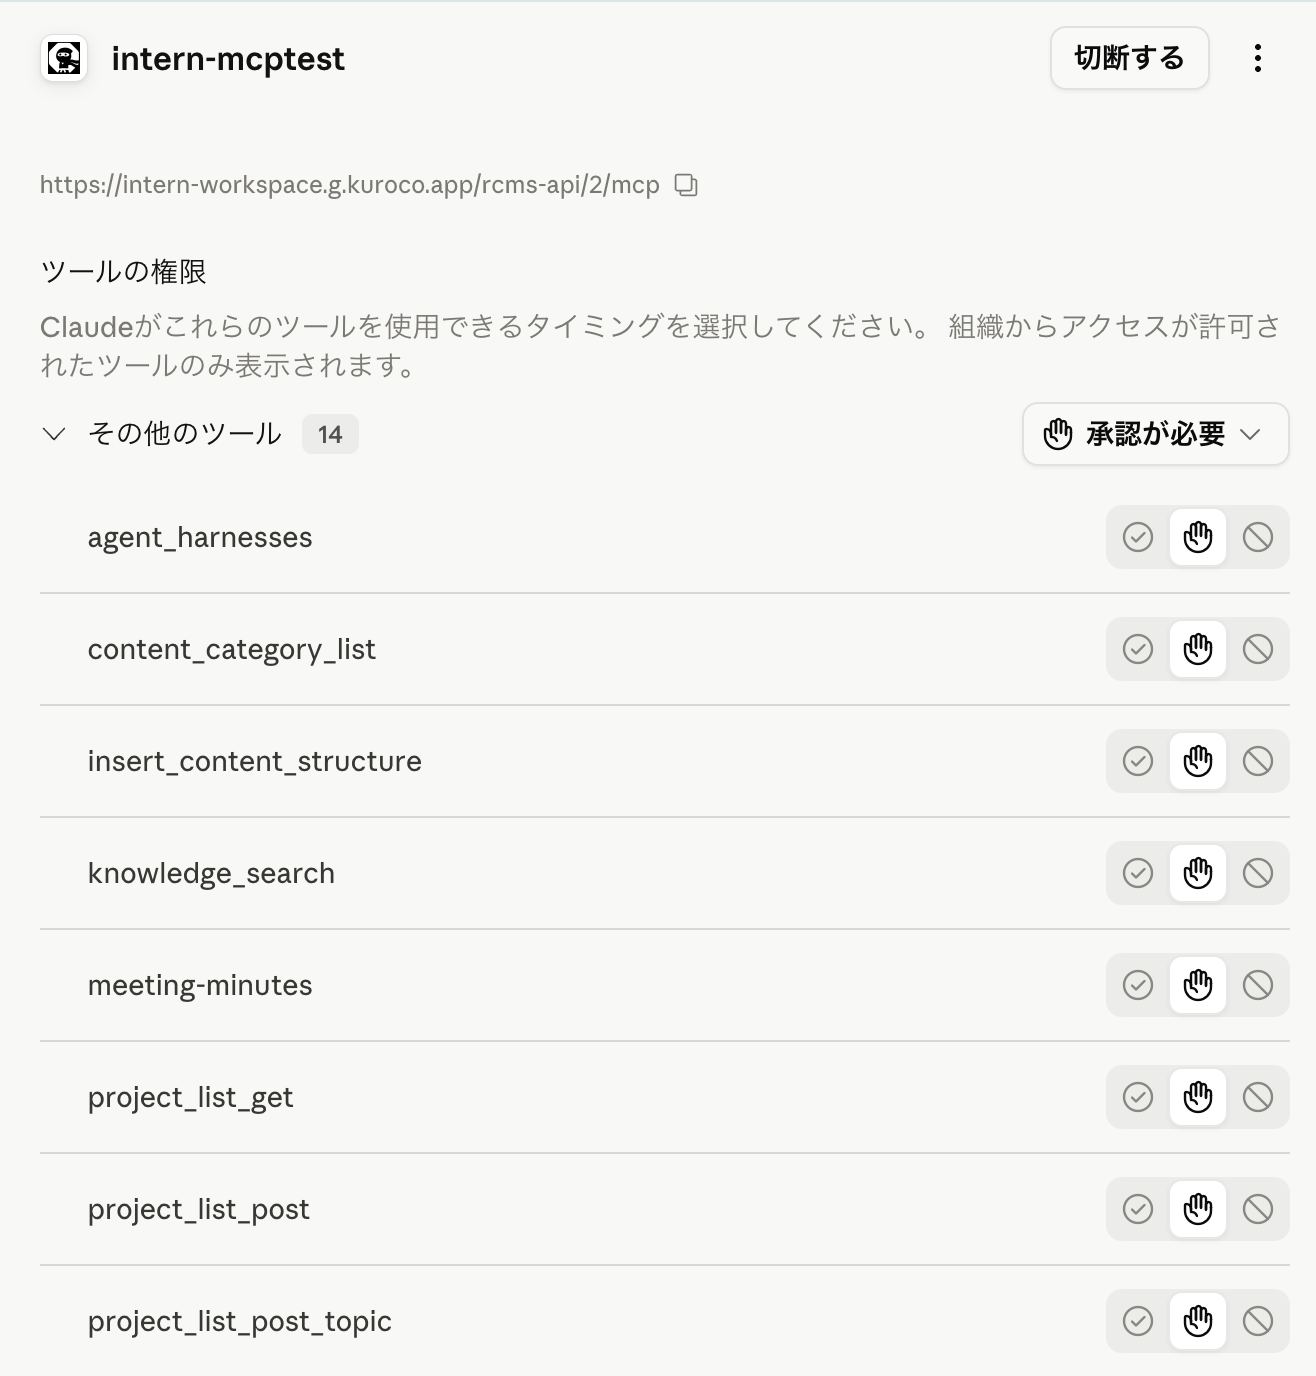
6-1. Check the tool list
Click the Kuroco connector you registered in the connector list to display the list of available tools. If you can see tool names such as knowledge_search, the connection was successful.
6-2. Try it in a chat
-
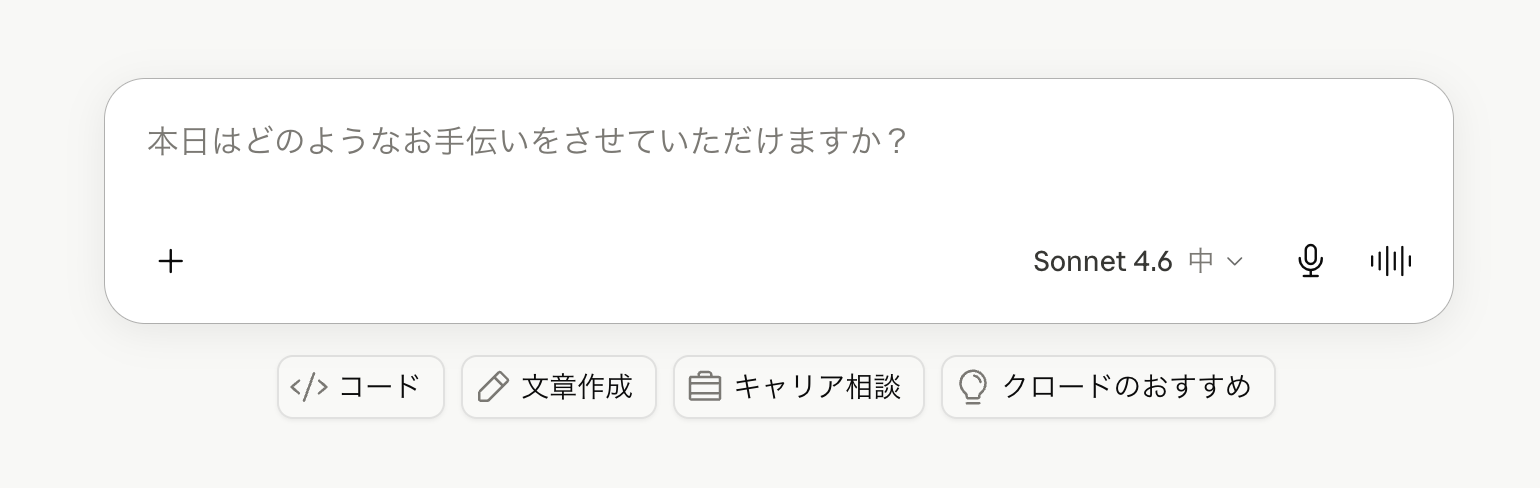
Open a new chat.
-
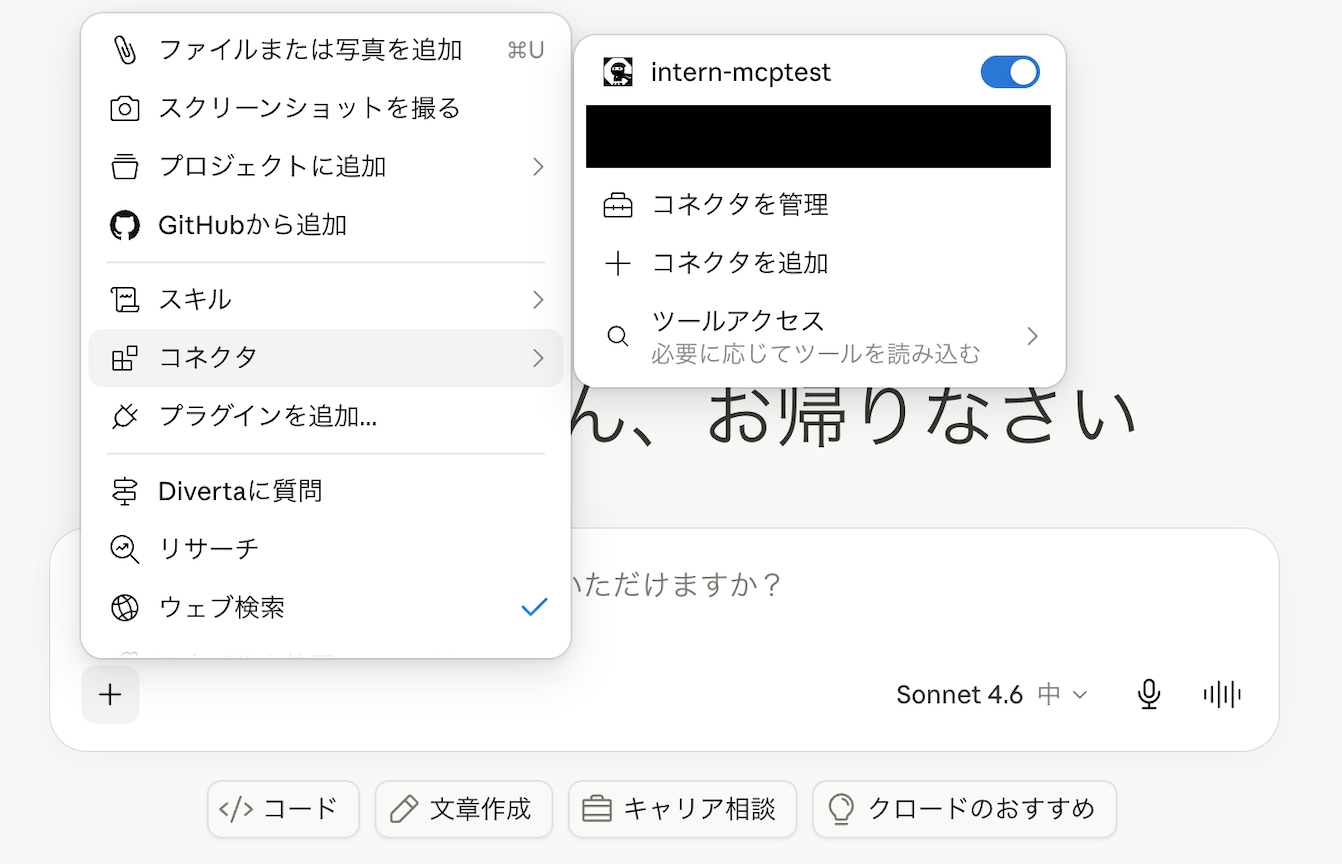
Click the "+" button at the bottom left of the chat input field.
-
Select "Connectors" and toggle the Kuroco connector ON.
-
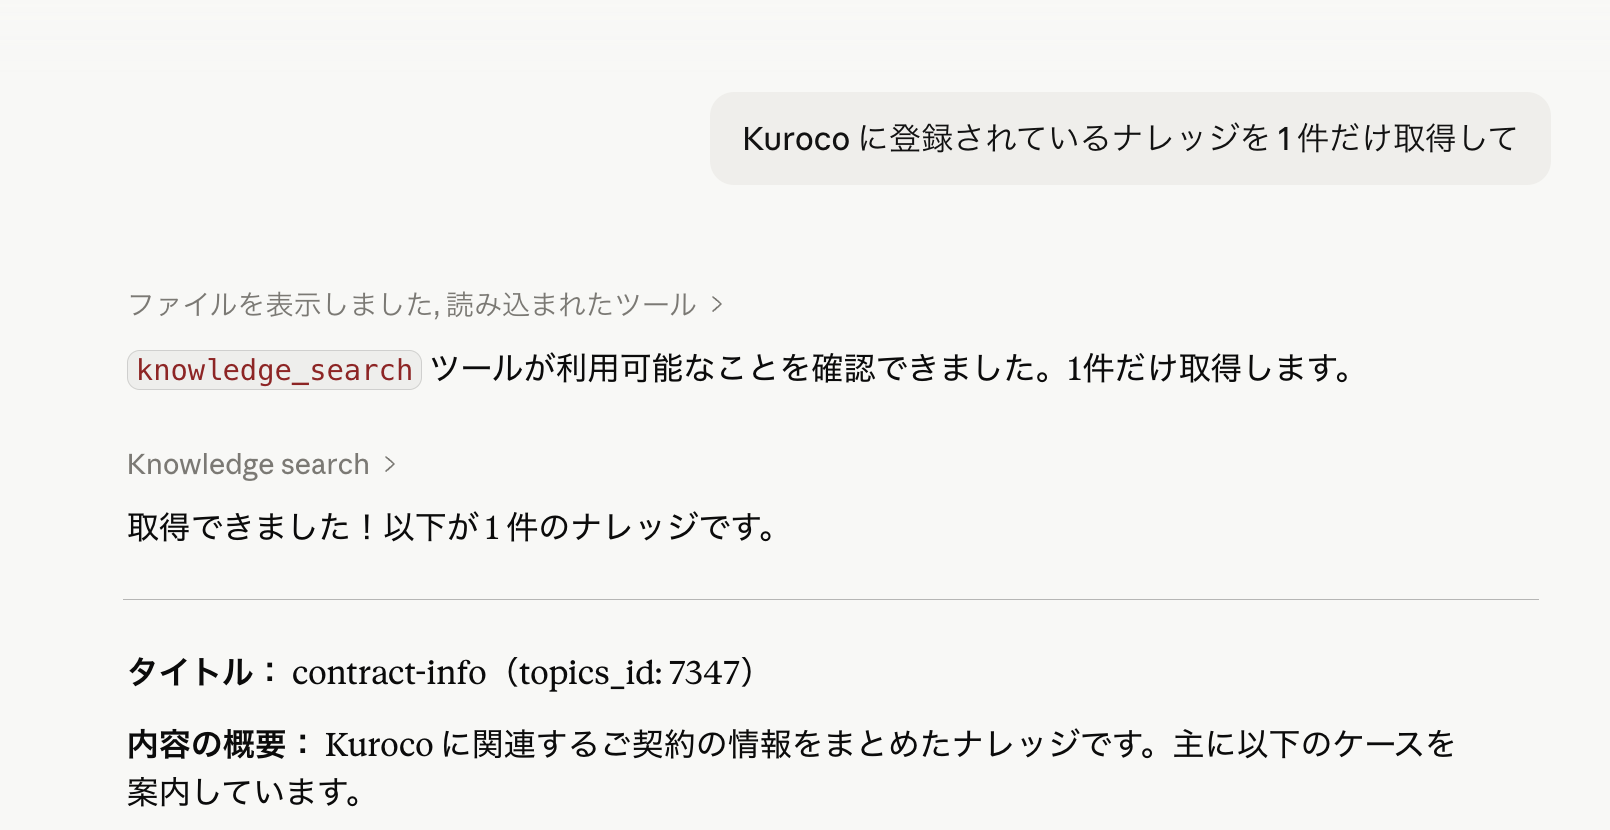
Send the following prompt to verify the behavior.
"Retrieve just one piece of knowledge registered in Kuroco."
If the connection is successful, you will see that the knowledge_search tool was called, and the response will include content retrieved from Kuroco.
Related documents
- Model Context Protocol (MCP) Integration with Kuroco — A guide to MCP setup on the Kuroco side
Support
If you have any other questions, please contact us or check out Our Slack Community.