How to implement original validation in API by using custom function
This tutorial explains how to implement original validation in API using custom functions and API Pre-processing.
This feature allows you to add advanced input validation that cannot be achieved using the standard features alone.
This time, we will implement a validation process that returns an error if the POST email address does not match a specific domain.
Preparation
Create API endpoint
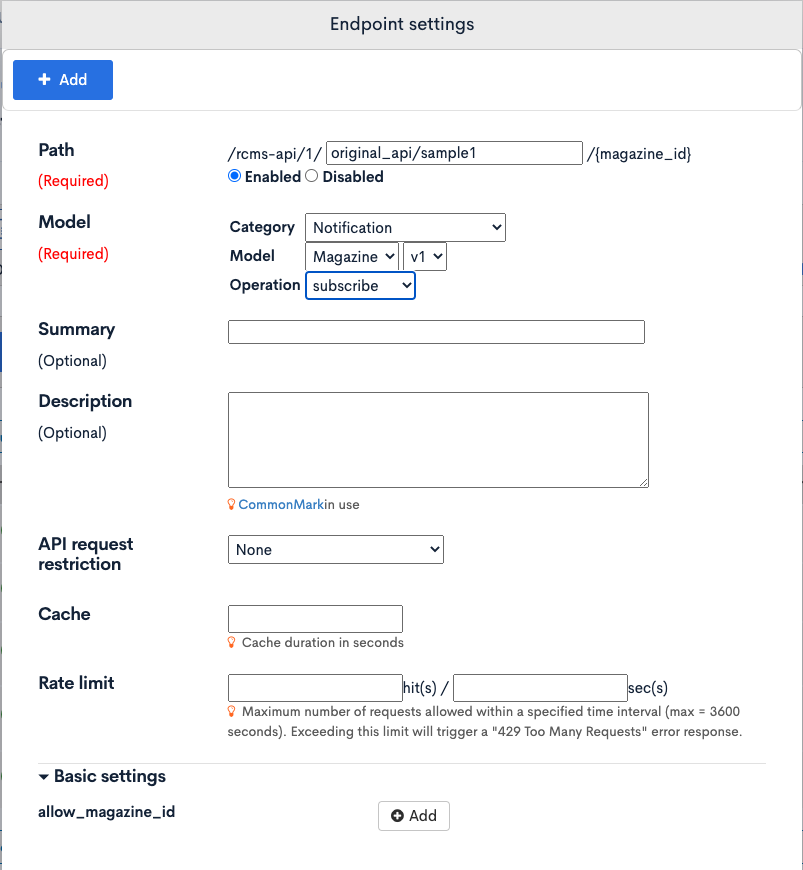
Before starting, let's prepare an API endpoint to implement the validation referring to Configuring endpoints.
This time, we created the following endpoint under "Default".
| item | value | |
|---|---|---|
| Path | original_api/sample1 | |
| enabled/disabled | enabled | |
| Model | Category | Notification |
| Model | Magazine | |
| Operation | subscribe |
Create custom function
Let's prepare a custom function to write the validation process.
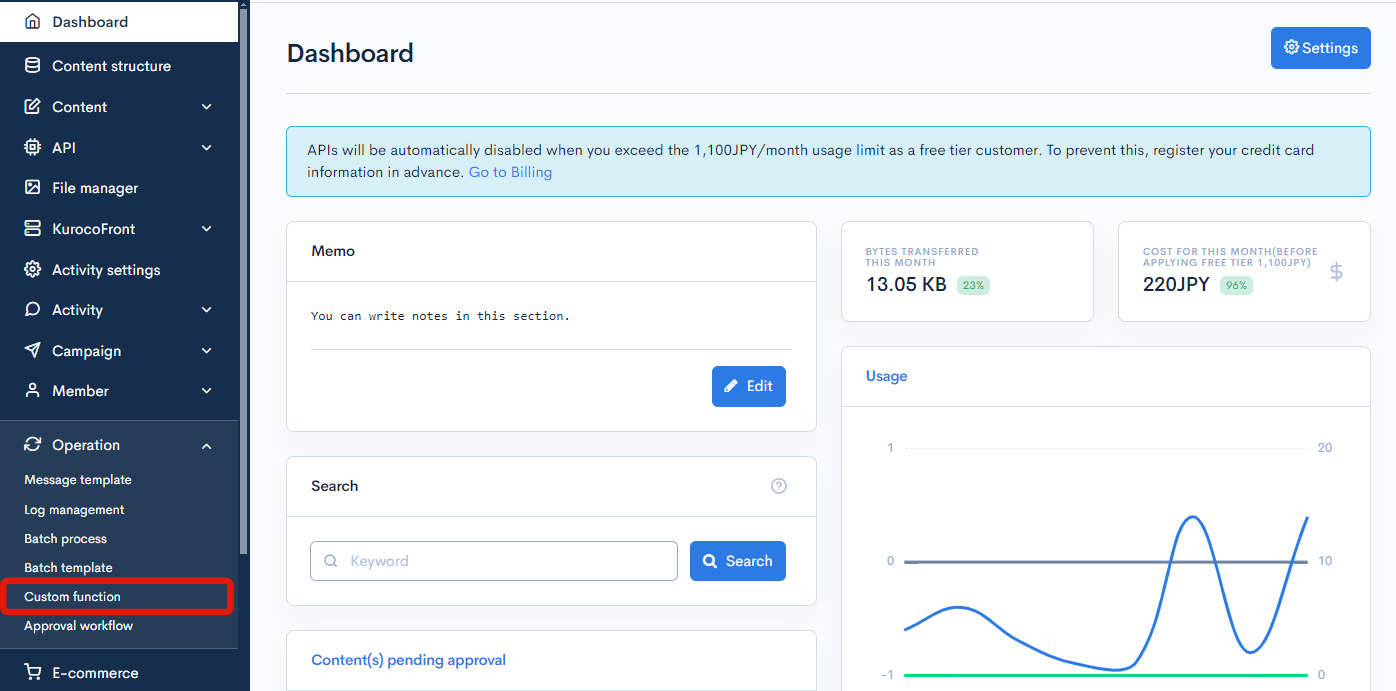
1. Access the Custom function list page
Click [Operation] -> [Custom function] on the side menu.
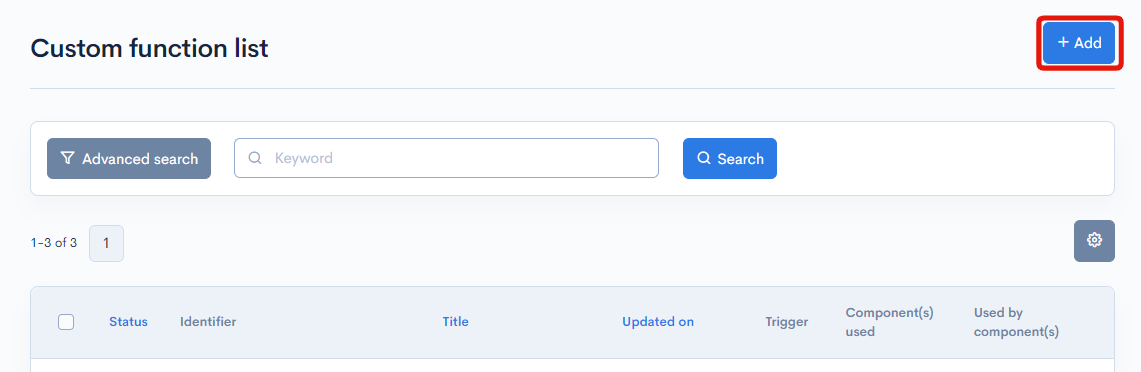
2. Access the Custom function editor page
Click [Add] button on the top right of the Custom function list page.
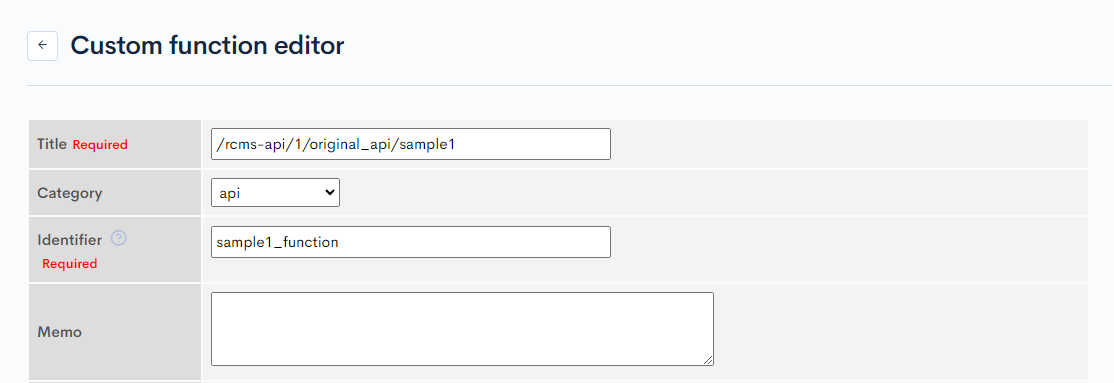
3. Enter the title and category
Enter the title, category, and Identifier of the custom function, like below for example:
- Title:/rcms-api/1/original_api/sample1
- Category:api
- Identifier:sample1_function
Note: you cannot duplicate custom functions title in the same category. Please enter a title that isn't identical to others, such as the endpoint name in which the costom function will be implemented.
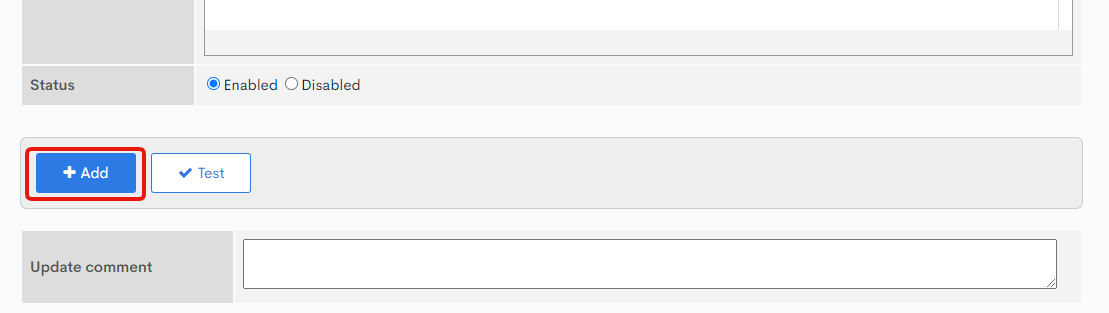
4. Save the custom function
Click [Add] button on the bottom of the page and save the custom function.
Write the code for the validation process
Next, let's write the code of the validation process.
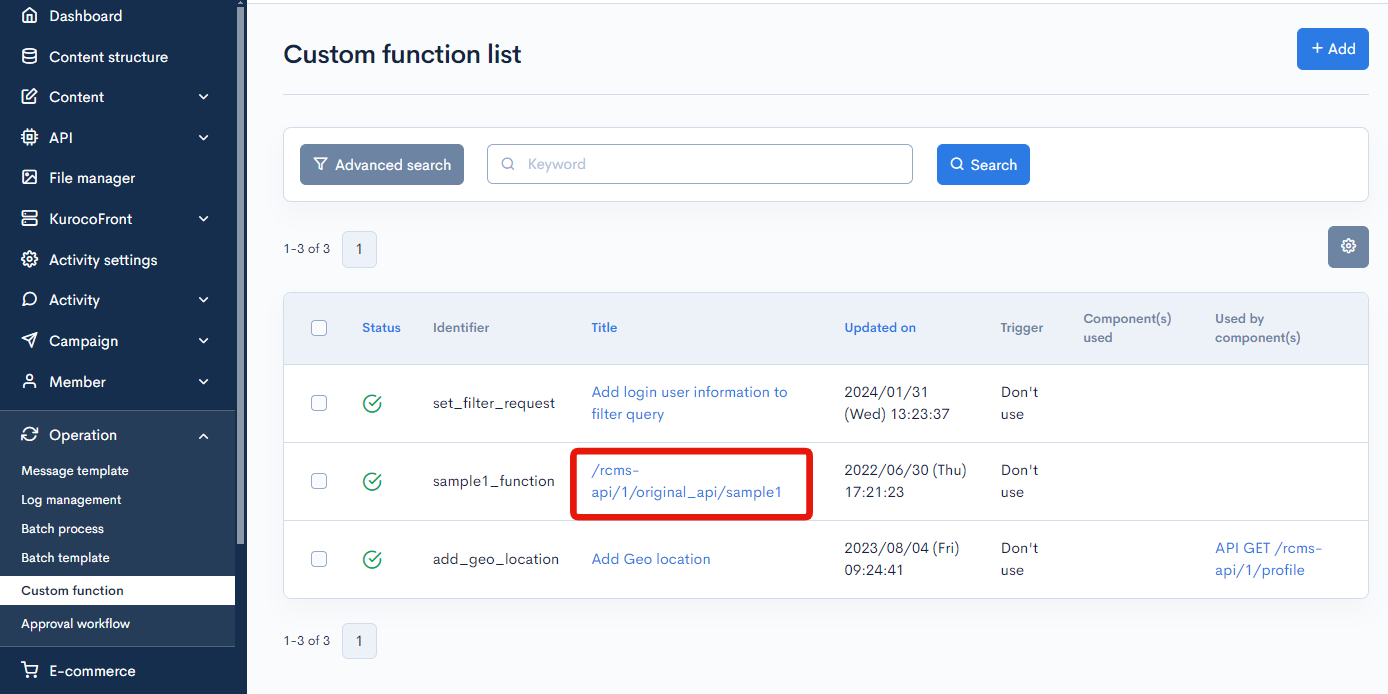
1. Access the Custom functions list page
Click [Operation] -> [Custom function] on the side menu.
Click the title of the custom function which you have just created.
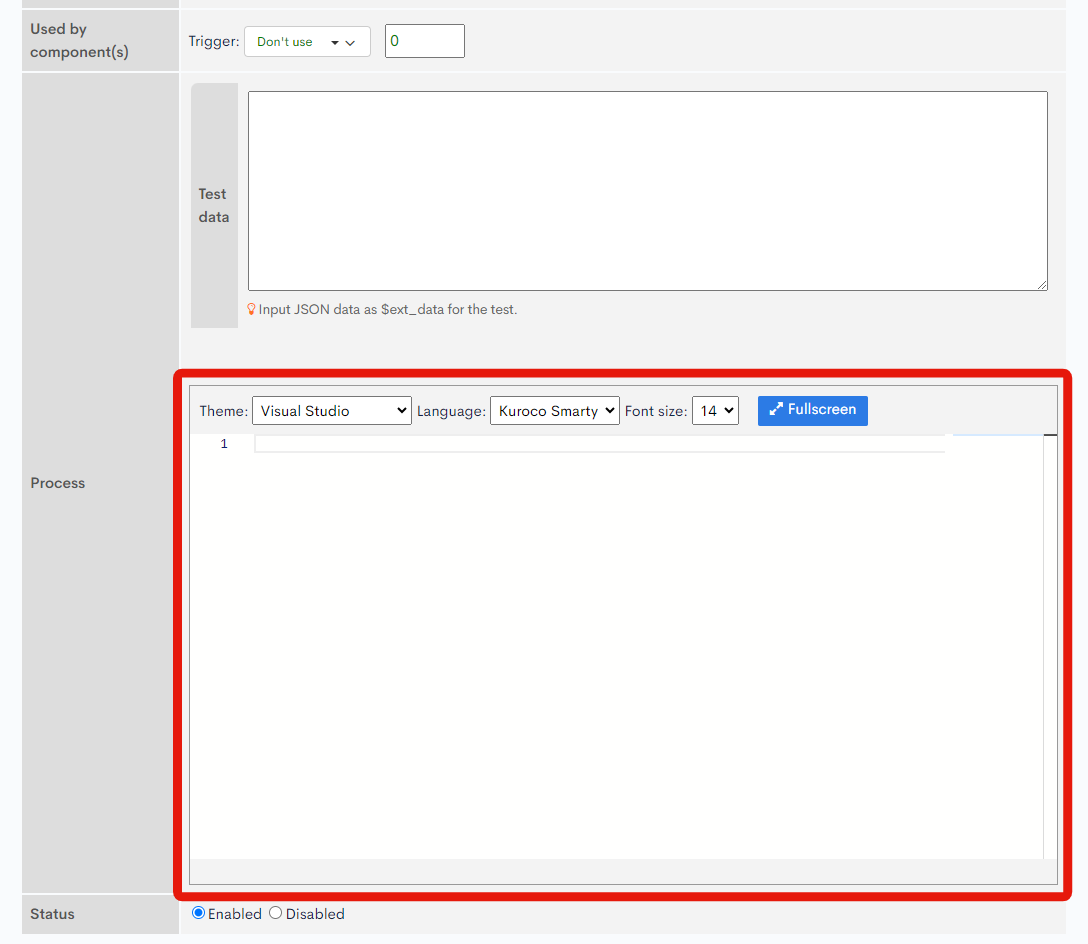
Input the validation process in the Custom function editor page following the procedure below.
2. Initialize the errors variable
Initialize the $errors variable to save the validation result.
| Variable name | type | description |
|---|---|---|
| $errors | array | string array |
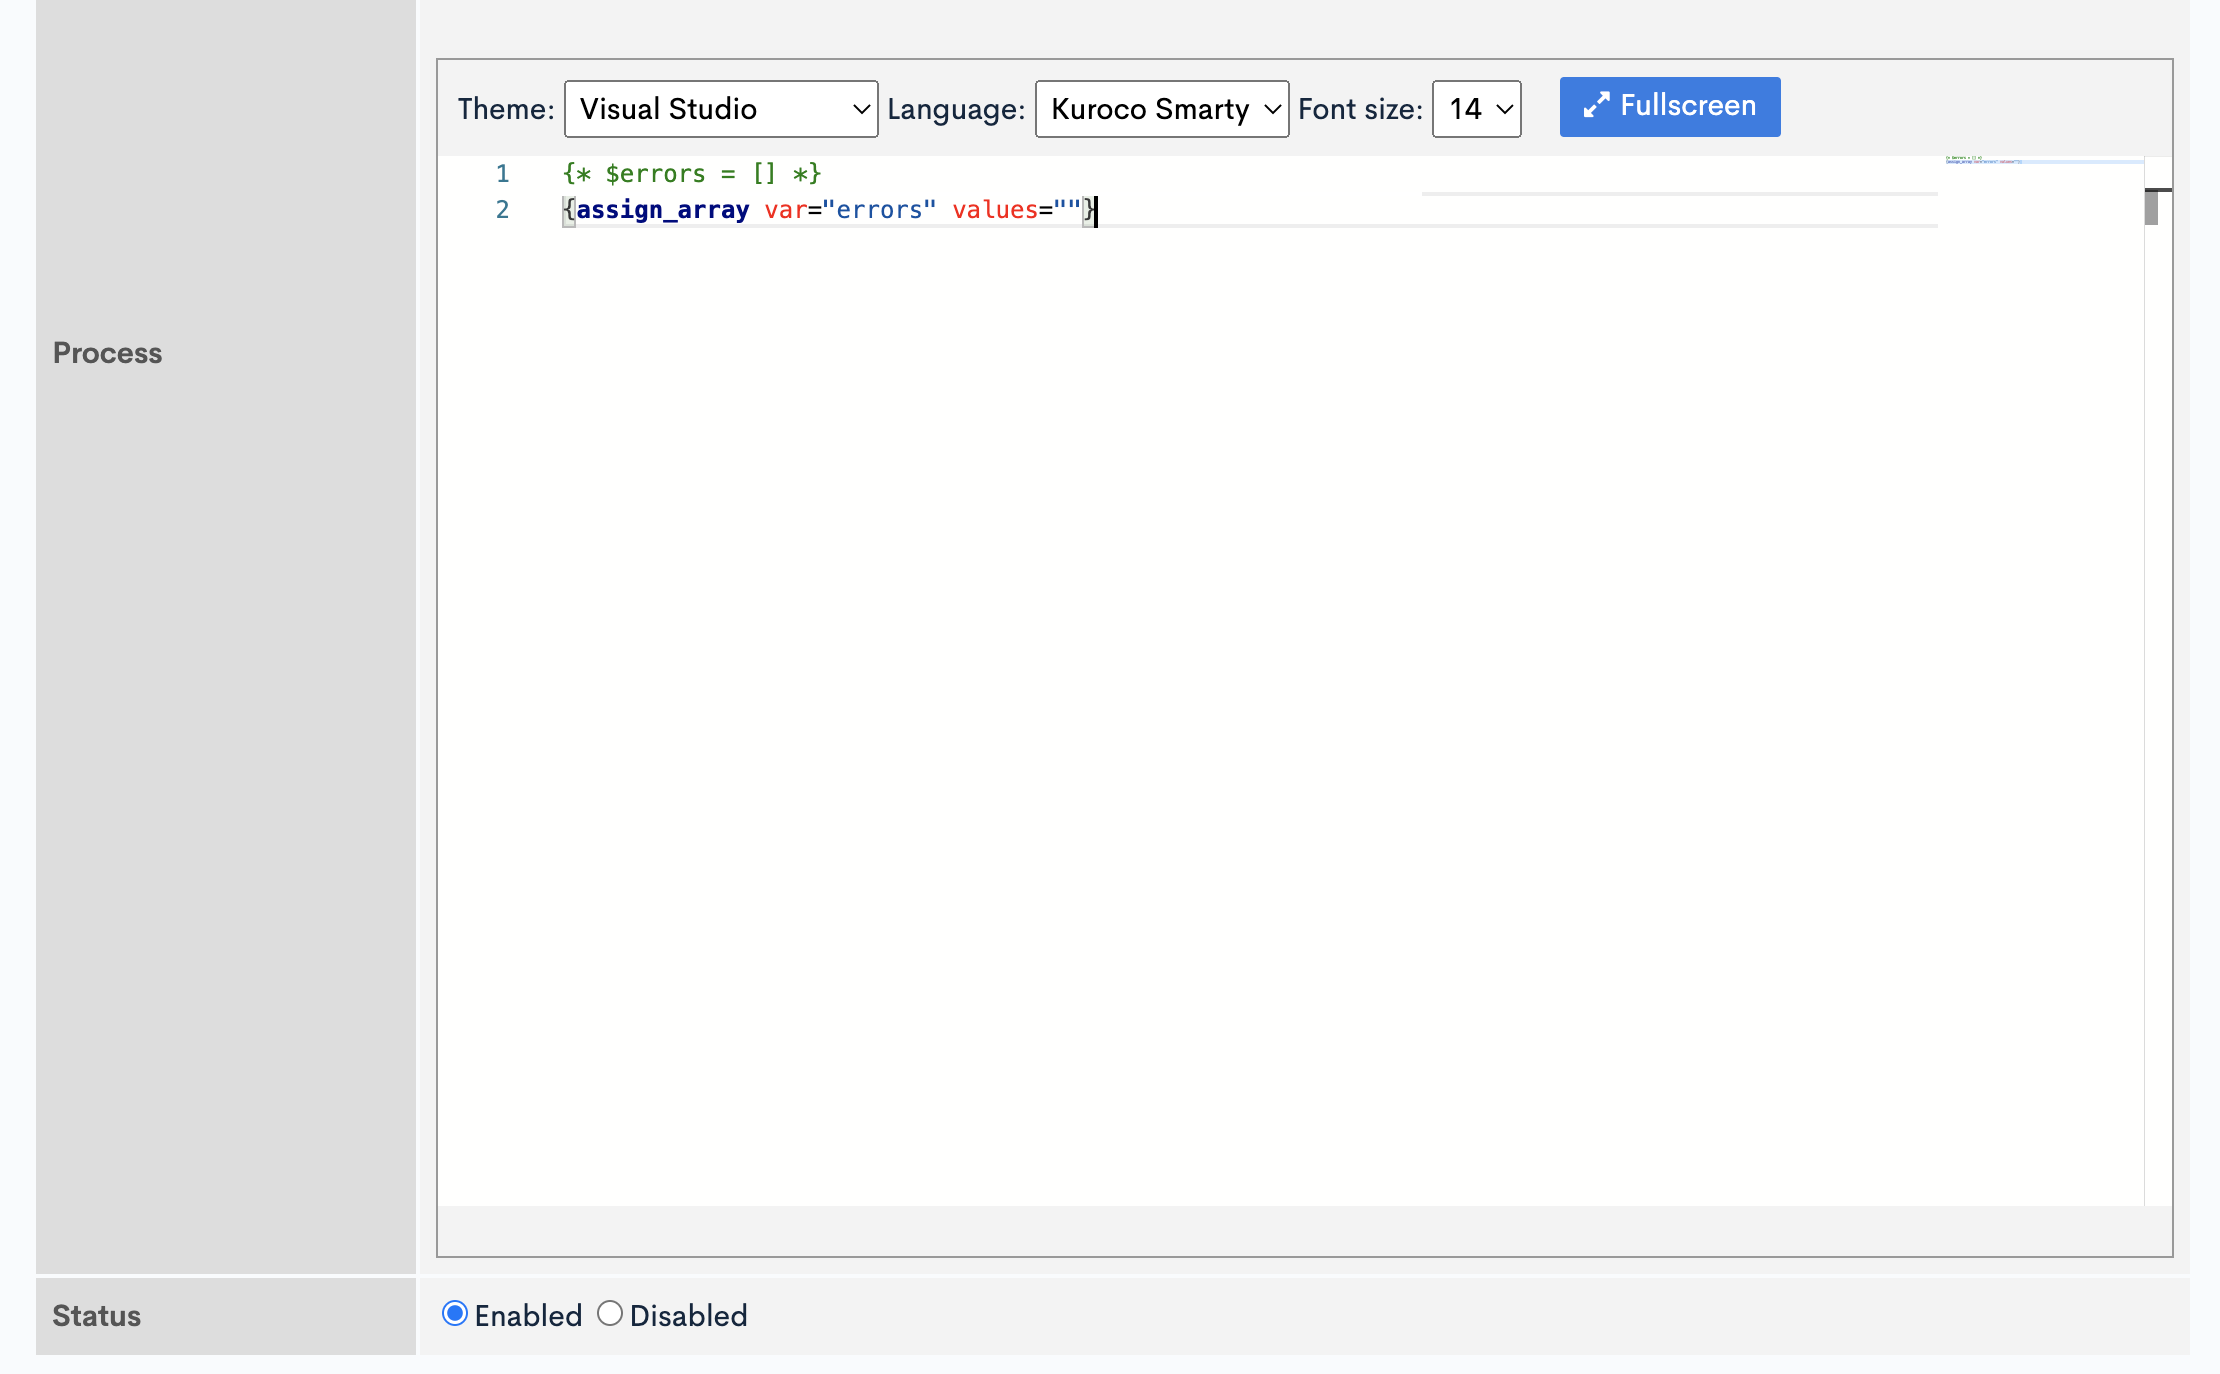
Enter the following code into the editor.
{* $errors = [] *}
{assign_array var="errors" values=""}
3. Implement the validation
It checks the user's input value and assigns the result to the errors variable.
To refer to the input value, use one of the following variables.
| variable | description |
|---|---|
| $smarty.get | query parameter |
| $smarty.post | JSON body |
| $smarty.request | query parameter & JSON body |
{assign_array var="errors" values=""}

{*e.g. returning an error if the POSTed email address does not match a particular domain.*}
{if $smarty.post.email|strpos:'@example.com' === false}
  {* $errors = ["E-mail address is invalid."] *}
  {assign var="errors." value="E-mail address is invalid."}
{/if}

4. Save
After completing the code above, click [Update] to save the configuration.

Associate the function to the API
Next, we'll associate the function created to the API.
1. Access the API list page
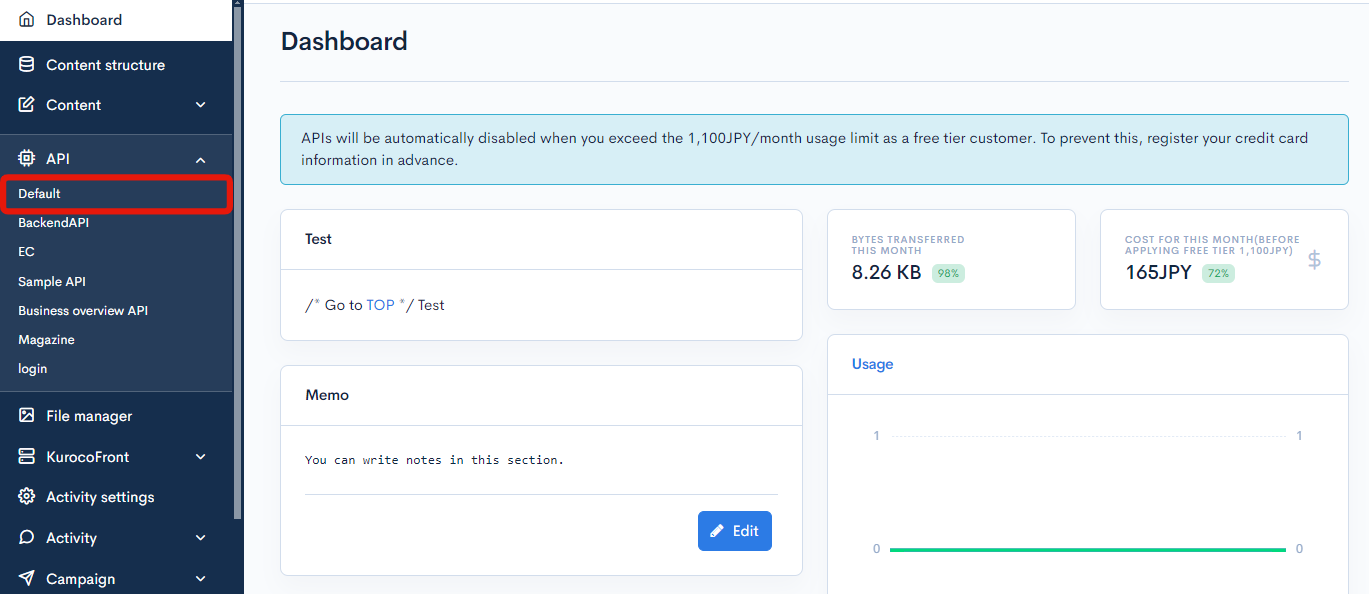
Click [API] -> [Default] on the side menu.
2. Select the endpoint
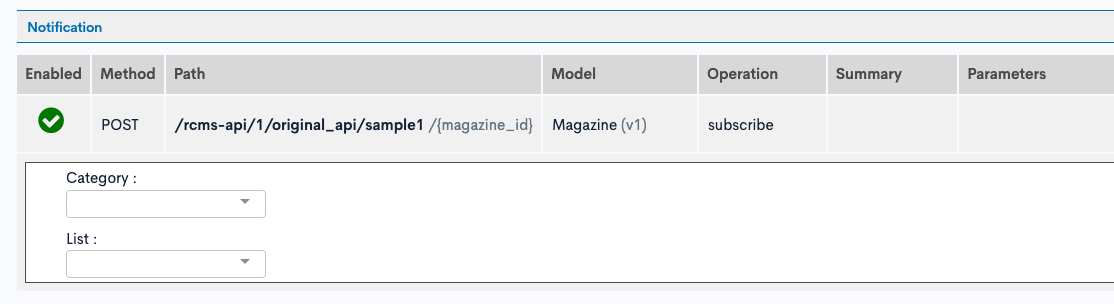
Select the endpoint original_api/sample1 you created earlier and click [Pre-processing].

The input fields "Category" and "List" are displayed under the table.
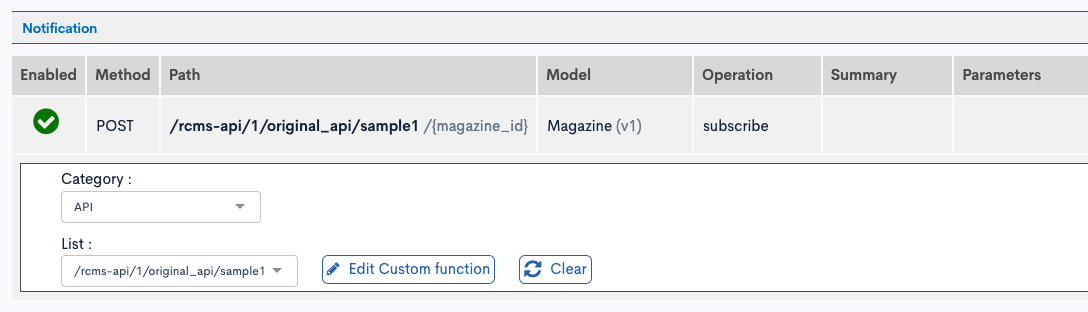
3. Associate the function
Select the category and title of the function you created.
- Category:API
- List:/rcms-api/1/original_api/sample1
Check the operation of API
Let's send a request from the Swagger UI page and check the operation of the validation process.
1. Access the Swagger UI page
Click [Swagger UI] button on the API list page and access the Swagger UI page.

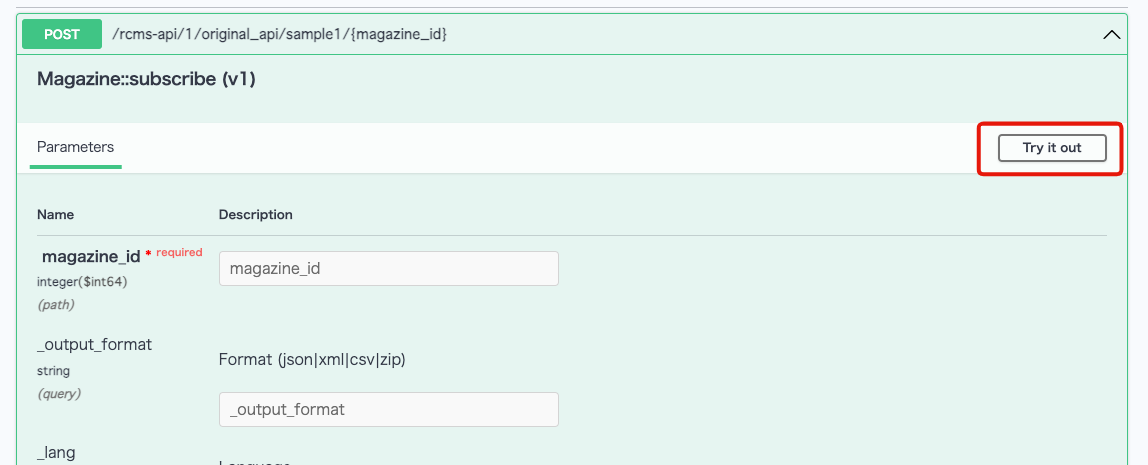
2. Select the endpoint
Select the endpoint original_api/sample1 and click [Try it out] button.
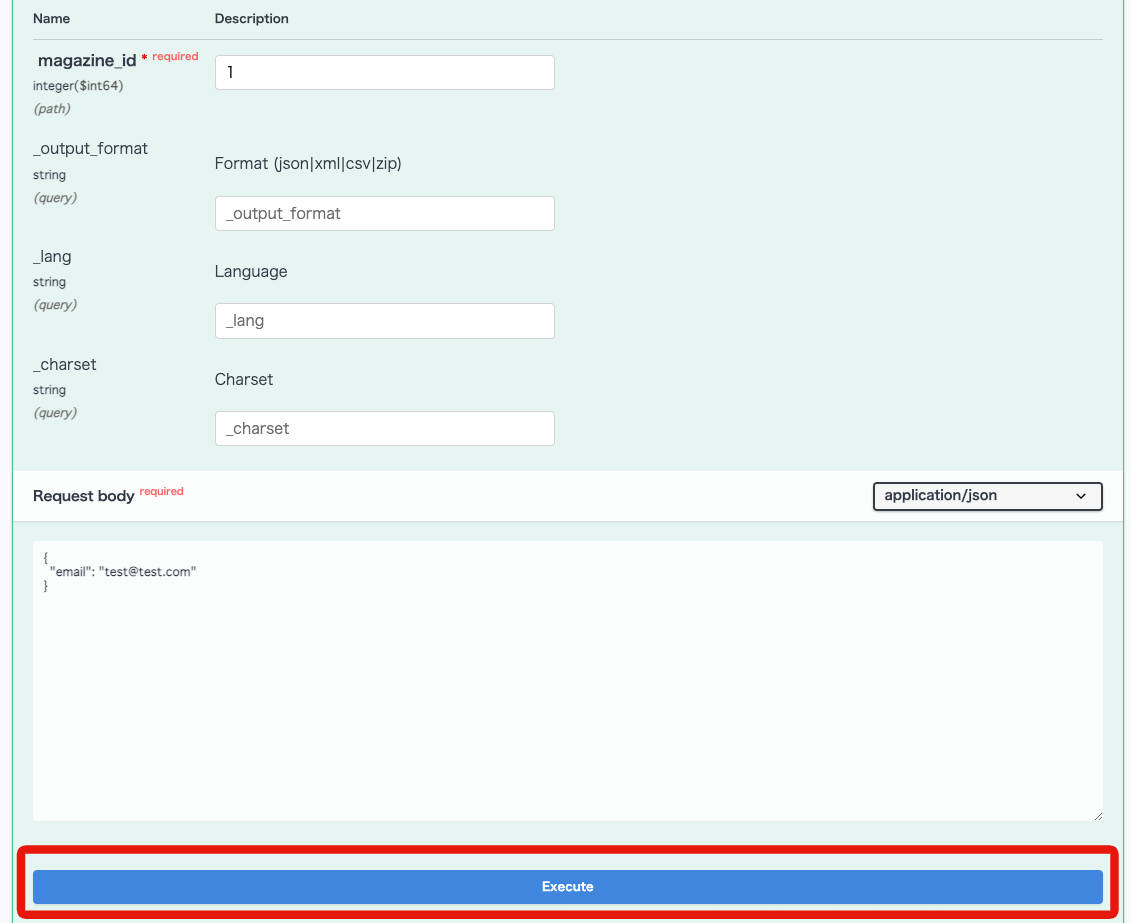
3. Enter the value for which an error will be output
Enter 1 in the magazine_id, and to check the validation process, enter the following value that will trigger an error in [Request body].
{
  "email": "test@test.com"
}
Click [Execute] button to execute the request.
4. Check the response
Check the API response and confirm that the expected error is output.
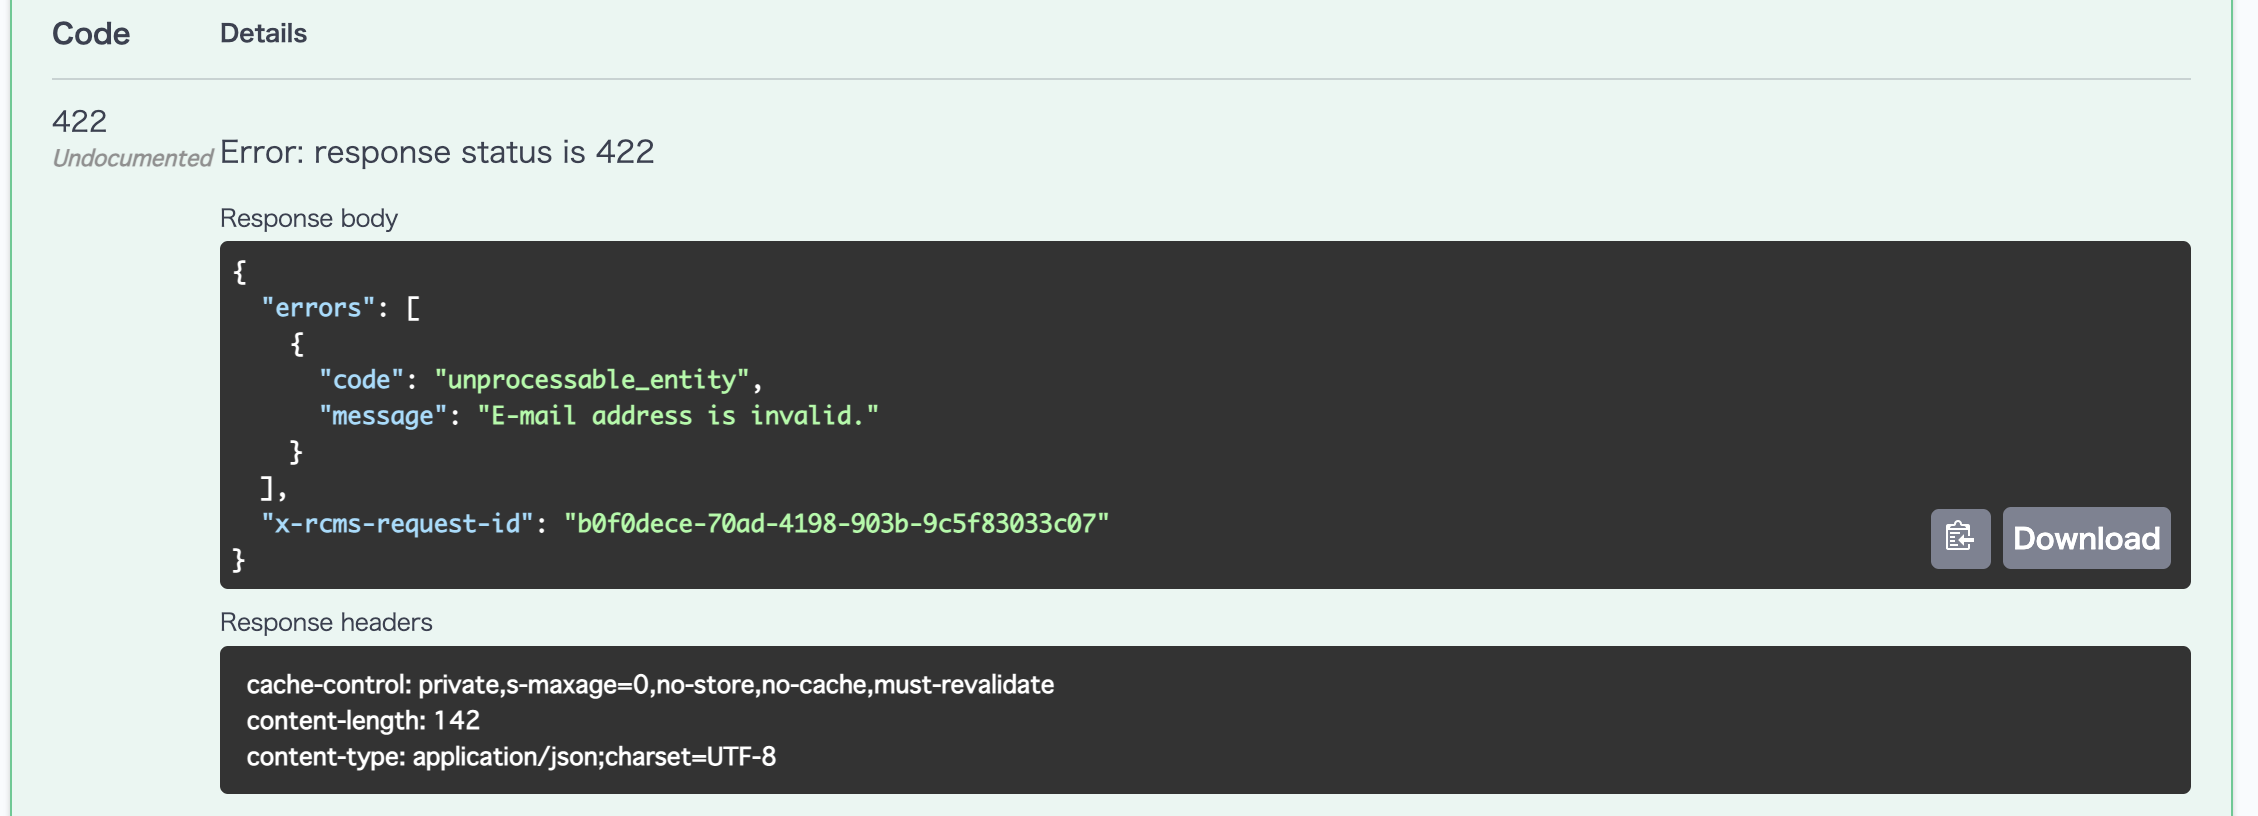
{
  "errors": [
    {
      "code": "unprocessable_entity",
      "message": "E-mail address is invalid."
    }
  ],
  "x-rcms-request-id": "xxxxxxxx-xxxx-xxxx-xxxx-xxxx"
}
The association of the function and API is now complete.
Ref: Where to check when the validation error doesn't occur as expected.
If the input validation is not working as expected, check the following points:
- Whether the function is properly associated with API pre-processing
- Whether the associated function is correct
- Whether the variable name (errors) is correct
- Whether items to be validated are correct
- Whether the validation logic is correct
Ref: Code example
Here are some examples which you can use for the function
Check if it includes the specific string
{if $smarty.post.column_name|strpos:"EXPECTED STRING" === false}
  {assign var="errors." value="column_name is invalid."}
{/if}
Check if it is a number
{if !$smarty.get.parameter_name|is_numeric}
  {assign var="errors." value="Input number for the parameter_name."}
{/if}
Check the input value which depends on another input
{*
    [e.g.] ext_col_02 is required only when there is a value "1" in ext_col_01.
    ext_col_01: Option item('', '1', '2')
    ext_col_02: Text item
*}
{if $smarty.post.ext_col_01 === '1' || (
  !$smarty.post.ext_col_01|@empty &&
  $smarty.post.ext_col_01.key === '1'
)}
  {if !isset($smarty.post.ext_col_02) || $smarty.post.ext_col_02 === ''}
    {assign var="errors." value="The text item is required."}
  {/if}
{/if}
Apply input validation only to members belonging to a specific group
{if $smarty.session.arrGroup_id|@is_array &&
  101|in_array:$smarty.session.arrGroup_id}
  {if !isset($smarty.post.column_name)}
    {assign var="errors." value="column_name is required."}
  {/if}
{/if}
Changing the Response Code in Case of an Error
If you want to change the API's response code to a specific error code and send an error response when error checking occurs, you can configure it as follows:
{assign var=http_code value=404}
Available HTTP Codes
| Code | Name | Meaning |
|---|---|---|
| 400 | Bad Request | The request from the client is invalid. |
| 401 | Unauthorized | The request failed due to lack of user authentication (not logged in). |
| 403 | Forbidden | The request failed because the user does not have access rights to the content (different from 401, as user authentication is completed). |
| 404 | Not Found | The request failed because the specified endpoint's content does not exist. |
| 405 | Method Not Allowed | The error occurs when the request uses an unsupported HTTP method. |
| 406 | Not Acceptable | The error occurs when the server cannot generate a response matching the request's conditions. |
| 500 | Internal Server Error | Error that occurs when the request from the client is correct, but an error occurs on the server side. |
It is also possible to combine with setting error messages in errors.
Example of setting:
{if `error checking process`}
  {assign var=http_code value=404}
  {assign_array var=errors values=''}
  {assign var=errors. value='The content does not exist.'}
{/if}
Example response:
HTTP Respnese code: 404

Response body
{
  "errors": [
    {
      "code": "unprocessable_entity",
      "message": "The content does not exist."
    }
  ],
  "x-rcms-request-id": "xxxxxxxx-xxxx-xxxx-xxxx-xxxx"
}
Related documents
Support
If you have any other questions, please contact us or check out Our Slack Community.