DeepL API auto tranlation
Overview
With Kuroco, you can add custom function to the management screen. In this tutorial, we will use the DeepL API as an example to explain how to automatically translate newly added content and register it as content in the secondary languages.
By using the DeepL API, it is possible to translate only the text while maintaining the HTML tag structure. Additionally, we will use the terminology feature of DeepL to fine-tune the translation results.
What you'll learn
You will implement an automatic translation feature using the following steps:
- Obtaining and registering an authentication key
- Setting up multiple languages
- Creating content definitions
- Creating an API
- Creating custom function
- Verify the operation
Prerequisites
This feature is created based on the DeepL API documentation. Please refer to the official documentation - DeepL API for the specifications of the DeepL API.
Obtaining and Registering an Authentication Key
Applying for the DeepL API and obtaining an authentication key
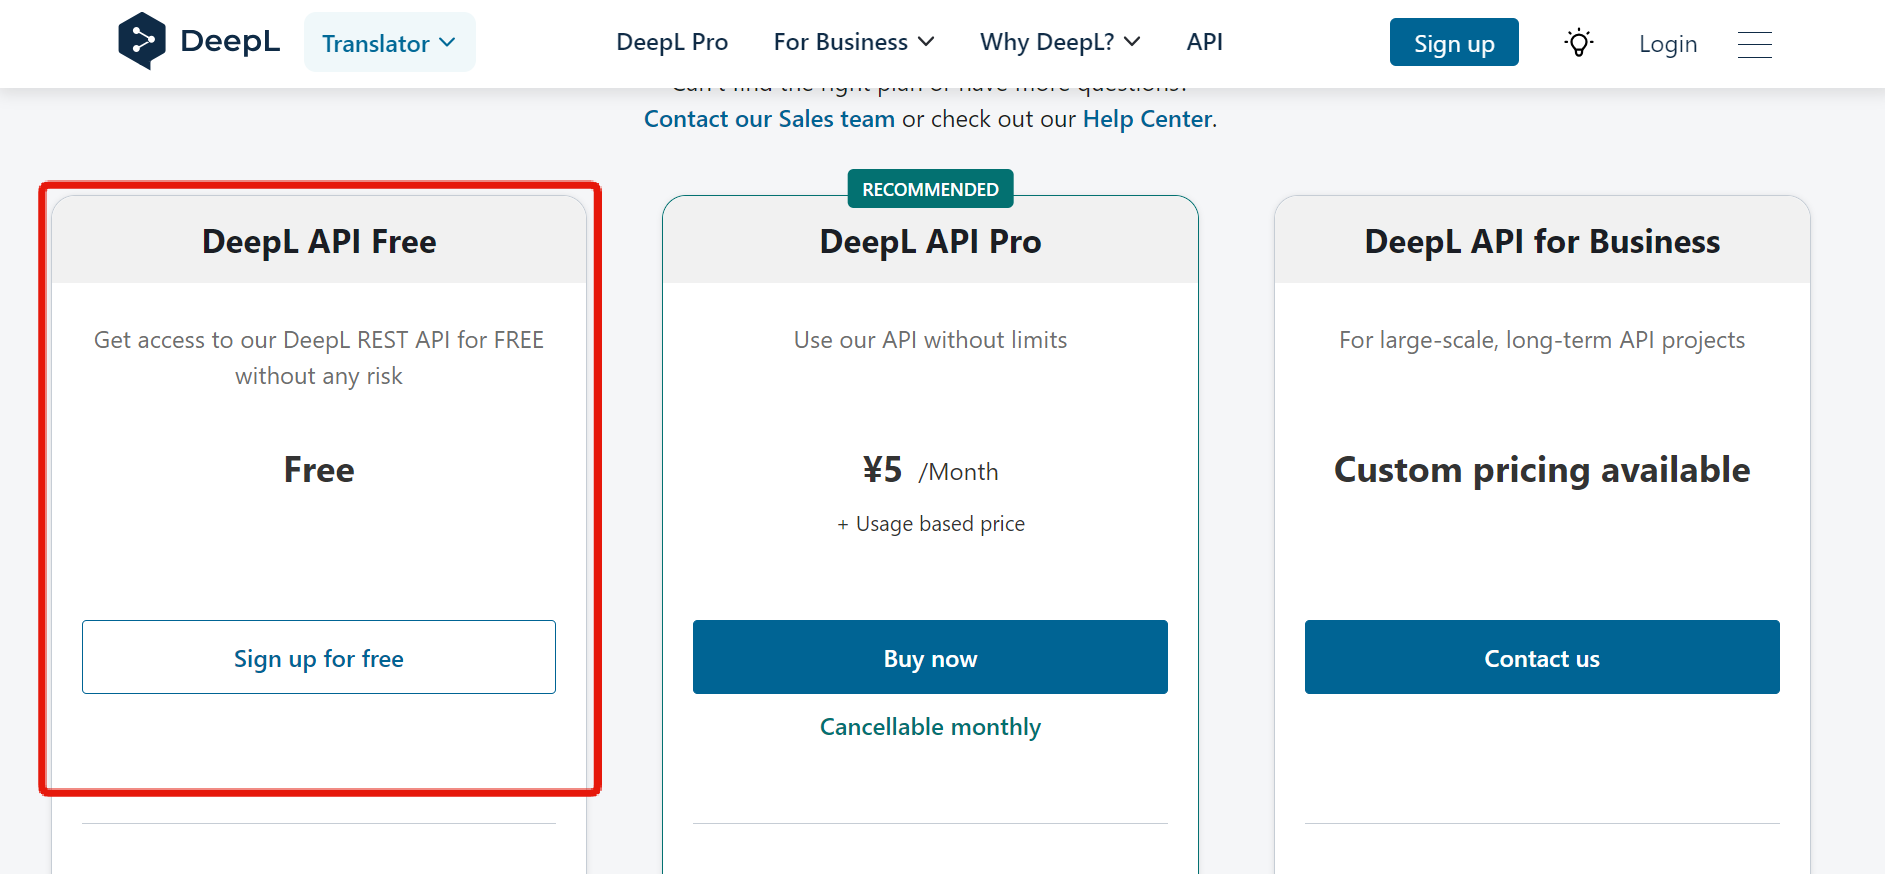
First, access the DeepL API and register with DeepL.
If your translation volume is up to 500,000 characters per month, you can use the free version.
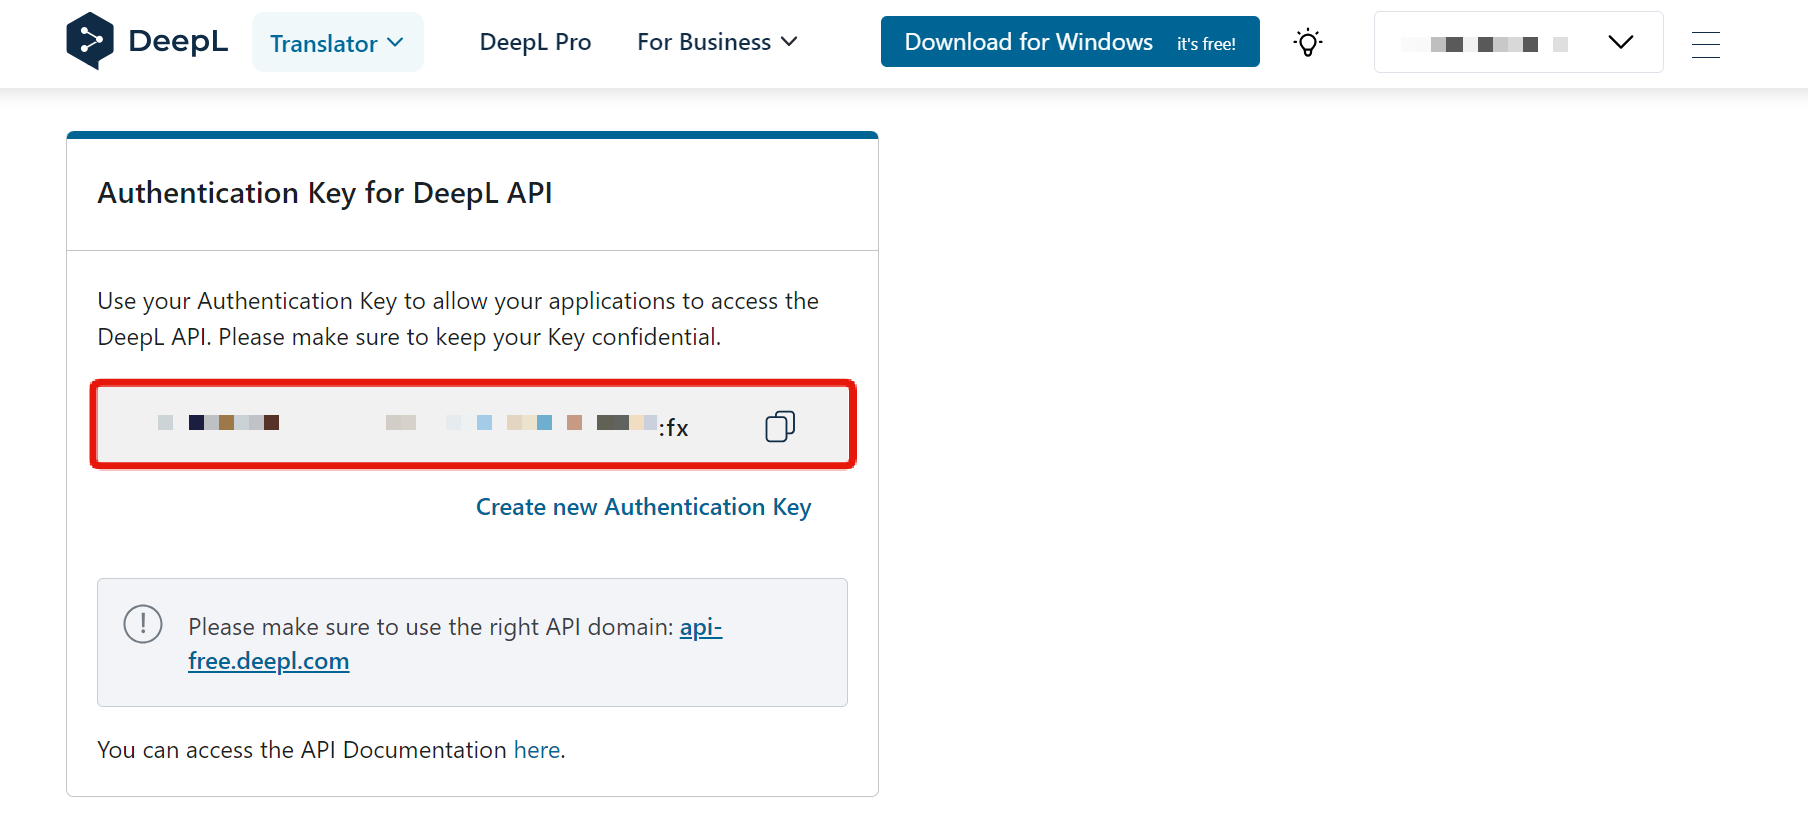
After completing the registration, access the DeepL Pro account information page. The authentication key to be used with the DeepL API is displayed at the bottom of the account information page. Copy this key.
Registering the Authentication Key in the Kuroco Management Screen
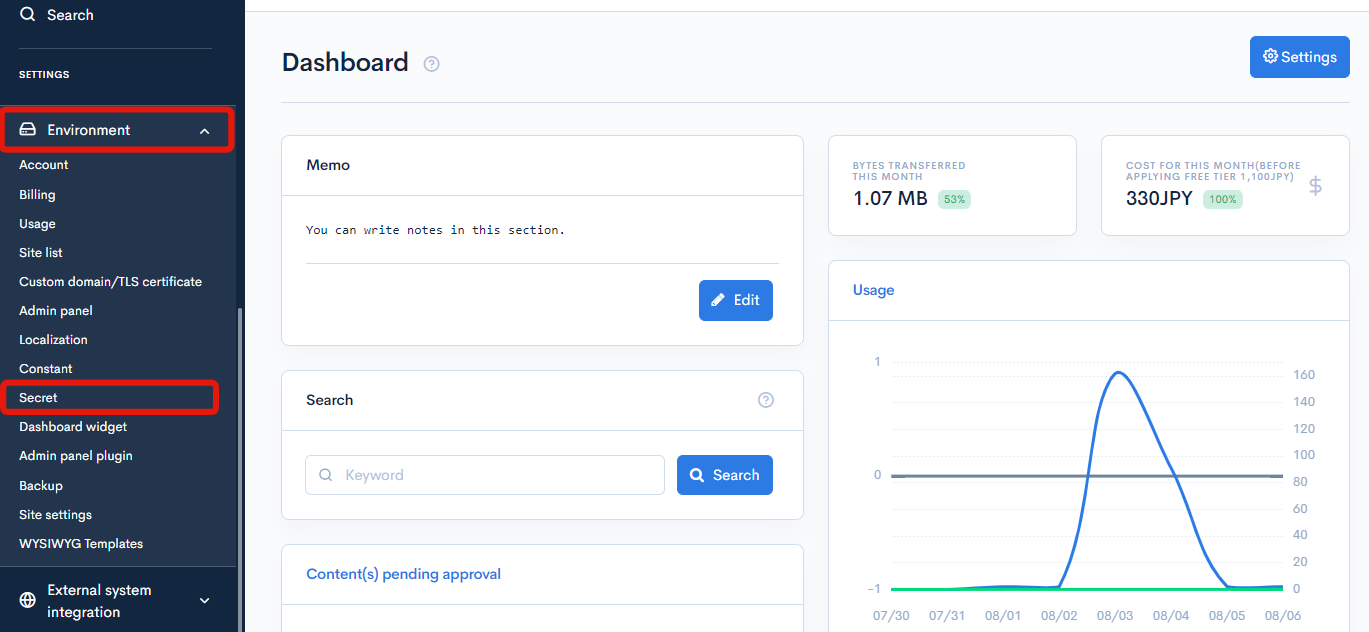
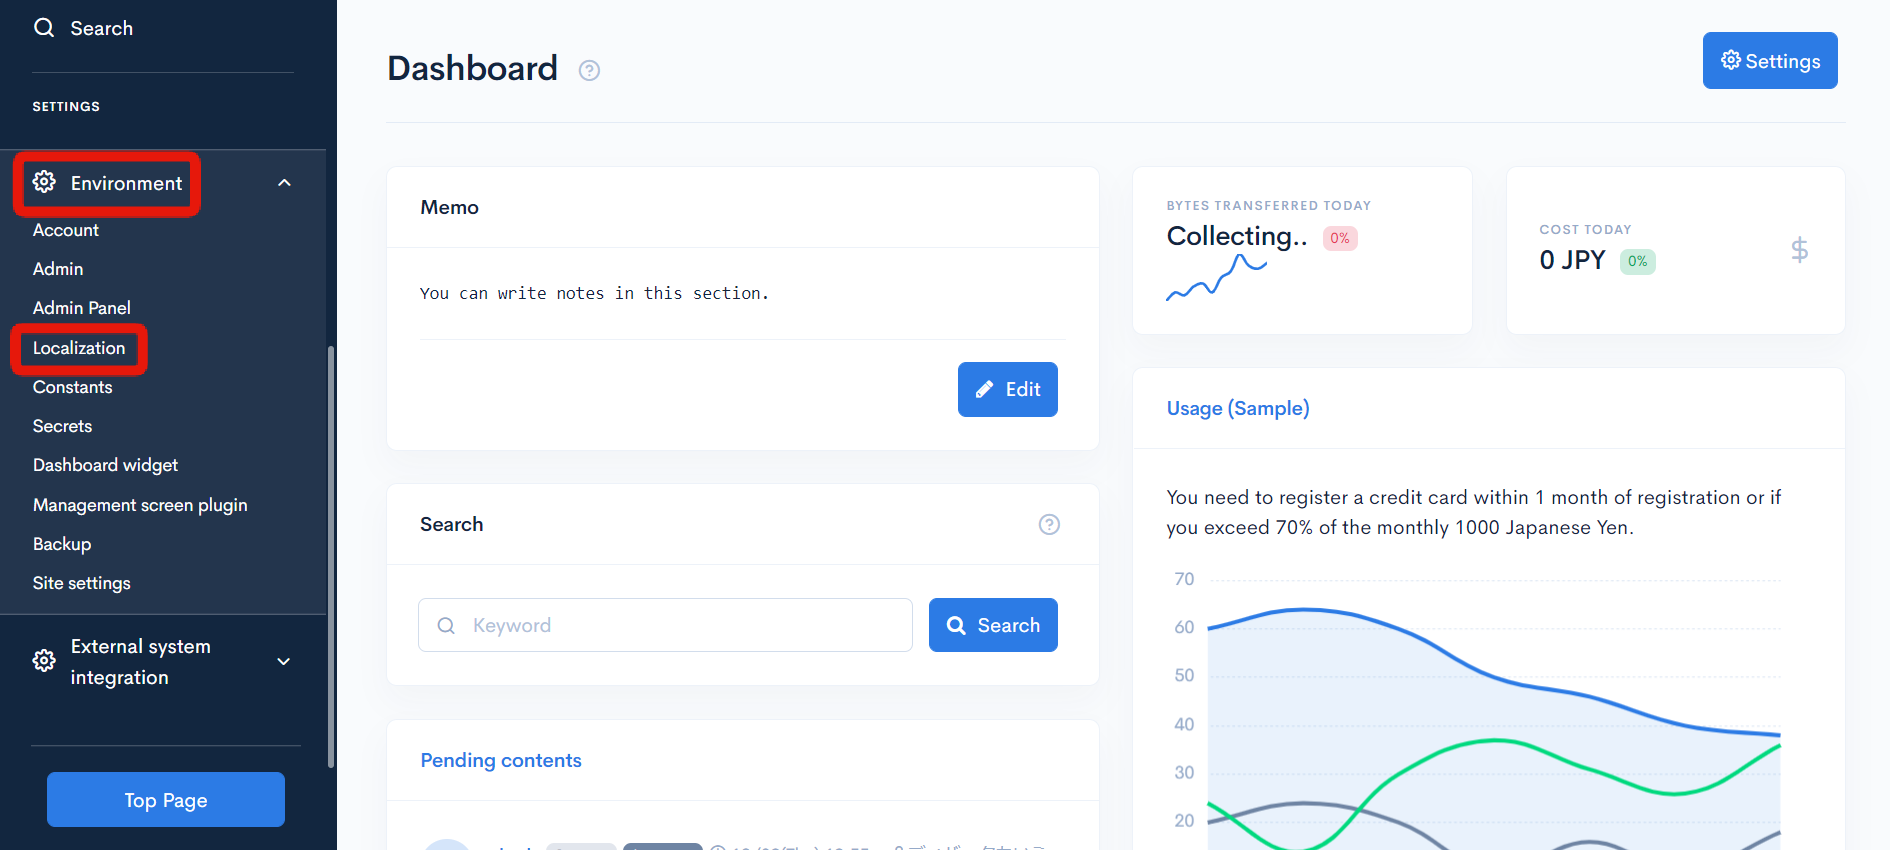
Access the Kuroco management screen and In the left sidebar menu, under "SETTINGS", click [Environment] -> [Secrets].
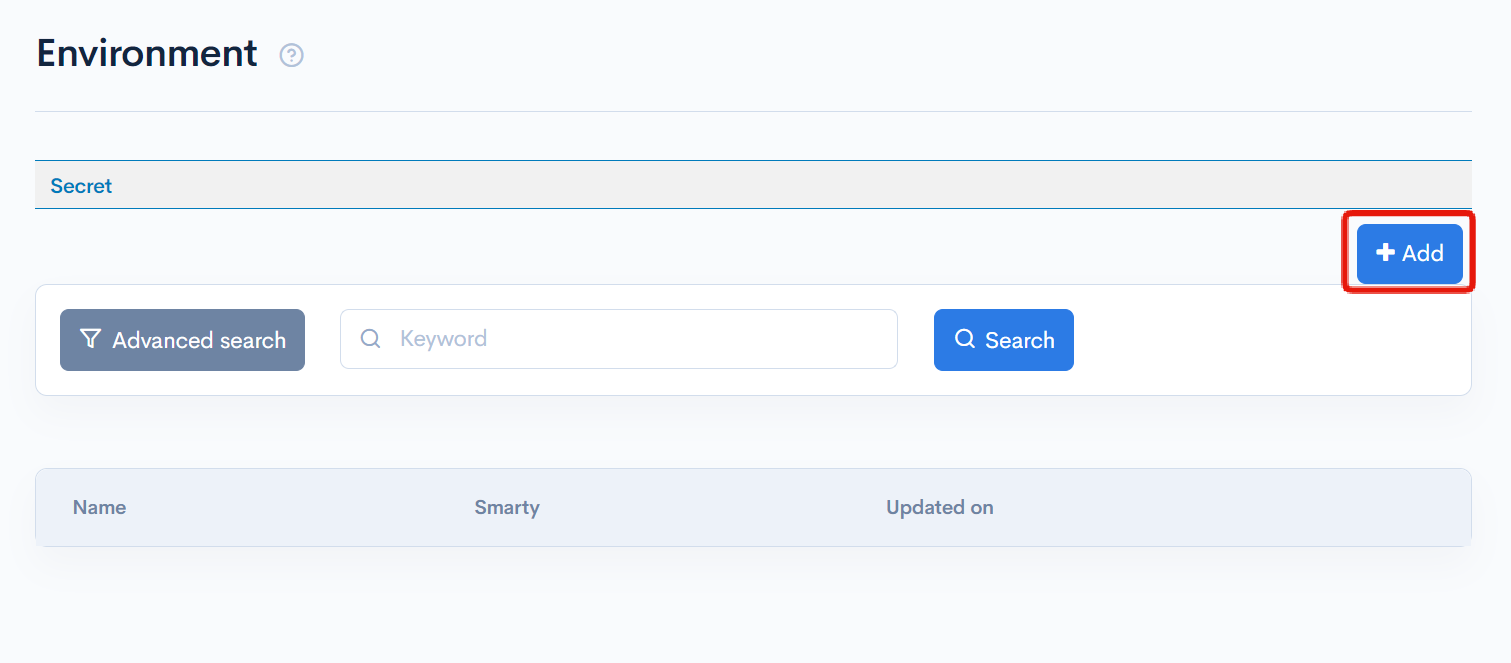
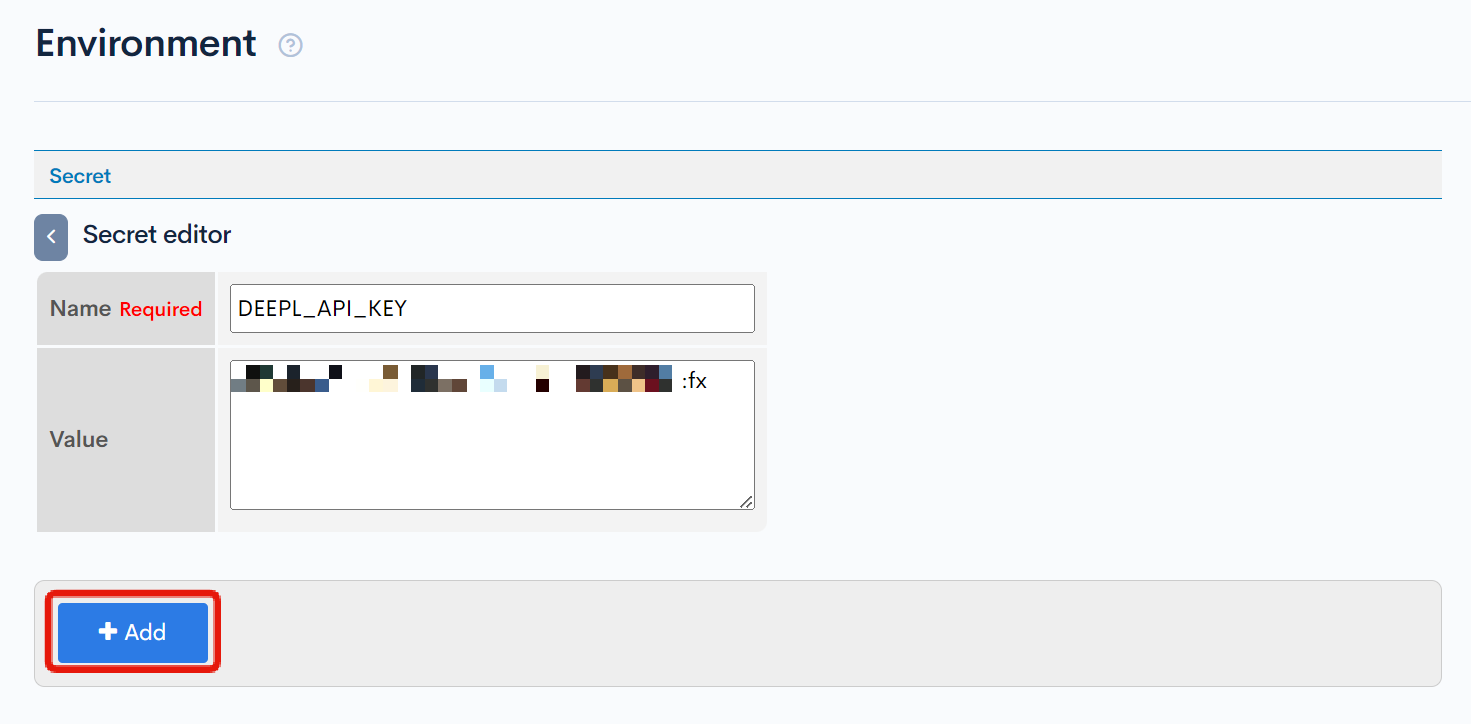
Click on [Add].
Enter the following information and click on [Add].
| Field | Value |
|---|---|
| Name | DEEPL_API_KEY |
| Value | The authentication key to be used with the DeepL API |
You have now completed the preparation to use the DeepL API.
Setting up Multiple Languages
In the left sidebar menu, under "SETTINGS", click [Environment] -> [Localization].
In this tutorial, we will set Japanese [ja] as the Primary language and English [en] as the Secondary languages. Make the following settings and click on [Update].
| Field | Value |
|---|---|
| Enable | Check the box |
| Primary language | Japanese [ja] |
| Secondary languages | English[en] |
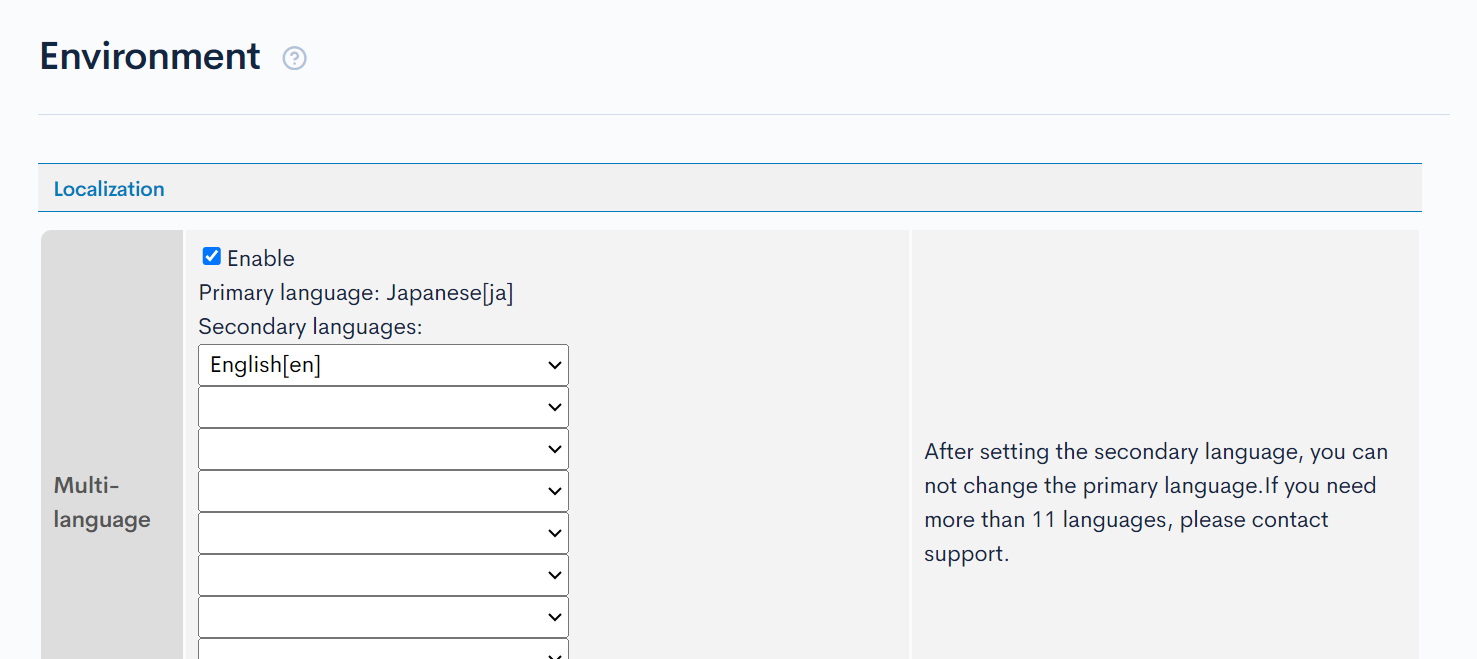
You have now completed the setup for multiple languages.
Creating Content Definitions
Register content definitions for tuning the results of translation and for the content to be translated automatically. Click [Add] on the content definition list page to create the following two content definitions.
Glossary
By using a glossary, you can specify how terms are translated, allowing you to create consistent translations without the need for extensive editing afterward.
https://www.deepl.com/en/blog/translate-your-way-with-the-deepl-glossary
To manage DeepL's glossary in Kuroco's content, we will create a content definition for the glossary. In the content definition for glossary, register a repeating item for the pair of Japanese and English, and a text item to register the glossary ID of DeepL. It will be as follows.
| ID | Parent field | Field Name | Field Settings |
|---|---|---|---|
| 1 | Parent Field Name: Language pairs Parent Field Identifier: glossary Repetition: 30 | Field Name: JA Identifier: source_lang | Text |
| 2 | Select JA | Field Name: EN Identifier: target_lang | Text |
| 3 | None selected | Field Name: glossary_id Identifier: glossary_id | Text |
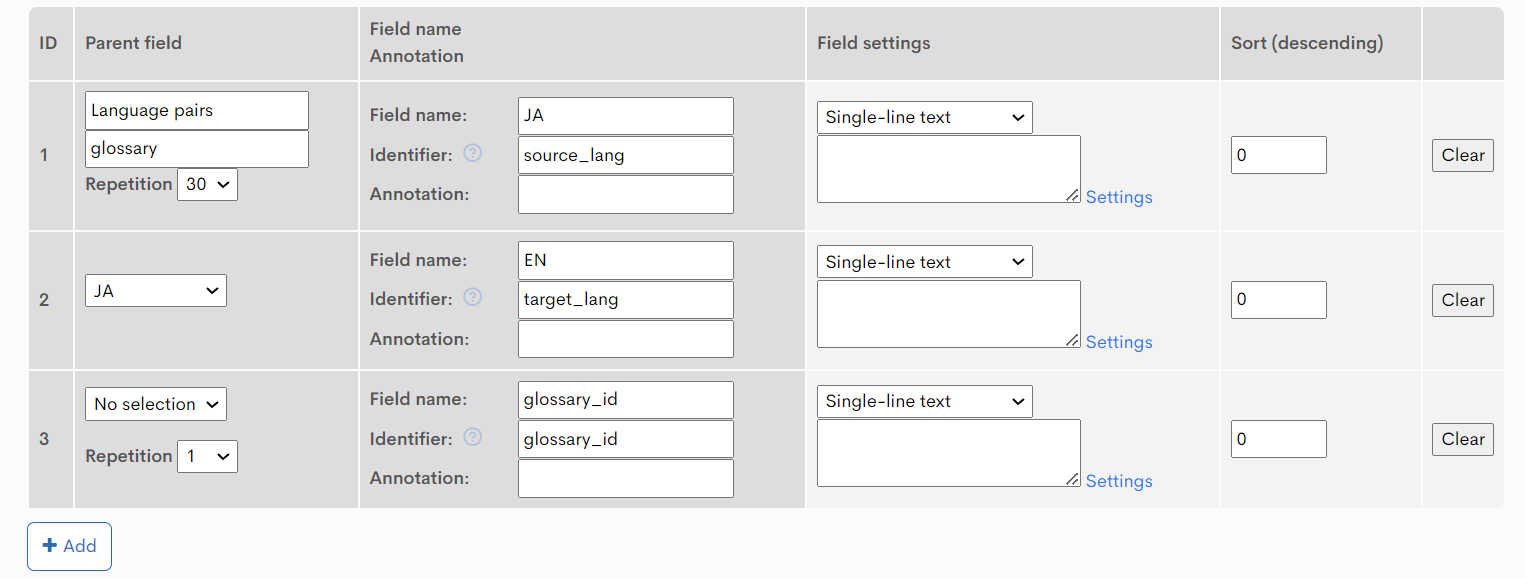
Group settings cannot be made when adding content definitions, so please set the parent item and repetition count after adding each item.
The default maximum value for the repetition count of items is 30, but it can be changed up to 99 in the management screen.
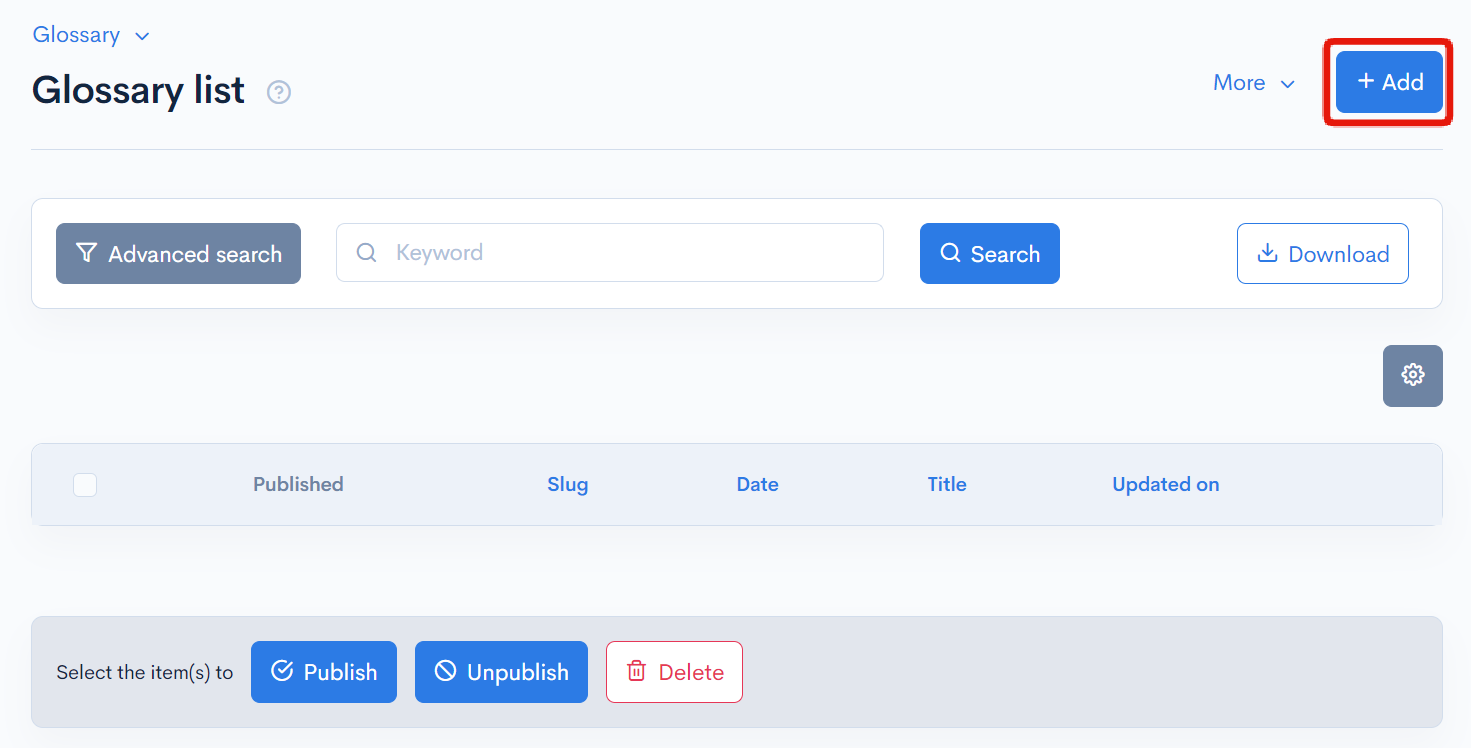
Also, since the glossary is used by updating a single content, register one original content in advance.
Click [Add] on the content list page.
Register as follows for example. The language pair set here specifies how to translate terms when sending translation requests to DeepL.
For example, the word "記事" is usually translated as "Article", but with this, you can specify to translate it as "Content".
| Item | Value |
|---|---|
| Slug | glossary |
| Title | Glossary |
| Language pairs 1 | JA:記事 EN:Content |
| Language pairs 2 | JA:副言語 EN:Secondary languages |
| glossary_id | Blank |
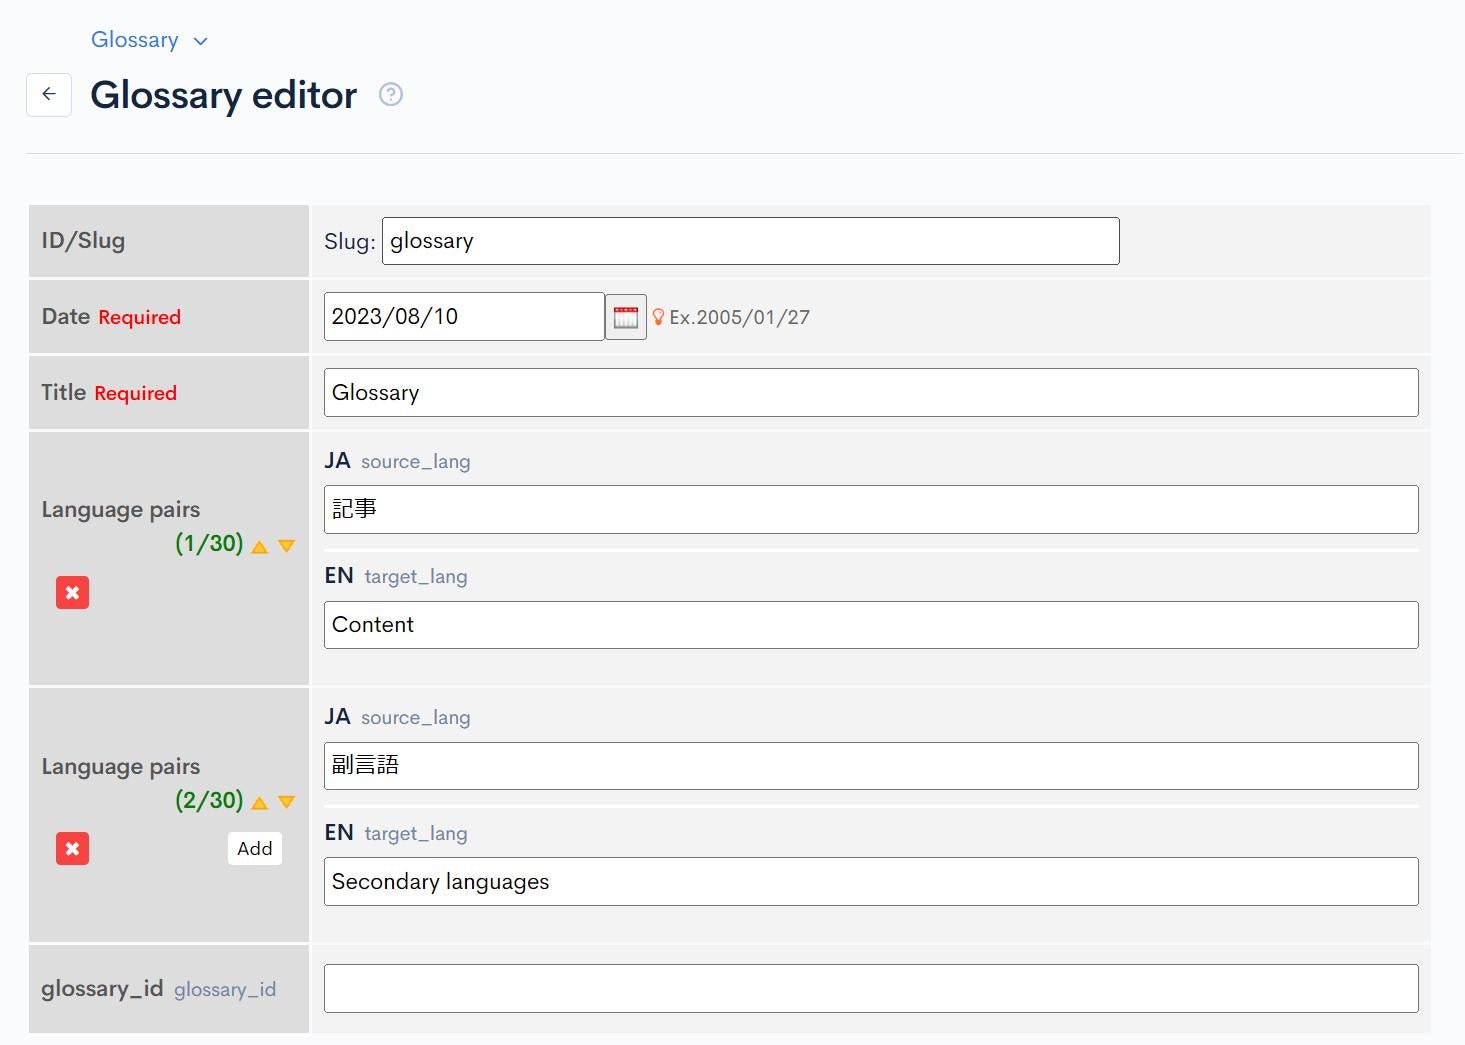
After entering the information, click [Add] to register the content.
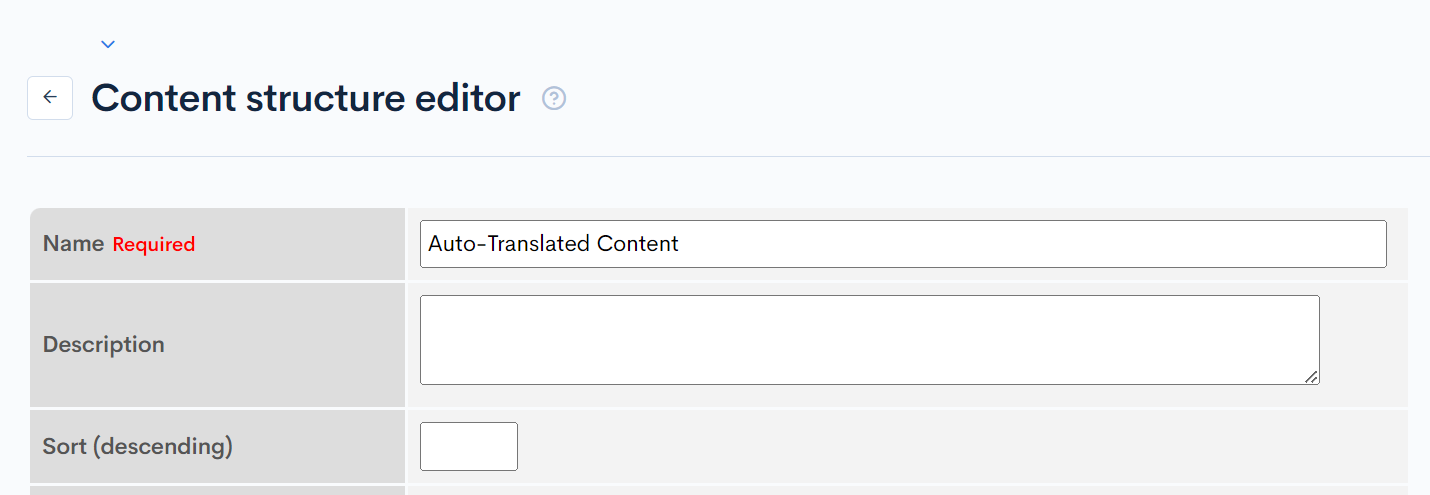
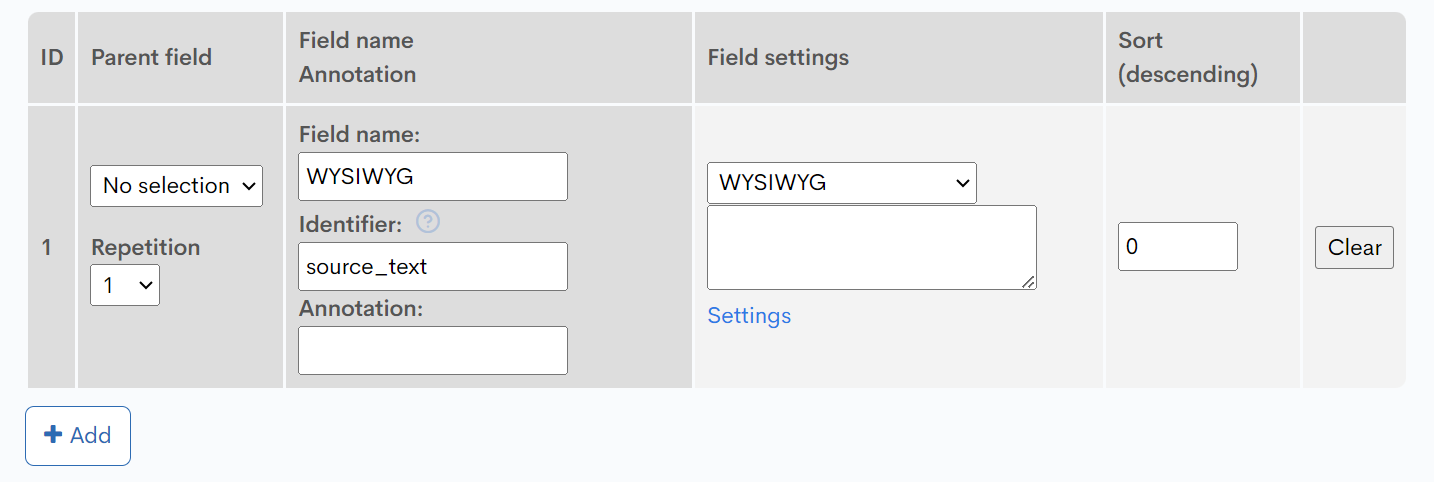
Auto-Translated Content
For the content definition to be translated automatically, set it as a simple configuration with only Wysiwyg. It will be as follows.
| ID | Parent field | Field Name | Field Settings |
|---|---|---|---|
| 1 | No selection | Field Name: WYSIWYG Identifier: source_text | WYSIWYG |
Creating an API
Create API for internal processing
It is recommended to separate APIs for endpoints that are only used inside Kuroco. So, first, create a new API for internal use. If it has already been added, you can proceed to the next step.
Creating APIs
Click [Add] on the API page of the Kuroco admin panel.

Enter the following in the editor and click [Add].
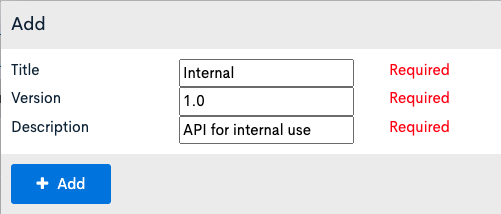
| Item | Settings |
|---|---|
| Title | Internal |
| Version | 1.0 |
| Description | API for internal use |
The new API has been created.
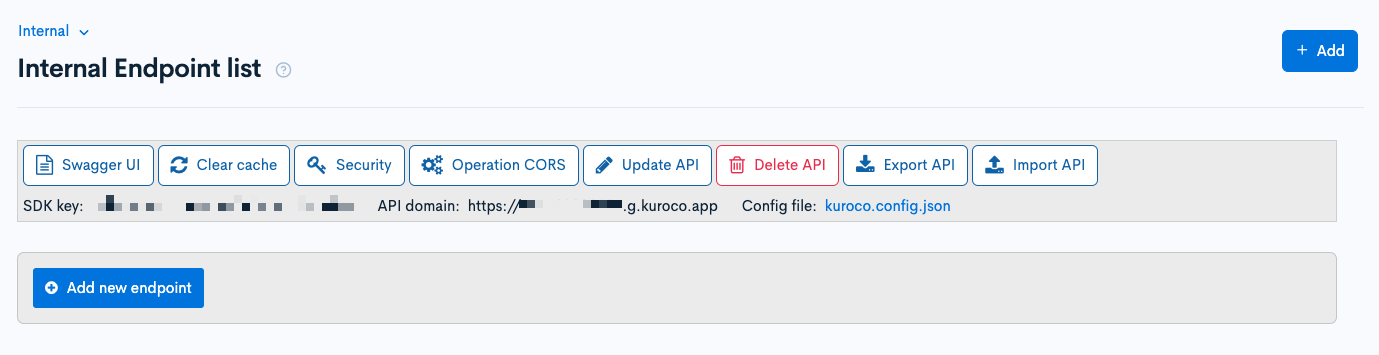
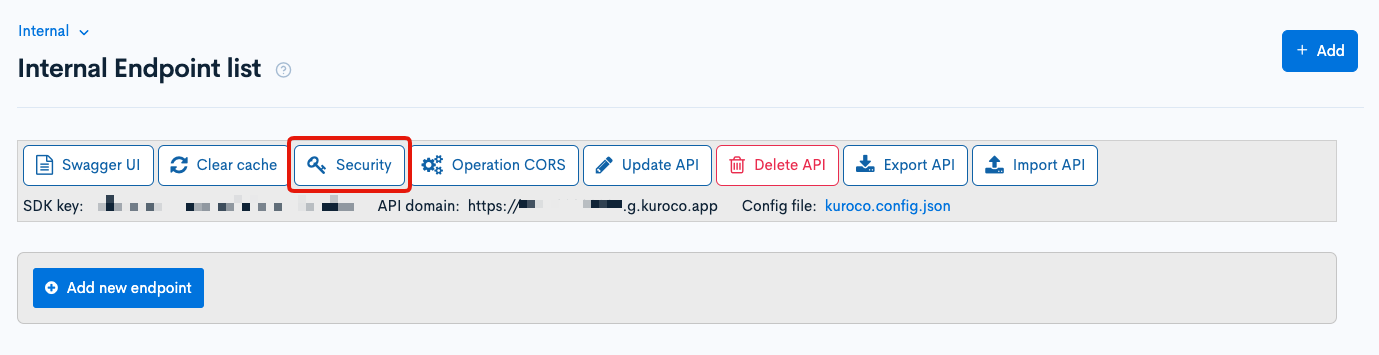
Security settings
Next, we set up the security. Click [Security].
Select [Dynamic access token] and click [Save].
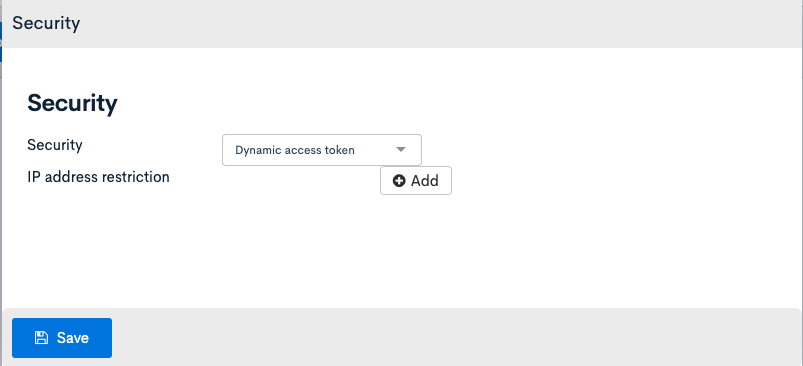
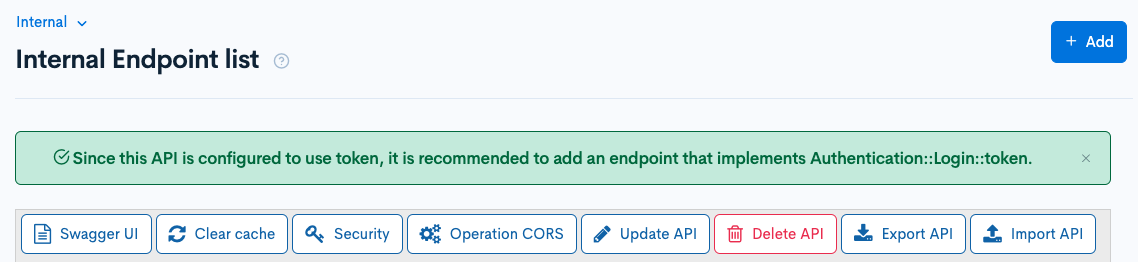
After setting the security to [Dynamic access token], the message "Since this API is configured to use token, it is recommended to add an endpoint that implements Authentication::Login::token." will be shown. Please ignore it since the API is only for internal use.
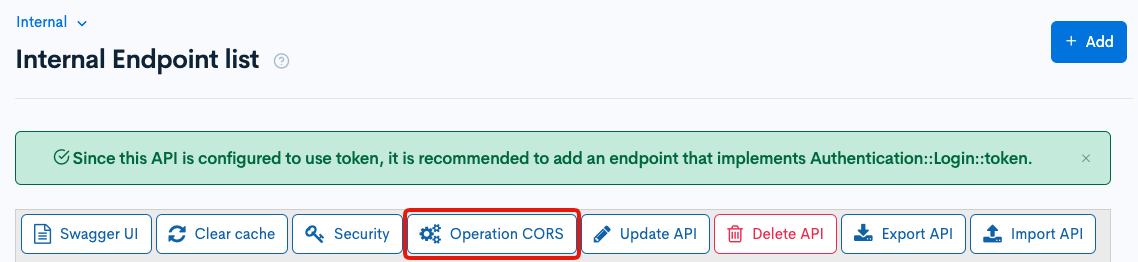
configure CORS
Next, we configure CORS. Click [Operation CORS].
Click [Add origin] of CORS_ALLOW_ORIGINS and enter the following:
- Admin panel URL
Click [Add Method] of CORS_ALLOW_METHODS and enter the followings:
- GET
- POST
- OPTIONS
Confirm that [Allow Credentials] of CORS_ALLOW_CREDENTIALS is checked.
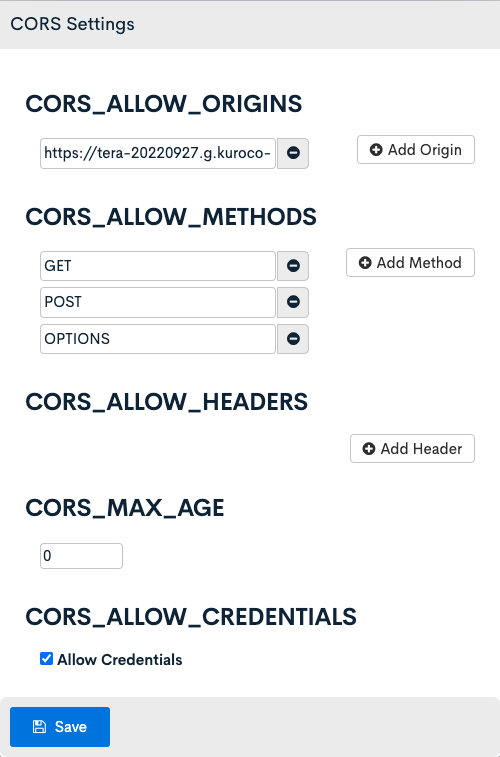
If there are no problems, click [Save].
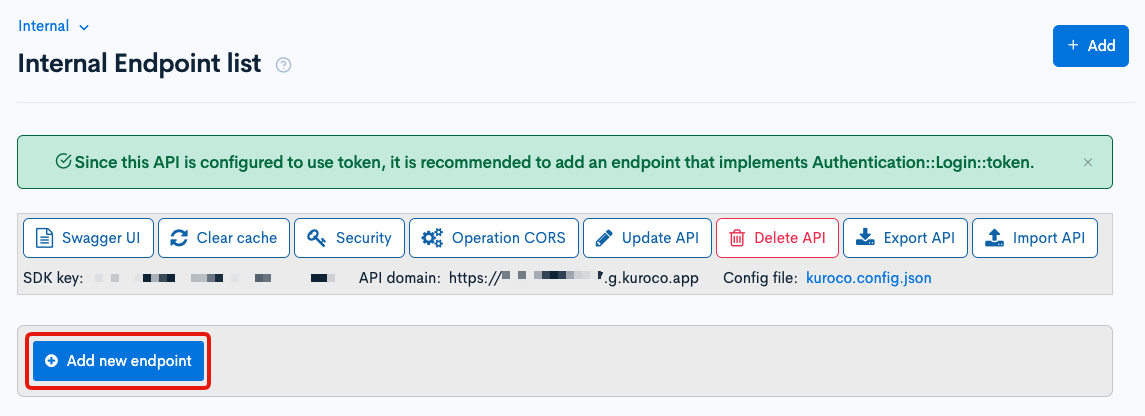
Creating Endpoints
Create three endpoints: "Endpoint to get glossary", "Endpoint to update glossary", and "Endpoint to update secondary language".
Click on [Add new endpoint] from the Internal API and create each endpoint.
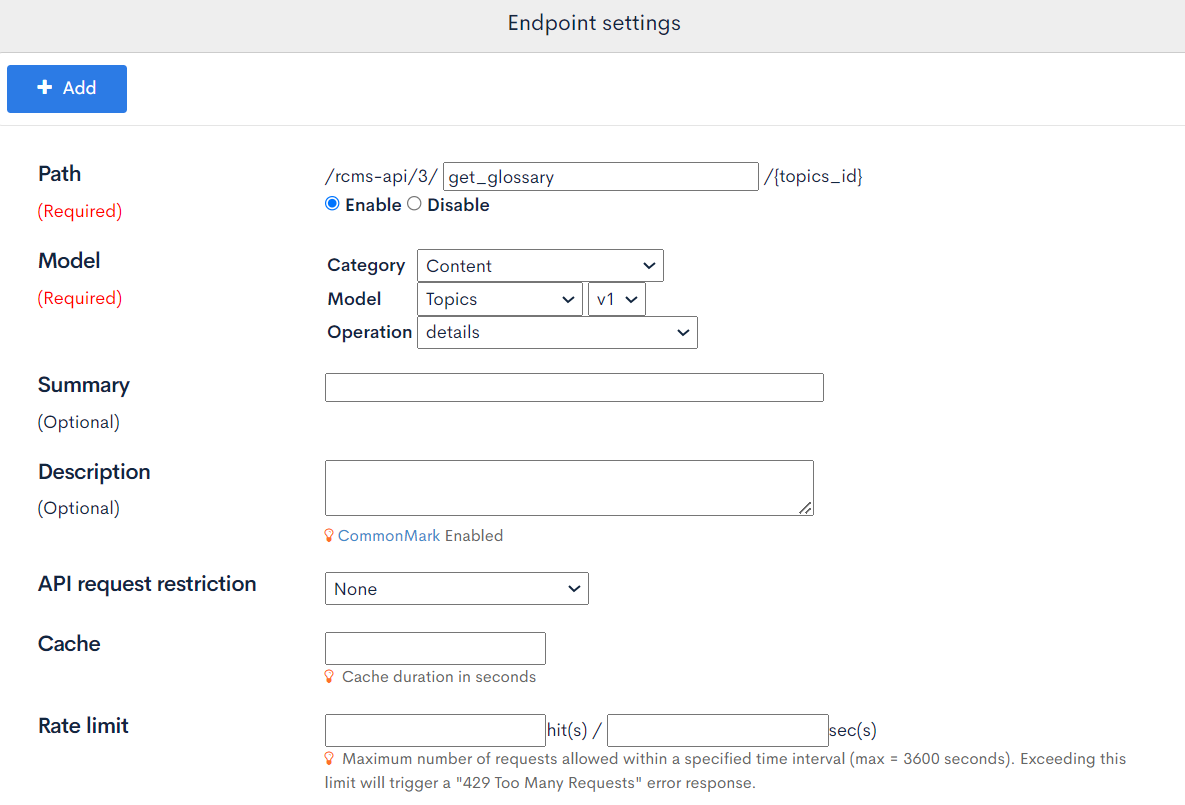
Endpoint to get glossary
| Field | Setting |
|---|---|
| Path | get_glossary |
| Category | Contents |
| Model | Topics |
| Operation | details |
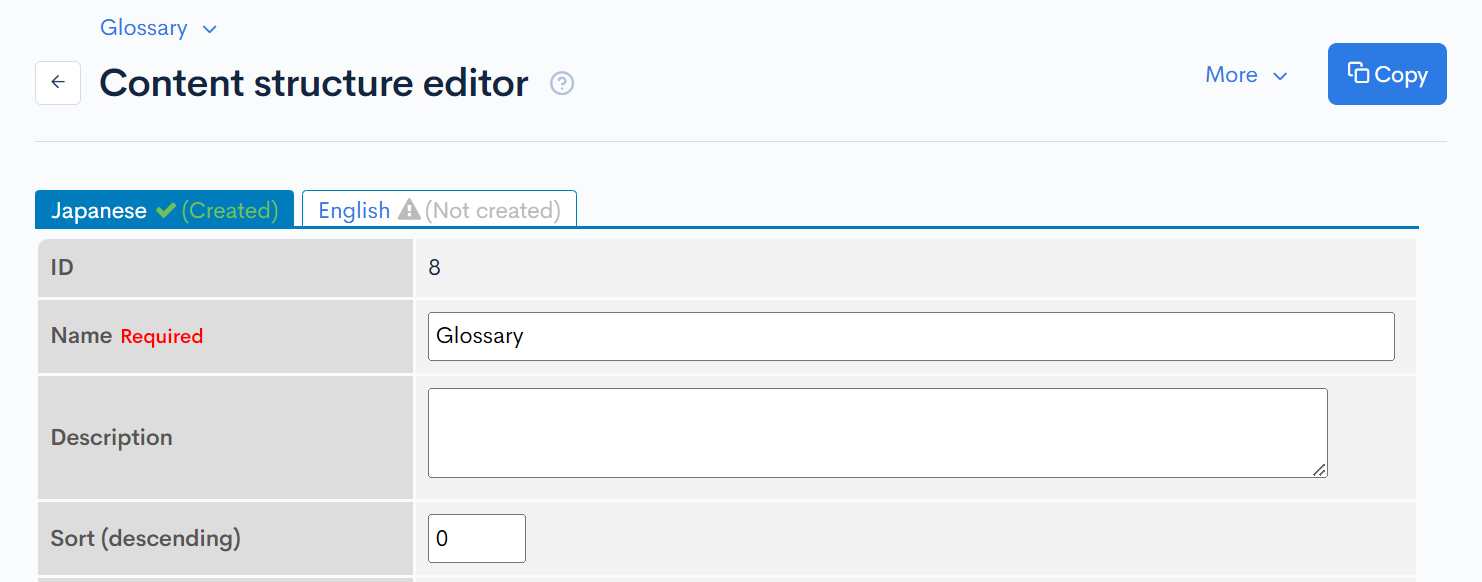
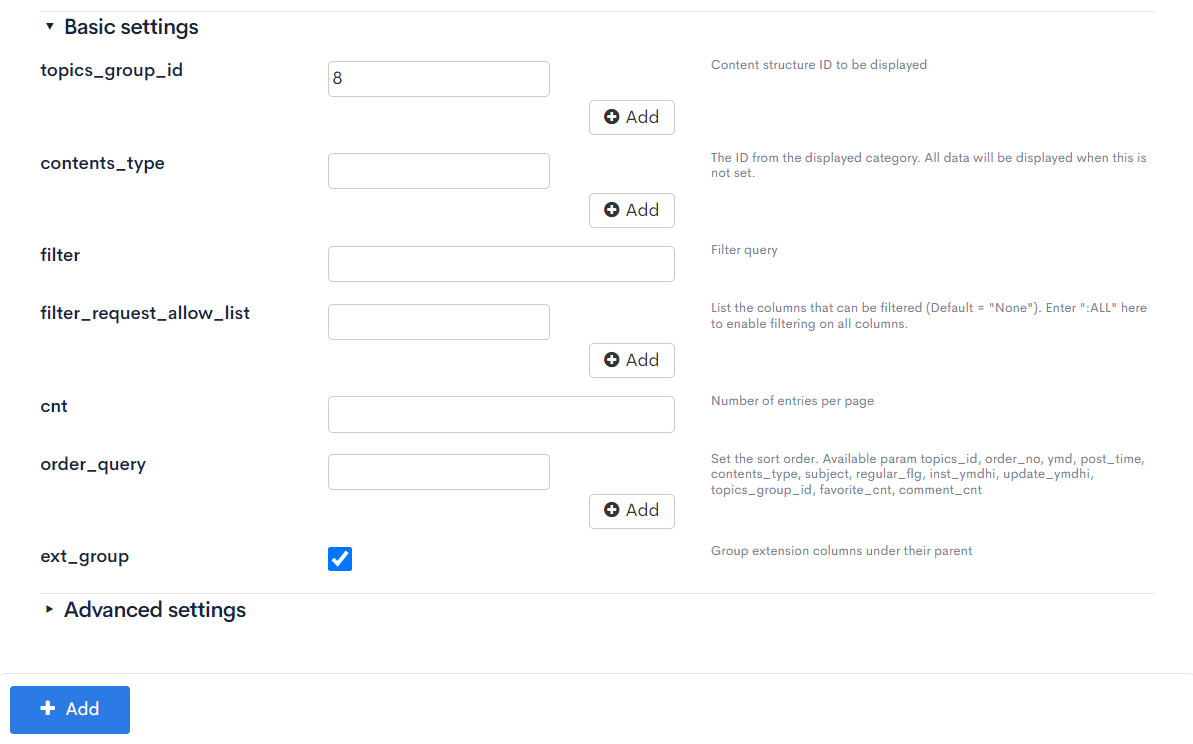
| topics_group_id | Content definition ID of the glossary (8) |
| ext_group | Check the box |
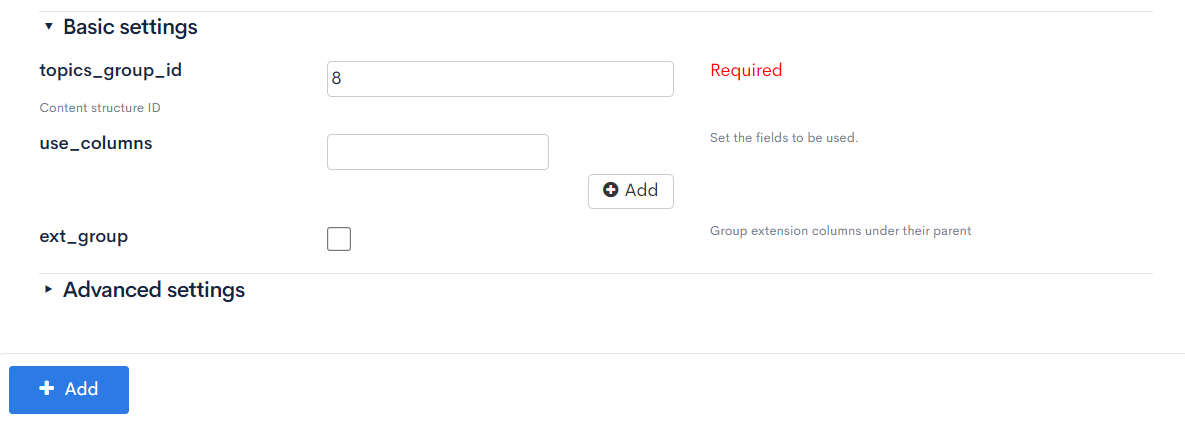
Endpoint to update glossary
| Field | Setting |
|---|---|
| Path | update_glossary |
| Category | Contents |
| Model | Topics |
| Operation | update |
| topics_group_id | Content definition ID of the glossary (8) |

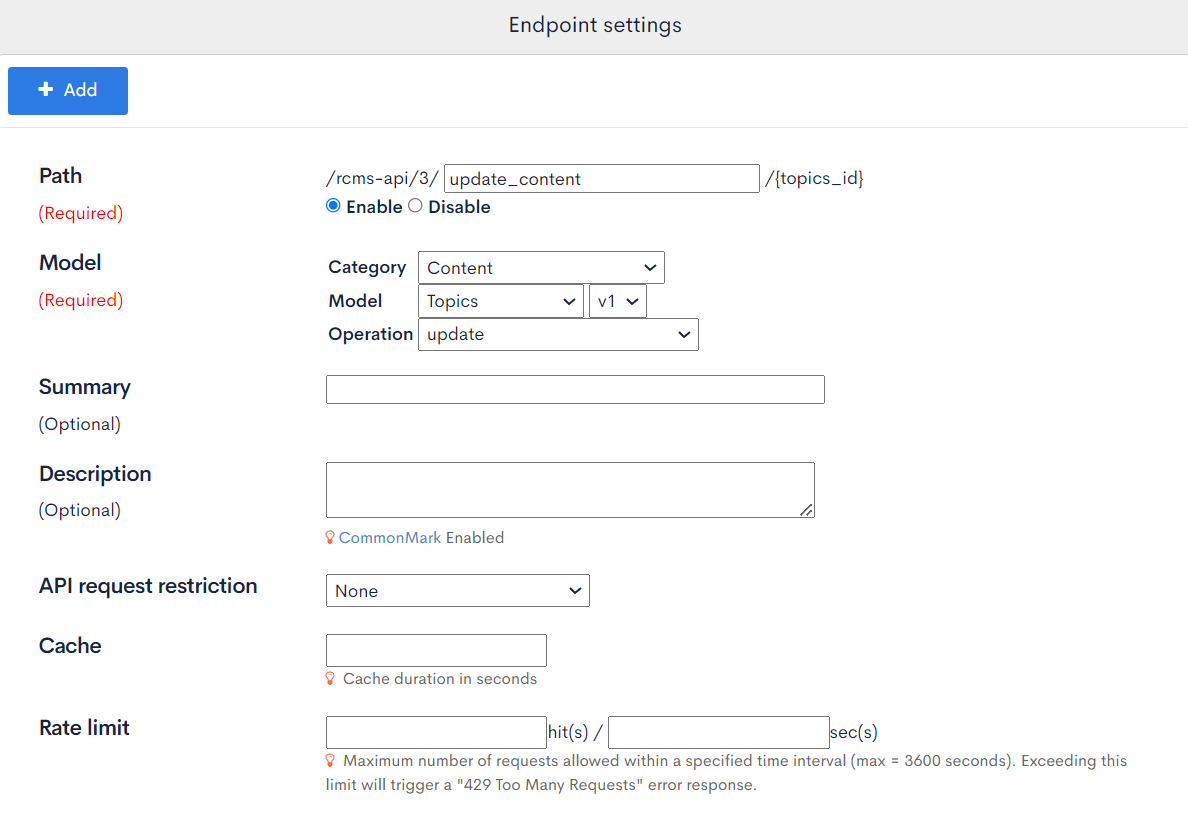
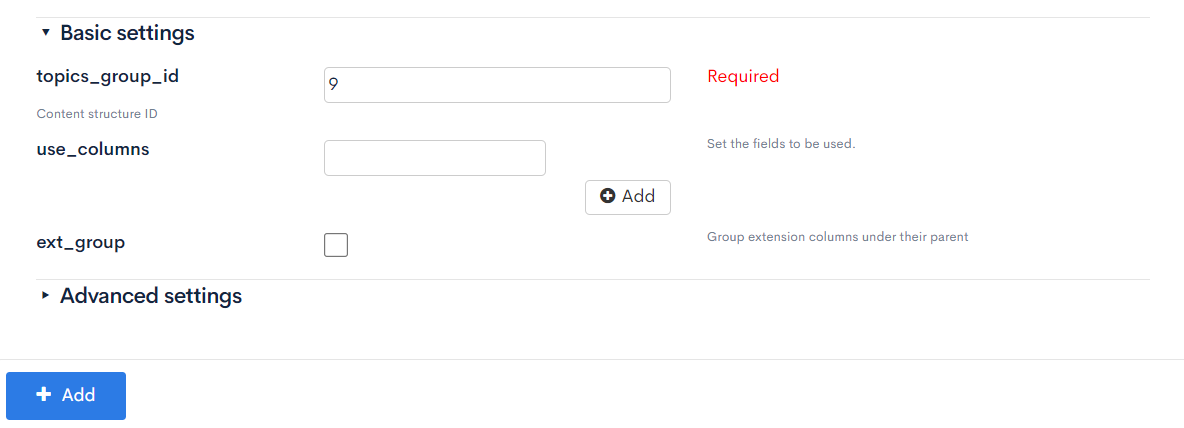
Endpoint to update secondary language
| Field | Setting |
|---|---|
| Path | update_content |
| Category | Contents |
| Model | Topics |
| Operation | update |
| topics_group_id | Content definition ID of the automatic translation content (9) |
Creating Custom Functions
Once the content and endpoints are set up, we will write custom function to integrate with DeepL for translation.
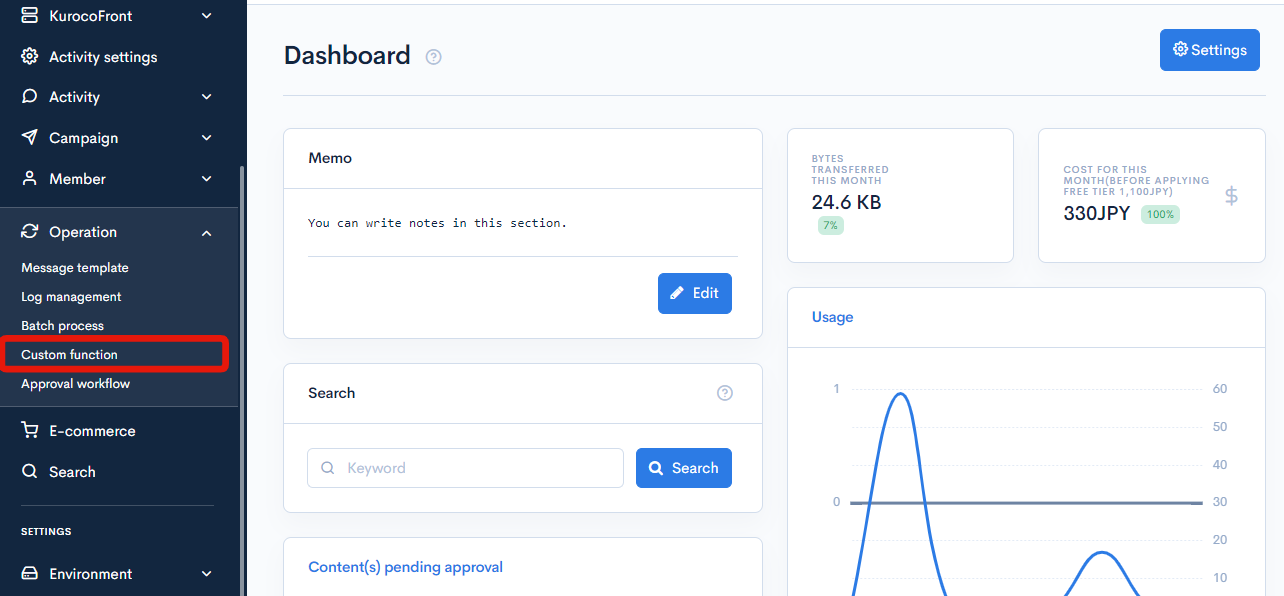
In the left sidebar menu, click [Operation] -> [Custom function]
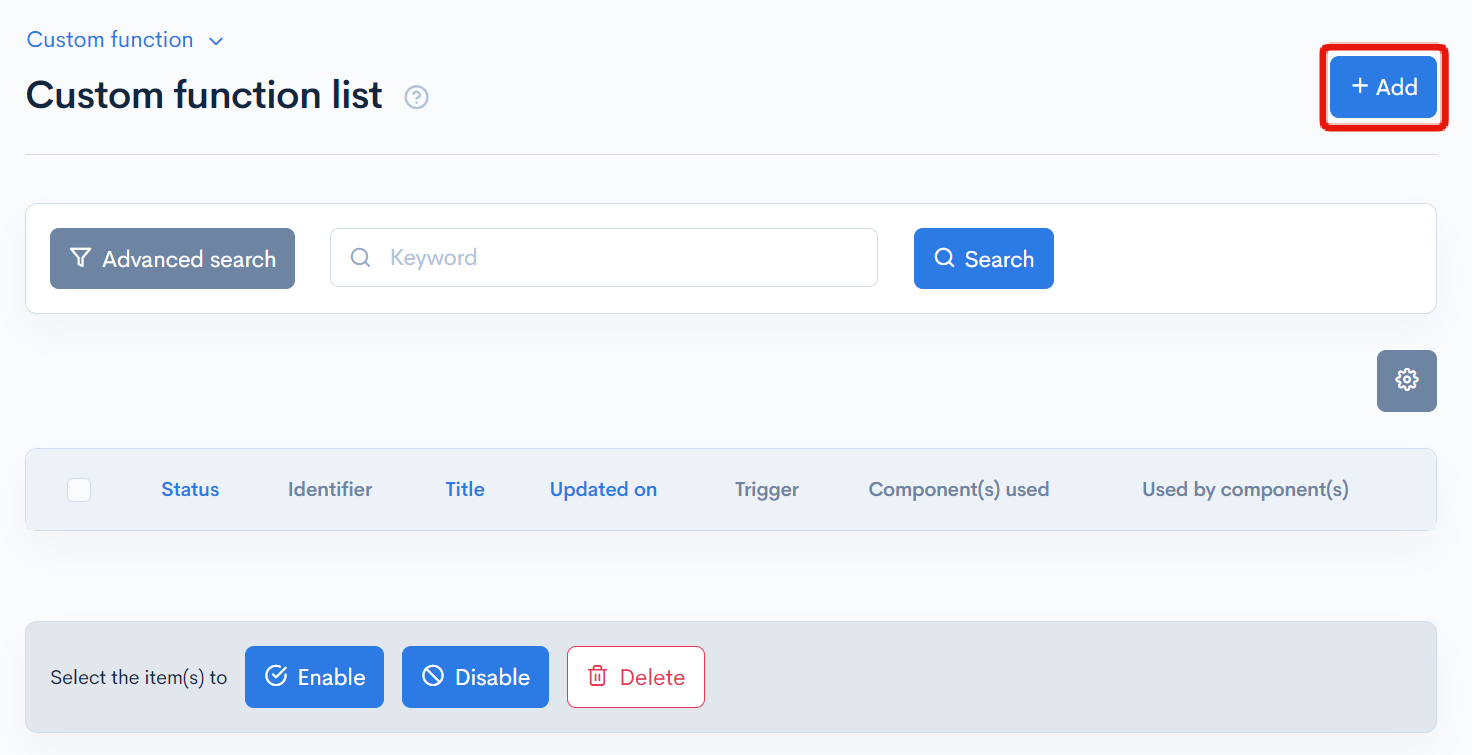
Click on [Add] and create two custom functions: "Custom function to register/delete glossary" and "Custom function to translate content and register in secondary language".
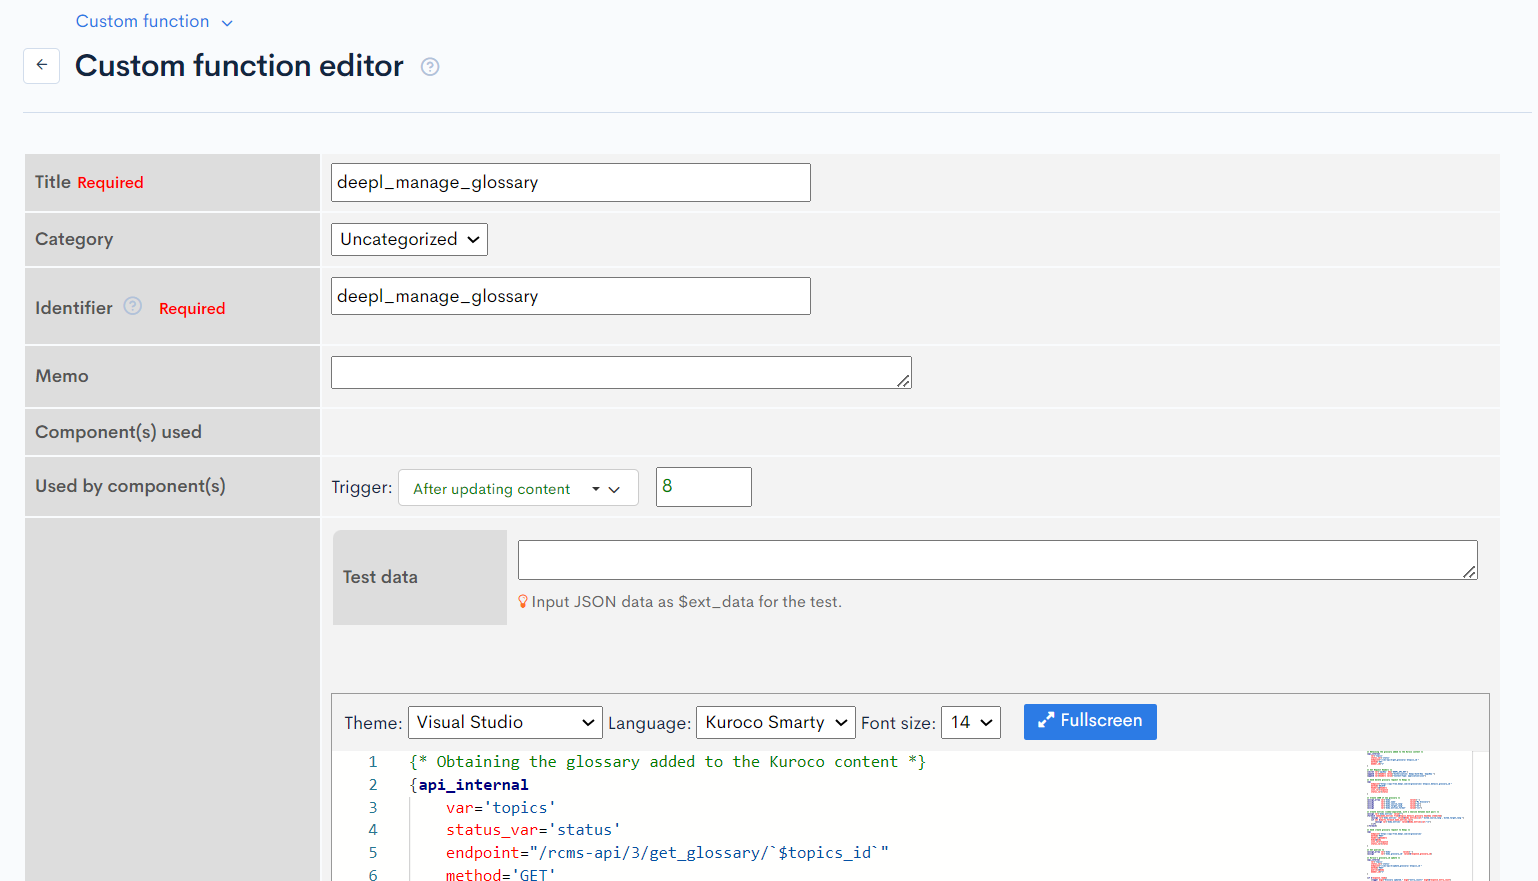
Custom function for registering and deleting glossaries
Since glossaries registered in DeepL cannot be updated, we need to delete and update them each time.
We will delete the existing glossary in DeepL and re-register the updated translation pairs triggered by the content update of the glossary created earlier.
Set as follows:
| Item | Value |
|---|---|
| Title | deepl_manage_glossary |
| Identifier | deepl_manage_glossary |
| Trigger | After updateing content / Glossary content definition ID (8) |
| Processing | The following content |
loading...
Please replace the /rcms-api/3/get_glossary/ part with your own endpoint URL.
If you use triggers in a way that might cause a loop, you should include the following code at the beginning of your custom processing to prevent the loop from occurring:
{if $smarty.server.HTTP_RCMS_X_API_REQUEST_CNT > 0}
    {return}
{/if}
Although API loop prevention is already in place, the trigger will fire twice due to constraints set up, even without this code. For more details, refer to Why is the trigger called twice after content update?.
Once you have entered the information, click [Add] to add the custom function.
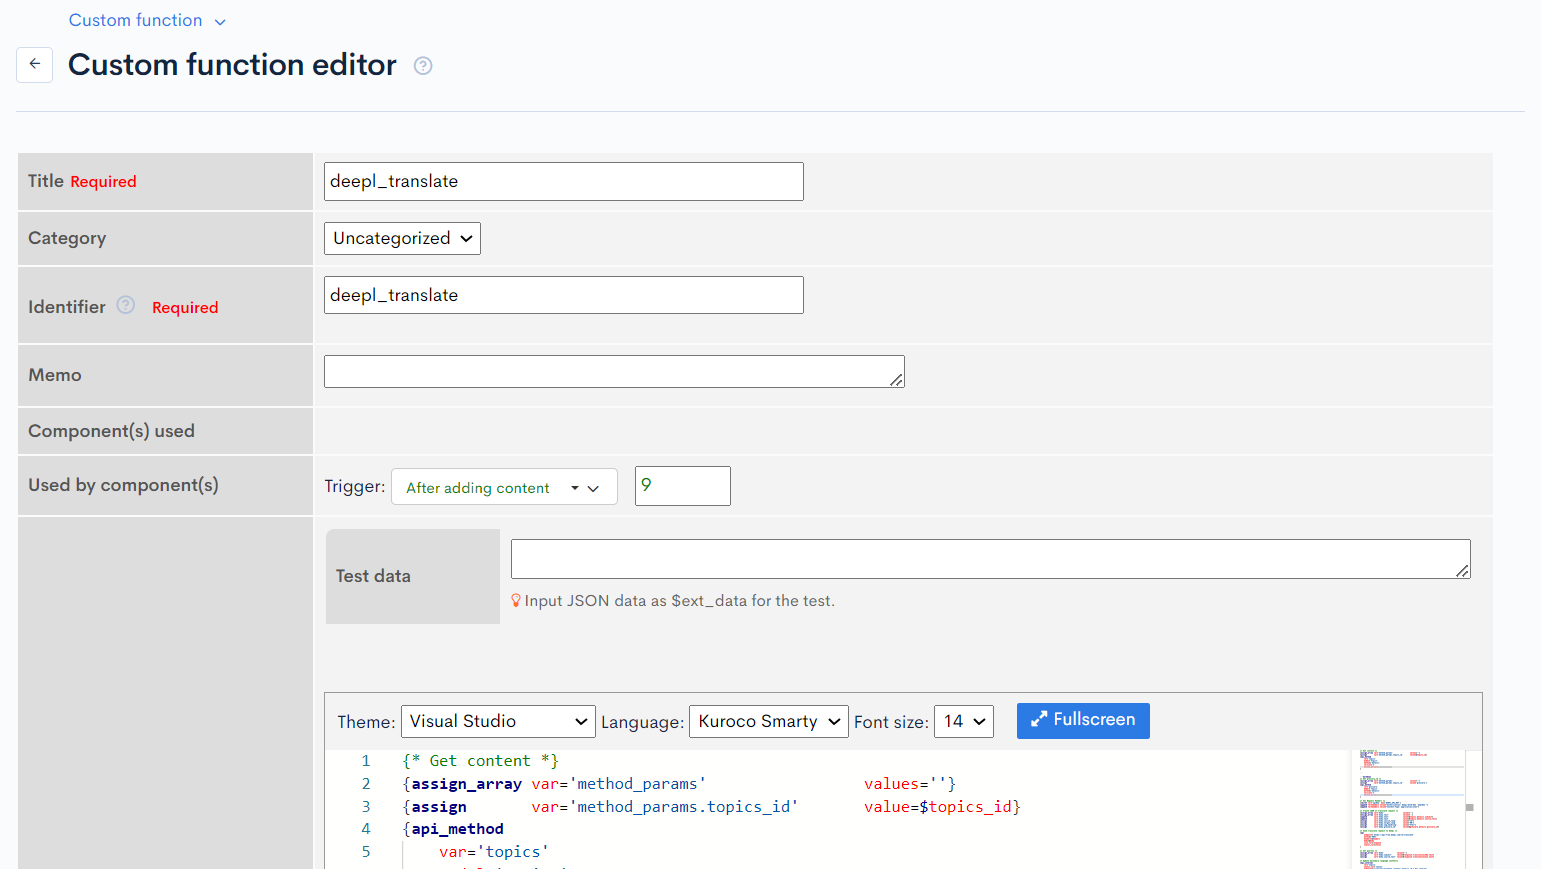
Custom function for translating content and registering it as a secondary language
The custom function for translating content and registering it as a secondary language is triggered by adding content. Send the added content to DeepL and add the translated HTML to the secondary language.
By setting the tag_handling parameter to html and sending a request to DeepL, we perform translation considering HTML tags. For more information, refer to HTML Handling.
To update Kuroco's secondary language, specify the _doc_lang parameter in the query.
Set as follows:
| Item | Value |
|---|---|
| Title | deepl_translate |
| Identifier | deepl_translate |
| Trigger | After adding content / Content definition ID of automatic translation content (9) |
| Processing | The following content |
loading...
To add the custom function, click on [Add].
Verify the operation
With the above steps, the setup for automatic translation is complete. Update or add content to verify the operation.
Glossary
First, update the content of the glossary. Add any language pairs and leave the glossary_id empty. After the update, the glossary_id will be automatically added, and a log confirming the addition of the glossary will be recorded in the custom log.
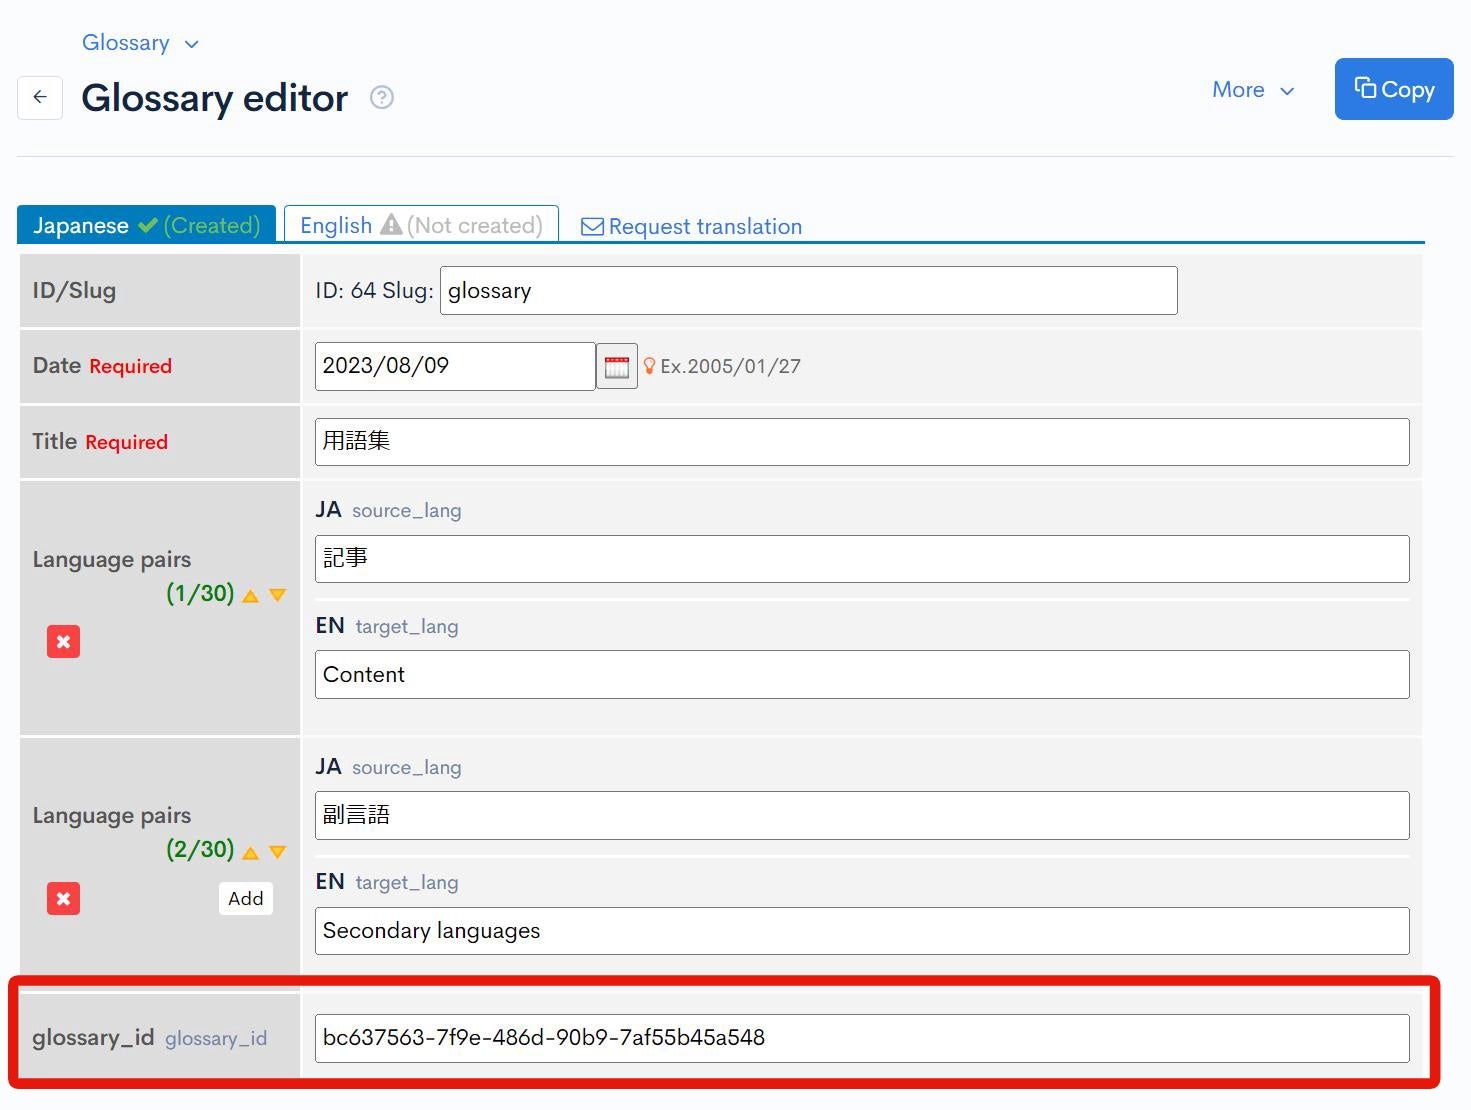
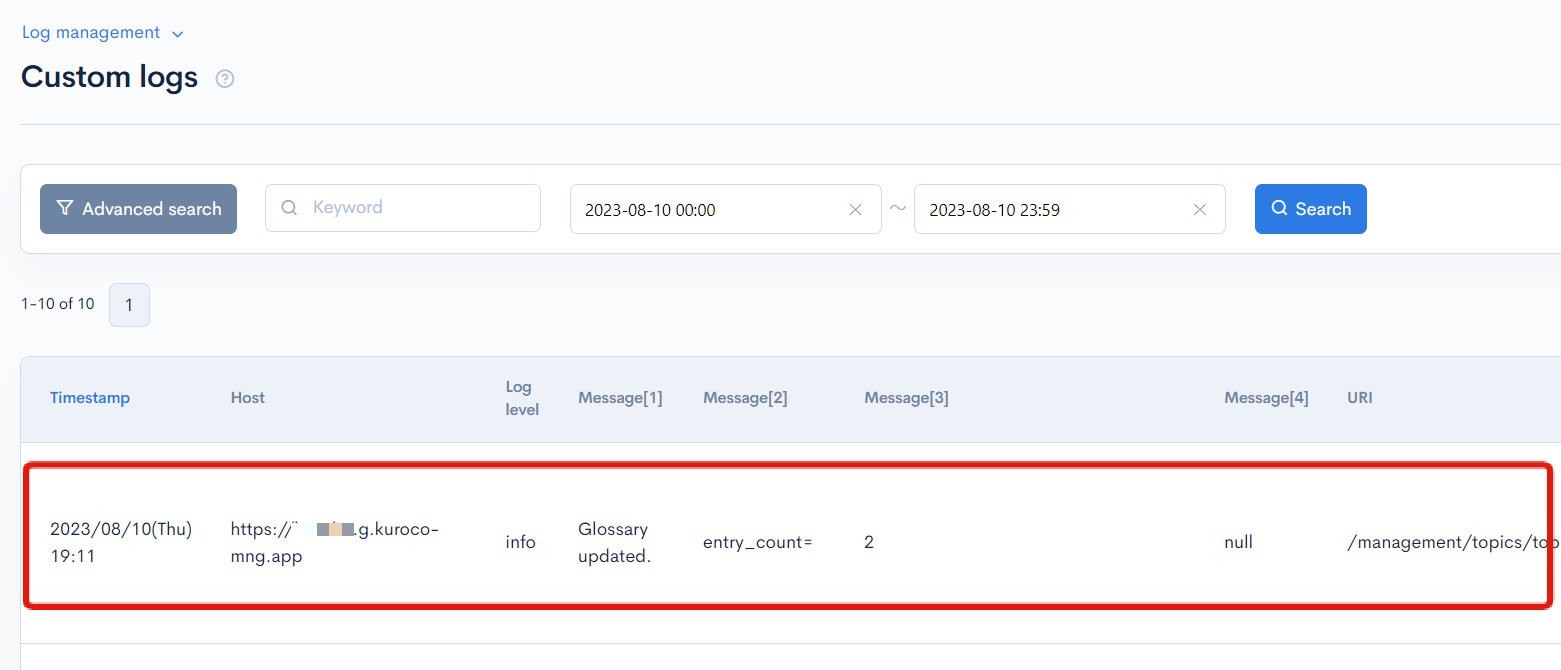
There is no need to manually edit the glossary_id for subsequent updates. It will be automatically updated when registering the glossary in DeepL.
Since the glossary_id is not manually updated, it is effective to apply CSS to hide it by referring to Can I modify the display of the content editor screen? when actually operating.
Automatic Translation of Content
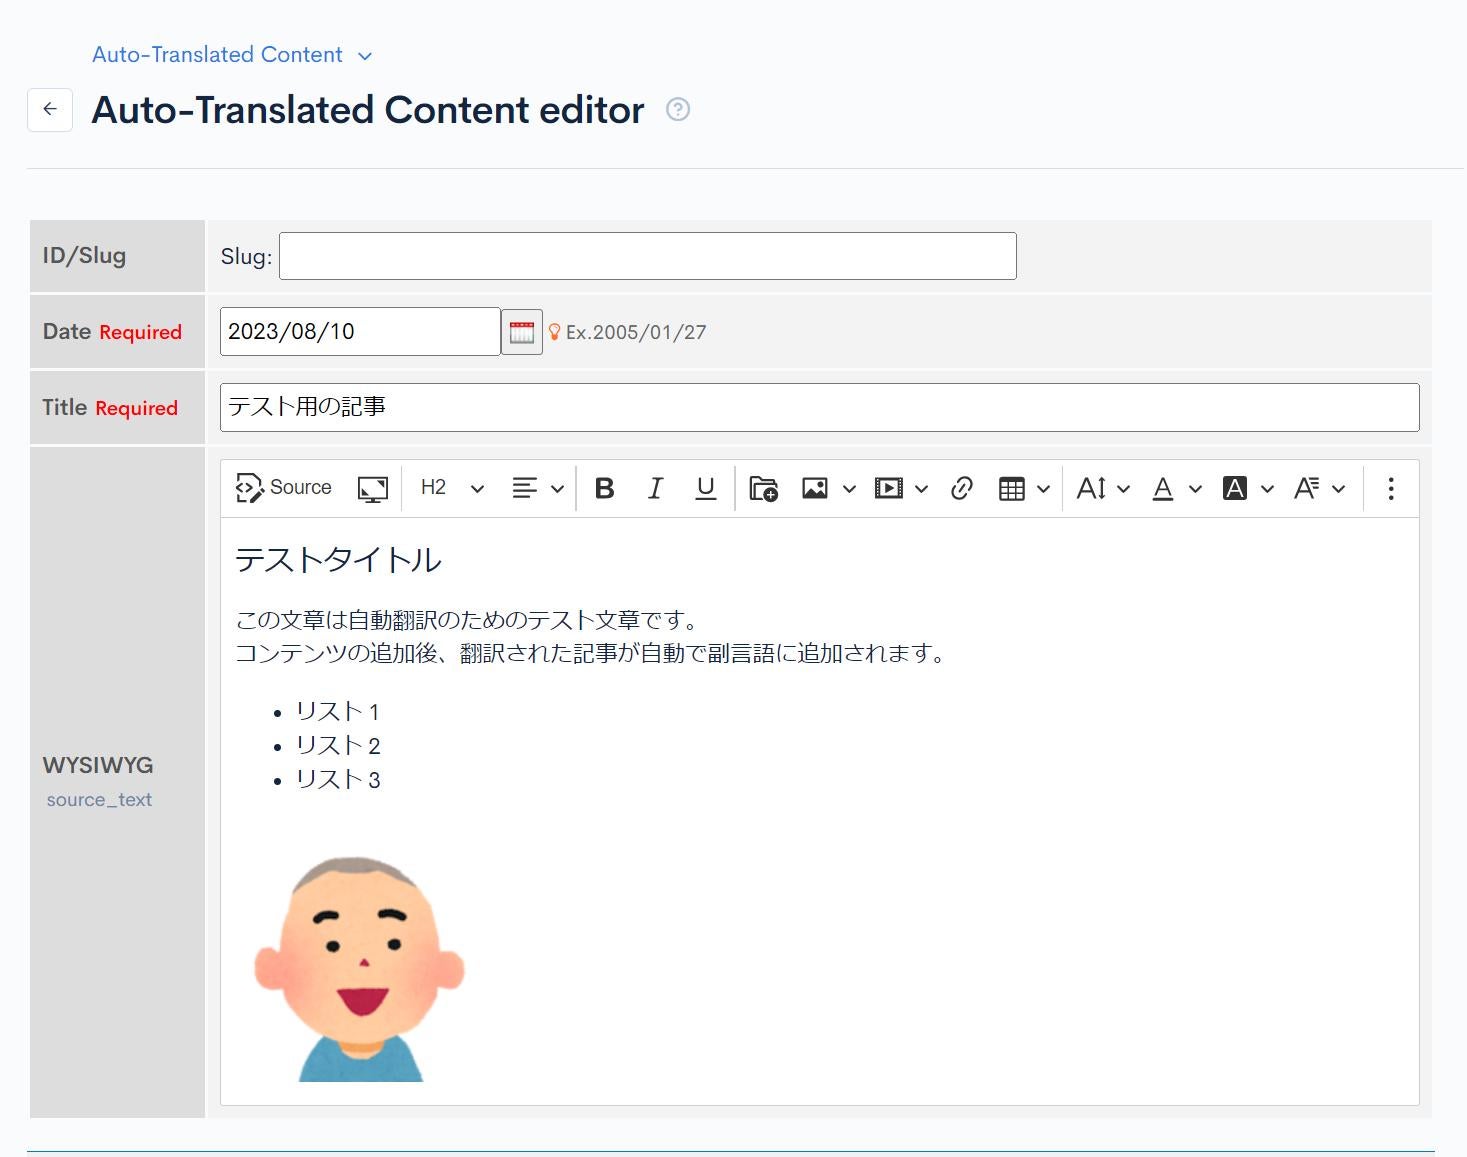
Next, verify the operation of automatic translation of content. Click on [Add] on the page of the automatic translation content list.

Enter any Japanese content and click on [Add].
After adding the content, you can see that the secondary language content is also added at the same time.

Also, when checking the translation content, it can be seen that the glossary has translated the "記事" as "Content" and the "副言語" as "Secondary languages".
With the above, we conclude the explanation of the implementation method for the automatic translation feature using the DeepL API. The DeepL API also has the capability to directly translate PDF and Word files using its Translate Documents feature. Therefore, please refer to this document and give it a try.
Related Documents
Support
If you have any other questions, please contact us or check out Our Slack Community.