Setting up stubs on API endpoints using custom functions
This tutorial explains how to set up your own stubs on API endpoints using custom functions. This feature allows you to verify the behaviors of functions on the front-end before implementing them.
Why use stubs
Stubs can help facilitate smooth development when:
- Kuroco does not yet have enough data
- You need to implement a complex custom function at a later point
Typically, front-end implementation starts after the back-end implementation has been completed. For this reason, dummy data is usually prepared for testing on the front-end before the back-end is finished. In such cases, the contents of the dummy data need to be modified after the back-end is implemented.
Stubs enable you to send requests to predesignated endpoints. This eliminates the need to prepare dummy data and modify it after back-end implementation, thereby boosting project efficiency.
Before you start
For this tutorial, we will be using the following custom function and endpoint created in Tutorial: Creating a custom function endpoint.
| Component | Name |
|---|---|
| Custom function | PlainCustomFunction |
| Endpoint | /rcms-api/2/plain-custom-endpoint |
Now we can set up stubs with the custom function. Modify the function according to the configurations below and verify it after each modification.
- Custom function that returns simple strings
- Custom function that returns contents as JSON
- Custom function that returns conditional contents as JSON
- Custom function that determines
GETquery contents and returns the corresponding JSON data
Custom function that returns simple strings
Contents of the custom function
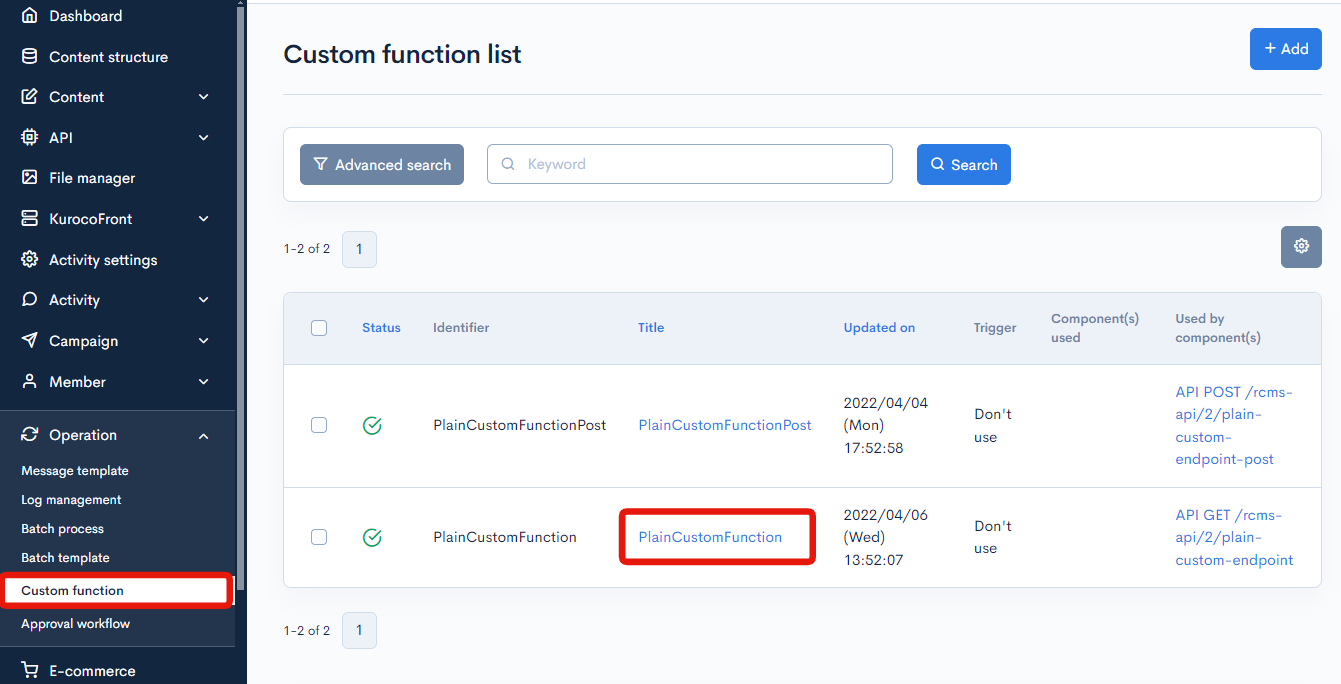
On the Custom function list screen, click [PlainCustomFunction].
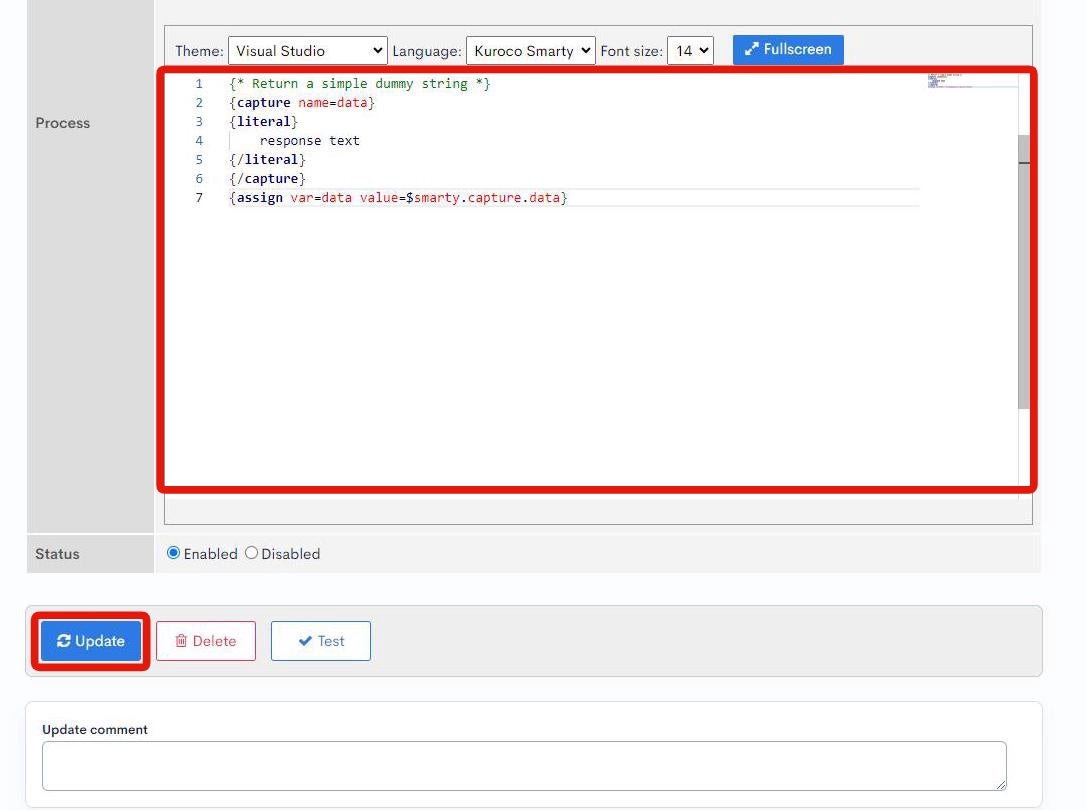
Paste the following code into the "Process" field text area and click [Update]:
{* Return a simple dummy string *}
{capture name=data}
{literal}
    response text
{/literal}
{/capture}
{assign var=data value=$smarty.capture.data}
Verify the endpoint activity
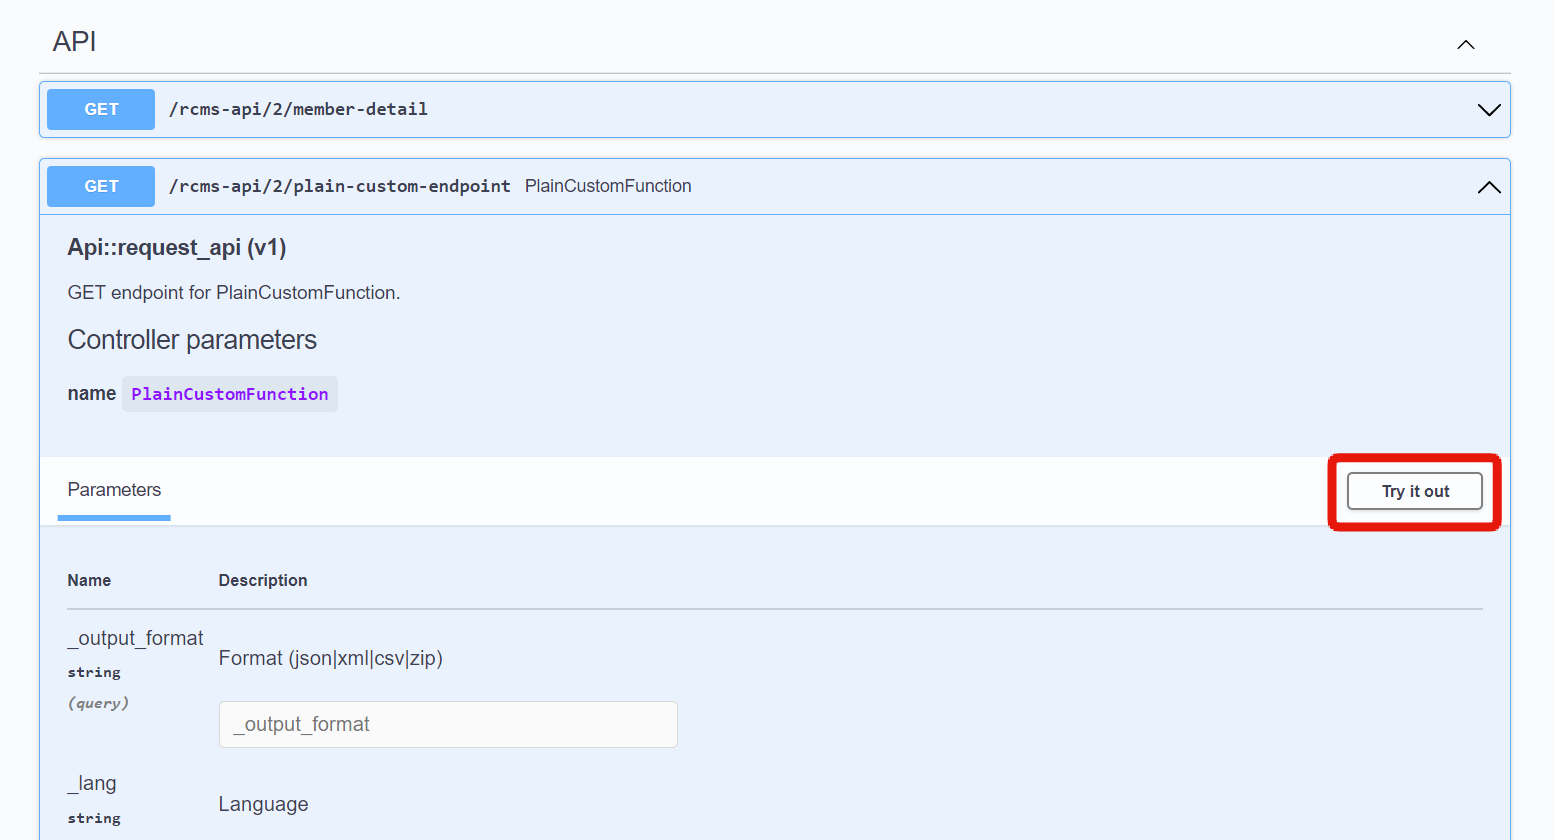
On the Swagger UI screen, select [plain-custom-endpoint].
 Click [Try it out].
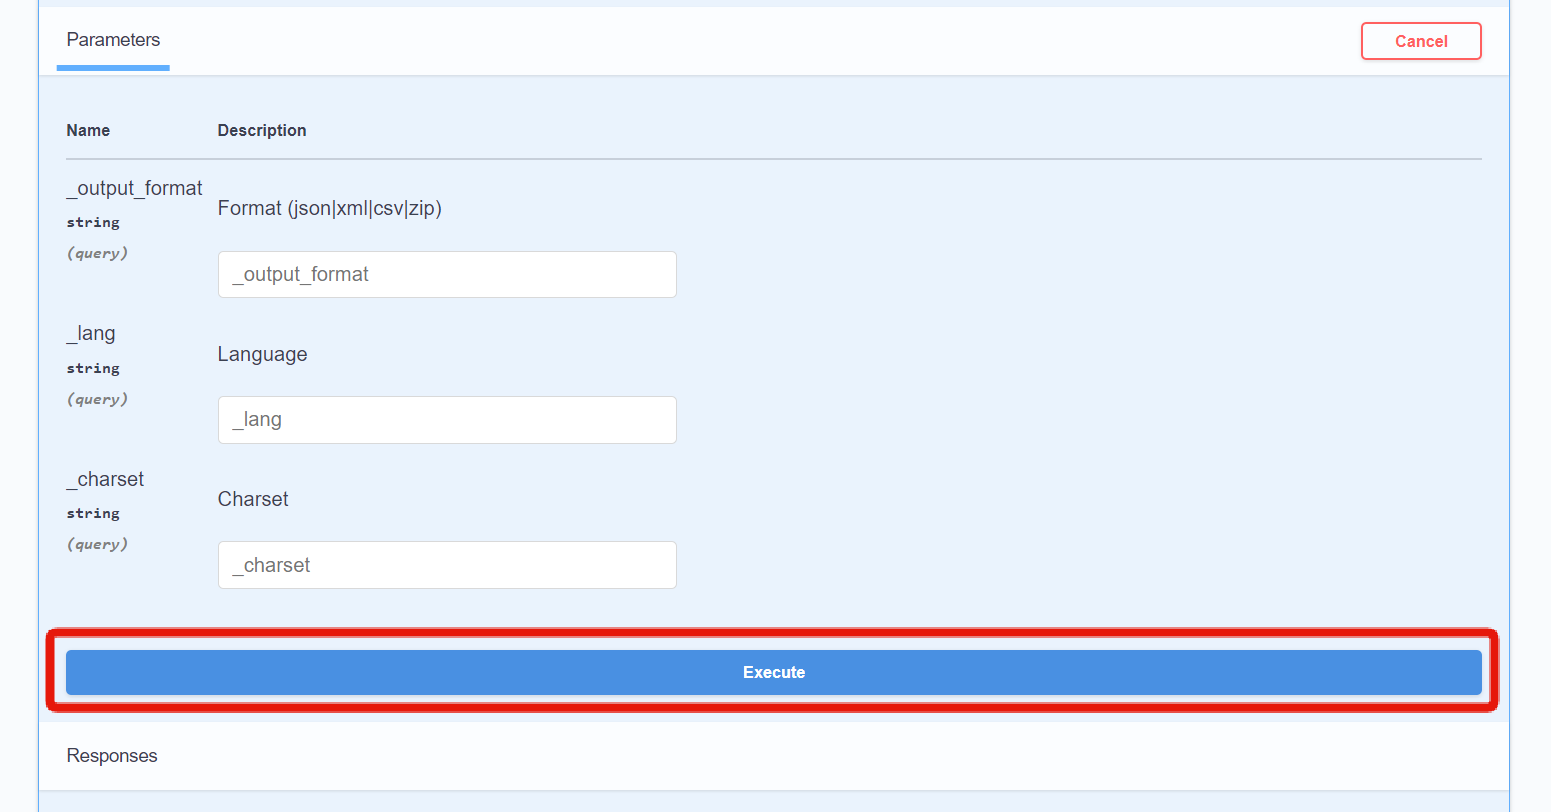
 Then, click [Execute].
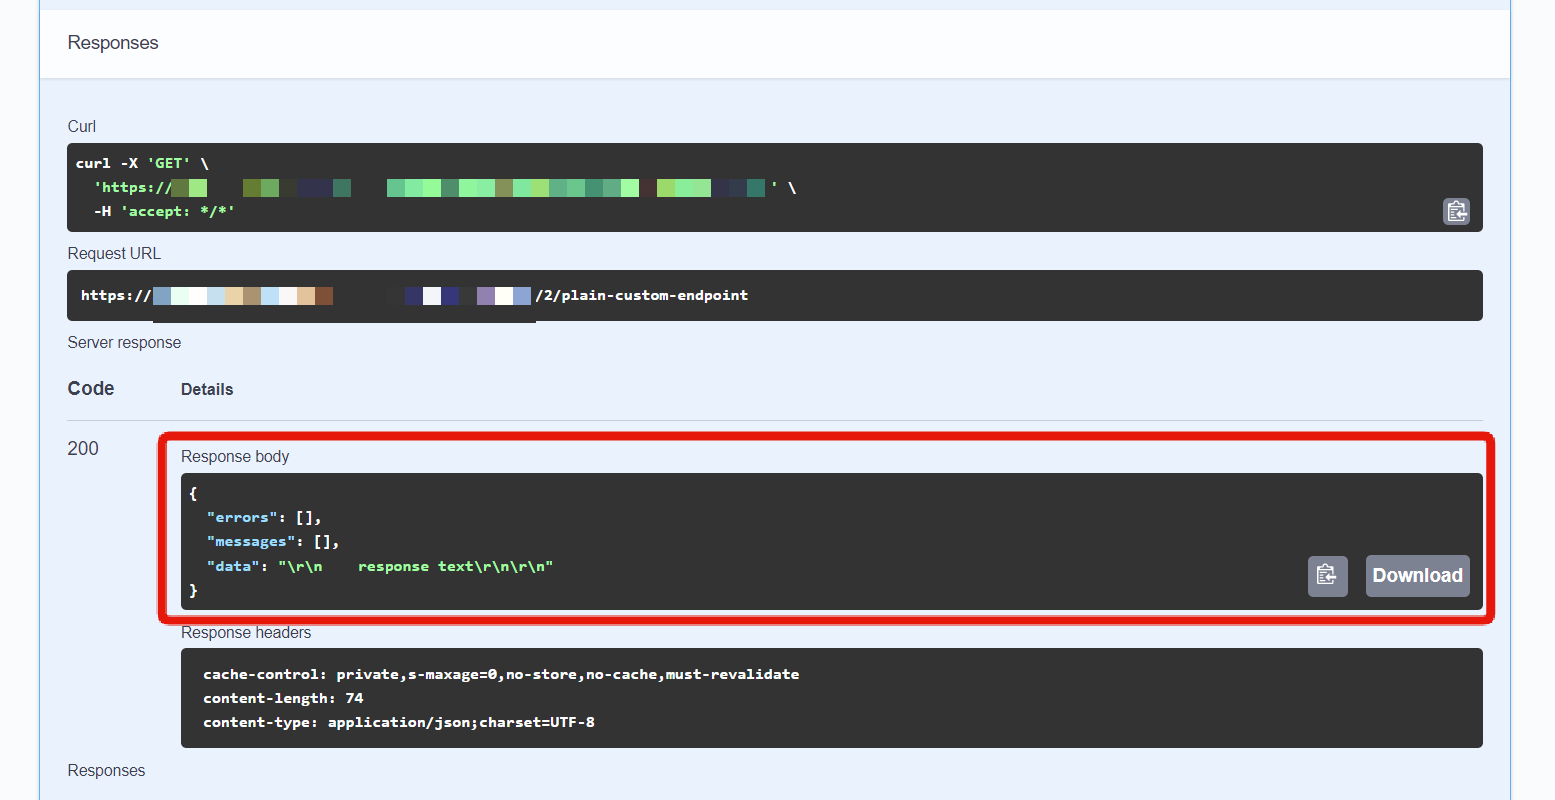
 You should see the contents of the function displayed under "Response body".
Custom function that returns contents as JSON
Contents of the custom function
On the Custom function list screen, click [PlainCustomFunction].
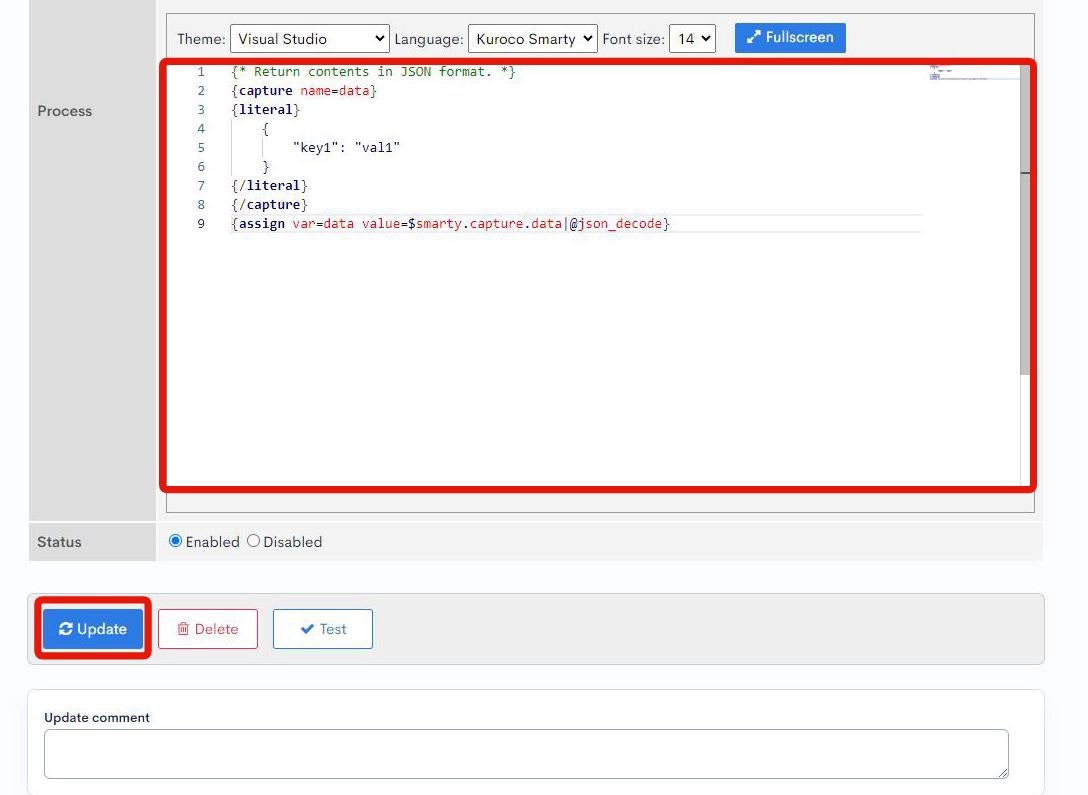
Paste the following code into the "Process" field text area and click [Update]:
{* Return contents in JSON format. *}
{capture name=data}
{literal}
    {
        "key1": "val1"
    }
{/literal}
{/capture}
{assign var=data value=$smarty.capture.data|@json_decode}
Verify the endpoint activity
On the Swagger UI screen, select [plain-custom-endpoint].
Click [Try it out].
Then, click [Execute].
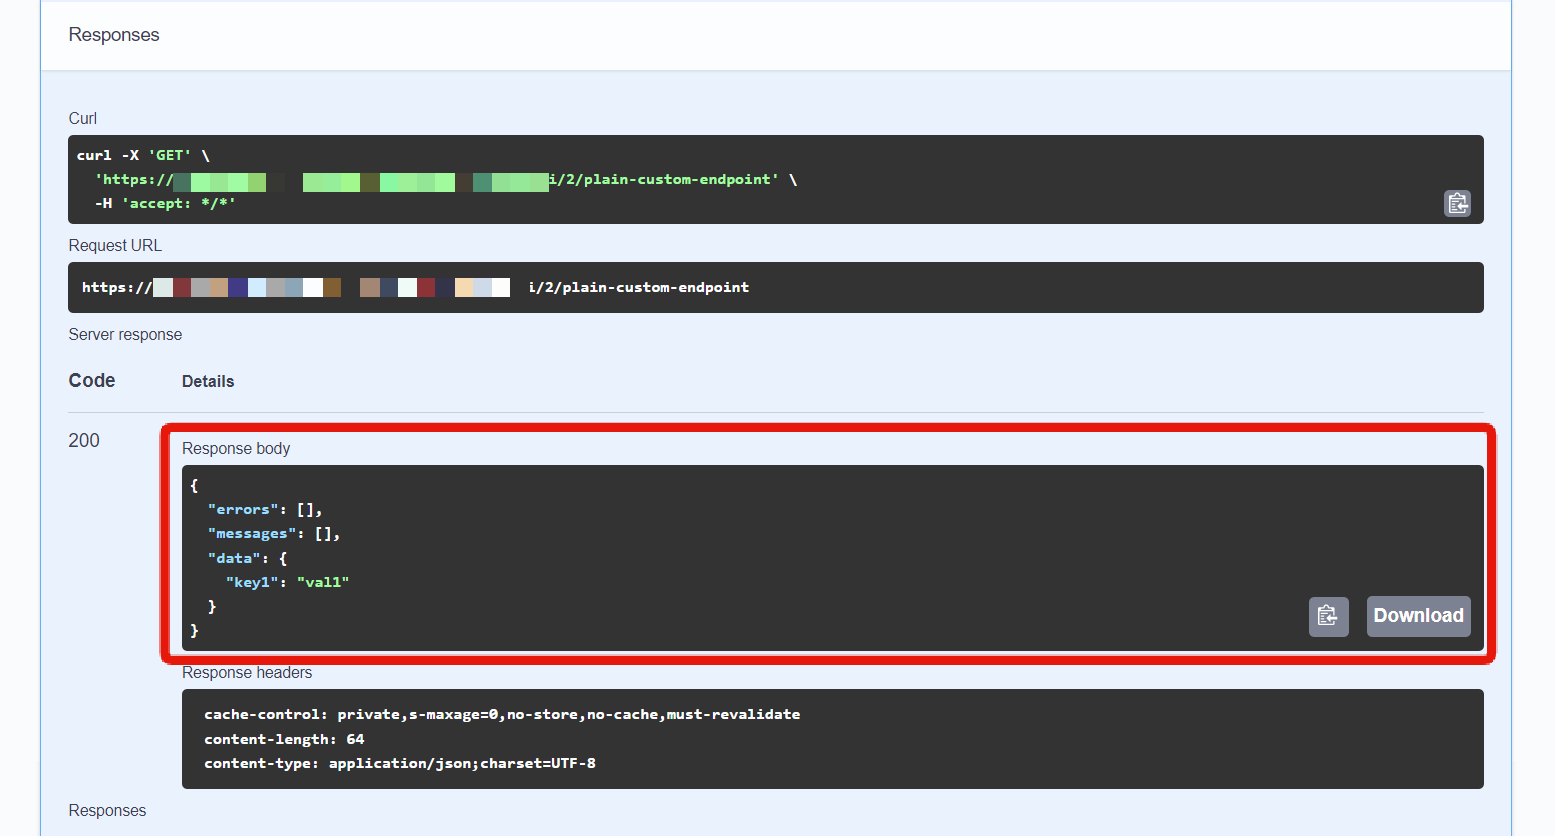
You should see the contents of the function displayed as JSON under "Response body".
Custom function that returns conditional contents as JSON
Contents of the custom function
On the Custom function list screen, click [PlainCustomFunction].
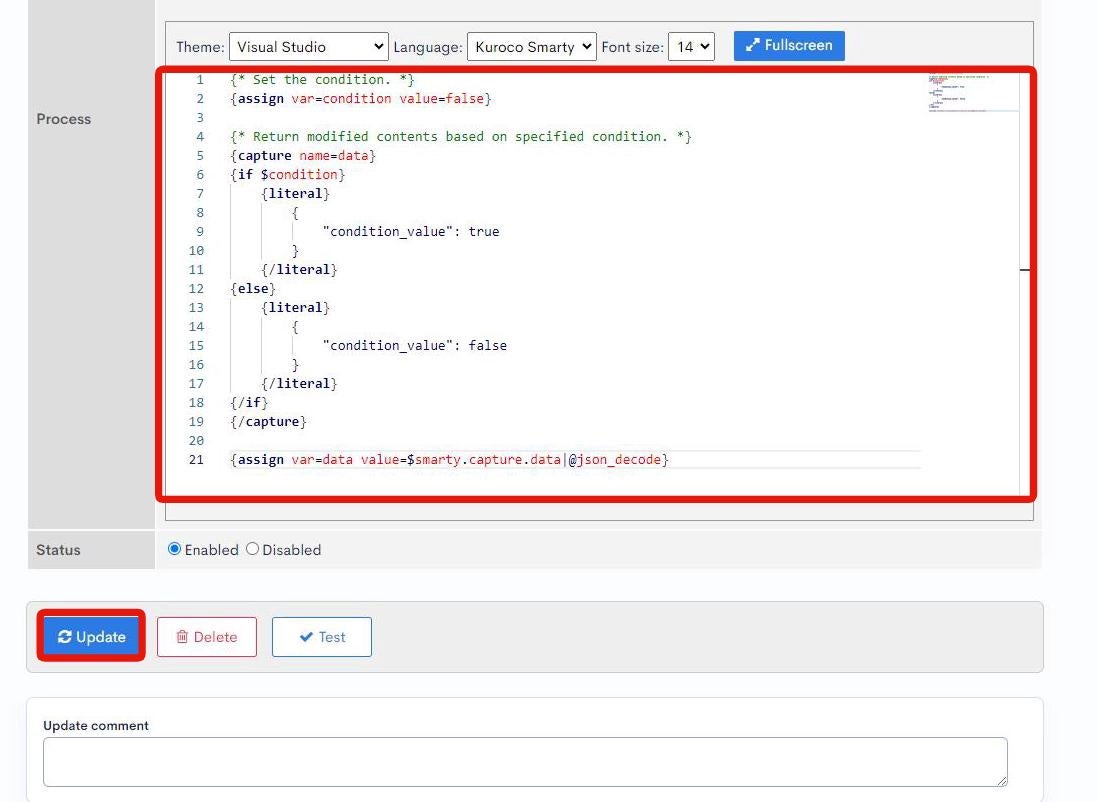
Paste the following code into the "Process" field text area and click [Update]:
{* Set the condition. *}
{assign var=condition value=false}

{* Return modified contents based on specified condition. *}
{capture name=data}
{if $condition}
    {literal}
        {
            "condition_value": true
        }
    {/literal}
{else}
    {literal}
        {
            "condition_value": false
        }
    {/literal}
{/if}
{/capture}

{assign var=data value=$smarty.capture.data|@json_decode}
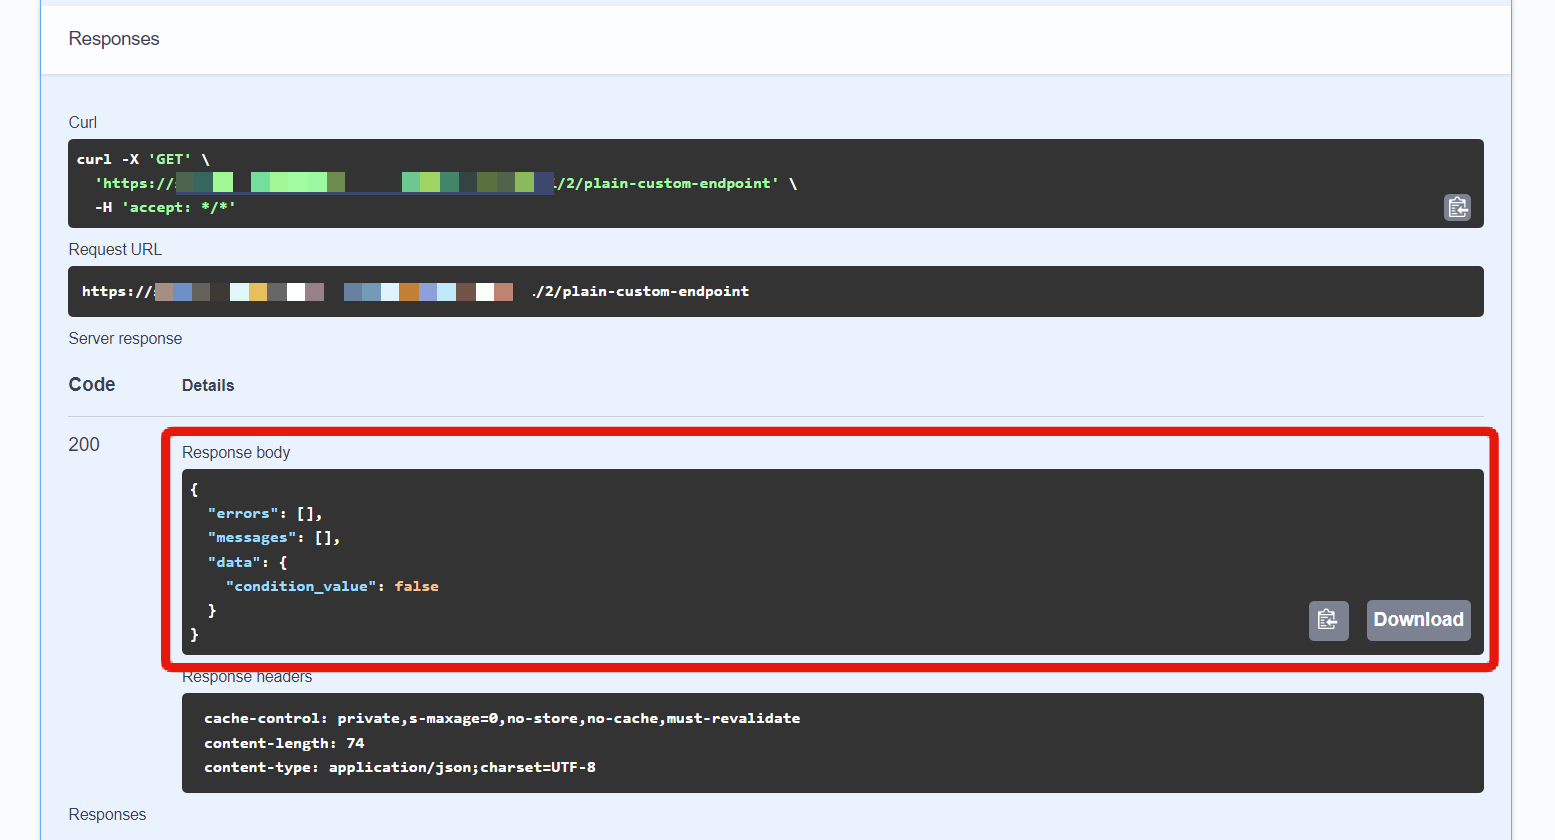
Verify the endpoint activity
On the Swagger UI screen, select [plain-custom-endpoint].
Click [Try it out].
Then, click [Execute].
You should see the conditional results displayed as JSON under "Response body".
Custom function that determines GET query contents and returns the corresponding JSON data
Contents of the custom function
On the Custom function list screen, click [PlainCustomFunction].
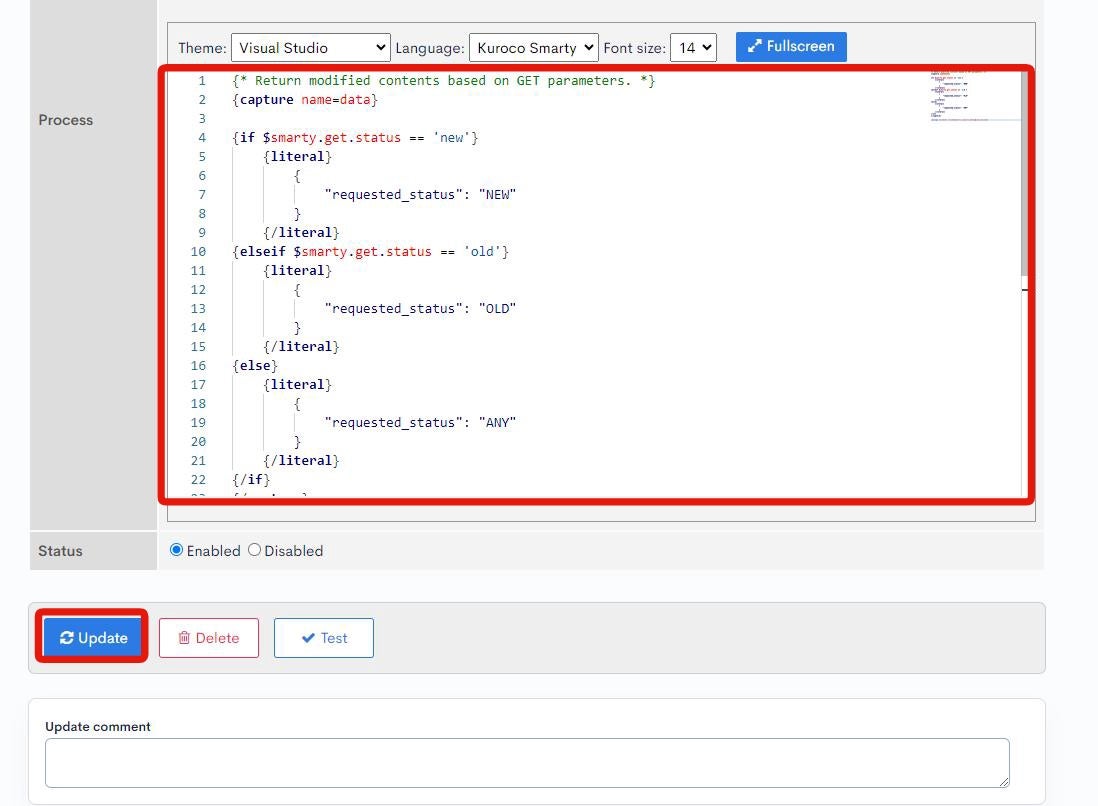
Paste the following code into the "Process" field text area and click [Update]:
{* Return modified contents based on GET parameters. *}
{capture name=data}

{if $smarty.get.status == 'new'}
    {literal}
        {
            "requested_status": "NEW"
        }
    {/literal}
{elseif $smarty.get.status == 'old'}
    {literal}
        {
            "requested_status": "OLD"
        }
    {/literal}
{else}
    {literal}
        {
            "requested_status": "ANY"
        }
    {/literal}
{/if}
{/capture}

{assign var=data value=$smarty.capture.data|@json_decode}
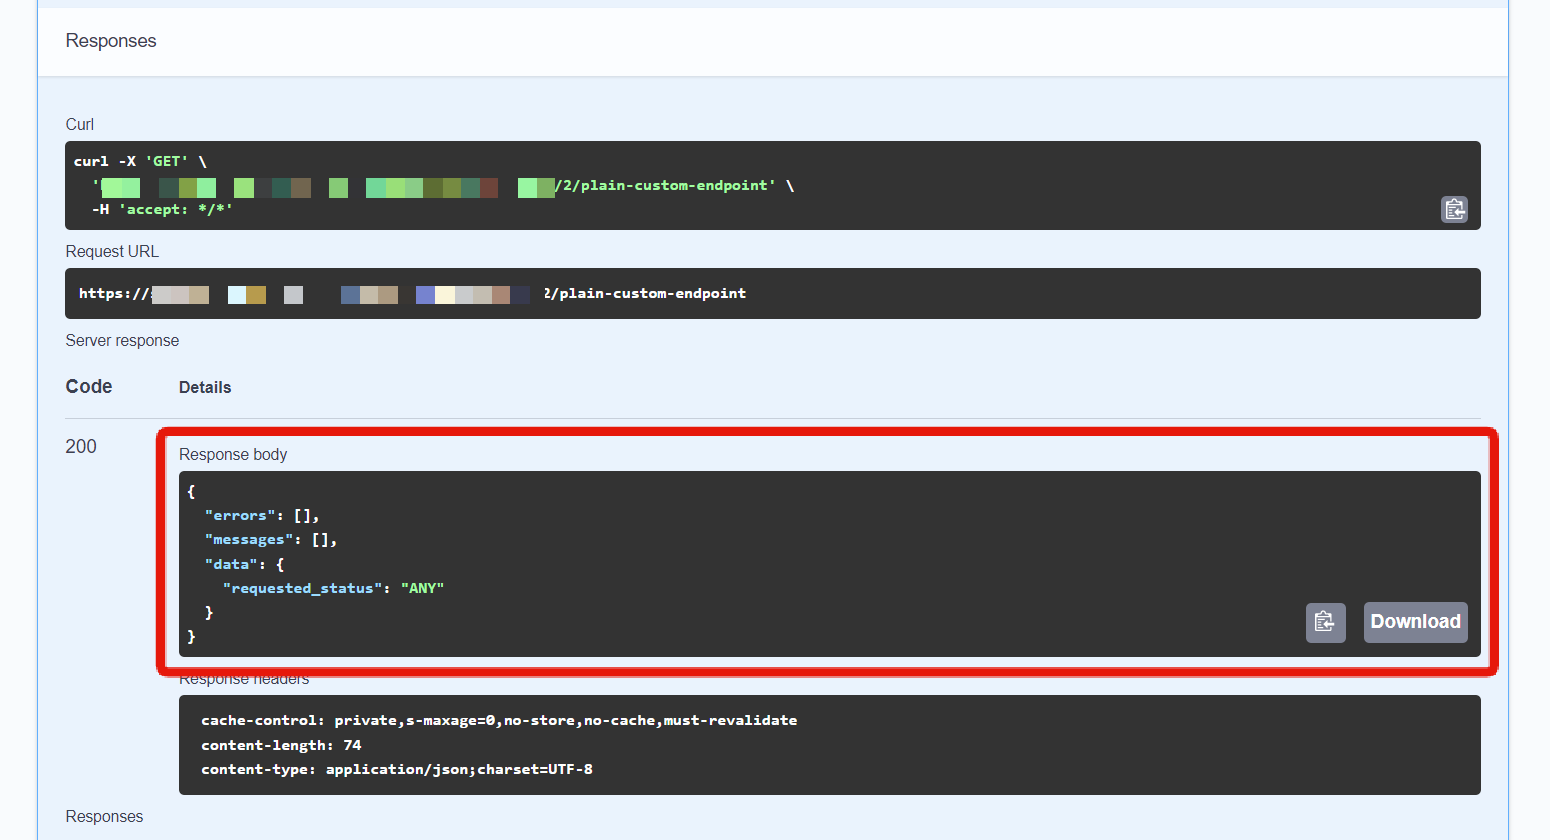
Verify the endpoint activity
On the Swagger UI screen, select [plain-custom-endpoint].
Click [Try it out].
Then, click [Execute].
For requests without a status value, you should see the response ANY under "Response body".
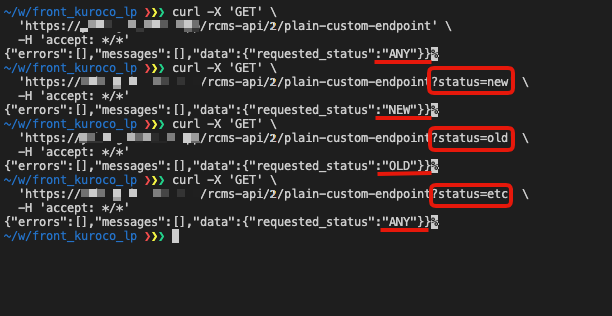
Check the Curl response
In this custom function, the status value specified in the GET query results in branching.
Along with the associated API endpoints, the GET request should be sent to a URL of the format /rcms-api/1/plain-custom-endpoint?status=.... However, since this request cannot be executed via Swagger UI, you need to verify the operation using Curl.
Copy the contents under "Curl" in the [Responses] section of the Swagger UI screen.

curl -X 'GET' \
'https://[SITE-KEY].g.kuroco.app/rcms-api/2/plain-custom-endpoint' \
-H 'accept: */*'
Paste the copied URL into your terminal to confirm the results. Make sure to include ?[QUERY KEY NAME]=[VALUE] at the end of the URL to reference the GET query.
For an explanation why the status cannot be specified in Swagger UI, see FAQ: How do I verify requests that cannot be verified with Swagger UI?.
Related documents
Support
If you have any other questions, please contact us or check out Our Slack Community.