Specify the membership group based on the domain at the time of member registration
Overview
This tutorial explains how to implement a function that specifies the member group based on the domain at the time of member registration. The endpoint for Member::insert cannot change default_group_id from the frontend due to security. Therefore, multiple endpoints are created, and this feature is implemented by distributing the endpoint to be used depending on the domain using custom function.
What you can learn
We will implement the feature to change the membership group based on the domain by following the steps below:
Prerequisites
In this tutorial, we will create endpoints and custom function, then perform the testing using Swagger UI.
Also, the groups to which the member will be assigned should already be created.
Refer to Setting up a new member registration form with Kuroco and Nuxt.js for implementation in the frontend.
API configuration
Creating an API
It is recommended to create separate APIs for endpoints that are only used internally in Kuroco.
Therefore, first, create a new API for internal use.
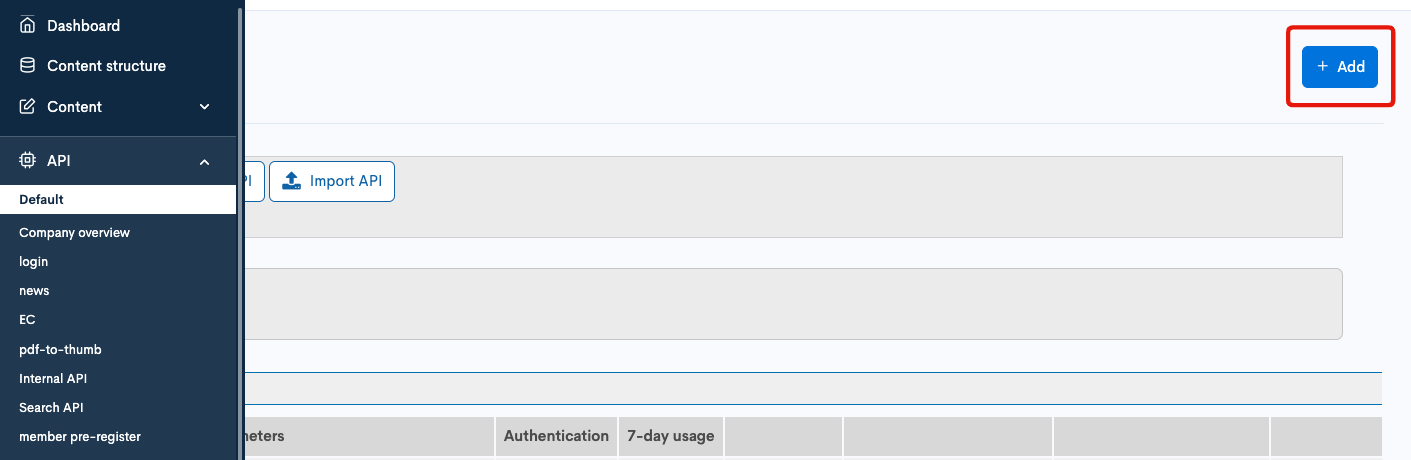
Click [Add] from the API in the Kuroco Admin panel.
On the API creation screen, enter the following and click "Add".
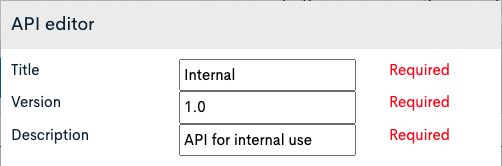
| Item | Setting |
|---|---|
| Title | Internal |
| Version | 1.0 |
| Description | API for internal use |
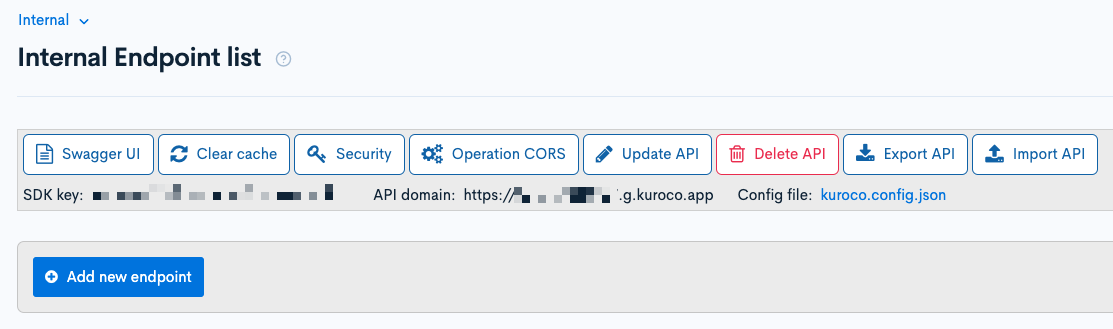
The API has been created.
Security configuration
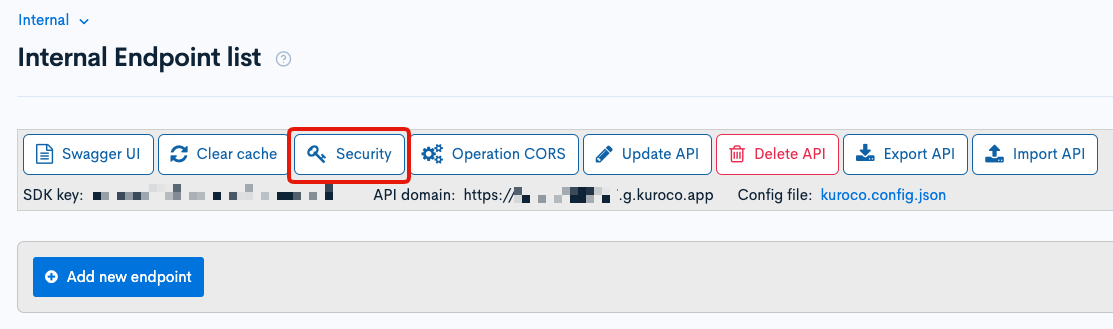
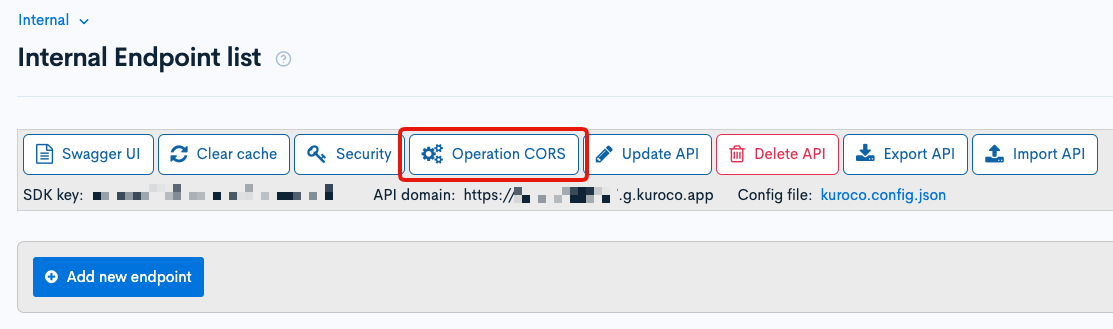
Next, configure security. Click [Security].
Set the security to [Dynamic Access Token], and click [Save].

After setting security to a dynamic access token, it is recommended to use the Login::token endpoint, but it can be ignored if it is for internal use only.

Setting CORS
Next, we will configure CORS. Click [Operation CORS].
Click [Add Origin] for CORS_ALLOW_ORIGINS and add the following:
- Admin panel URL
Click [Add Method] for CORS_ALLOW_METHODS and add the following:
- GET
- POST
- OPTIONS
Check that [Allow Credentials] is selected for CORS_ALLOW_CREDENTIALS.
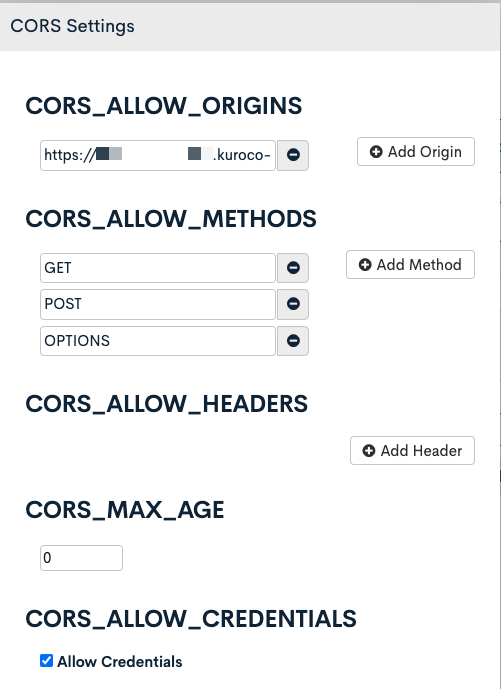
Click [Save] if there are no problems.
Creating endpoints
Next, we will create the endpoints. We need two Member::insert endpoints with different default_group_id and an Api::request_api_post endpoint to call the custom function that we will be creating later.
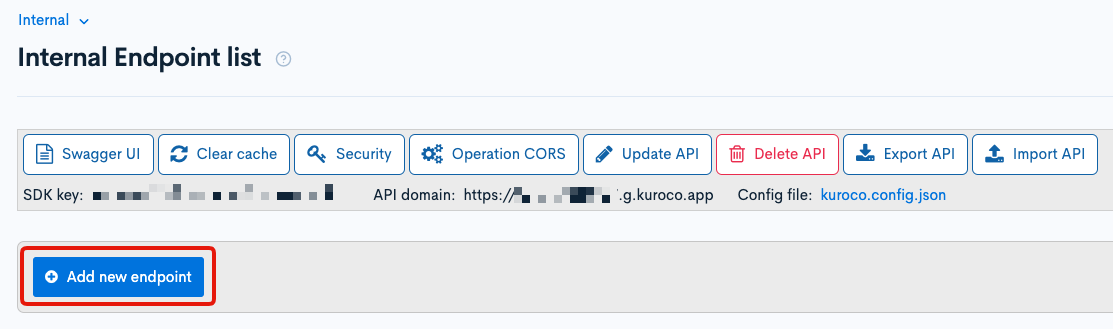
First, we will create the the Member::insert endpoints. These endpoints will be used internally within Kuroco, so we will need to create them by clicking [Add new endpoint] in the "Internal" API.
Create the following two endpoints:
| Field | Setting |
|---|---|
| Path | member/insert/a |
| Category | Member |
| Model | Member |
| Operation | insert |
| default_group_id | Group ID to assign the member to (101) |
| login_ok_flg | Checked |

| Field | Settings |
|---|---|
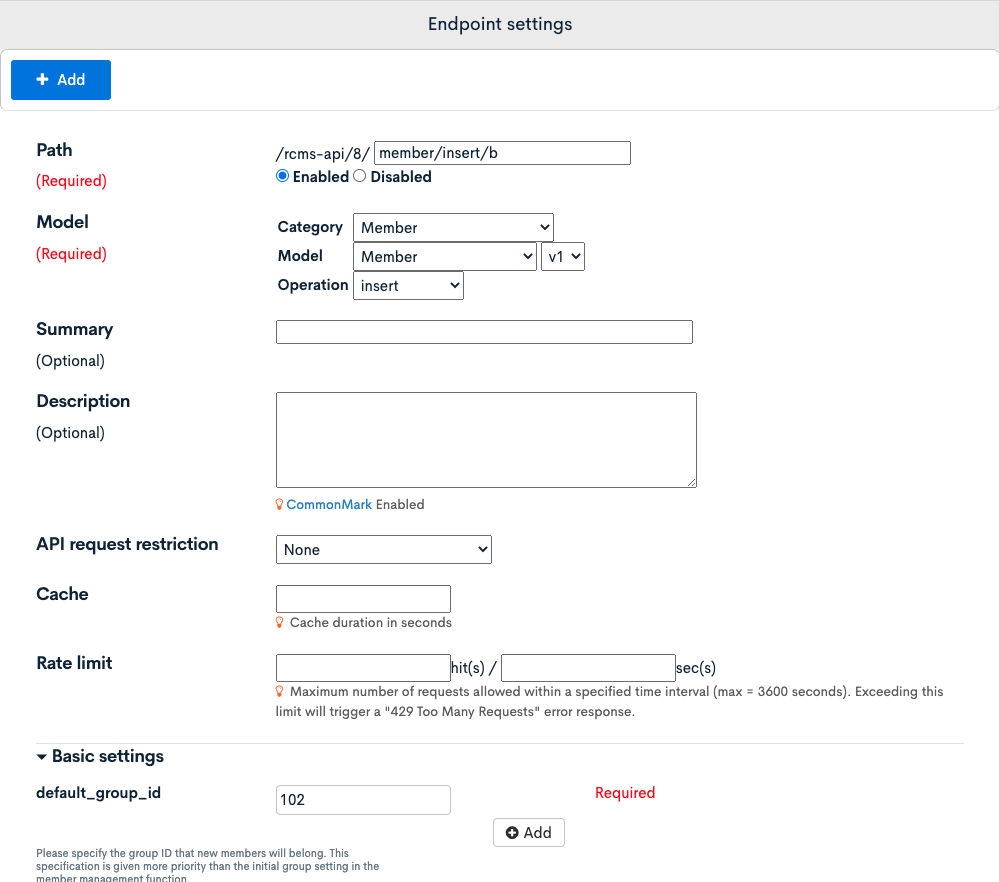
| Path | member/insert/b |
| Category | Member |
| Model | Member |
| Operation | insert |
| default_group_id | Group ID to assign the member to (102) |
| login_ok_flg | Checked |
Next, we need to create the Api::request_api_post endpoint.
This API will be used from the frontend so we will create the endpoint in the default API.
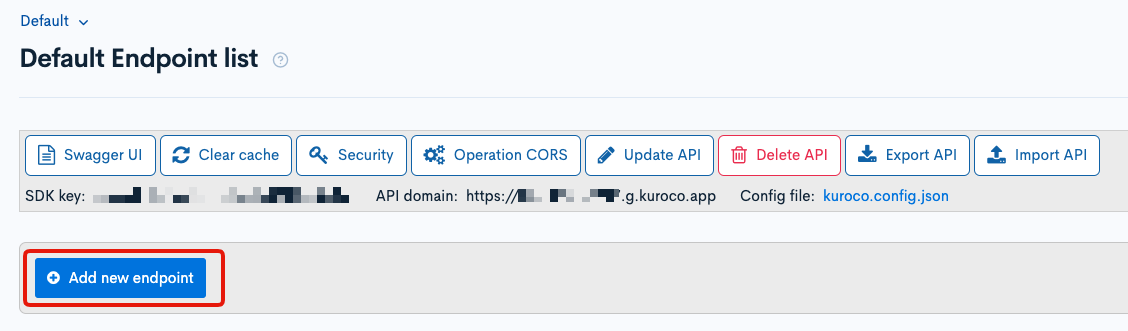
Click [Add new endpoint] in the "Default" API.
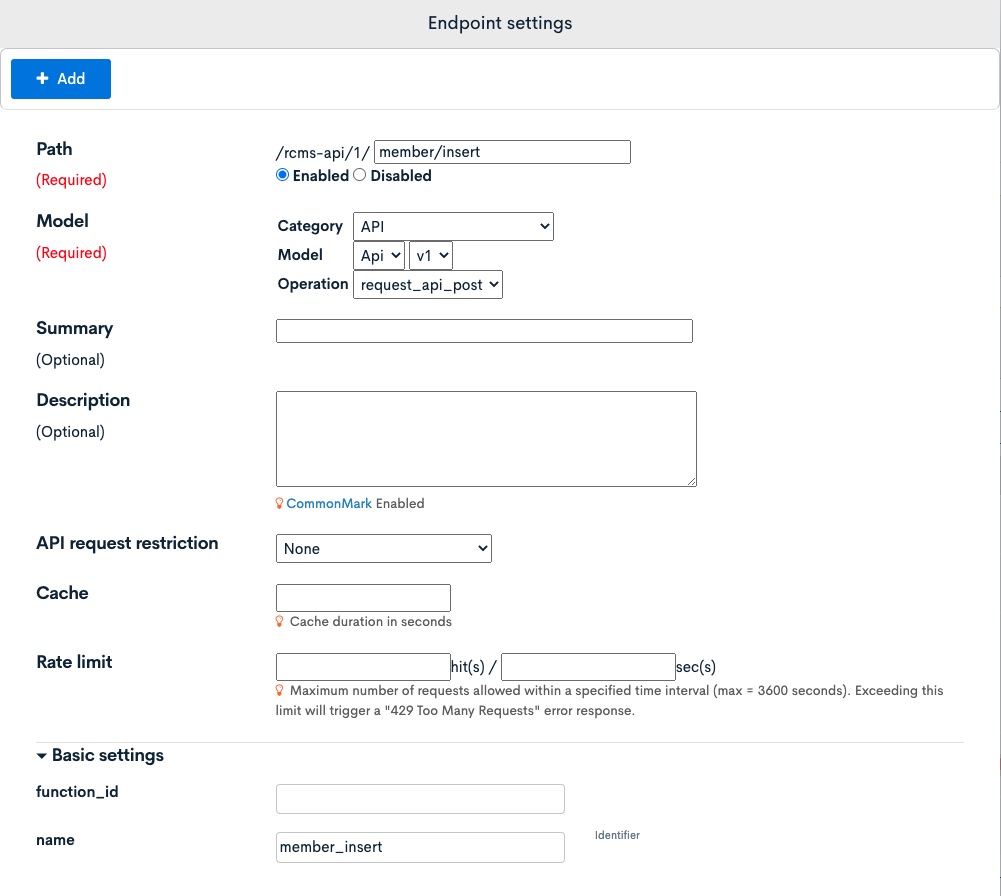
| Item | Settings |
|---|---|
| Path | member/insert |
| Category | API |
| Model | Api |
| Operation | request_api_post |
| name | member_insert (This will be used as the identifier of the custom function that we will create later.) |
The three endpoints we need now have been created.


Creating custom function
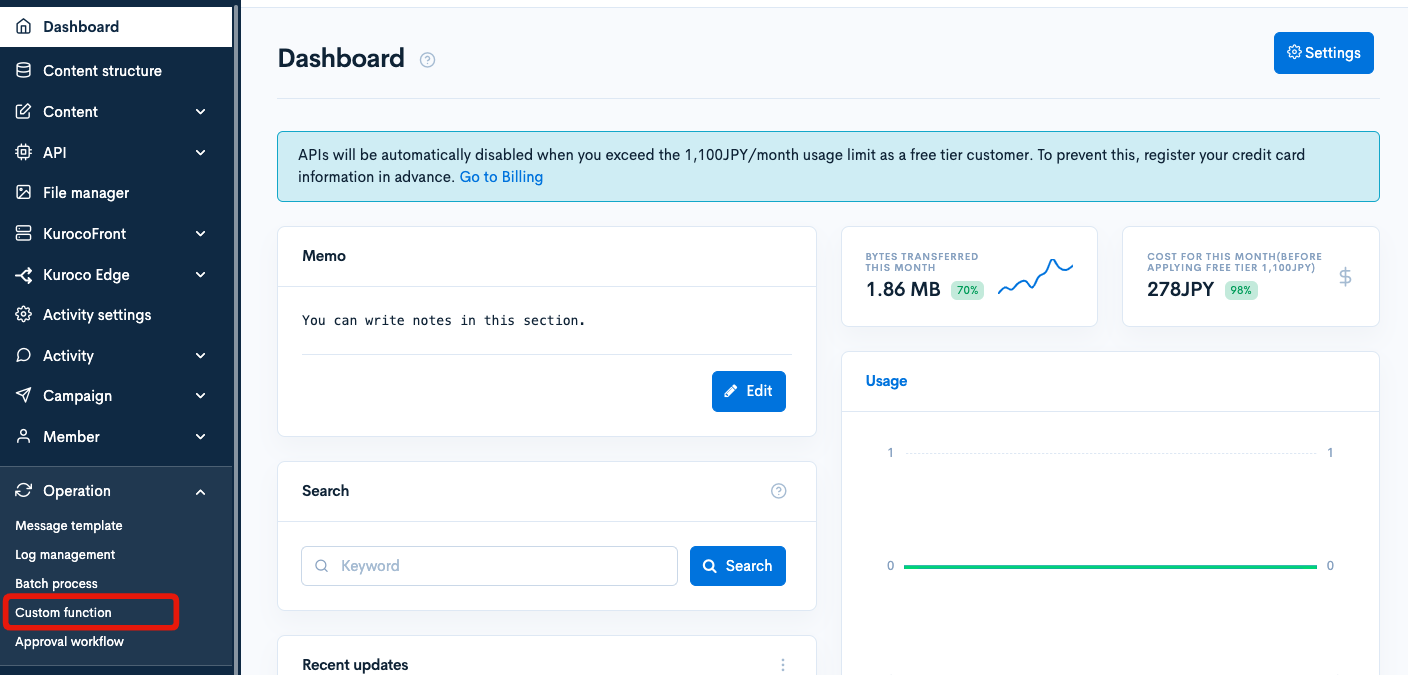
Next, create custom function to distribute endpoints to send requests to, depending on the domain. Click [Operation] -> [Custom function].
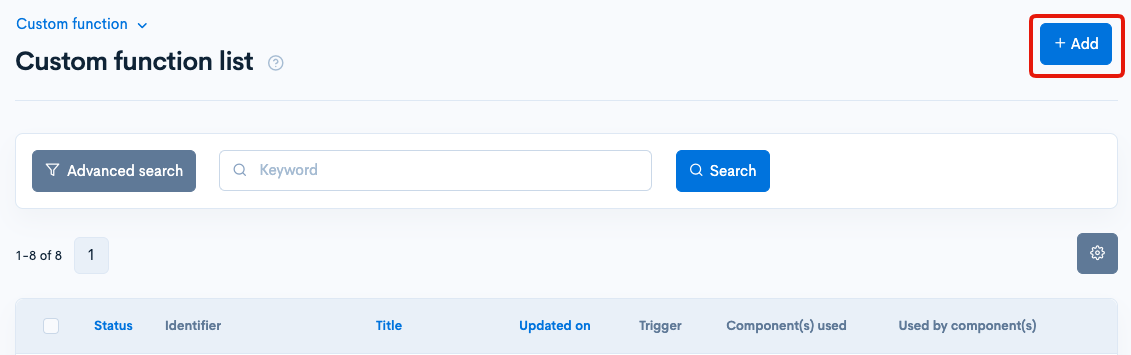
Click [Add].
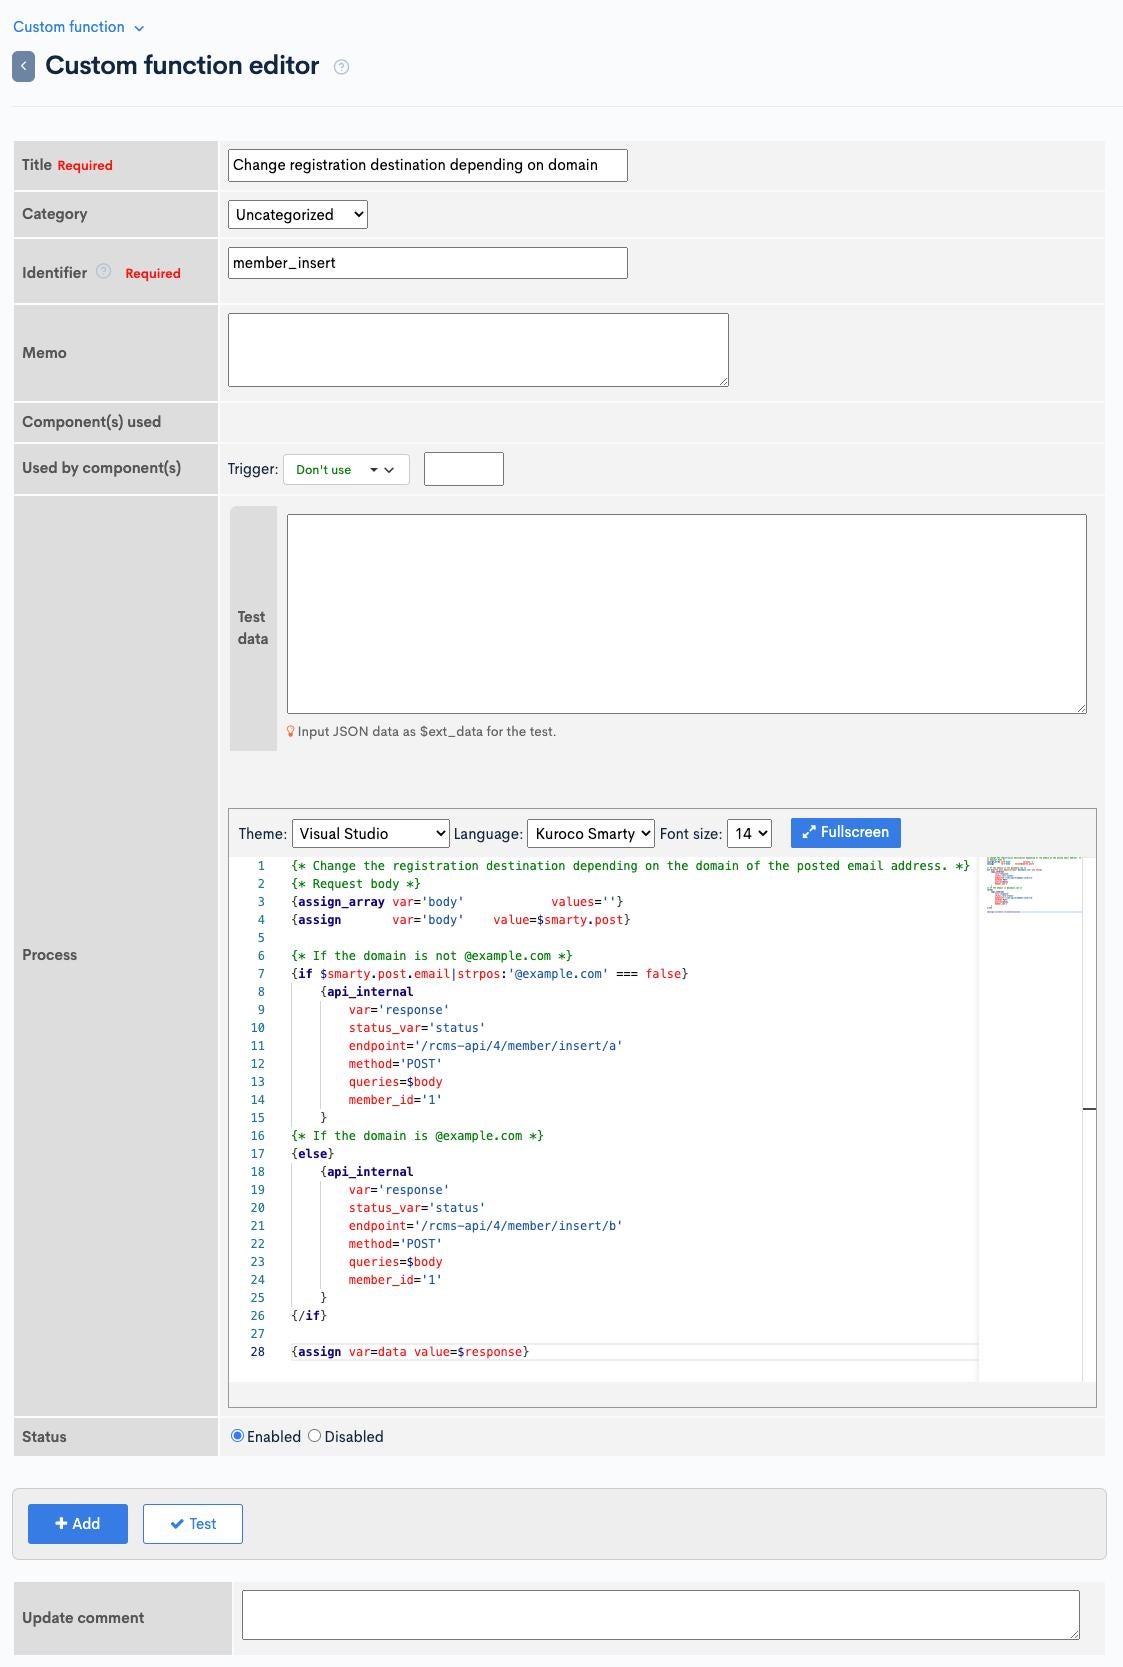
Enter the following:
| Field | Setting |
|---|---|
| Title | Change registration destination depending on domain |
| Identifier | member_insert (This needs to be the same name that is set in the Api::request_api endpoint.) |
| Processing | Enter the following code: |
{* Change the registration destination depending on the domain of the posted email address. *}
{* Request body *}
{assign_array var='body'            values=''}
{assign       var='body'    value=$smarty.post}

{* If the domain is not @example.com *}
{if $smarty.post.email|strpos:'@example.com' === false}
    {api_internal
        var='response'
        status_var='status'
        endpoint='/rcms-api/4/member/insert/a'
        method='POST'
        queries=$body
        member_id='1'
    }
{* If the domain is @example.com *}
{else}
    {api_internal
        var='response'
        status_var='status'
        endpoint='/rcms-api/4/member/insert/b'
        method='POST'
        queries=$body
        member_id='1'
    }
{/if}

{assign var=data value=$response}
Change /rcms-api/4/ to your own endpoint.
Click [Add] to save the custom function.
Testing
Finally, we will test that everything is working as expected.
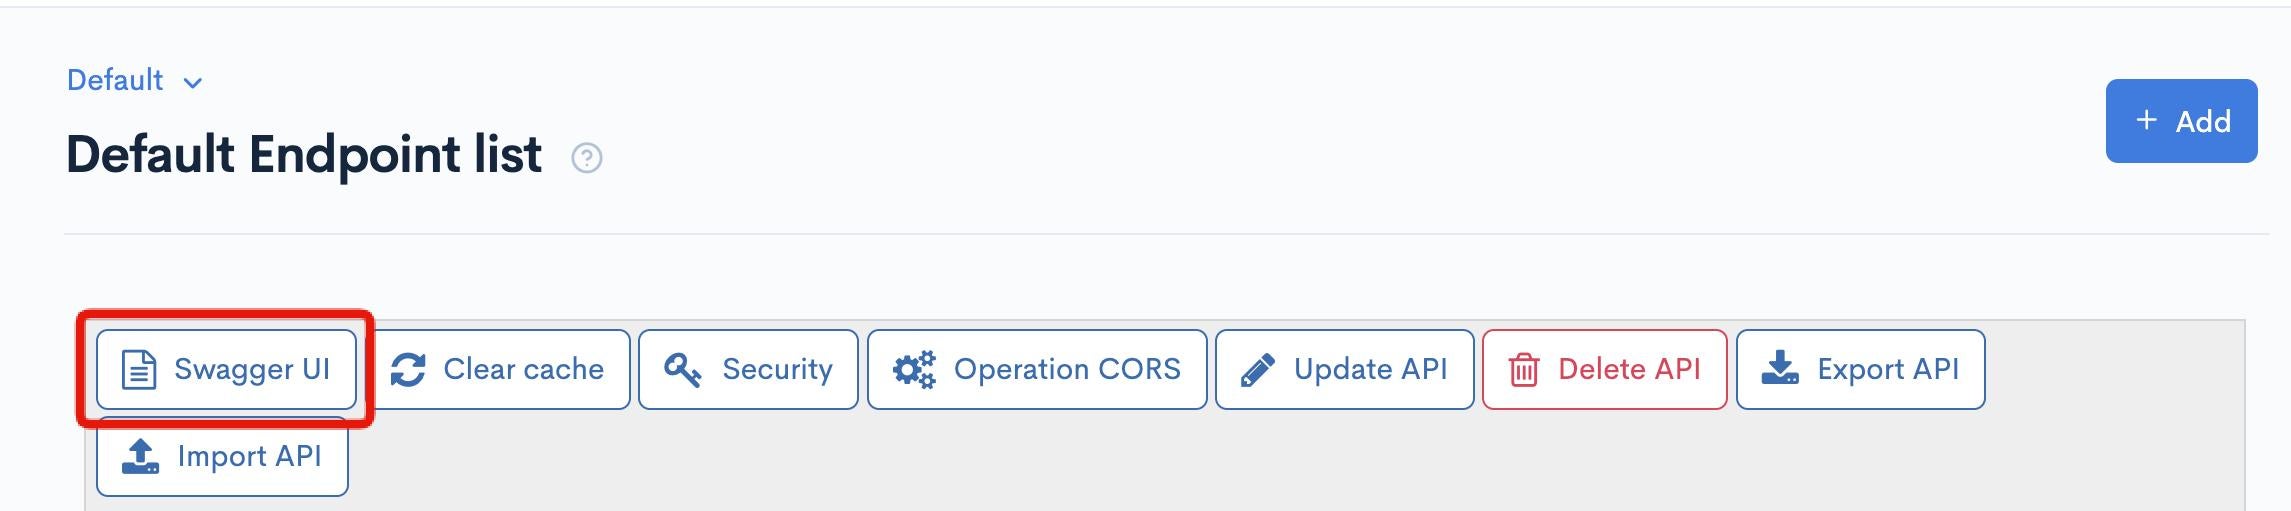
Click [Swagger UI] of the Default API.
Click [Try it out] for the created endpoint.
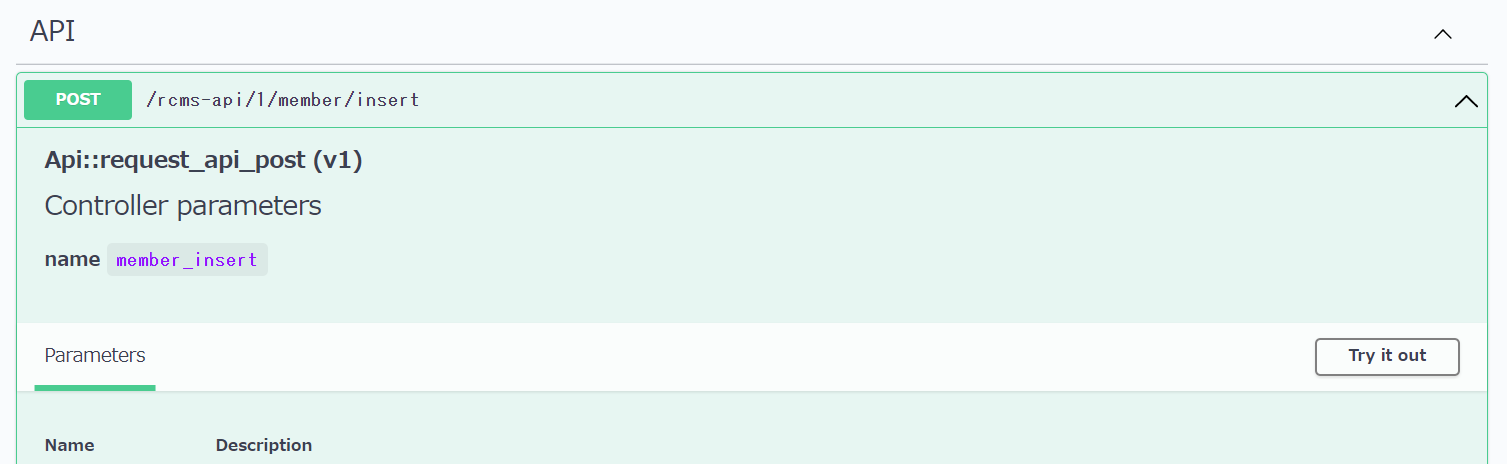
Enter the following into Request body and click [Execute].
{
  "email": "example@example.com",
  "name1":"Diverta",
  "name2":"Taro",
  "login_pwd":"********"
}

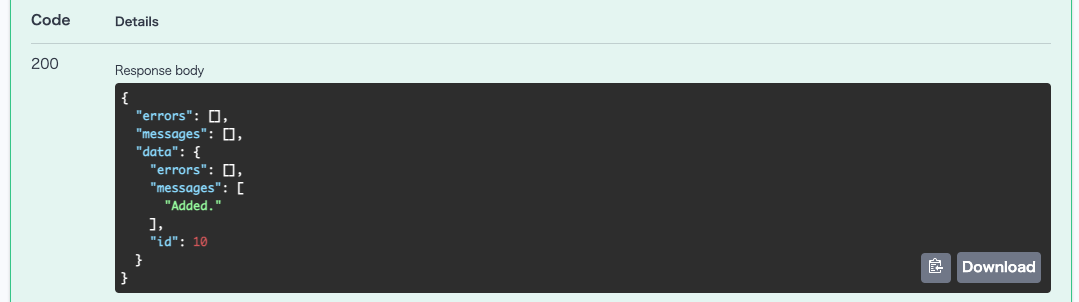
Verify the message "Added" and Member ID are displayed.
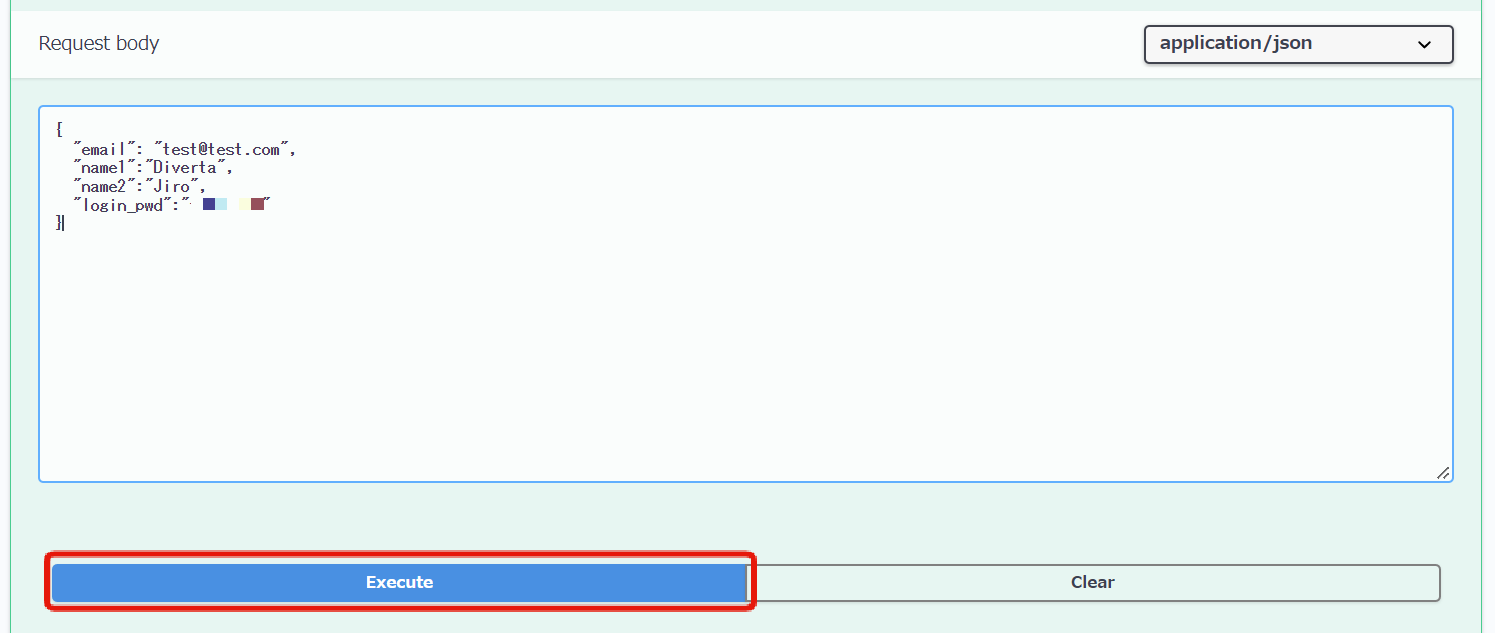
Next, enter the following into the Request body and click [Execute].
{
  "email": "test@test.com",
  "name1":"Diverta",
  "name2":"Jiro",
  "login_pwd":"********"
}
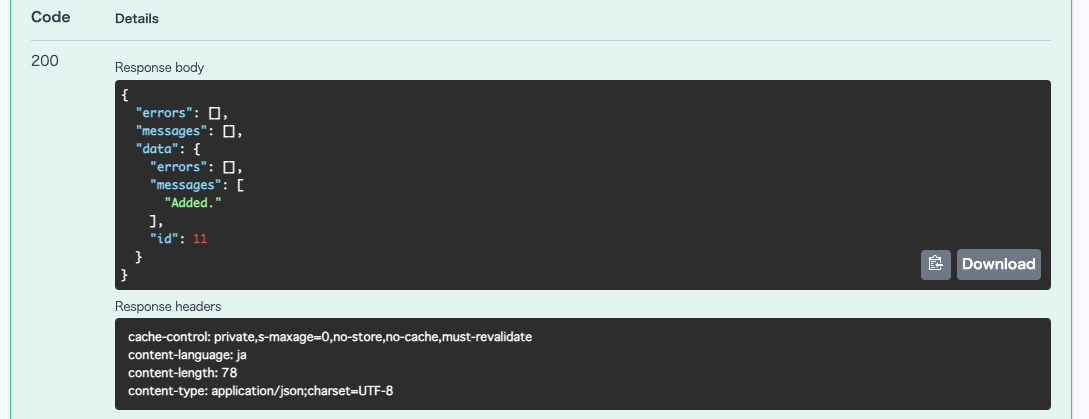
Verify the message "Added" and Member ID are displayed.
When you check the registered members on the member list page, you can confirm that the groups to which Diverta Taro and Diverta Jiro belong to are different.

With this, the implementation of determining member group based on domain during member registration is complete.
Related documents
Support
If you have any other questions, please contact us or check out Our Slack Community.