Customize CSV data structure output using Custom Function
Overview
Custom function can be used to customize the file data output of an API. In this tutorial, we will add the content's editor page URL to in CSV format output.

What you'll learn
In this tutorial, you will manipulate CSV output using the API with the following steps:
Prerequisites
In this tutorial, we will add a custom function to content list endpoints during post-processing, and the custom function is performed when the target endpoint returns a response in CSV format.
Refer to the following document on how to get a response in CSV format from the endpoint.
Create Custom Function
Let's create a custom function.
1. Display the Custom Function list page
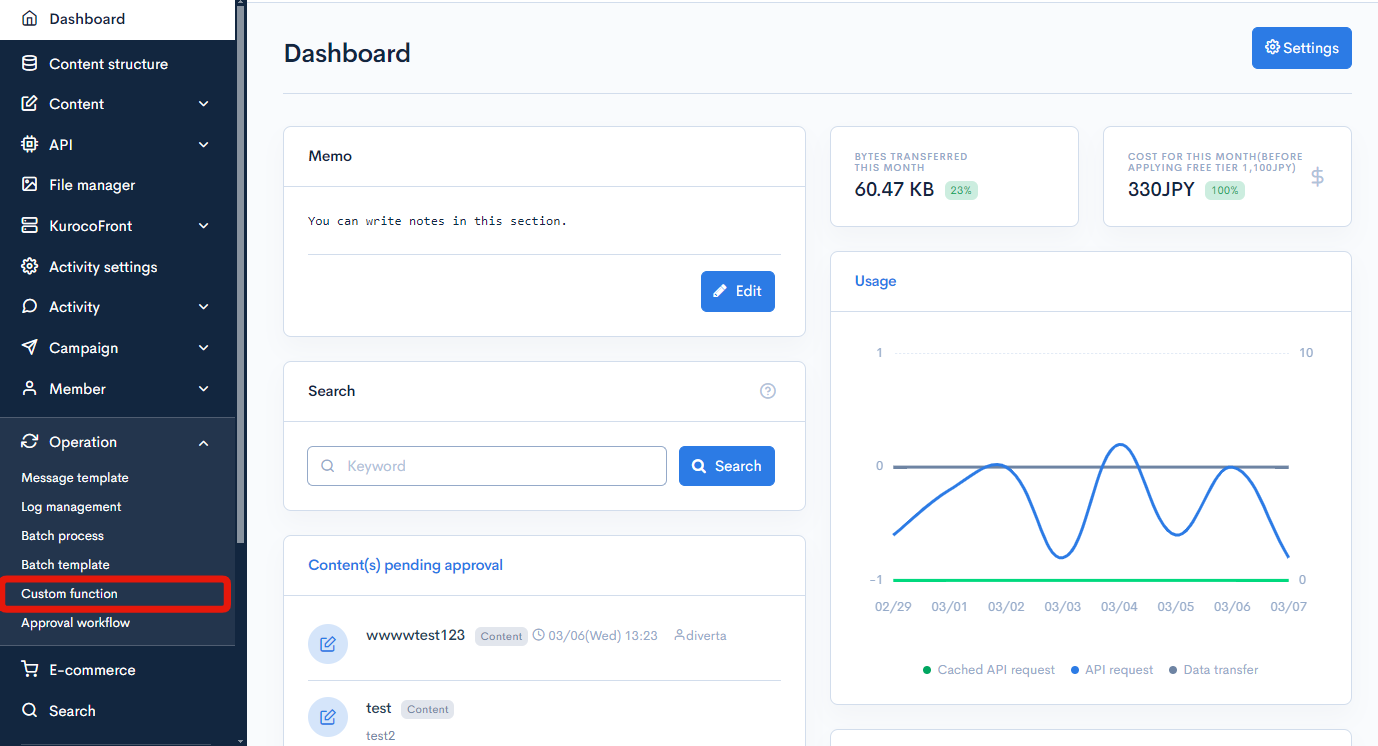
Click [Operation] -> [Custom function] in the menu.
2. Display the Custom Function editor page
Click [Add] in the upper right corner of the custom function list screen.
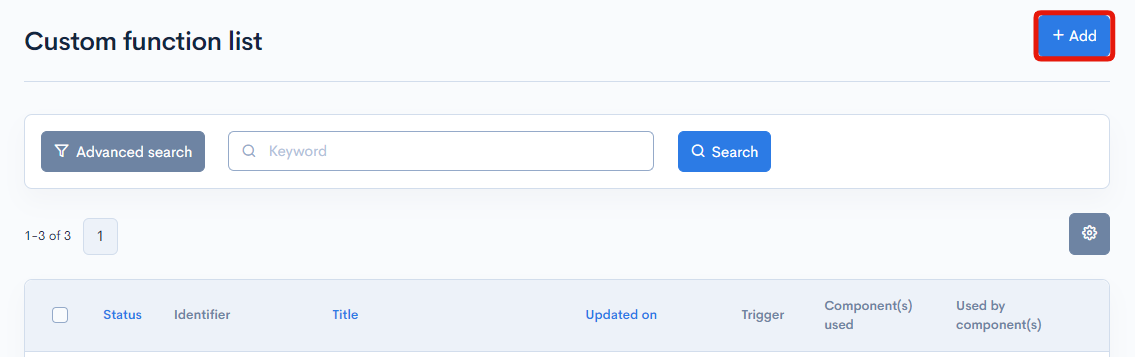
Then, the custom function editor page will be displayed.
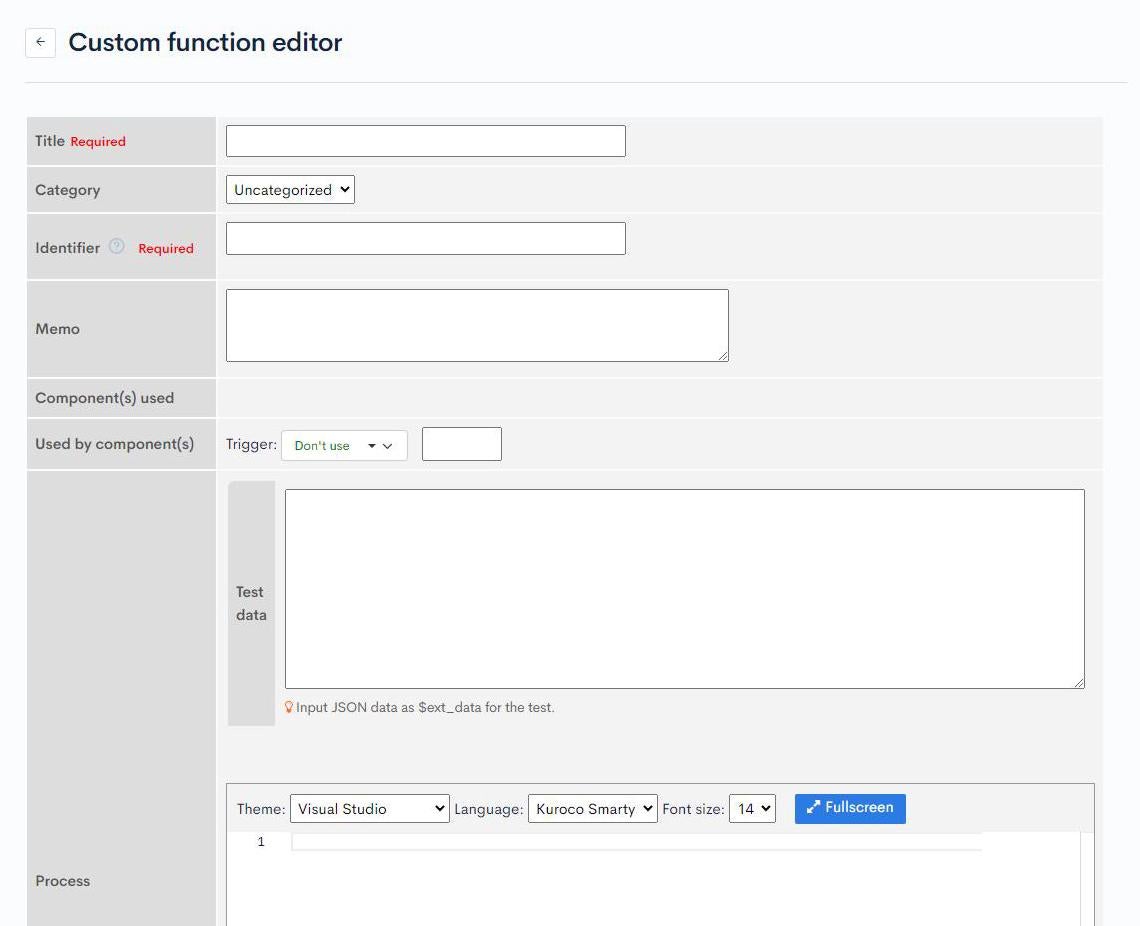
3. Enter the title and identifier
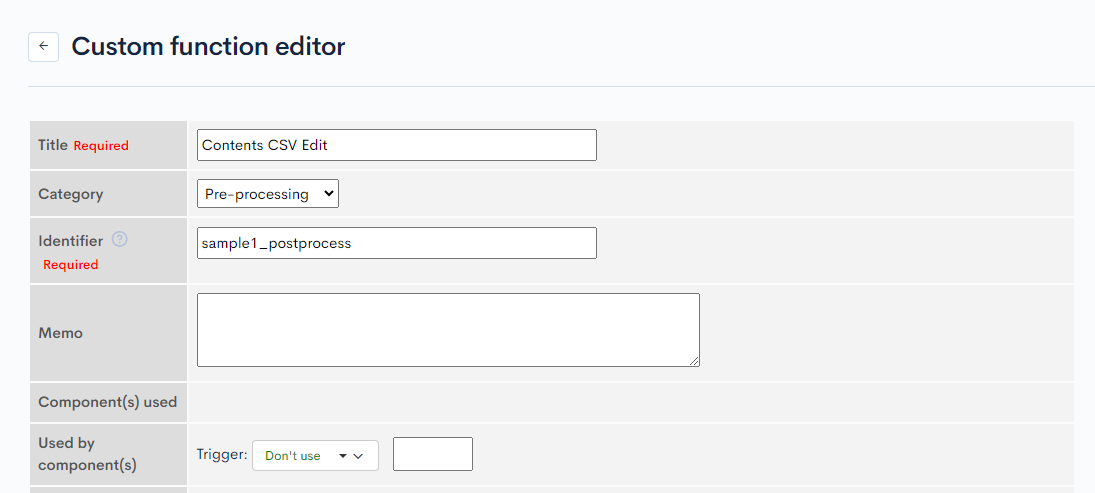
First, enter the title and identifier as follows:
- Title: Contents CSV Edit
- Identifier: sample1_postprocess
- Trigger: Not specified
The title and identifier cannot be the same as other custom functions. Please enter unique value, avoid using values such as the endpoint name that will be used in the custom function.
4. Write data processing code
Next, we will write the actual processing code.
We will write the code to add data to the editor.
Write the process to get the Content ID
First, we will read the header row to get the Content ID.
The available variables are as follows.
| Variable Name | Type | Description |
|---|---|---|
| $json.csv_data | object | Content data |
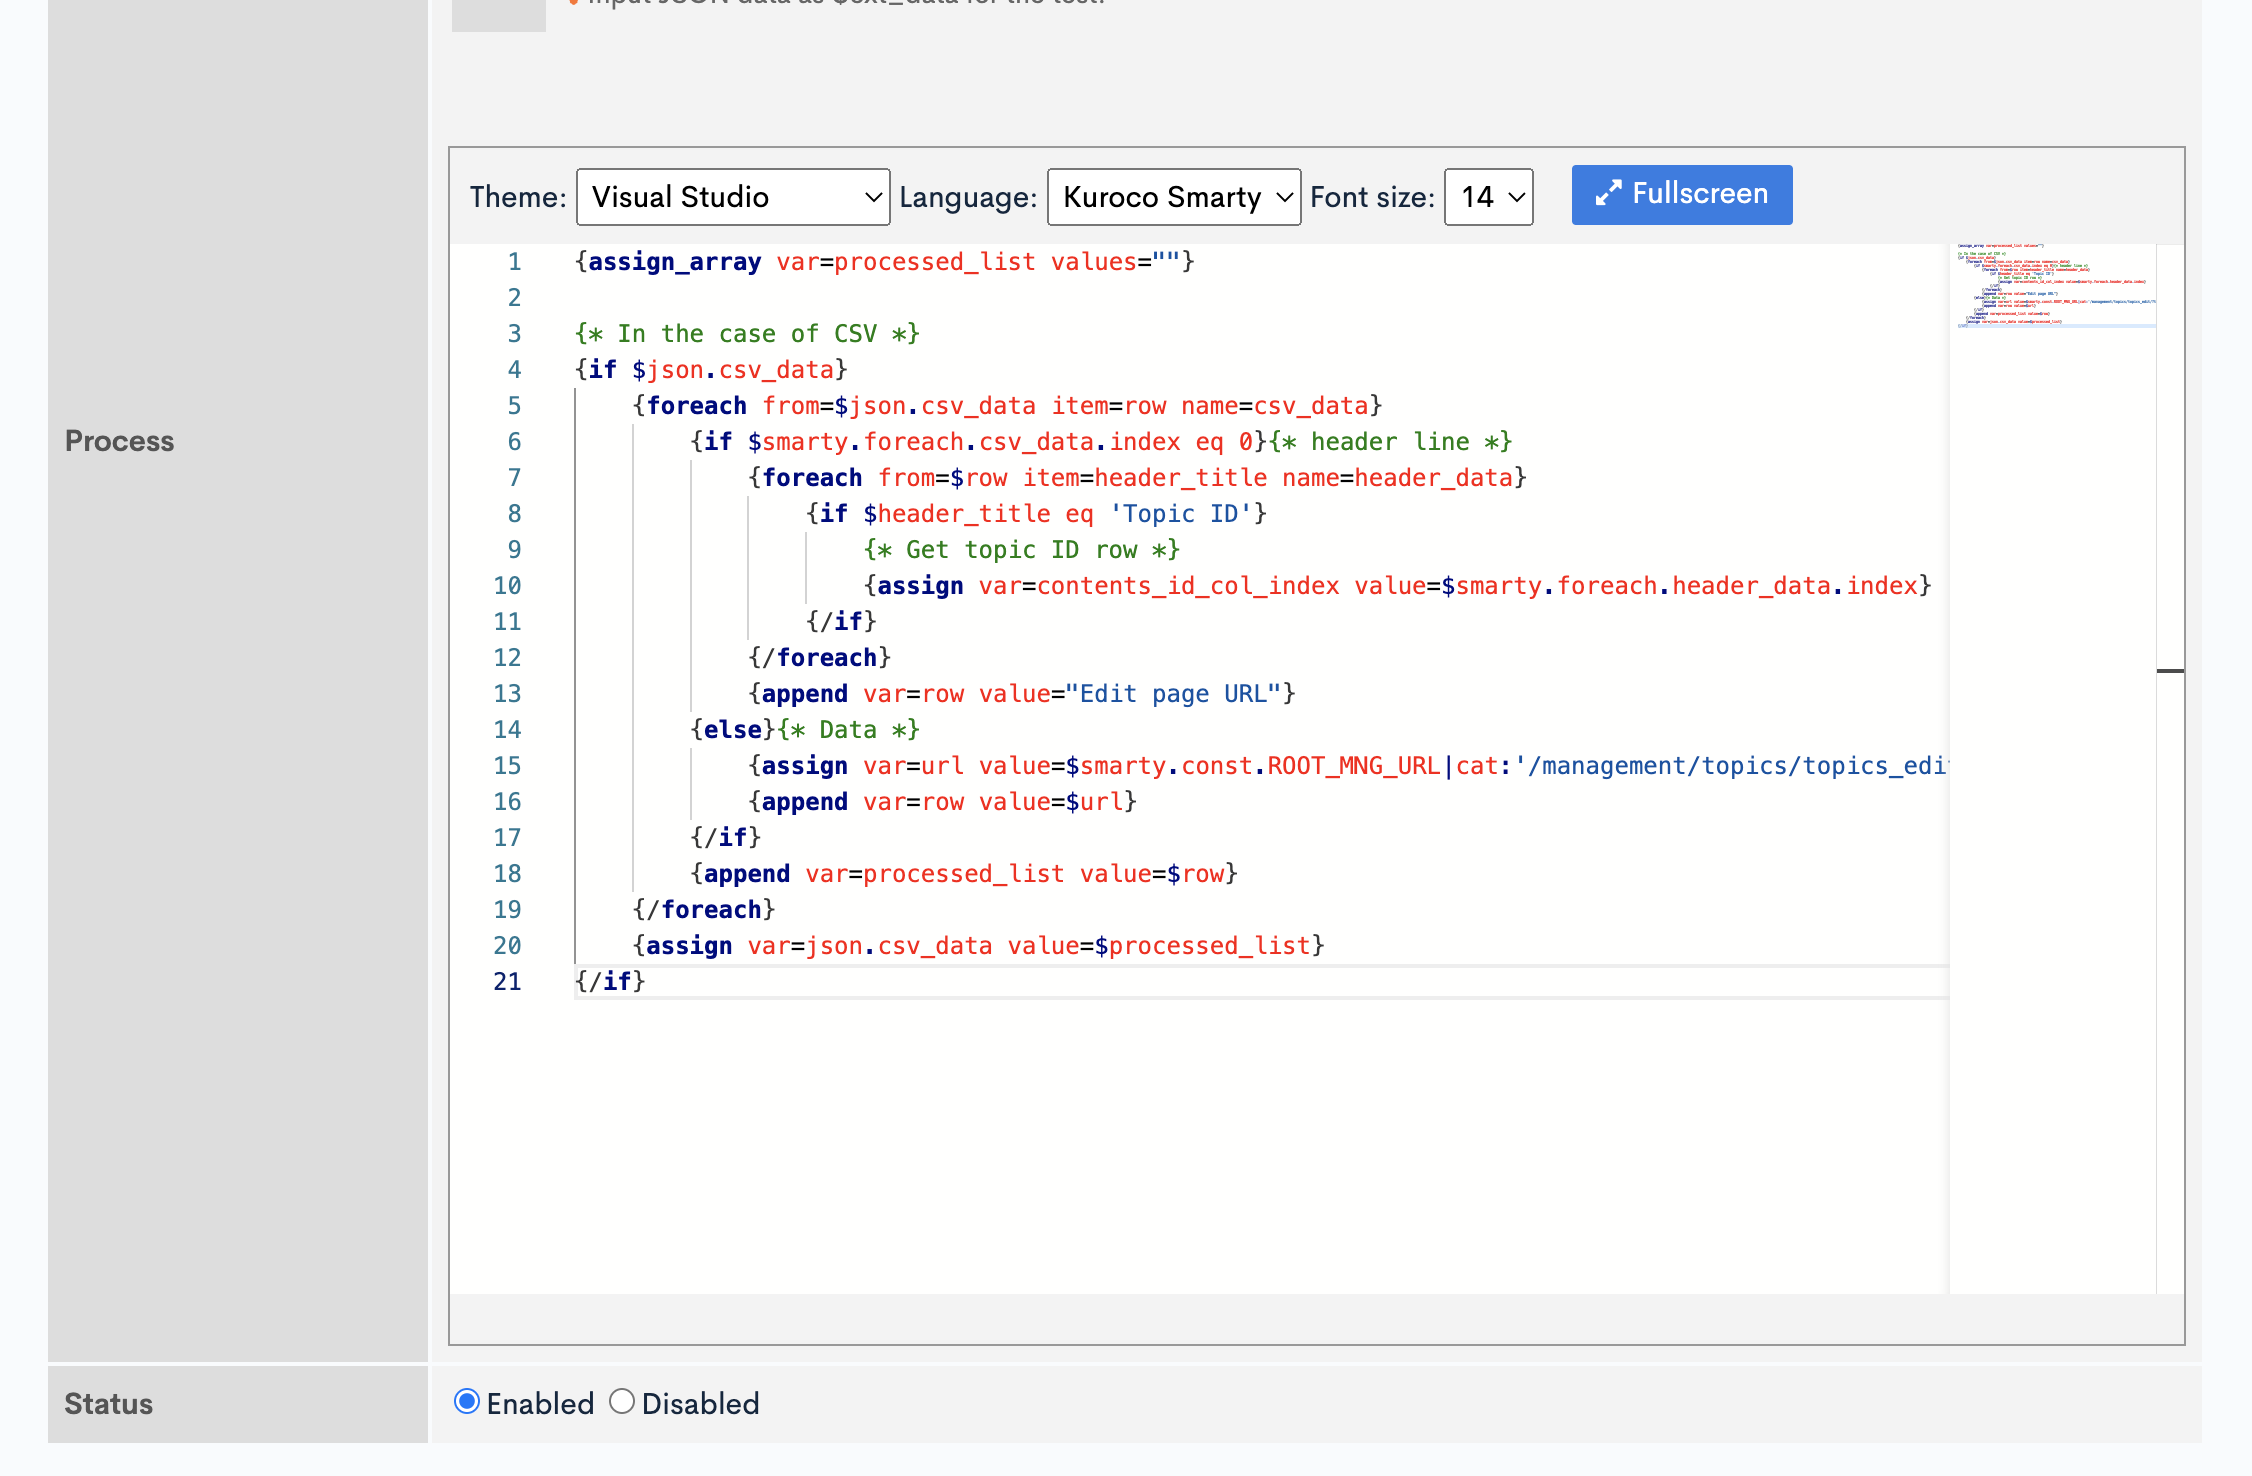
Enter the following in the editor.
{assign_array var=processed_list values=""}
{* In the case of CSV *}
{if $json.csv_data}
    {foreach from=$json.csv_data item=row name=csv_data}
        {if $smarty.foreach.csv_data.index eq 0}{* header line *}
            {foreach from=$row item=header_title name=header_data}
                {if $header_title eq 'Topic ID'}
                    {* Get topic ID row *}
                    {assign var=contents_id_col_index value=$smarty.foreach.header_data.index}
                {/if}
            {/foreach}
            {append var=row value="Edit page URL"}
        {else}{* Data *}
            {assign var=url value=$smarty.const.ROOT_MNG_URL|cat:'/management/topics/topics_edit/?topics_id='|cat:$row.$contents_id_col_index}
            {append var=row value=$url}
        {/if}
        {append var=processed_list value=$row}
    {/foreach}
    {assign var=json.csv_data value=$processed_list}
{/if}
| Variable Name | Type | Description |
|---|---|---|
| $processed_json | object | Content data |
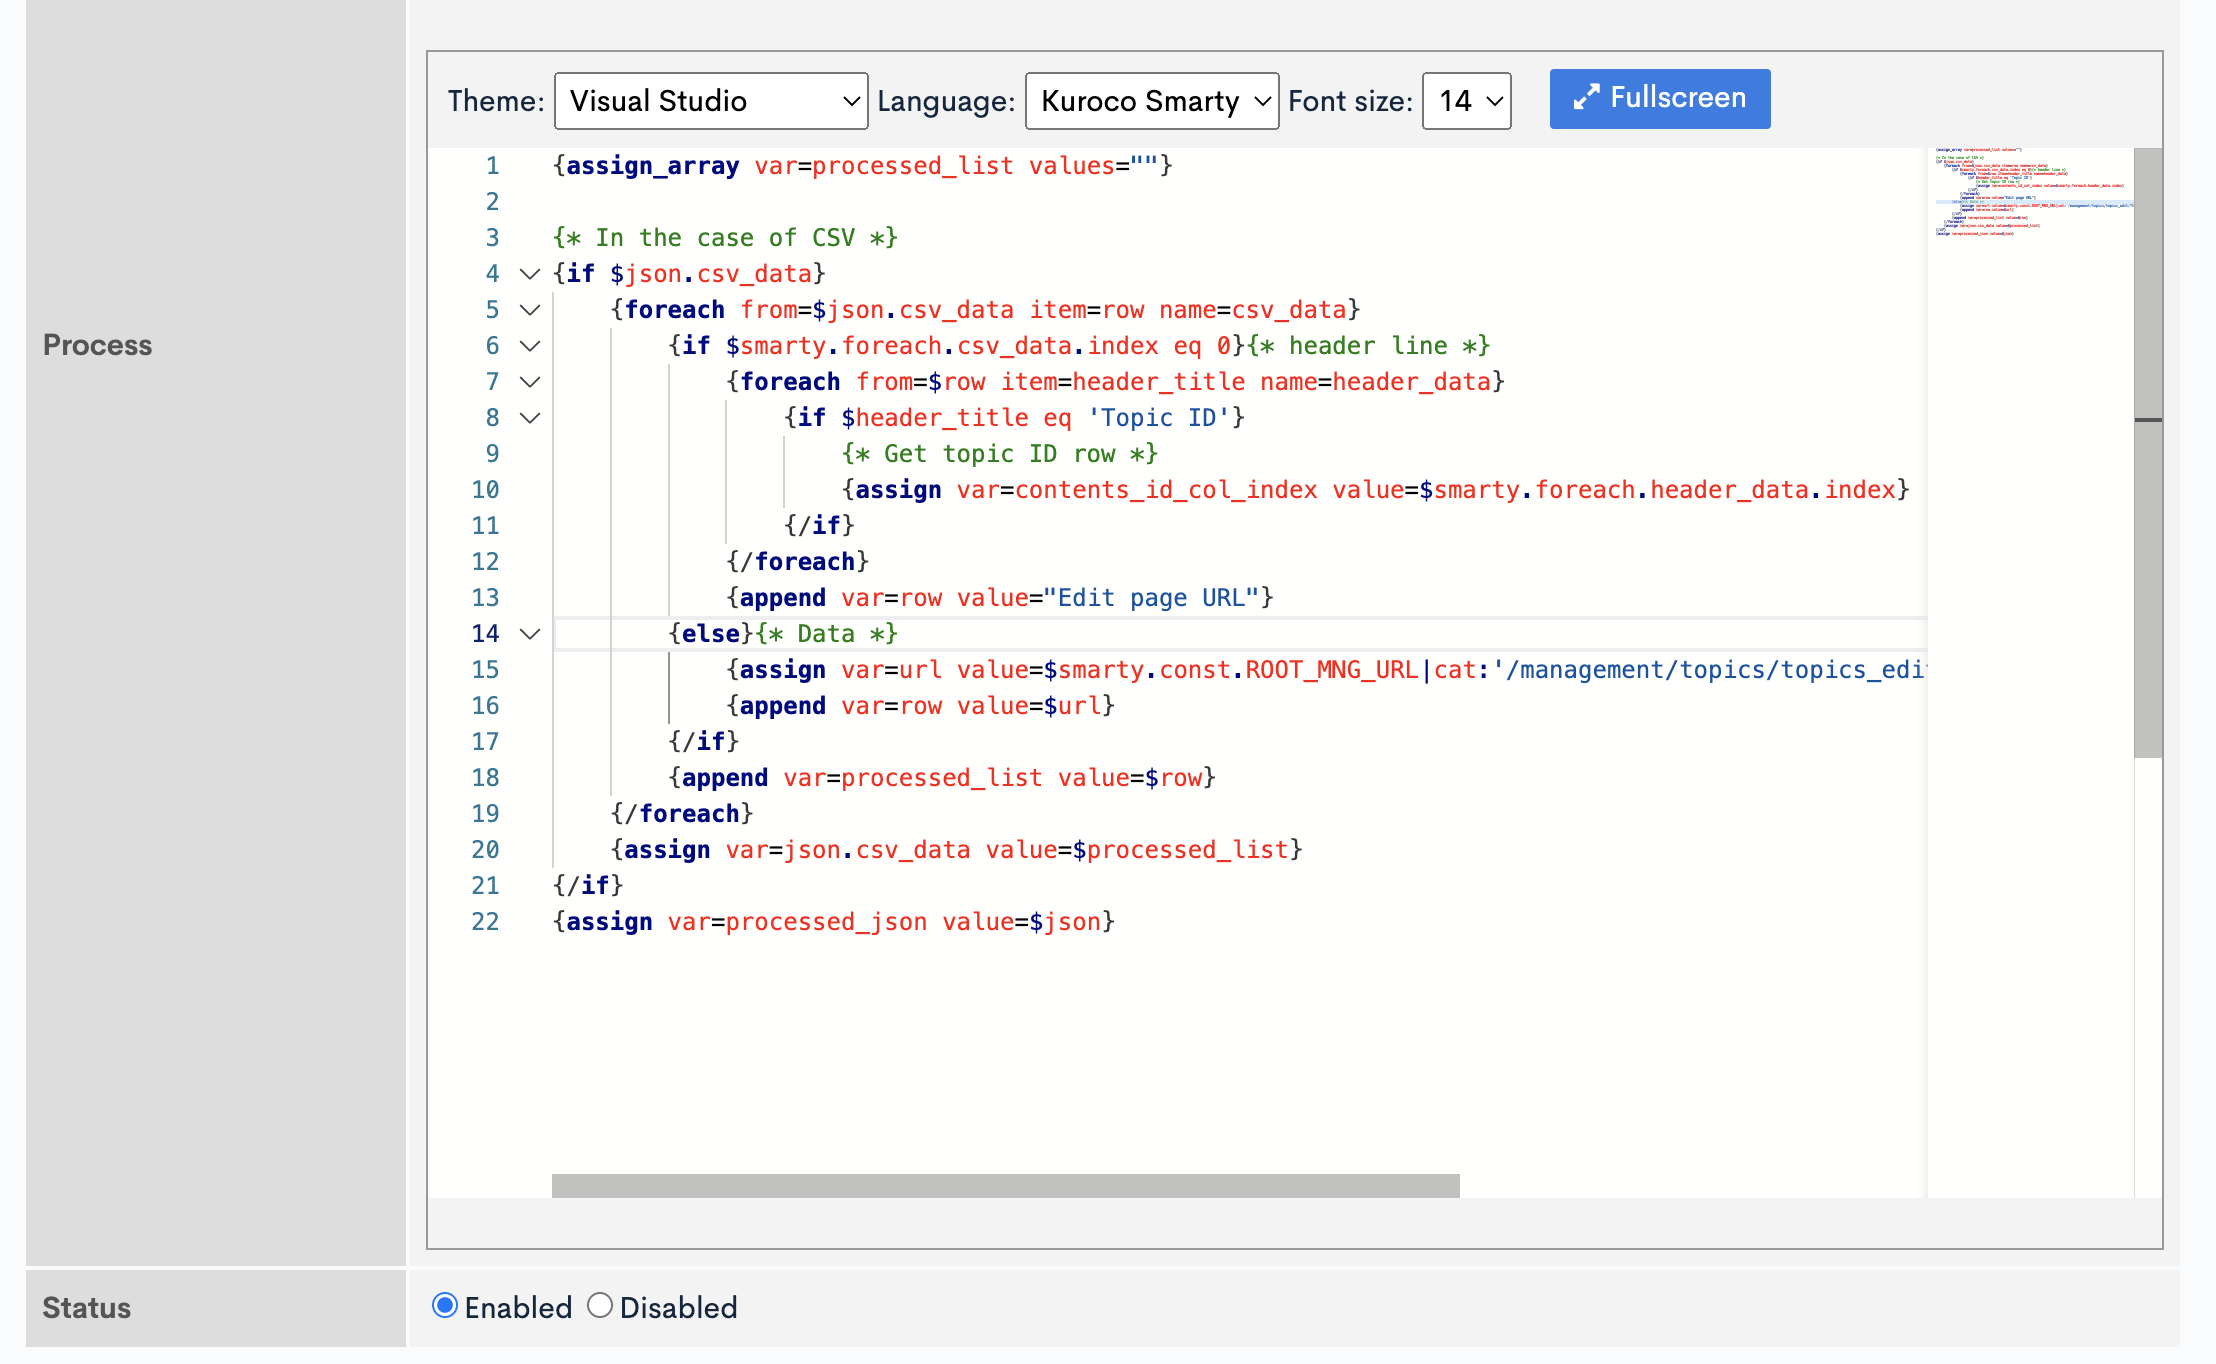
{assign var=processed_json value=$json}
6. Save the custom function
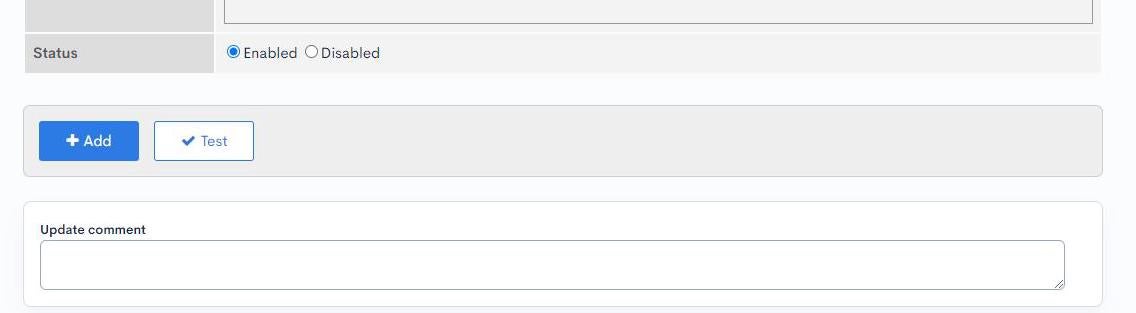
After writing the process, click the [Add] button to save it.
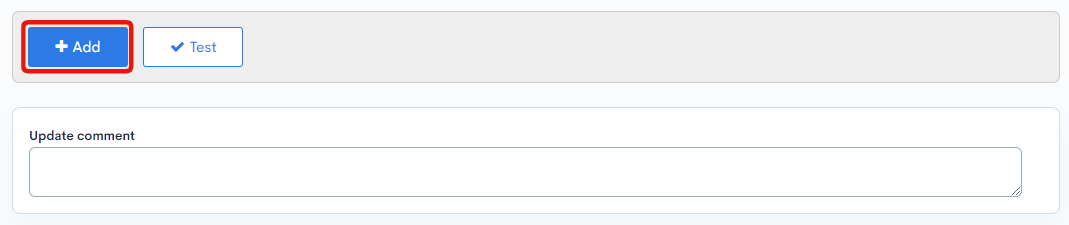
This completes the custom function configuration.
Register the custom function with an endpoint
Add the custom function you created to the post-processing of the endpoint.

For more details, please refer to API post-processing.
Testing
We will need to confirm that it works by following the steps below.
1. Download the CSV file.
Access the API endpoint where you registered the custom process using the query parameter _output_format=csv``, which enables the operation of the custom process when outputting in CSV format. Download the CSV file. The custom function that was set up will be executed during the CSV output process, so to test it, we will need to access the endpoint with the query parameter _output_format=csv. Access the API endpoint where you registered the custom function above and download the CSV file. https://[site_key].g.kuroco.app/rcms-api//topics/download?topics_group_id=&_output_format=csv`
Enter the following three items specific to your own site.
-
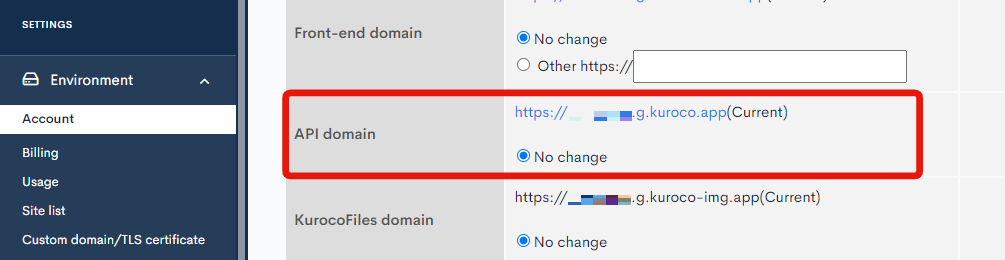
https://[site_key].g.kuroco.appEnter your site's API domain.
You can check this on the [Environment settings] > [Account settings] screen.
-
/rcms-api/**/topics/download
Enter the API endpoint where you registered the custom function in the step to register custom function on the endpoint. -
topics_group_id=**
Enter the ID of the content structure you want to list in**. You can confirm the ID from the content structure list screen.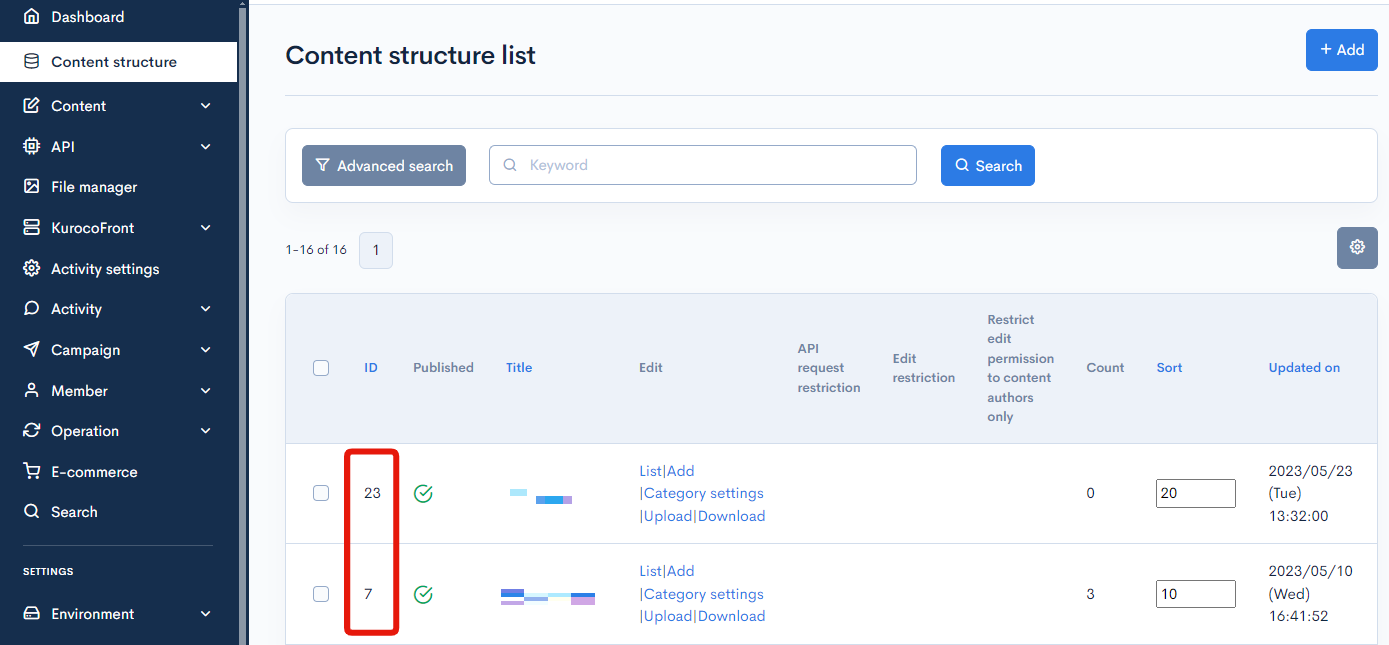
2. Confirm the contents of the file.
As CSV is saved in UTF-8, open it in Notepad or import it into Excel to confirm that the "Edit page URL" column has been added.

That concludes this tutorial.
Note
If the output data becomes too large, there is a possibility of a memory overflow error or a timeout occurring. In this case, consider using batch processing.
Related documents
Support
If you have any other questions, please contact us or check out Our Slack Community.