Using Any Email Delivery Service for Email Sending from Kuroco(Mailchimp)
Overview
By using the trigger "Replace the default email sending method (SendGrid)", you can send notification and invitation emails using any email delivery service such as blastengine, Mailchimp, Amazon SES, etc.
This tutorial will guide you through the steps to replace email sending from SendGrid to Mailchimp.
What you'll learn
You will learn how to implement email sending using any email delivery service with the following steps:
Prerequisites
In this tutorial, we will be using Mailchimp's Transactional API for sending emails.
Please refer to Mailchimp and its API documentation for more details about the service.
Also, since we will be configuring SPF/DKIM, make sure to use a domain that you own for the "from" email.
Please note that if you do not use SendGrid, you will not be able to use the tracking features (delivery, email bounce, open rate, click count).
If you are not using SendGrid, email sending requests will be recorded in the API request Log, not in the Mail Log. As with SendGrid, please refer to the logs provided by your email delivery service for detailed information.
Setting up Mailchimp
Account registration
First, access Mailchimp and register for an account.
Obtaining the API key
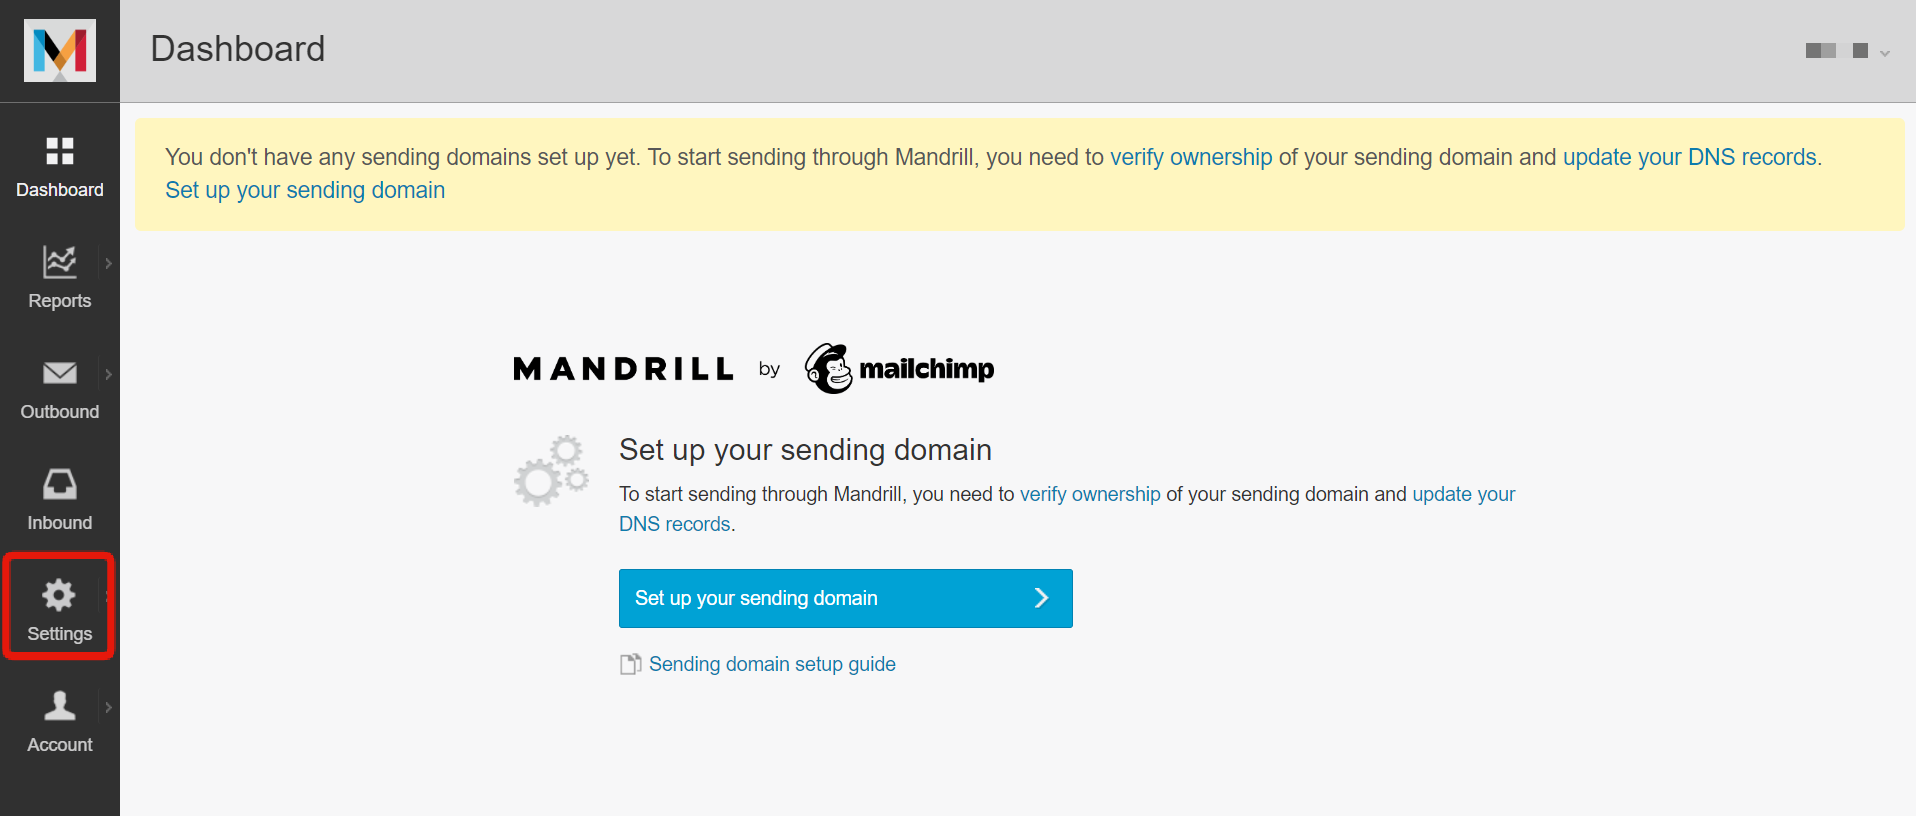
Once the activation is complete and you have logged into your account, click on [Automations] -> [Transactional email] and then click [Launch App] to access the dashboard.
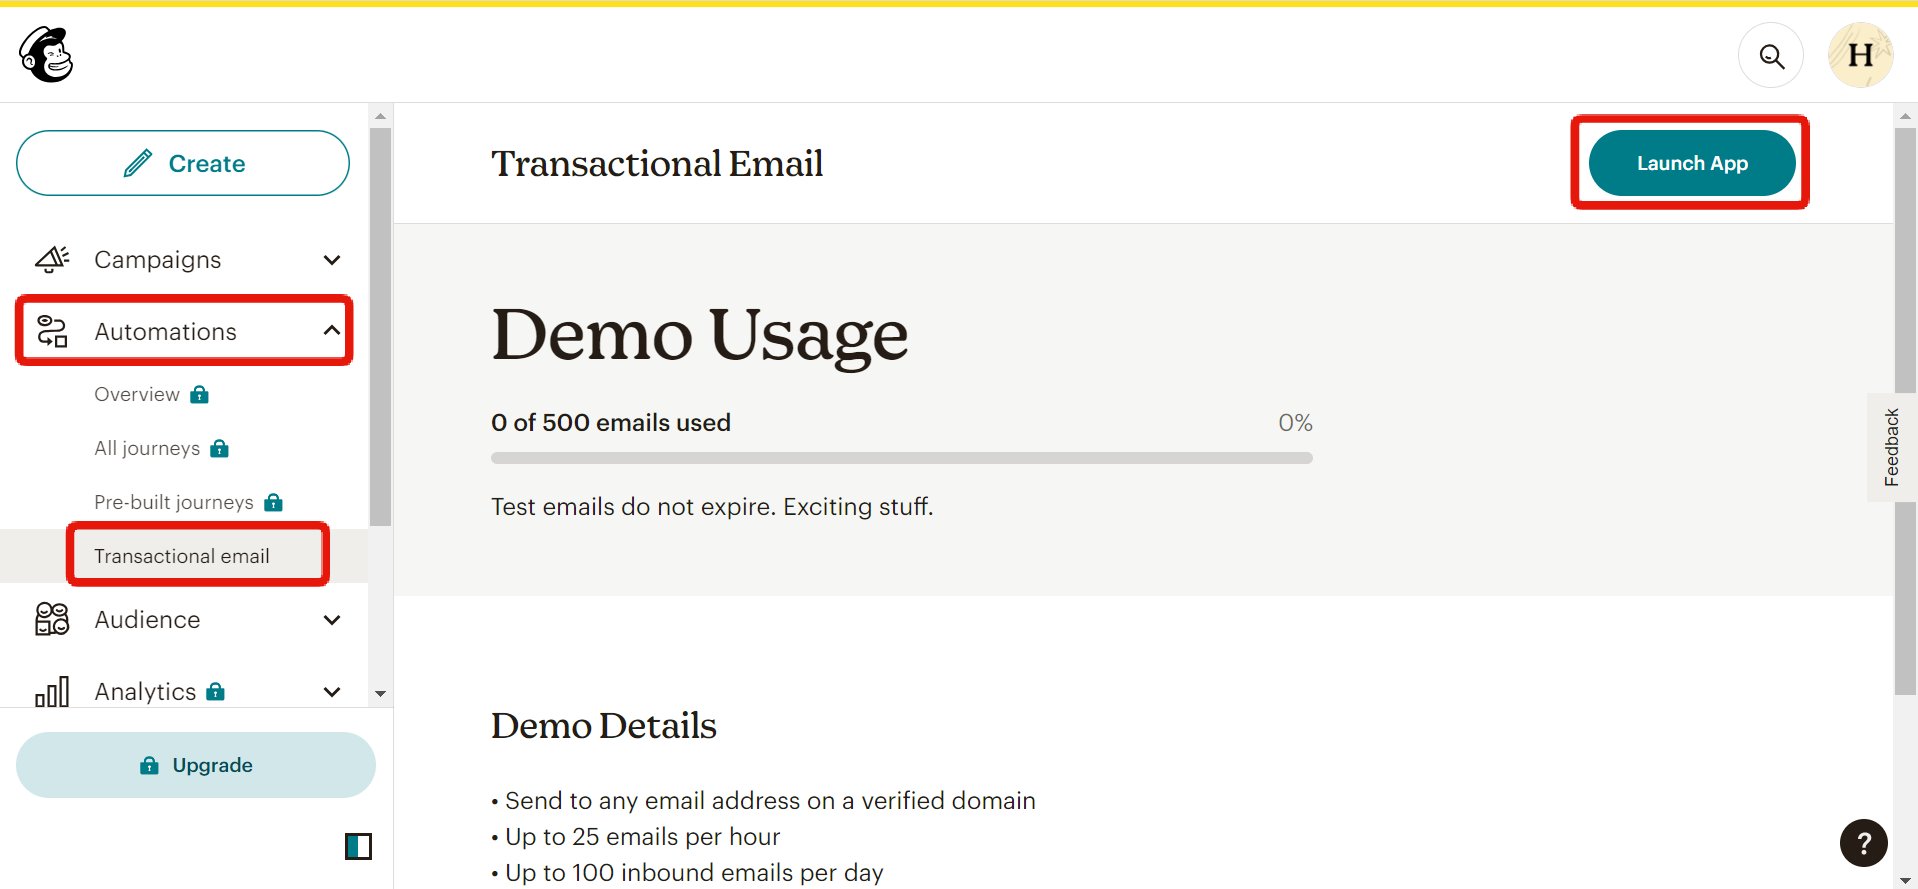
Click on [Settings].
Click on [Add API key].
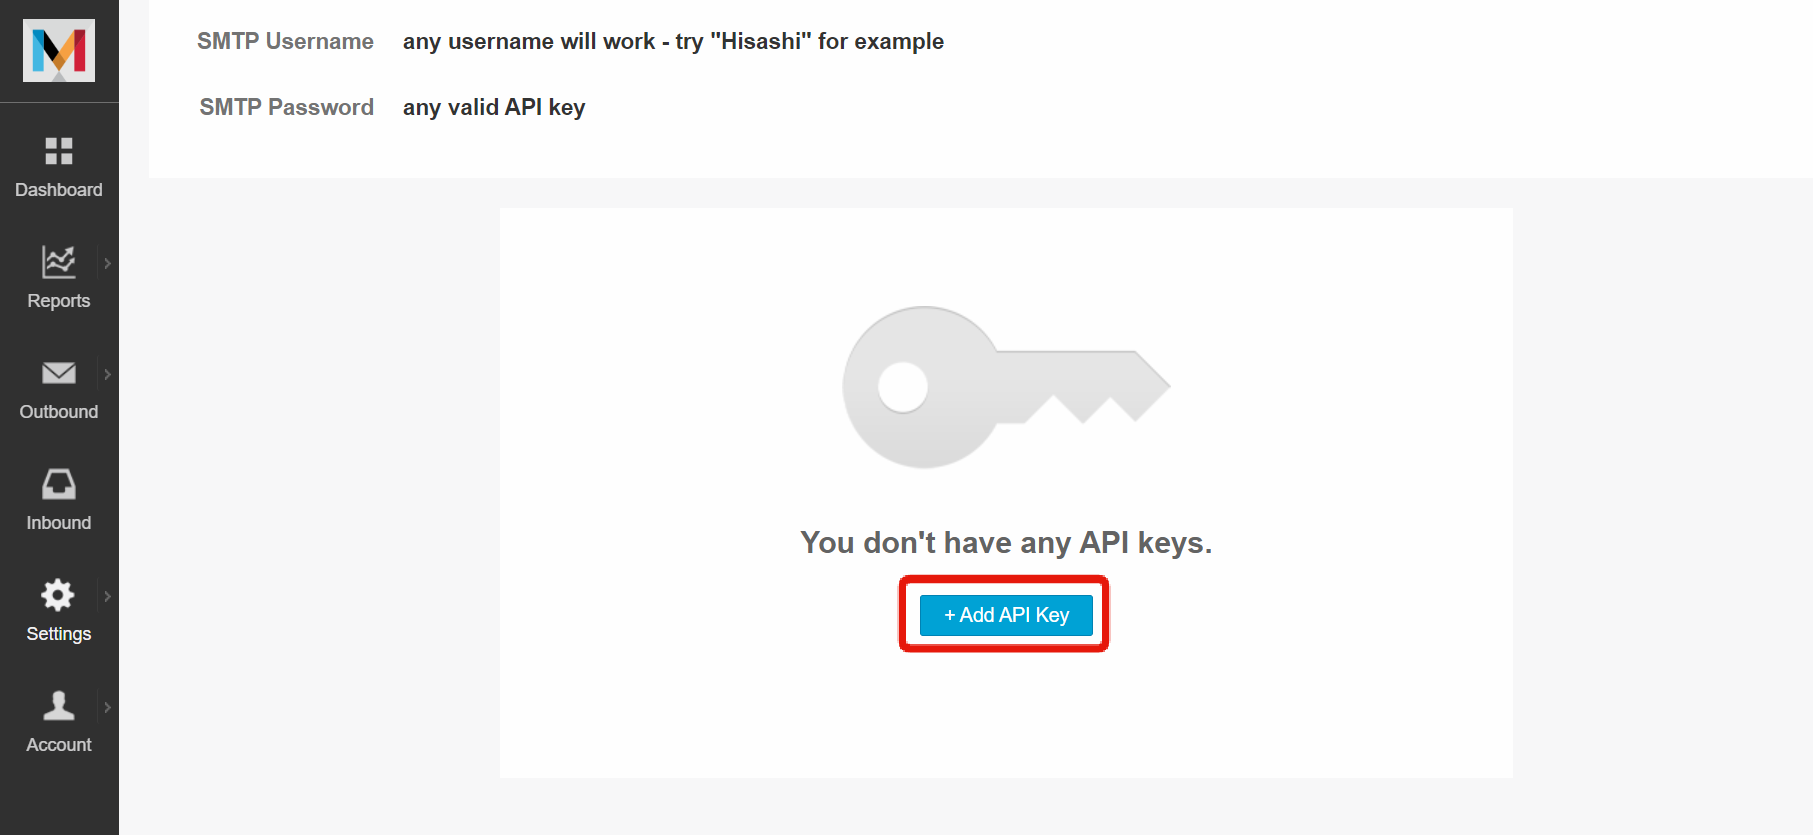
Make a note of the API key that is displayed.
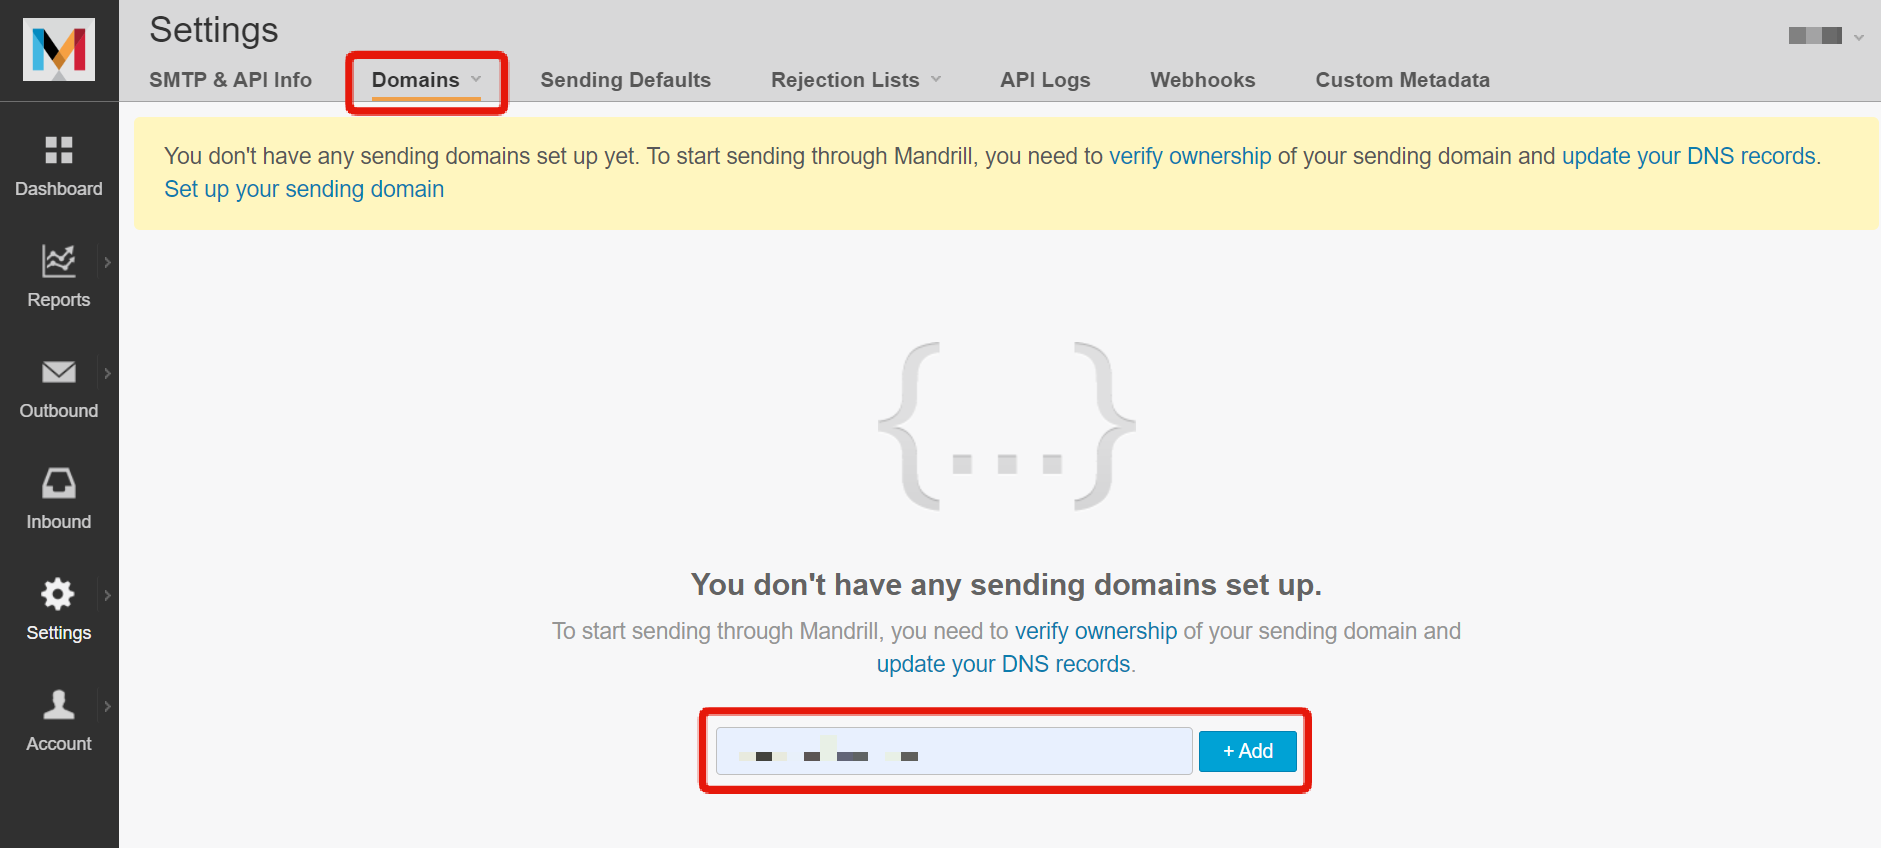
Adding a sending domain
Next, you need to add the domain that will be used as the sender of the emails and configure authentication, SPF, and DKIM.
Click on the [Domains] tab and enter the domain that will be used as the sender, then click [Add].
The added domain and the necessary settings for using the domain will be displayed. Click on [View details], [View DKIM settings], and [View SPF settings] to configure the required DNS settings.
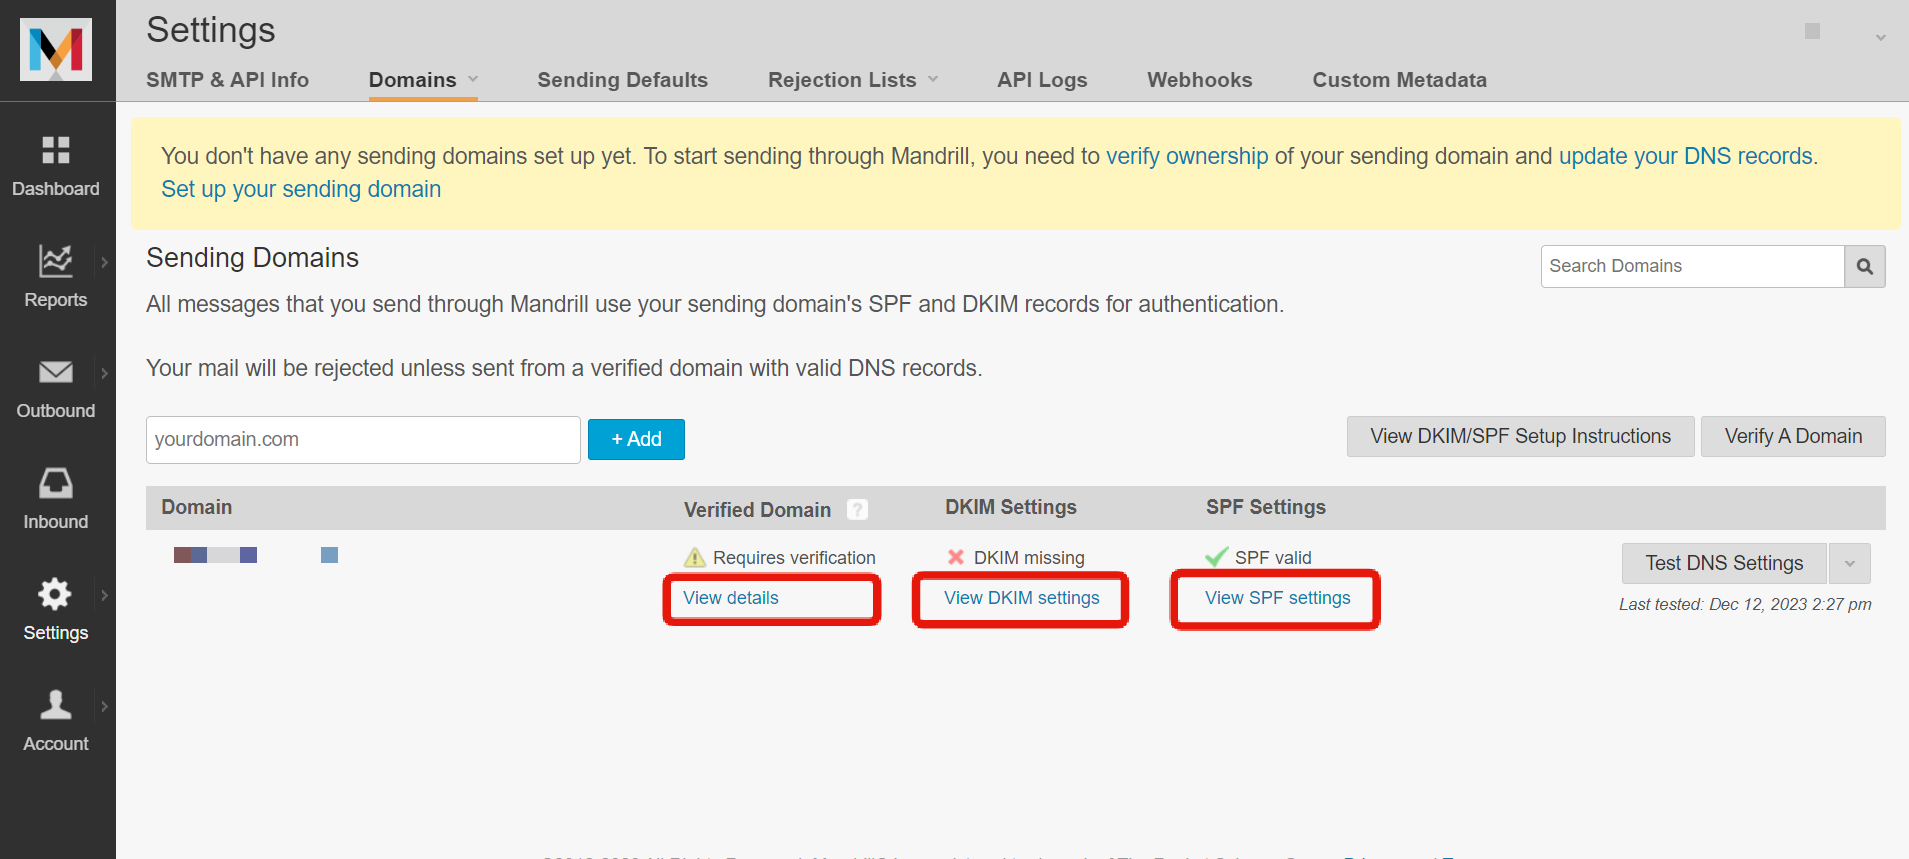
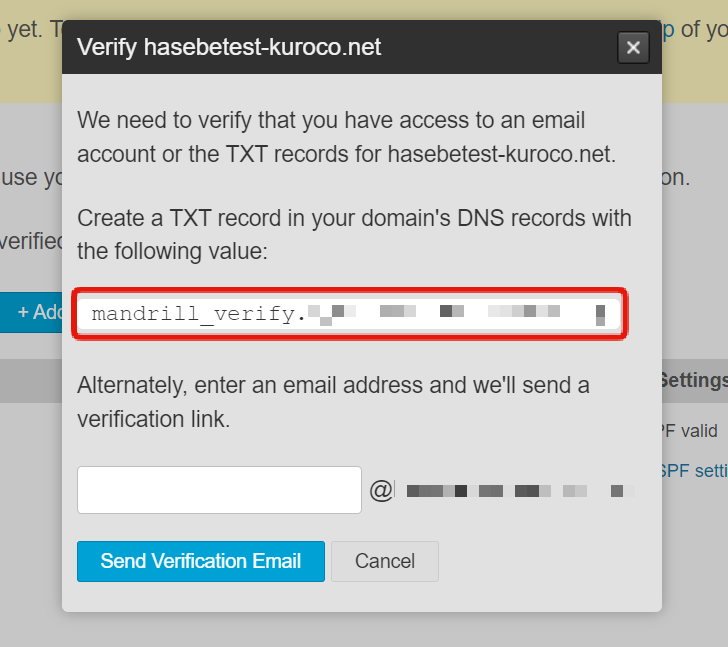
Verified Domain
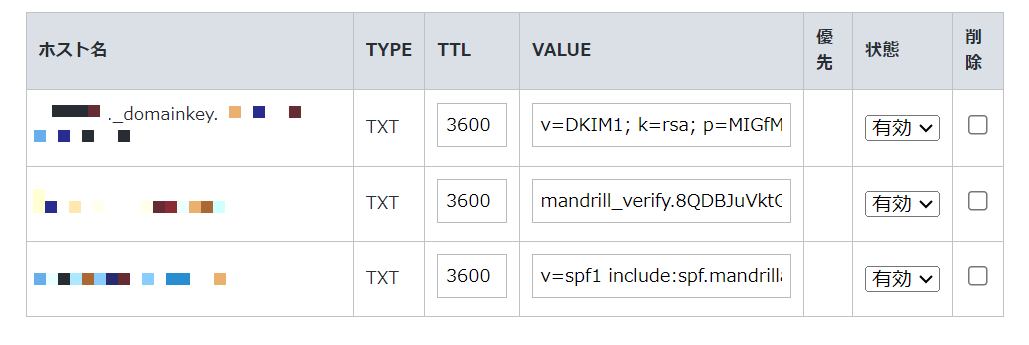
To authenticate the domain, set the value specified in the TXT record of the domain.
DKIM Settings
Set the value specified in the TXT record of specified selector._domainkey.domain name for DKIM.

If the length of the VALUE exceeds the maximum allowed characters, you need to split the TXT record and register it separately.
If necessary, please contact your domain management service for assistance.
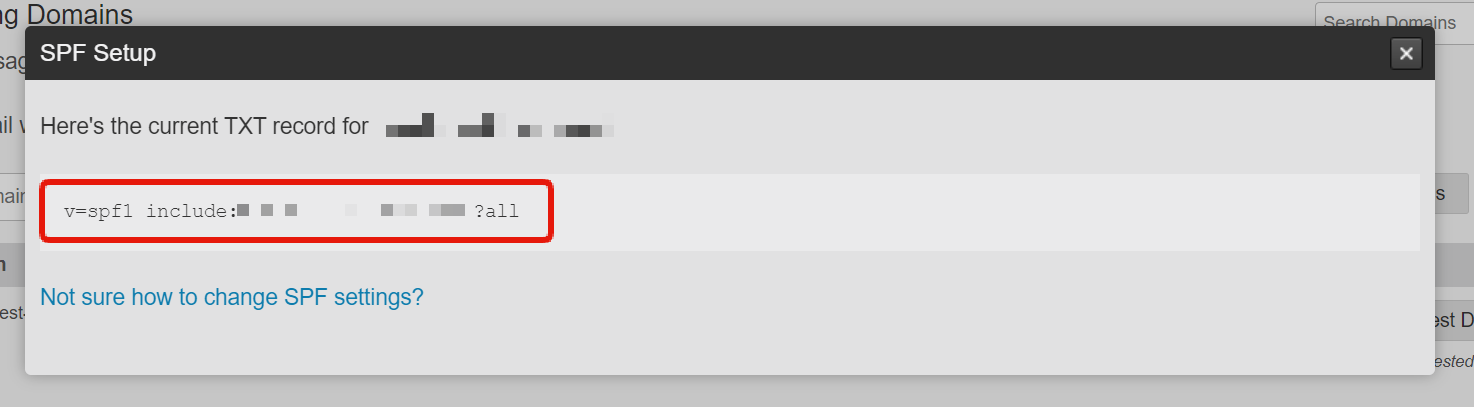
SPF Settings
Set the value specified in the TXT record of the domain for SPF.
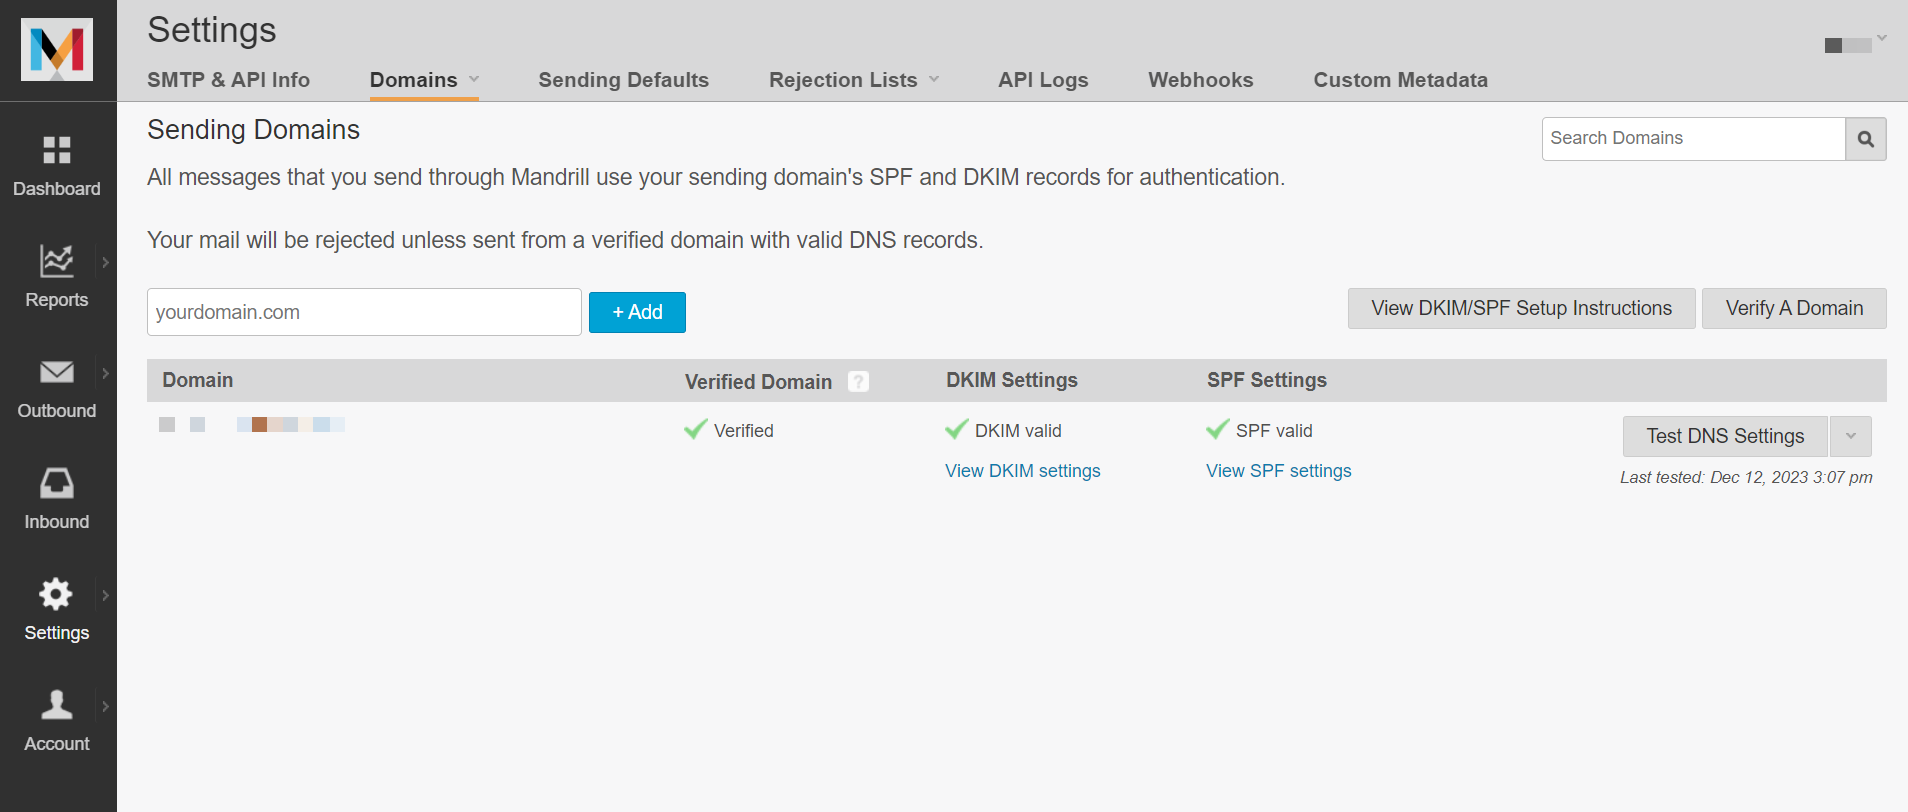
Once you have configured each setting, it should look like the following:
※ The screenshot is an example for the case of using "お名前ドットコム" as the domain.
Click on [Test DNS Settings] to confirm all authentication and complete the setup.
With MailChimp's Free plan, you can only send and receive emails to and Sending Domains that have been registered and have completed all authentication. If you want to allow sending to all email addresses, please subscribe to a paid plan.
Setting up Kuroco
Register the Secret
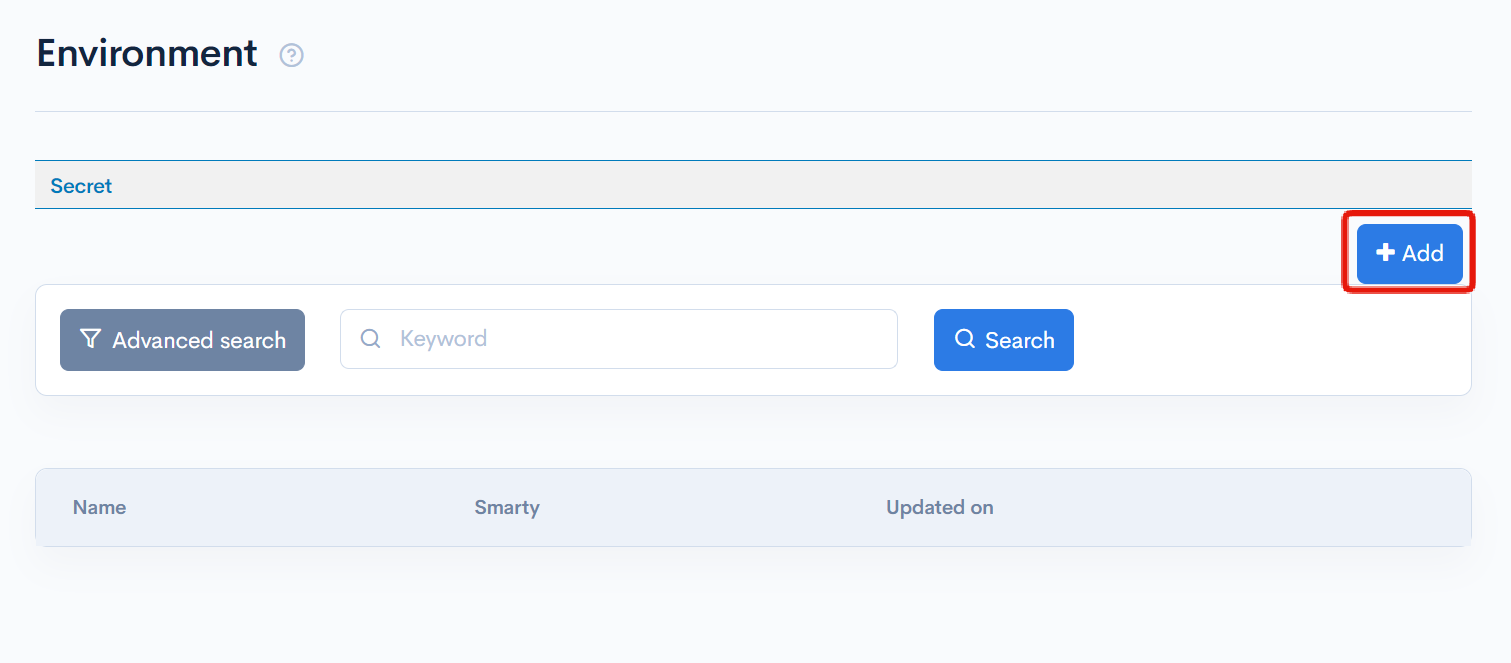
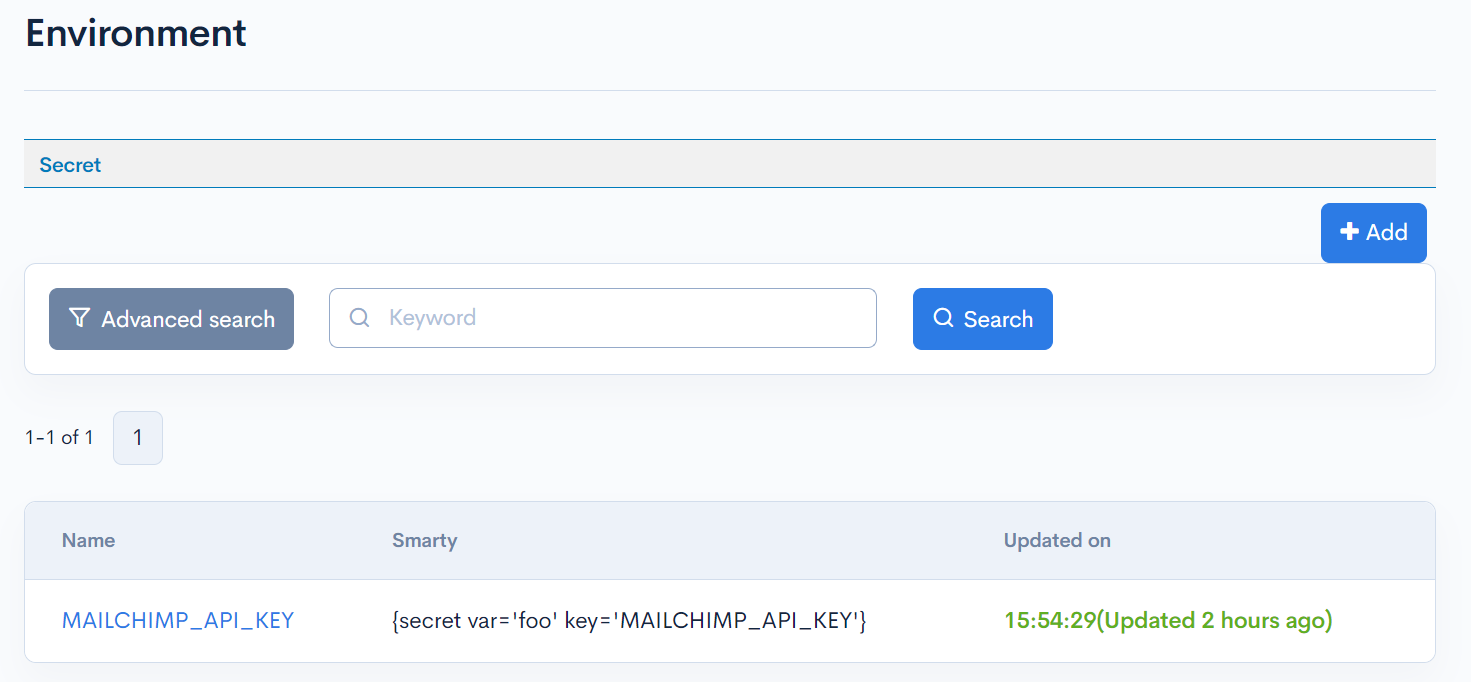
Access the Kuroco management screen and In the left sidebar menu, under "SETTINGS", click [Environment] -> [Secrets].
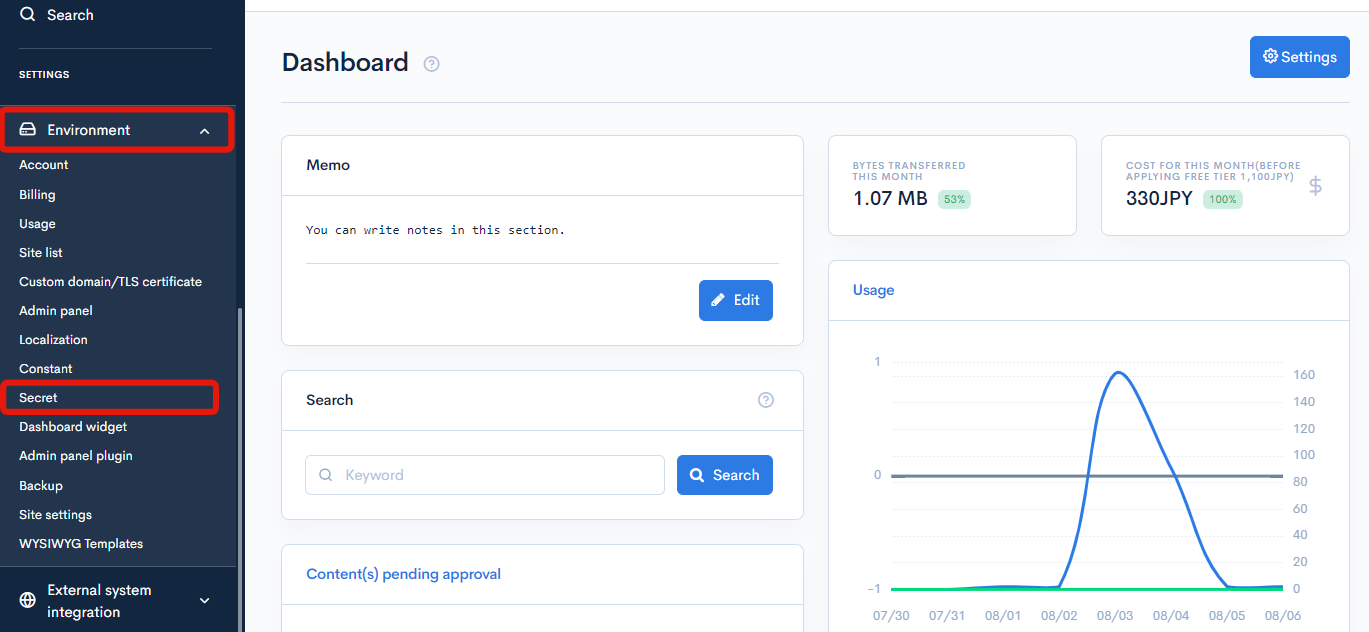
Click on [Add].
Register the API key obtained from the Mailchimp dashboard.
| Field | Value |
|---|---|
| Name | MAILCHIMP_API_KEY |
| Value | API key from Mailchimp |
With this, the preparation for using Mailchimp is complete.
Register Custom Processing
Once you have prepared to use Mailchimp, write custom processing to replace email sending with SendGrid to Mailchimp.
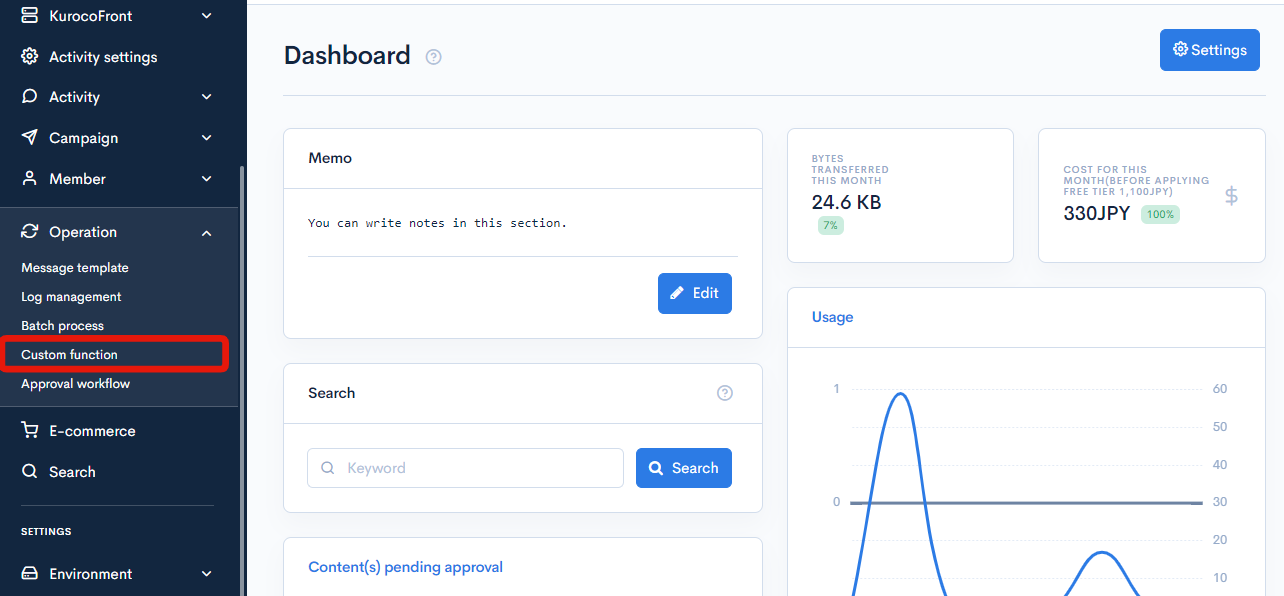
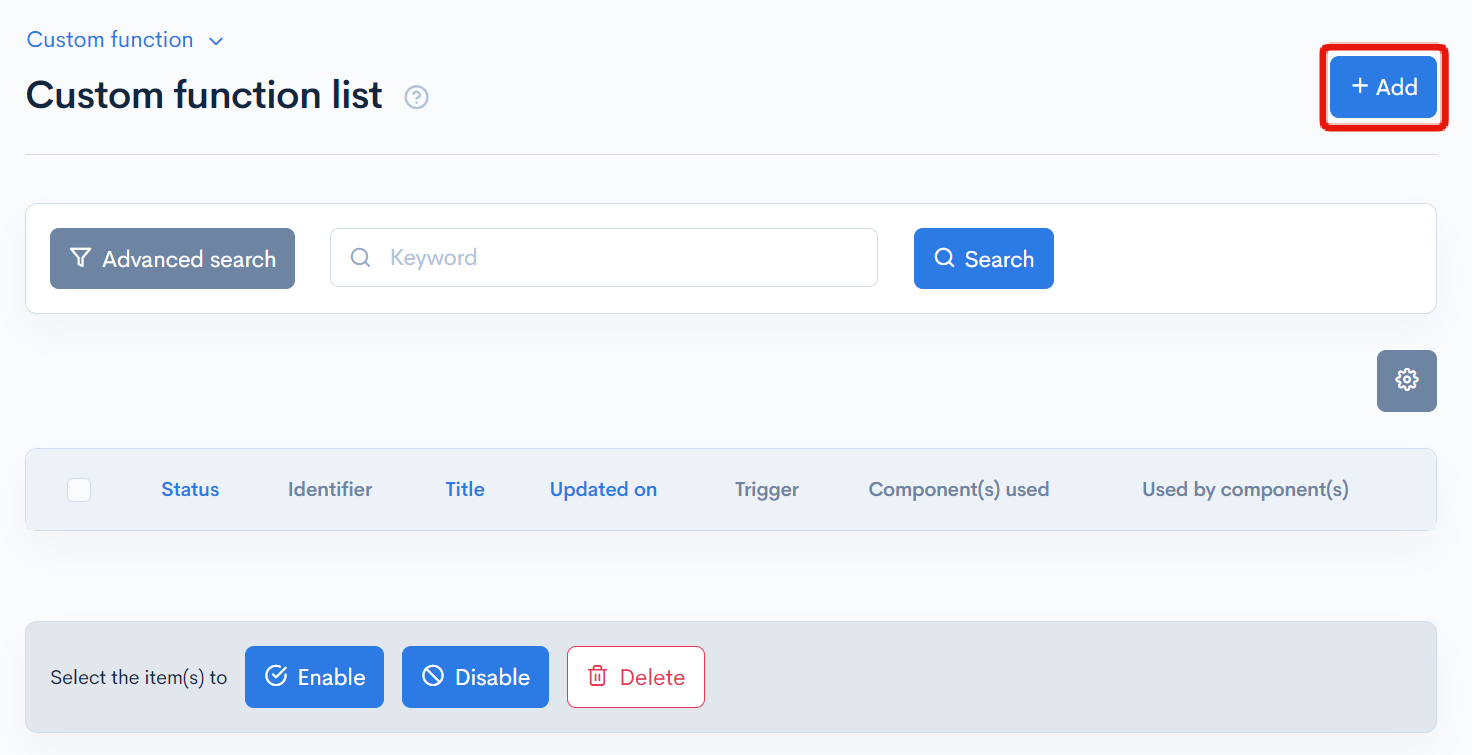
In the left sidebar menu, click [Operation] -> [Custom function]
Click on "Add".
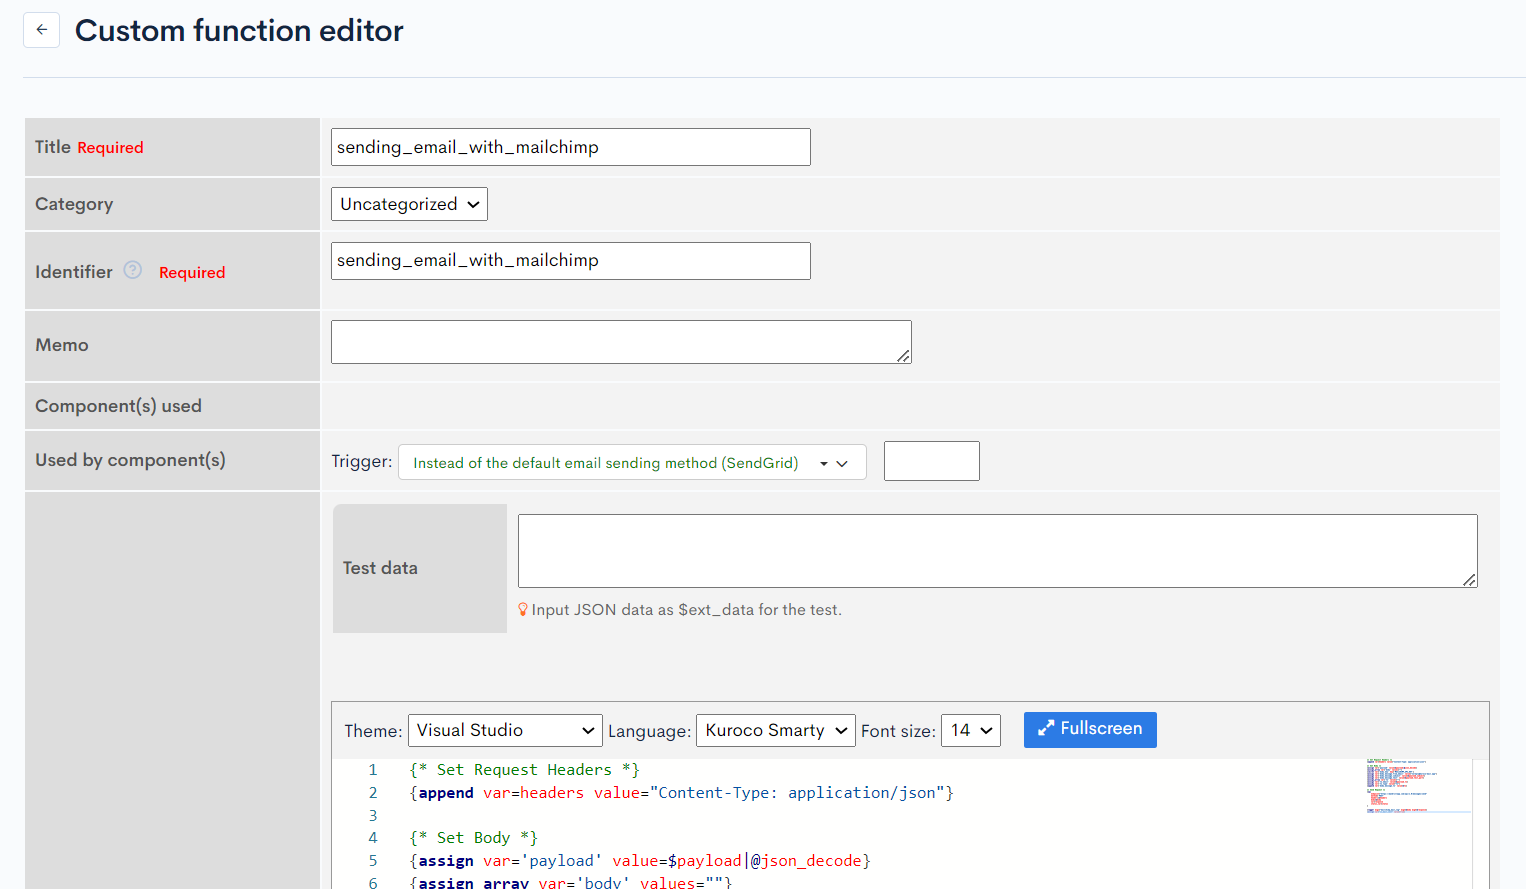
Configure as follows:
| Field | Value |
|---|---|
| Title | sending_email_with_mailchimp |
| Identifier | sending_email_with_mailchimp |
| Trigger | Replace the default email sending method (SendGrid) |
| Processing | The following content |
{* Set Request Headers *}
{append var=headers value="Content-Type: application/json"}

{* Set Body *}
{assign var='payload' value=$payload|@json_decode}
{assign_array var='body' values=""}
{secret var='body.key' key='MAILCHIMP_API_KEY'}
{assign var='body.message.from_email' value="noreply@kuroco-mail.app"}
{assign var='body.message.subject' value=$payload.subject}
{assign var='body.message.text' value=$payload.text_part}
{assign_array var='to' values=""}
{assign var='to.email' value=$payload.to}
{assign var='to.type' value="to"}
{append var='body.message.to' value=$to}

{* Send Request *}
{api
    endpoint="https://mandrillapp.com/api/1.0/messages/send"
    method='POST'
    headers=$headers
    body=$body
    var=response
    status_var=status
}

{logger msg1="mailchimp_mail_log" msg2=$body msg3=$response}
{assign var="is_mail_sent" value=true}
Replace noreply@kuroco-mail.app with your own email address.
Once you have entered the information, click on [Add] to add the custom processing.
Confirmation of operation
Let's send an email from Kuroco to confirm the operation.
For the purpose of confirmation, we will use the password reminder.
Access the Kuroco login screen and click on [Forgot your password?].
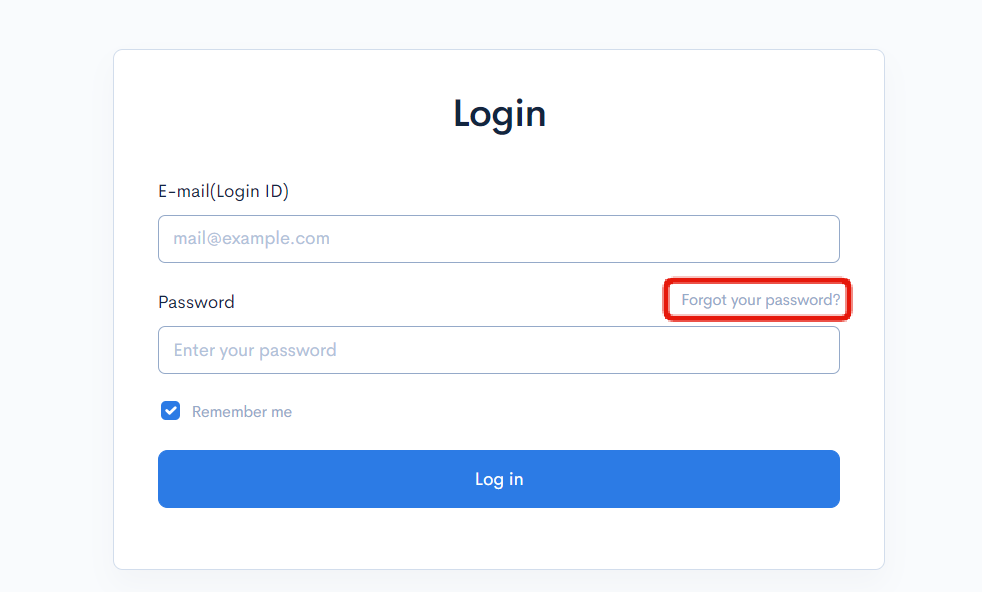
Enter your email address and click on [Send].

If you are using the Free plan, the recipient's email address must be authenticated with the Mailchimp sending domains.
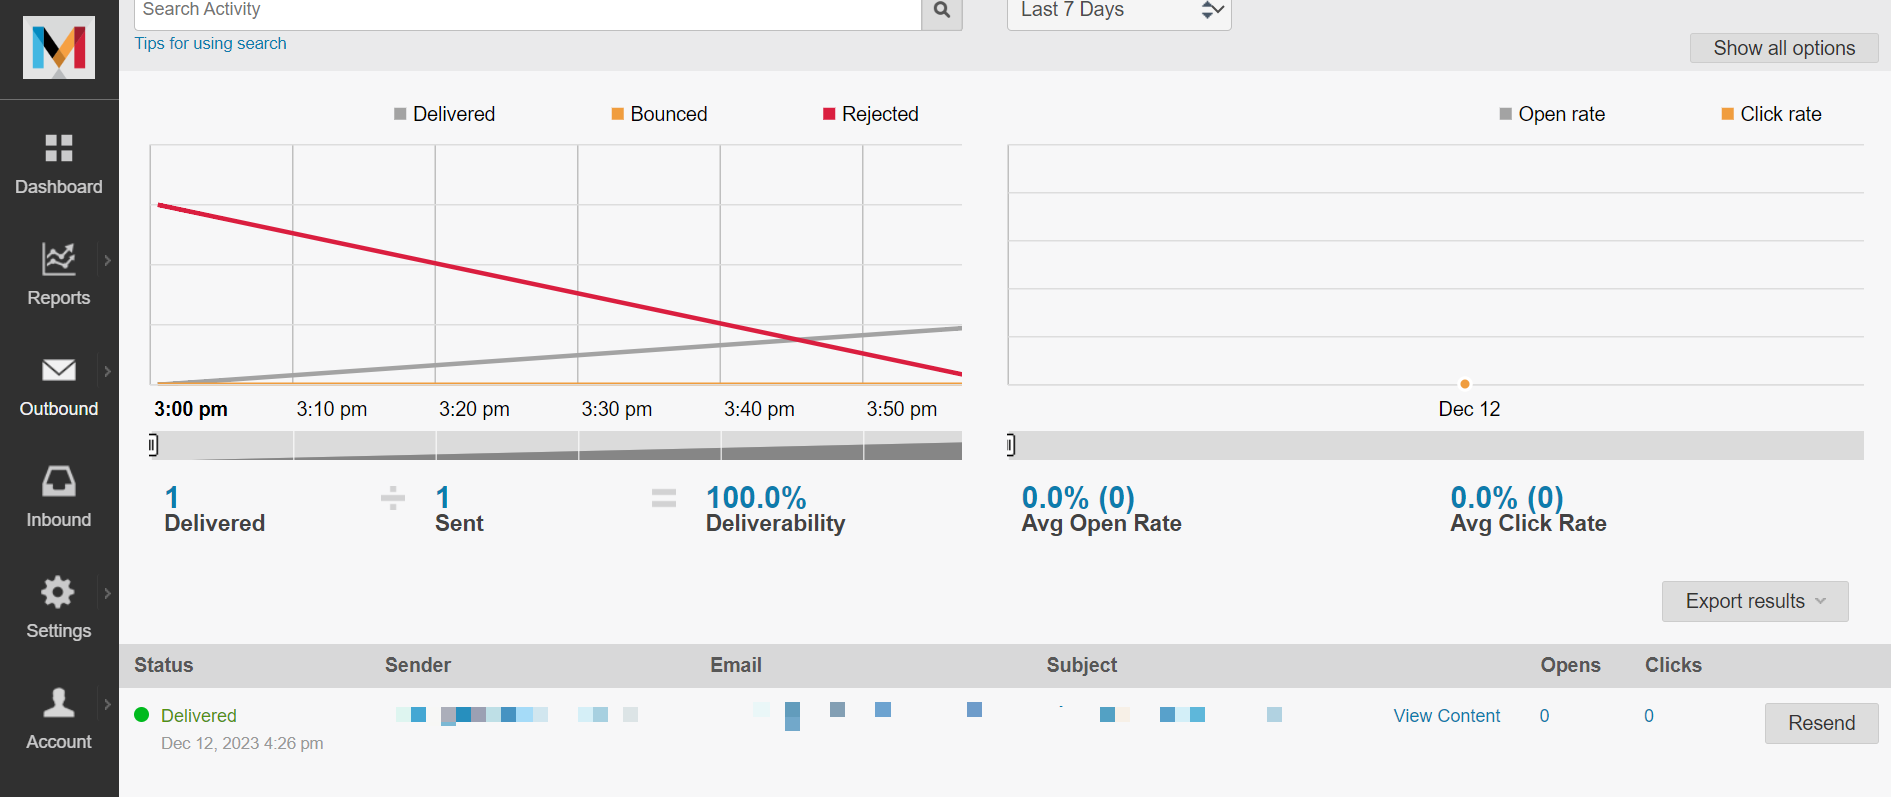
When you check Activity in Mailchimp, you can see that the email was sent from Mailchimp.
With this, the configuration to use any email delivery service is complete.
Related Documents
Support
If you have any other questions, please contact us or check out Our Slack Community.