Overwriting request values passed to API main processes using custom functions
Overview
This tutorial explains how to overwrite a request to an API main process via a user-defined custom function.
Custom functions enable you to:
- Convert user-input values to specified formats and pass them to target APIs
- Pass additional constants to target APIs
What you'll learn
For this tutorial, we will implement a process to convert upper-case input in an inquiry reply message into lower-case.
This comprises the following steps:
- Create a custom case-conversion function
- Create an endpoint for your function
- Link your function to your endpoint
- Verify the endpoint operations and stored value
Creating your custom function
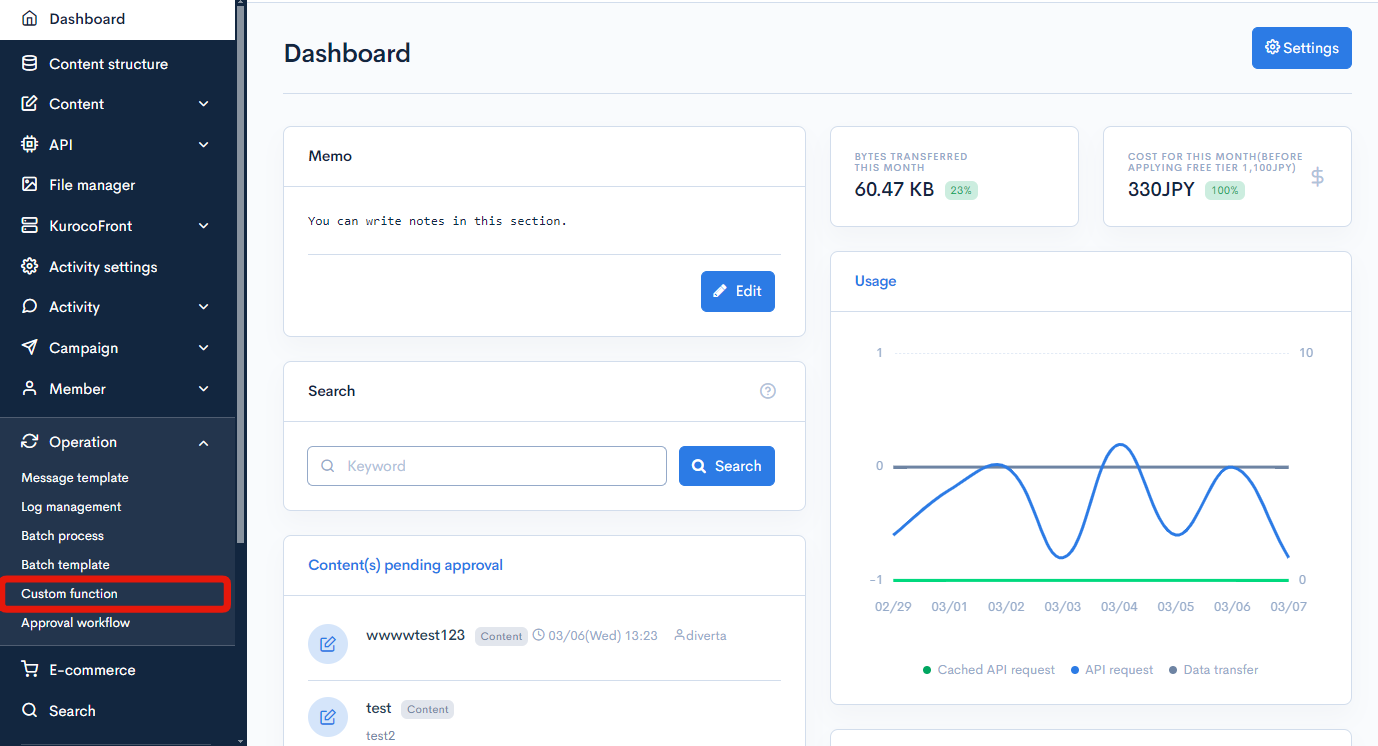
In the left sidebar menu, select [Operation] -> [Custom function].
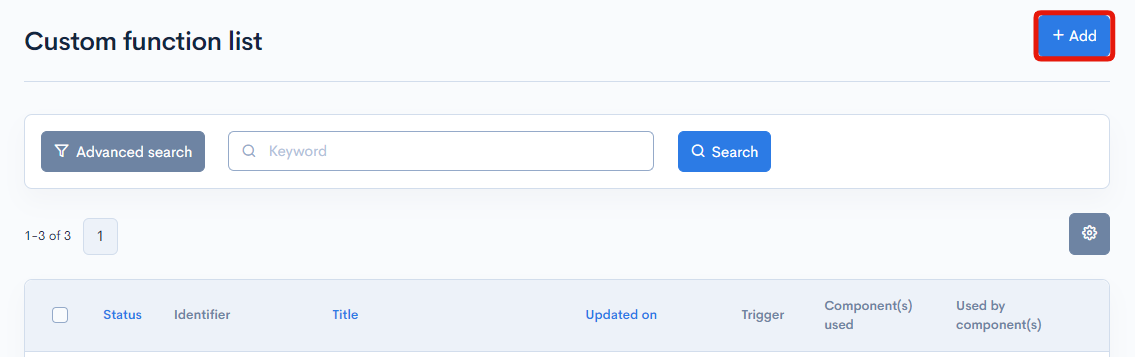
On the Custom function list screen, click [Add] in the upper right corner.
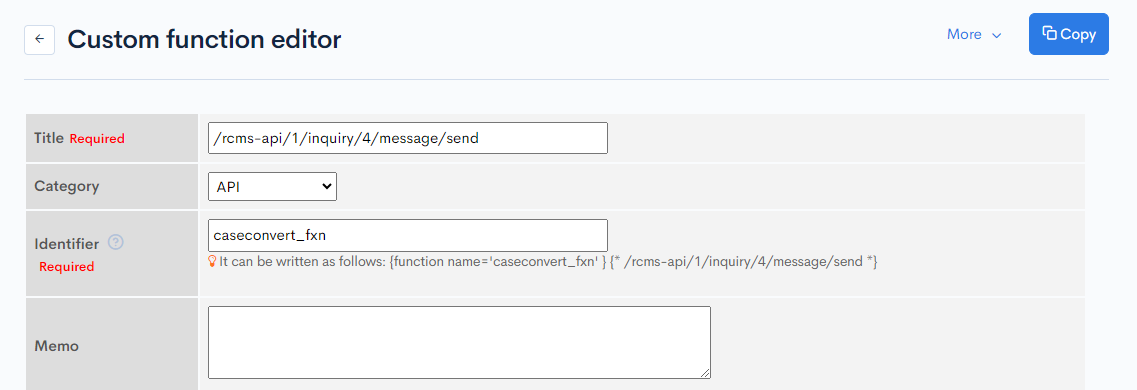
Enter the title, category, and identifier of the custom function.
To organize your custom functions for easy access, group them into categories by the module or feature they are used by. You can add and modify categories in the Custom function category list.
For this tutorial, we will use the following values:
| Field | Value |
|---|---|
| Title | /rcms-api/1/inquiry/4/message/send |
| Category | API |
| Identifier | caseconvert_fxn |
Titles of custom functions within the same category must be unique. We recommend using the URI path of the associated endpoint as your function title. In this example, we are using the endpoint for sending reply messages to a specified form (inquiry ID = 4).
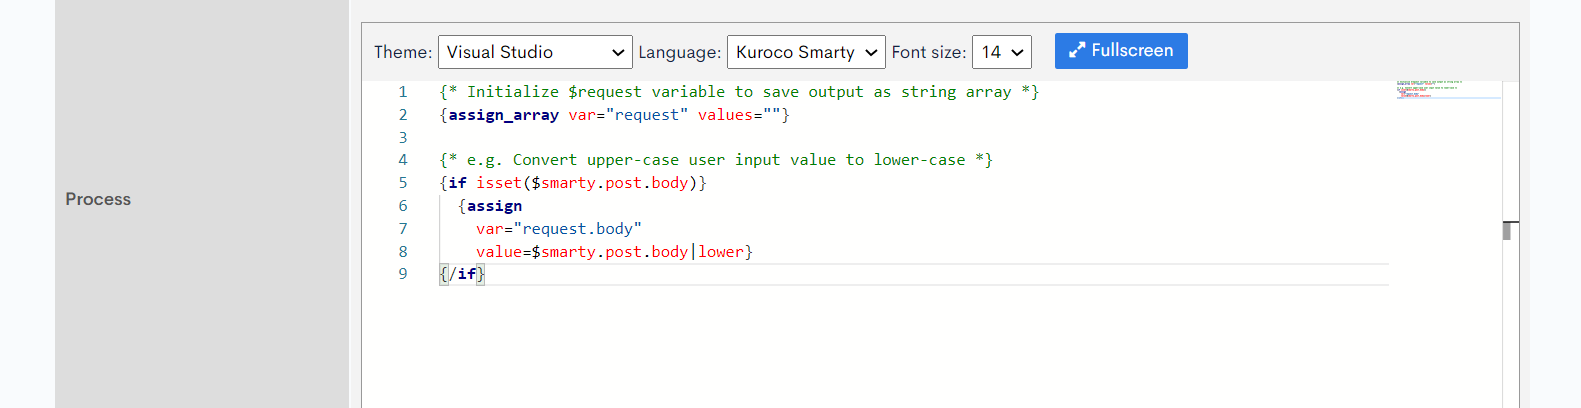
In "Process", select [Kuroco Smarty] as the language and paste the code below into the editor:
{* Initialize $request variable to save output as string array *}
{assign_array var="request" values=""}

{* e.g. Convert upper-case user input value to lower-case *}
{if isset($smarty.post.body)}
  {assign
    var="request.body"
    value=$smarty.post.body|lower}
{/if}
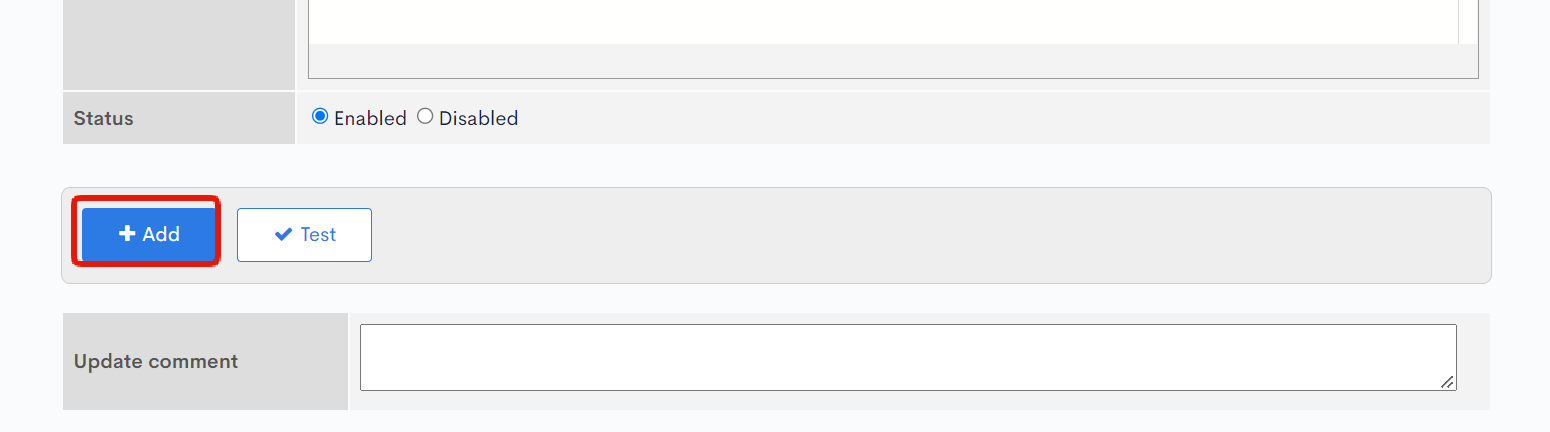
When you are done, click [Add] at the bottom of the screen to save your function.
Linking your function to an endpoint
Next, create an endpoint for this conversion feature and connect the function to it.
Creating a new endpoint
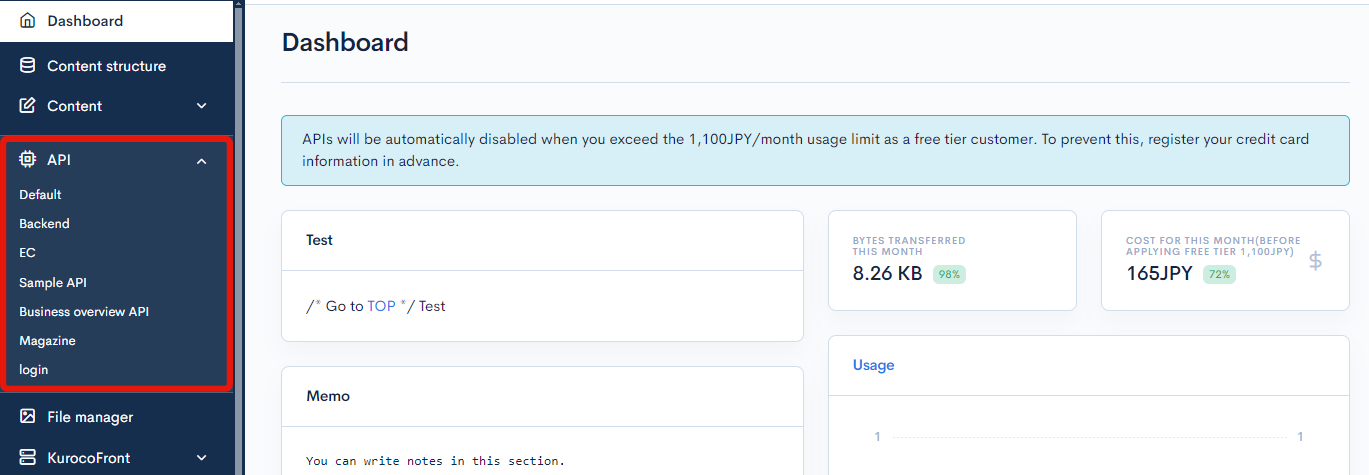
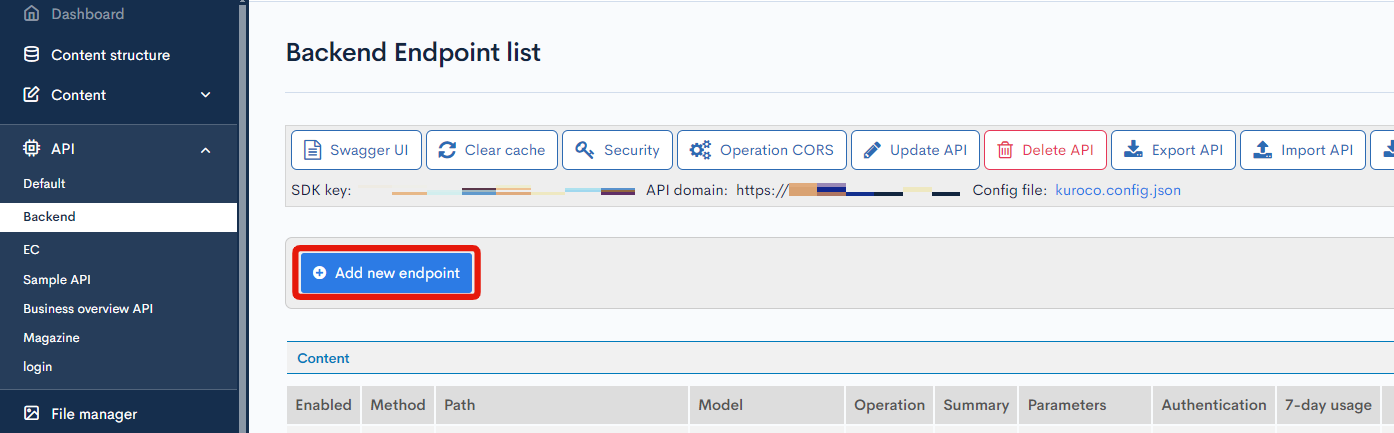
In the left sidebar menu, click [API] and select the API where you want to add the target endpoint.
On the endpoint list screen, click [Add new endpoint] to open the configuration dialog.
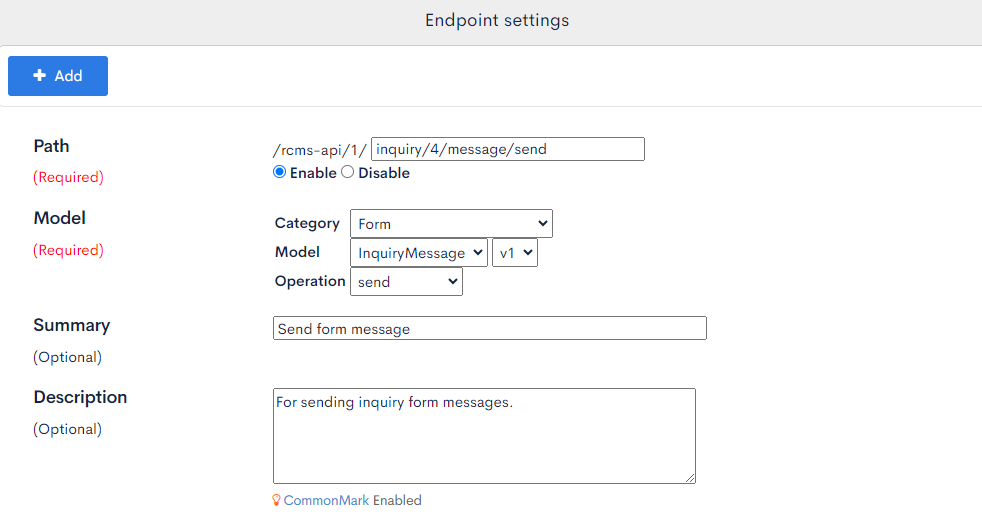
For this tutorial, we will enter the values below:
| Field | Sub-field | Value |
|---|---|---|
| Path | - | (rcms-api/1/)inquiry/4/message/send |
| Model | Category | Form |
| Model | InquiryMessage, v1 | |
| Operation | send | |
| Basic settings | id | 4 |
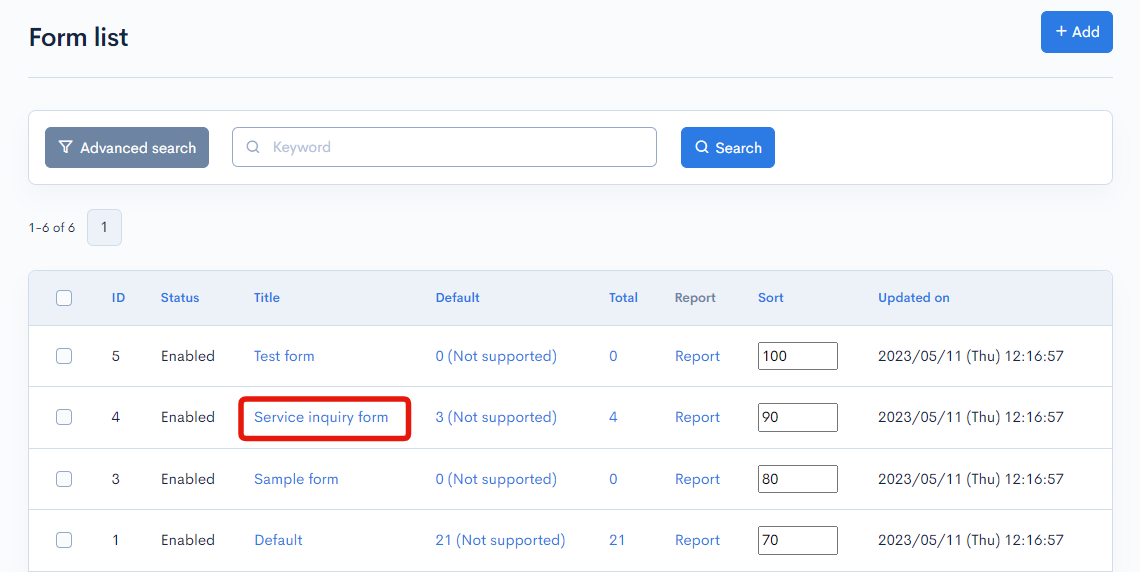
Substitute the form id 4 with your form ID, which can be obtained from the Form list screen.
When you are done, click [Add] at the bottom of the dialog box to save the endpoint.

Linking the endpoint with your function
On the endpoint list screen, click [Pre-processing] for the endpoint you created above.

In the fields that appear below the endpoint, input the following:
- Category: API
- List: /rcms-api/1/inquiry/4/message/send

Verifying the implementation
As a final step, send a request from the Swagger UI and check the stored value to verify if the conversion function is working as expected.
API request
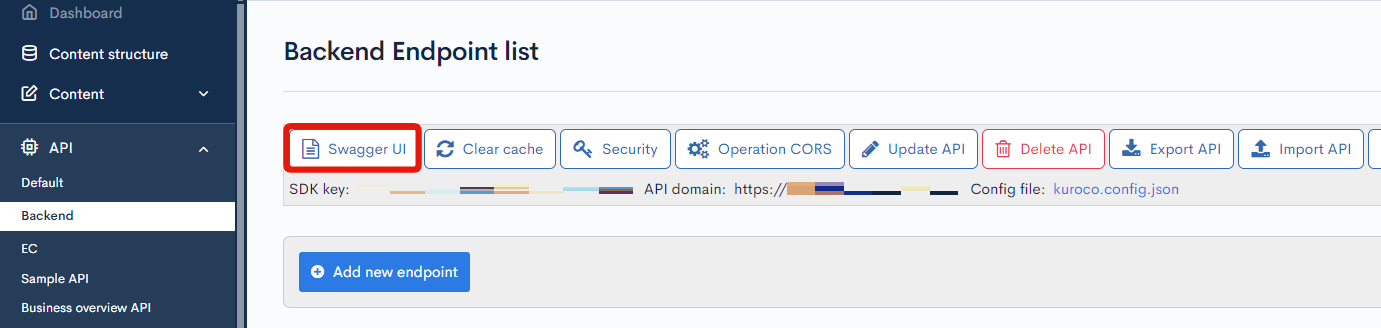
On the endpoint list screen, click [Swagger UI].
Select the endpoint you created and click [Try it out].
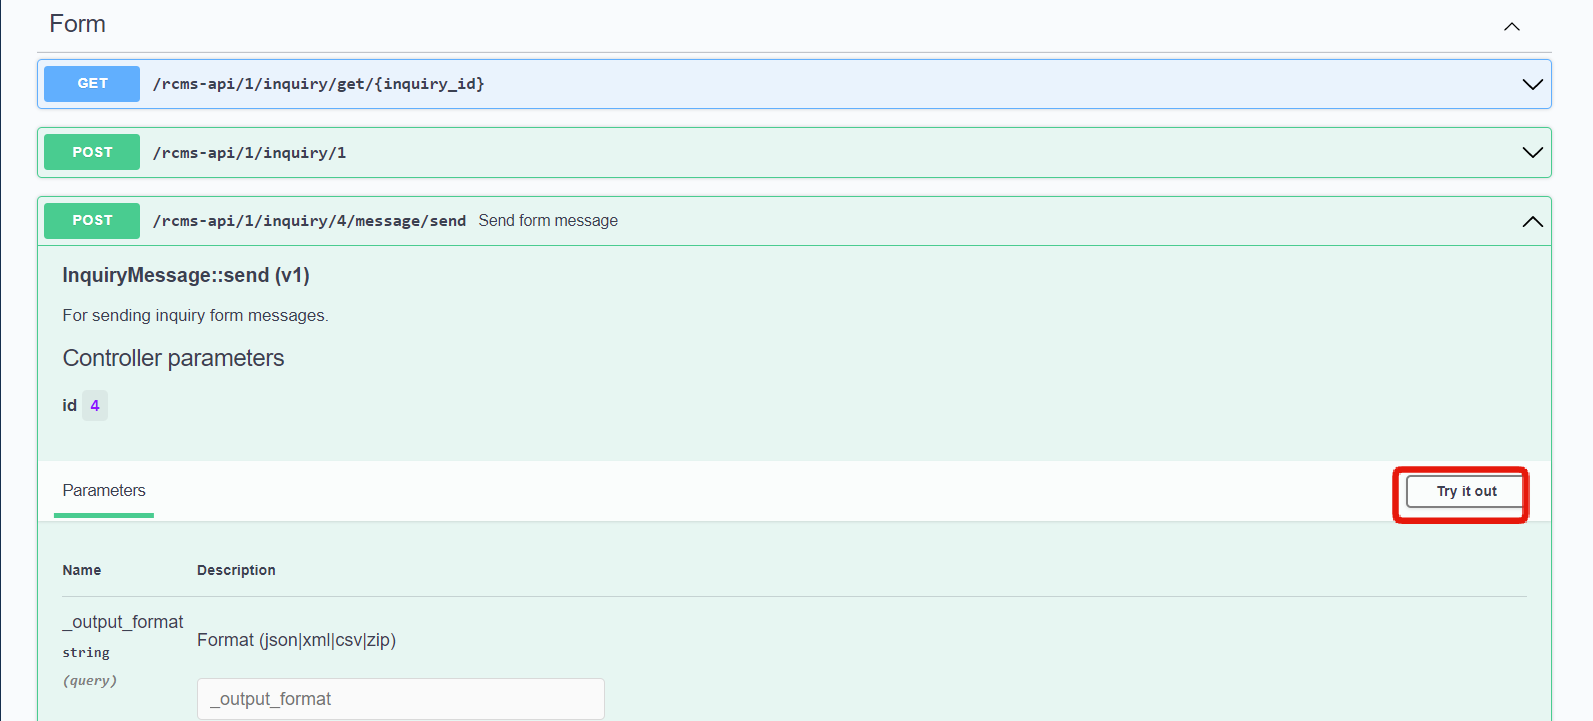
To test this function, we would send a string containing upper-case letters as the API request.
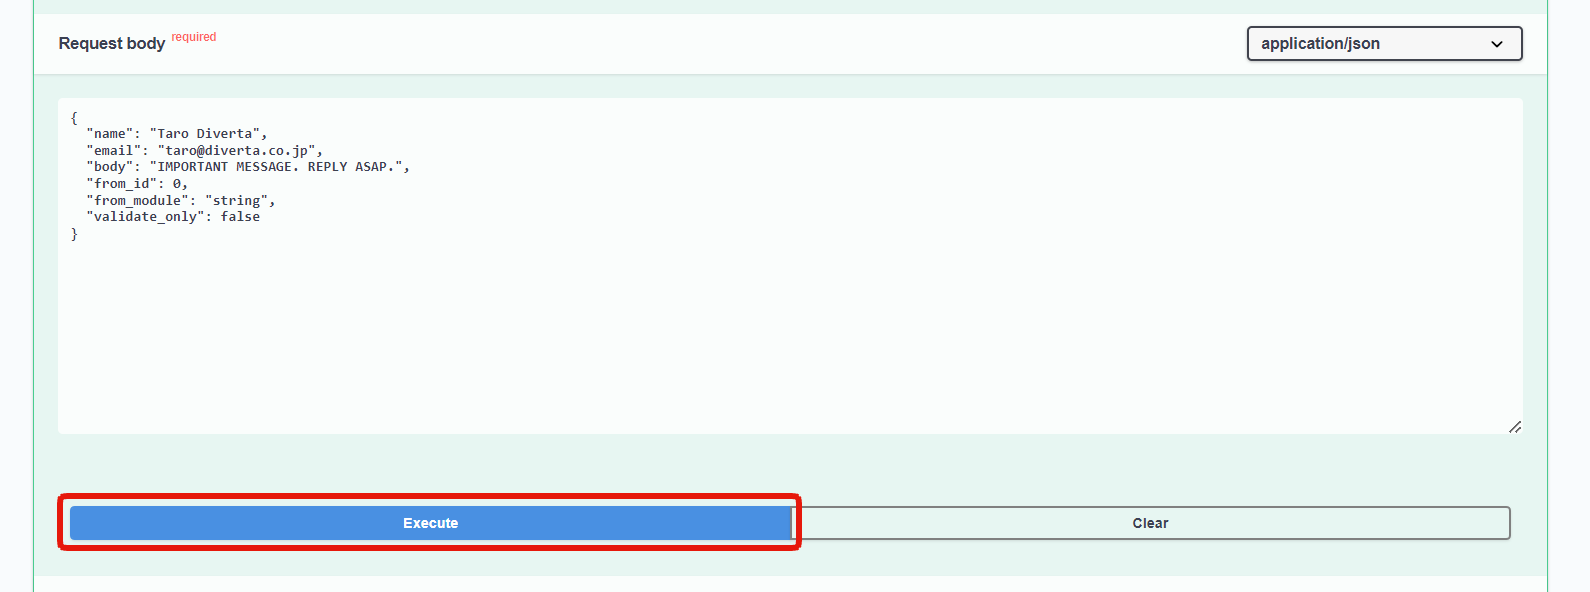
For this tutorial, paste the code below into the "Request body" and click [Execute]:
{
  "name": "Taro Diverta",
  "email": "taro@diverta.co.jp",
  "body": "IMPORTANT MESSAGE. REPLY ASAP.",
  "from_id": 0,
  "from_module": "string",
  "validate_only": false
}
To avoid getting an error response, make sure to fill out all the required fields in your request body. You can view and modify the required fields for a form on the corresponding Field settings screen.
You should see the following response. Note down the ID for later use.

Checking the saved value
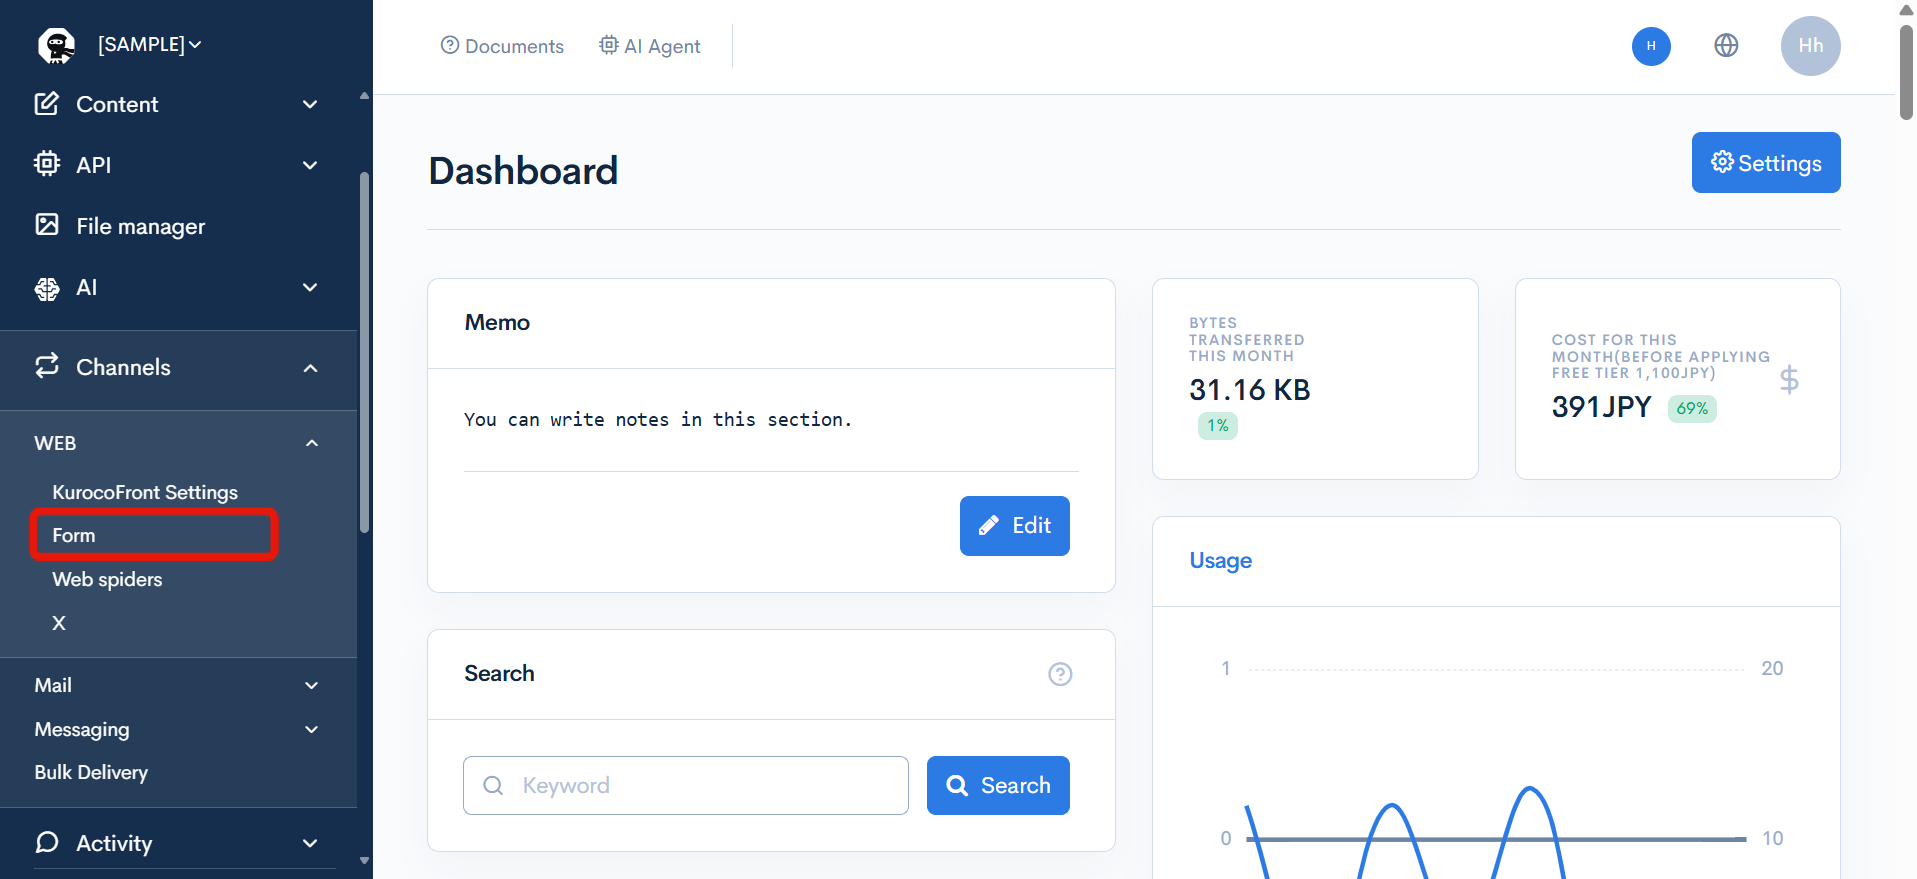
In the sidebar menu, select [Channels] -> [WEB] -> [Form].
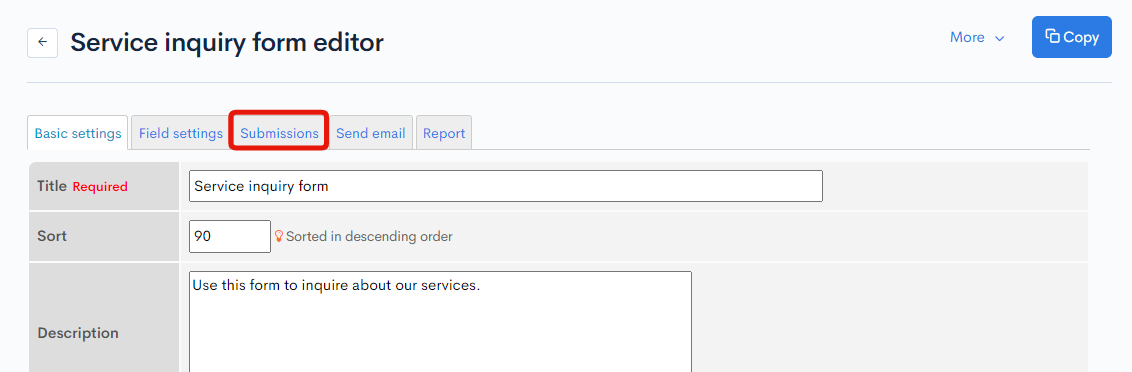
On the Form list screen, click the title of the form that is using this custom function.
In the form editor, click the [Submissions] tab.
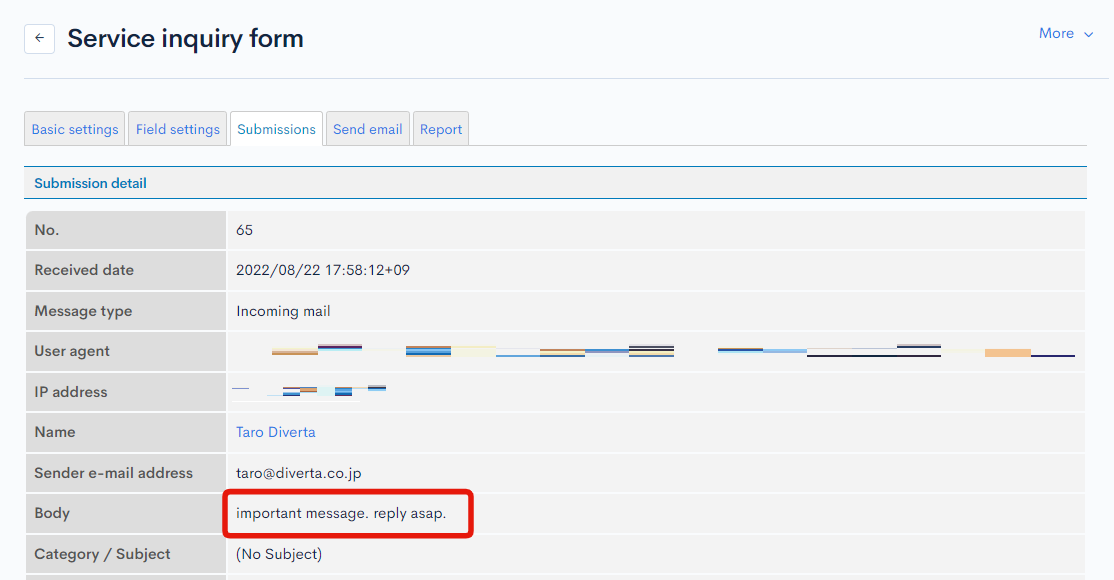
In the Submissions list, find the entry in the "No." column that corresponds to the ID you noted from the API response. Click this number to view the answer details.

Verify that the input value has been converted to lower-case.
If the conversion failed, check for the following issues:
- The function has not been properly linked to the endpoint.
- You have linked the wrong custom function.
- The variable name (
request) is incorrect. - The item to be validated has been specified incorrectly.
- There are errors in the validation logic.
Related documents
Support
If you have any other questions, please contact us or check out Our Slack Community.