Implementing custom validation in Content Structure with Custom function
Overview
This tutorial explains how to use custom function and triggers to implement custom validation for adding or editing content. With this feature, you can add complex input checks that cannot be achieved with standard features. In this example, we will implement a validation process that returns an error if the entered email address does not match a specific domain.
What you will learn
You will learn how to implement custom validation for adding or editing content using the following steps:
- Preparation
- Creating custom function
- Writing the validation processing
- Associating Content Structure with Custom Function
- Operation validation
Preparation
Create content structure to apply the validation
First, we create a content structure that we will be applying the custom validation to.
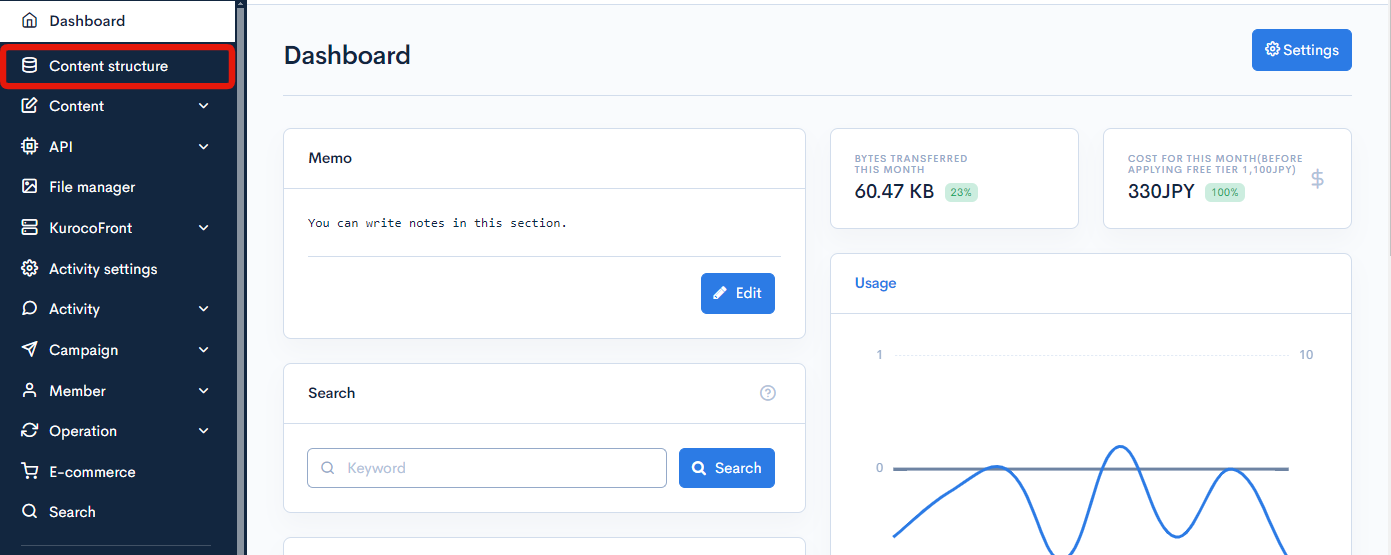
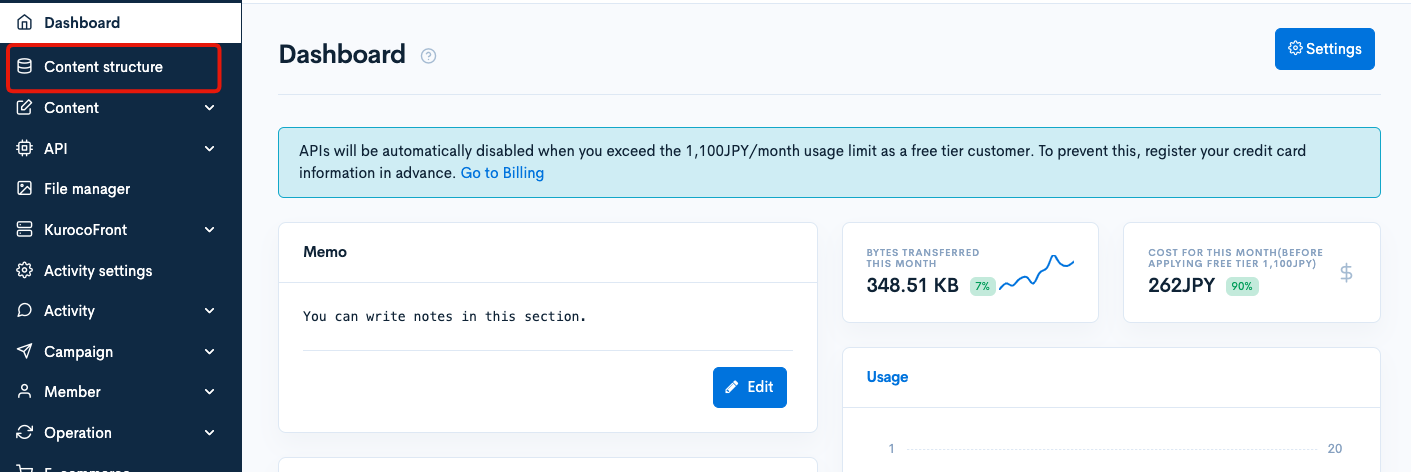
Click [Content structure] on the side menu.
Click [Add].

Enter as follows:
- Name: Test content for implementing custom validation
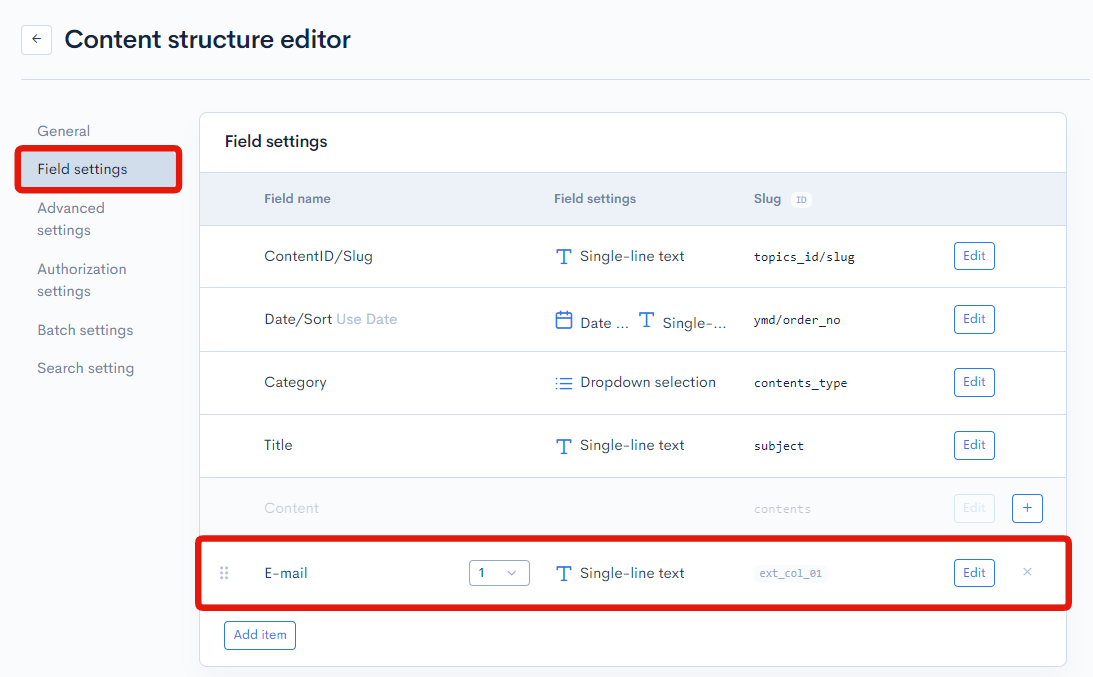
- Fields: As below
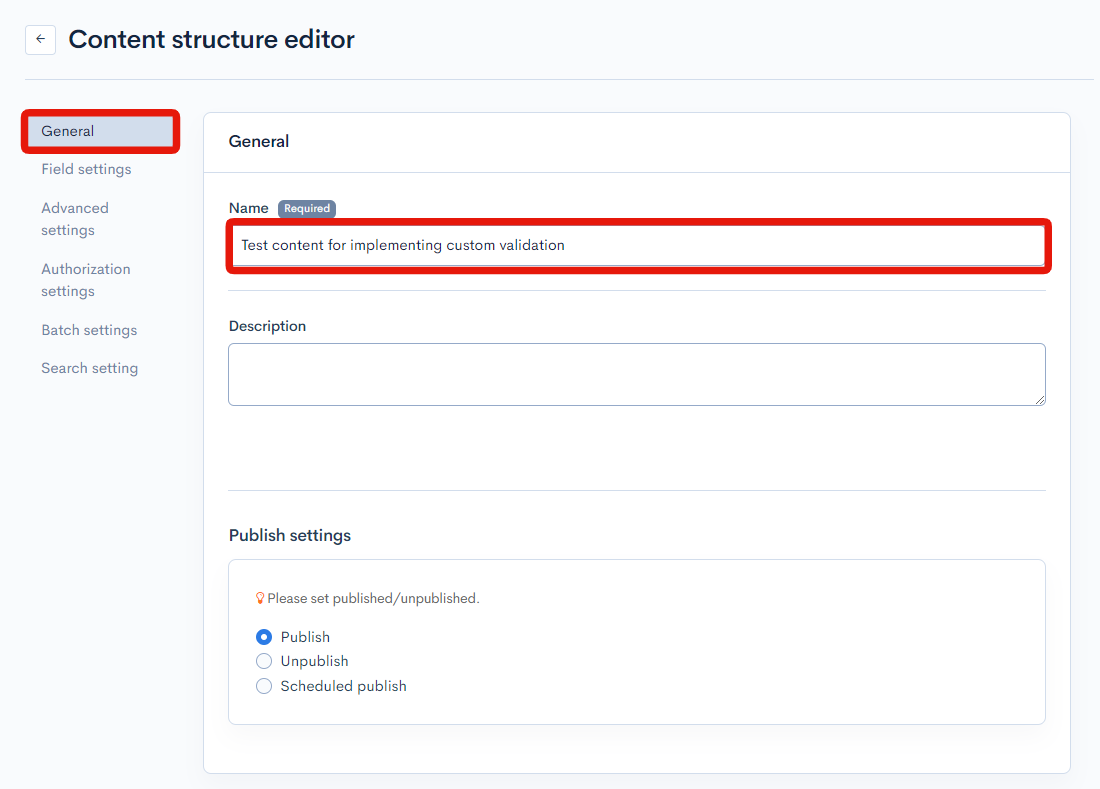
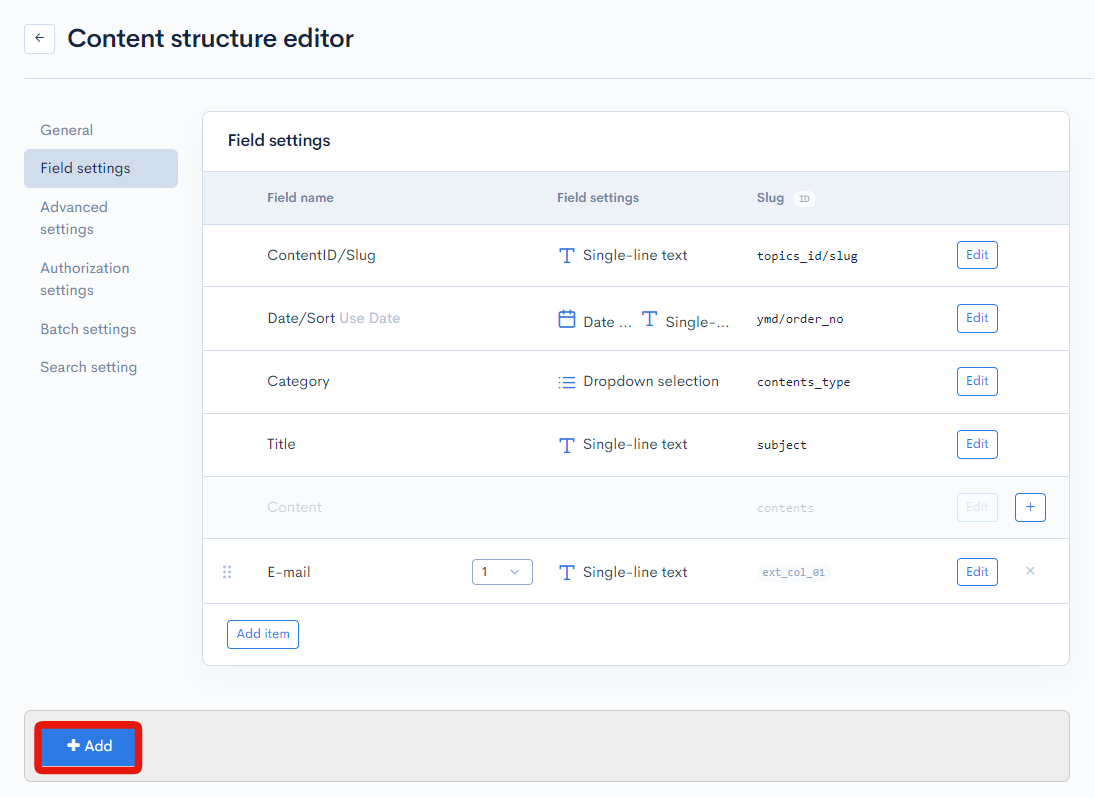
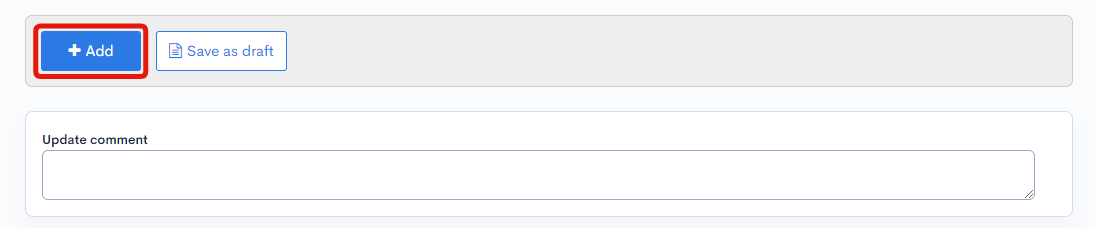
After entering, click [Add].
Creating custom function
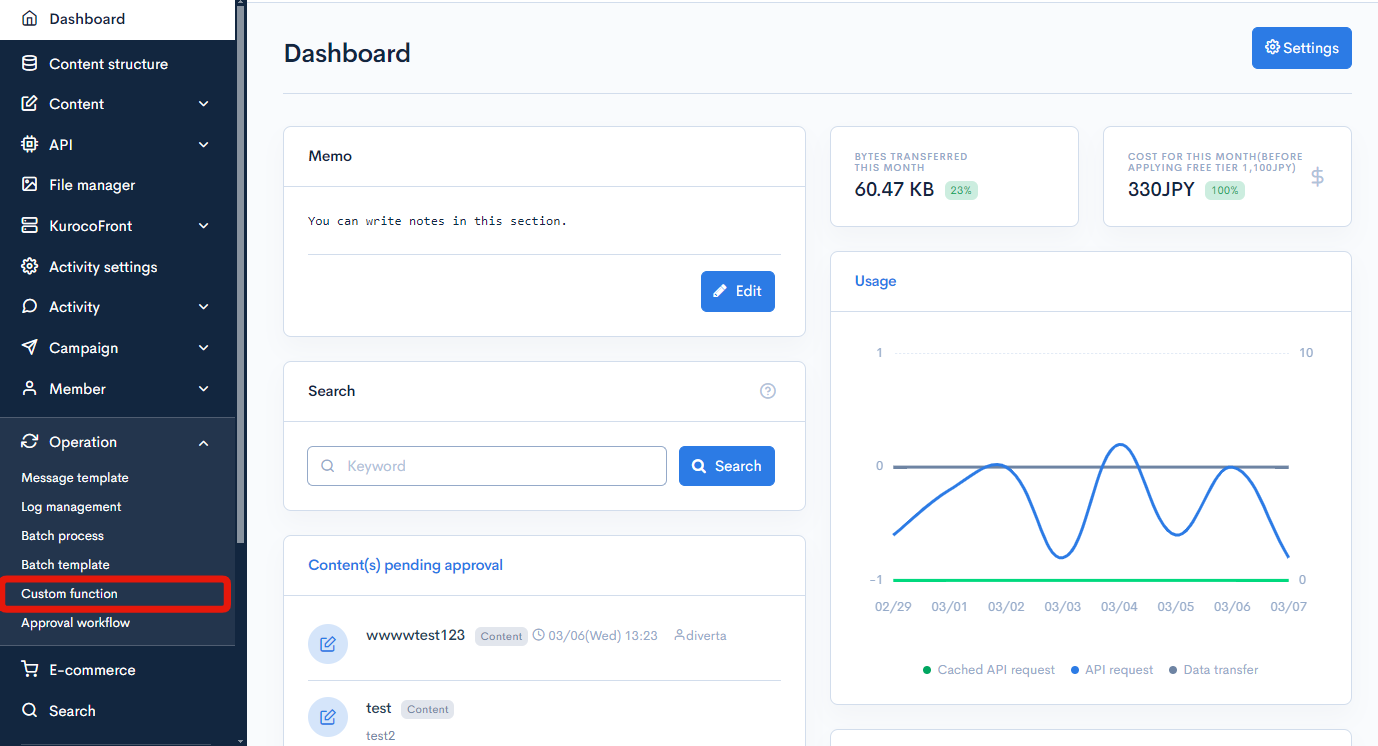
We will need to create a custom function for the validation processing. Click [Operations] -> [Custom function] on the side menu.
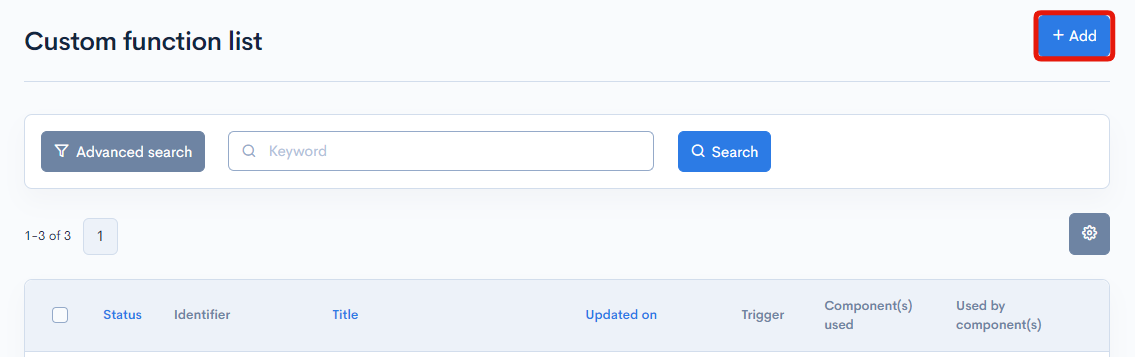
Click [Add] in the upper right corner of the custom function list page.
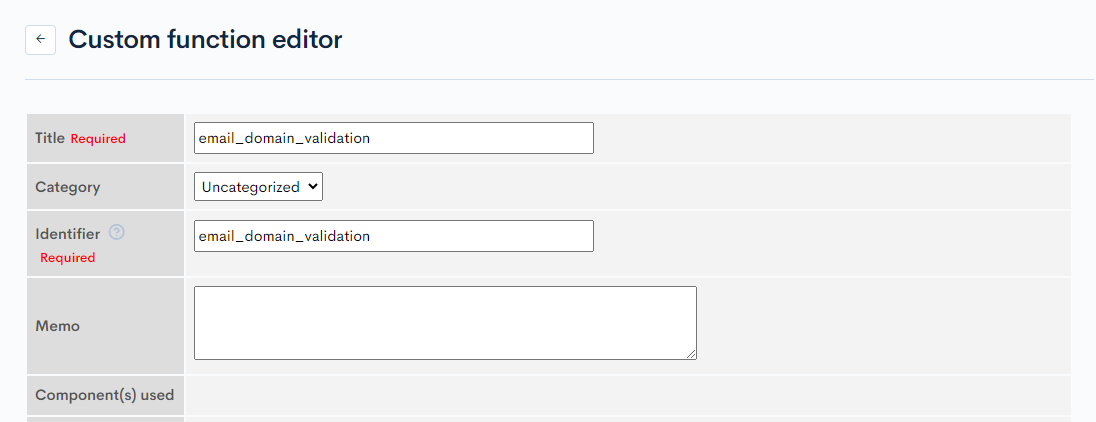
Enter title and identifier
Enter the following:
| Field | Settings |
|---|---|
| Title | email_domain_validation |
| Identifier | email_domain_validation |
| Process | Refer to the next section. (Writing the validation processing) |
The title must be unique. Batch processes with the same title in the same category cannot be created.
Writing the validation processing
Follow the steps below to write the validation process in the batch process editor.
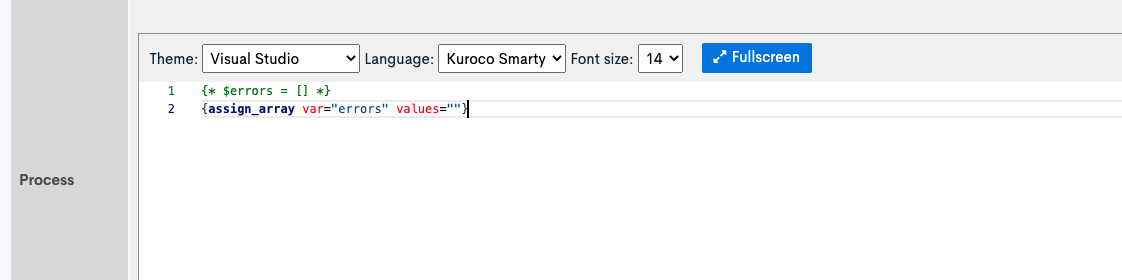
Initialize error variable
Initialize the $errors variable to store validation results.
| Variable | Type | description |
|---|---|---|
| $errors | array | text array |
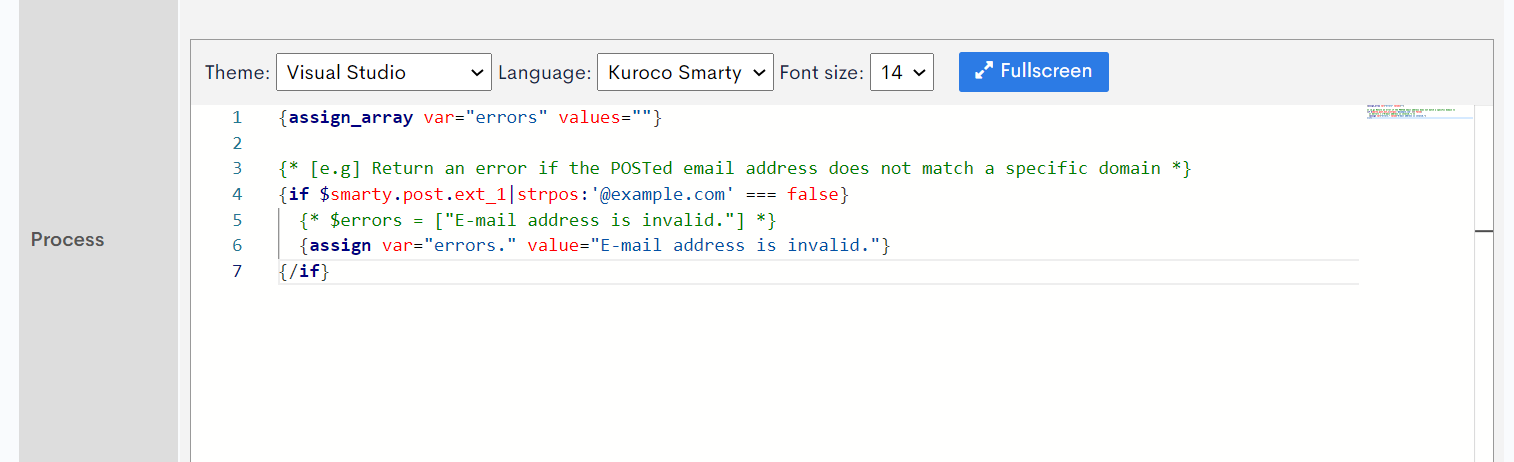
Enter the following in the editor:
{* $errors = [] *}
{assign_array var="errors" values=""}
Implement validation process
Check the user input value and assign the result to the errors variable.
To refer to the input value, use one of the following variables.
| Variable | description |
|---|---|
| $smarty.post | Form data entered from the screen |
{assign_array var="errors" values=""}

{* [e.g] Return an error if the POSTed email address does not match a specific domain *}
{if $smarty.post.ext_1|strpos:'@example.com' === false}
  {* $errors = ["E-mail address is invalid."] *}
  {assign var="errors." value="E-mail address is invalid."}
{/if}
Replace ext_1 with the field that you want to apply the validation.
Save custom function
We need to save our changes once we have finished the custom function setup.
Scroll down to the bottom of the page and click the [Add] button to save.

Associating Content Structure with Custom Function
Next, we associate the content structure with the custom function we created above.
Check the ID of the content structure on the content structure list page
Click [Content structure] on the side menu.
Check the ID of the content structure which you created earlier.
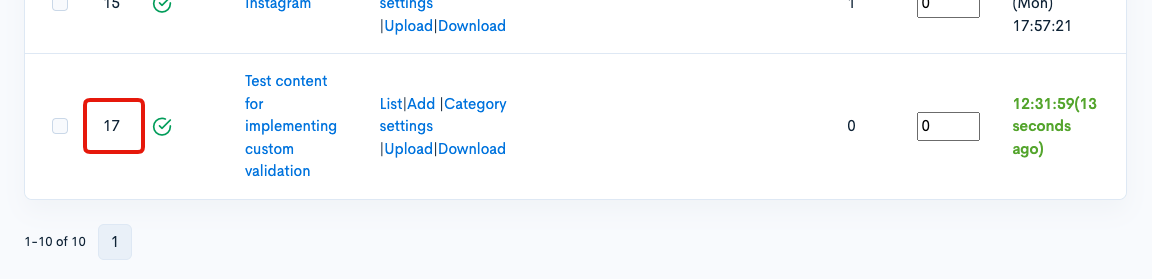
Associating the content structure ID with the custom function
Access the custom function editor page you created previously and enter the following in the "Used by component(s)"
- Trigger:Before content validation
- Value:Content structure ID to apply the custom validation(17)

Save
After making the changes above, click [Update] to save the settings.

Operation validation
Finally, we will check if the custom validation works as expected by sending a request from the content editor page.
Accessing the content editor page
From the content list page, click [Add] to access the content editor page.

Enter the e-mail address that will trigger the error
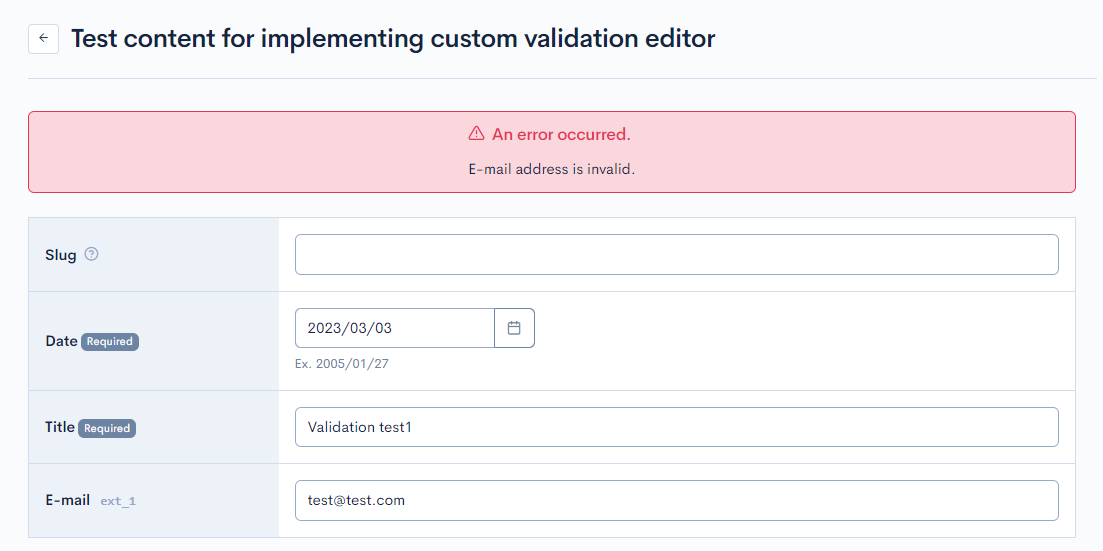
Enter the e-mail address which does not match "@example.com" domain specified in the custom function created previously.
After entering the e-mail address with an invalid domain, click [Add].

Confirm that error message is displayed as expected
You can see that the error message is displayed.
This completes this tutorial to associate custom function with the content structure.
Points to check if the validation error message is not displayed
If the input validation is not performed as expected, check the following points:
- Is the associated custom function correct?
- Is the variable name (errors) correct?
- Is the name of the field to be checked correct?
- Is the validation processing logic correct?
Introduction to code examples
Here is a code example that you can use for custom function.
| Variables | description |
|---|---|
| $smarty.get | query parameter |
| $smarty.post | form data entered from the screen |
| $smarty.request | query parameter & form data entered from the screen |
Check if it contains a specific string
{if $smarty.post.column_name|strpos:"EXPECTED_STRING" === false}
  {assign var="errors." value="column_name is invalid"}
{/if}
Check if it's a number
{if !$smarty.post.parameter_name|is_numeric}
  {assign var="errors." value="parameter_name have to be a number."}
{/if}
Input validation for specific field(s)
{*
    [e.g.] Make ext_2 a required field only when 1 is entered in ext_1
    ext_1: select field ('', '1', '2')
    ext_2: text field
*}
{if $smarty.post.ext_1 === '1' || (
  !$smarty.post.ext_1|@empty &&
  $smarty.post.ext_1.key === '1'
)}
  {if !isset($smarty.post.ext_2) || $smarty.post.ext_2 === ''}
    {assign var="errors." value="Text field is required."}
  {/if}
{/if}
Input validation to only allow members of a specific group to perform the action
{*
  member_group_id=1 is an Admin group
*}
{assign var="member_group_id" value="1"}
{if $member_group_id|rcms_in_array:$smarty.session.arrGroup_id}
  {if !isset($smarty.post.ext_1)}
    {assign var="errors." value="ext_1 is required."}
  {/if}
{/if}
Prevent deletion of content that is referenced in other content's relation field
{*
  Specify the ID of the content structure that has a related information selection in topics_group_id.
*}
{if $smarty.request.MODE|lower === 'delete'}
  {assign_array var="method_params" values=""}
  {assign_array var="method_params.topics_group_id" values="9,20"}
  {assign_array var="method_params.filter_request_allow_list" values=":q|topics:[topics_id]"}
  {assign var="method_params.filter" value=":R(topics:q|topics_id eq `$topics_id`|)"}
  {assign var="method_params.cnt" value=1}
  {api_method
      var='related_topics'
      model='Topics'
      method='list'
      version='1'
      method_params=$method_params}
  {if $related_topics.list|@count > 0}
    {assign var="errors." value="This content cannot be deleted because it is referenced in other content's relation field."}
  {/if}
{/if}
When performing validation during CSV upload, please refer to the row data using the $uploaded_row variable instead of $smarty.post.
Related documents
Support
If you have any other questions, please contact us or check out Our Slack Community.