Scheduling updates for published contents
Overview
This tutorial explains how to schedule an update on a content post for a specified date and time using an approval workflow.
What you'll learn
Content updates are scheduled through the following steps:
- Create a workflow for the content group containing the post
- Assign the approvers and submit the workflow
- Schedule the update time and workflow settings in the post editor
- The assignees approve the workflow
- Verification of the list of approved contents pending release
Before you start
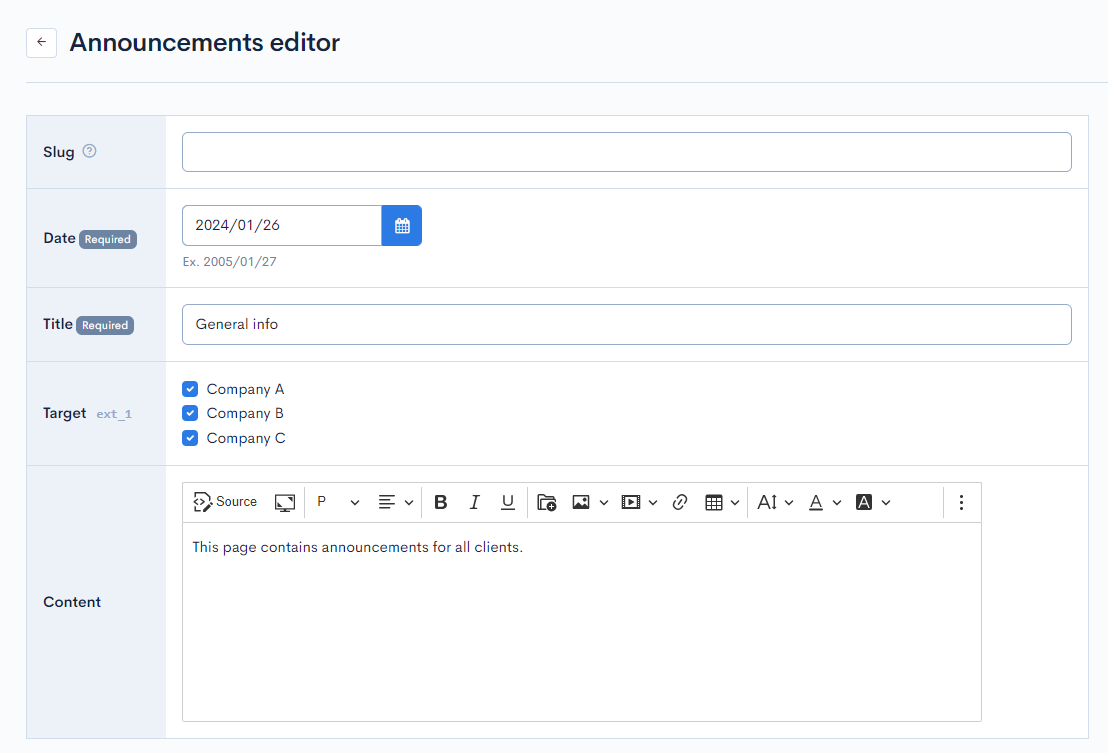
To use this tutorial, you should have an existing published content post with some editable content. For a detailed guide on how to create content groups and posts, see the tutorial Creating topic groups.
For demo purposes, we will be using a post entitled "General info" under the content group "Announcements".
Also, you should have set up a member group called "Admin". For more information, see Tutorial: Creating groups.
Approval workflow setup
Creating a new workflow
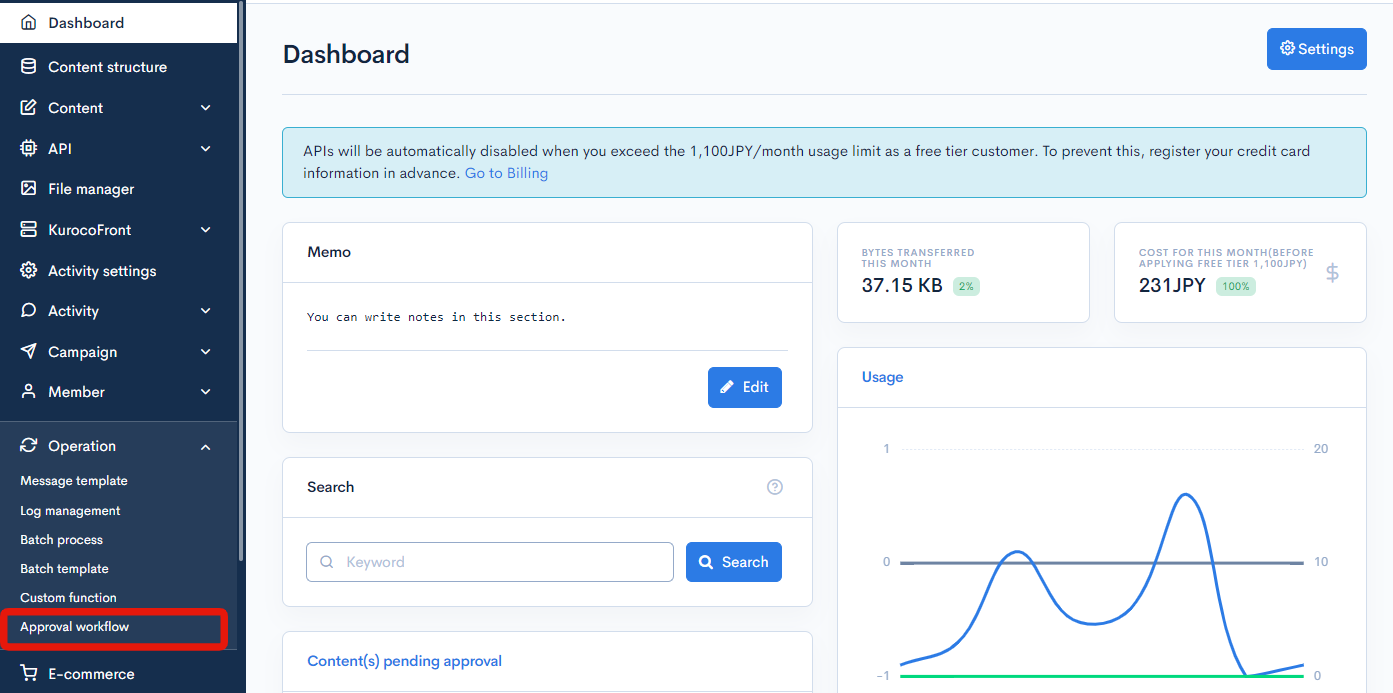
In the left sidebar menu, select [Operation] -> [Approval workflow].
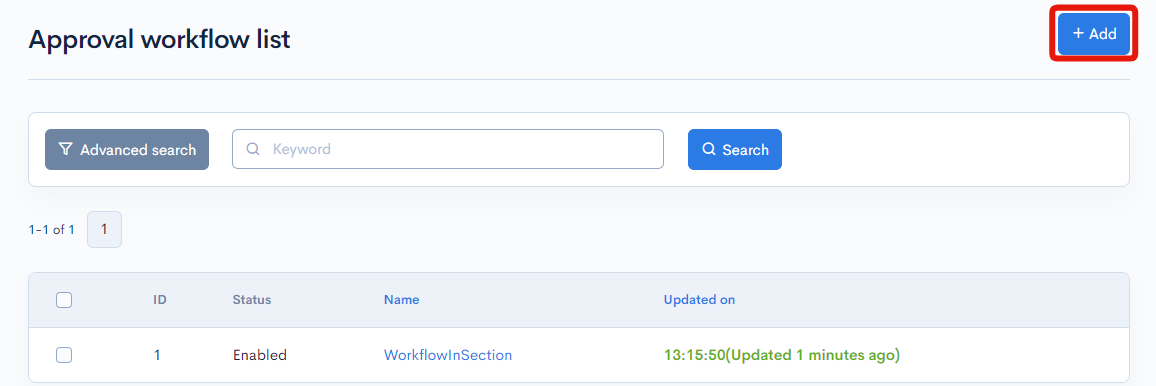
On the workflow list screen, click [Add] in the upper right corner.
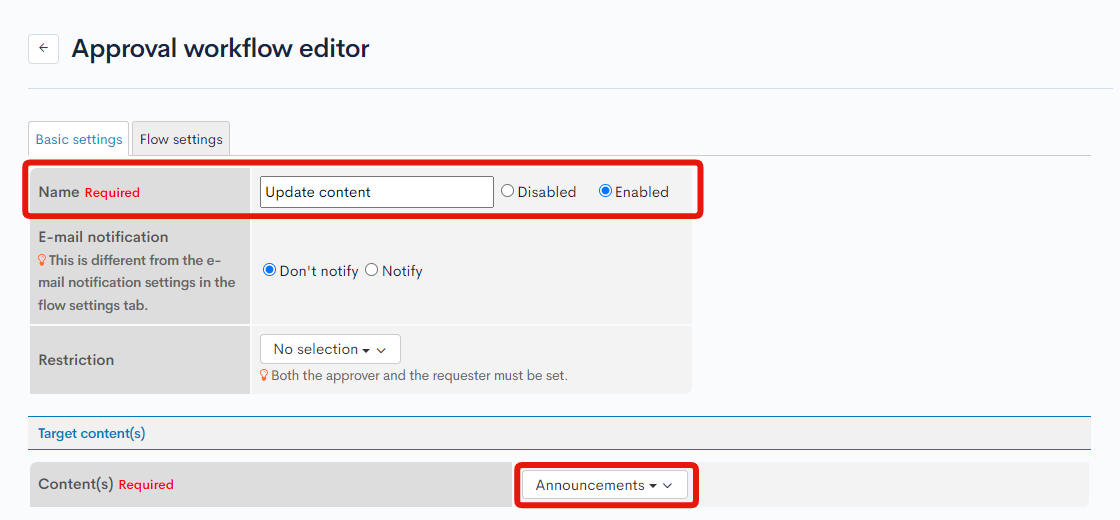
We will create a new workflow called "Update content".
Input the following information in the "Basic settings" tab of the editor:
| Field | Value |
|---|---|
| Name | Enter Update content, and select "Enabled". |
| Contents | Select "Announcements". |
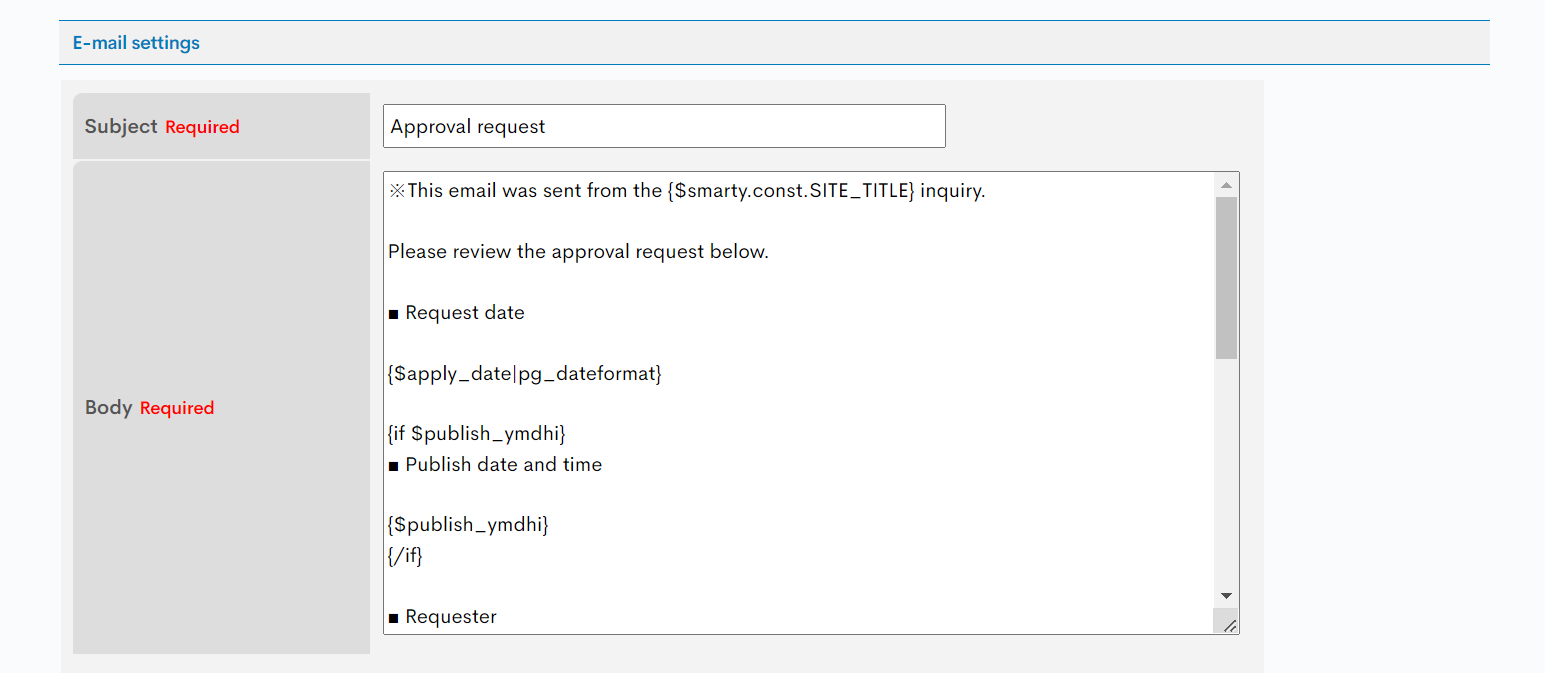
For this tutorial, we will use the default e-mail settings, which are automatically populated.
Submitting the workflow for approval
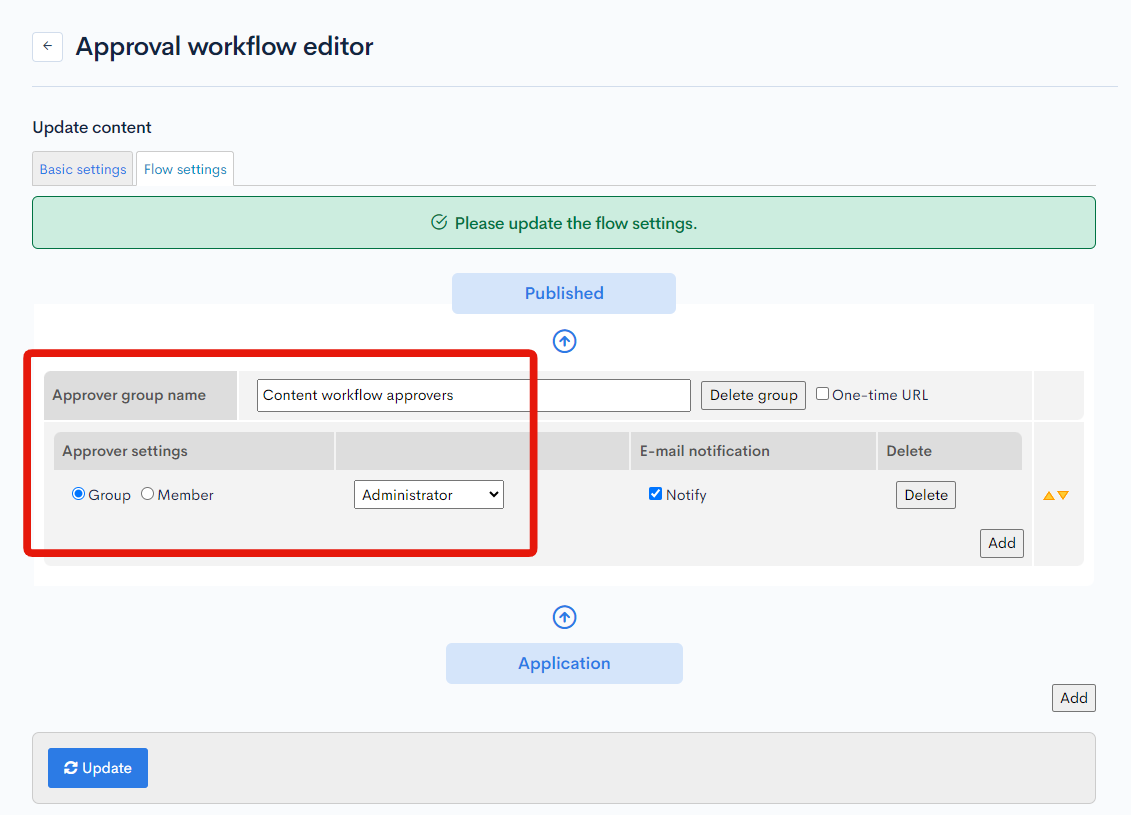
After filling in the Workflow editor, you will be redirected to the Flow settings screen. Input the following information and click [Update].
| Field | Value |
|---|---|
| Approver group name | Content workflow approvers |
| Approver settings | Select "Group" and choose "Admin" in the dropdown list. |
In addition to members/groups selected here, superusers and content editors (with admin panel privileges) can also grant approval for all workflows. For more information about user types, see User guide: Group editor - Basic settings.
Configuring the workflow settings in the post editor
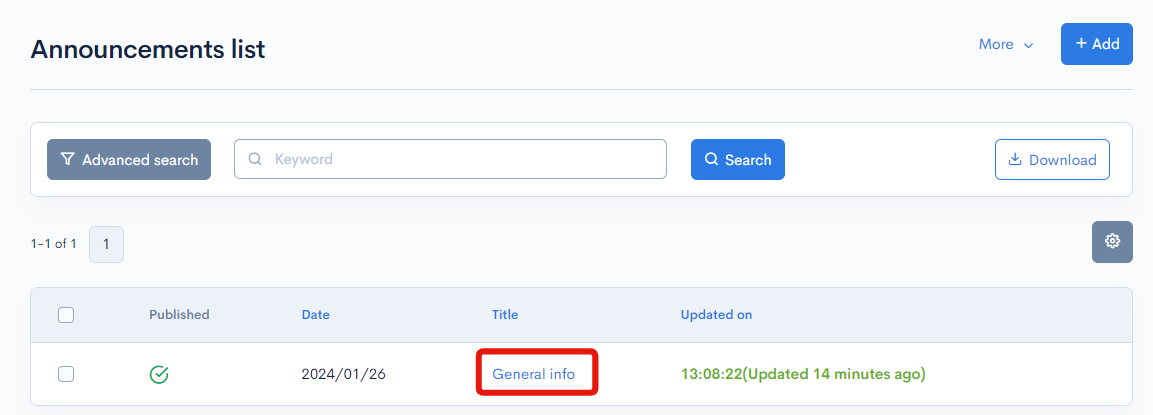
From the sidebar menu, select [Content] and click the target content group. On the content list screen, select the title of the content you want to modify.
For this tutorial, we are using "Announcements" -> "General info".
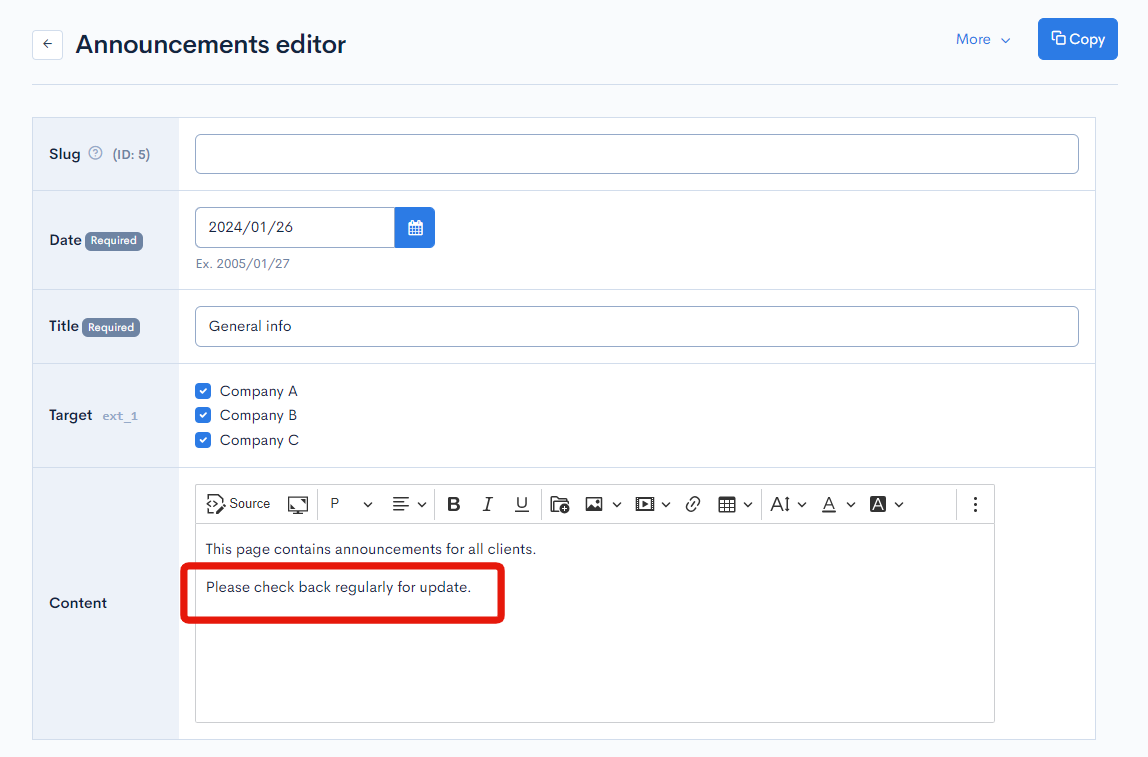
Make the desired changes in the content field.
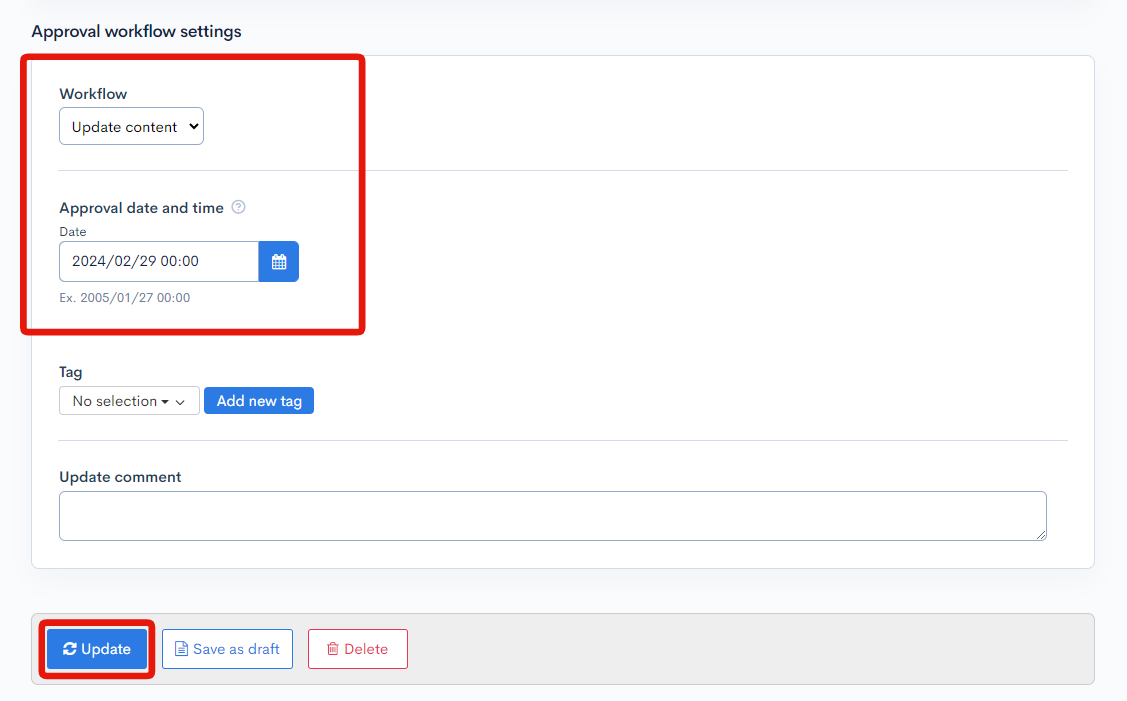
Then, fill in the "Approval workflow settings" section and then click [Update]
| Field | Value |
|---|---|
| Workflow | Update content |
| Approval date and time | Select the date and time to release the content update. |
Approving the workflow (for approvers)
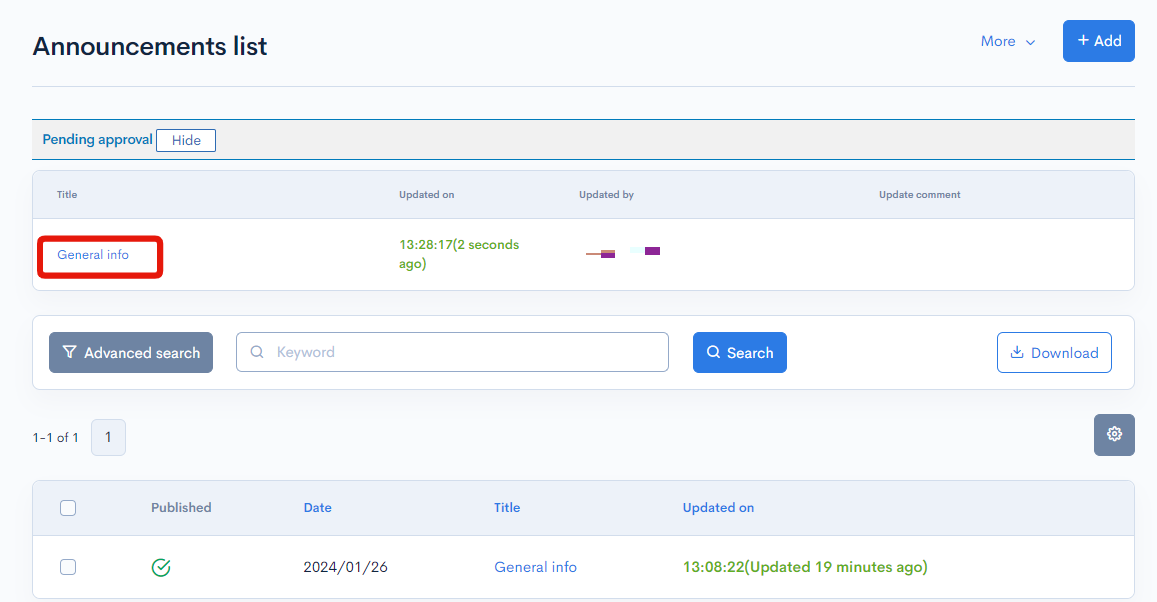
A "Pending approval" list will be displayed at the top of the screen. From this list, click the title of the post to be approved (in this case "General info").
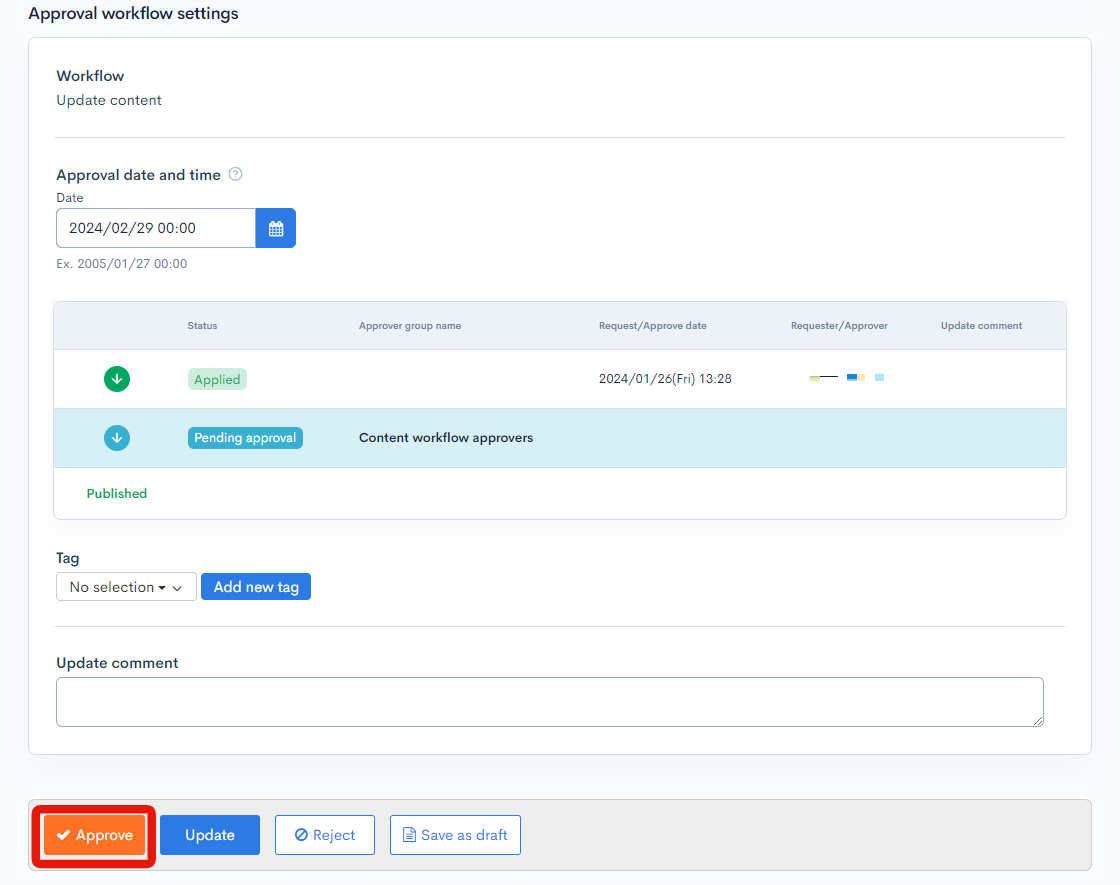
Verify the content to be updated and click [Approve] at the bottom of the screen.
The content update will be released at the scheduled date and time.
Verifying the list of approved contents pending release
After a post has been approved, it will have label [Approved] under the "Updated on" column.

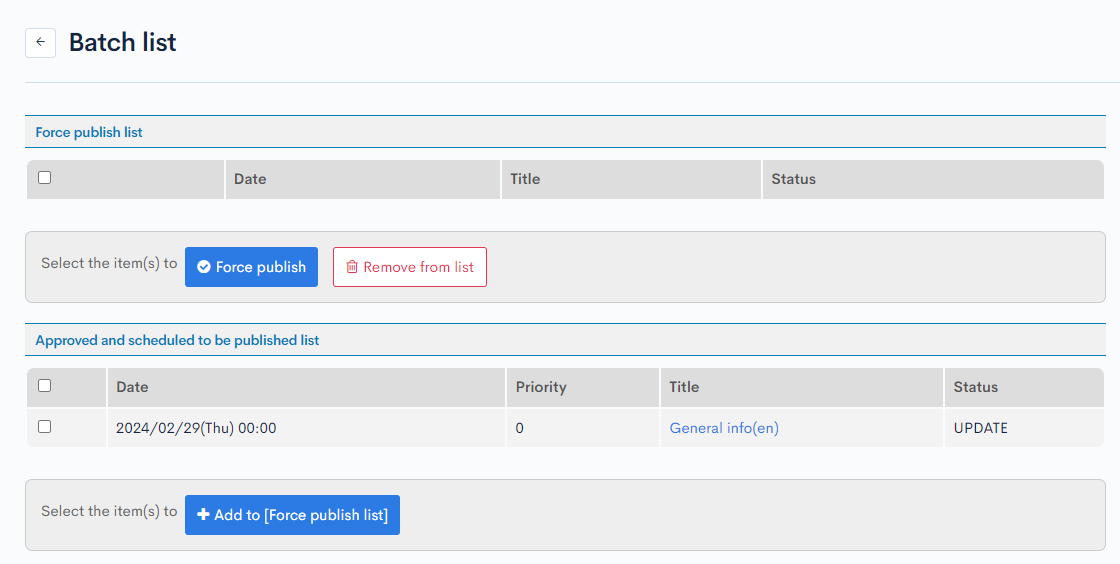
Clicking [>>Approved and scheduled to be published list] will take you to the batch list screen, which displays a list of all approved contents that are currently pending release.
More information
For more information on workflows and content update scheduling, see:
Support
If you have any other questions, please contact us or check out Our Slack Community.