Integrating with VAddy - Automated API endpoint diagnostics
The VAddy-integrated Kuroco system can perform periodic vulnerability diagnoses on all API endpoints configured via the back-end. This tutorial explains how to integrate VAddy into Kuroco.
Specifications on the official VAddy website are subject to changes without notice. Therefore, the steps in this tutorial may differ from the actual operation procedures on VAddy. For the latest information, refer to the VAddy Docs.
1. Sign up for VAddy
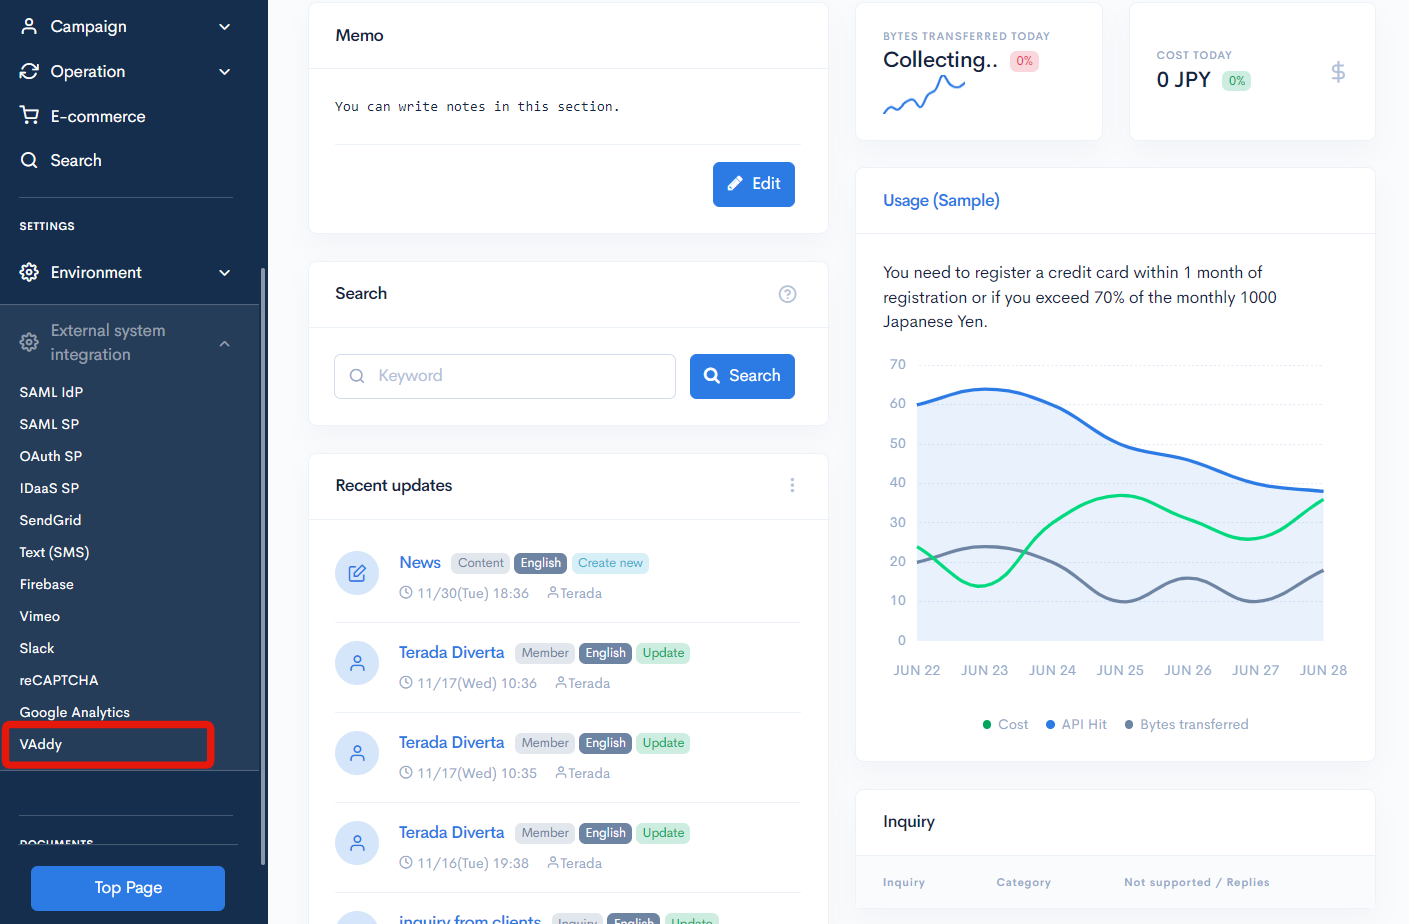
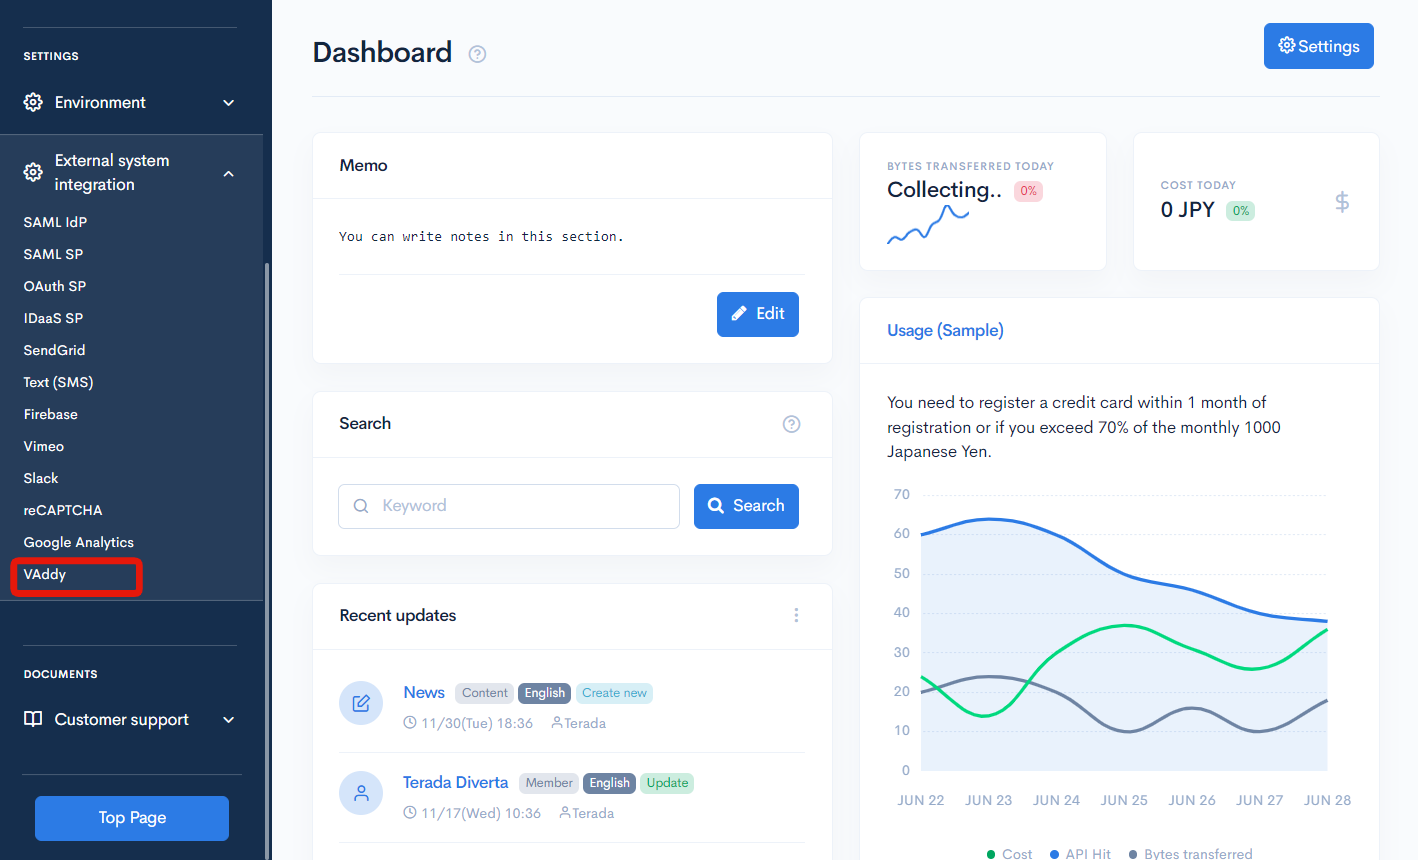
In the left sidebar menu, click [External system integration] -> [VAddy].
Click the [Click here to signup for VAddy] link at the top of the VAddy screen.
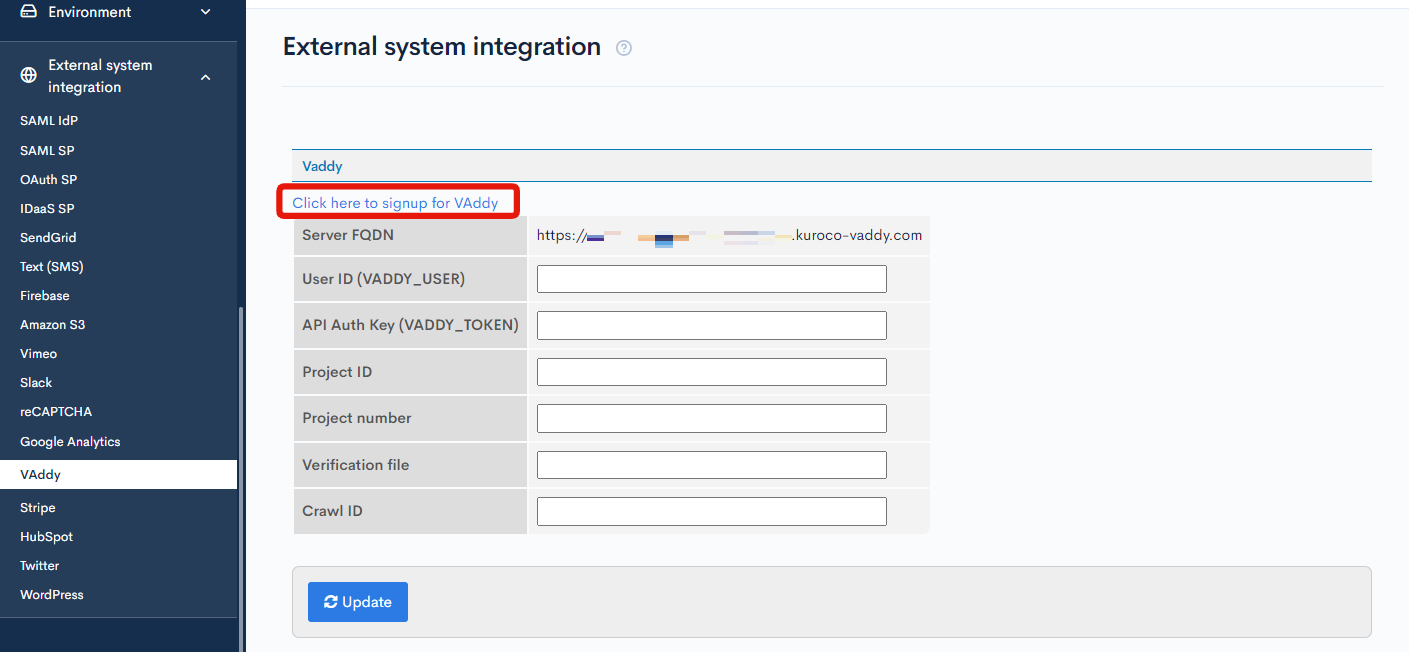
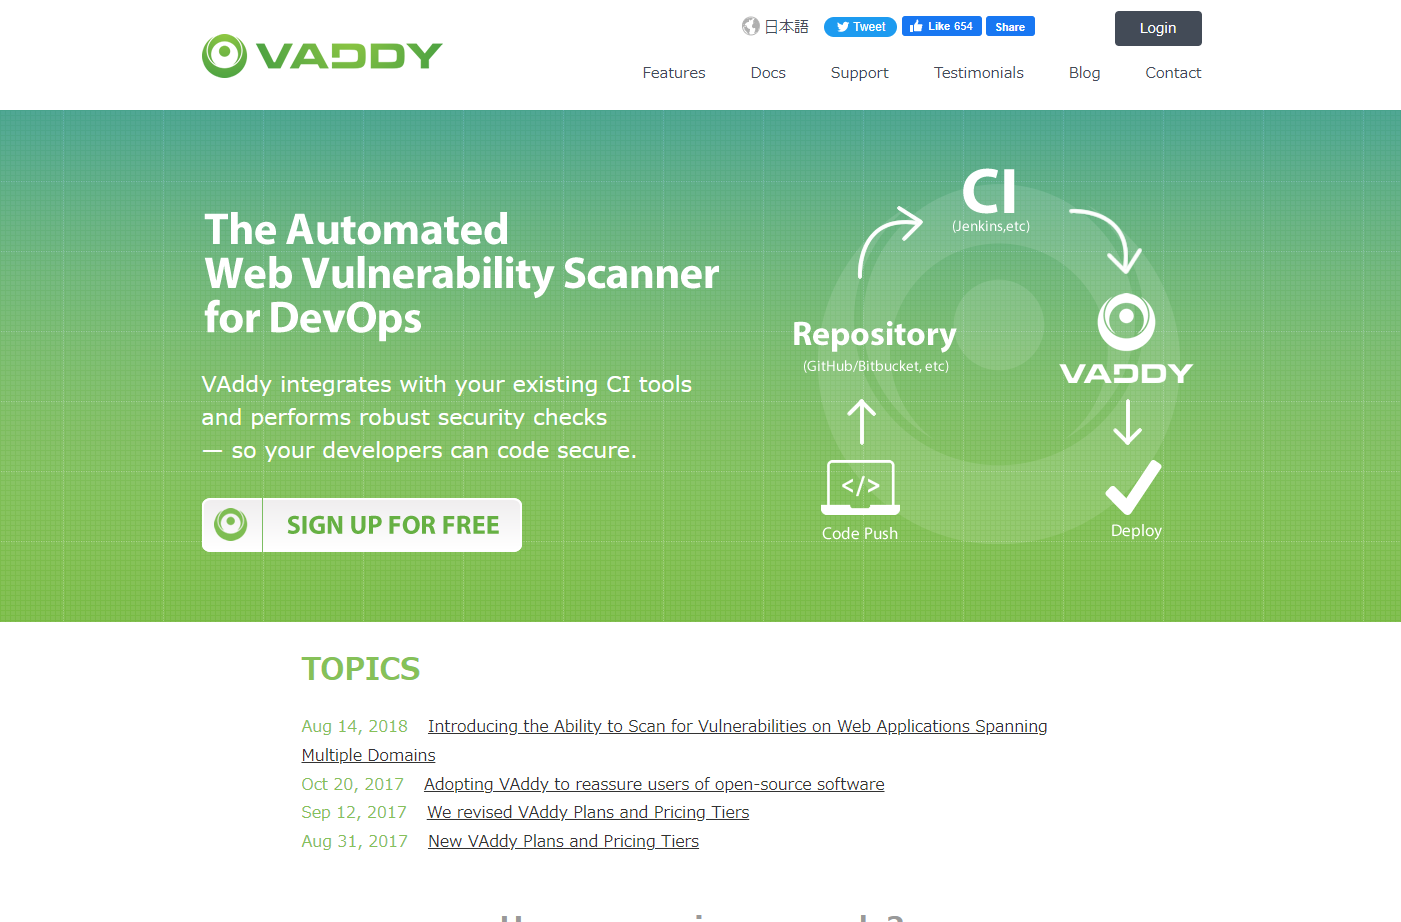
You will be redirected to the external VAddy signup page.
2. Create a project
VAddy does not allow you to scan the production server. To run a diagnosis, first verify the fully qualified domain name (FQDN) via the steps below. Click [External system integration] -> [VAddy] in the Kuroco sidebar menu.
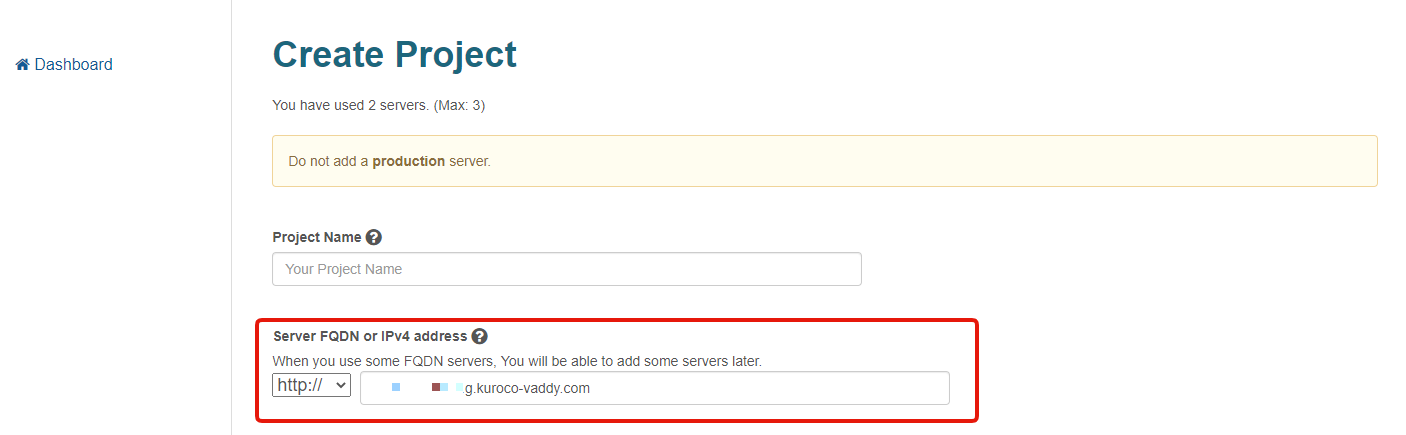
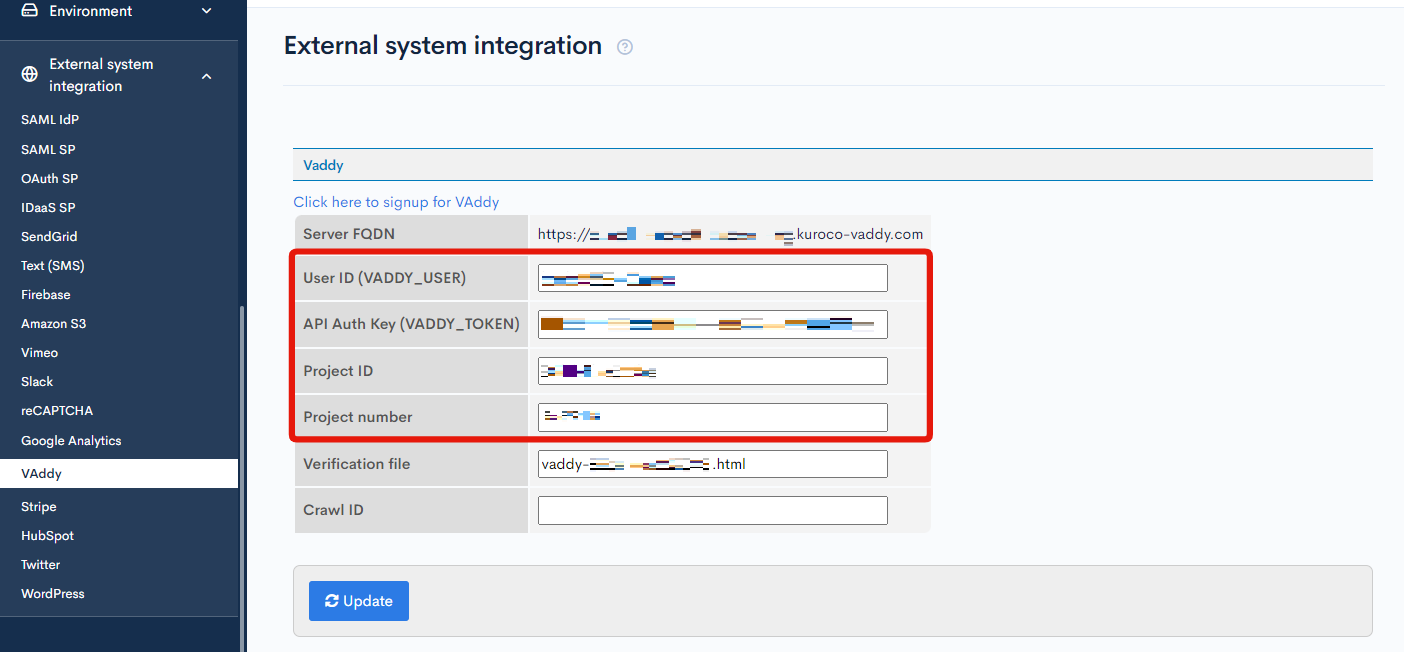
Verify that the URL displayed in the "Server FQDN" field contains the domain name kuroco-vaddy.com. This will be the FQDN used to run diagnoses.
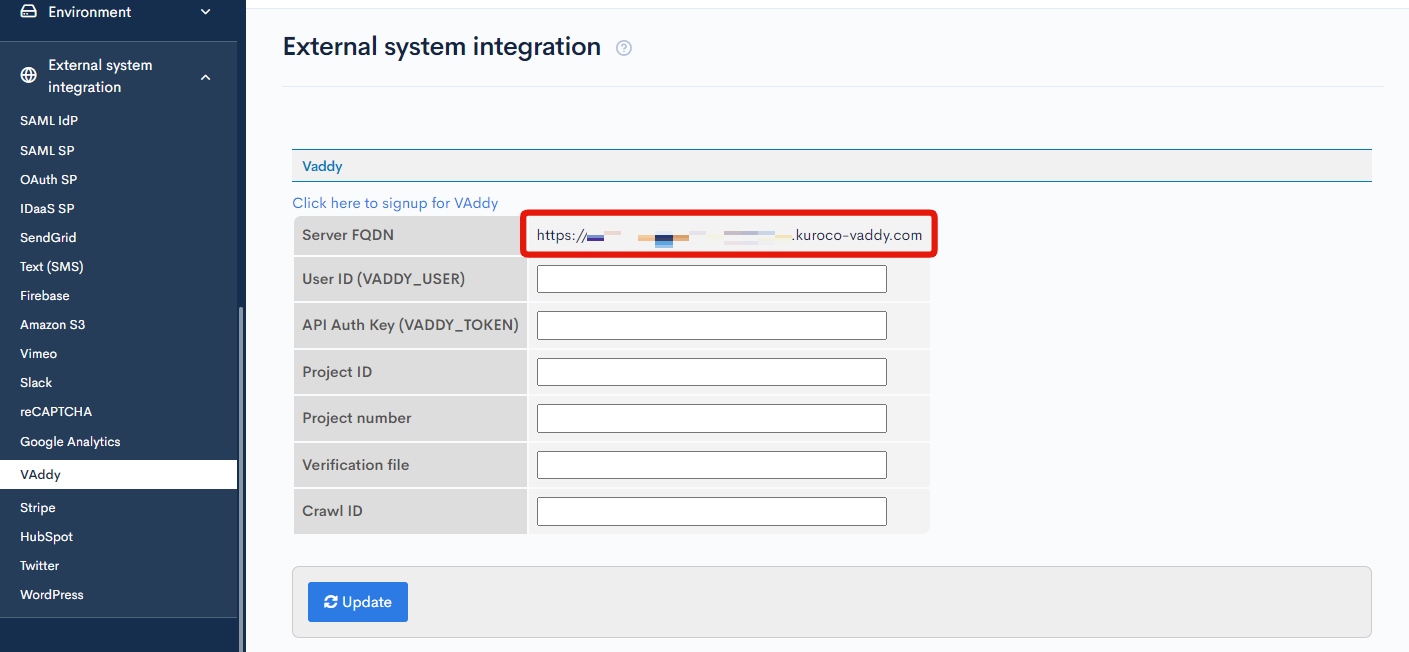
Create a project on the VAddy screen by following the VAddy Quickstart Guide. For the Server FQDN, specify https:// and enter the URL of the kuroco-vaddy.com domain you verified earlier.
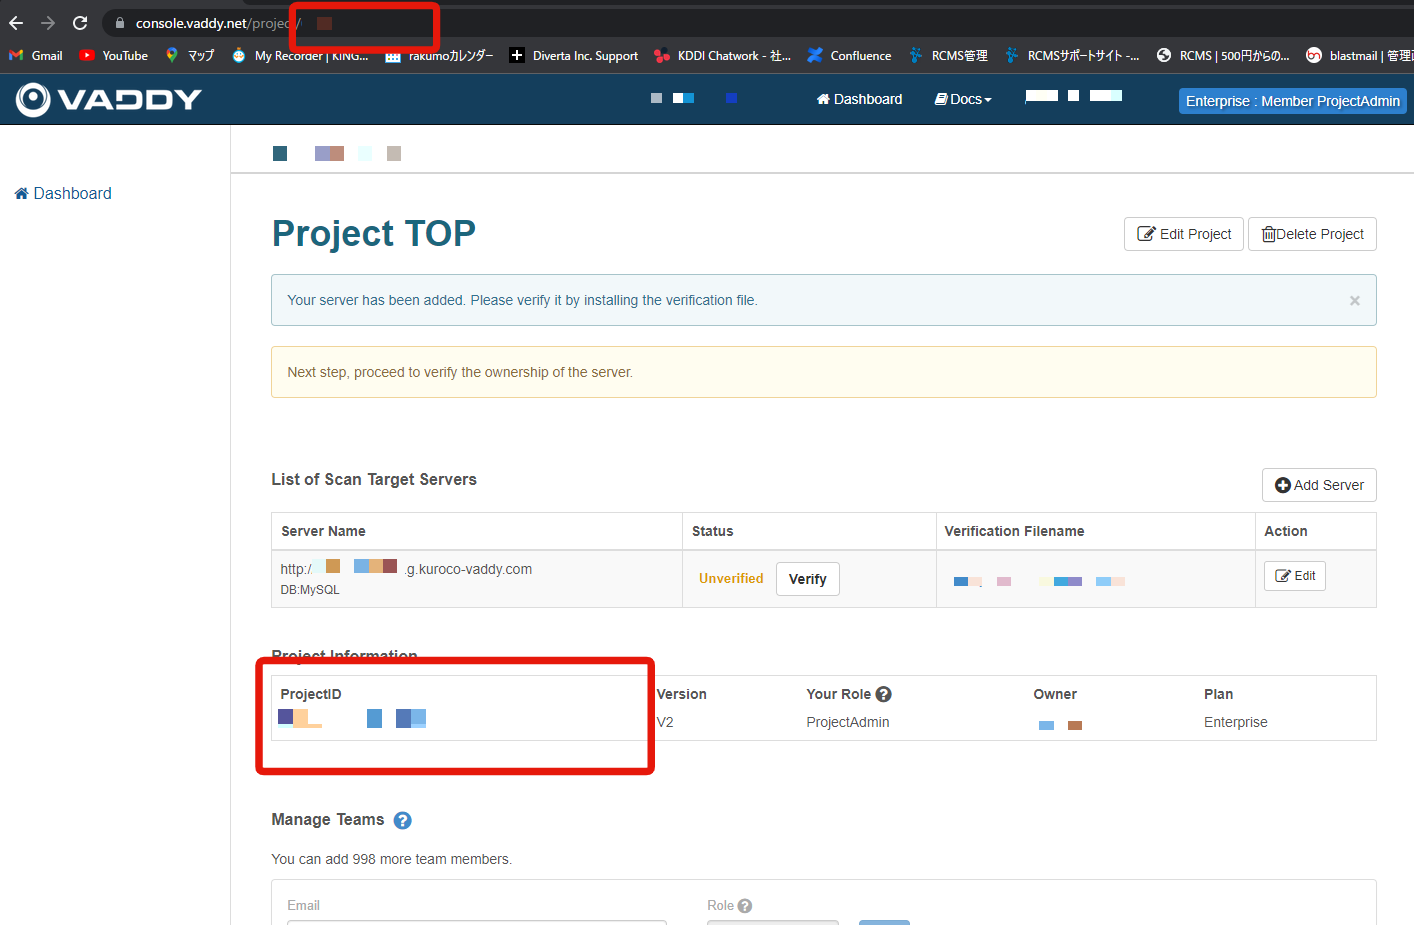
 After you have created the project, save the
 Project ID and Project number. The project number is the number at the end of the URL.
3. Verify the server ownership
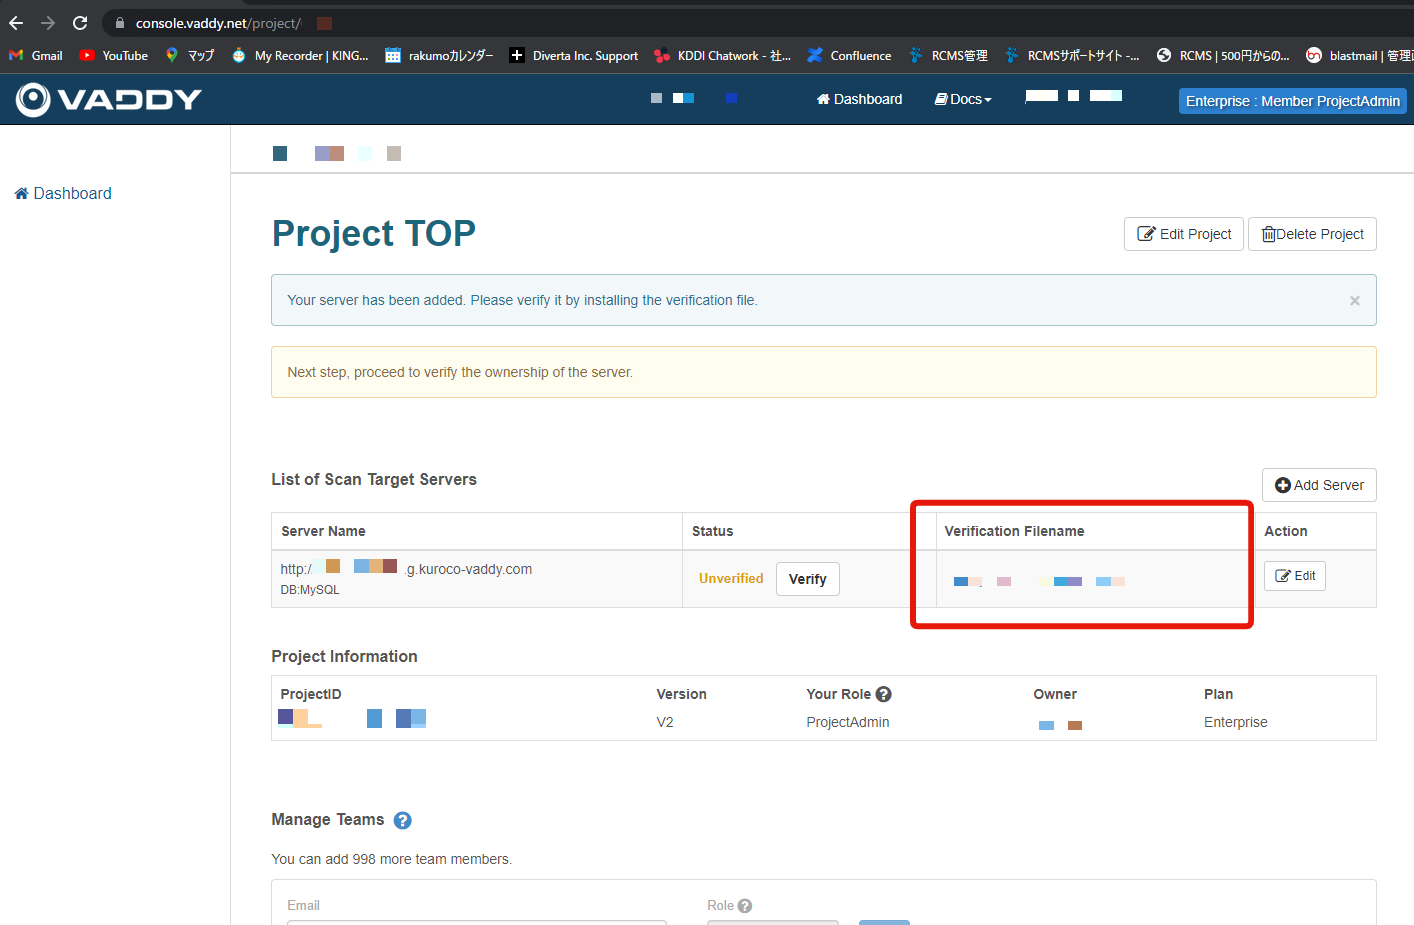
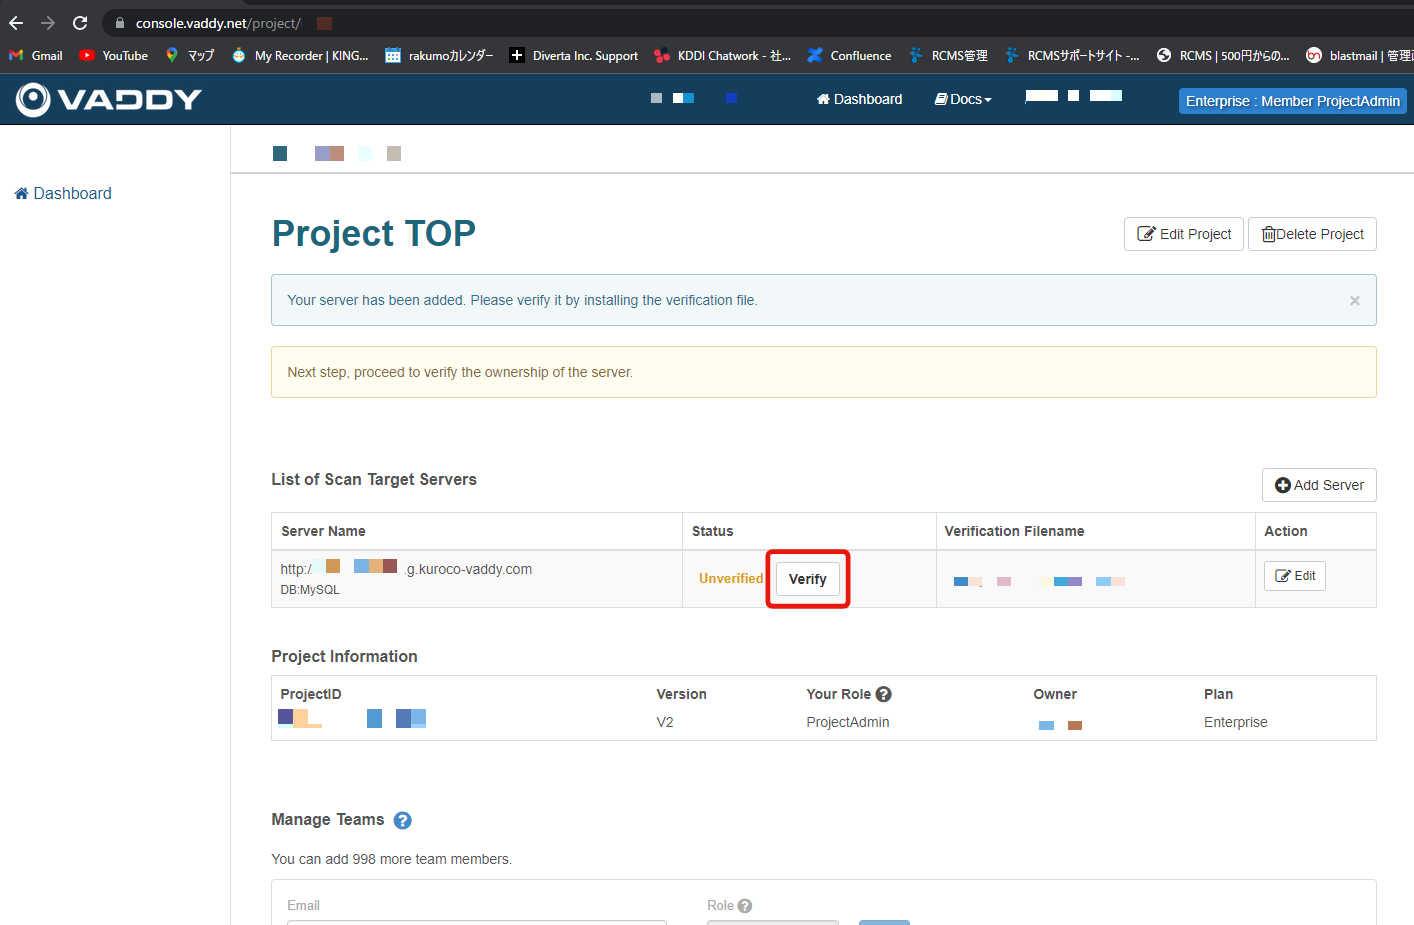
Next, configure the ownership verification file by entering its filename on Kuroco. On the VAddy project page, copy the name of the verification file.
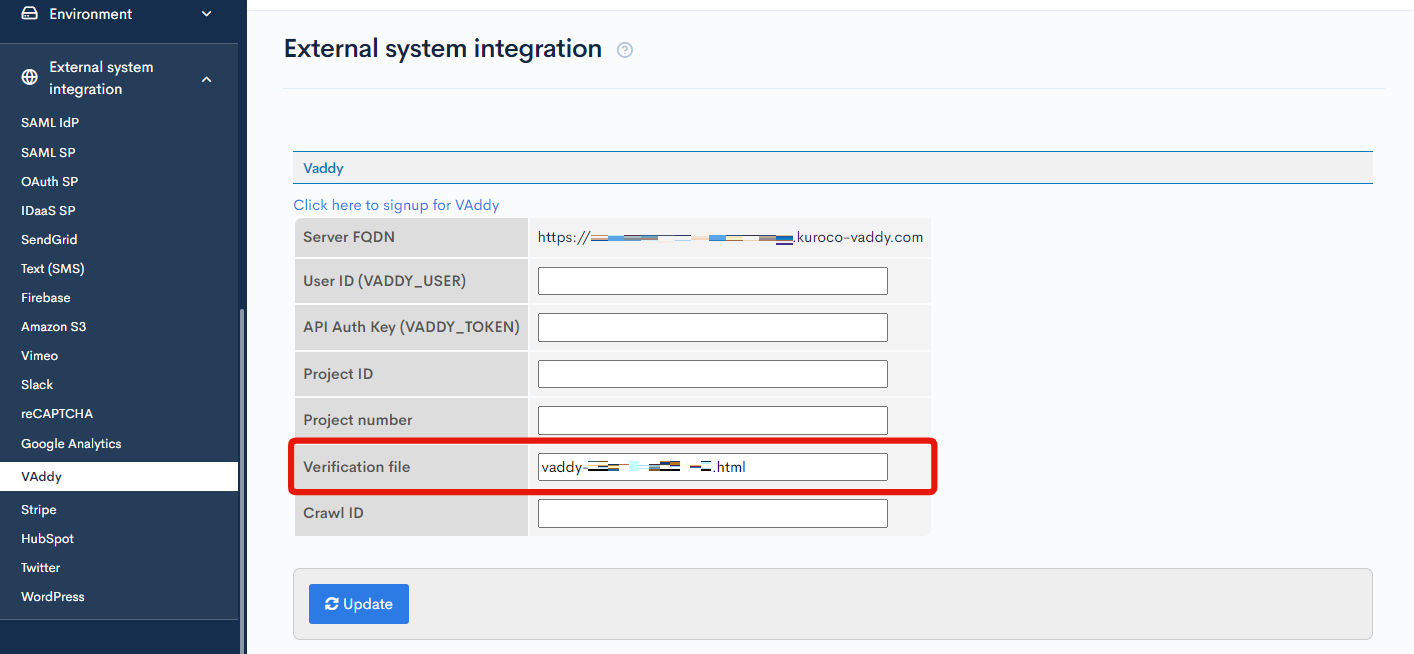
 Input the filename (starting in
 vaddy- and ending in .html) on the Kuroco management screen and click [Update].
After entering the filename, go to the VAddy project top page and click [Verify].
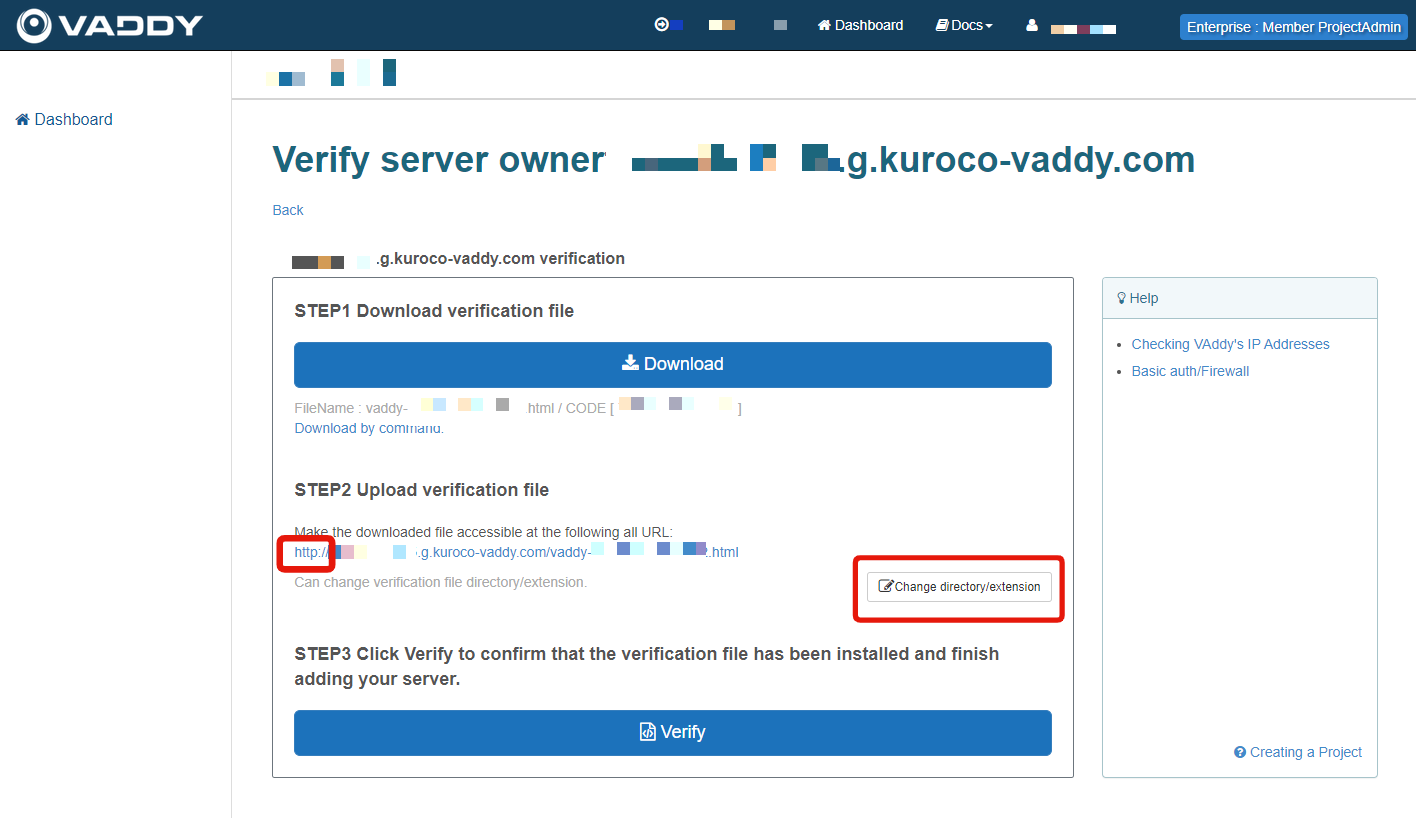
You will be redirected to the verify server owner page. Change the verification URL from http to https by clicking [Change directory/extension].
Click the [Verify] button.
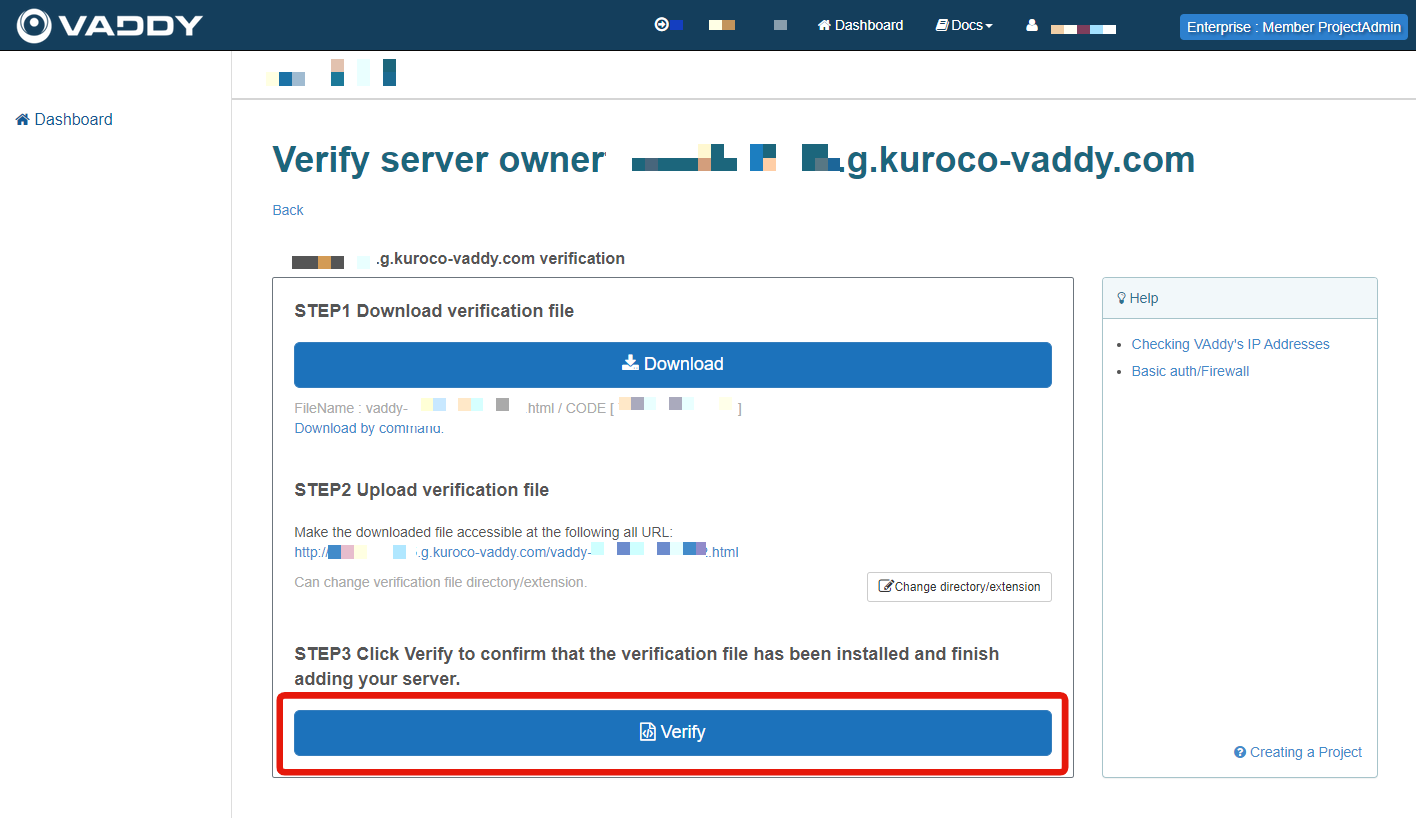
Clicking the owner verification URL directly will give you a 403 error. Instead, VAddy will access the URL and perform the authentication on their end.
4. Get the API Auth Key
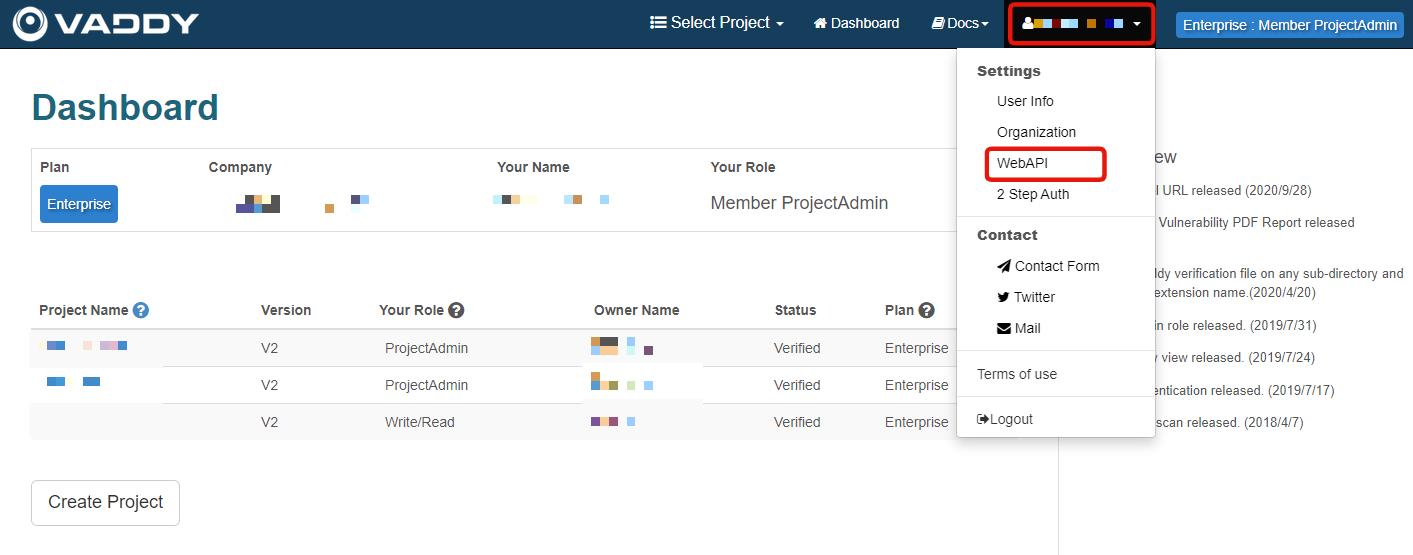
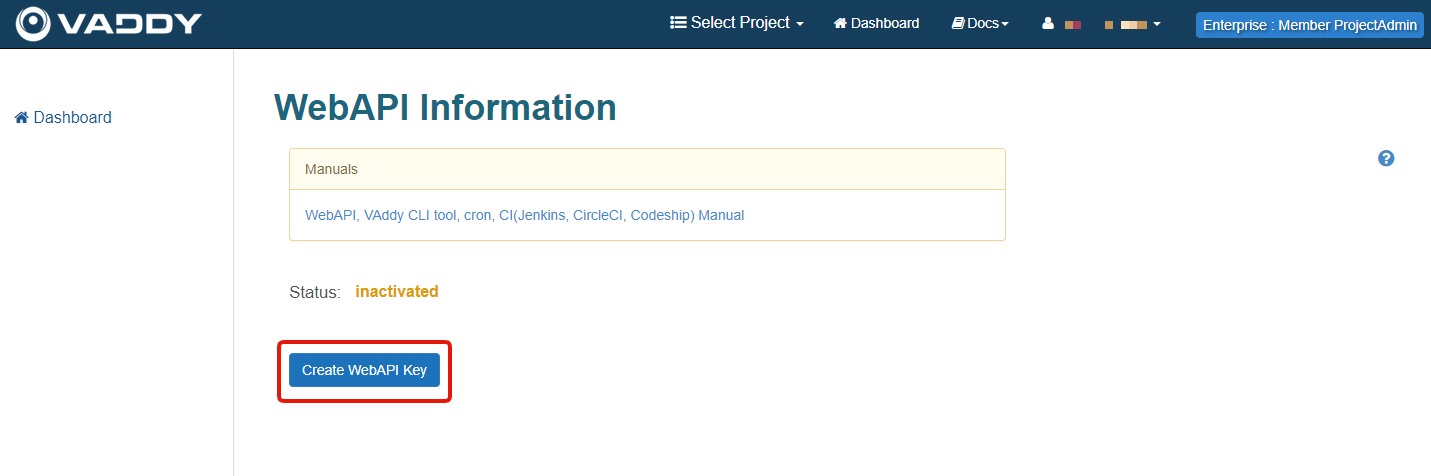
Go to the VAddy WebAPI page by clicking [Your username] -> [WebAPI] in the top menu.
Click [Create WebAPI Key].
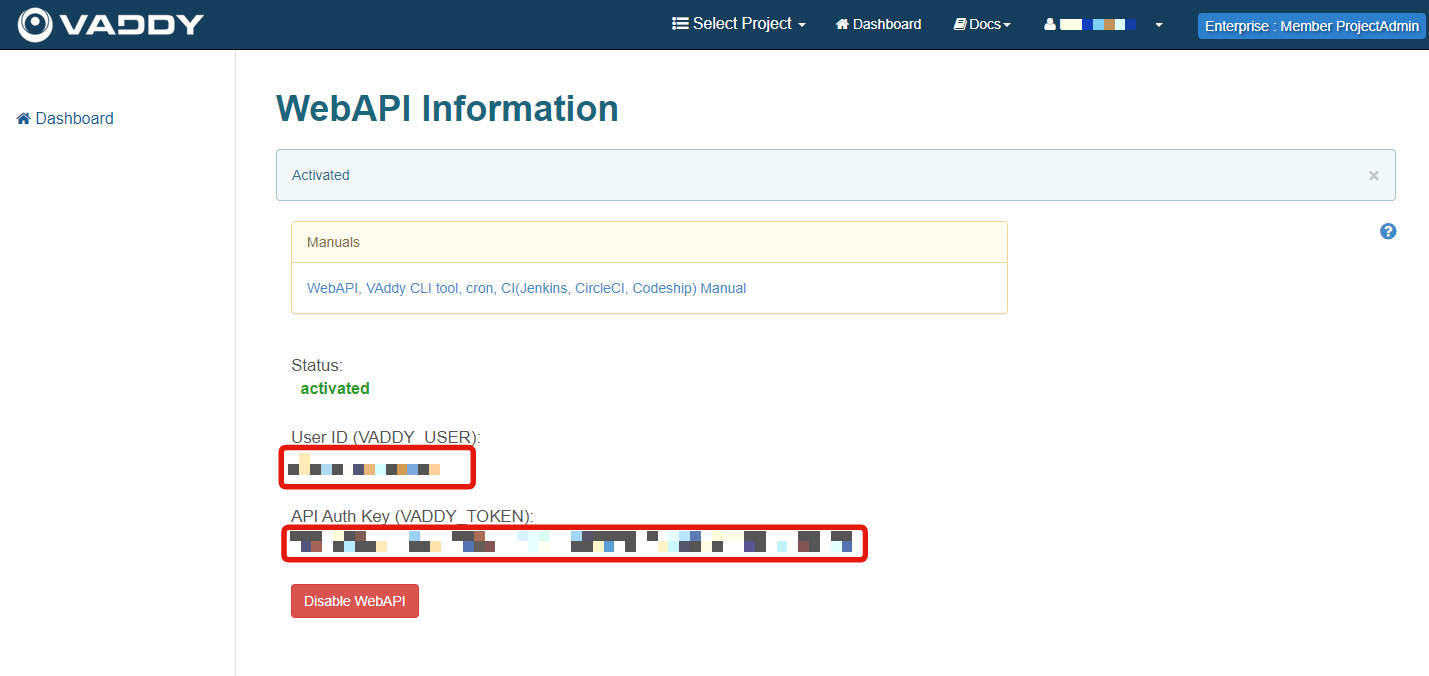
 Copy your
 User ID (VADDY_USER) and API Auth Key (VADDY_TOKEN).
That is everything for the VAddy website. Since the Kuroco system automatically registers endpoints for the automated vulnerability diagnosis, you do not need to perform Step 2: Crawling manually.
5. Configure the relevant Kuroco settings
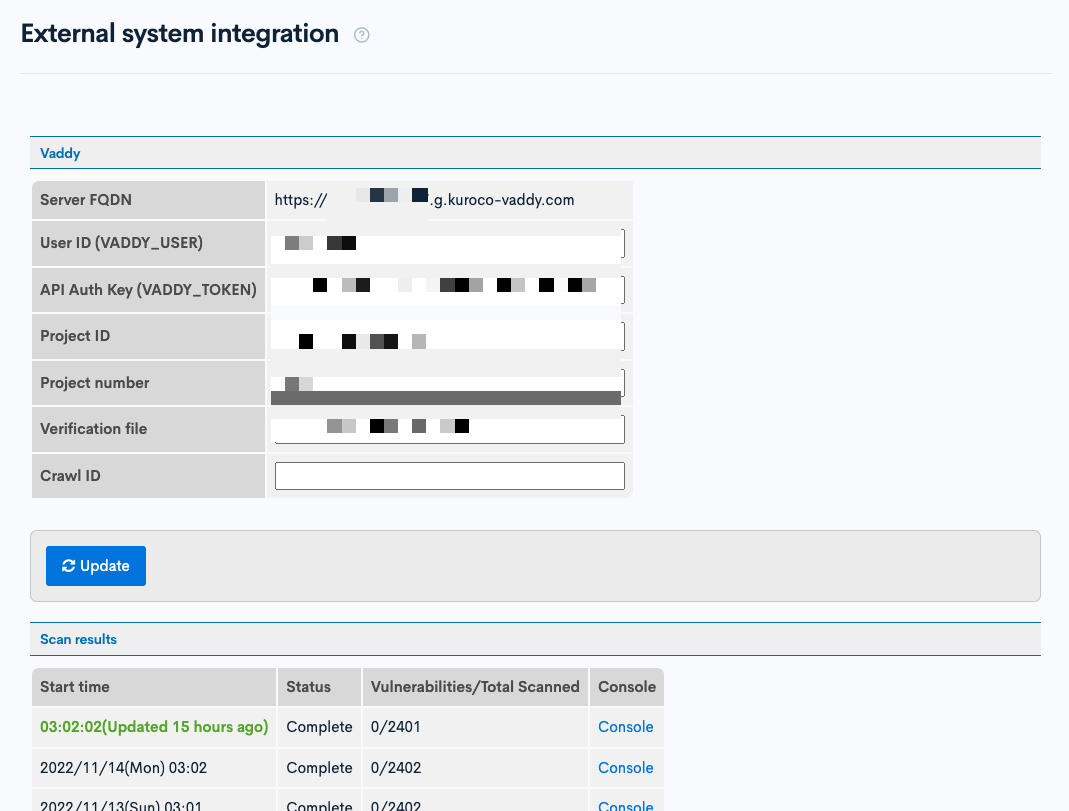
In Kuroco's left sidebar menu, click [External system integration] -> [VAddy].
 Enter the following information which you obtained from 2. Create a project and 4. Get the API Auth Key:
- User ID (VADDY_USER)
- API Auth Key (VADDY_TOKEN)
- Project ID
- Project number
Then, click [Update]
You have now successfully integrated VAddy into Kuroco. The system will run periodic, automated diagnoses every day at 18:00 UTC to monitor the vulnerability of your Kuroco site.
Related documents
Support
If you have any other questions, please contact us or check out Our Slack Community.