Integrating and setting up subscription billing with Stripe
Overview
This tutorial explains how to integrate Stripe into Kuroco and set up recurrent billing for a fixed-price product.
What you'll learn
The flow for the whole setup process is divided into three parts:
Stripe integration
First, you will need to obtain the API keys and webhook from Stripe and enter them into you Kuroco admin panel.
Obtaining API keys from Stripe
In your browser, go to the Stripe dashboard and select your mode ("Developer" or "Test mode") in the upper right corner.
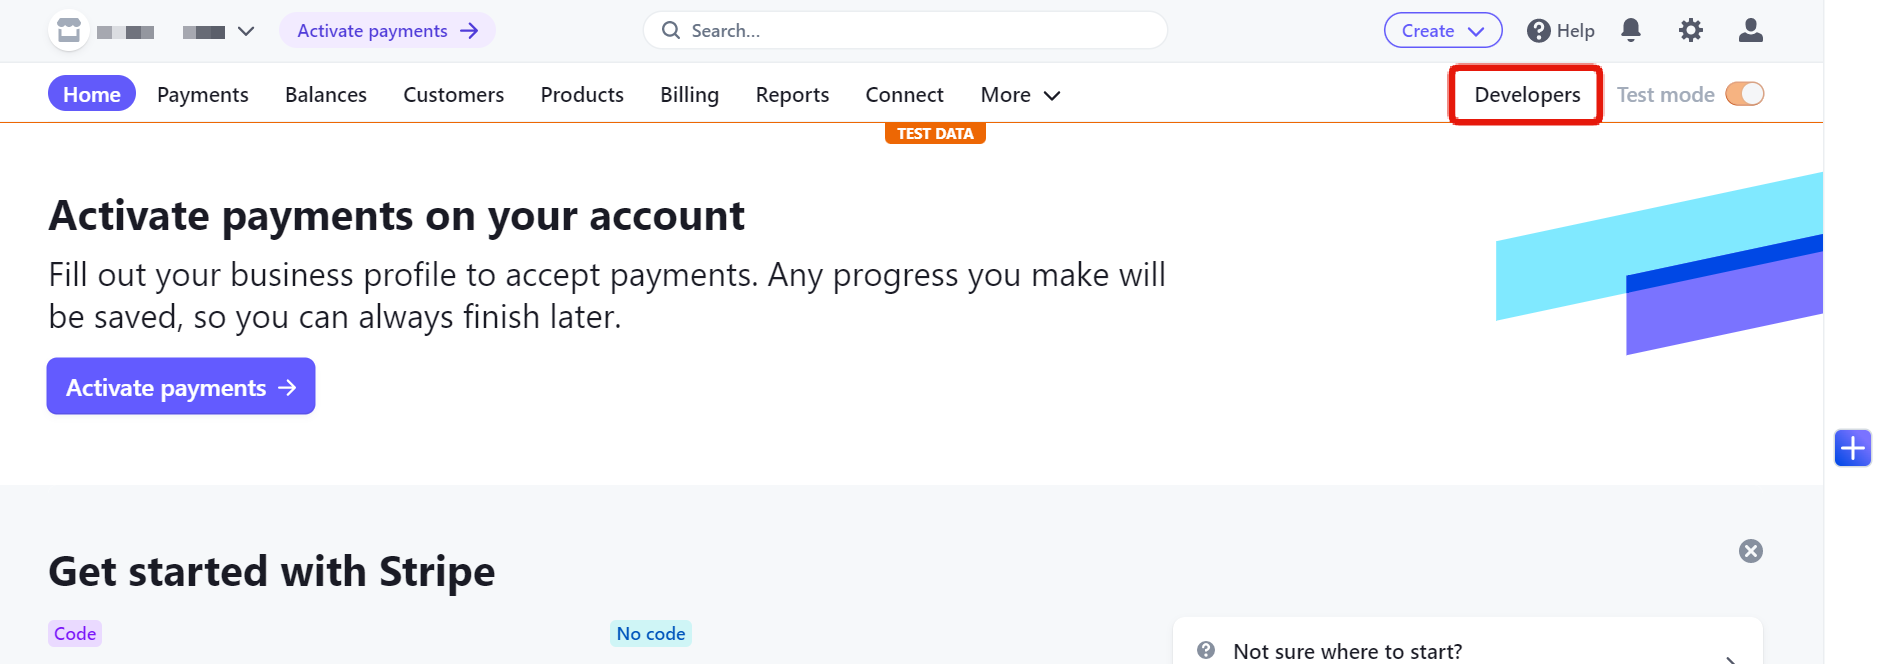
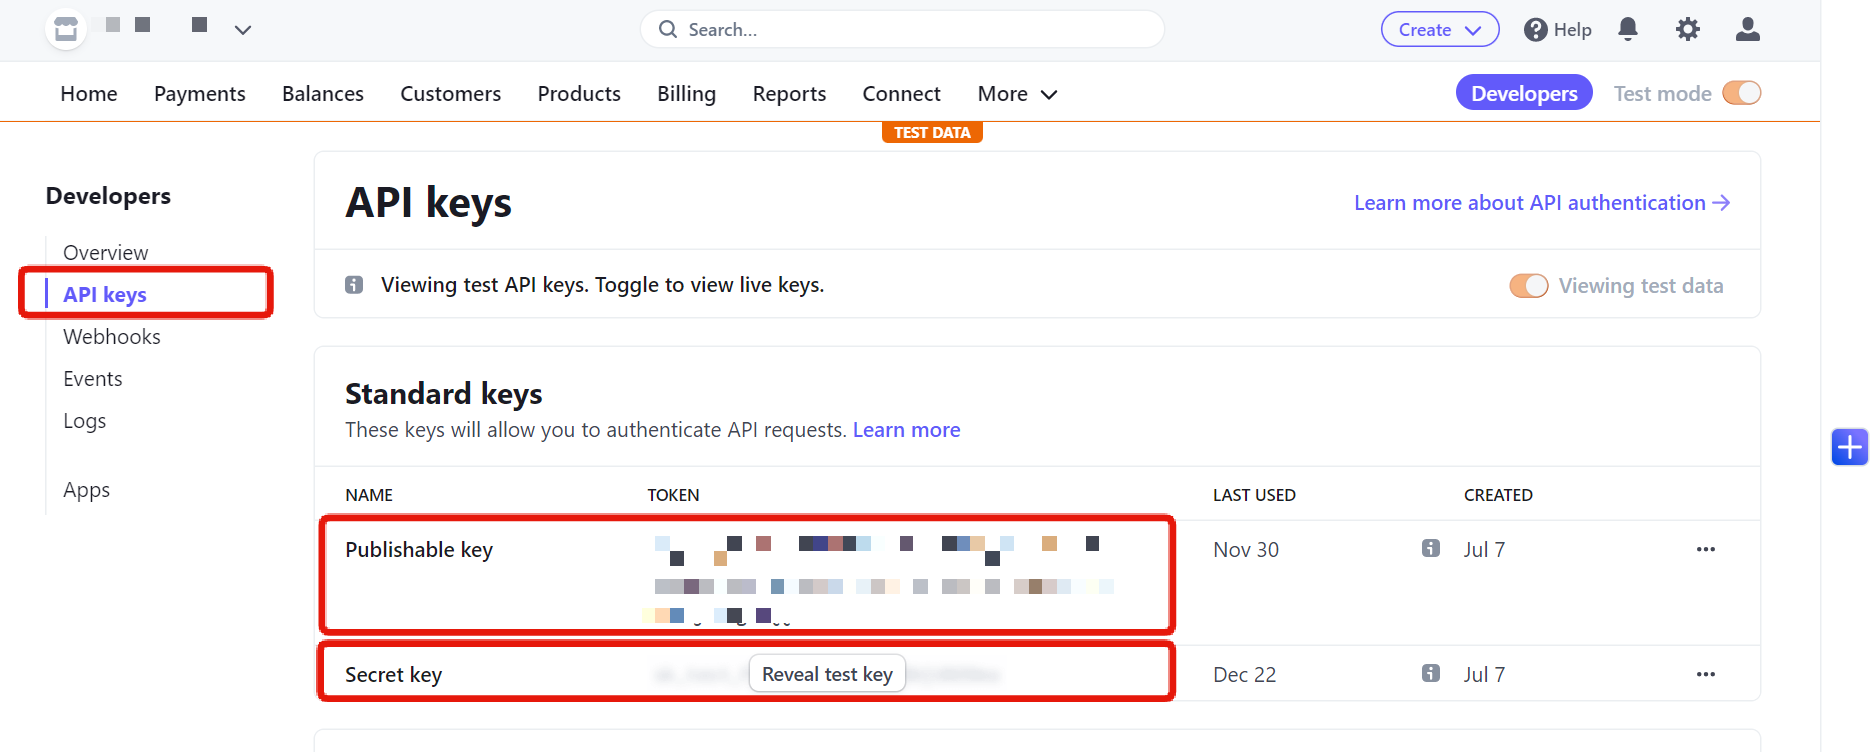
On the next page, select [API keys] in the left sidebar menu.
You will see the [Publishable key] and the [Secret key]. Copy them for later use.
It is important to select the correct mode for your purposes ("Developer" or "Test mode") when performing your integration, as they have different API keys. If you need to switch modes, make sure to copy the keys again and update them in your Kuroco admin panel.
Creating your webhook in Stripe
Next, select [Webhooks] in the side menu. On the Webhooks page, click [Add an endpoint].
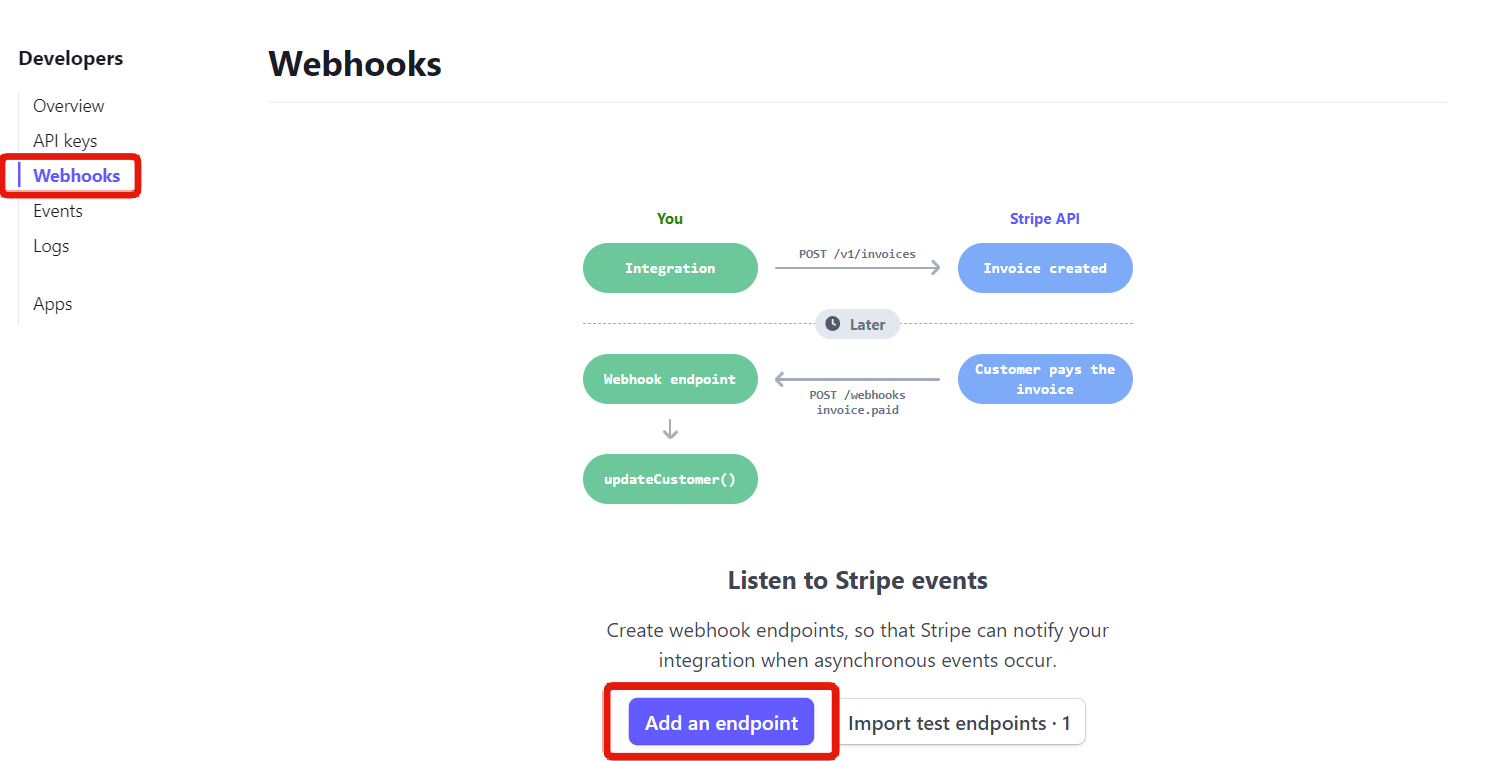
You will be redirected to the webhook configuration page, where you will add a webhook that allows Kuroco to determine if the Stripe payment was successful.

Set up your webhook as follows:
| Field | Value |
|---|---|
| Endpoint URL | Enter the endpoint URL found on the Kuroco Stripe screen. |
| Description | Enter a description for your webhook. |
| Listen to | Select [Events on your account]. |
| Version | Select the latest current version of your account. |
| Events | Click [+ Select events] and select the following events from the dropdown list:
|
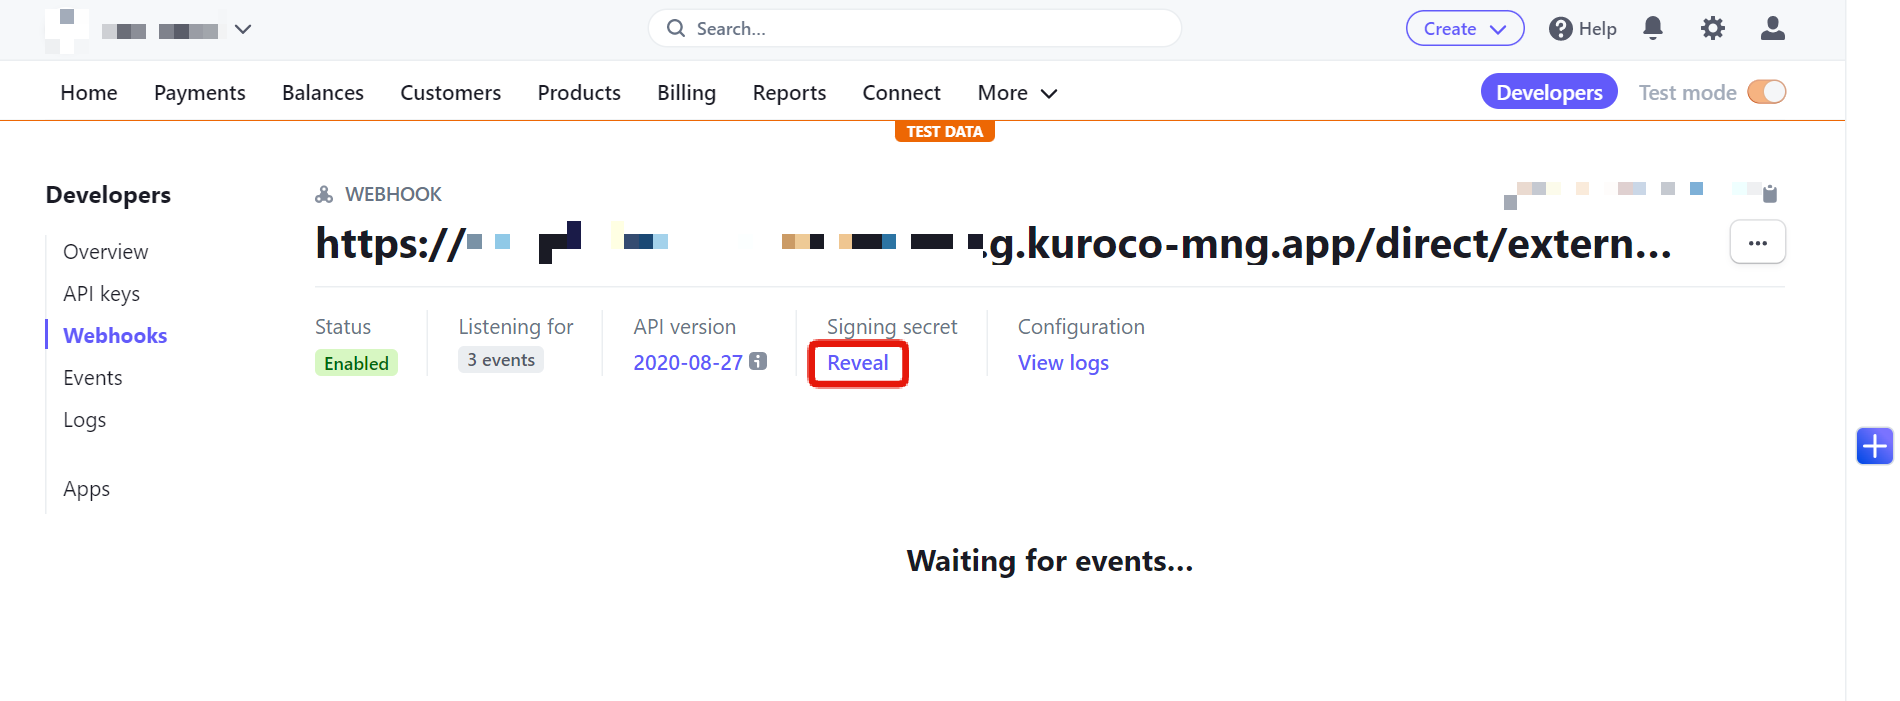
When you are done, click [Add endpoint] to add the new endpoint to your Stripe dashboard.
After you have added your endpoint, click [Reveal signing secret] to see the webhook secret. Copy it for later use.
Integrating Stripe into Kuroco
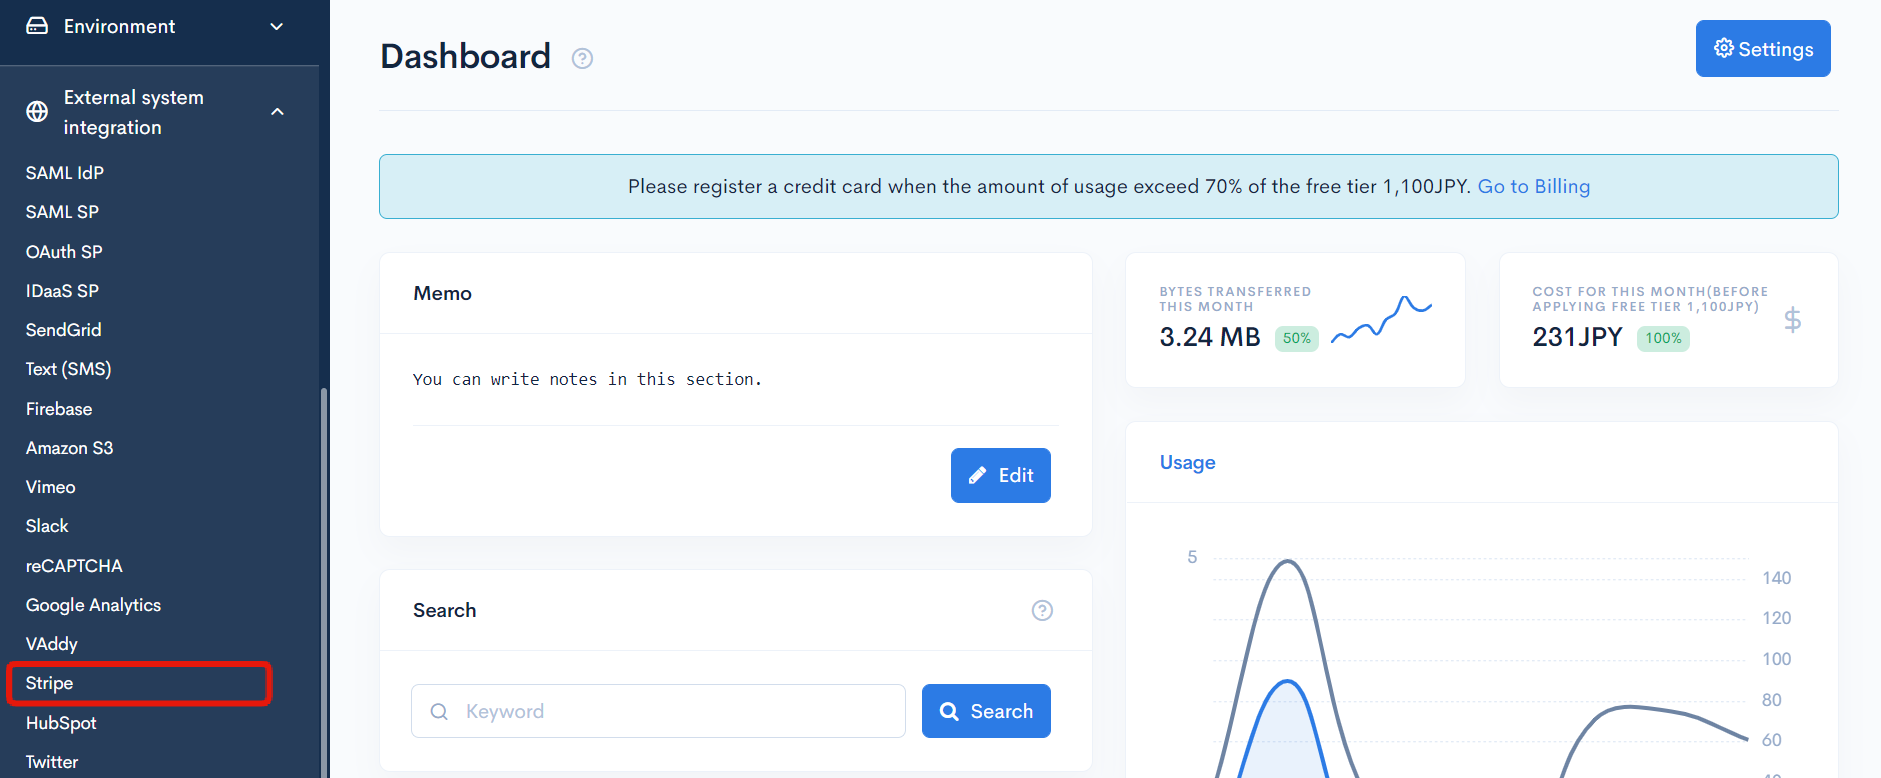
In Kuroco's left sidebar menu, under “SETTINGS”, select [External system integration] -> [Stripe].
On the Stripe integration screen, enter the keys you copied from Stripe UI in the corresponding fields.
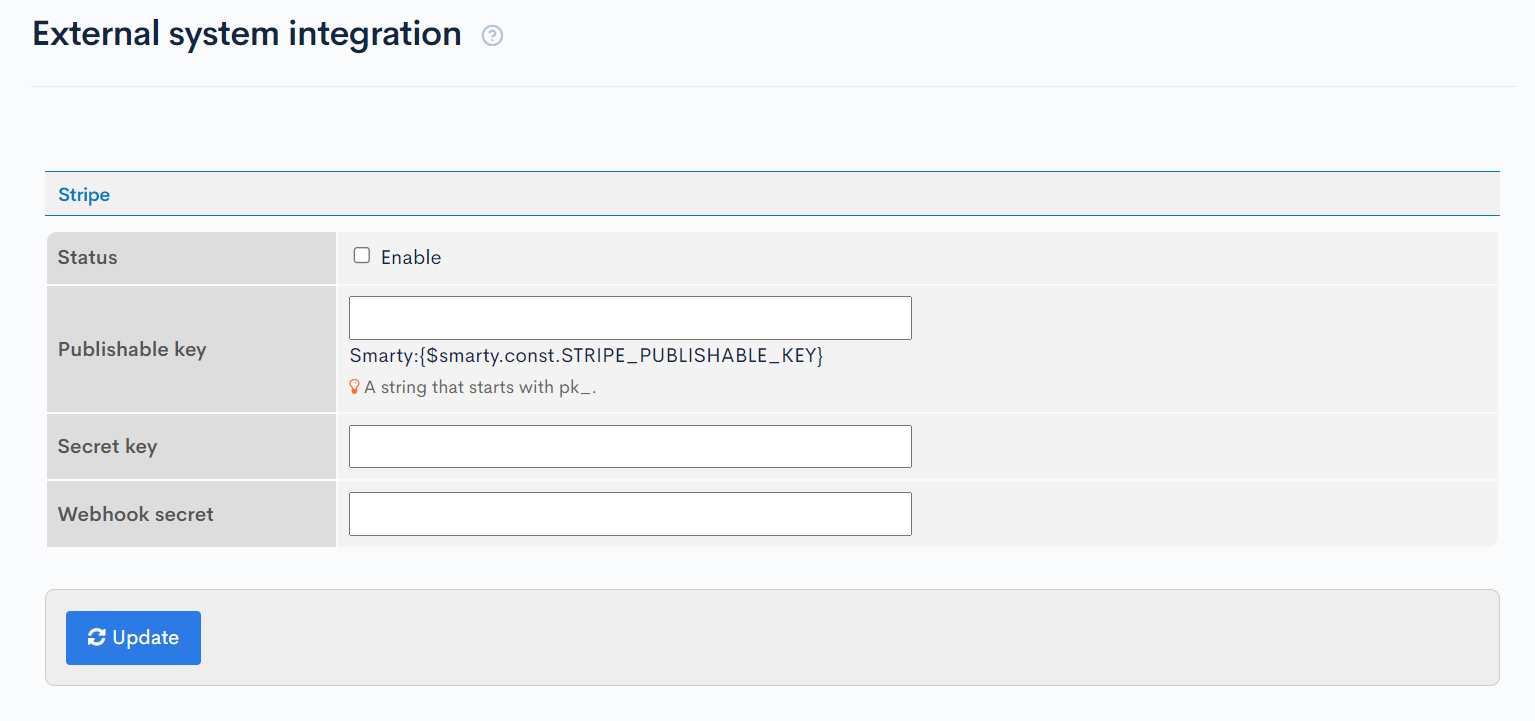
| Field | Value |
|---|---|
| Status | Select "Enable". |
| Publishable key | Enter the publishable key you copied. |
| Secret key | Enter the secret key you copied. |
| Webhook secret | Enter the signing secret you copied. |
When you are done, click [Update] to apply these changes.
Adding your product(s)
The next step is to add your product(s) in Stripe and in Kuroco.
Adding Products with Stripe
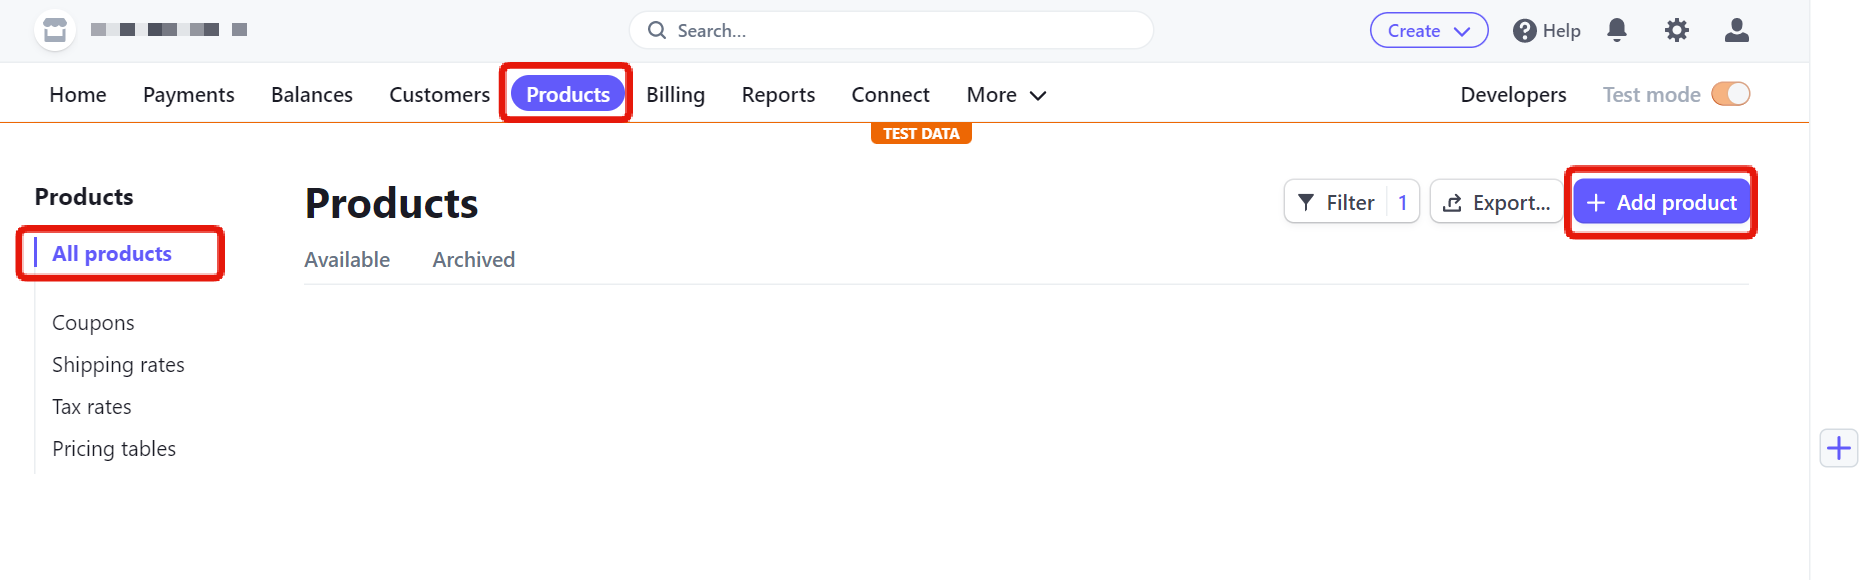
In the top bar menu, click [Products].
Then, select [All products] from the left sidebar.
On the Products page, click [+ Add a product].
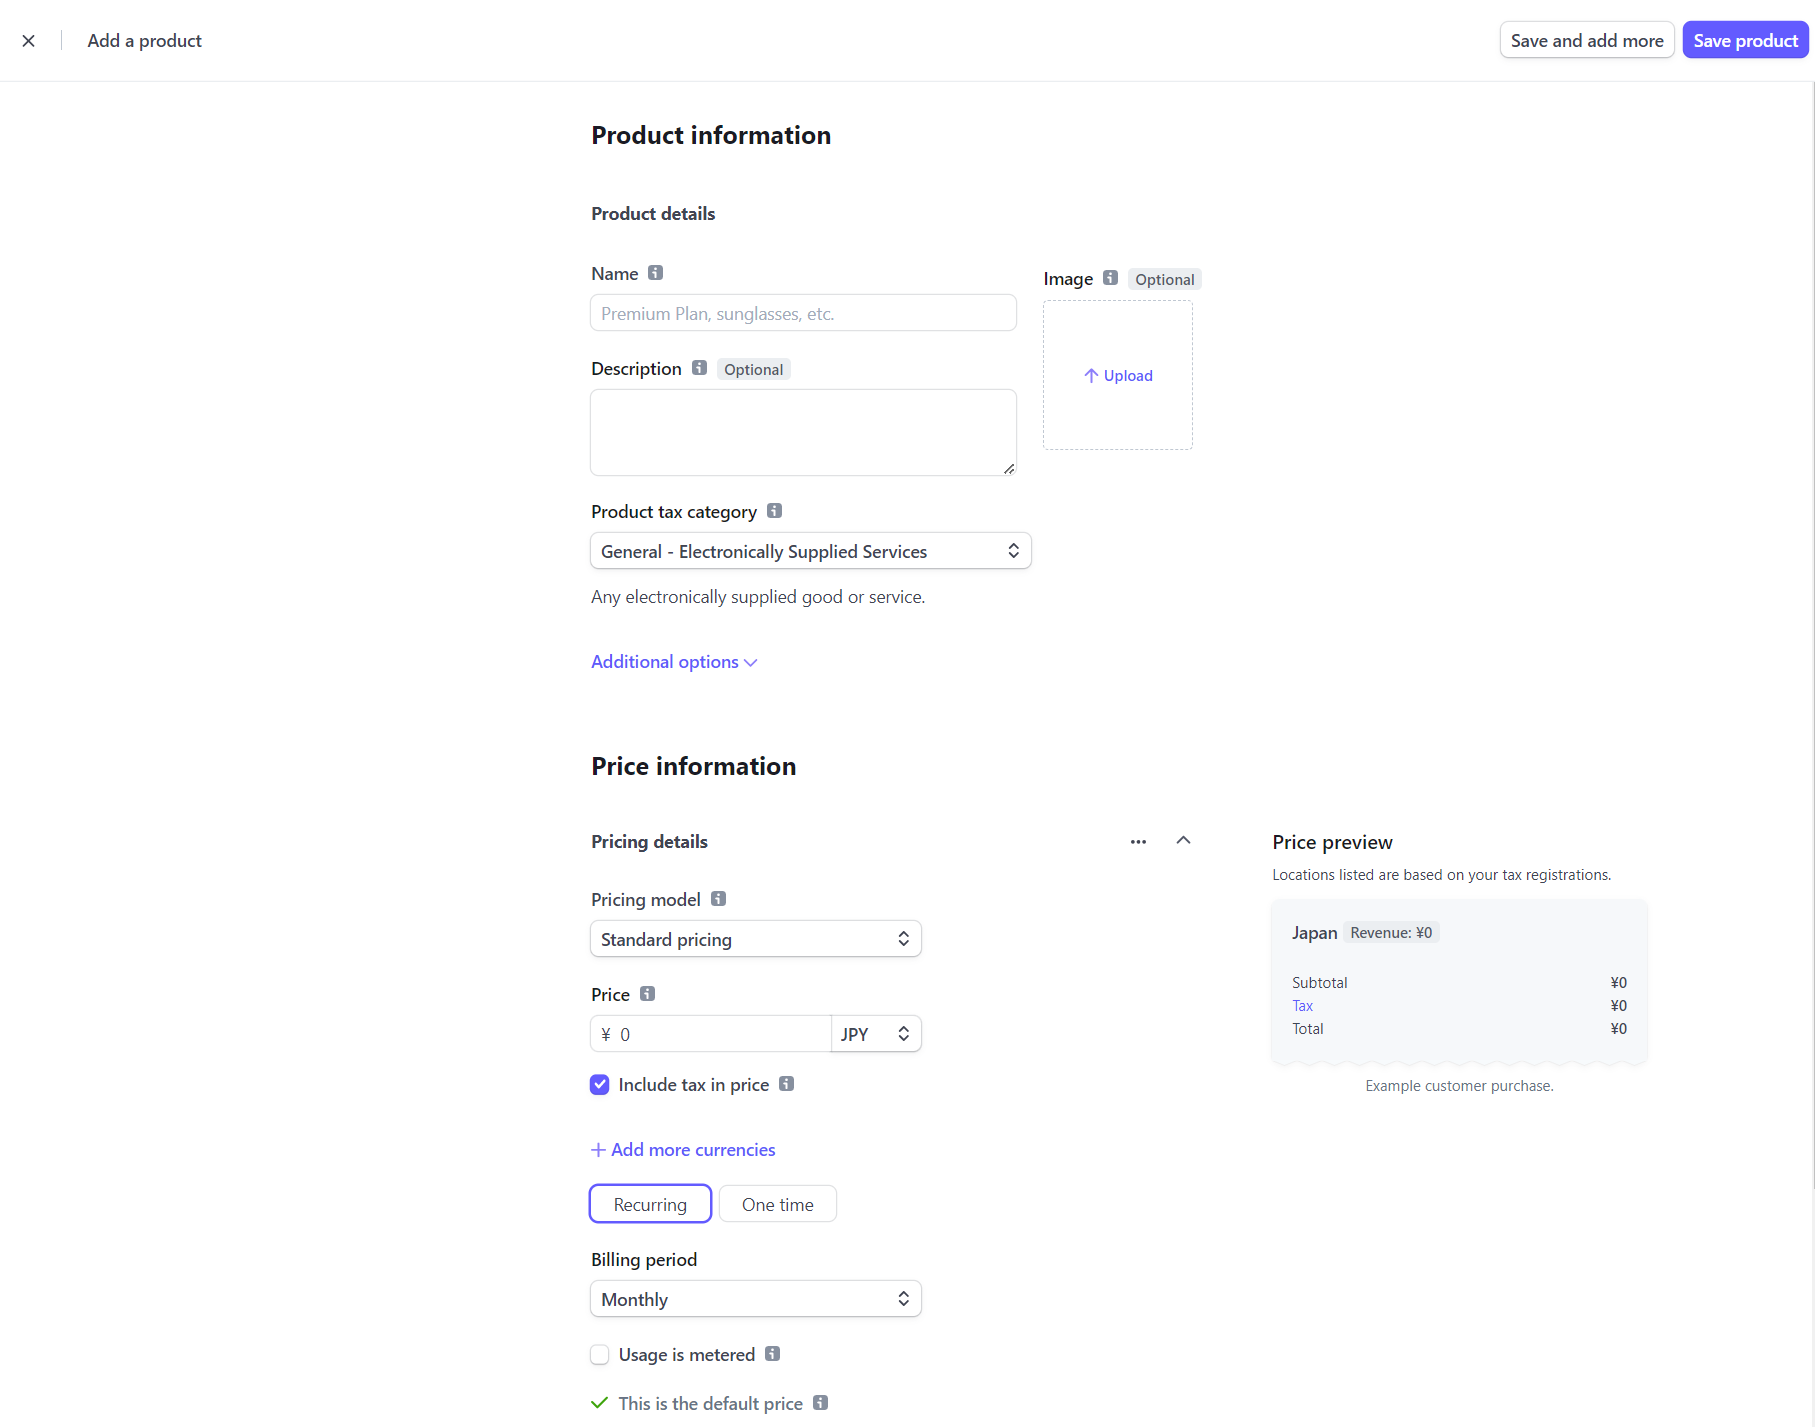
You will be redirected to the Add product page. Fill in the details of your product as follows. For more information, refer to the Stripe docs: Manage products and prices.
| Field | Description |
|---|---|
| Name | Name of the product. |
| Description | Brief information of the product. |
| Pricing | Select [Standard pricing]. |
| Recurring | Select [Recurring]. |
| Billing period | Select your billing period (interval of time between each statement). |
When you are done, click [Save product] to add your product to the Stripe database.
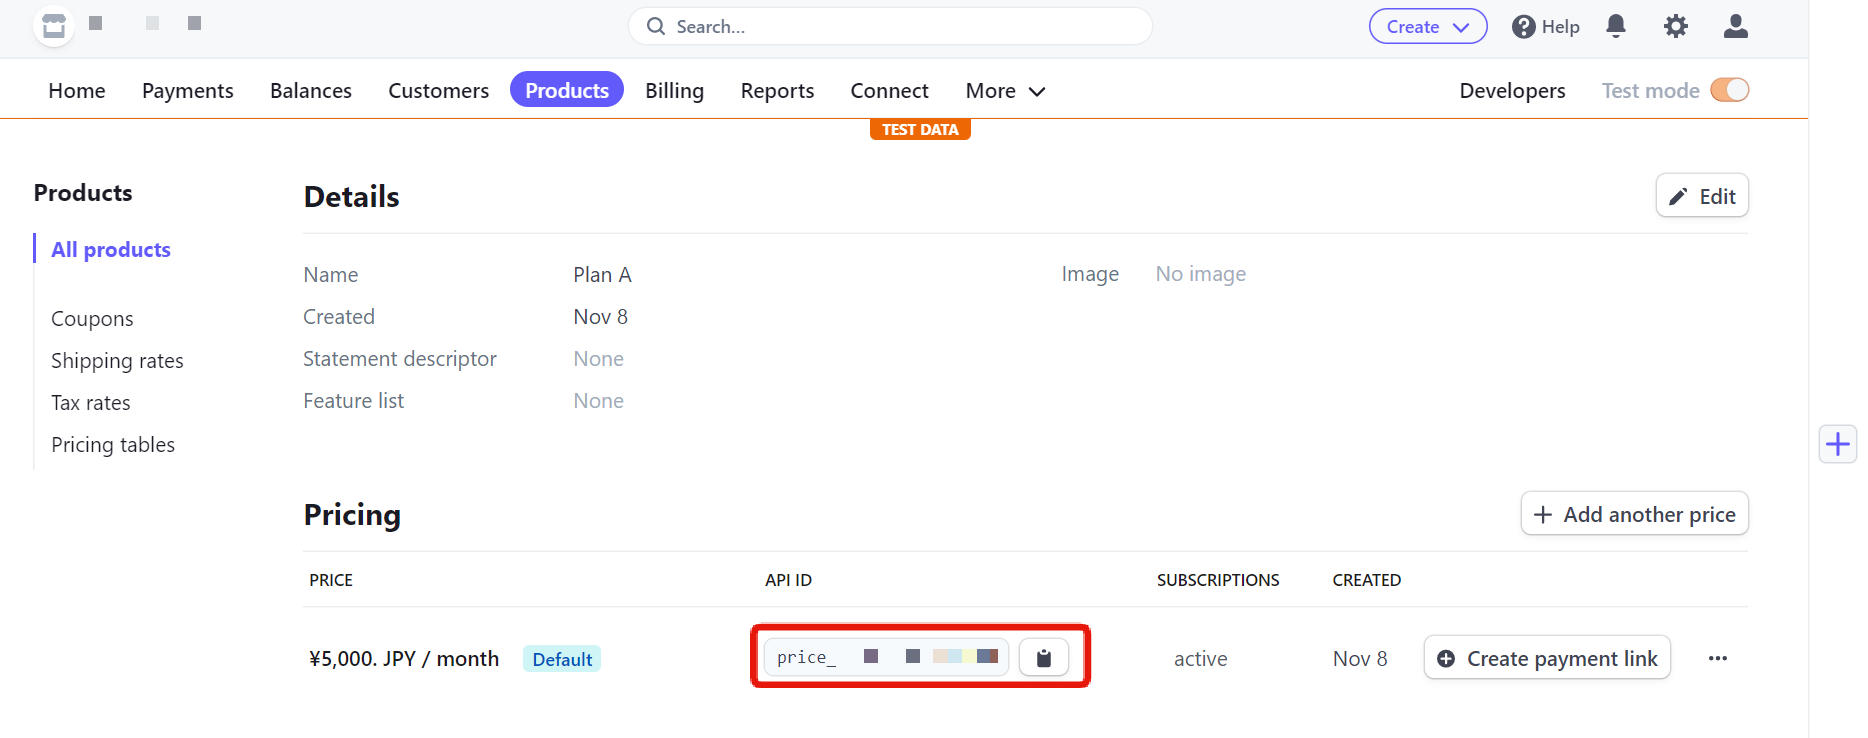
You will be redirected to the Details page. Under "Pricing", find the API ID and copy it for later use.
To add another product, repeat the above steps under "Adding your product".
Link Kuroco groups to Stripe products
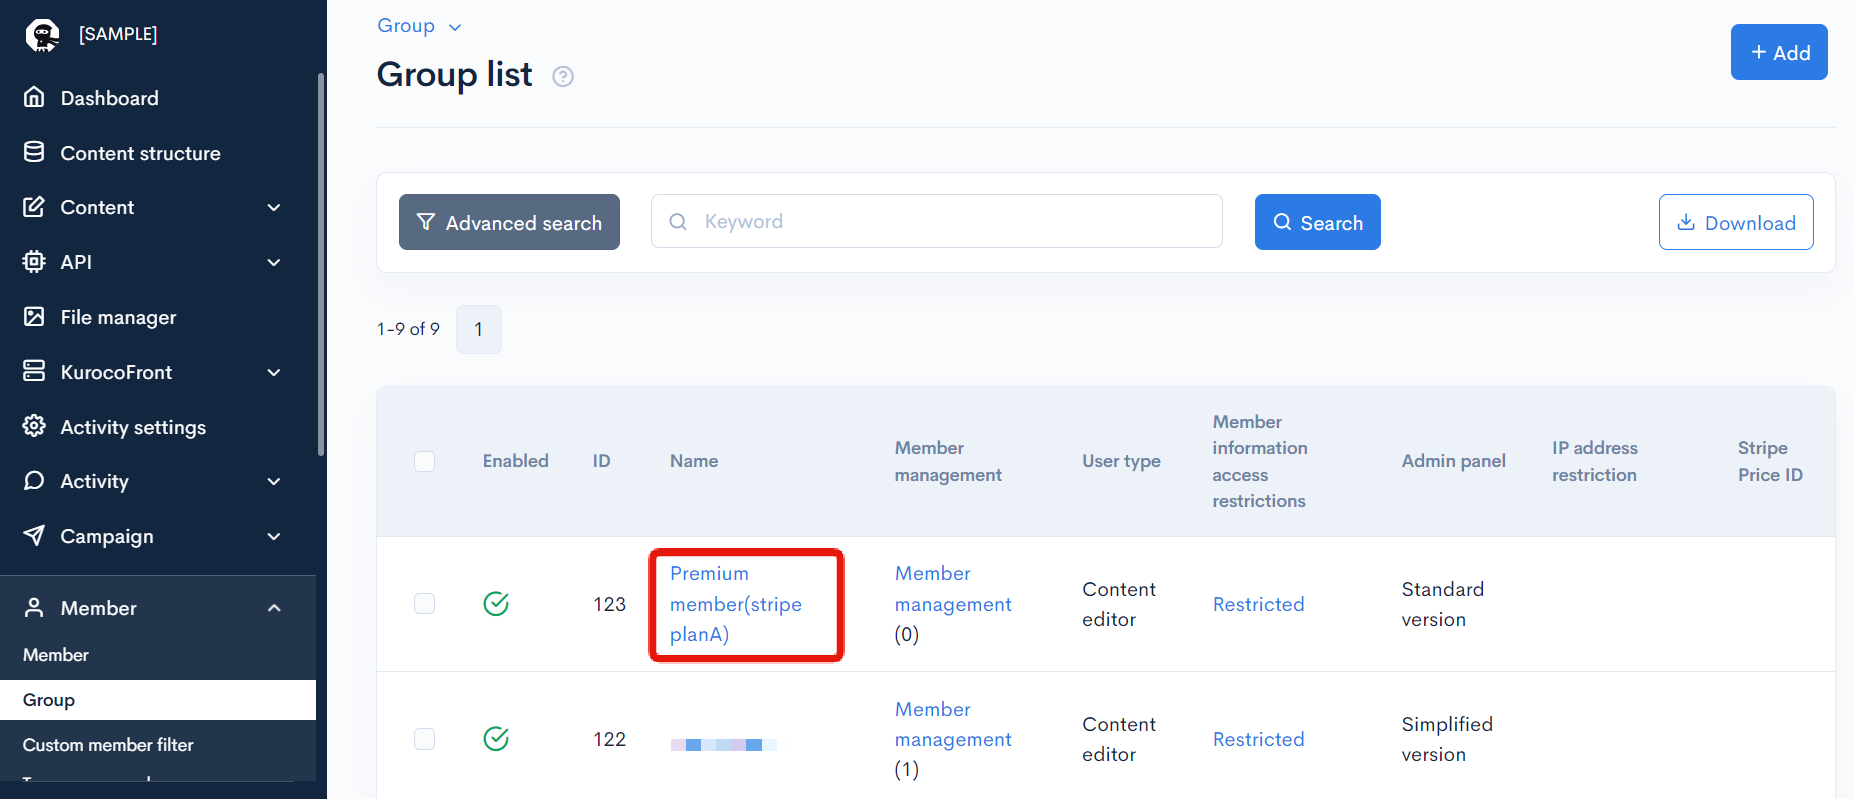
Next, go to your Kuroco admin panel and create an empty member group for your product. If you have more than one product, each product should have a separate group.
(For a tutorial on how to create new groups, see Creating groups.)
From the group list, click the name of the group you just created.
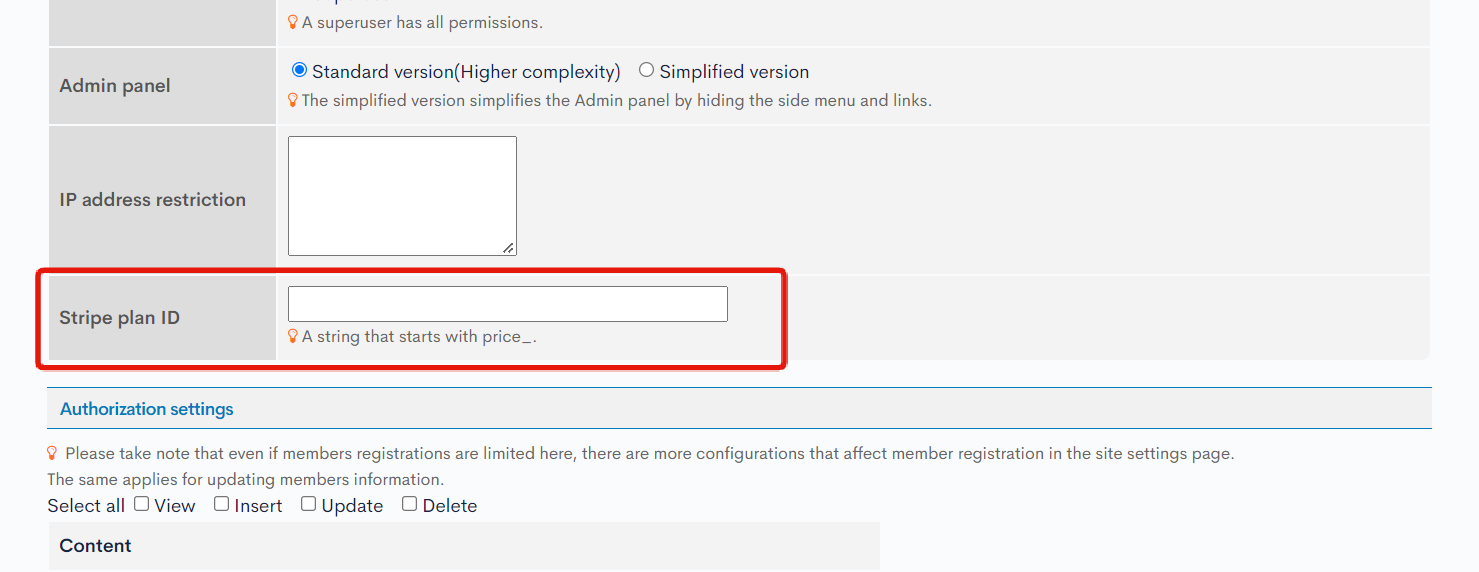
On the Group editor screen, enter the API ID you copied from Stripe into "Stripe price ID".
The "Stripe price ID" field only appears on admin panels with Stripe successfully integrated. If you do not see this field, go back to the integration step above and check if all your inputs and settings are correct.
When a member successfully completes checkout from the payment page, they will be automatically added to this product group.
API setup
The final step is to add and verify the required endpoints for the payment process.
You will need two endpoints: a checkout endpoint and a cancellation endpoint. They will be used to process payments and cancel subscriptions, respectively.
Endpoint configuration
To use the payment functionality, you must use cookies or dynamic tokens as your API security settings.
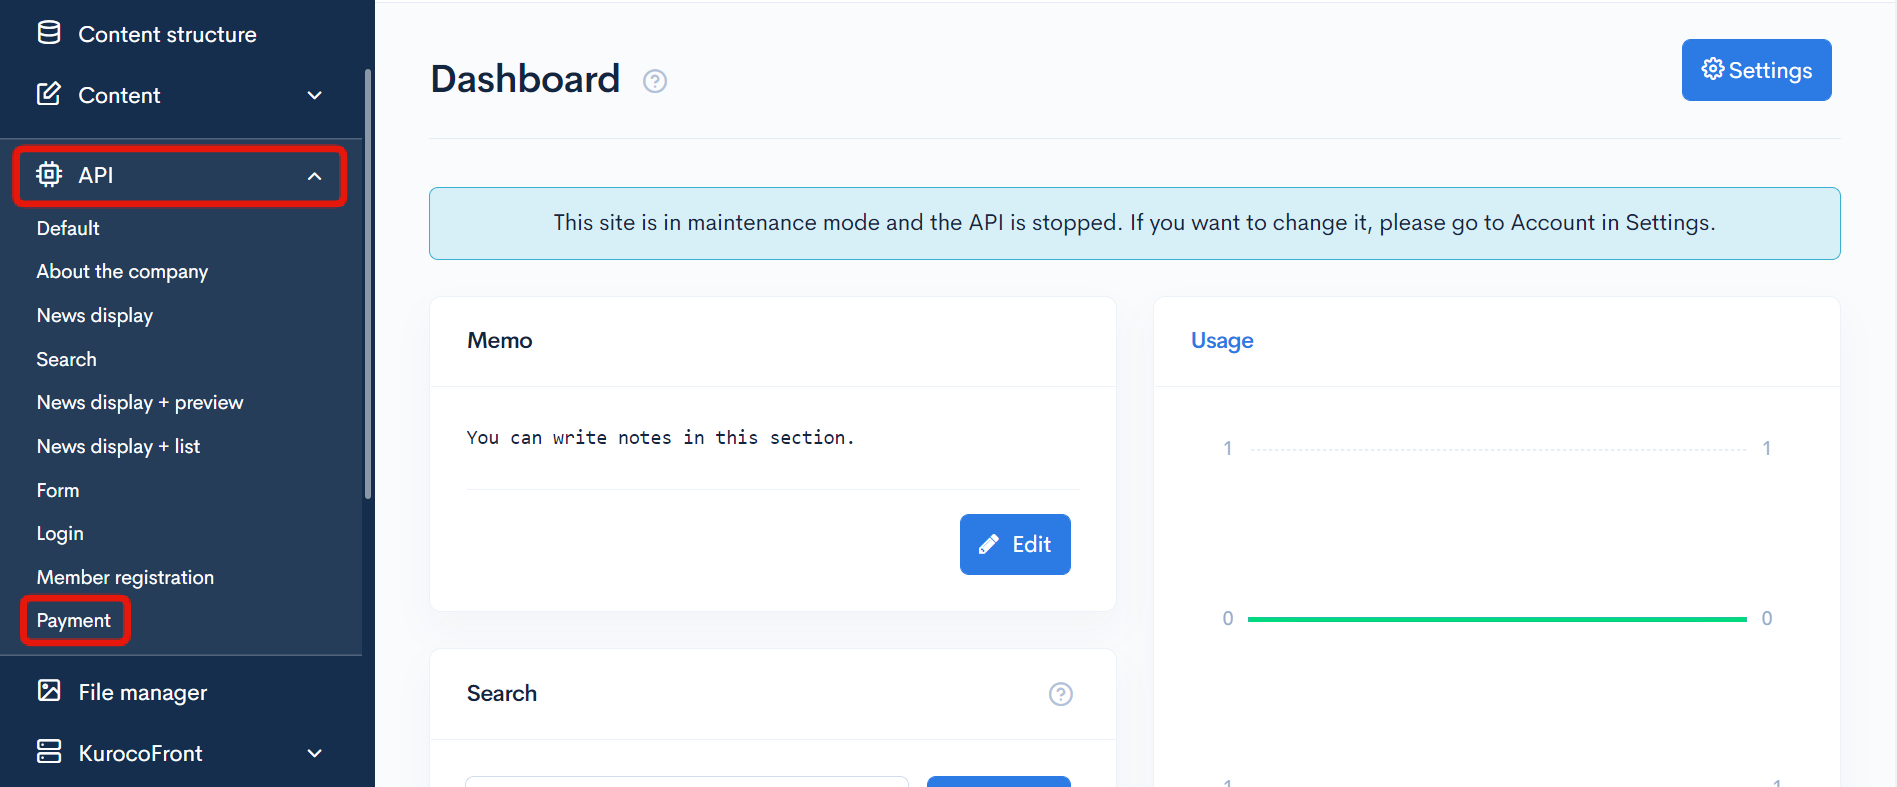
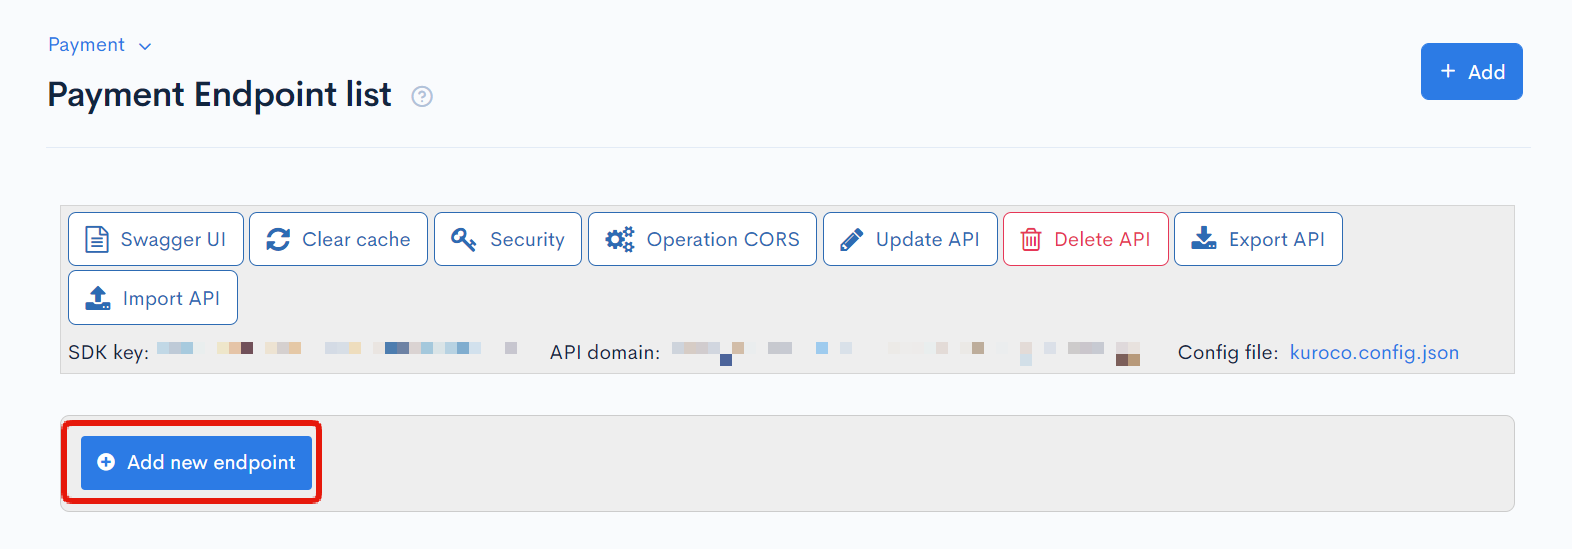
In Kuroco's left sidebar menu, click [API] and select the API where you will be adding the endpoint.
On the Endpoint List screen, click [Add New Endpoint] and add the following two endpoints
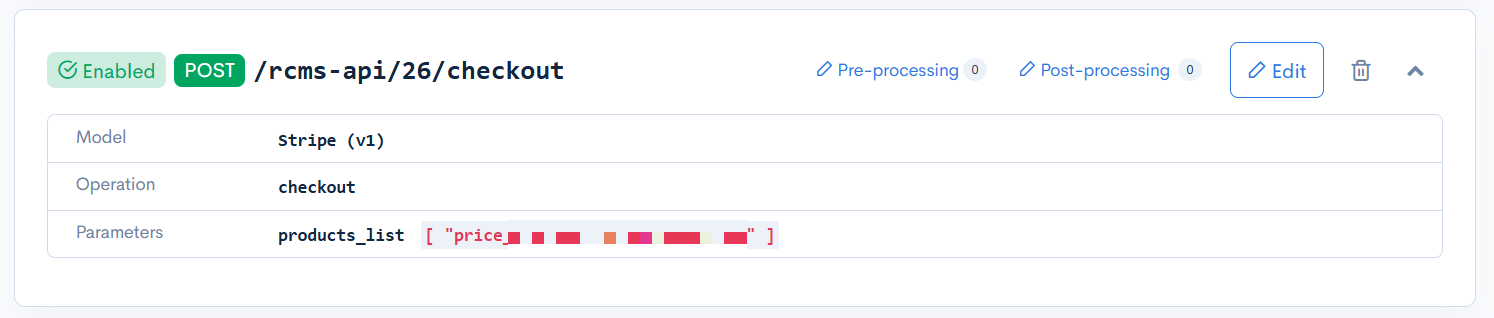
Checkout endpoint
Endpoint for generating payment URLs.
| Field | Value |
|---|---|
| Category | Payments |
| Model | Stripe, v1 |
| Operation | checkout |
| products_list | Enter the price ID (Stripe API ID) of the product.
|
| return_url | Front-end URL for the payment success page. |
| return_err_url | Front-end URL for the payment failure page. |
| trial_end | Specifies the end date of the trial period. |
| trial_period_days | Specifies the number of days for the trial period. |
When you are done, click [Add] to save the endpoint.
Here is the configuration we used.
Cancellation endpoint
Endpoint for canceling subscriptions.
| Field | Value |
|---|---|
| Category | Payments |
| Model | Stripe, v1 |
| Operation | cancel_order |
When you are done, click [Add] to save the endpoint.
Here is the configuration we used.

Verifying the billing process
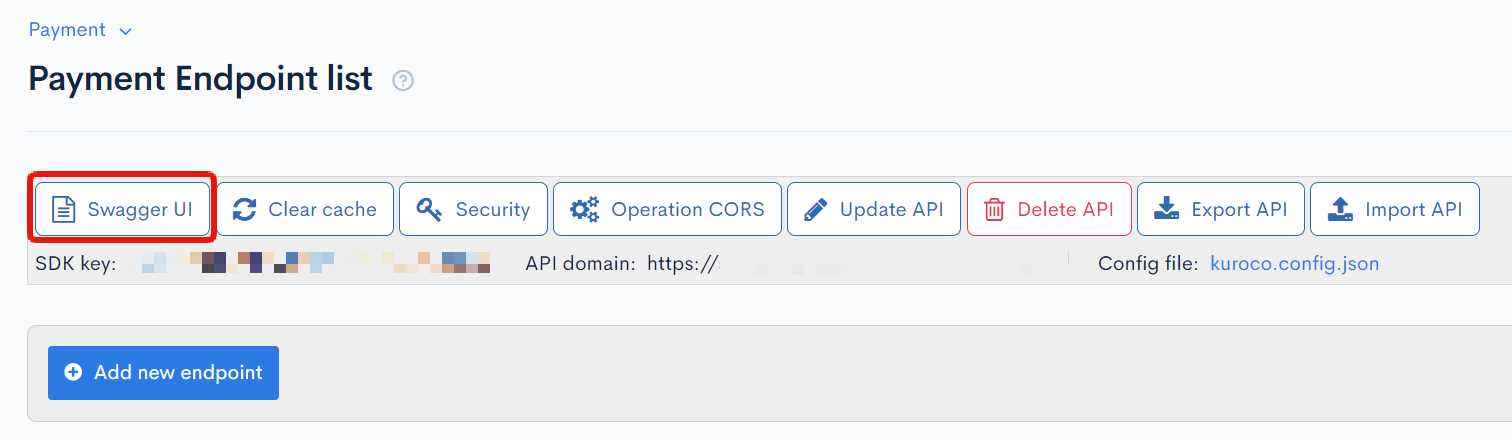
To check if your billing process is working as expected, verify the endpoint response from the Swagger UI and make a test payment.
From the sidebar menu, select the API containing your checkout endpoint. On the endpoint list screen, click [Swagger UI].
Log in as the member that you wish to make the test payment and click [Try it out] at the checkout endpoint.
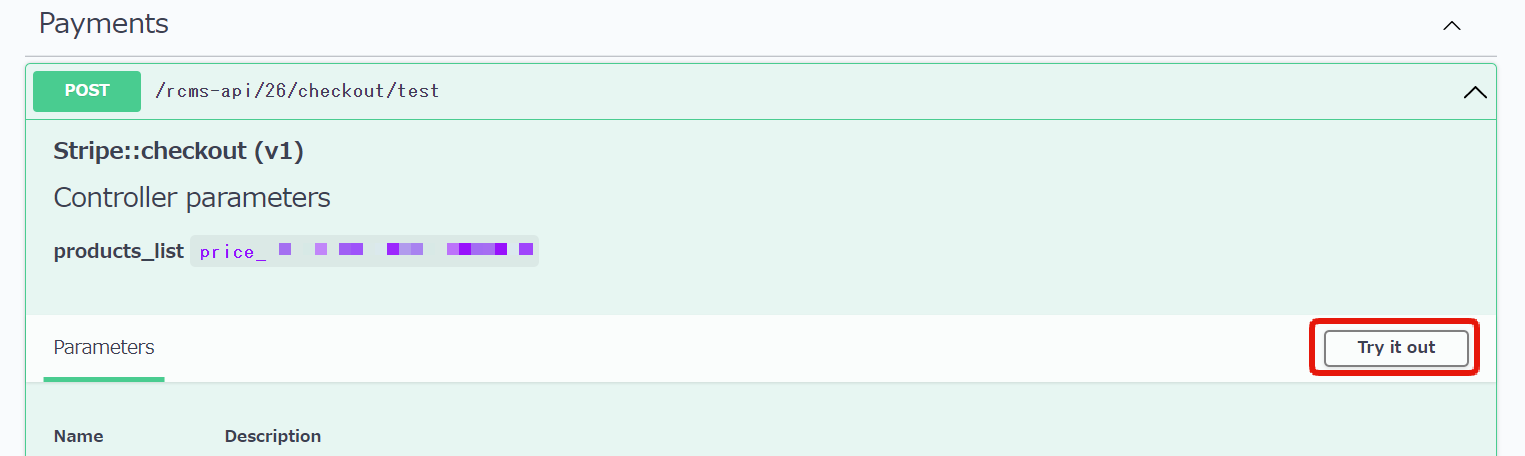
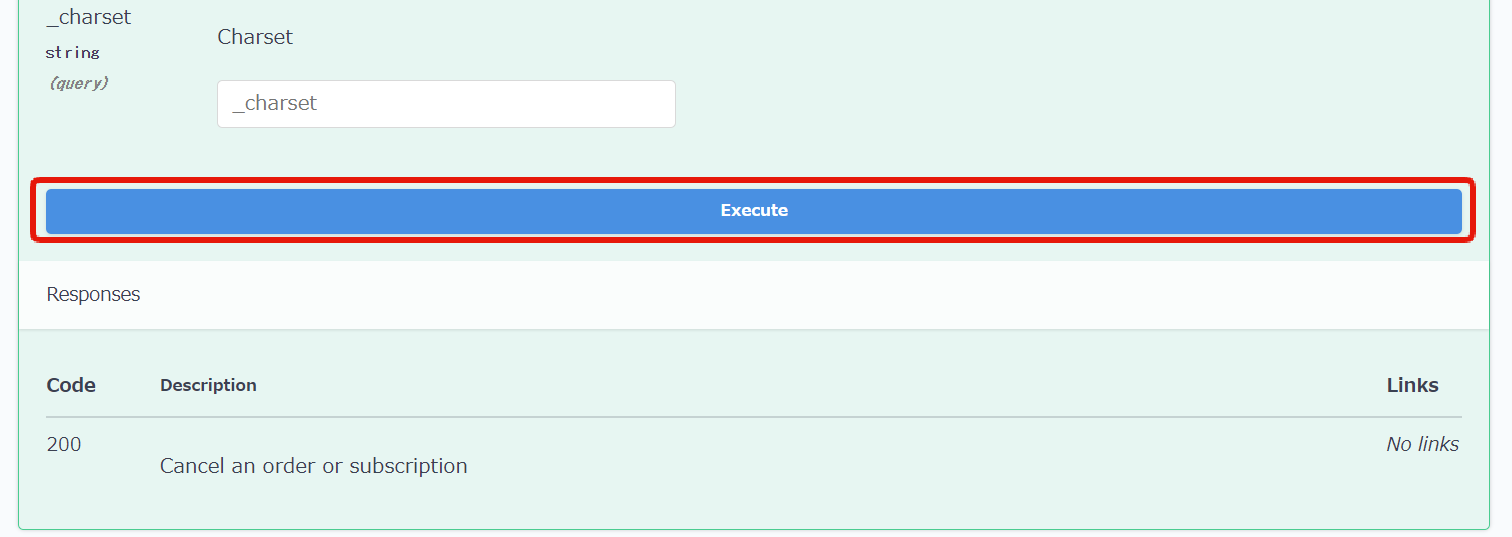
Scroll down and click [Execute].
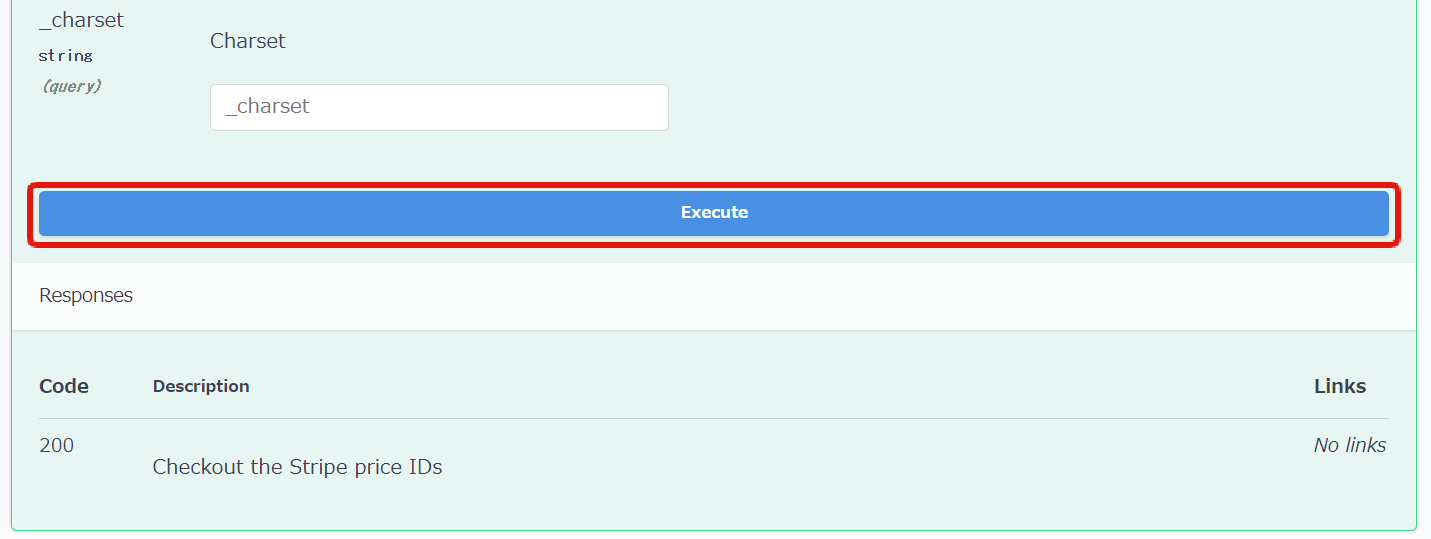
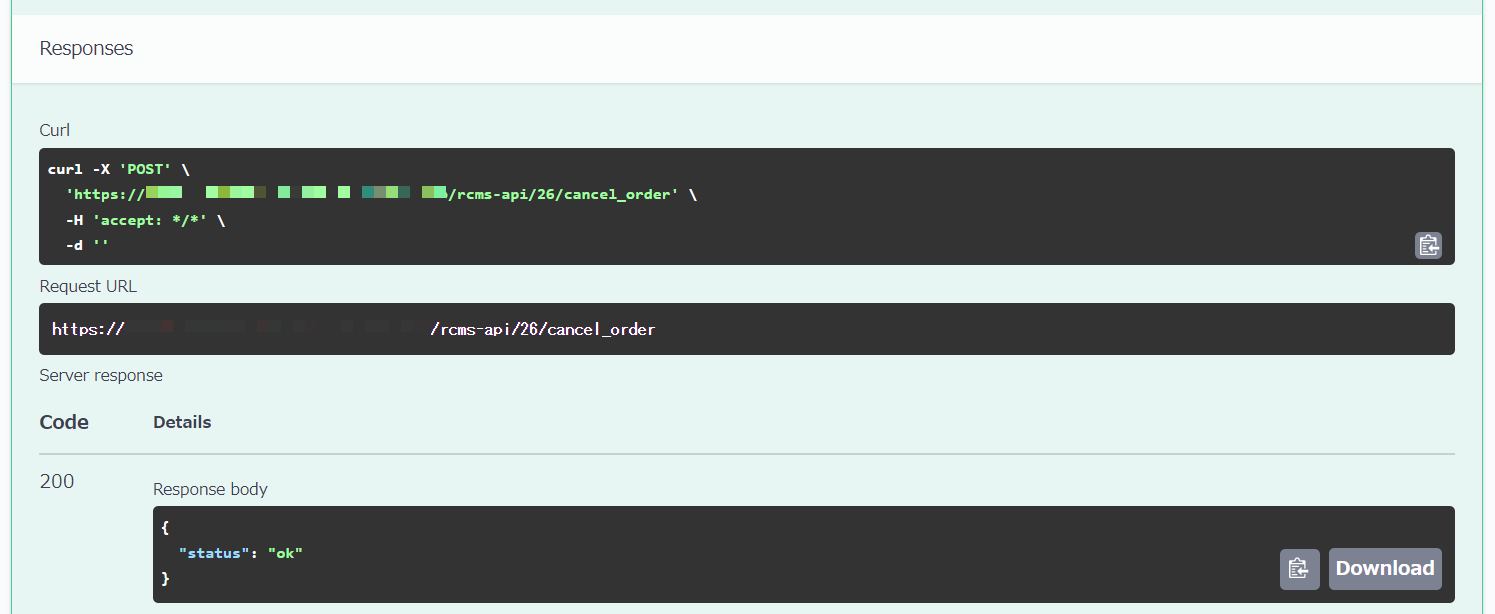
Copy the URL in the response body.
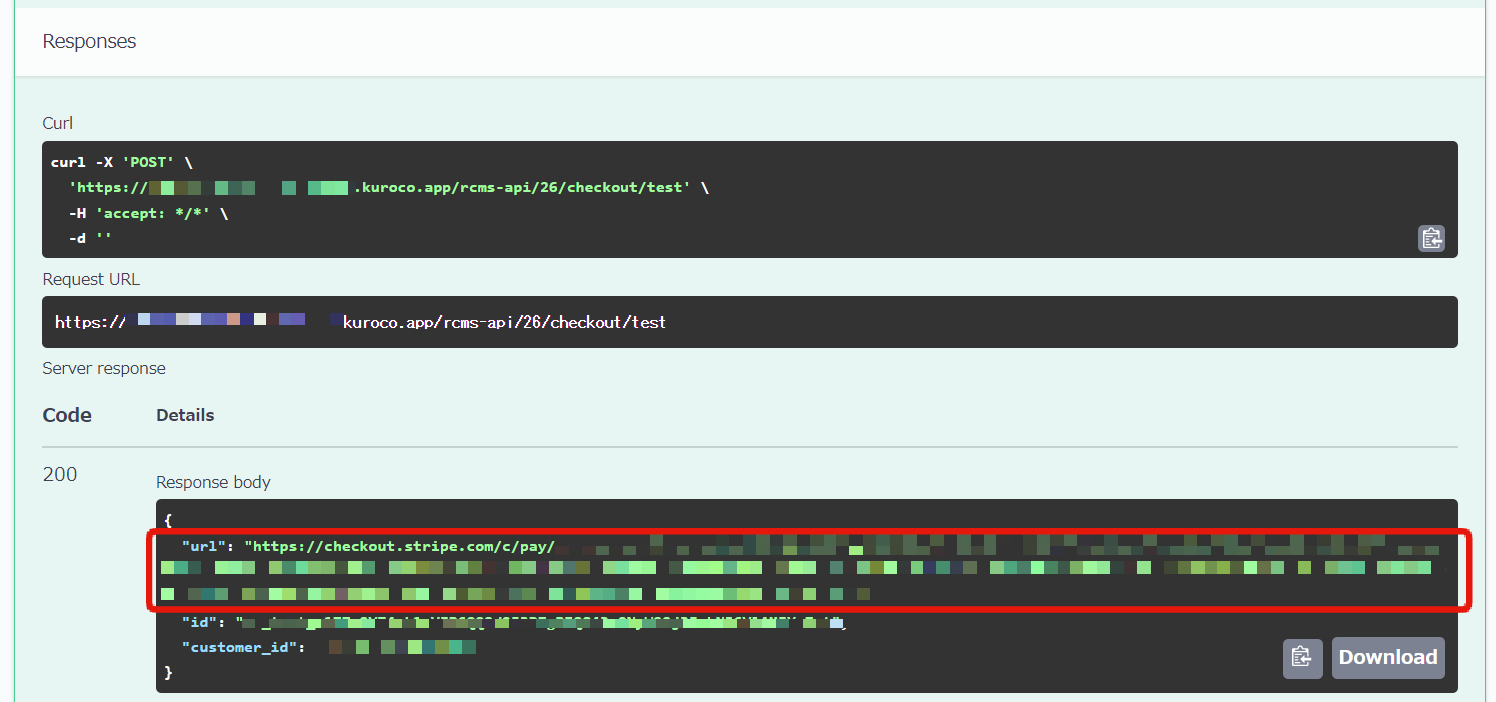
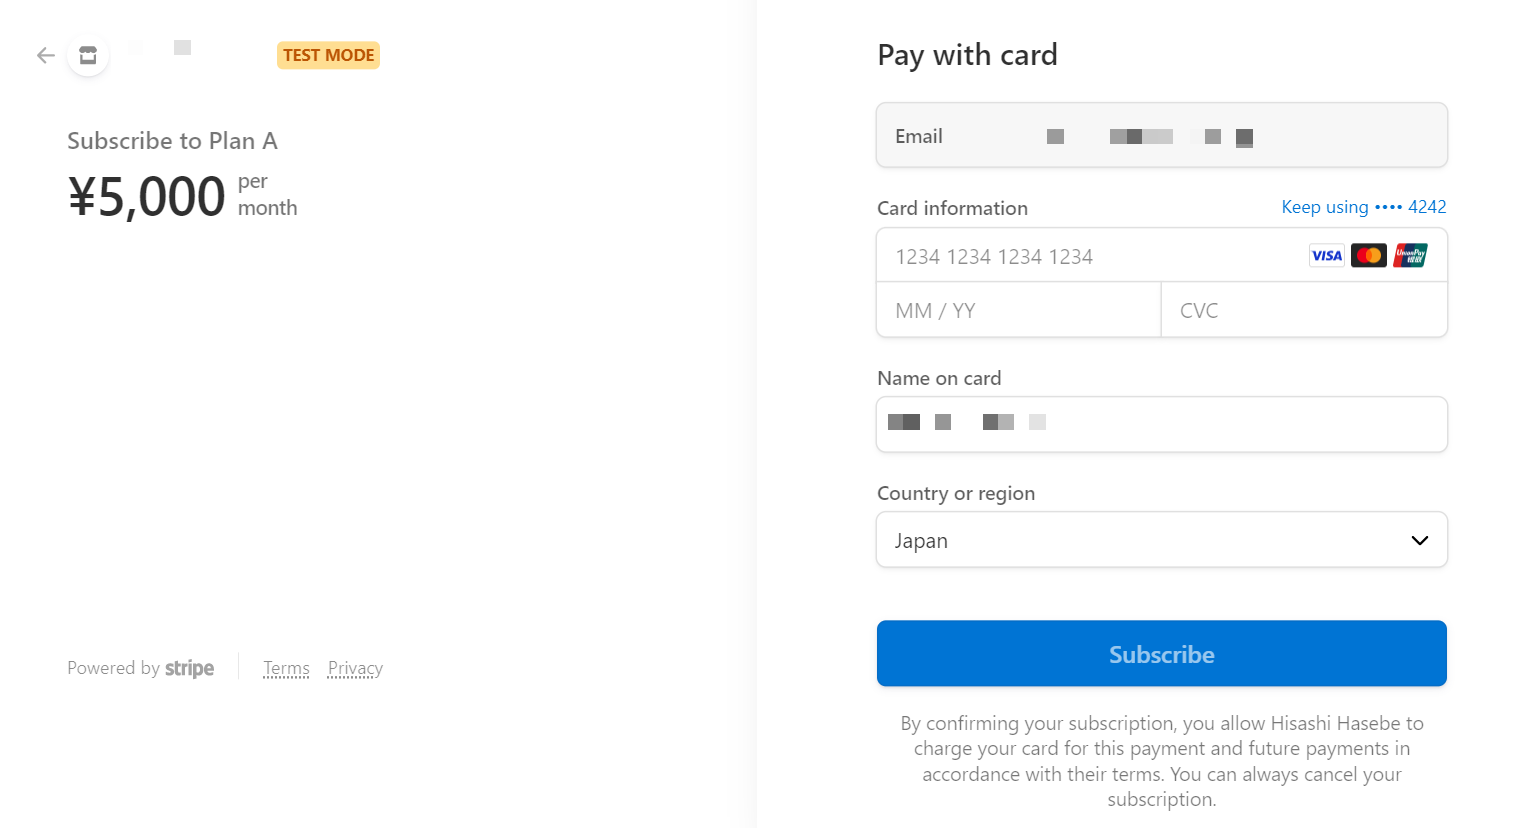
Access the URL in your browser. You should see the payment screen below. Enter your payment details and click [Subscribe].
You can use test cards to simulate various scenarios.
If the payment was successful, you will be redirected to the payment success page you set in your endpoint. If return_url is blank, the user will be redirected to the top page of the front-end URL.
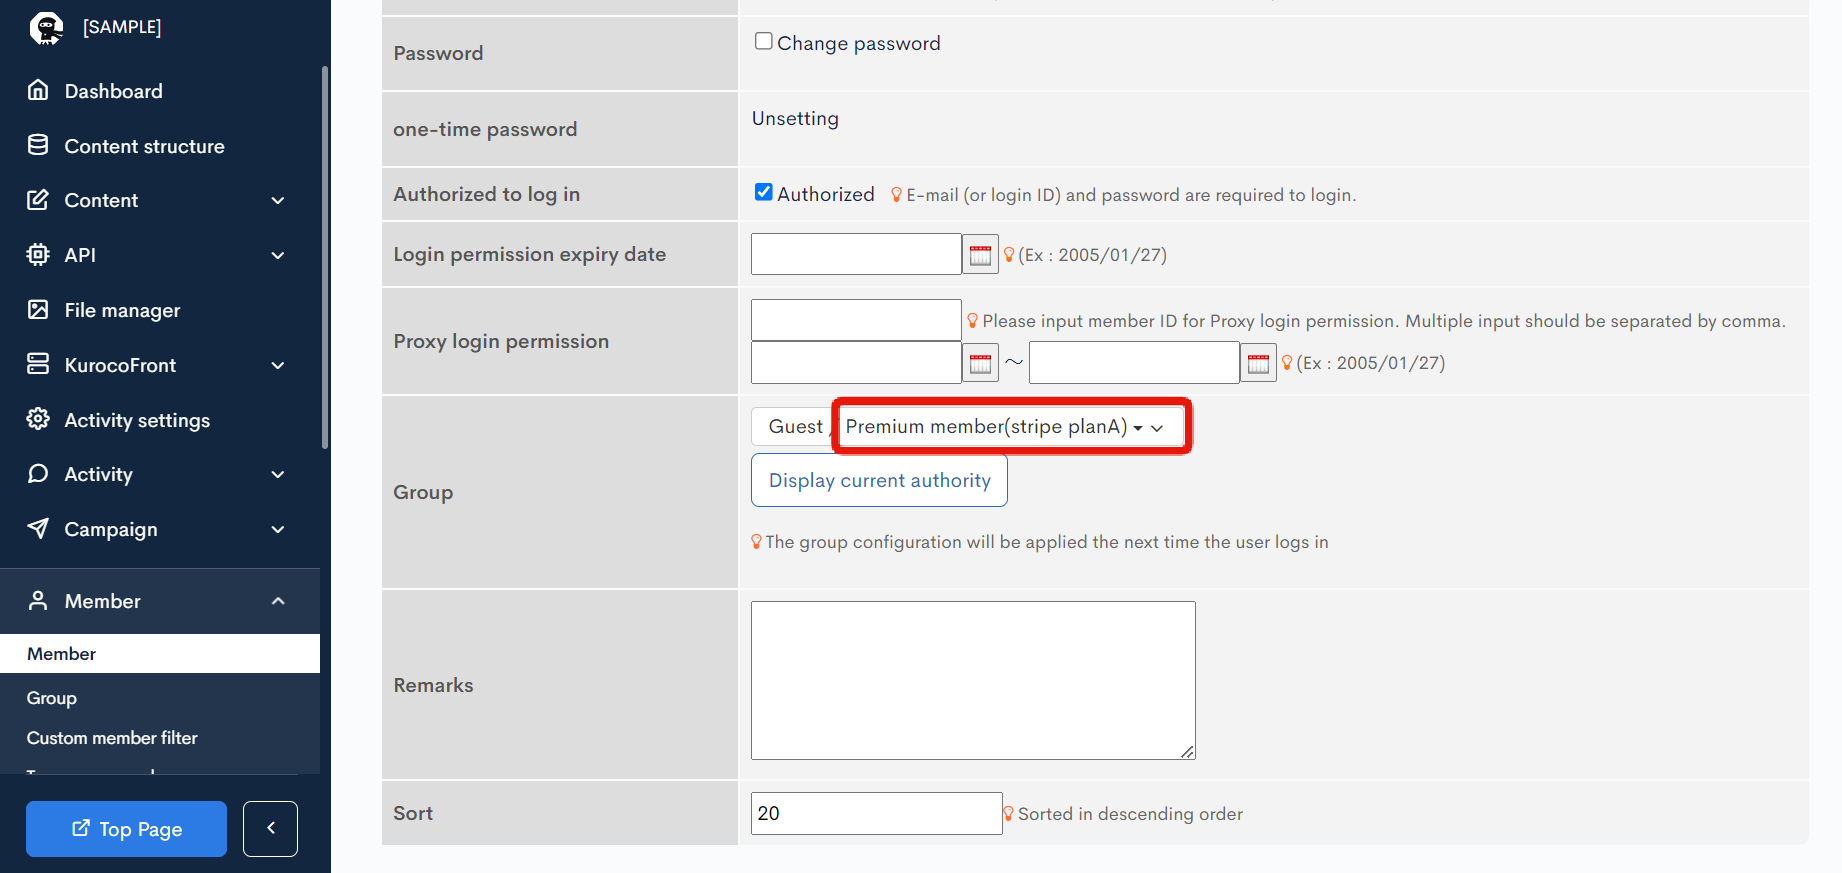
Check the following three points to confirm that the operation has completed successfully.
-
In the ID Information tab of the member information who made the payment, a group linked to Stripe is added to the group to which the member belongs.
-
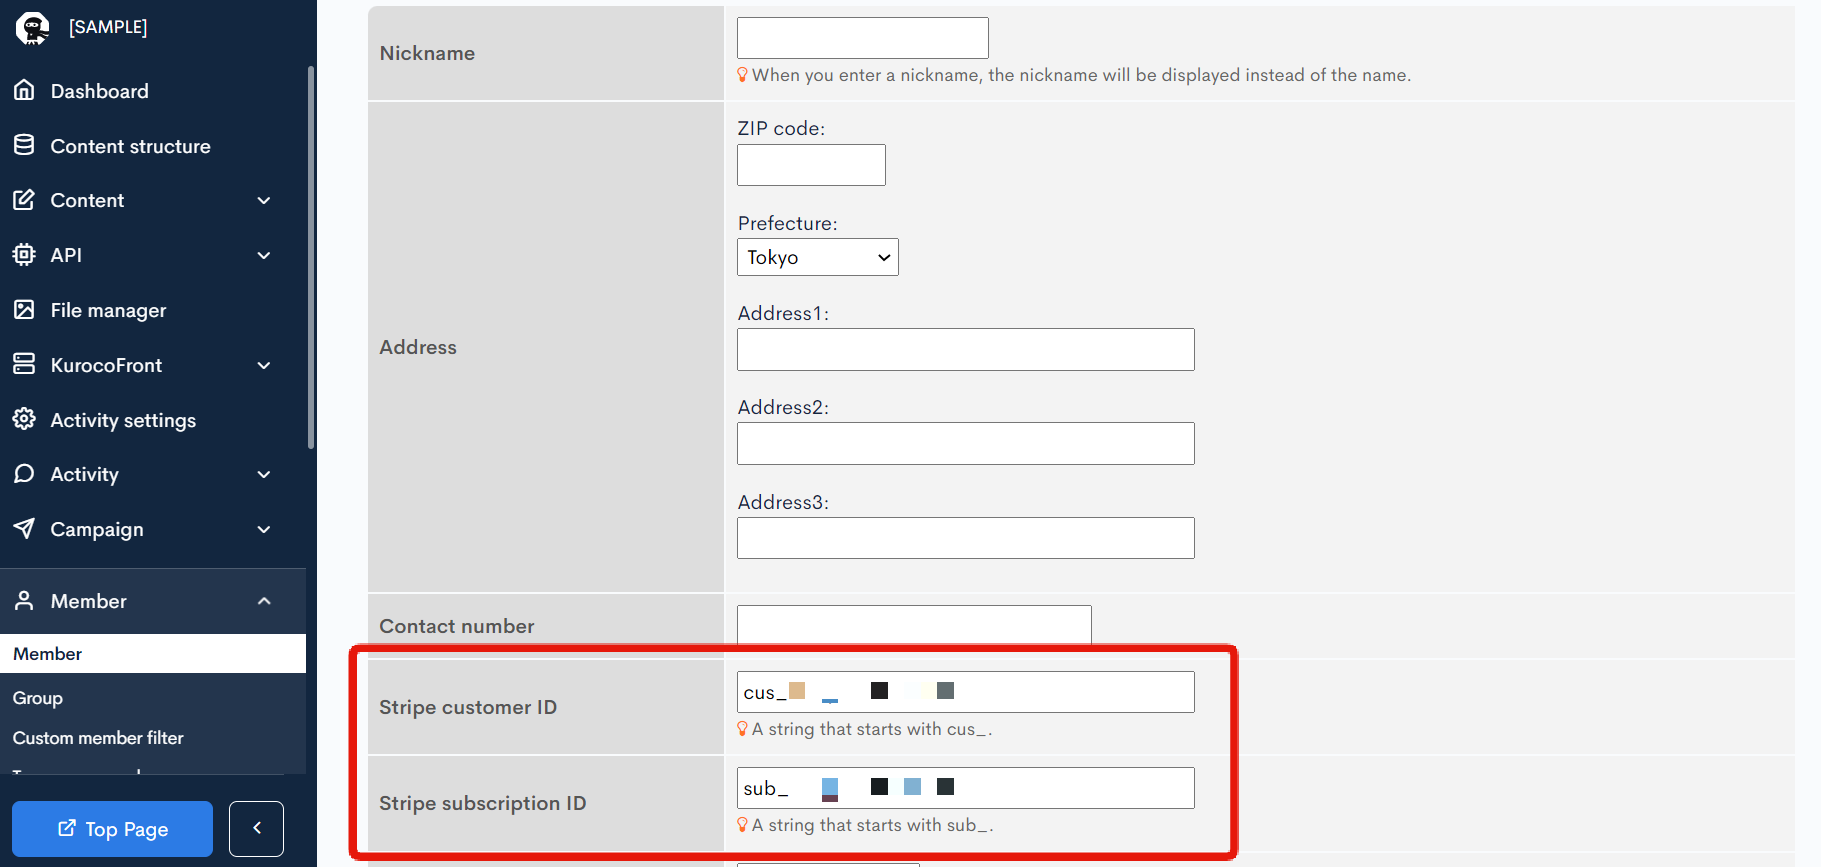
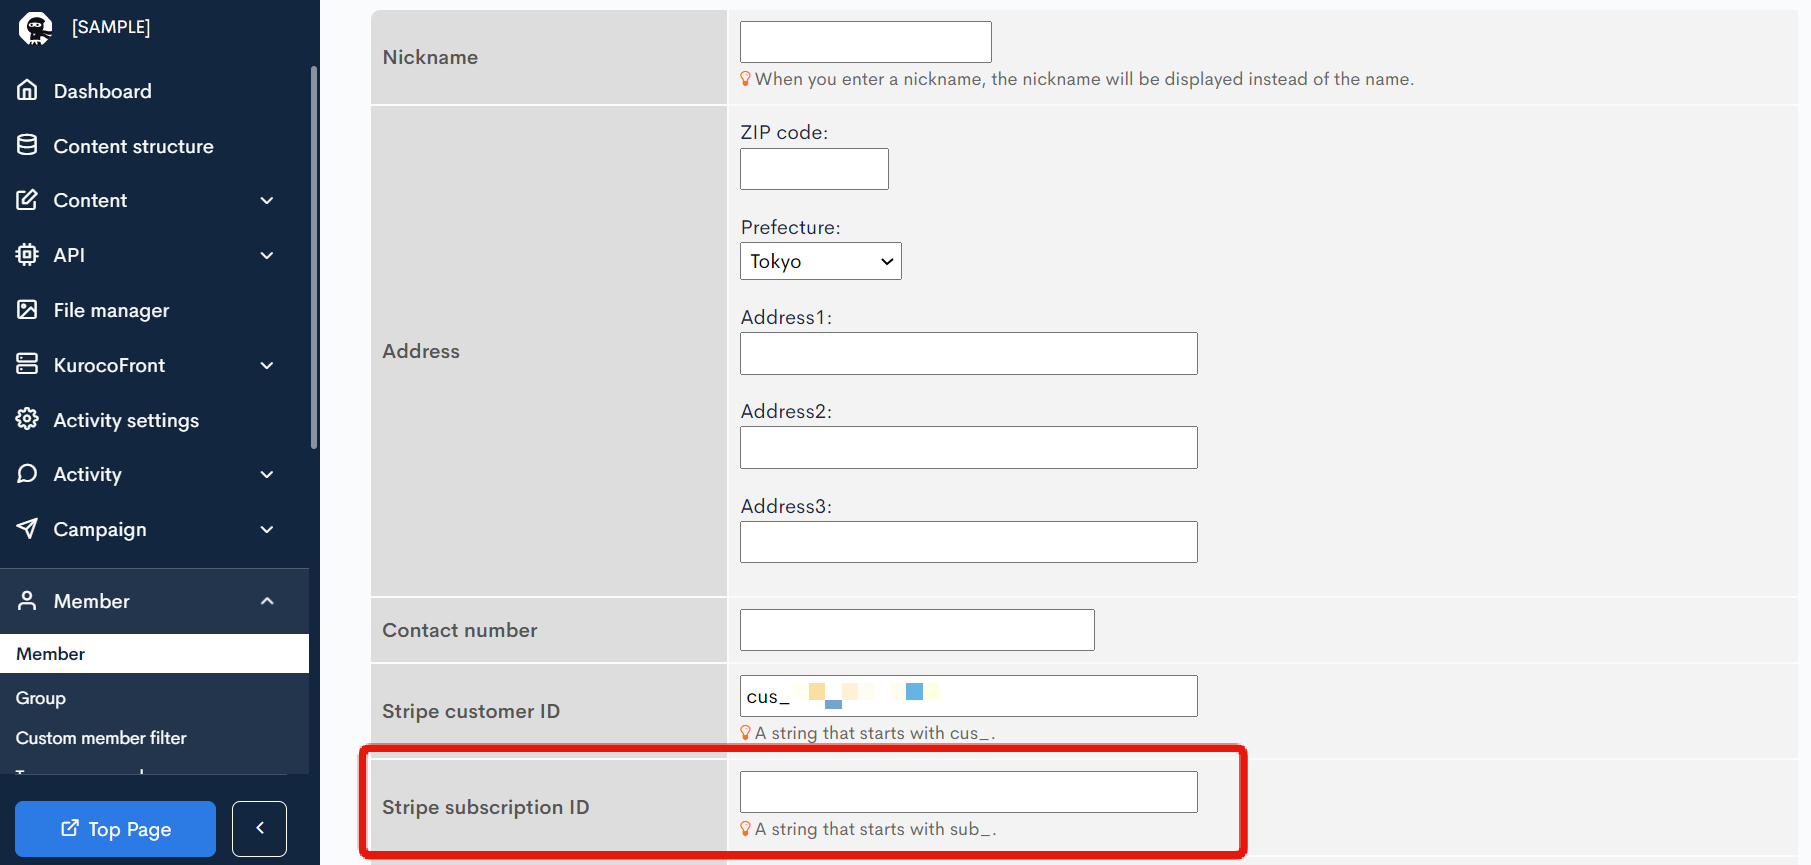
Stripe Customer ID" and "Stripe Subscription ID" have been added in the Profile Information tab of the member information who made the payment.
-
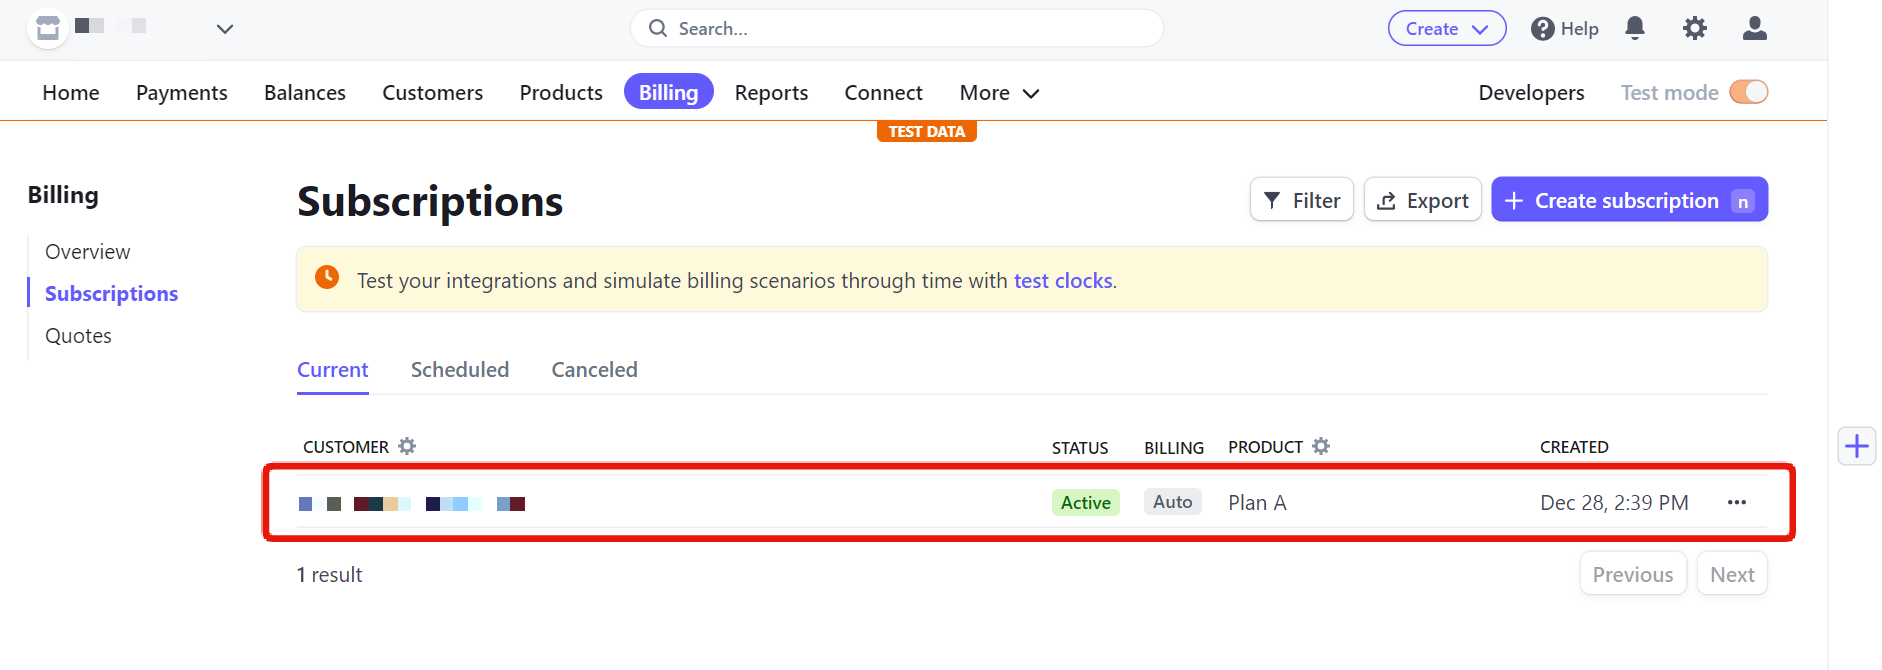
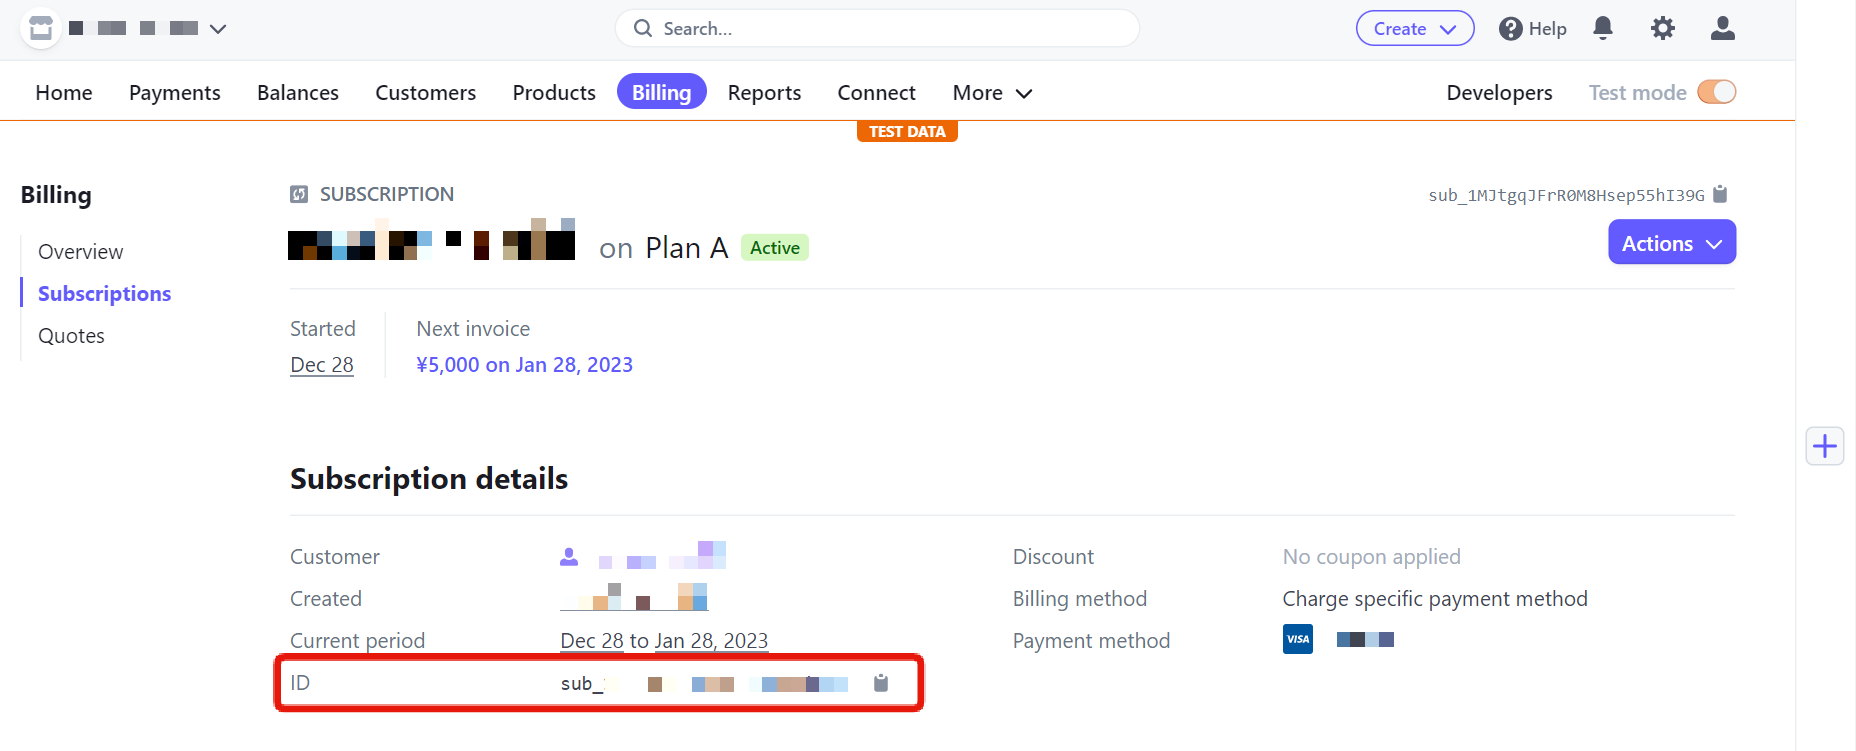
The member who made the payment is added in [Billing]->[Subscription] in the Stripe admin page, and the Stripe subscription ID matches the Kuroco admin page.
Verifying the subscription cancellation
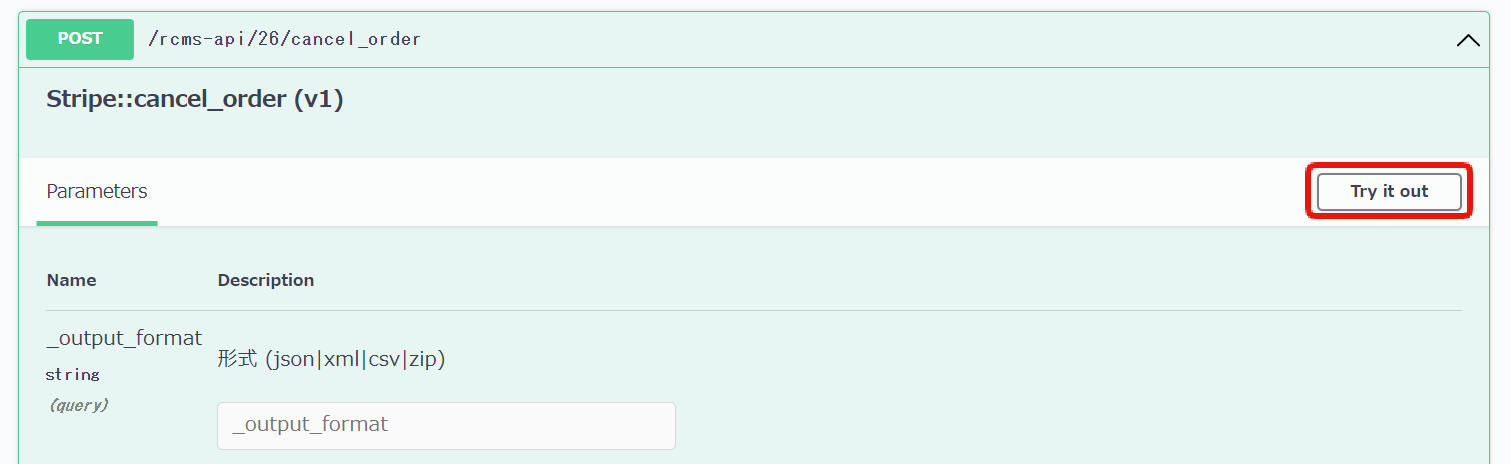
To test the cancellation process, log in as the member you wish to cancel the subscription with and click [Try it out] on the Cancel endpoint.
Scroll down and click [Execute].
The cancellation process is complete when the ok status is displayed.
Check the following three points to confirm that the operation has completed successfully.
-
In the ID Information tab of the member information that made the payment, the group linked to Stripe has been removed from the groups to which the member belongs.

-
The "Stripe Subscription ID" has been removed from the Profile Information tab of the member information that made the payment.
-
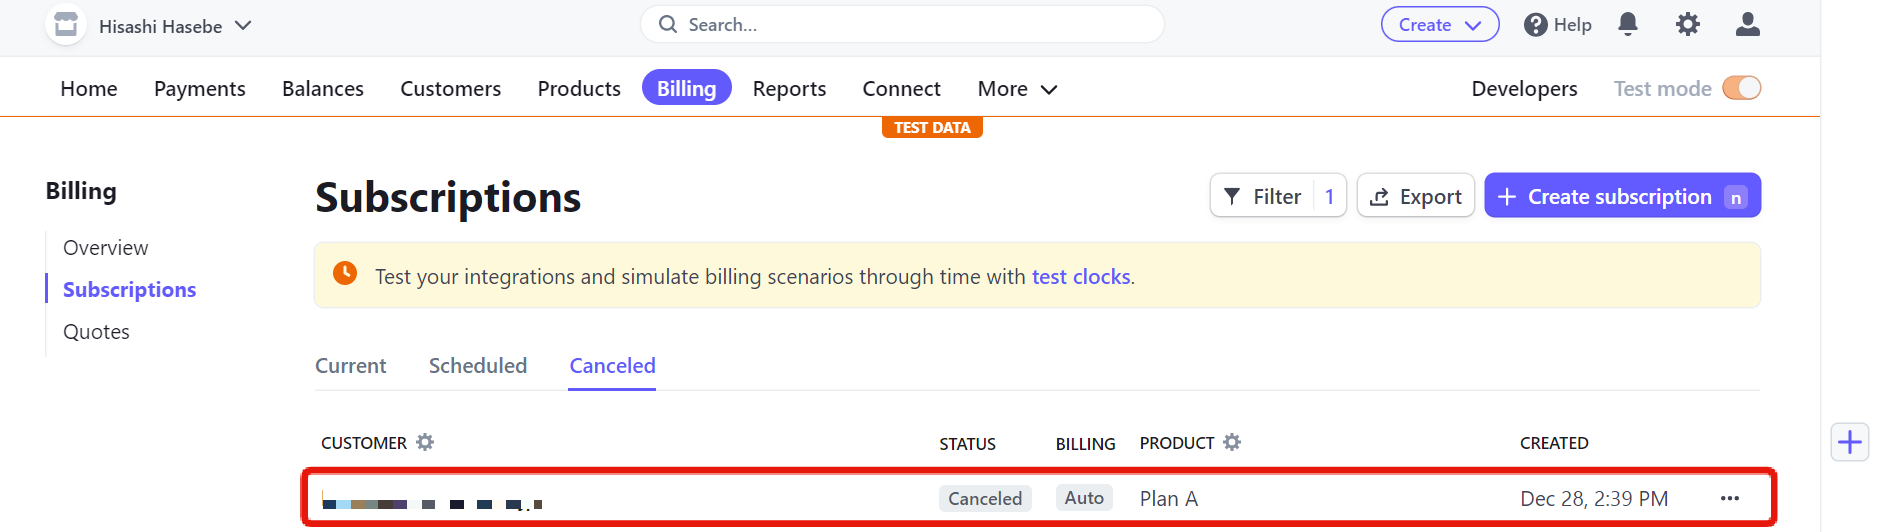
The target member has been removed from the [Current] tab of [Billing]->[Subscription] in the Stripe administration screen and added to the [Canceled] tab.
Note that subscriptions are canceled immediately without redirecting to a confirmation page. Also, no refunds will be given in the event of cancellation.
More information
Below are some points to take note of when setting up subscription billing with Stripe in Kuroco.
Limitations
Currently, Kuroco does not support the following payment types with Stripe:
- Guest checkout (i.e., non-logged-in users)
- One-time purchases
- Setting up multiple subscription IDs for one member
Stripe CLI
You can also use the Stripe CLI developer tool to test your payment function by listening for real-time event changes such as new subscriptions, updates, and payment processing on your Stripe account.
To do this, run the command stripe listen with the commonly used flags listed below. You will receive a webhook secret, which you can add to your local environment to decrypt the information.
| Flag | Description |
|---|---|
| --forward-to | Enter the your localhost URL to which you want to forward the webhook calls. |
| --events | Enter a comma-separated list of events you want to listen for.
|
| --skip-verify | Use this flag if you do not have a local SSL certificate or it is invalid. |
For further details about using the Stripe CLI, see:
Related documents
Support
If you have any other questions, please contact us or check out Our Slack Community.