Registering as a User Using a LINE Account and Adding the Official Account as a Friend
Overview
If you want to register as a user on Kuroco using a LINE account, you can use Kuroco's OAuth SP feature. The OAuth SP feature provides several external services as presets, including LINE.
Using the preset settings makes it easy to configure, but you cannot customize it in detail. For example, if you want to use the LINE message sending feature from Kuroco, it would be convenient if the user registration also automatically adds the LINE official account as a friend. However, this cannot be done with the user registration using the LINE preset settings.
Here, we will explain how to register as a user on Kuroco using LINE account integration and simultaneously add the official account as a friend using the custom settings of Kuroco's OAuth SP feature.
What you will learn
Learn how to make a LINE Official Account a friend when logging in with Kuroco's OAuth SP using the following steps:
Before you start
This page assumes that the provider and channel (Messaging API) have already been set up in the LINE Developers Console. If you haven't set it up yet, please refer to the following tutorial.
Kuroco Configuration
Member Detail Settings
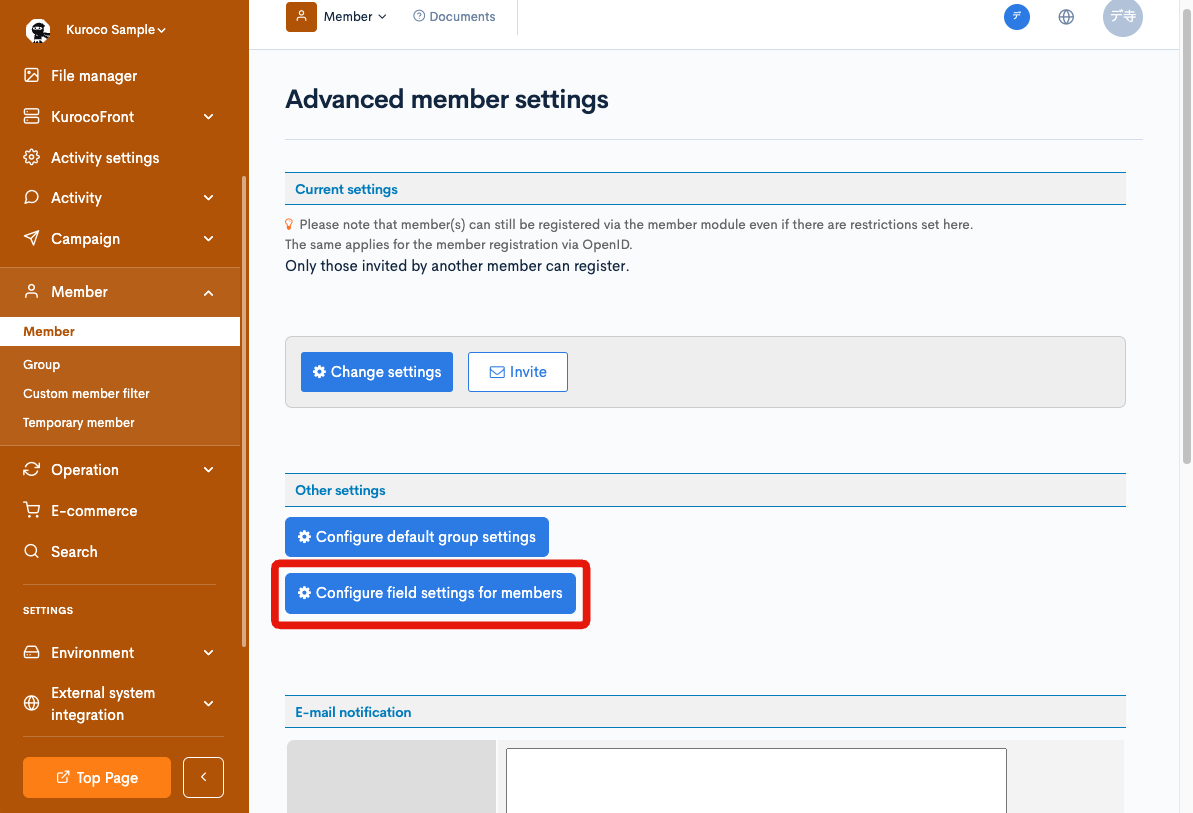
First, configure Kuroco to store LINE ID information to associate it with the member's information. Select "Member Management" from the sidebar, then select "Member Detail Settings" from the dropdown at the top to display the member detail settings screen. Click the "Set extended items for registered members" button.
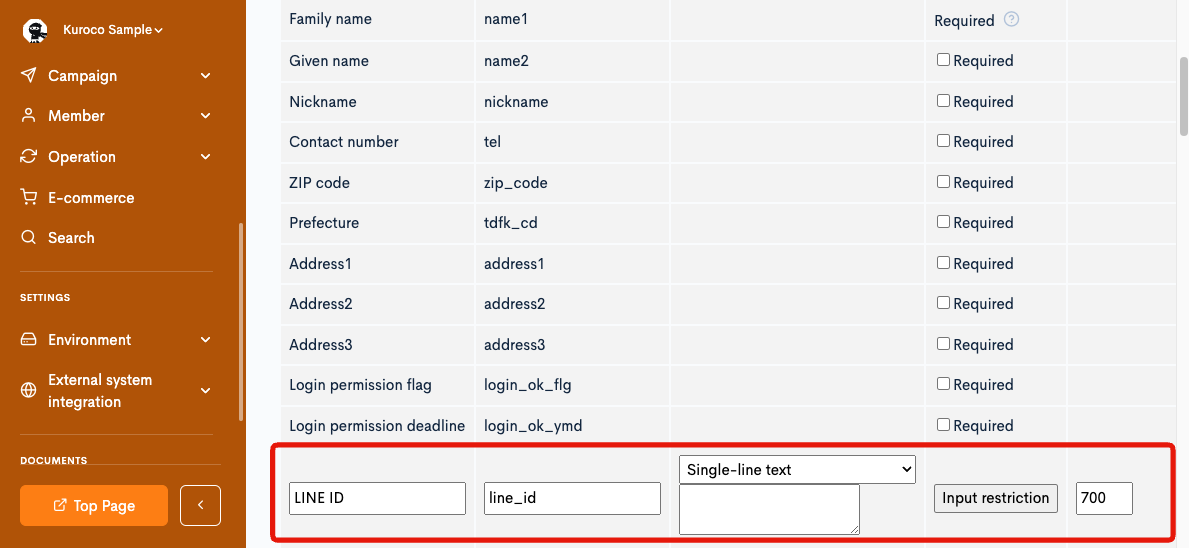
In the extended item settings screen, add "Line ID" to the member extended items and click the "Update" button.
Group Settings
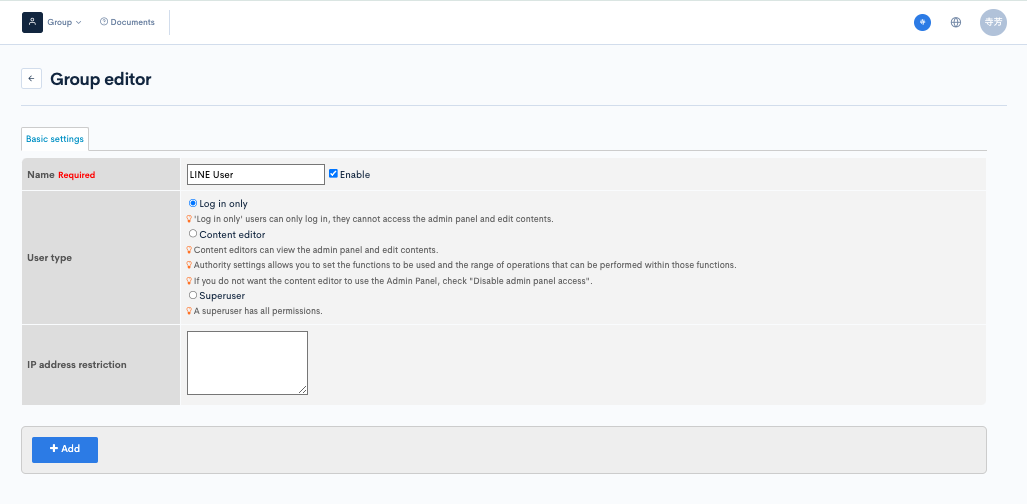
It is convenient to distinguish users who have registered using LINE accounts from other users. Here, we will create a group called "LINE Users" and assign them to that group. Open the group settings screen, click the "+ Add" button, and enter the following items, then click the "+ Add" button.
| Item | Setting |
|---|---|
| Name | LINE User |
| Enable | (checked) |
| User Type | Login User |
| IP Address Restriction | (empty) |
API Settings
You must have at least one API with dynamic token security.
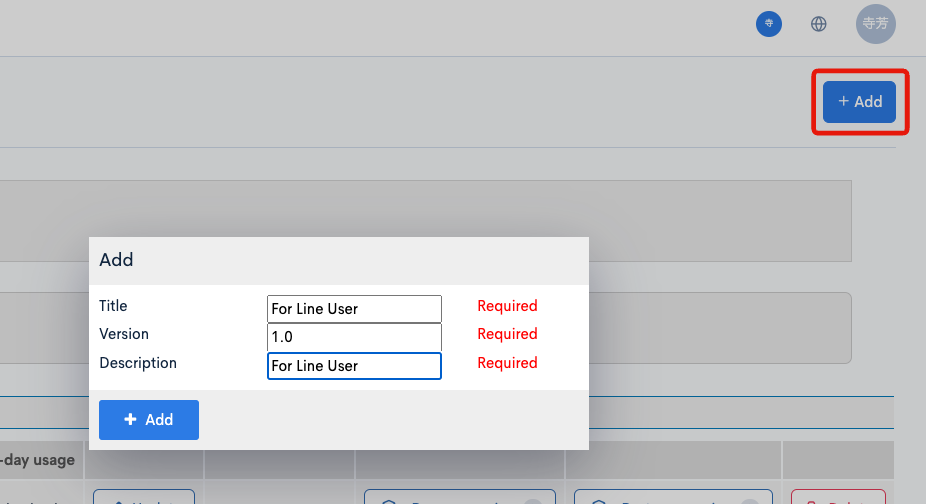
If you don't have one, please add an API. Open the endpoint list screen, click the "+ Add" button in the upper right corner. In the popup, configure it as follows, then click the "Add" button.
| Item | Setting |
|---|---|
| Title | For LINE User |
| Version | 1.0 |
| Description | For LINE User |
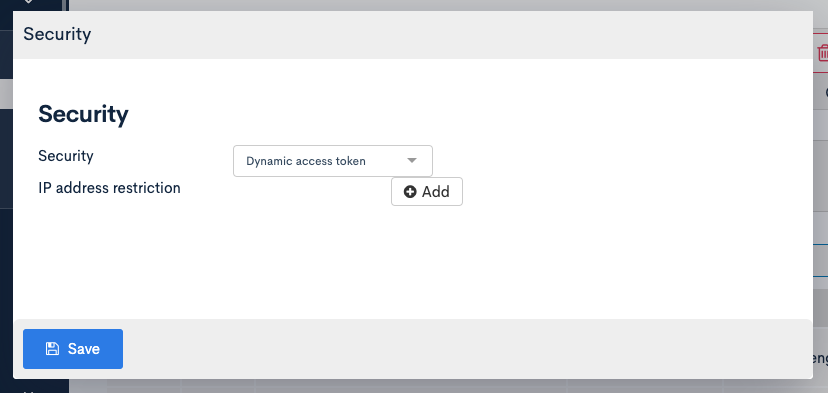
Click the [Security] button at the top of the endpoint list screen, select [Dynamic Token] in the [Security] settings on the popup, and click the [Save] button.
Settings on LINE Developers Console
Set the following on the LINE Developers Console:
(1) Provider
(2) Channel (Messaging API)
(3) Channel (LINE Login)
For (1) and (2), please refer to Sending Messages to LINE Users.
Setting for Channel (LINE Login)
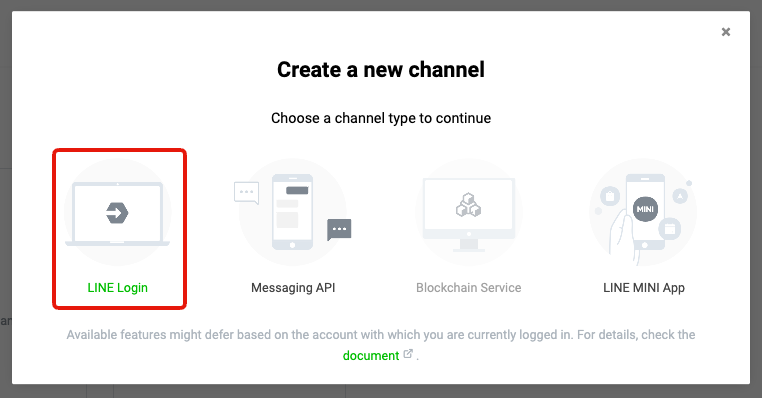
Log in to the LINE Developers Console, select [LINE Login] in [New Channel Registration], and enter the information for the service to be provided according to the input form.
Please log in to the LINE Developers Console, select [LINE Login] under [New Channel Registration] from the provider created in Sending Messages to LINE Users, and follow the input form to enter information about the service you are providing.
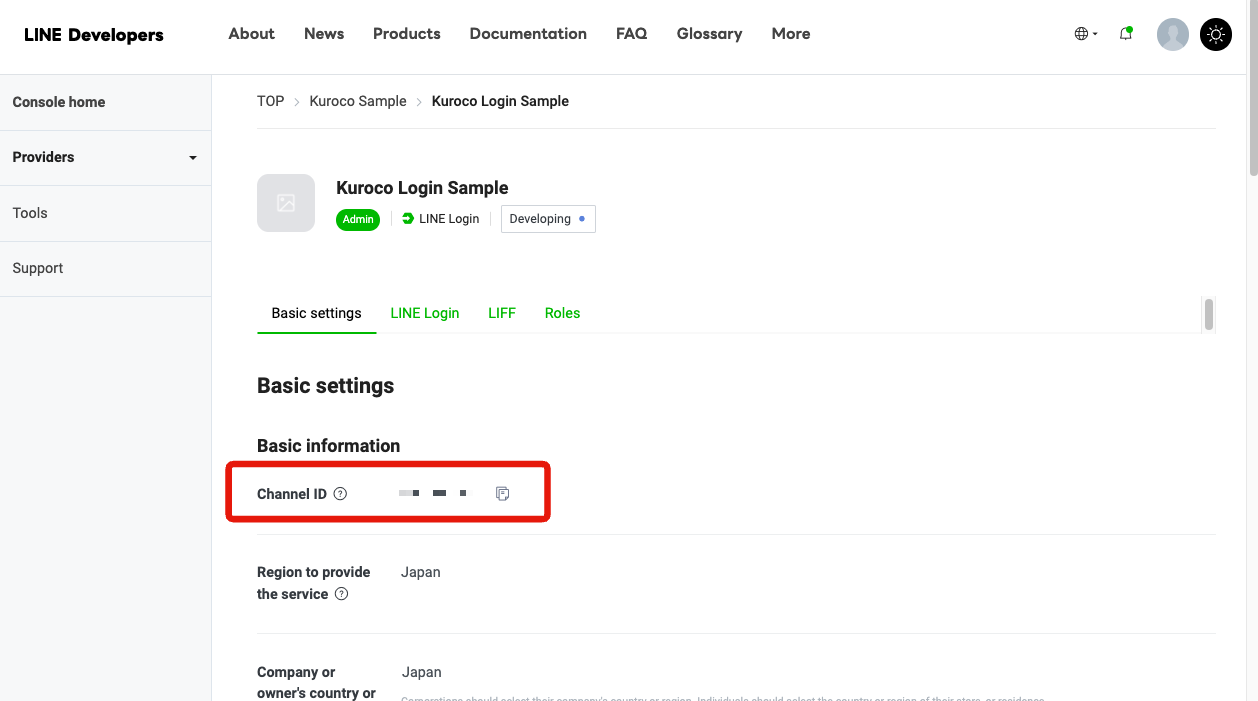
When you open the settings screen again, a field called [Linked LINE Official Account] will appear.
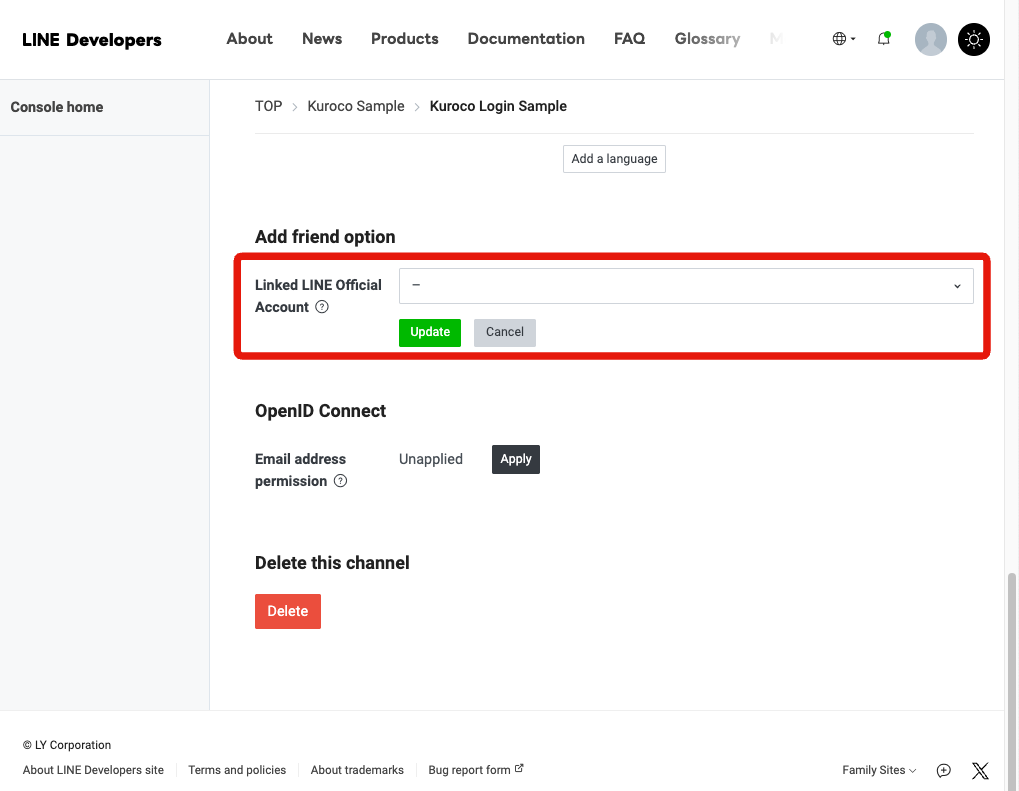
If the Messaging API channel associated with the LINE Official Account is in the same provider as the LINE Login channel, it will be selectable here. Select the corresponding Messaging API channel and click the [Update] button.
Also, the Channel ID of the created channel will be displayed, so please keep it handy.
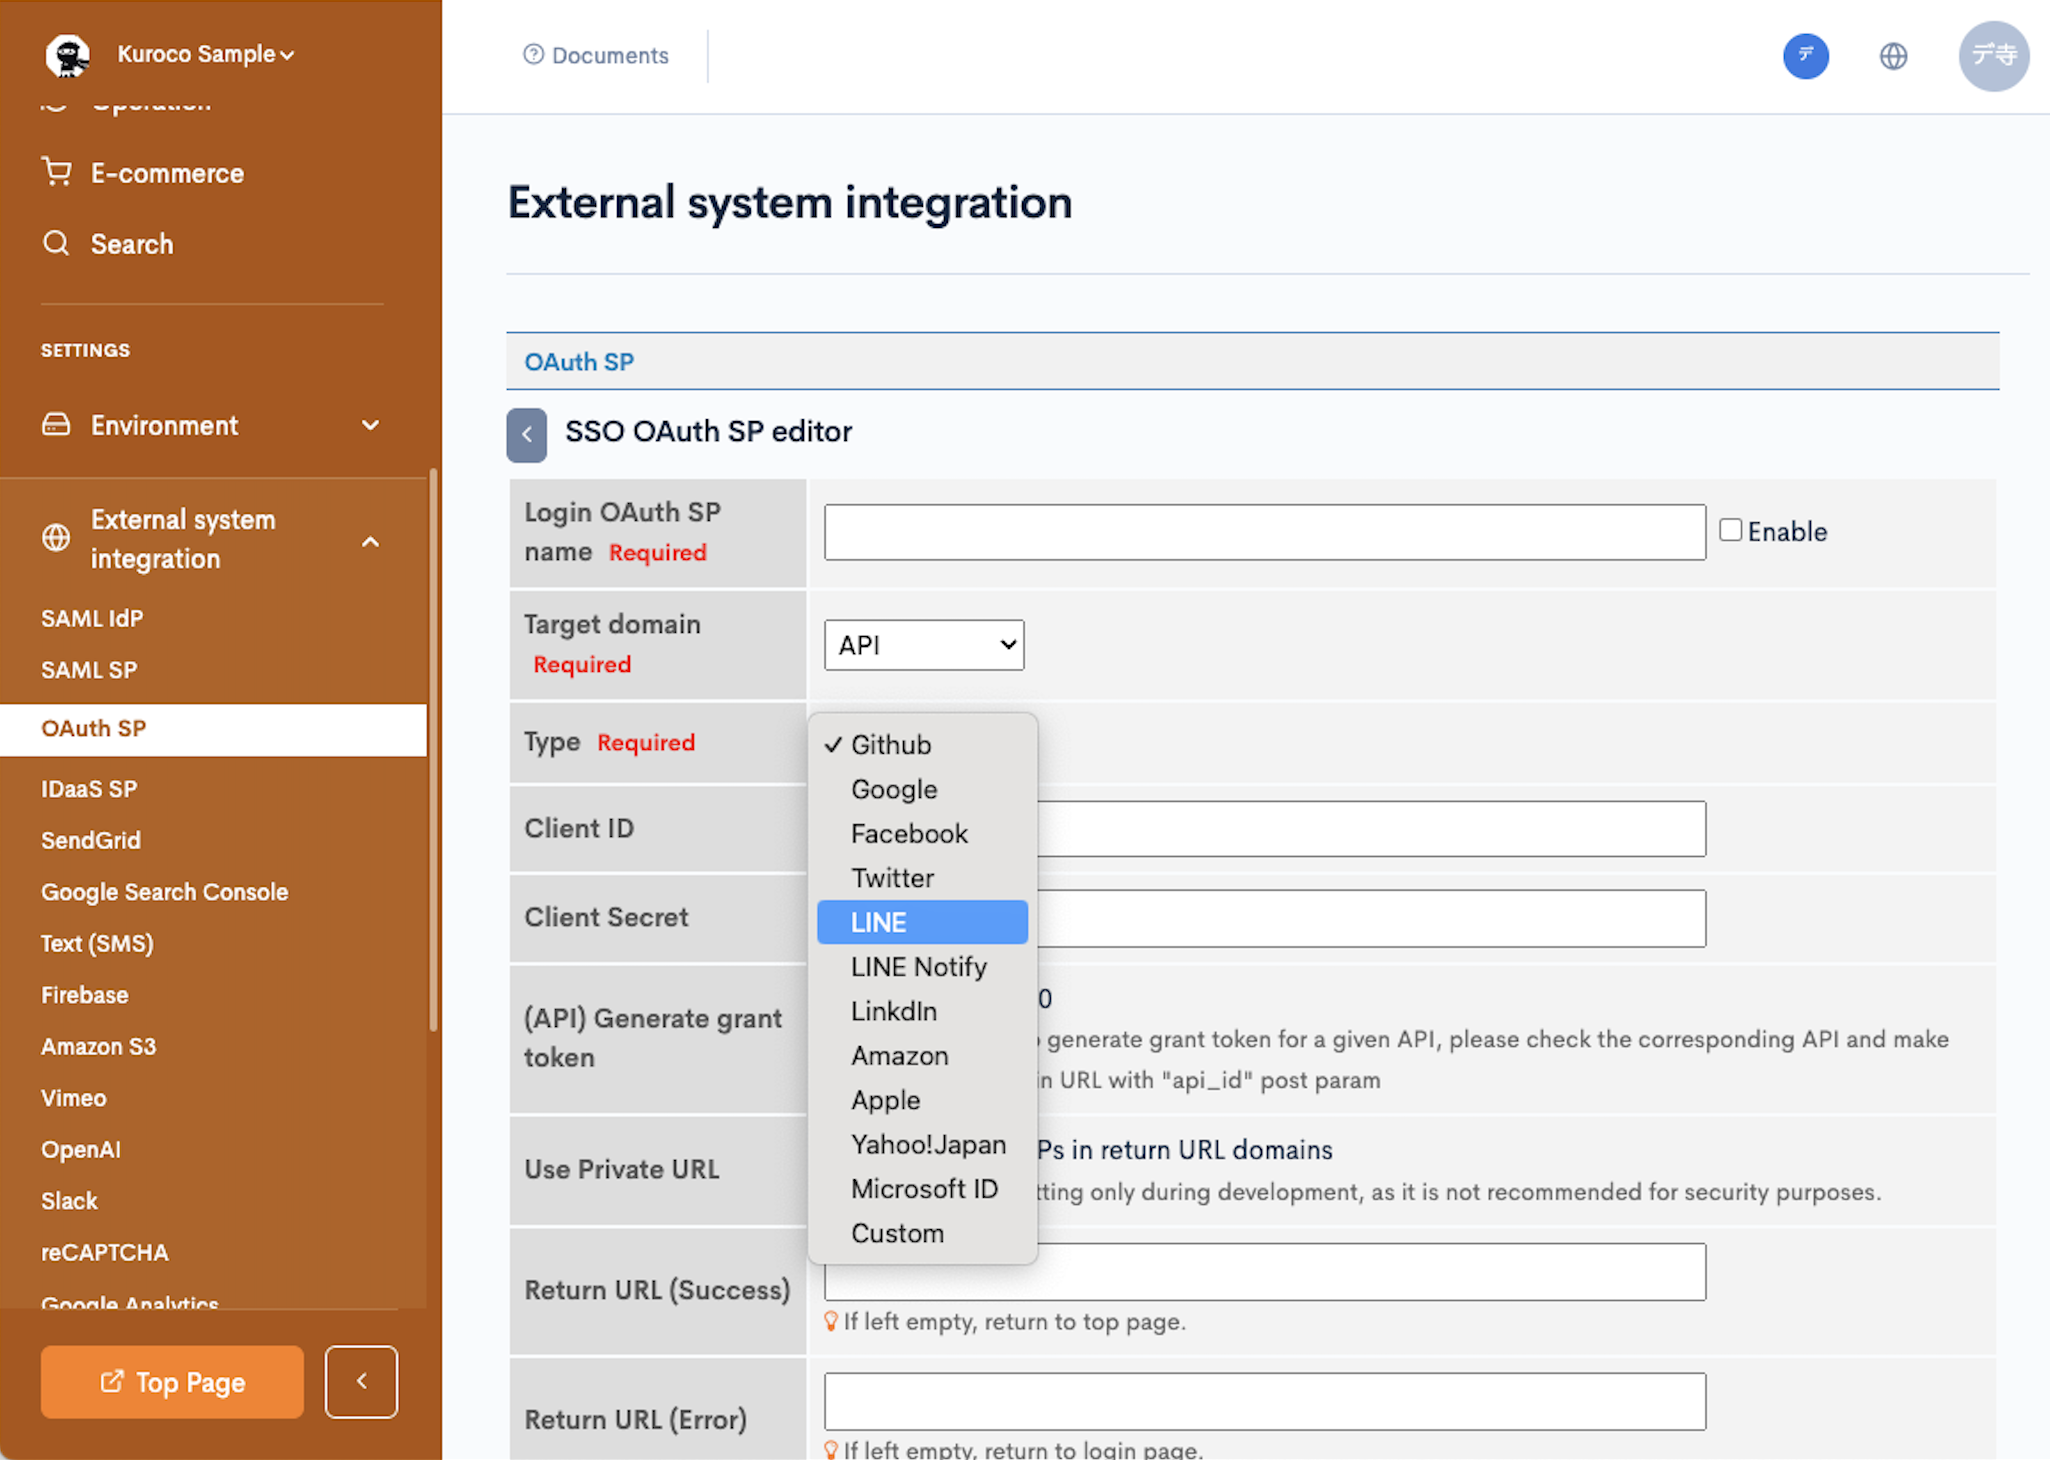
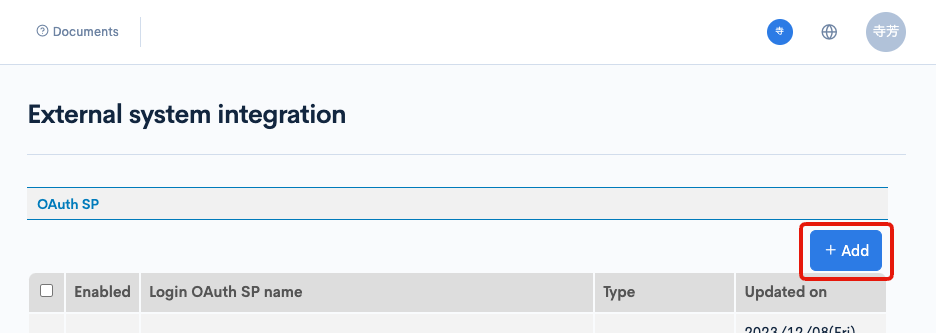
Click the [+ Add] button on the OAuth SP settings screen of Kuroco.
Set the form as follows:
| Item | Setting |
|---|---|
| OAuth SP Name | Set a descriptive name such as LINE (Add Friend to Official Account) |
| Target Domain | API |
| Type | Custom |
| Client ID | (10-digit integer Channel ID of the LINE Login channel) |
| Client Secret | (Channel secret of the LINE Login channel) |
| Authorization URL | https://access.line.me/oauth2/v2.1/authorize?prompt=consent&bot_prompt=aggressive |
| Token URL | https://api.line.me/oauth2/v2.1/token |
| Resource URL | https://api.line.me/v2/profile |
| (For API) Generate Grant Token | Check [For LINE User] |
| Use Private URL | (unchecked) |
| Return URL (Success) | Specify the frontend URL you want to transition to immediately after login |
| Return URL (Error) | (empty) |
| Enable Automatic User Registration | Enable: (checked) Group to be set at registration: LINE Users |
| IDP Mapping with Registration Fields | Map to First Name: displayNameMap to Last Name: displayNameUse Name Splitter: (checked) |
| Store ID in Member Extended Item Instead of Using Email | Enable: (checked) IDP OpenID Key: userIdMember Extended Item to Store ID: LINE ID |
| Required Data Scope | profileopenId |
| Scope Separator | Space ' ' |
| Save User Access Token | (unchecked) |
| Send Client Secret in Basic Authentication Header | (unchecked) |
| Do Not Send Authorization Prompt Parameters | (unchecked) |
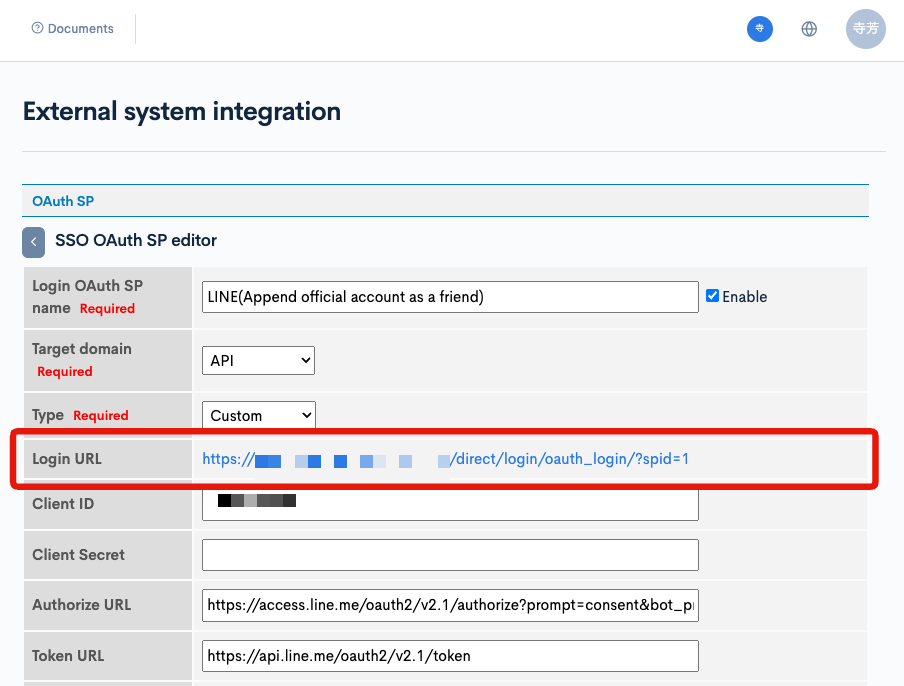
Setting Callback URL
When you open the external system integration editing screen again, you will see the [Login URL] as shown below, so please keep it handy.
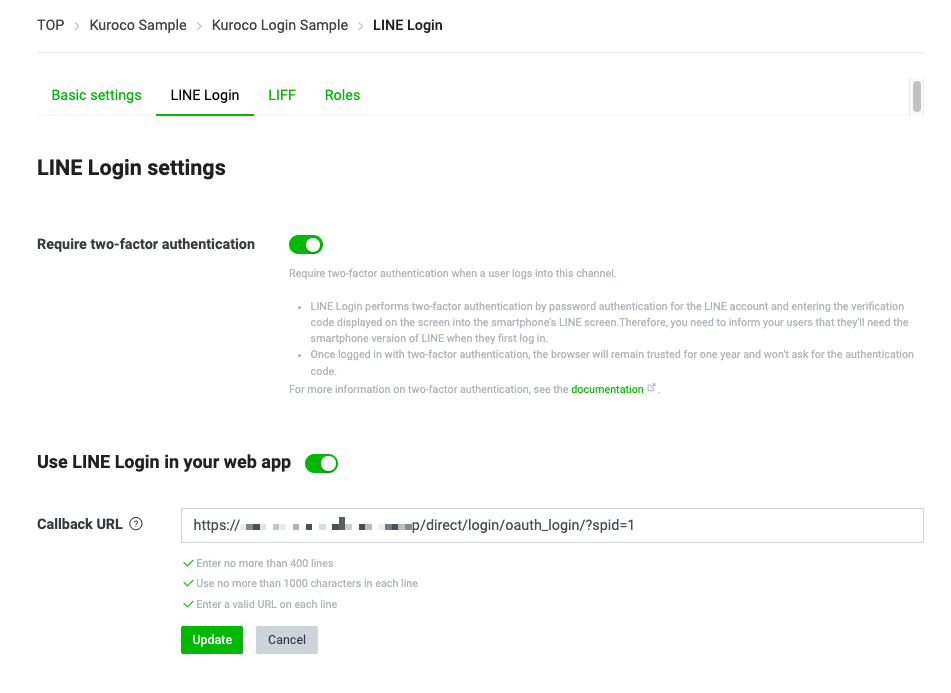
To open the [LINE Login Settings] tab, go to the login channel settings page in the LINE Developer Console. Enter the [Login URL] that you saved earlier in the [Callback URL] field, and click [Update].
That's all for the settings.
Verification
Access the [Login URL] mentioned above using your device or any other means.
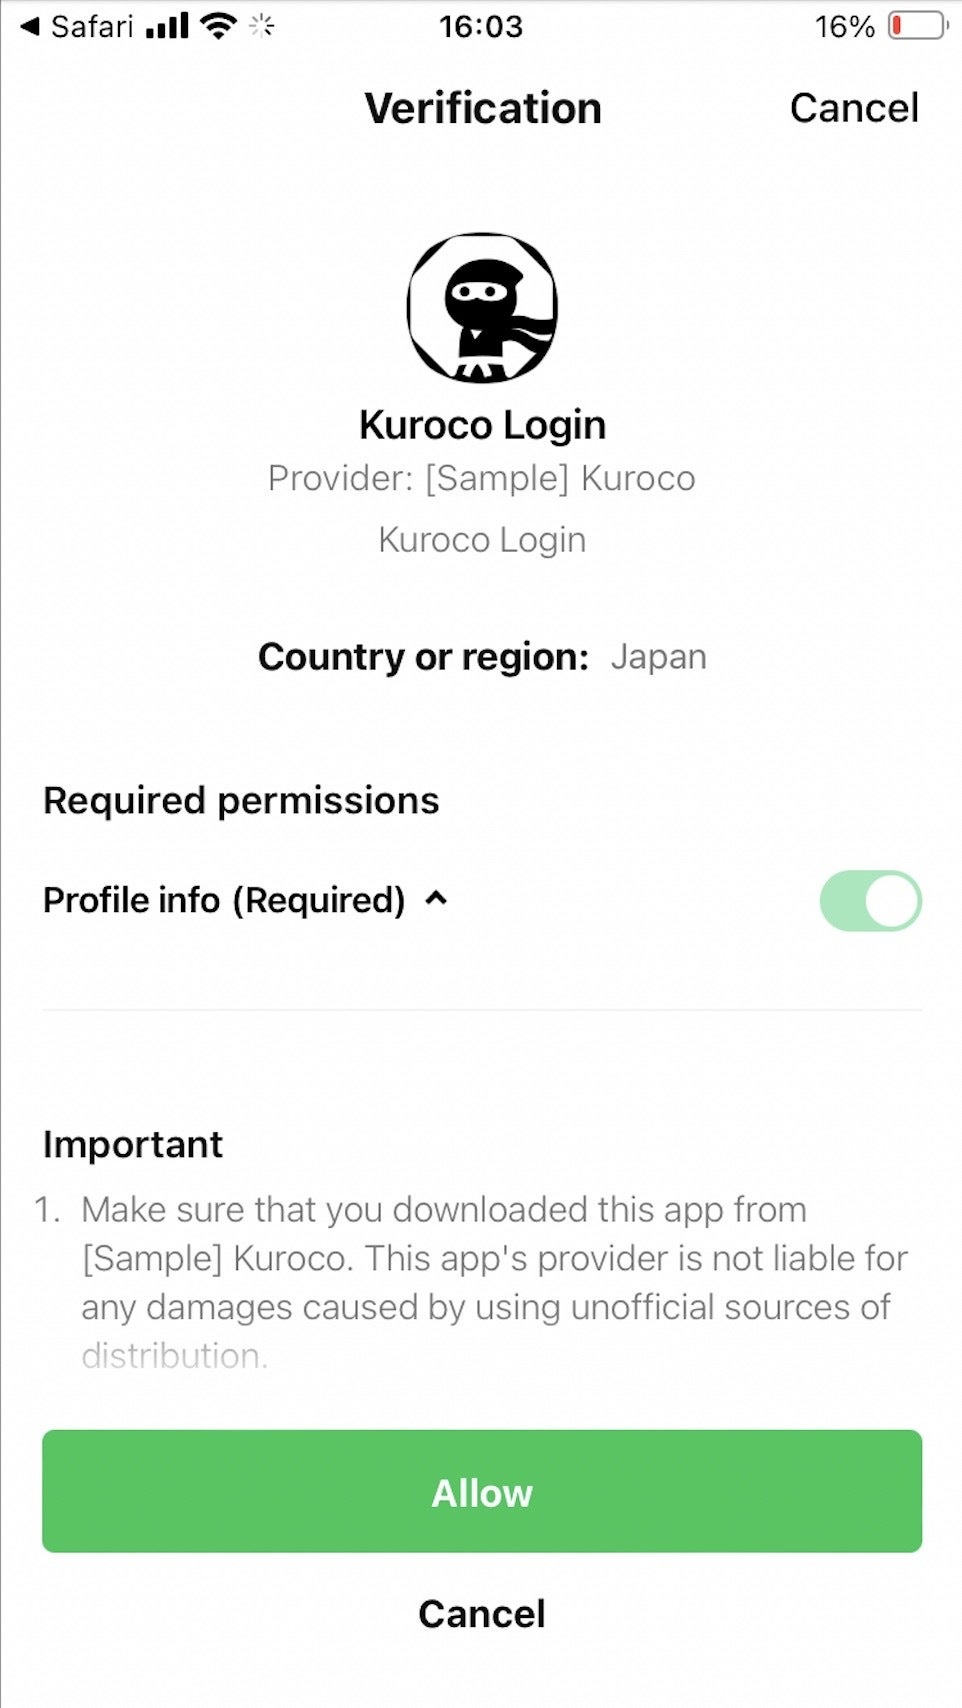
After the LINE Login consent screen, you will see the [Add Friend] button.
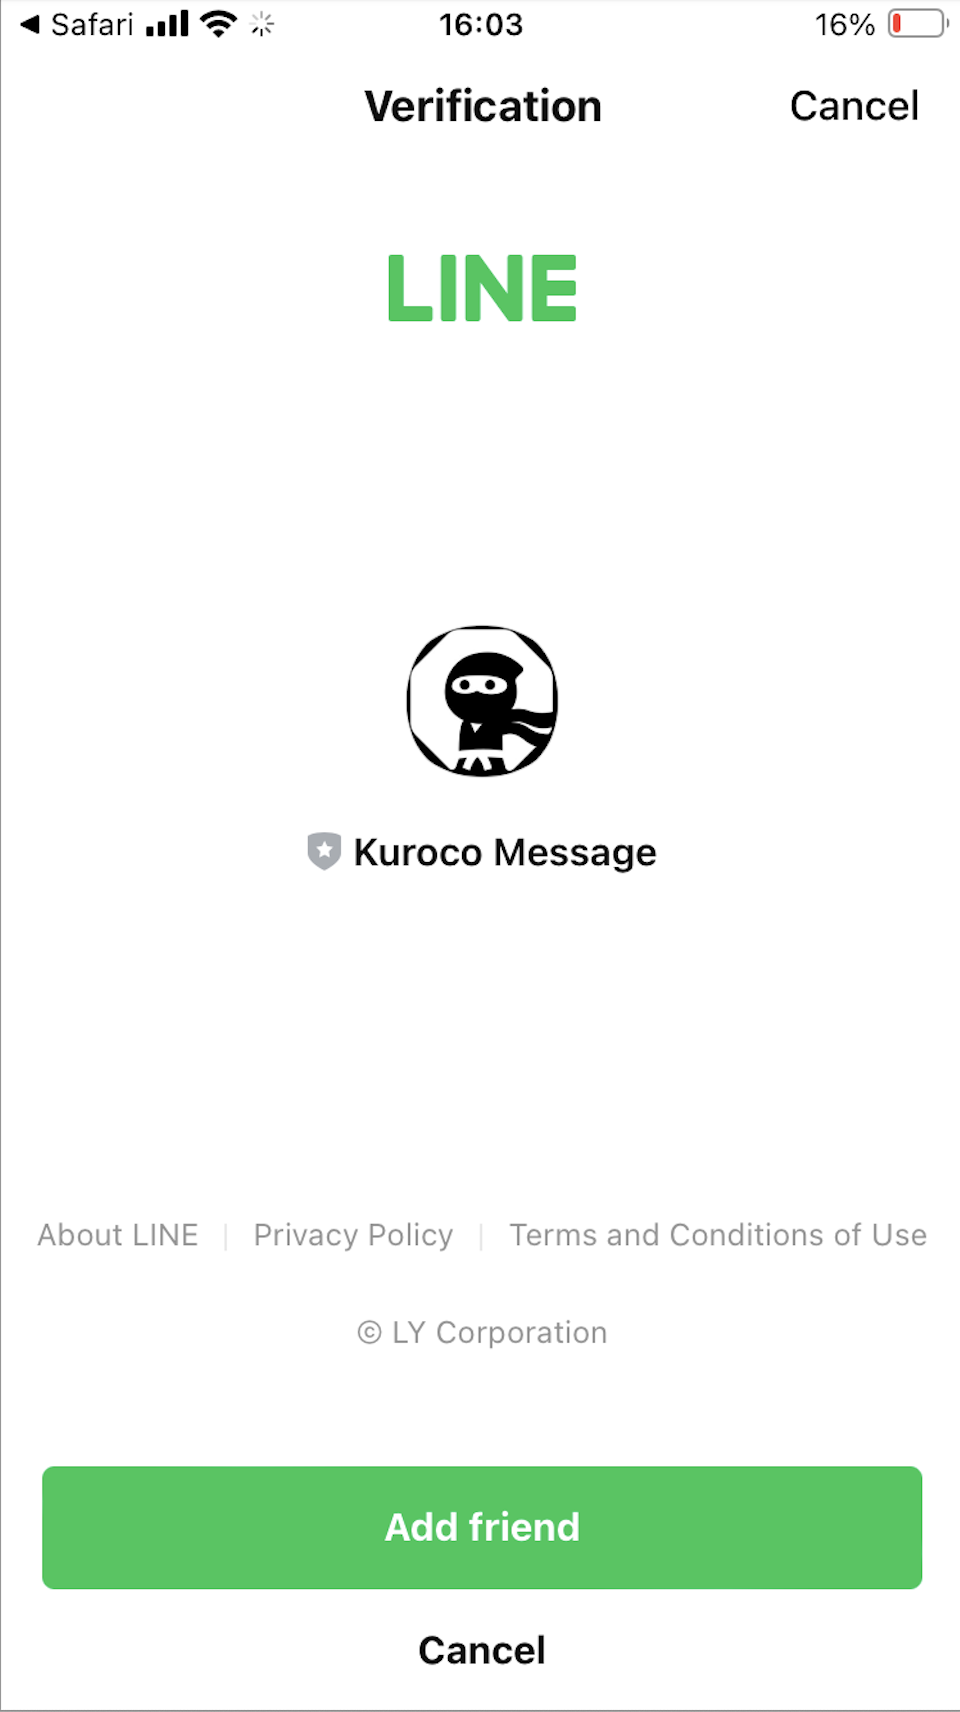
Clicking the [Add Friend] button will add the official account as a friend and redirect you to the URL set in [Return URL (Success)].
Related Documents
Support
If you have any other questions, please contact us or check out Our Slack Community.