Integrating and storing files with Amazon S3
Overview
This tutorial explains how to work with Amazon Simple Storage Service (Amazon S3). Integration with this service enables images and video files uploaded from Kuroco to be stored and used in the cloud.
Amazon S3 settings
Create buckets
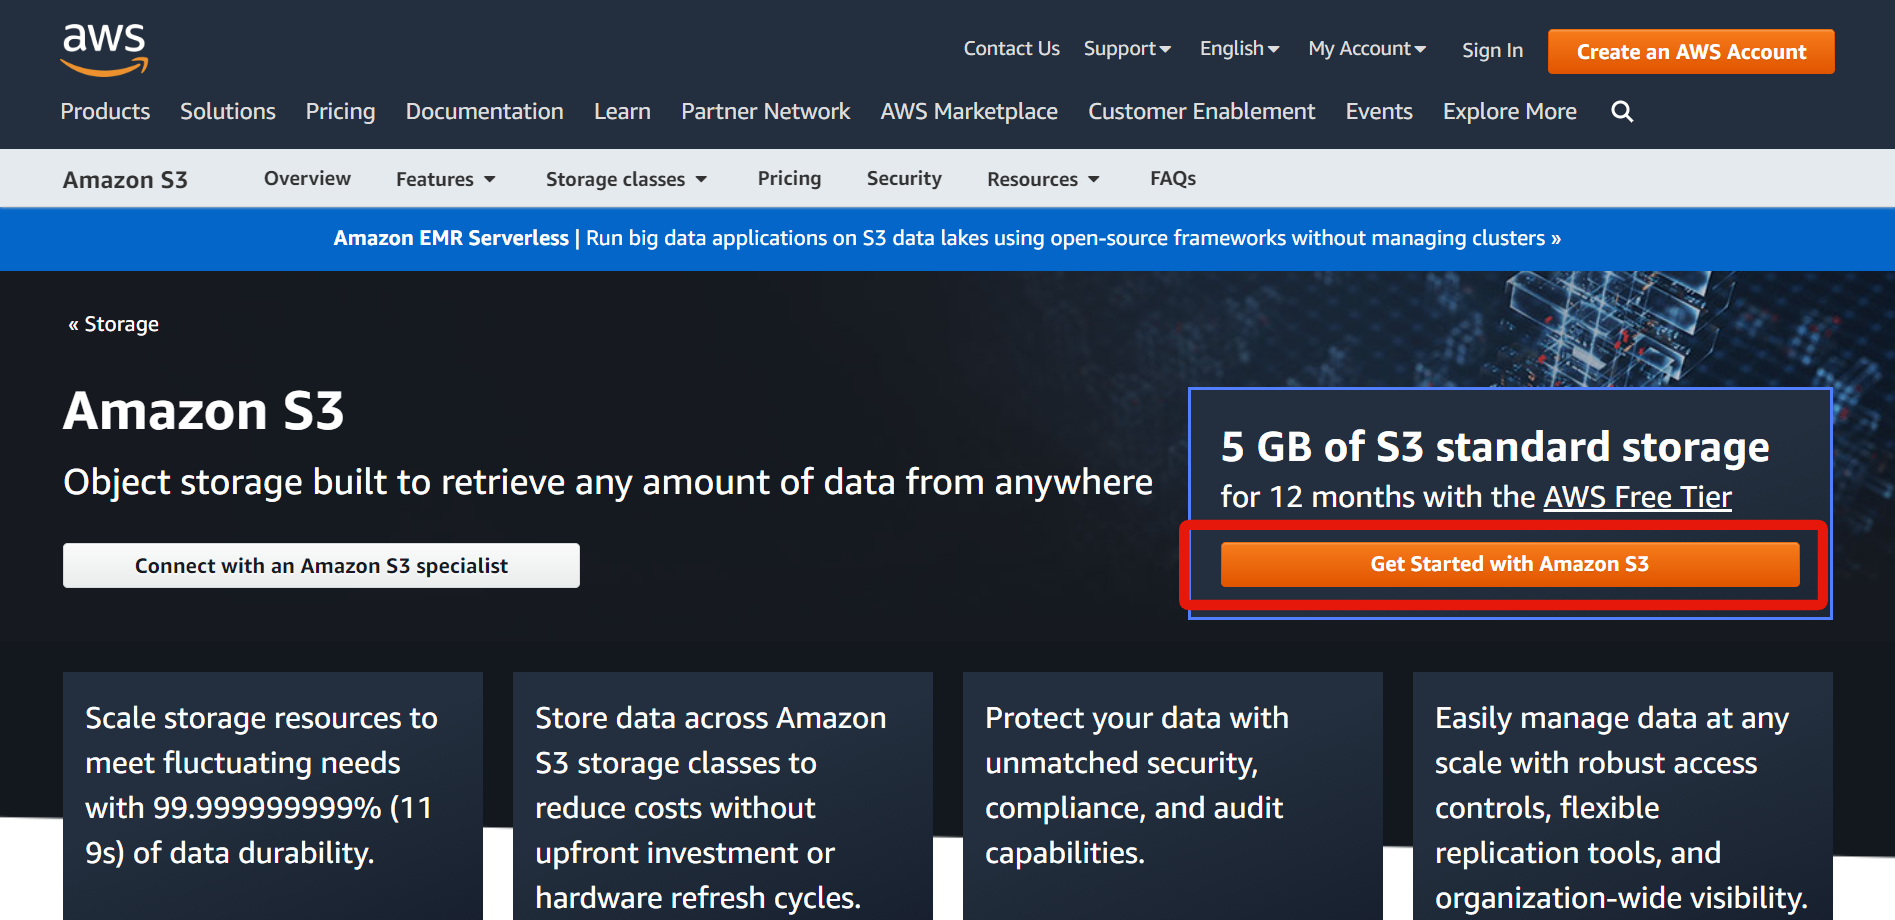
Go to the Amazon S3 landing page and click [Get Started with Amazon S3].
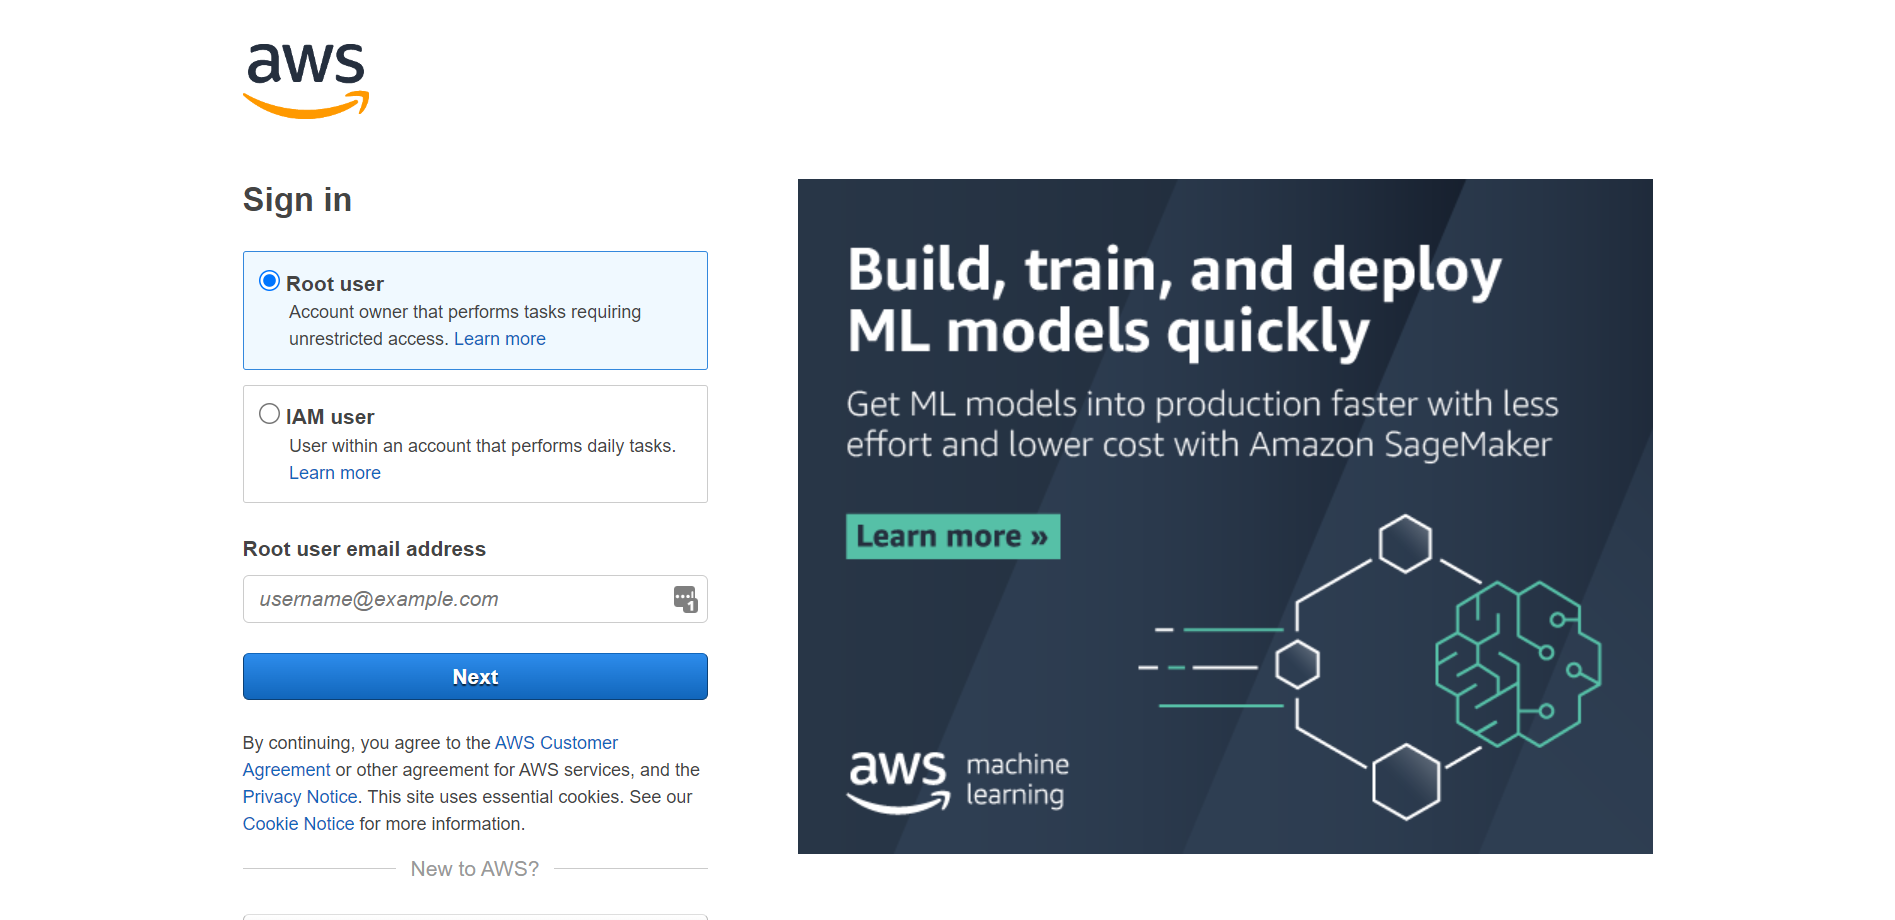
Sign in as a root user.
If you do not have an AWS account, sign up here.
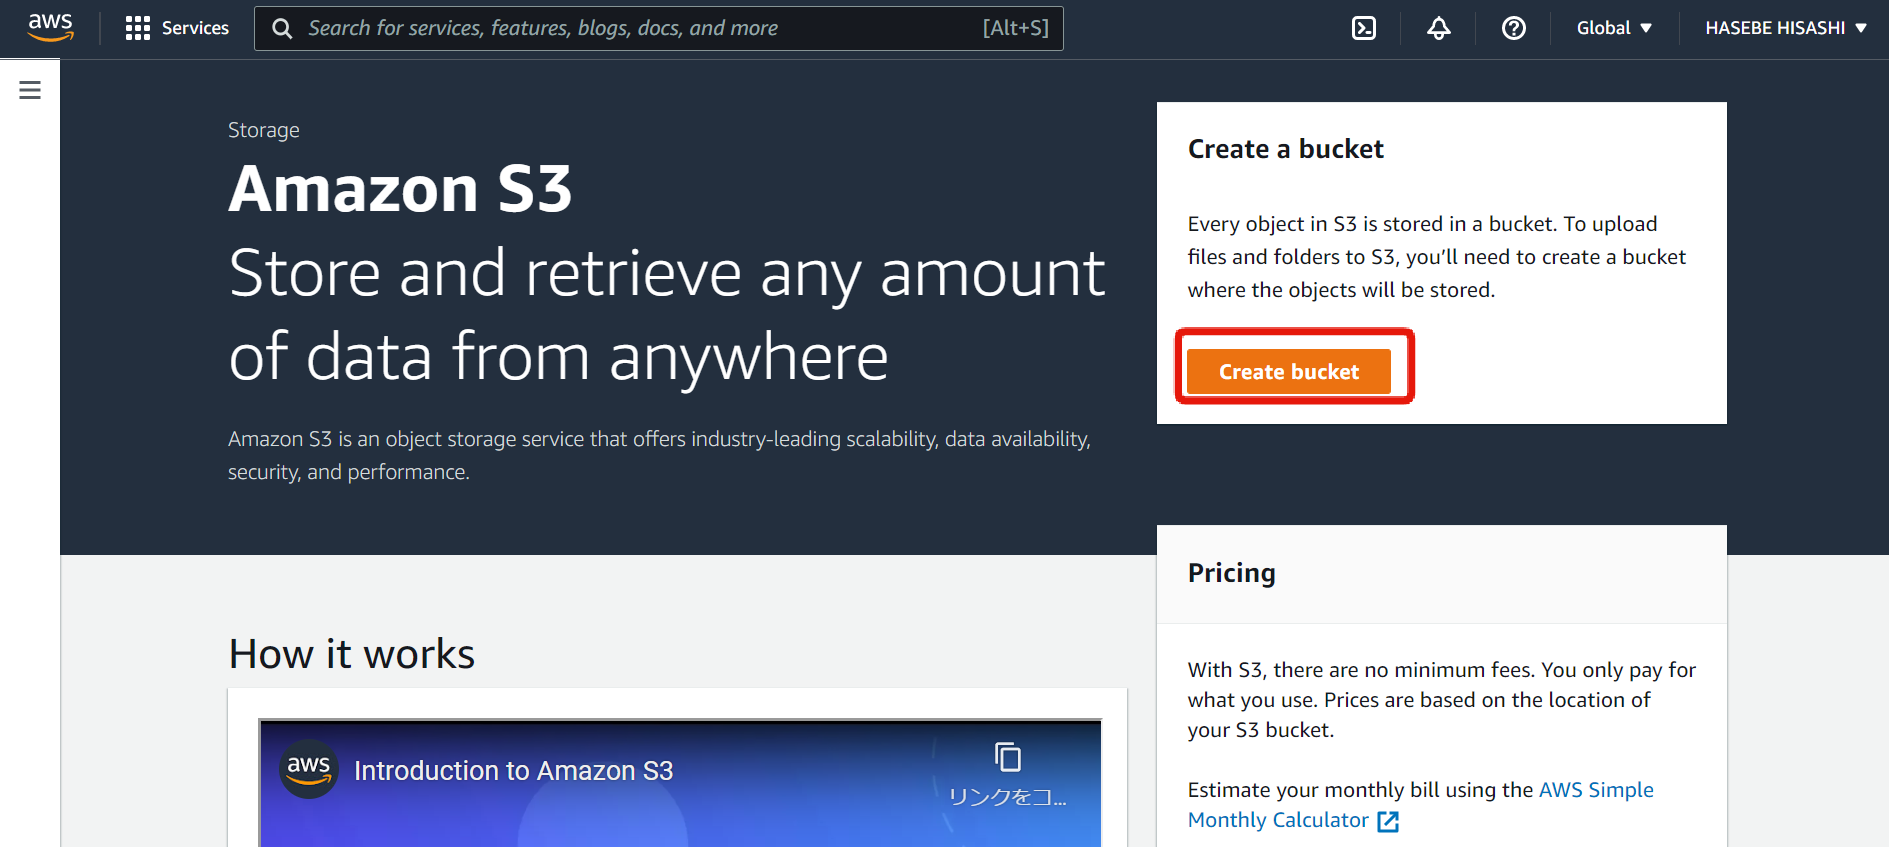
On the landing page, click [Create bucket].
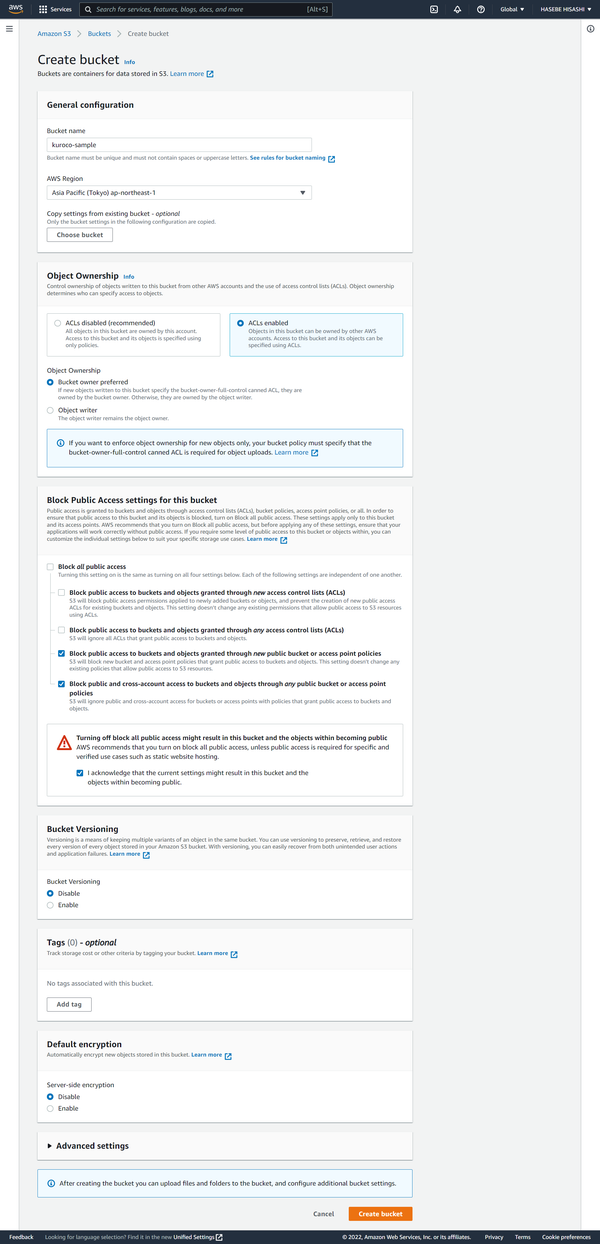
Input the following on the settings page and click [Create bucket] at the bottom.
| Field | Value |
|---|---|
| Bucket name | Enter your desired name (for this tutorial, we are using kuroco-sample).*Do not use a .(dot) in the bucket name. |
| AWS Region | Select "Asia Pacific (Tokyo) ap-northeast-1". |
| Object Ownership | Select "ACLs enabled" and "Bucket owner preferred". |
| Block Public Access settings for this bucket | Select only the following options:
|
| Turning off all public access blocks might result in this bucket and the objects within becoming public | Select [I acknowledge that the current settings might result in this bucket and the objects within becoming public]. |
Cross-origin resource sharing (CORS) settings
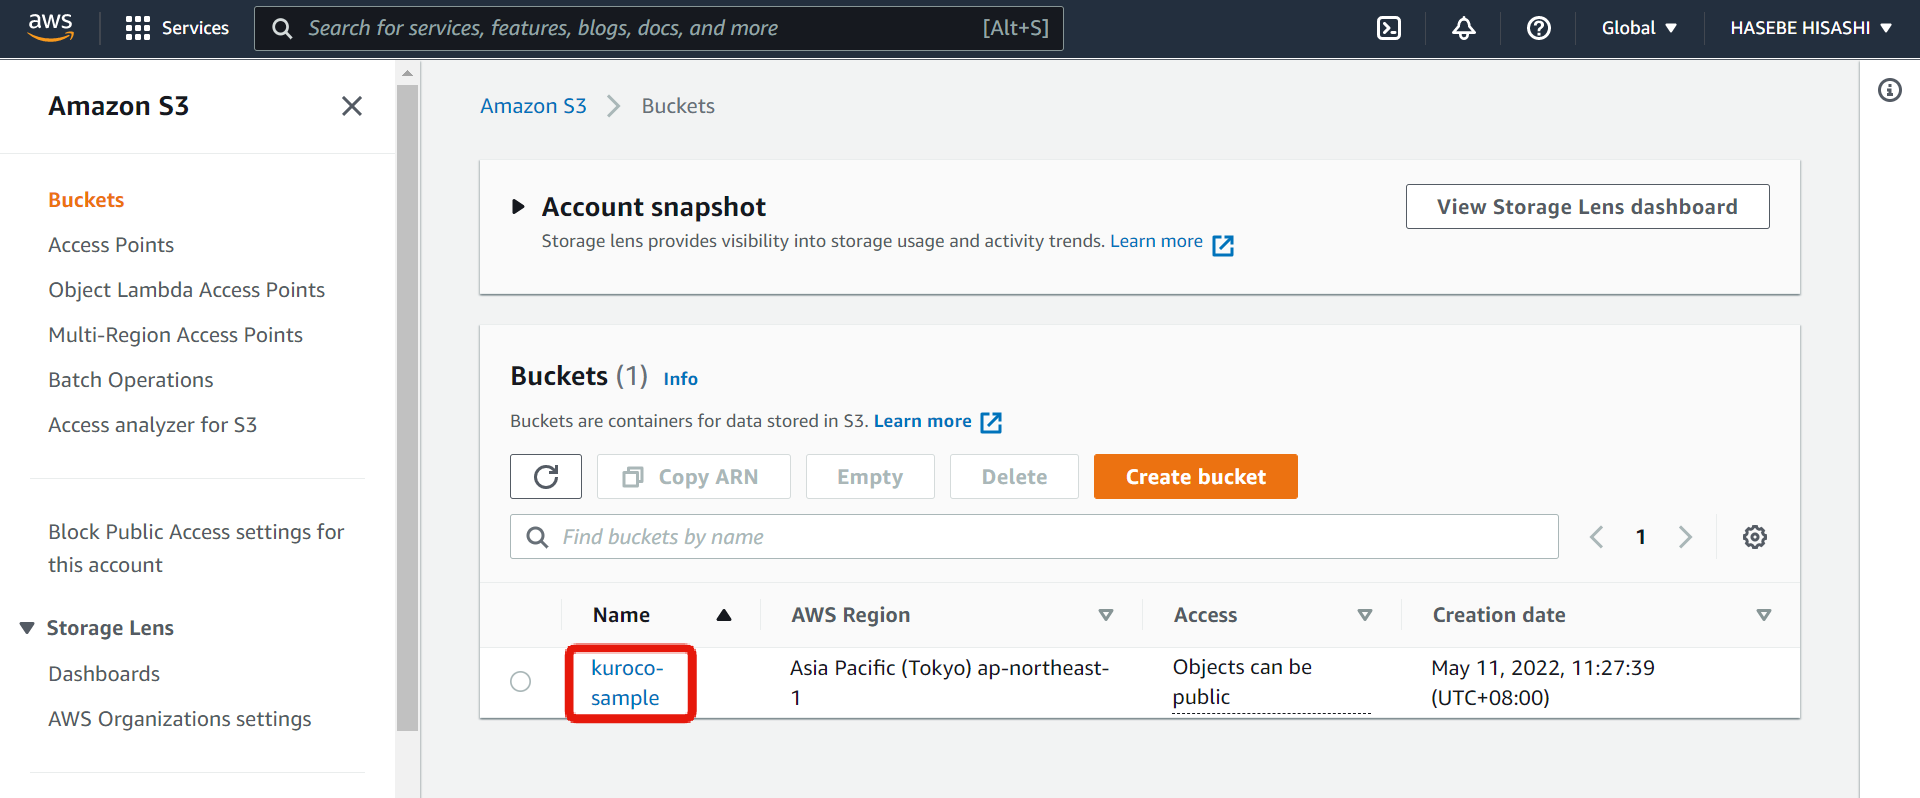
The next step is to configure the CORS settings for Amazon S3. On the "Buckets" page, click the name of the bucket you created earlier.
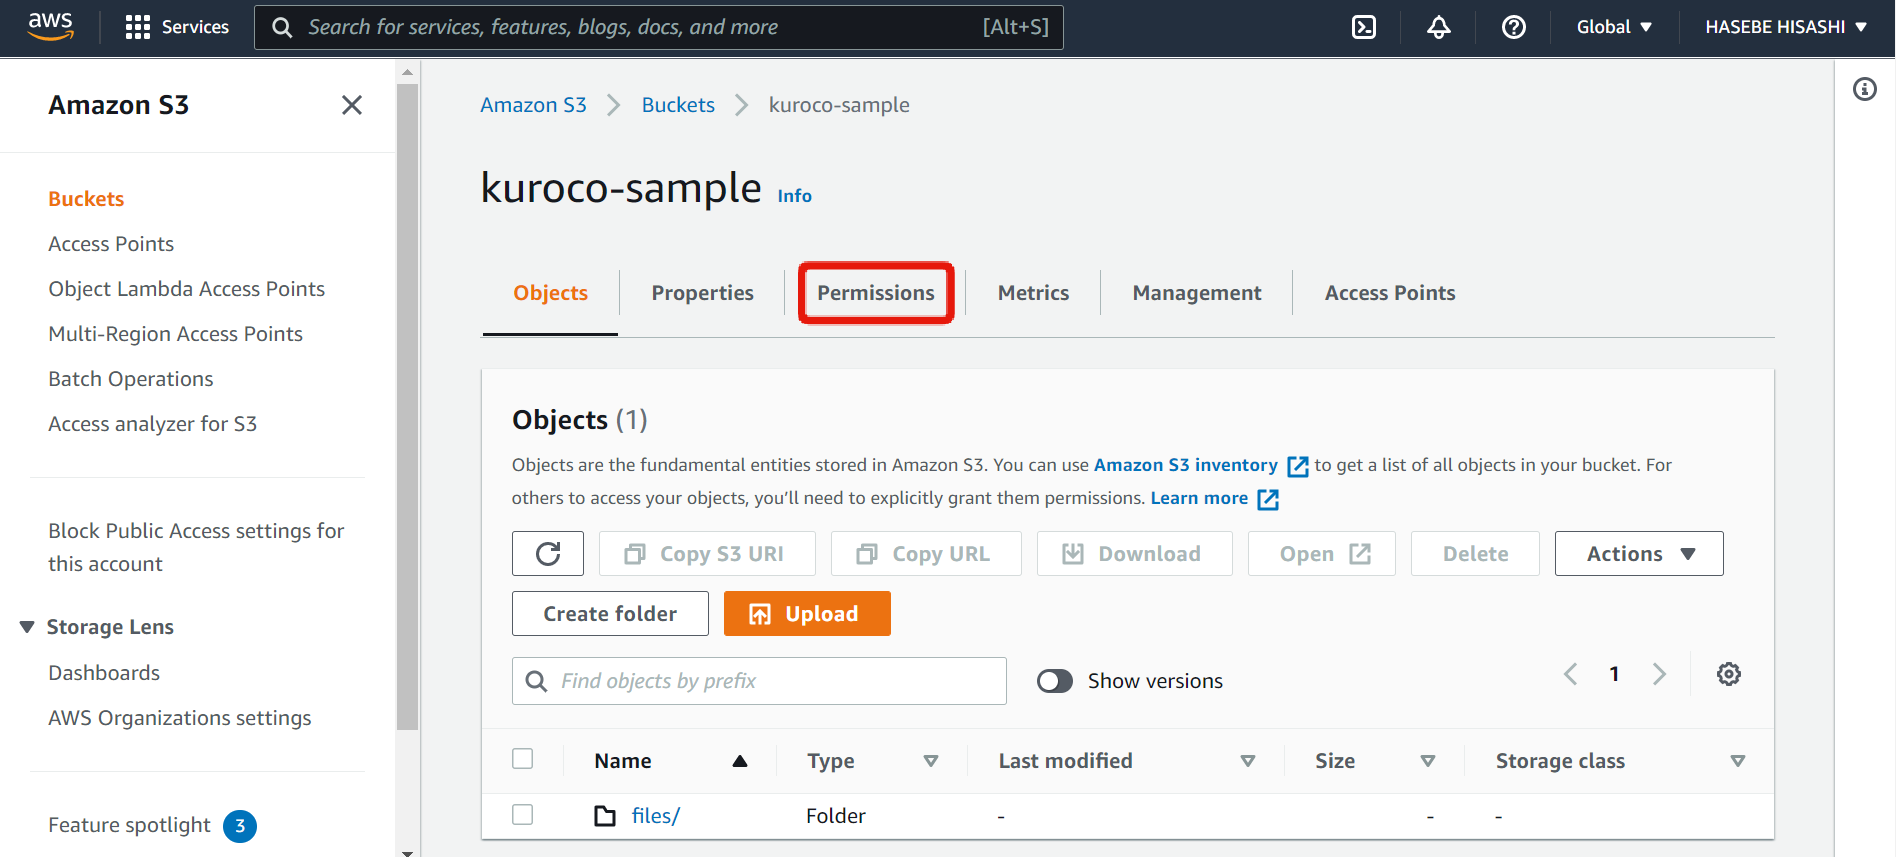
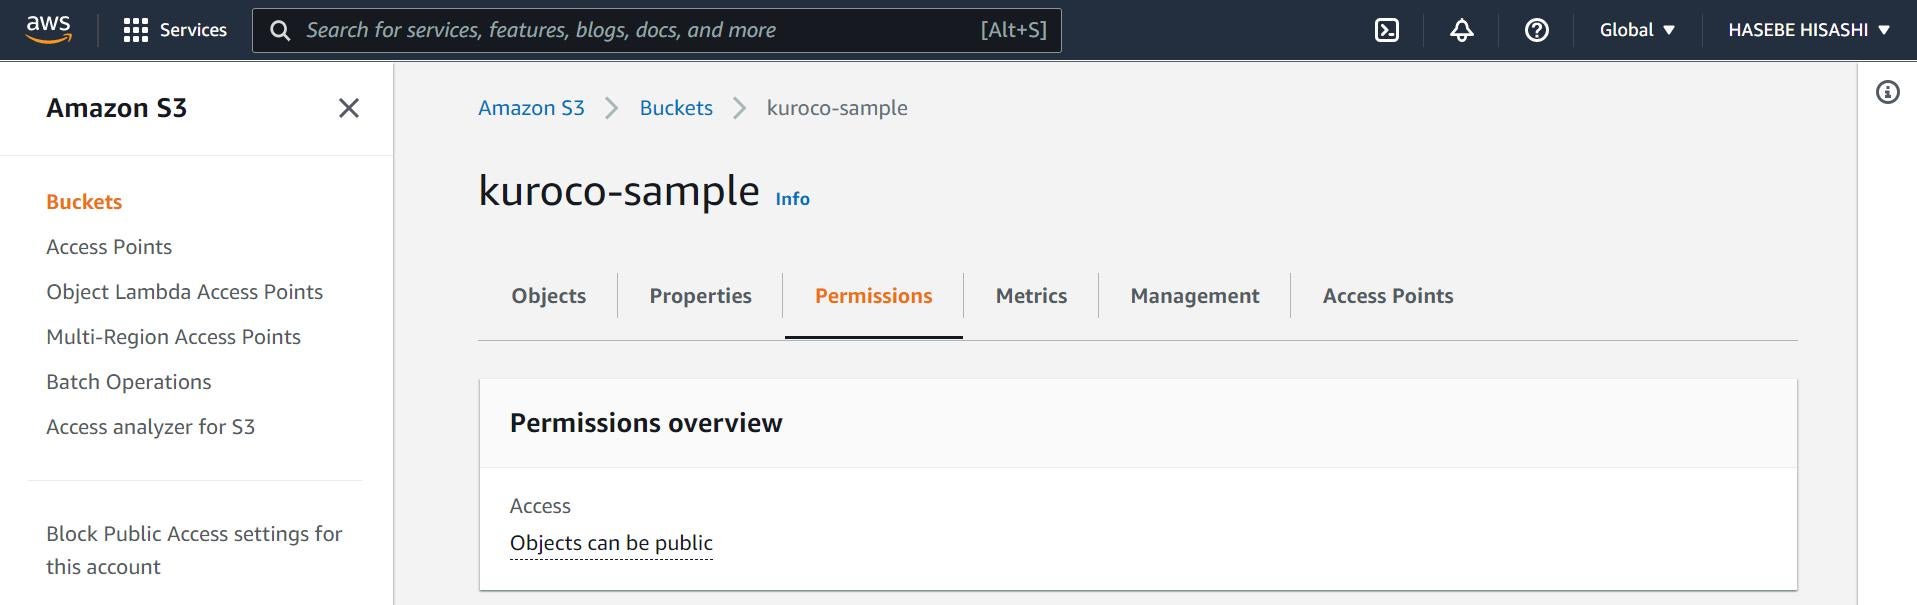
Click the [Permissions] tab.
Under "Cross-origin resource sharing (CORS)", click [Edit].

Input the code below on the "Edit cross-origin resource sharing (CORS)" page:
[
    {
        "AllowedHeaders": [
            "Content-Type",
            "x-amz-acl",
            "x-amz-meta-*",
            "Origin"
        ],
        "AllowedMethods": [
            "GET",
            "POST",
            "HEAD"
        ],
        "AllowedOrigins": [
            "https://****.g.kuroco-mng.app"
        ],
        "ExposeHeaders": [],
        "MaxAgeSeconds": 3000
    }
]
Make sure to substitute https://****.g.kuroco-mng.app with your own Kuroco admin panel URL.
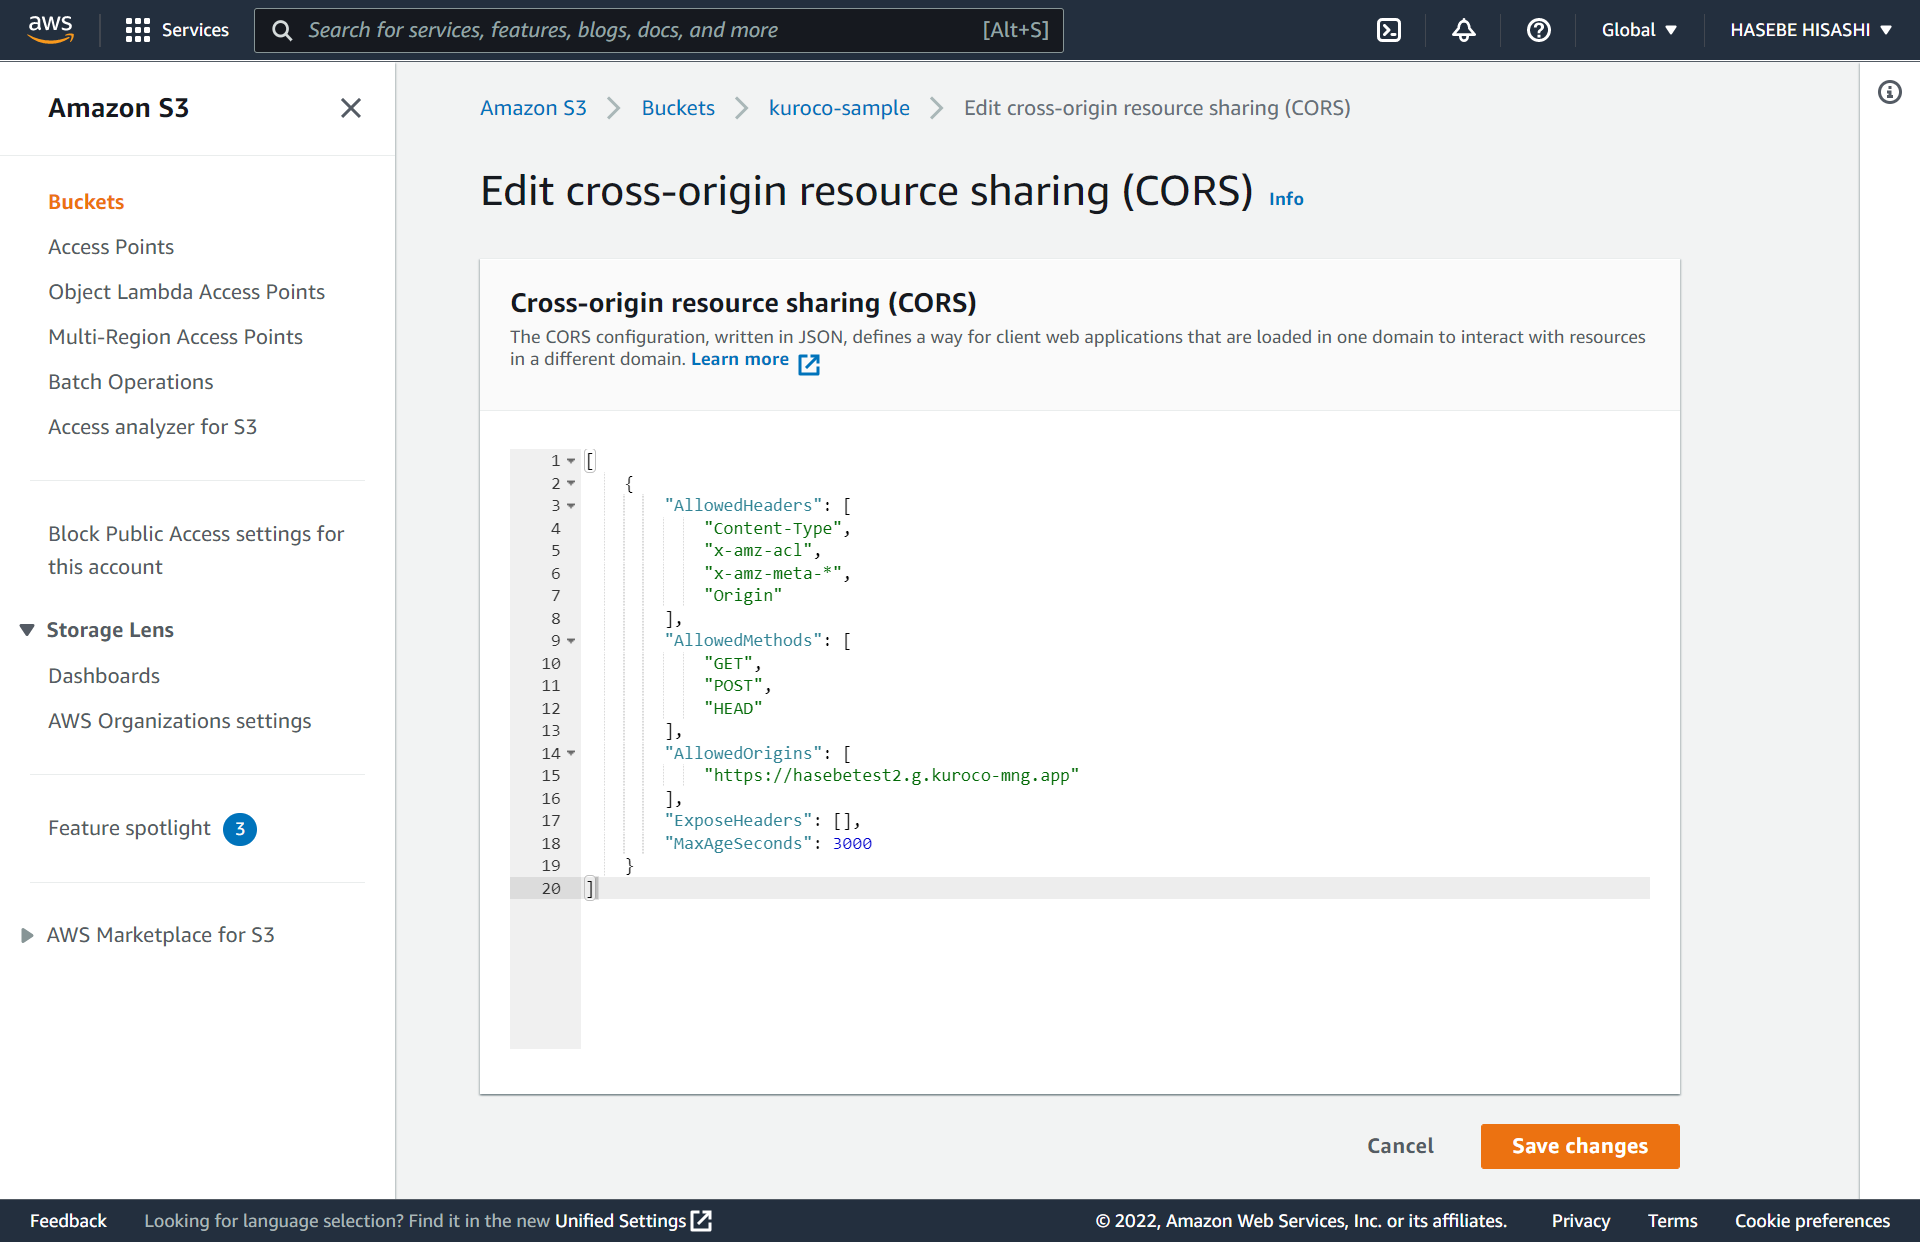
Click [Save changes] when you are done.
Create your policy
Now, create a policy and specify the permissions you want to grant Kuroco.
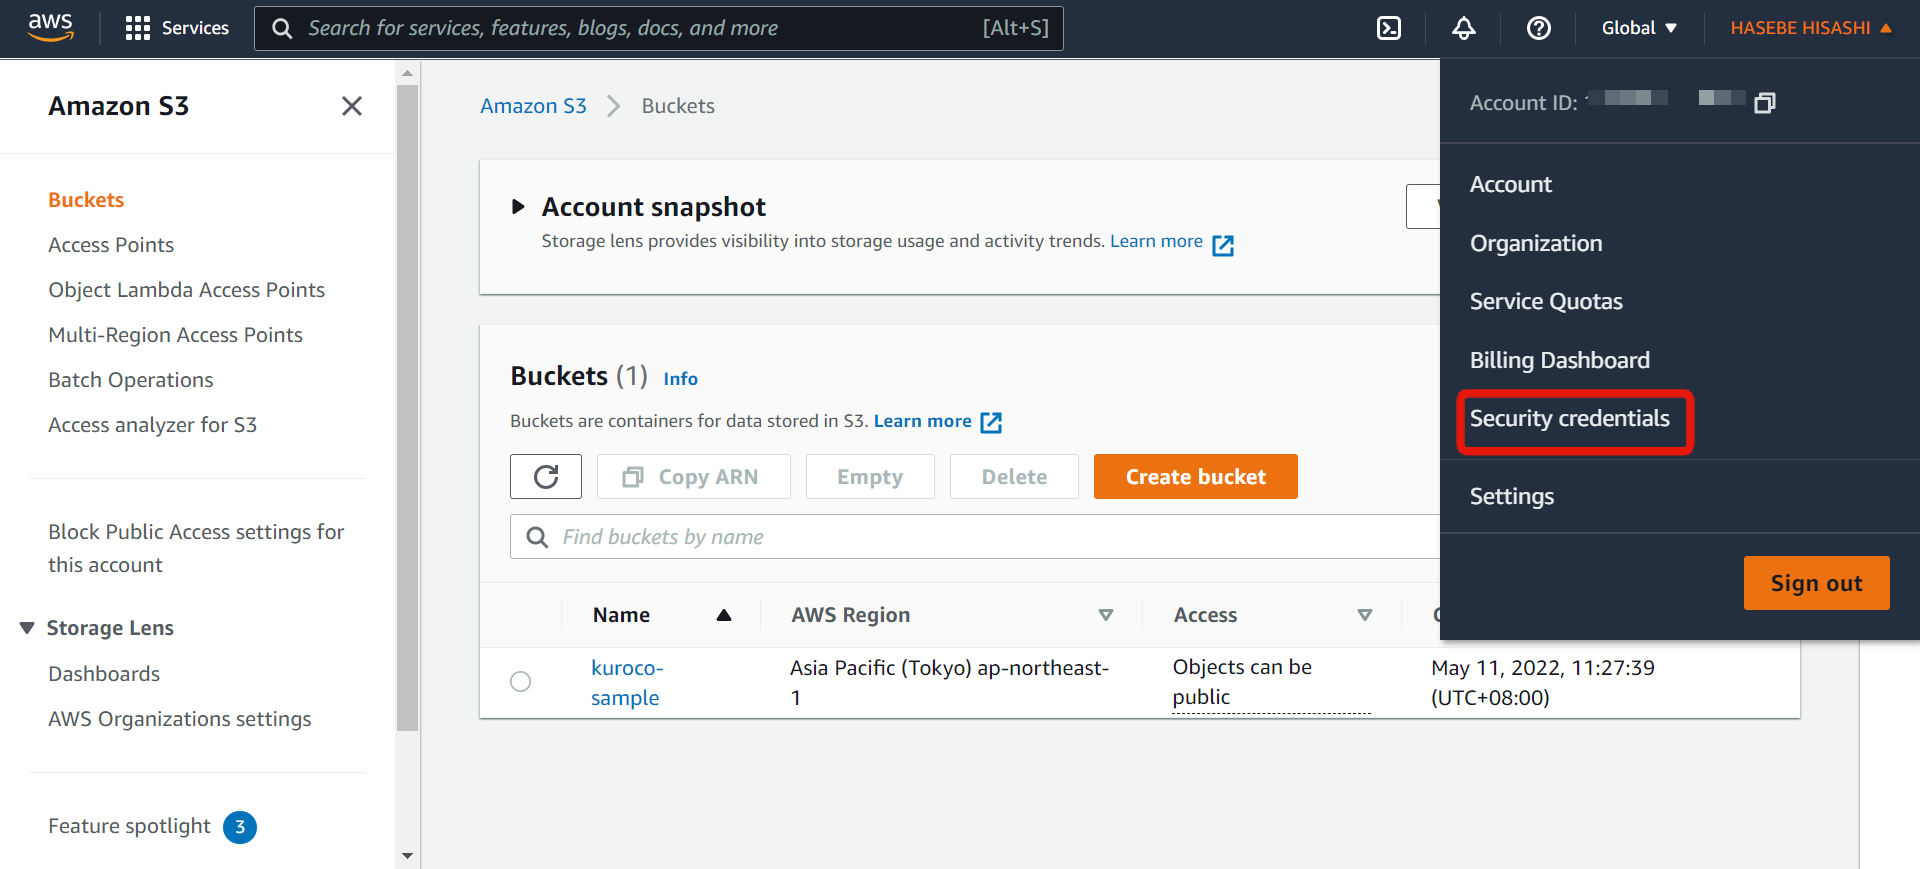
Click your name in the upper right corner and select [Security credentials] in the dropdown menu.
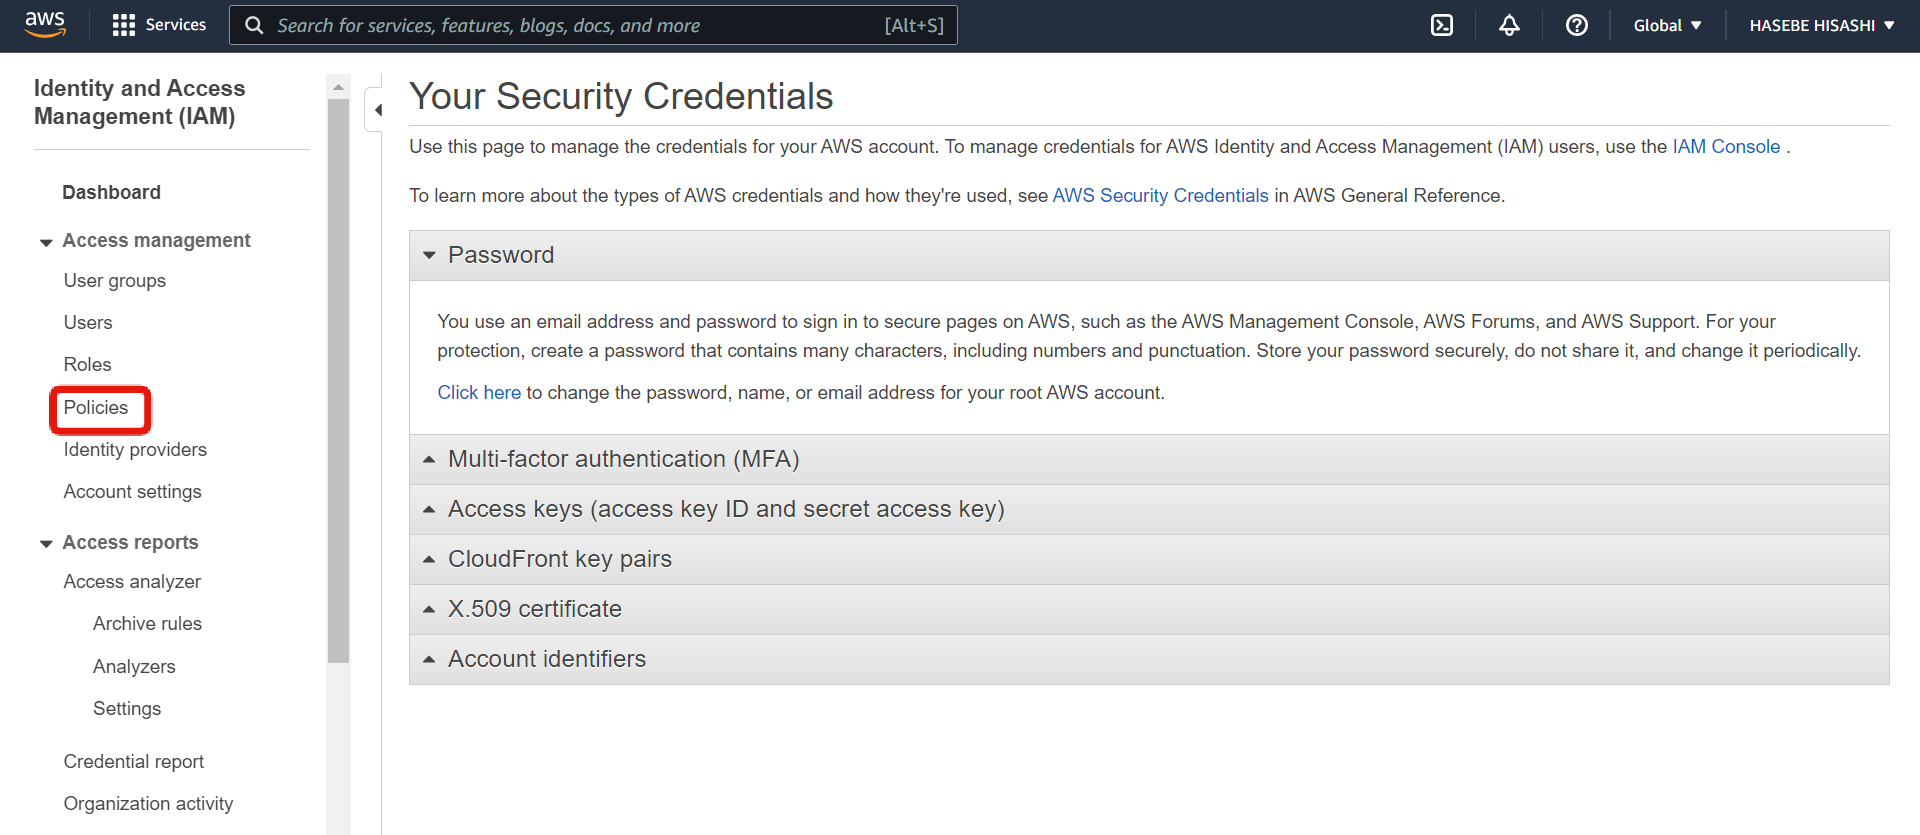
In the left sidebar menu, select [Policies].
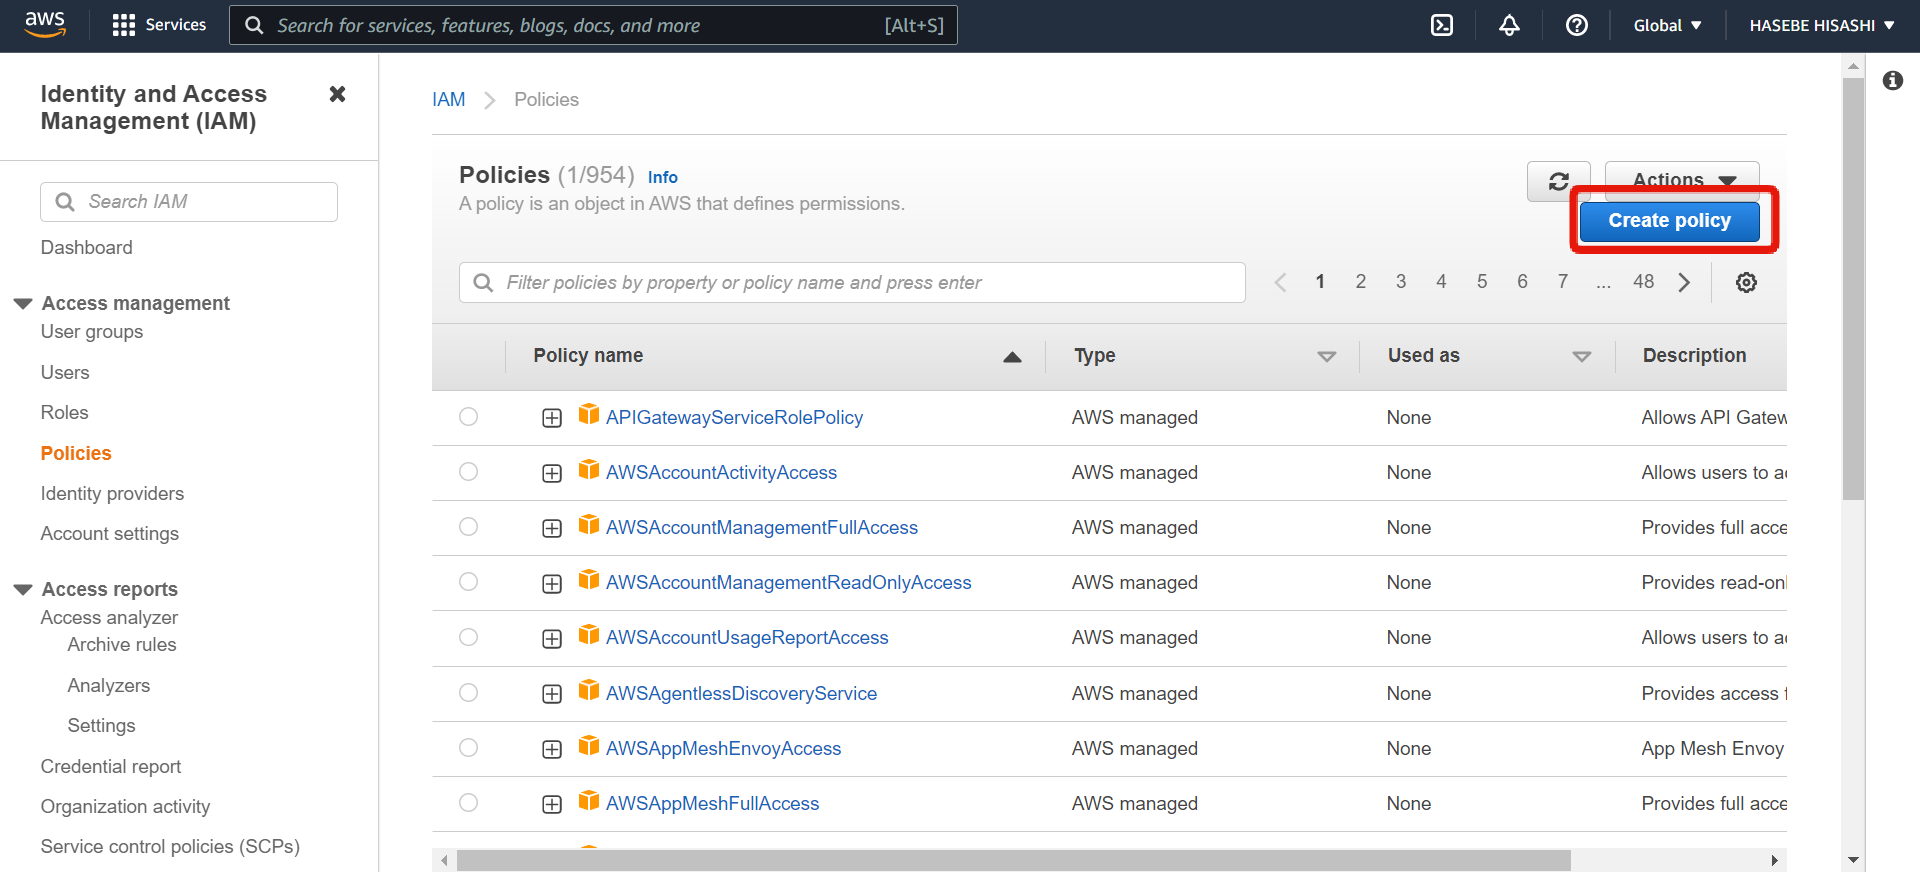
Click [Create policy].
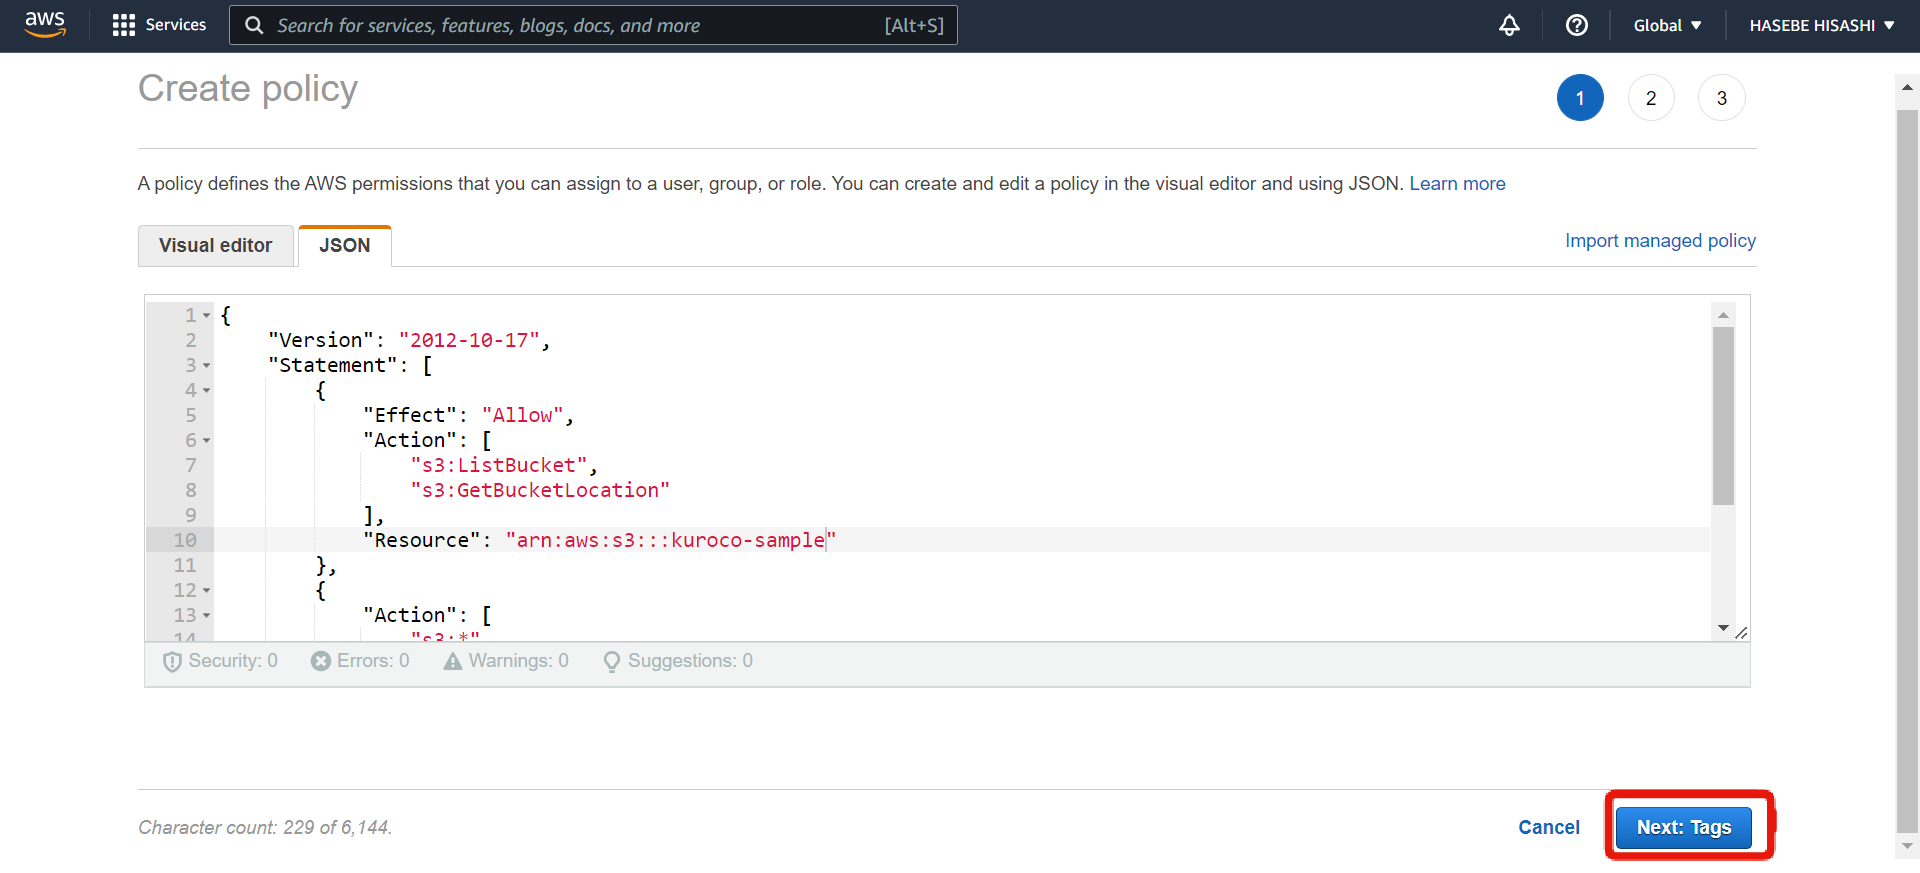
On the "Create policy" page, enter the following code in the JSON tab:
{
    "Version": "2012-10-17",
    "Statement": [
        {
            "Effect": "Allow",
            "Action": [
                "s3:ListBucket",
                "s3:GetBucketLocation"
            ],
            "Resource": "arn:aws:s3:::%%yourbucket%%"
        },
        {
            "Action": [
                "s3:*"
            ],
            "Effect": "Allow",
            "Resource": [
                "arn:aws:s3:::%%yourbucket%%/*"
            ]
        }
    ]
}
Substitute %%%yourbucket%% in the code above with your own bucket name (kuroco-sample in this tutorial).
When you are done, click [Next: Tags].
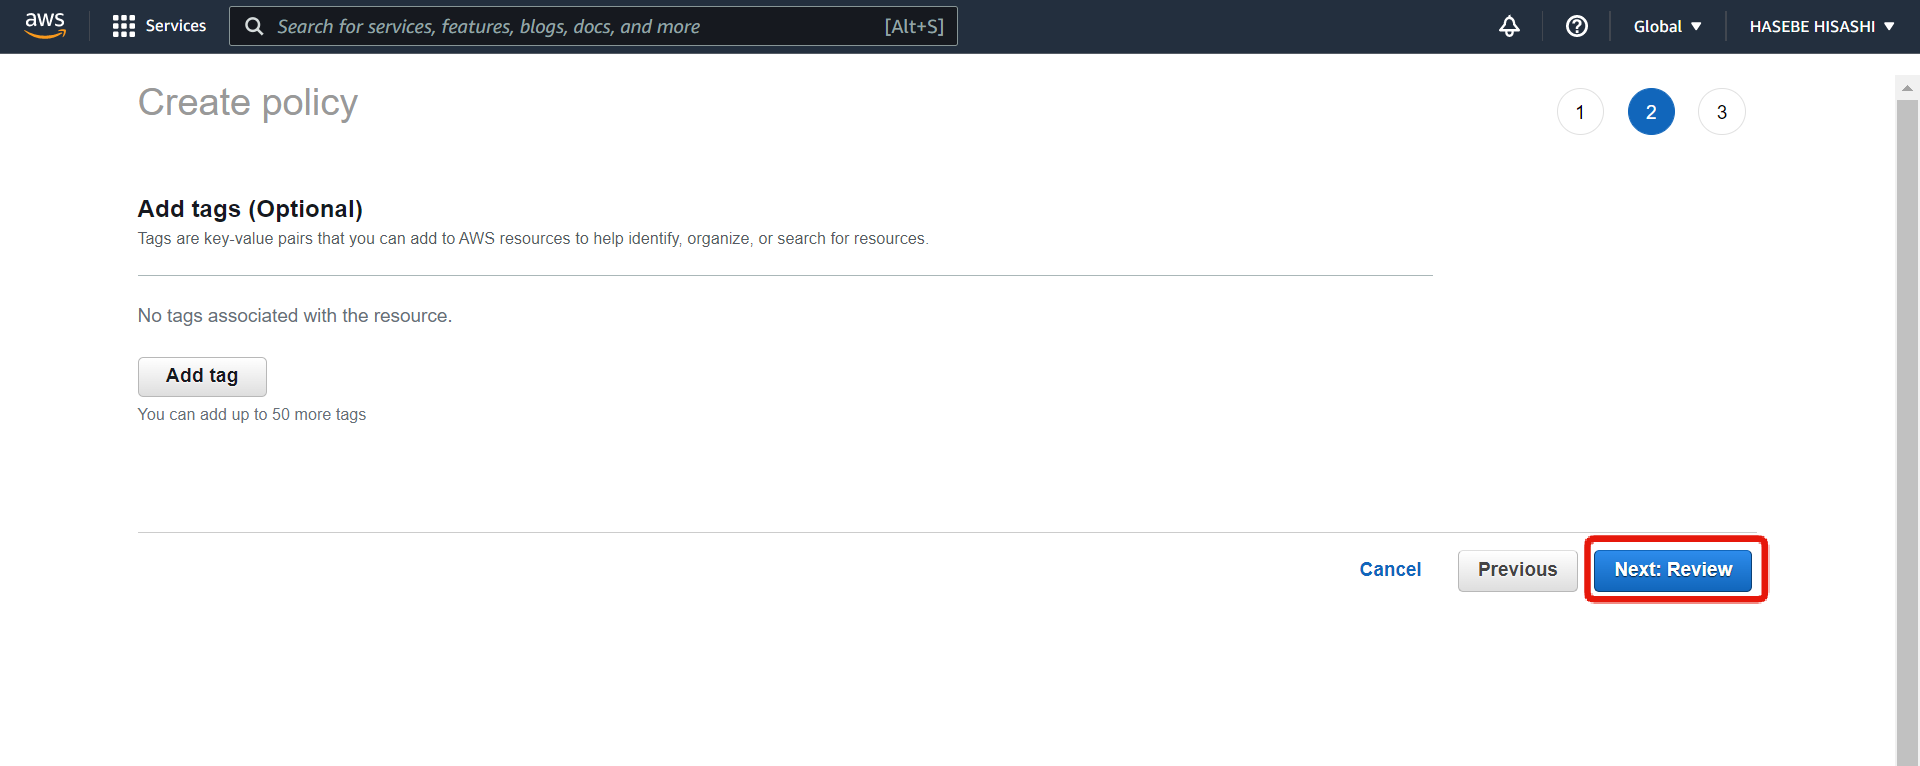
Since you do not need any tags, click [Next: Review] to proceed directly to the next page.
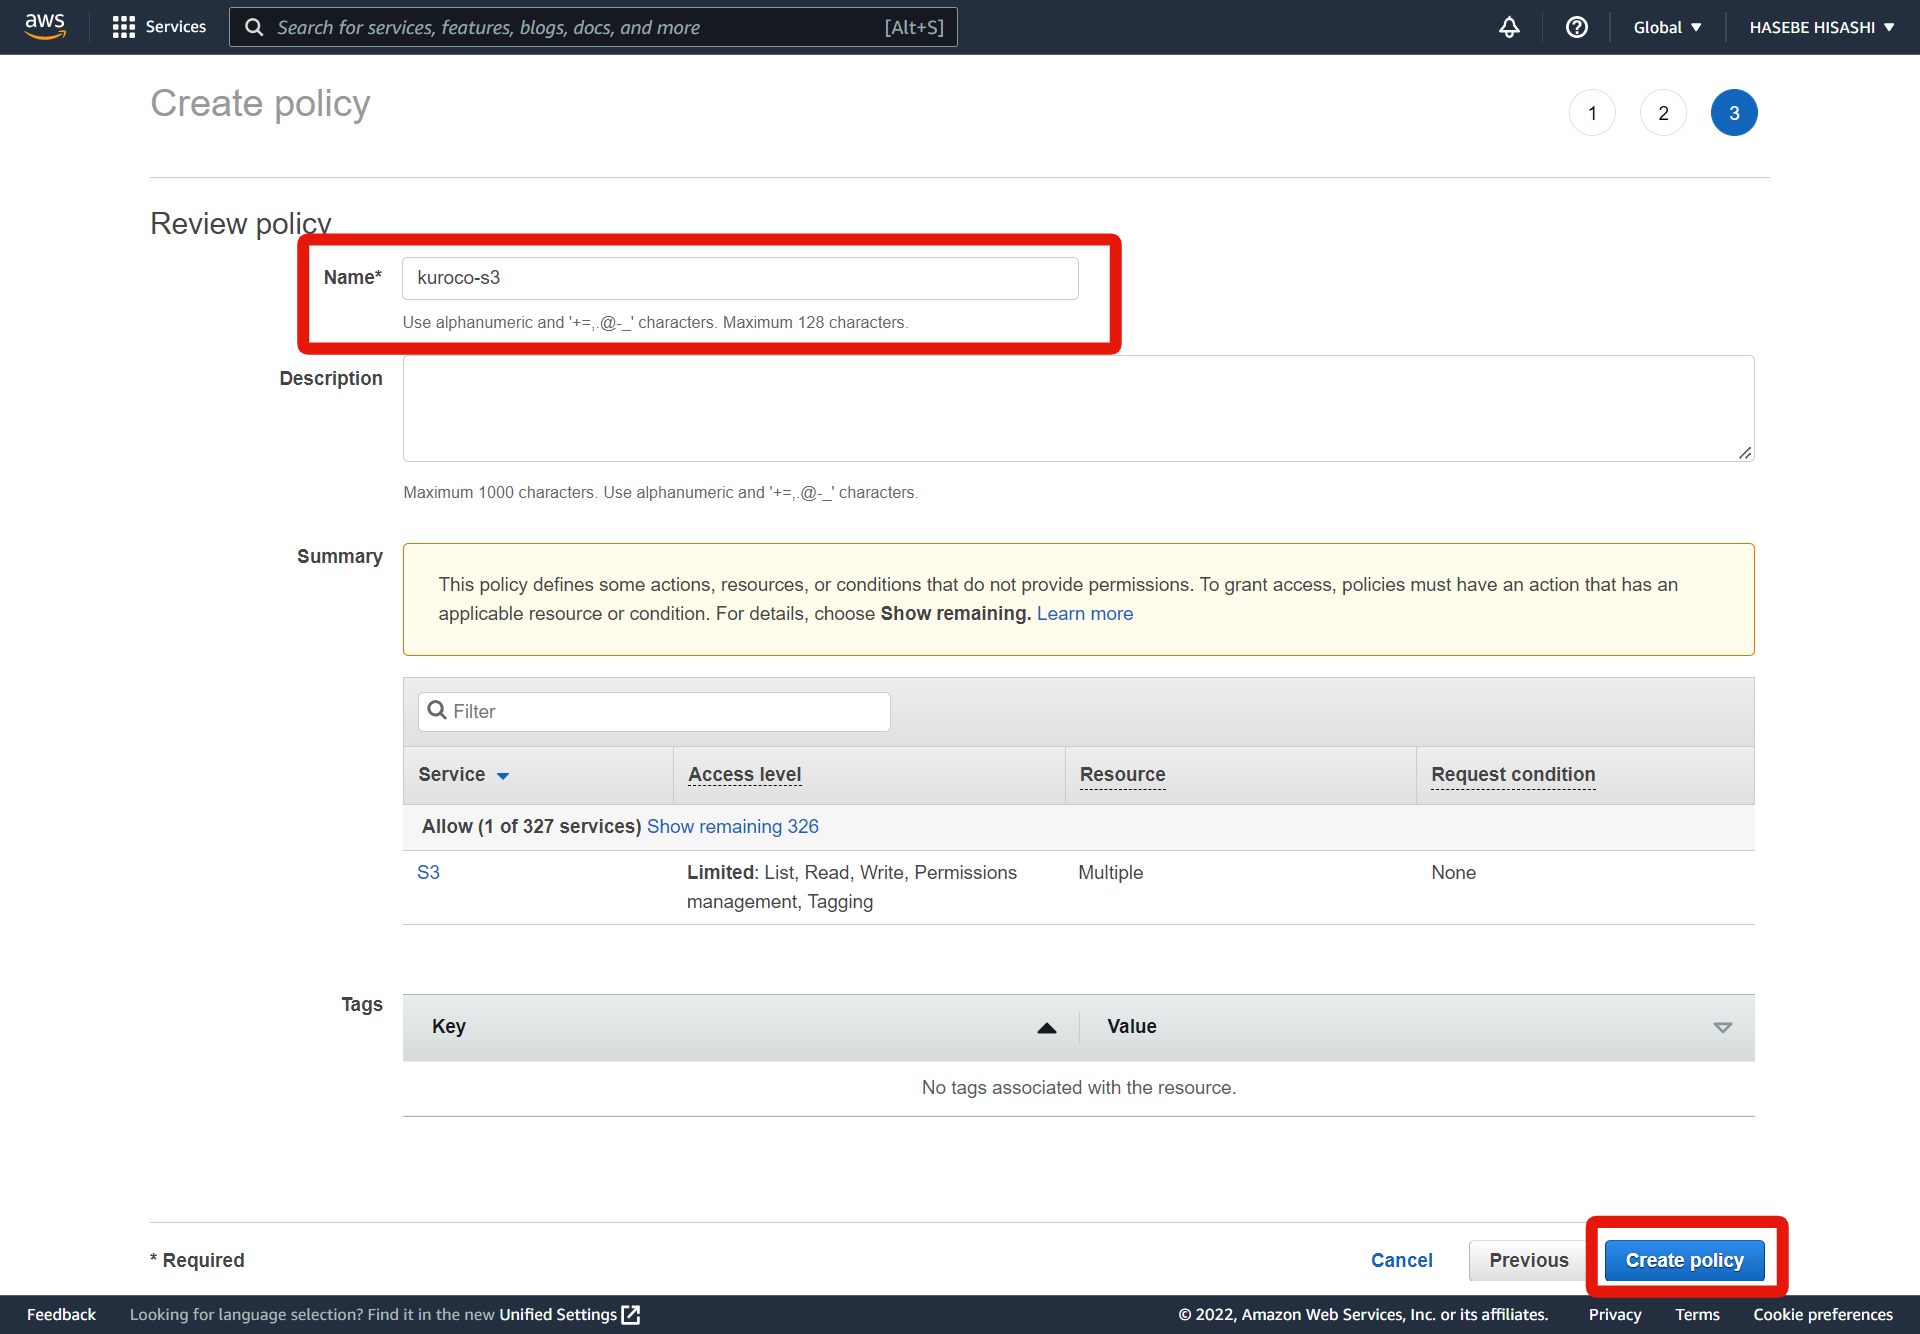
On the "Review policy" page, enter your desired name and click [Create policy]. For this tutorial, we will name the policy kuroco-s3.
Generate an access key
To integrate AWS with Kuroco, you need an access key. However, we do not recommend creating an access key as a root user, as it could enable unrestricted access to your entire AWS account. Instead, you can sign up for an Identity and Access Management (IAM) user account with restricted permissions and generate an access key using the new account.
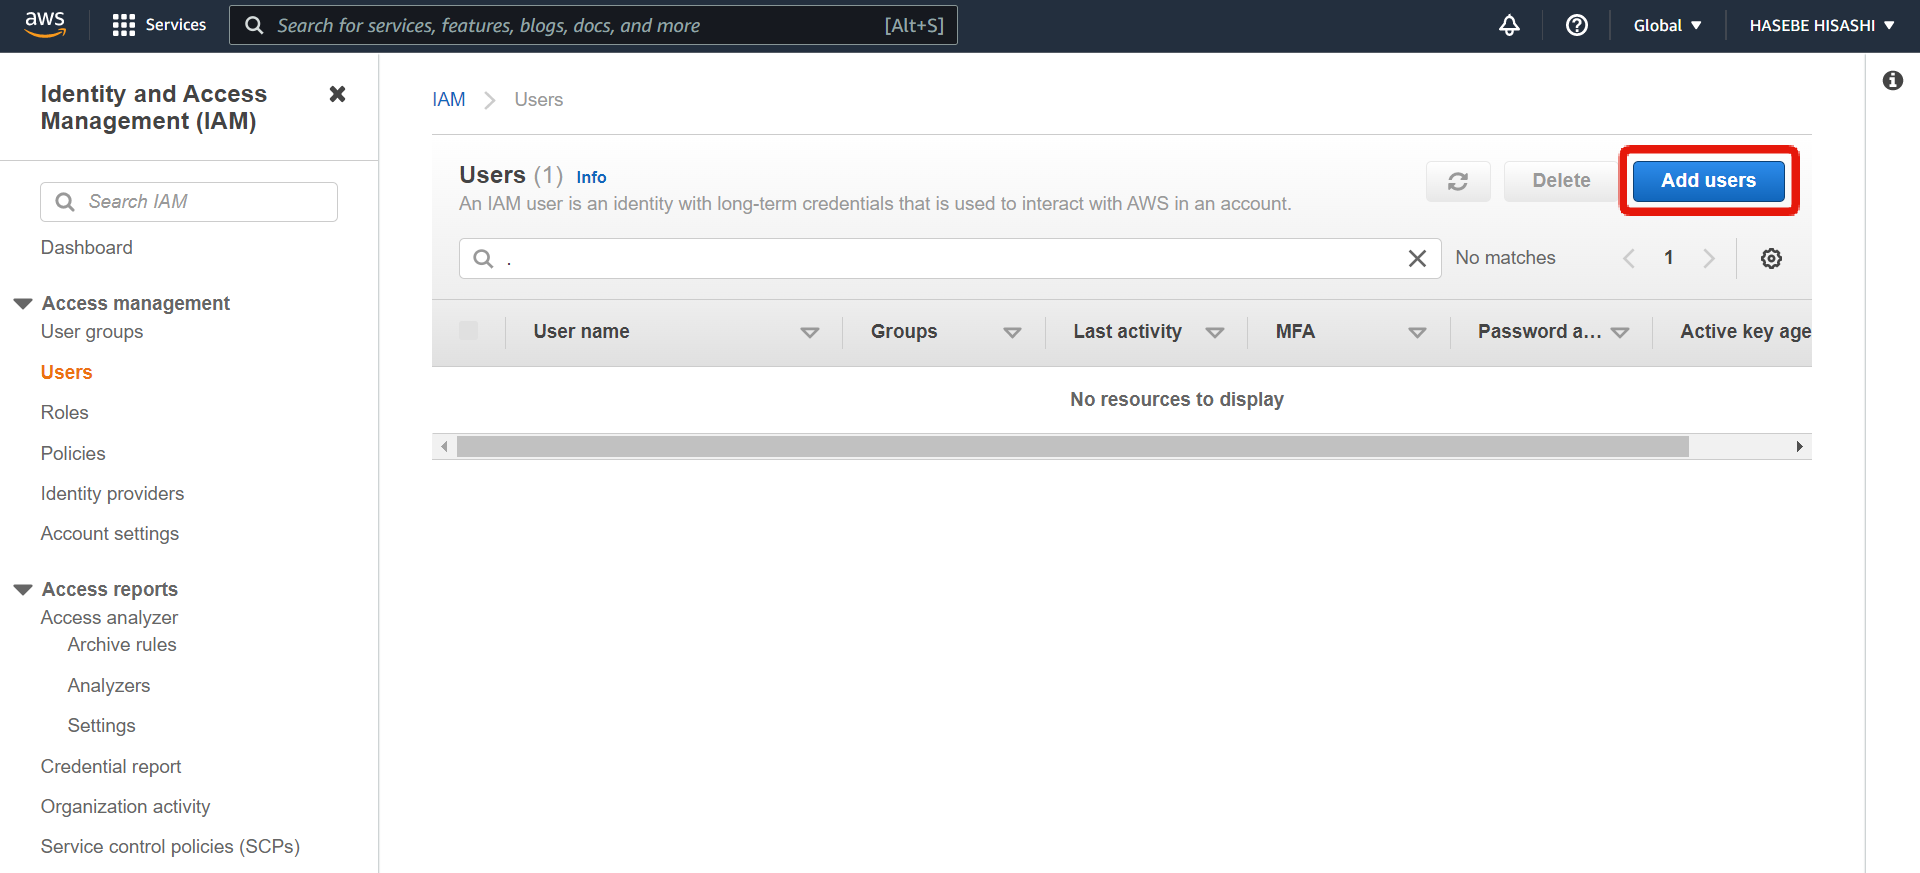
Select [Users] in the sidebar menu.

Click [Add users].
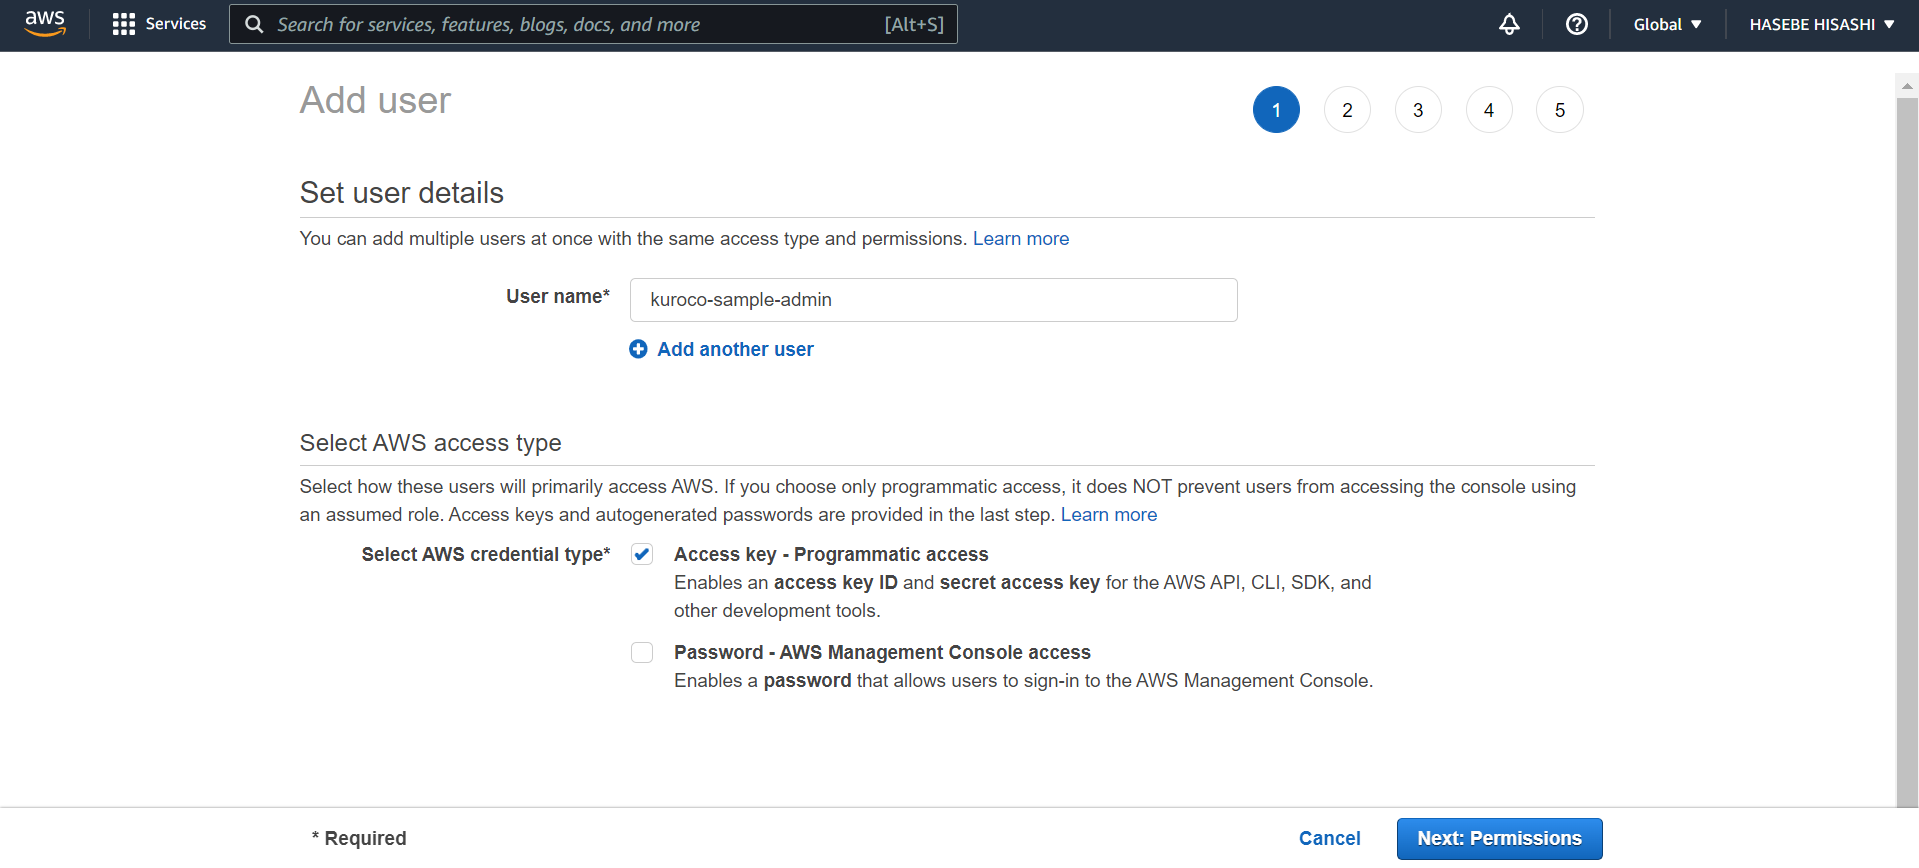
On the "Add user" page, enter your desired user name (for this tutorial, we will use kuroco-sample-admin) and select [Access key - Programmatic Access] for the AWS credential type. Then, click [Next: Permissions].
Select [Attach existing policies directly]. Attach the policy you created earlier (i.e., kuroco-s3), and click [Next: Tags].

Since you do not need any tags, click [Next: Review] to proceed directly to the next page.
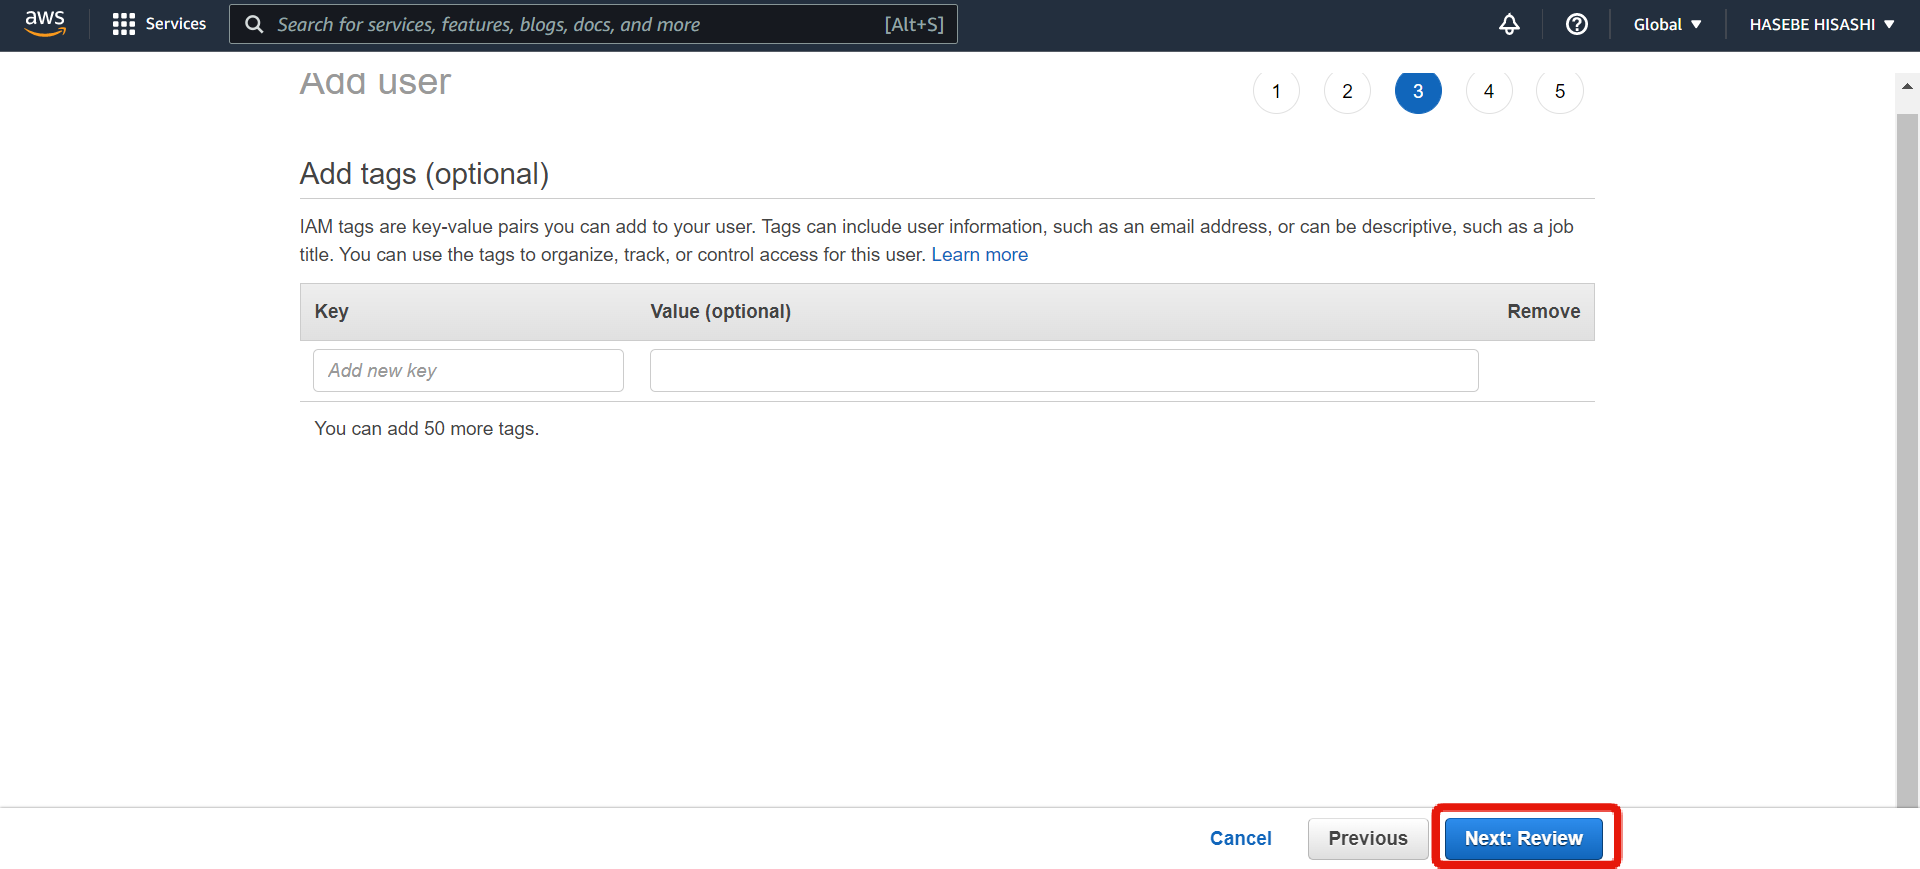
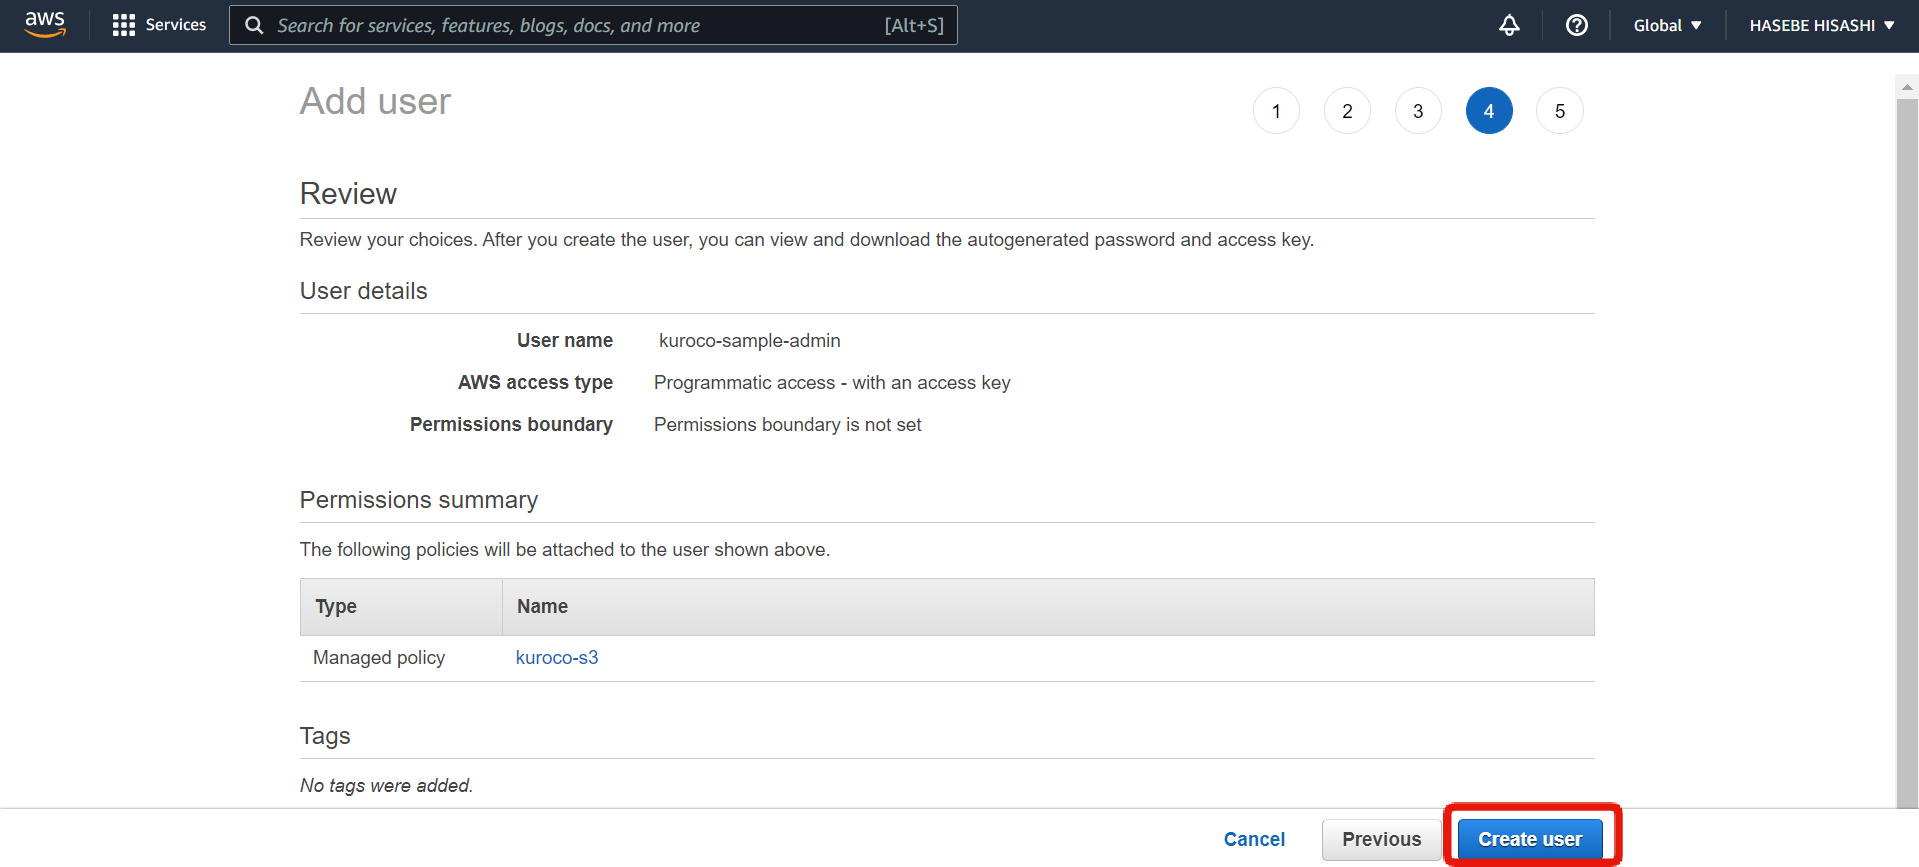
Verify that all the user information is correct and click [Create user].
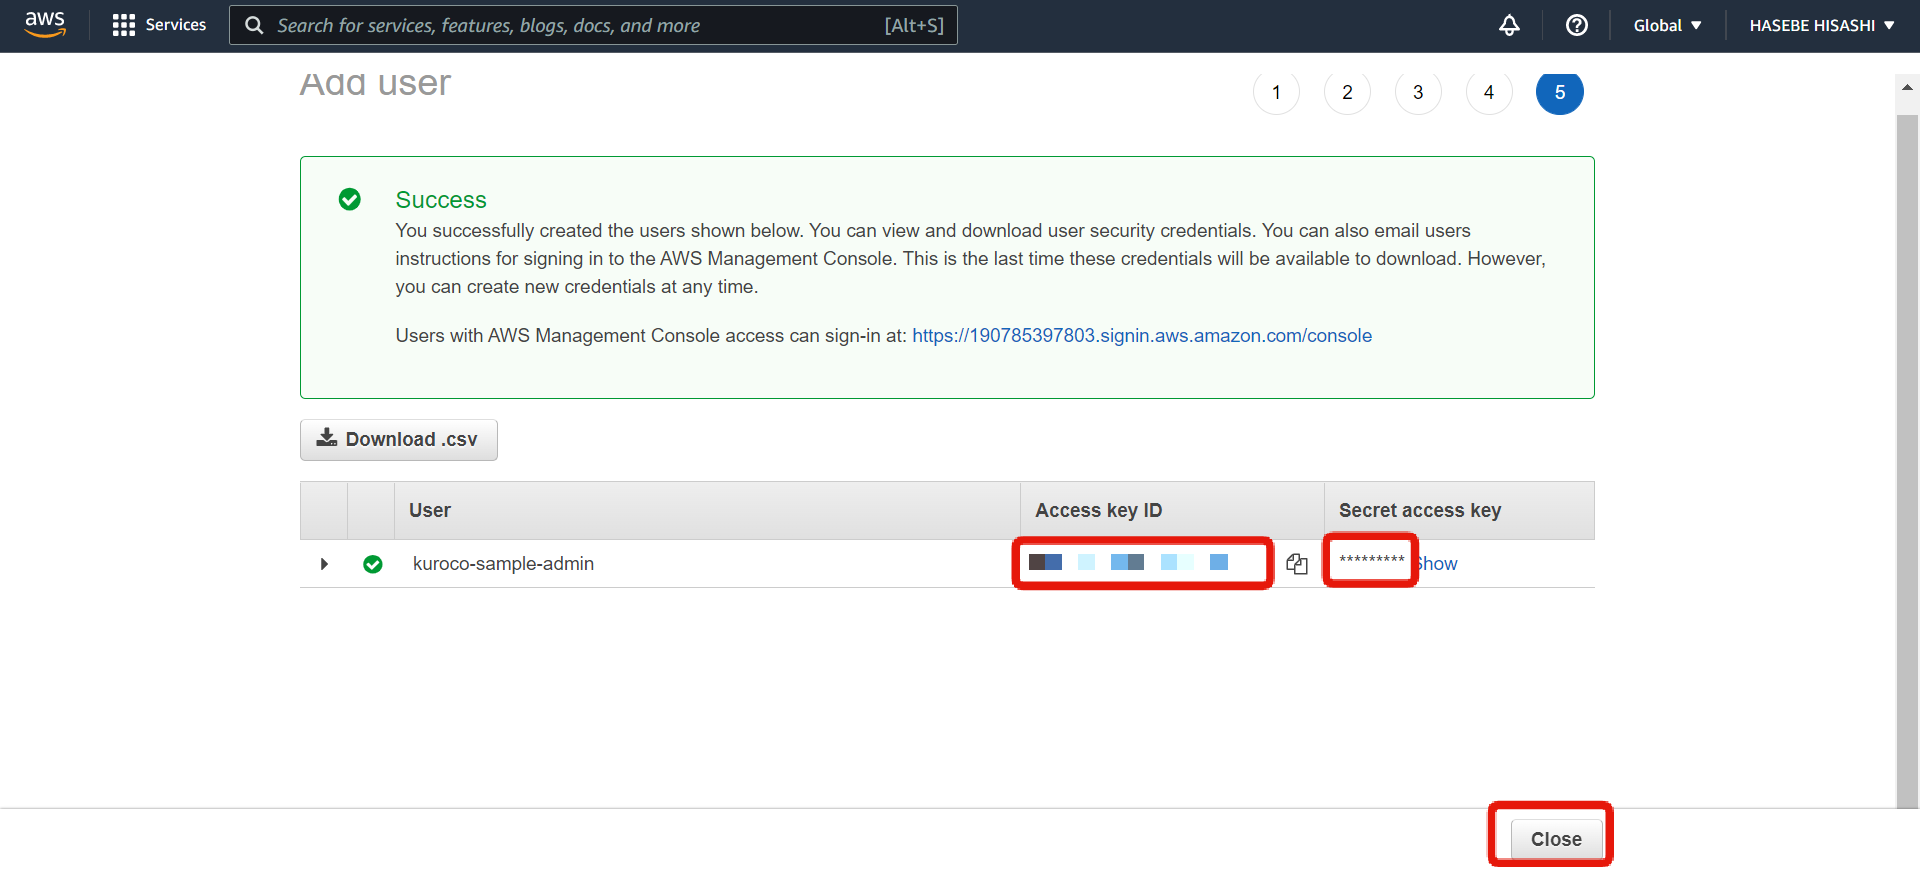
The next page will display your access key ID and secret access key. Note them down for later use and click [Close].
The secret access key cannot be retrieved after you close this page, so make sure to copy it.
Kuroco settings
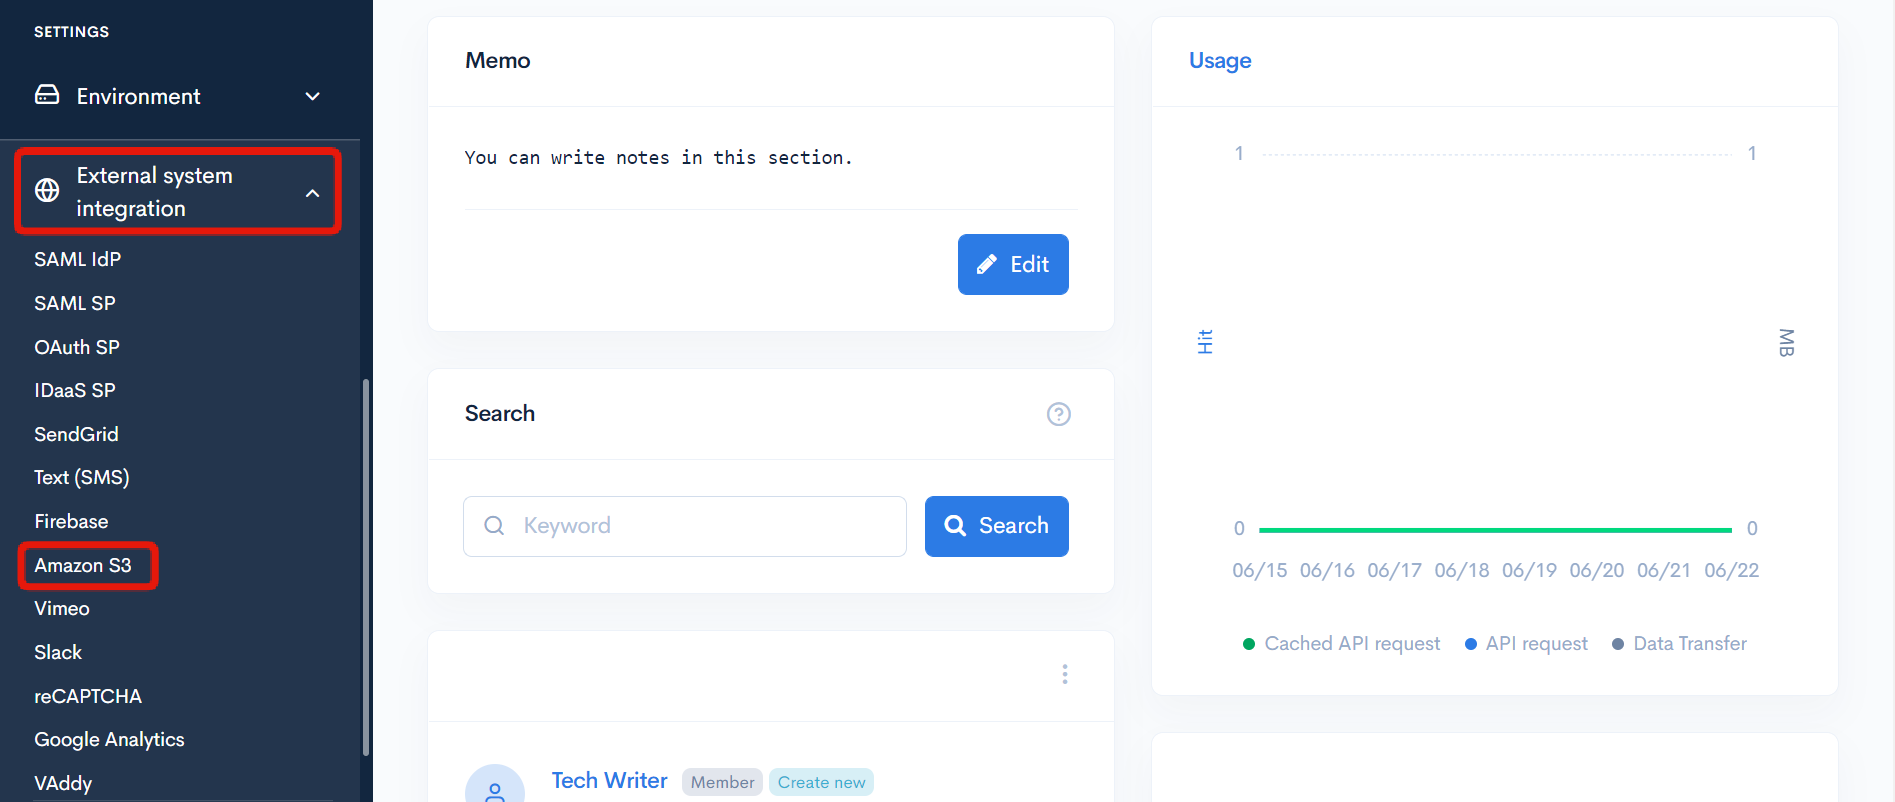
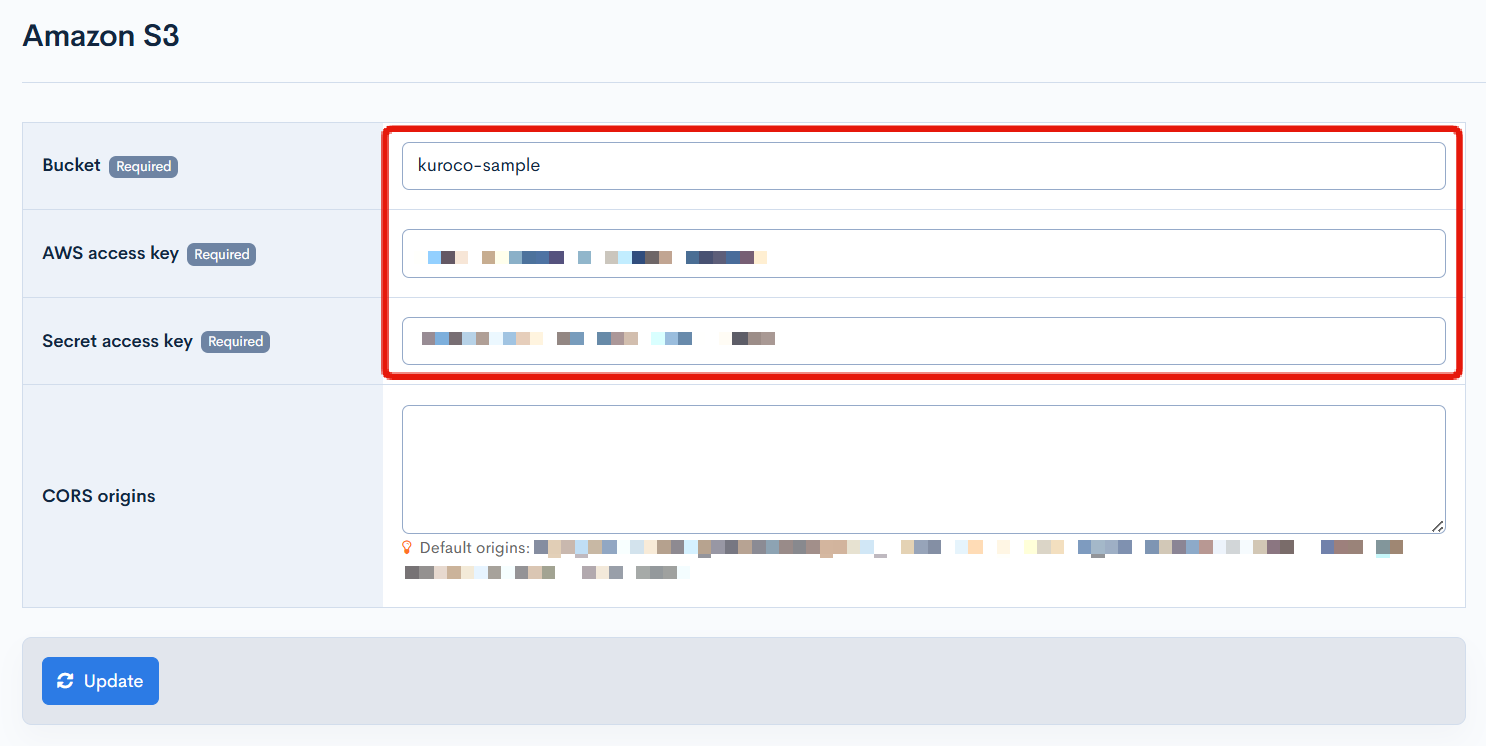
From here onwards, we will configure the Kuroco admin panel. In the left sidebar menu, select [External system integration] -> [Amazon S3].
On the Amazon S3 integration screen, enter the bucket name, access key ID, and secret access key. Then, click [Update].
Upload files
After integration, you can upload files to your Amazon S3 account in one of two ways.
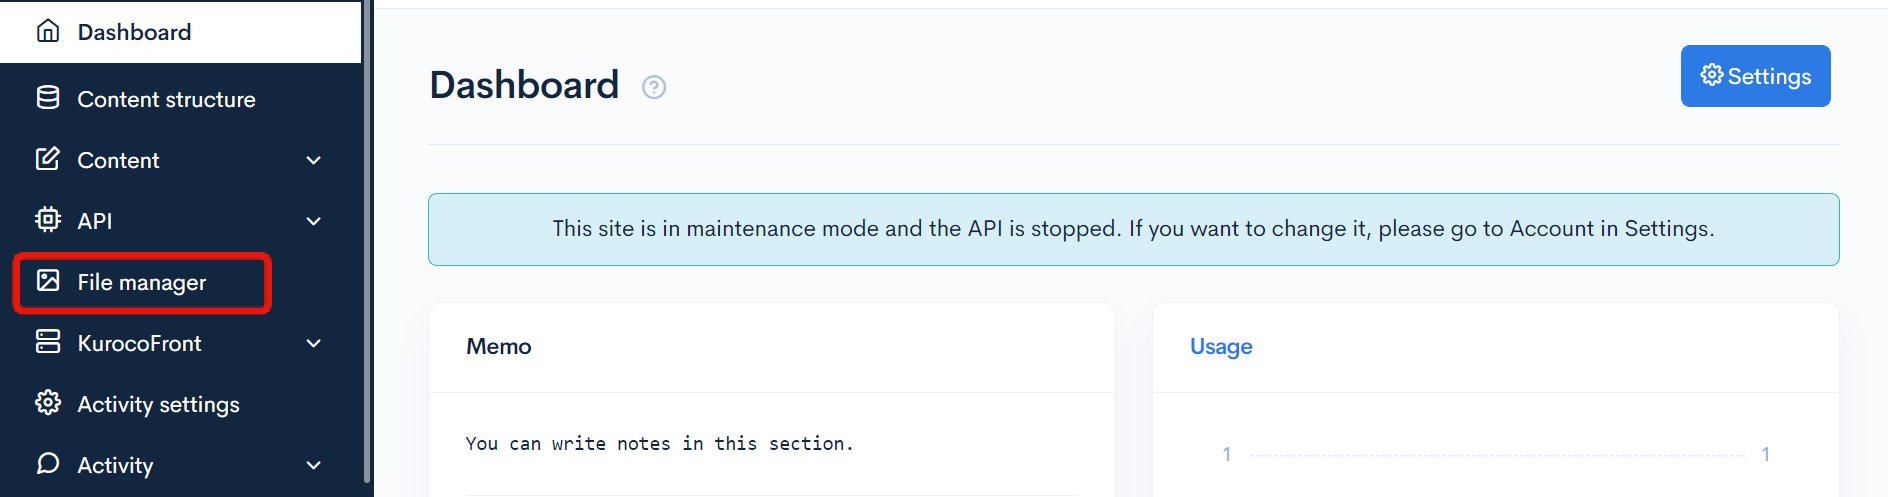
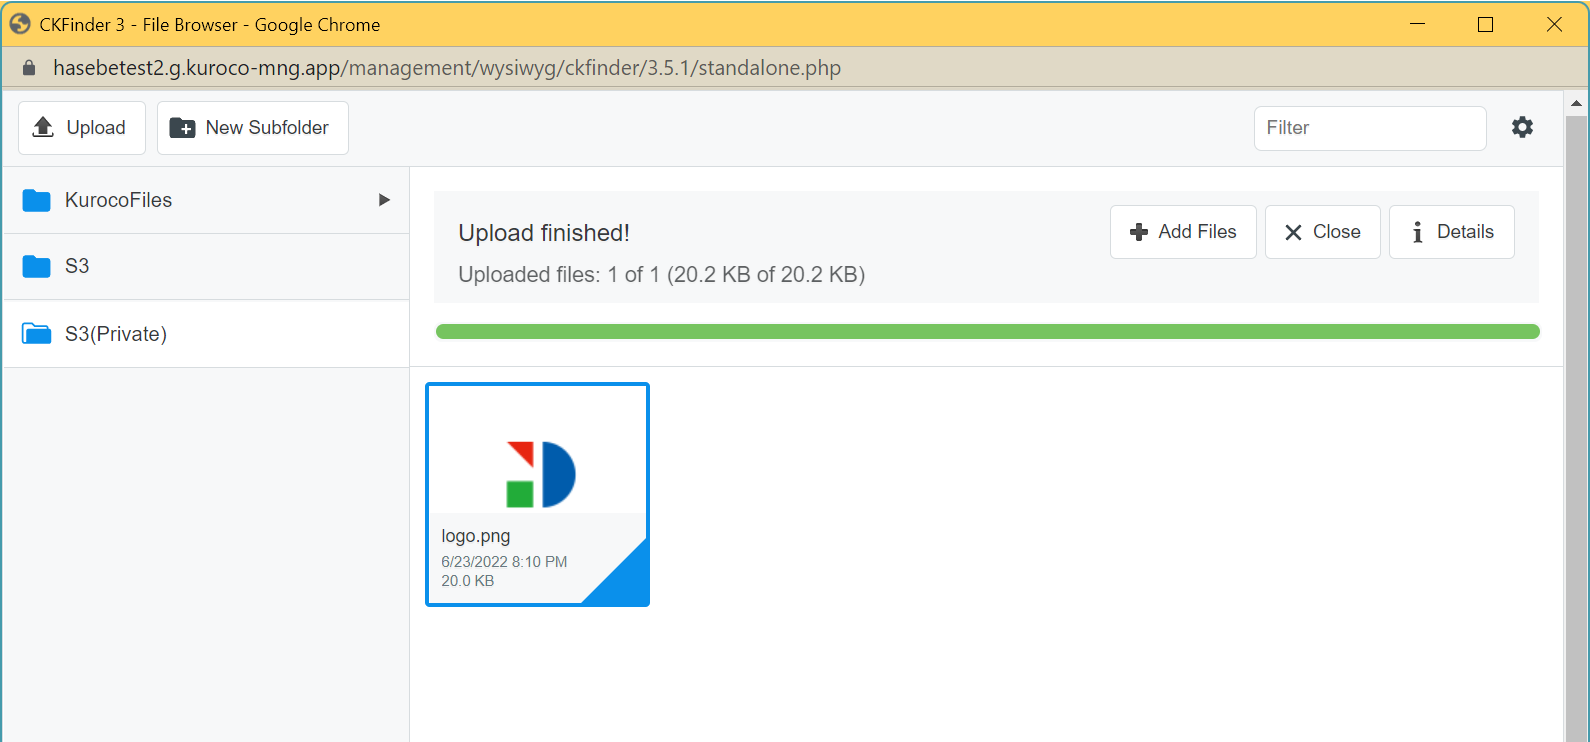
From File manager
In the sidebar menu, select [File manager] to access the S3 folder and upload your file.
From Content editor
File (upload to S3)
On the content structure screen, select [File (upload to S3)] as an additional field.
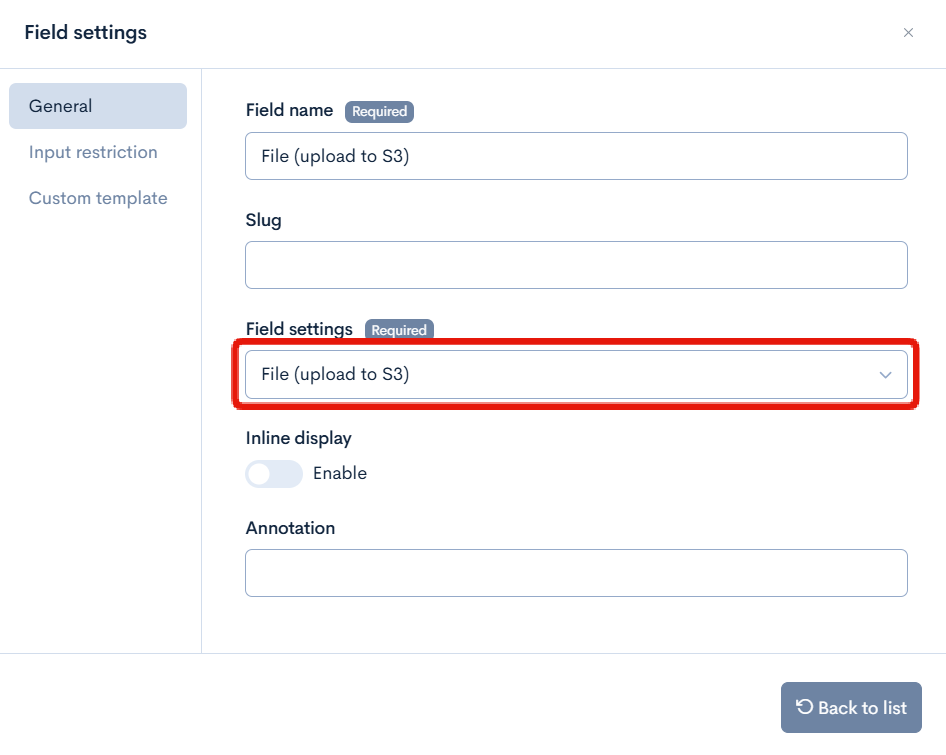
This creates the file upload field below in the corresponding content editor. Click [Select file] to upload a file from your local drive.

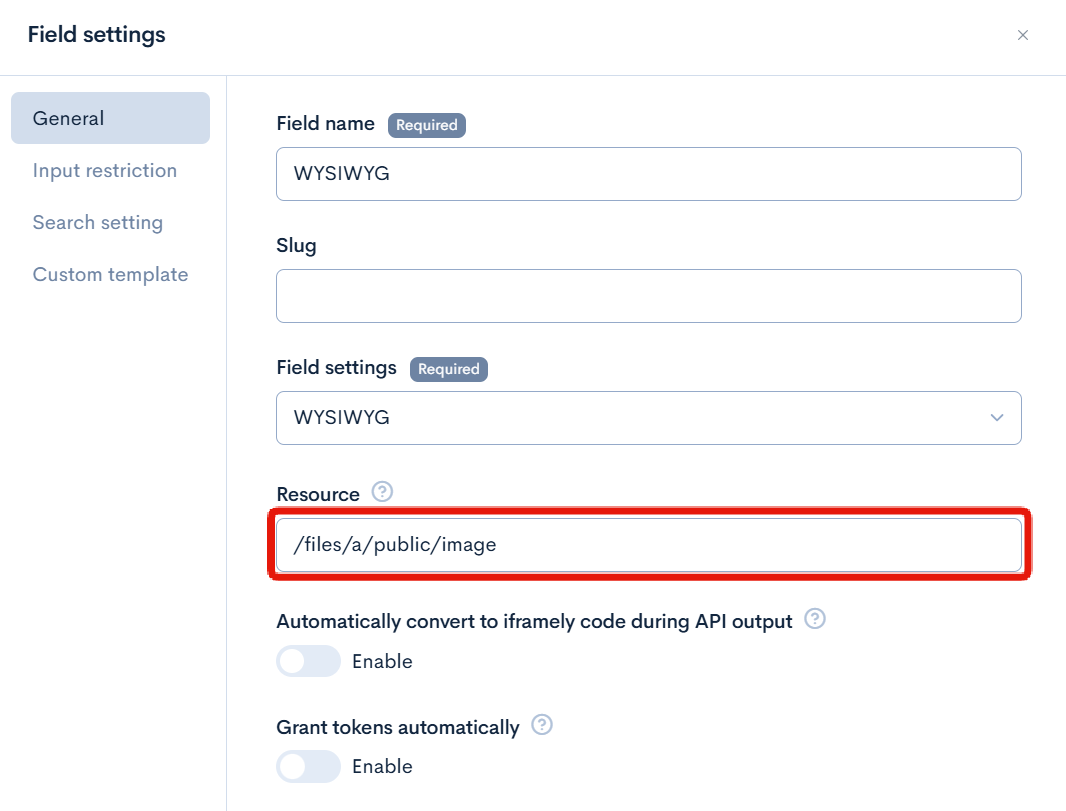
WYSIWYG
If you enter an S3 path in the “Resource” field under the general settings of a WYSIWYG field, any files uploaded via the WYSIWYG editor will be saved in the specified folder on S3.
Related documents
Support
If you have any other questions, please contact us or check out Our Slack Community.