Setting up Twitter integration and automating Twitter posts with content updates
You can integrate Twitter with Kuroco to implement various automated Twitter posting functions, including automated posting to Twitter after content updates, Twitter API posting, and Twitter's built-in autopost function.
This tutorial describes how to set up Twitter integration and automate Twitter posts with Kuroco content updates.
Due to Twitter specification updates, the method of API key retrieval may differ from this tutorial. Please visit the Twitter developer portal for the latest information.
Twitter settings
Sign up for an account
Before integrating Twitter into Kuroco, you must have a Twitter account. If you have not done so yet, please sign up on Twitter.
Visit Twitter's Help Center for more information on how to sign up.
Create an application on the Twitter developer portal
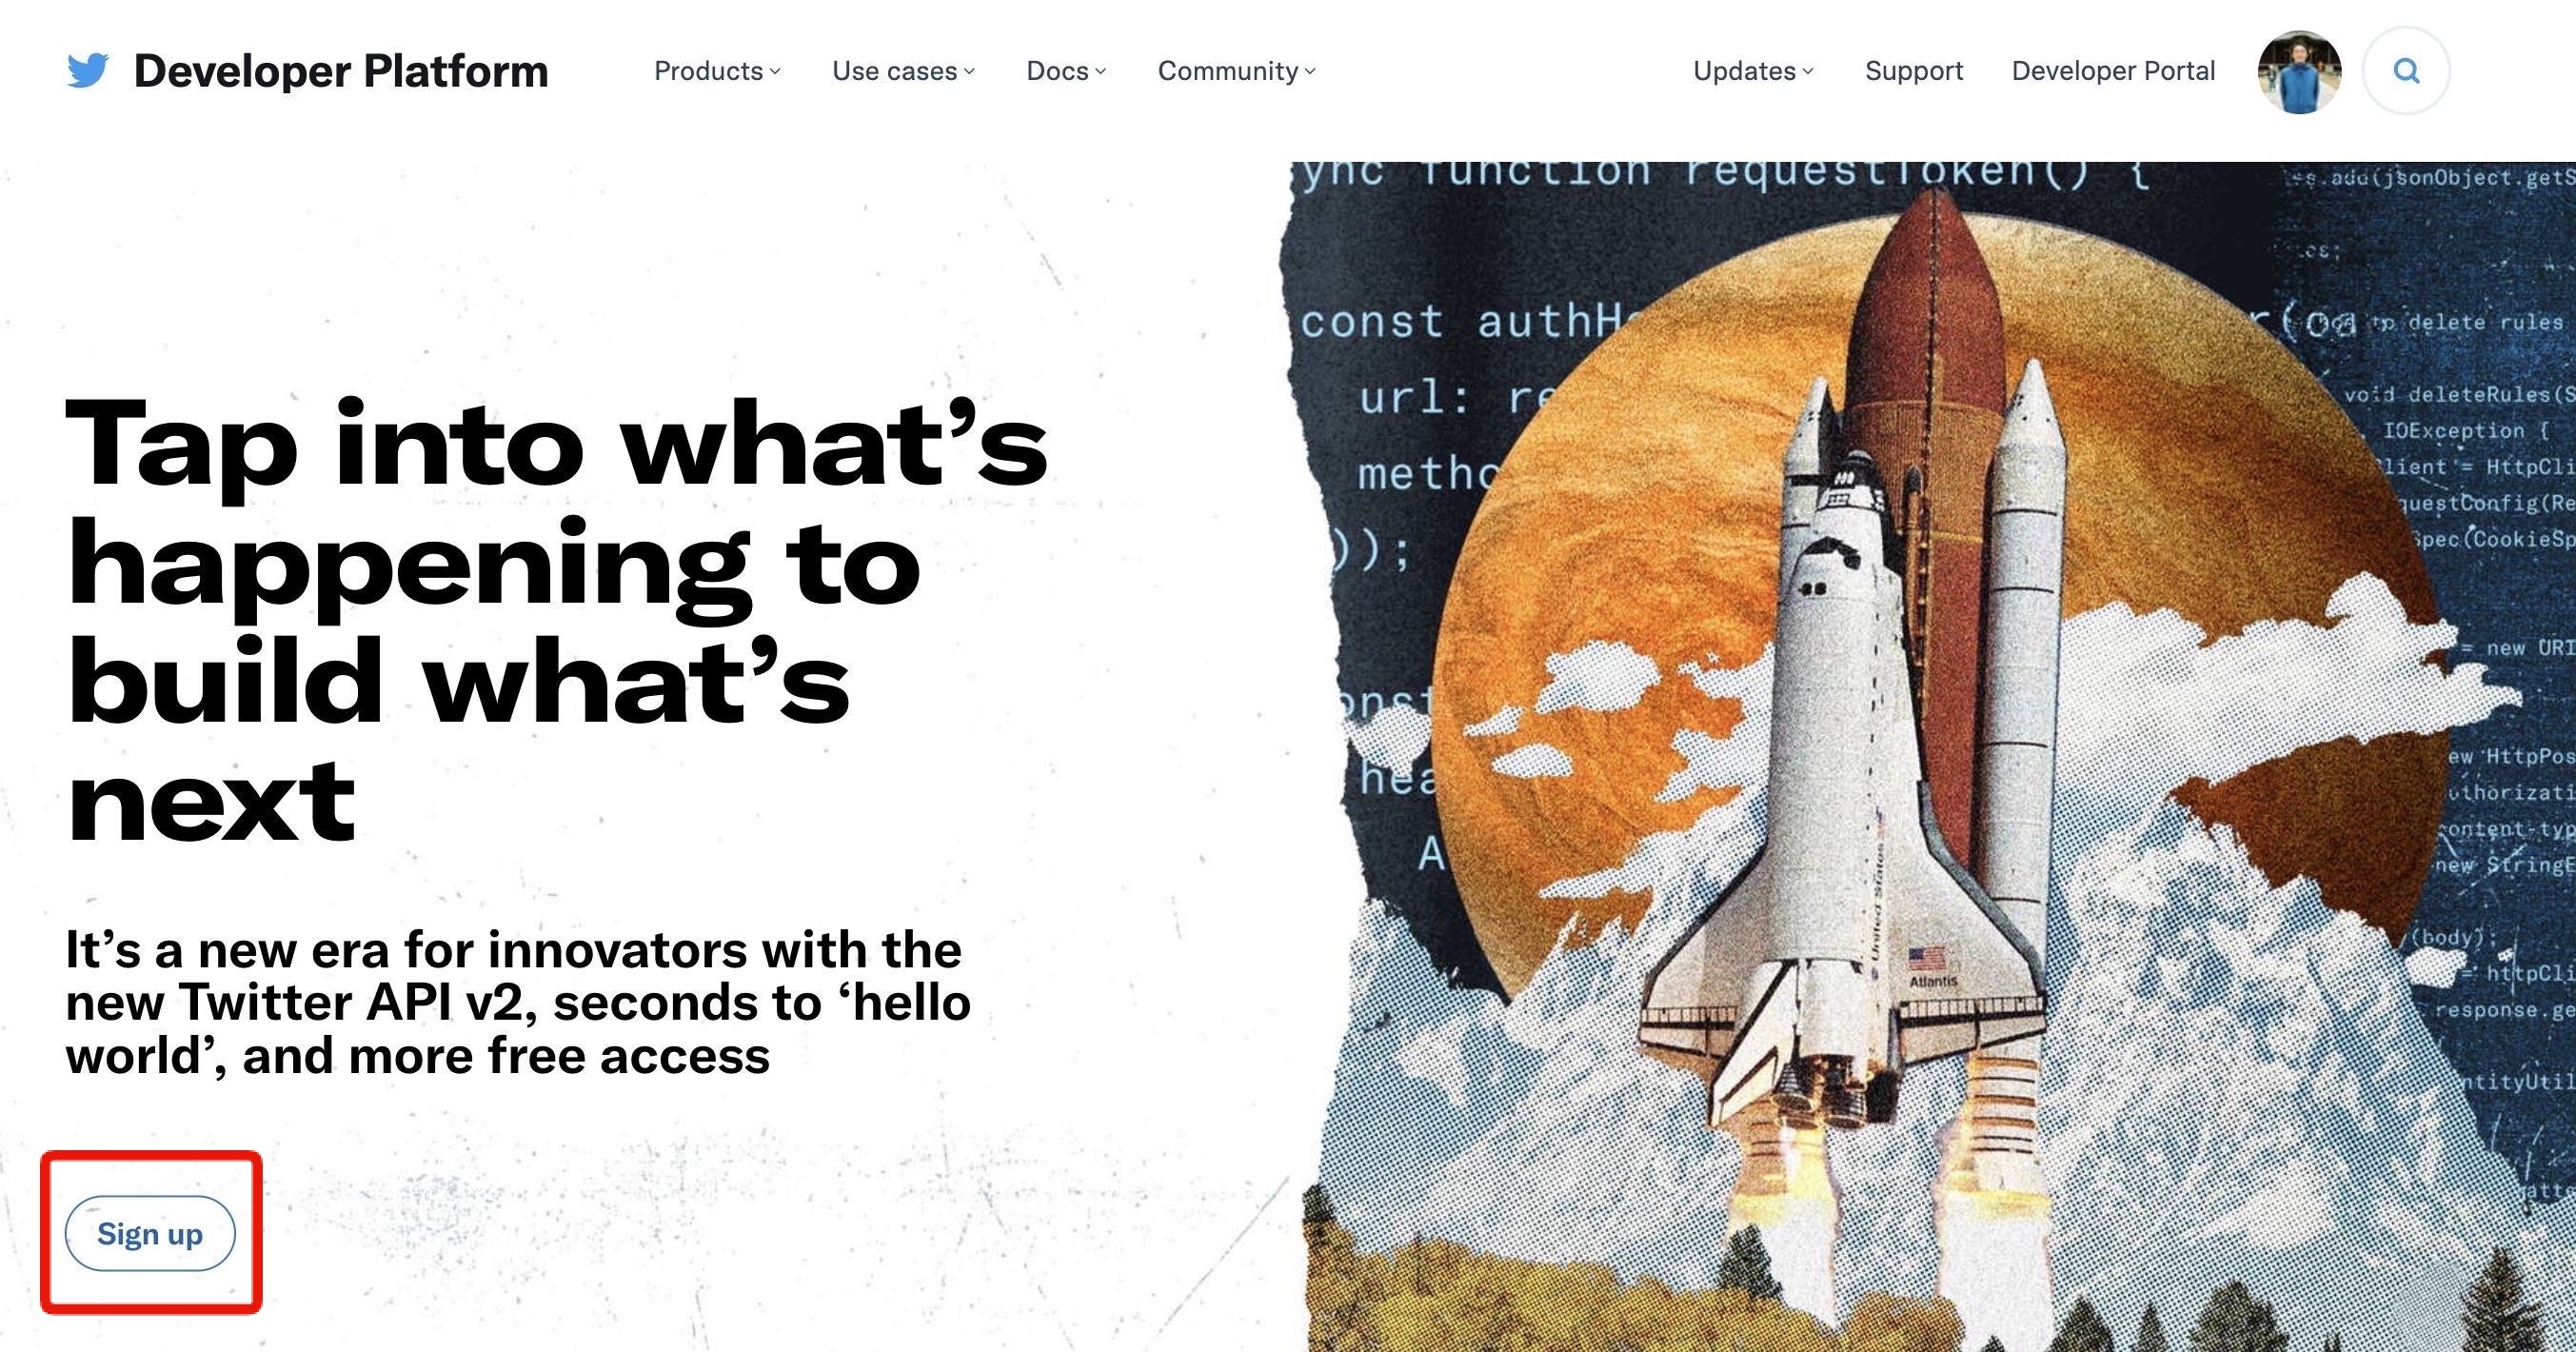
Next, you need to obtain a Twitter API key. Navigate to the Twitter developer portal and click [Sign up].
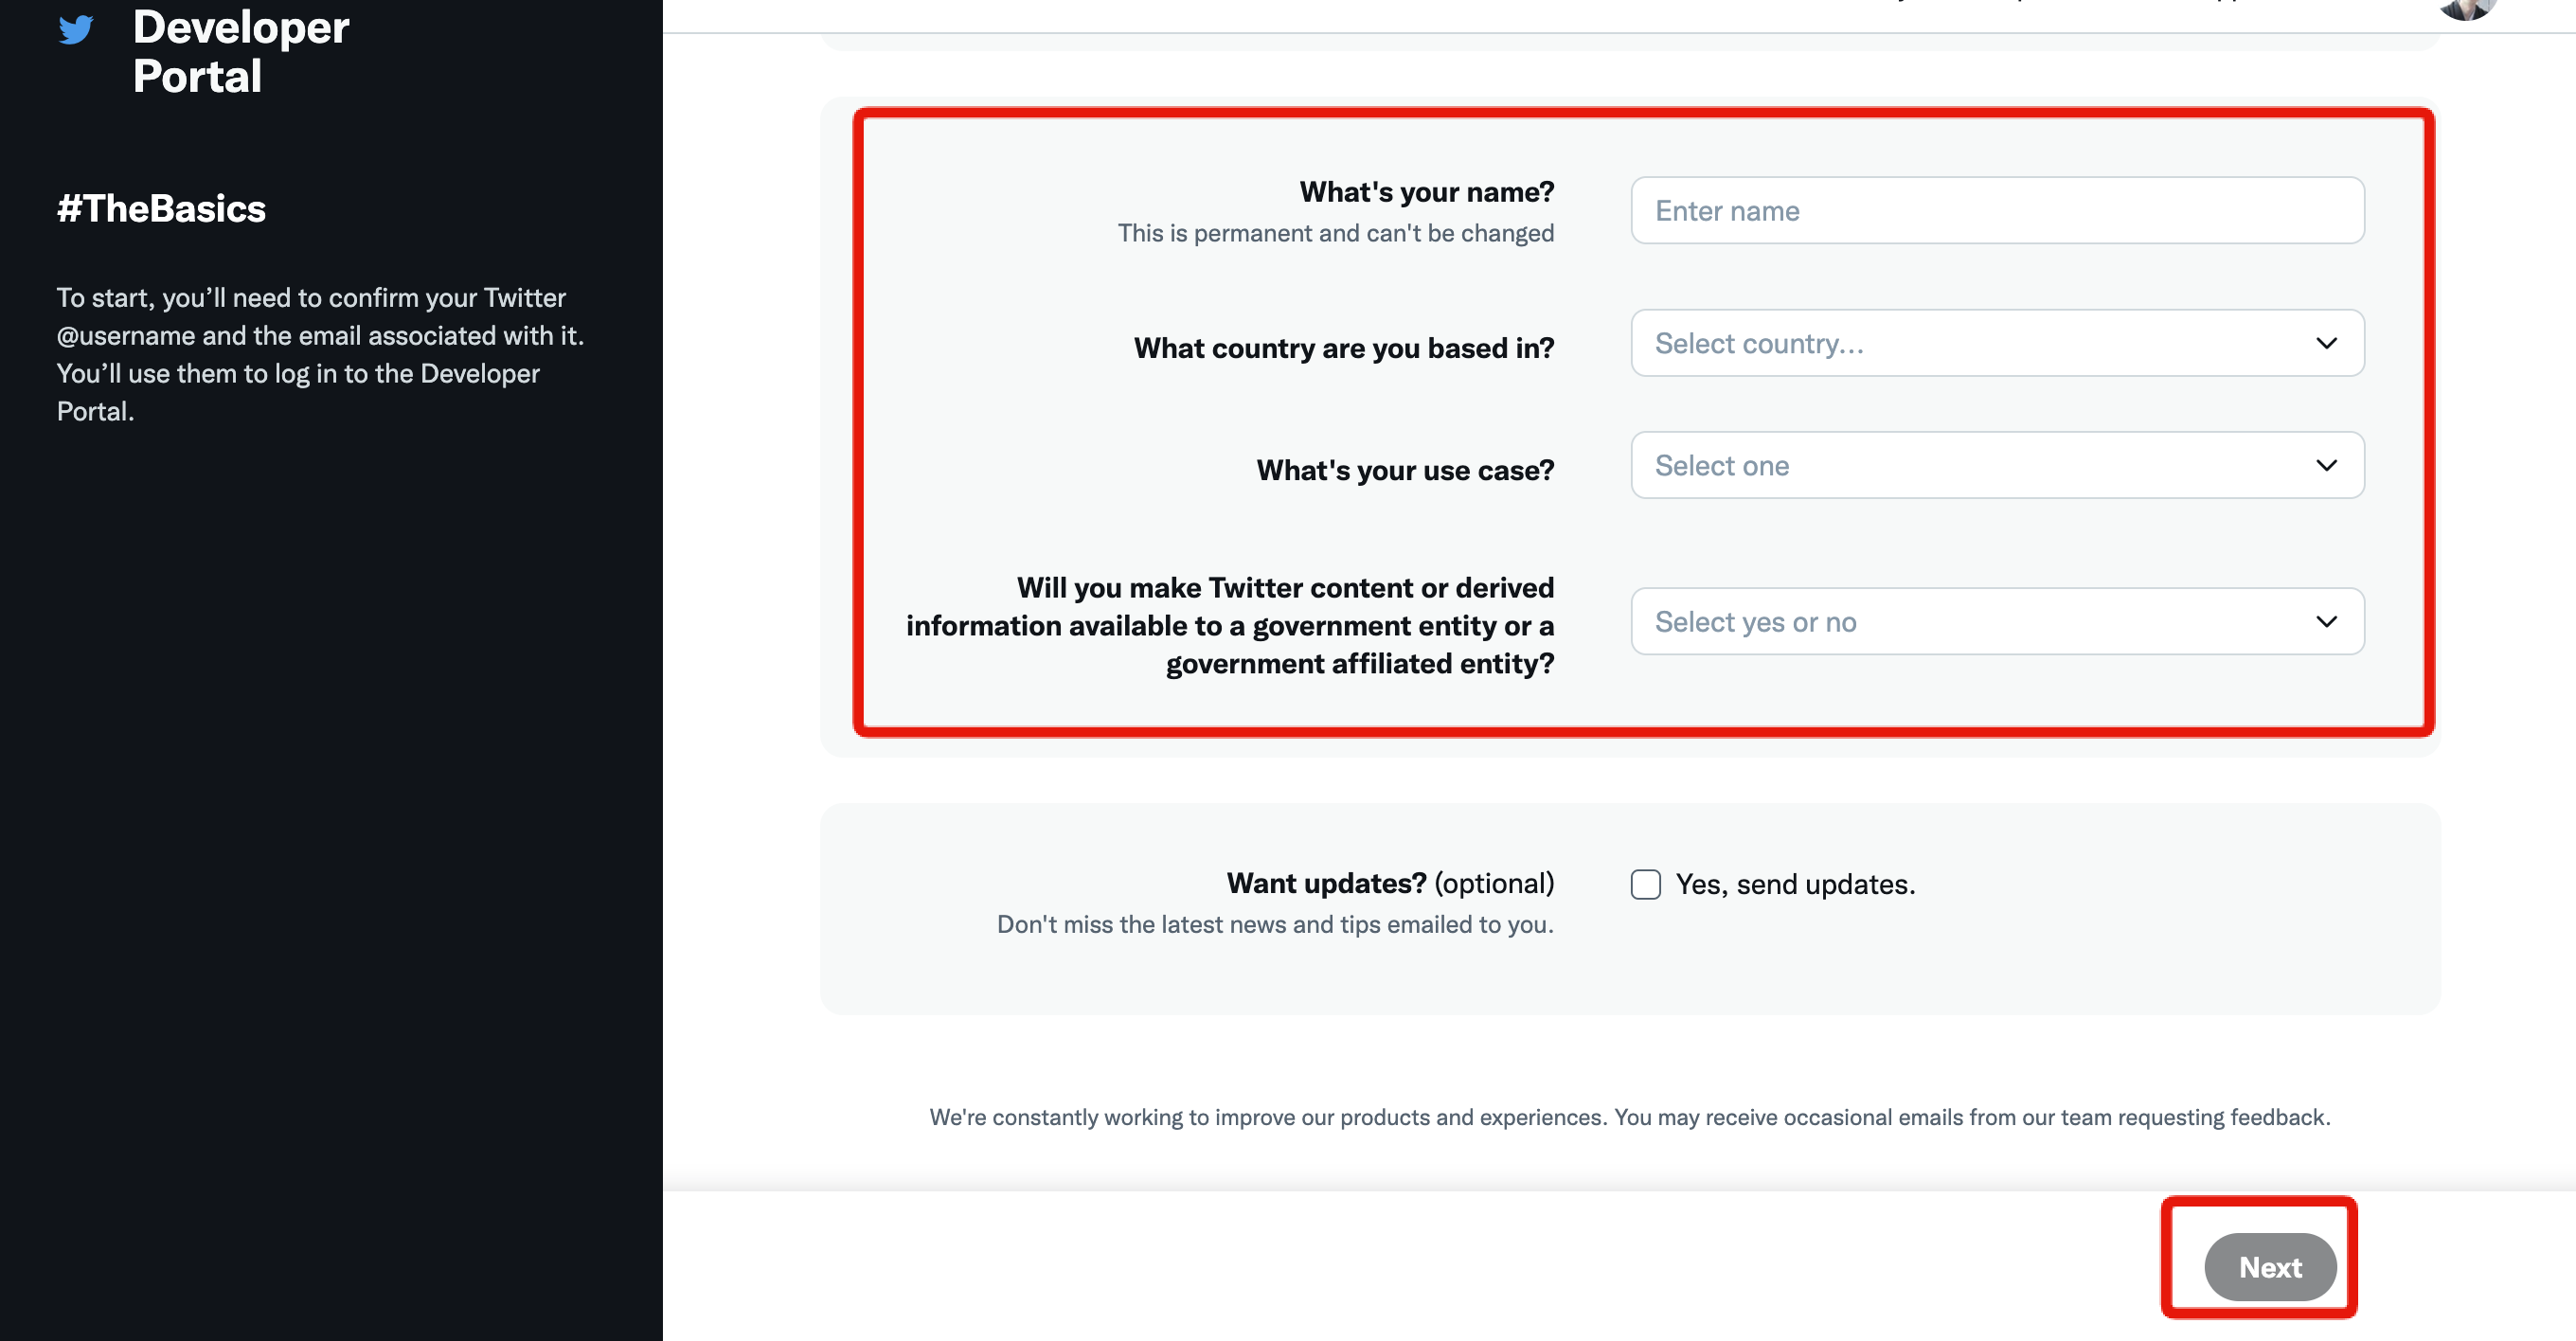
 Enter your name and country in the essential access form, and select [Exploring the API] for "What's your use case?".
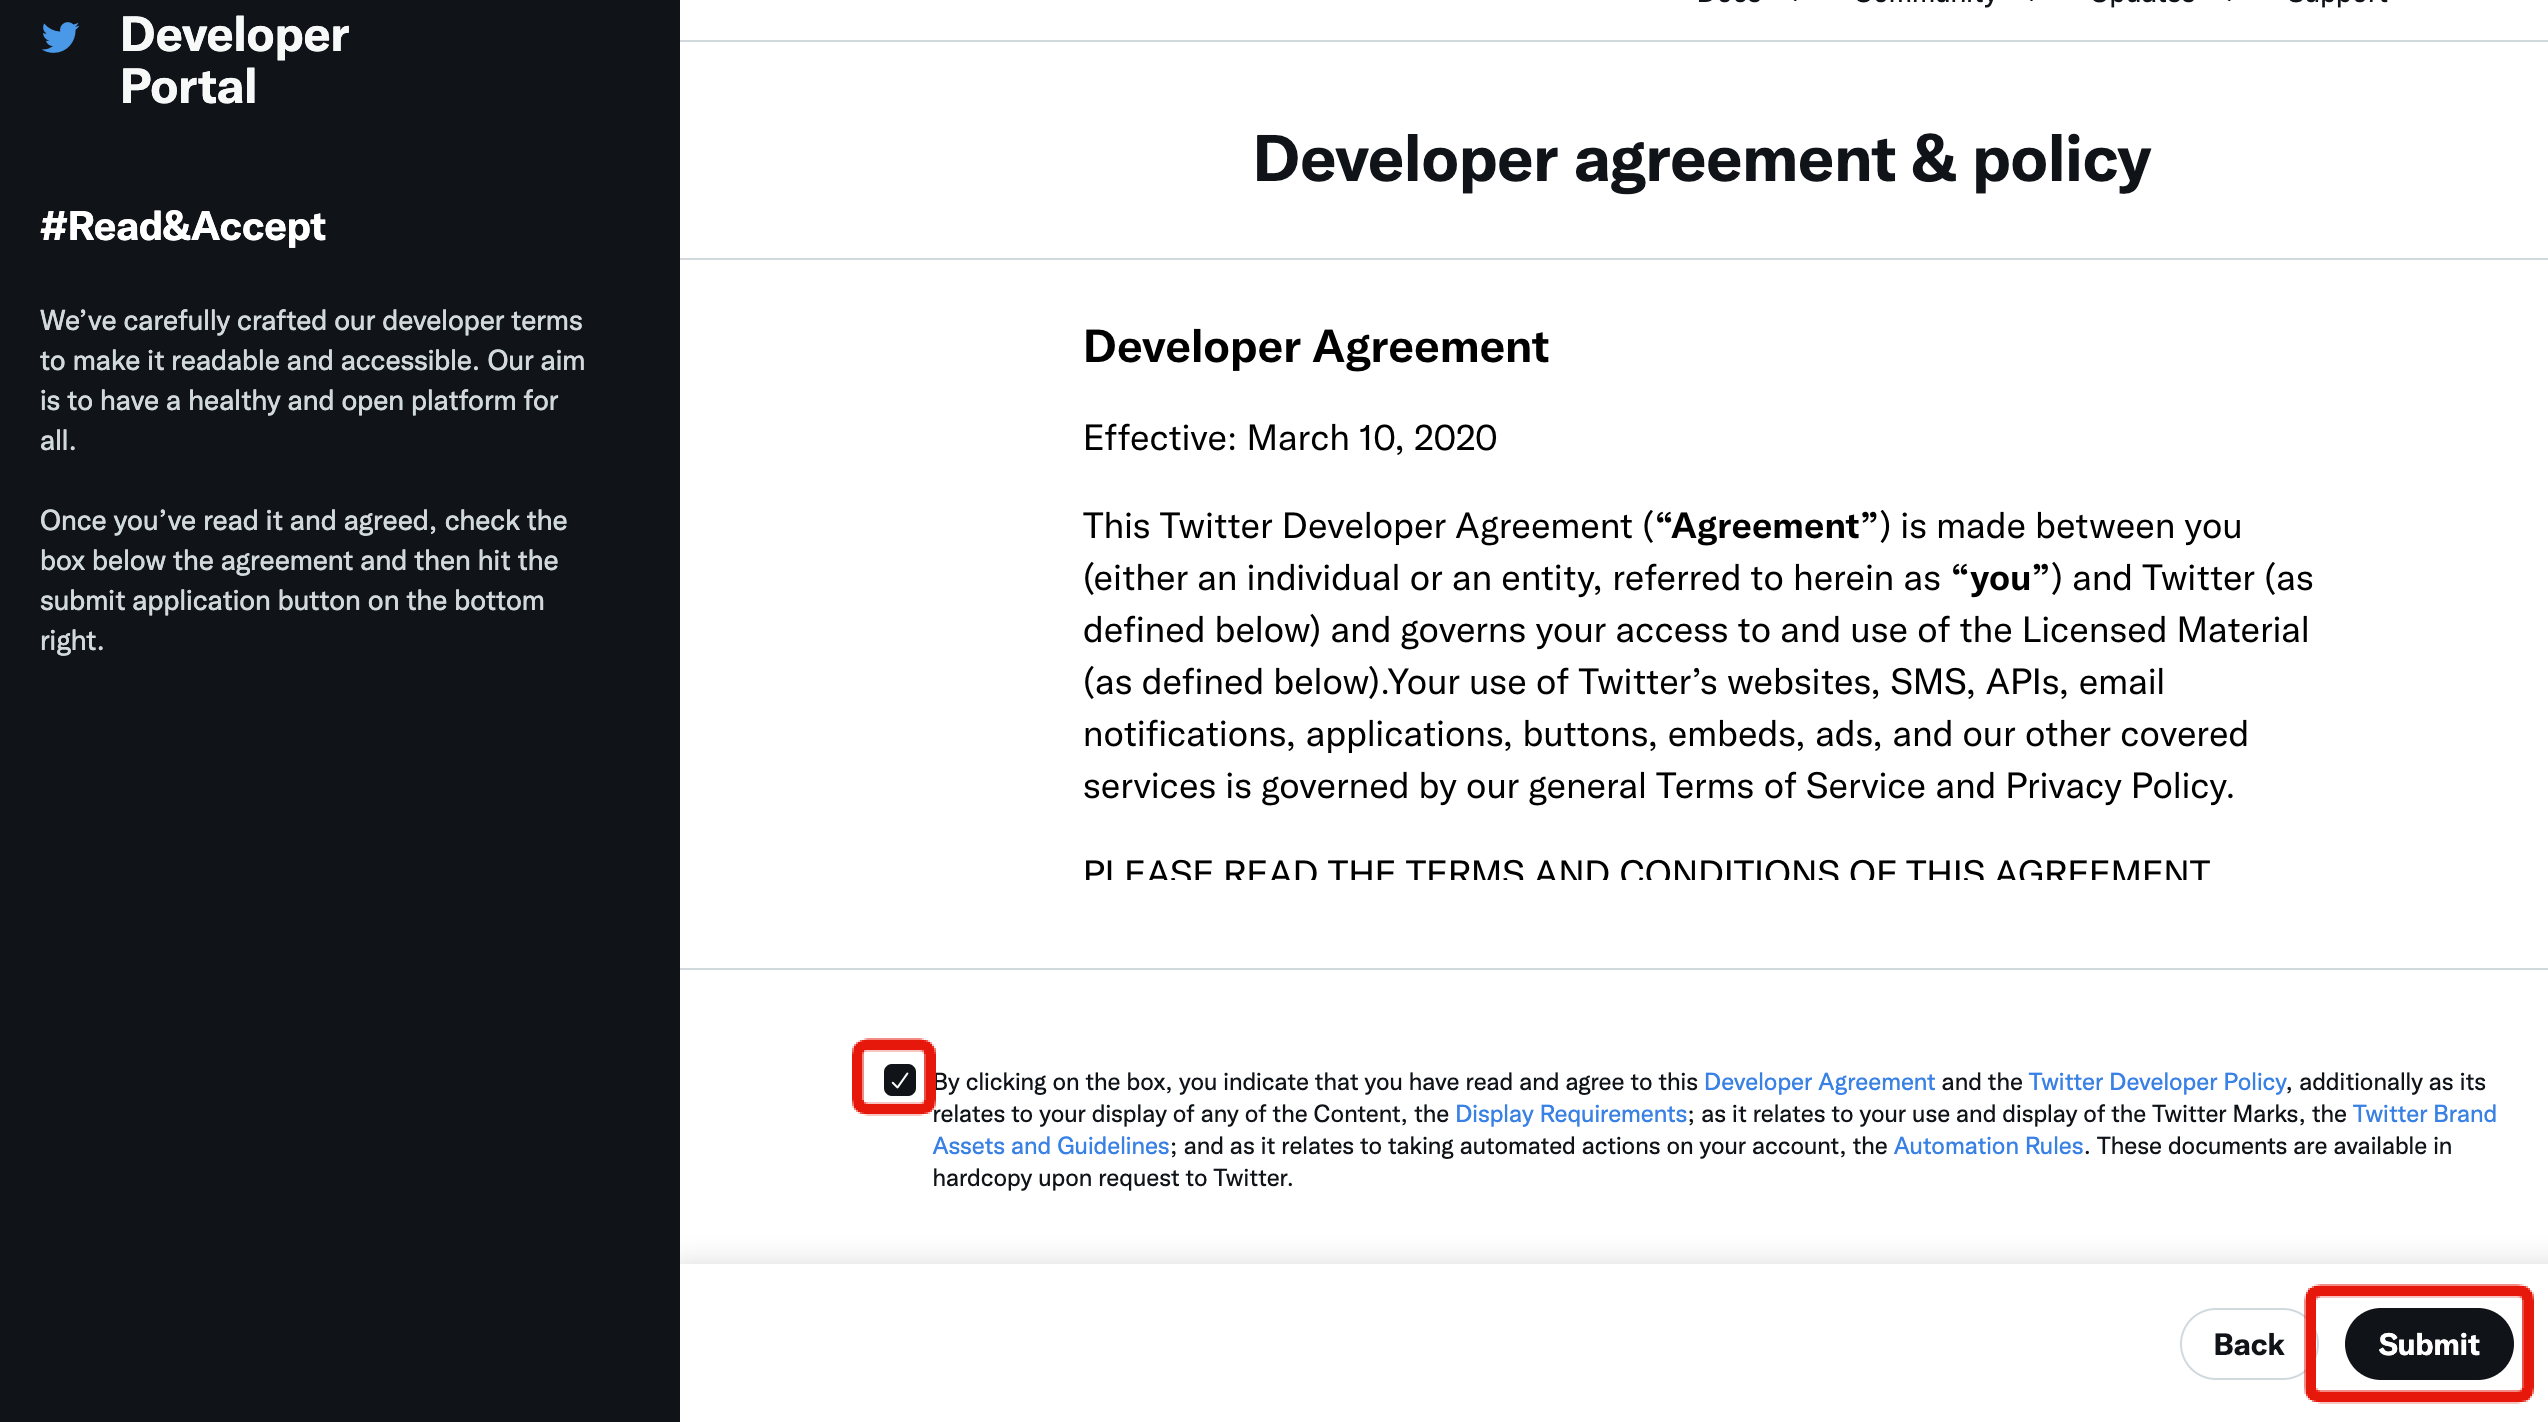
 Review the Developer Agreement and Policy, check the box and click [Submit].
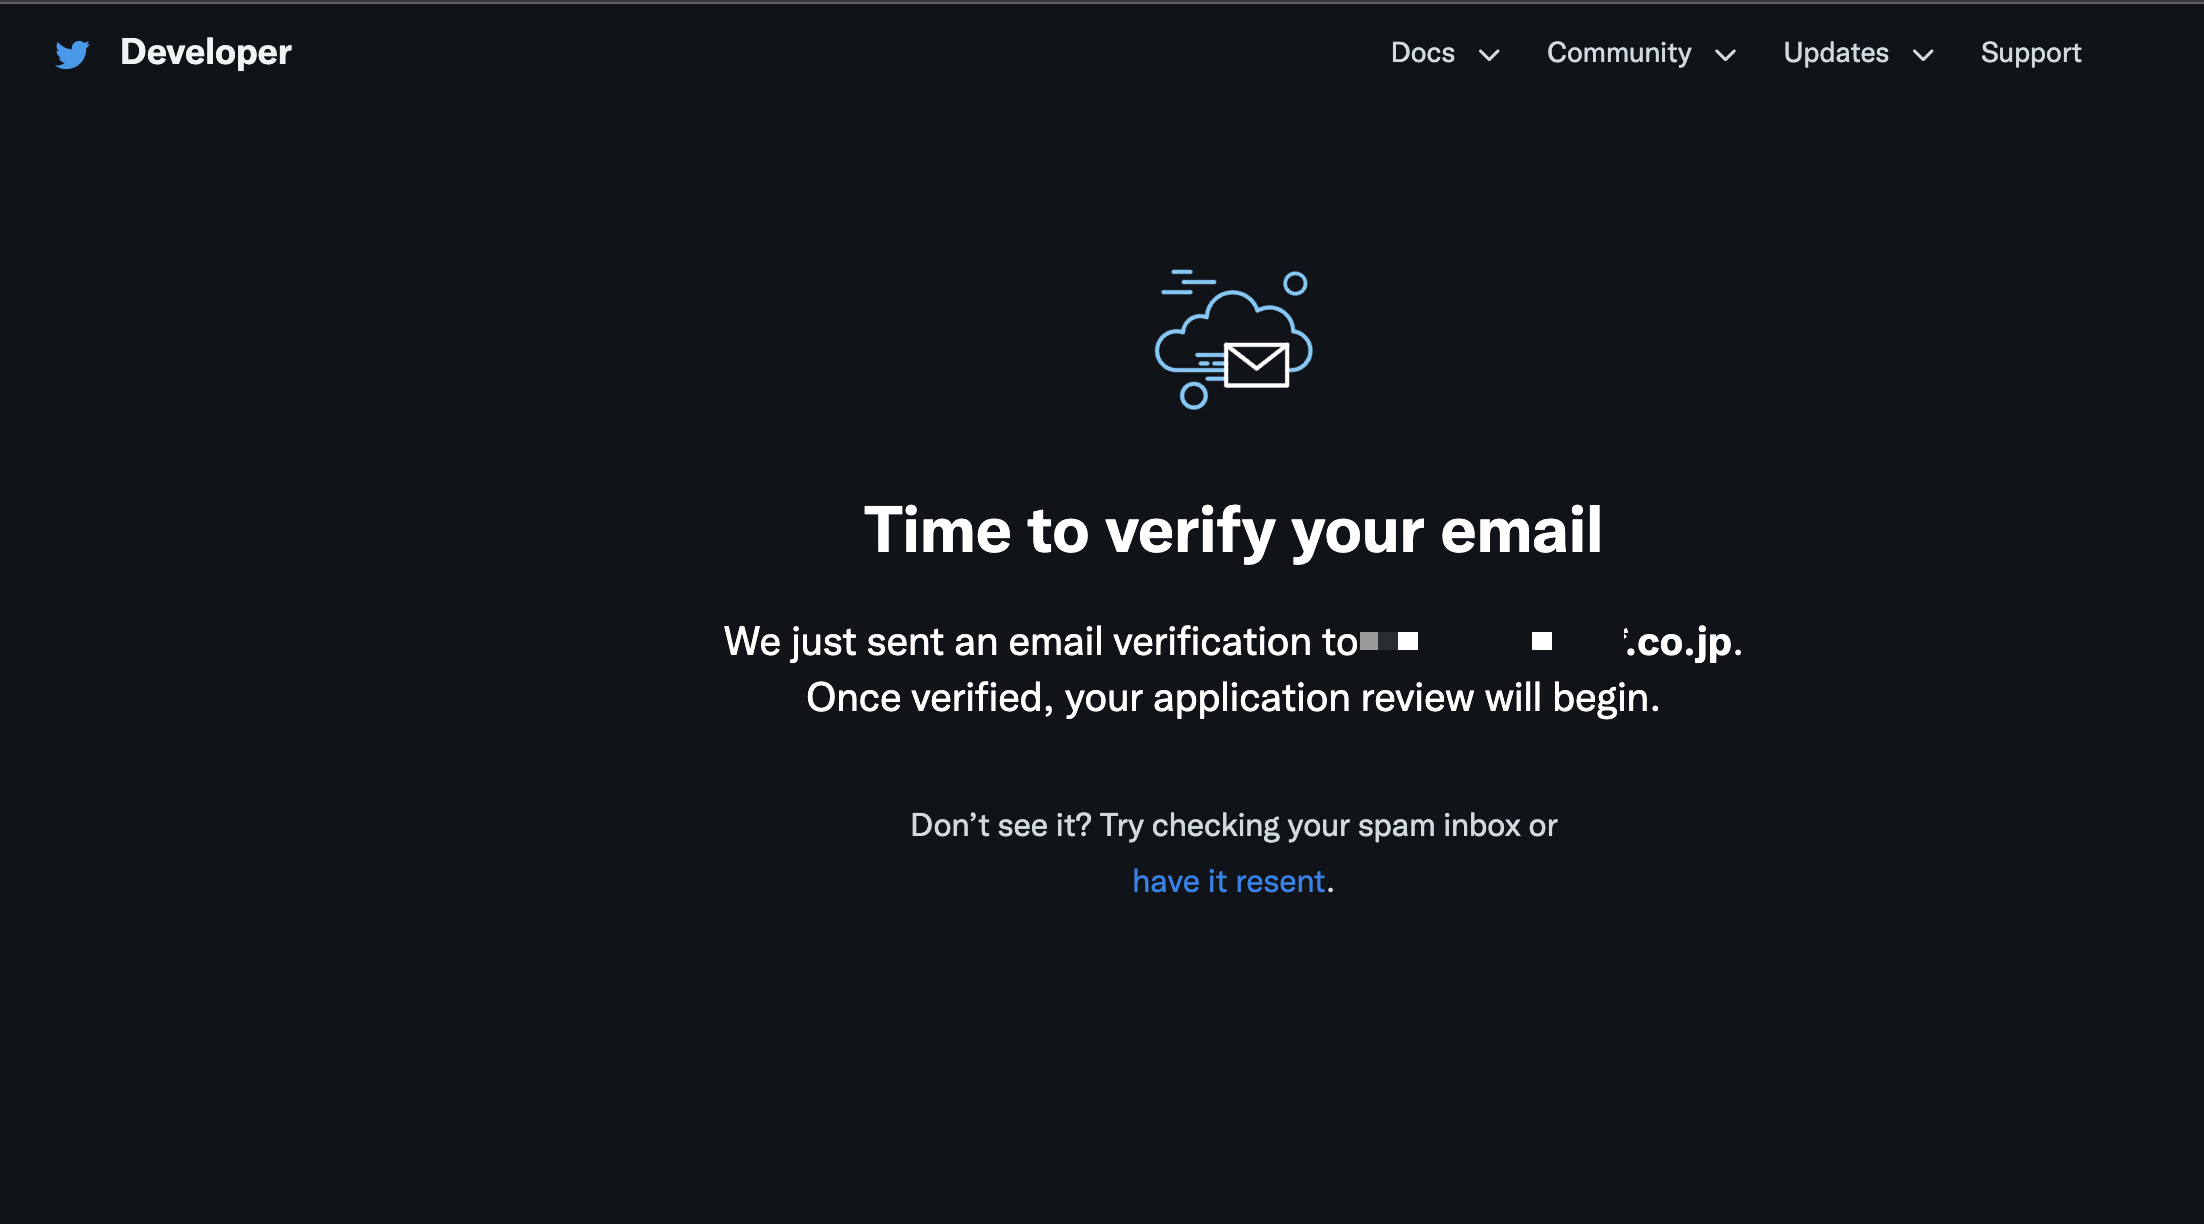
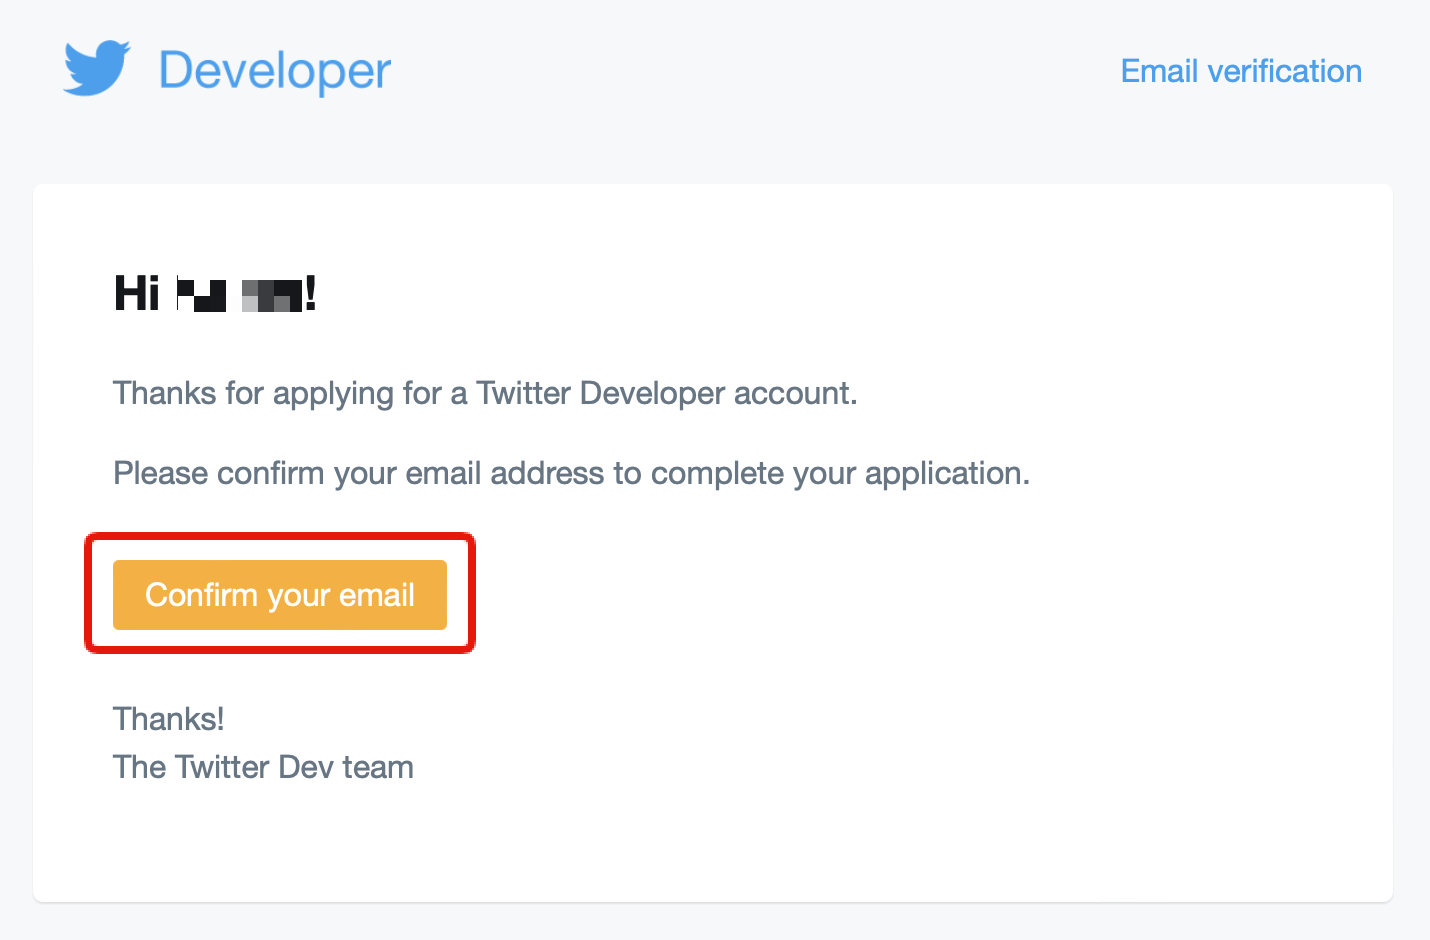
 You will receive a verification e-mail in the inbox associated with your account.
 Open the message and click [Confirm your email].
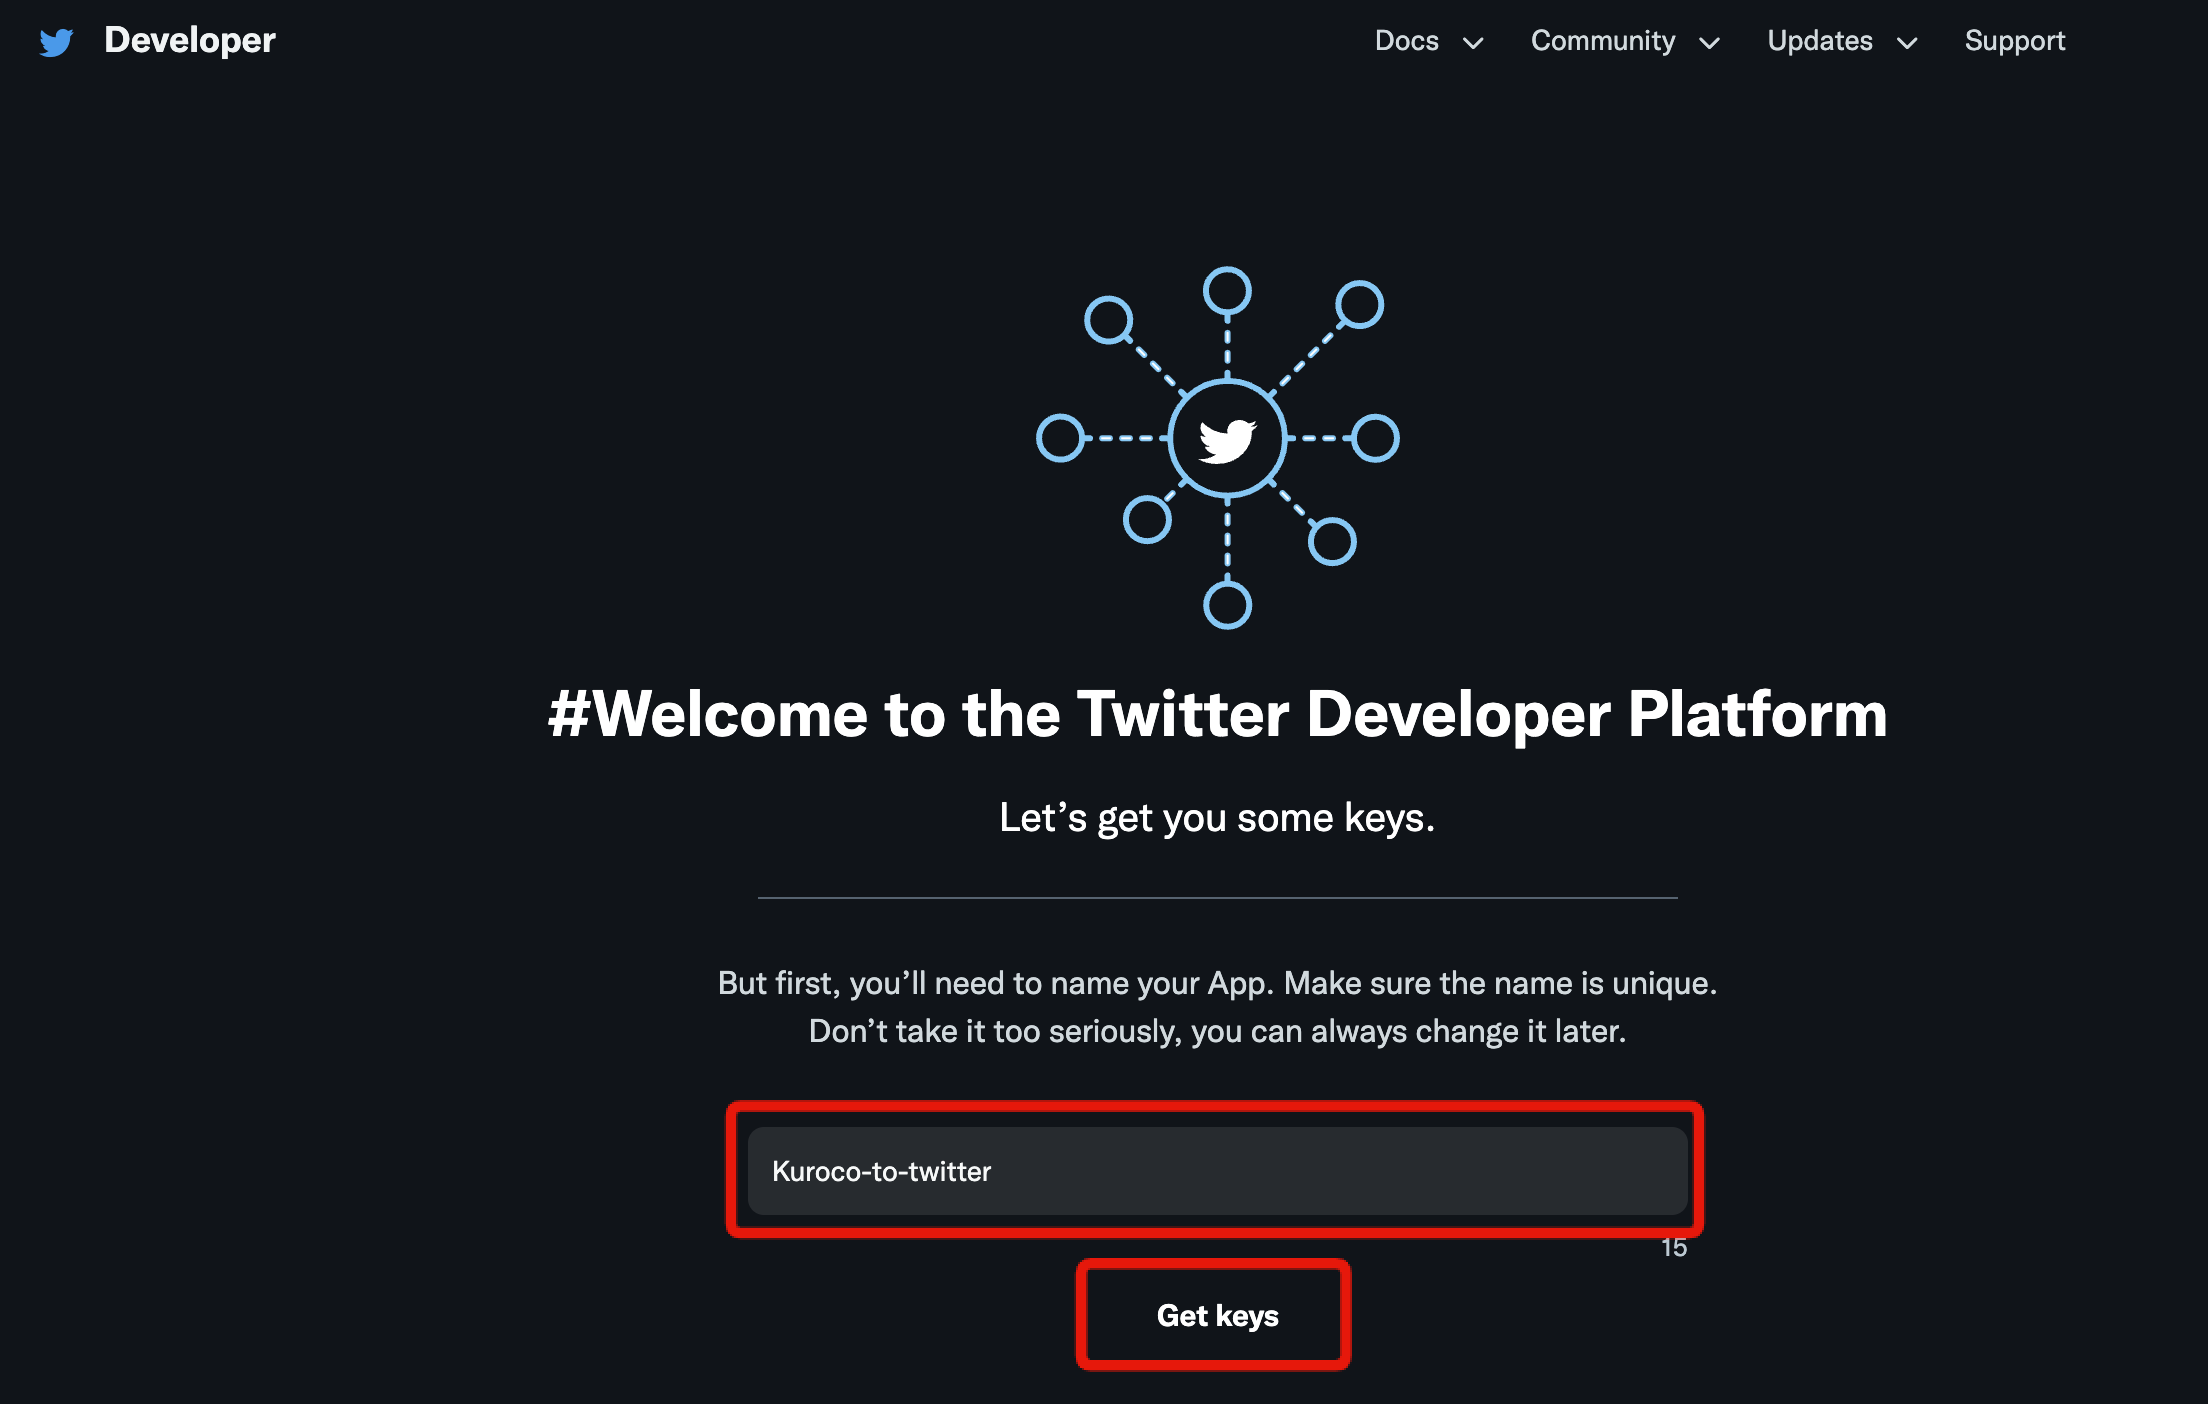
 Enter your desired app name and click [Get keys].
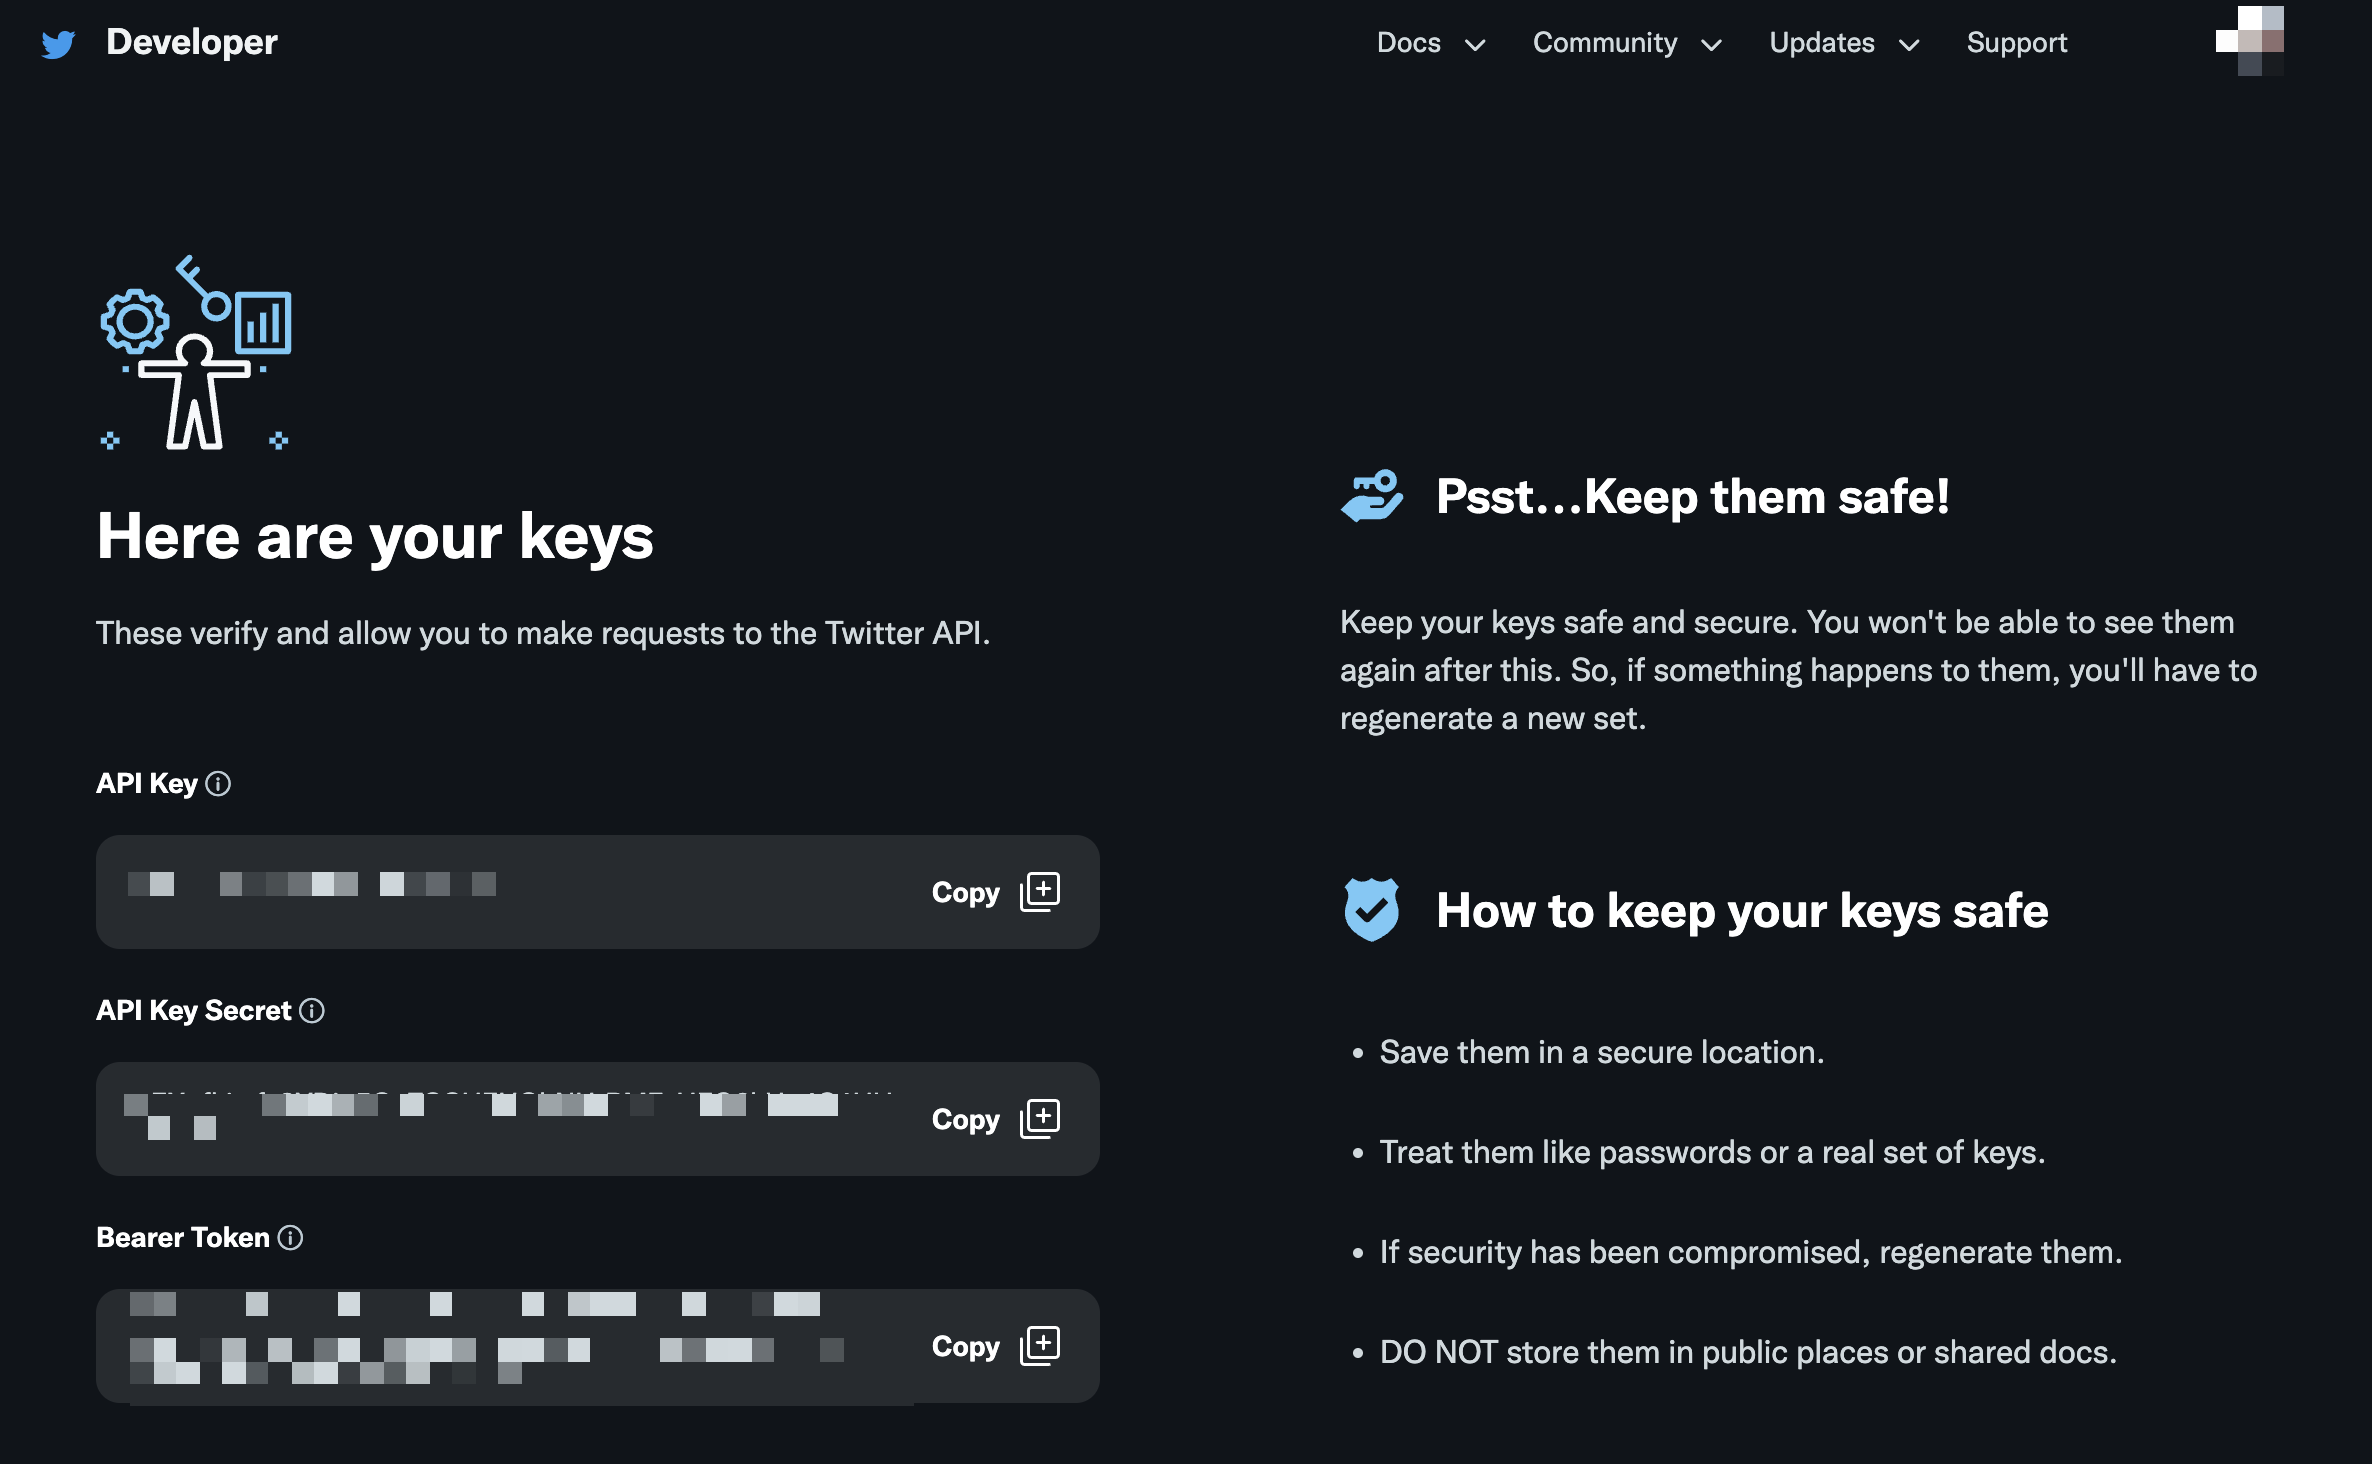
 You will be redirected to a screen displaying your API key.
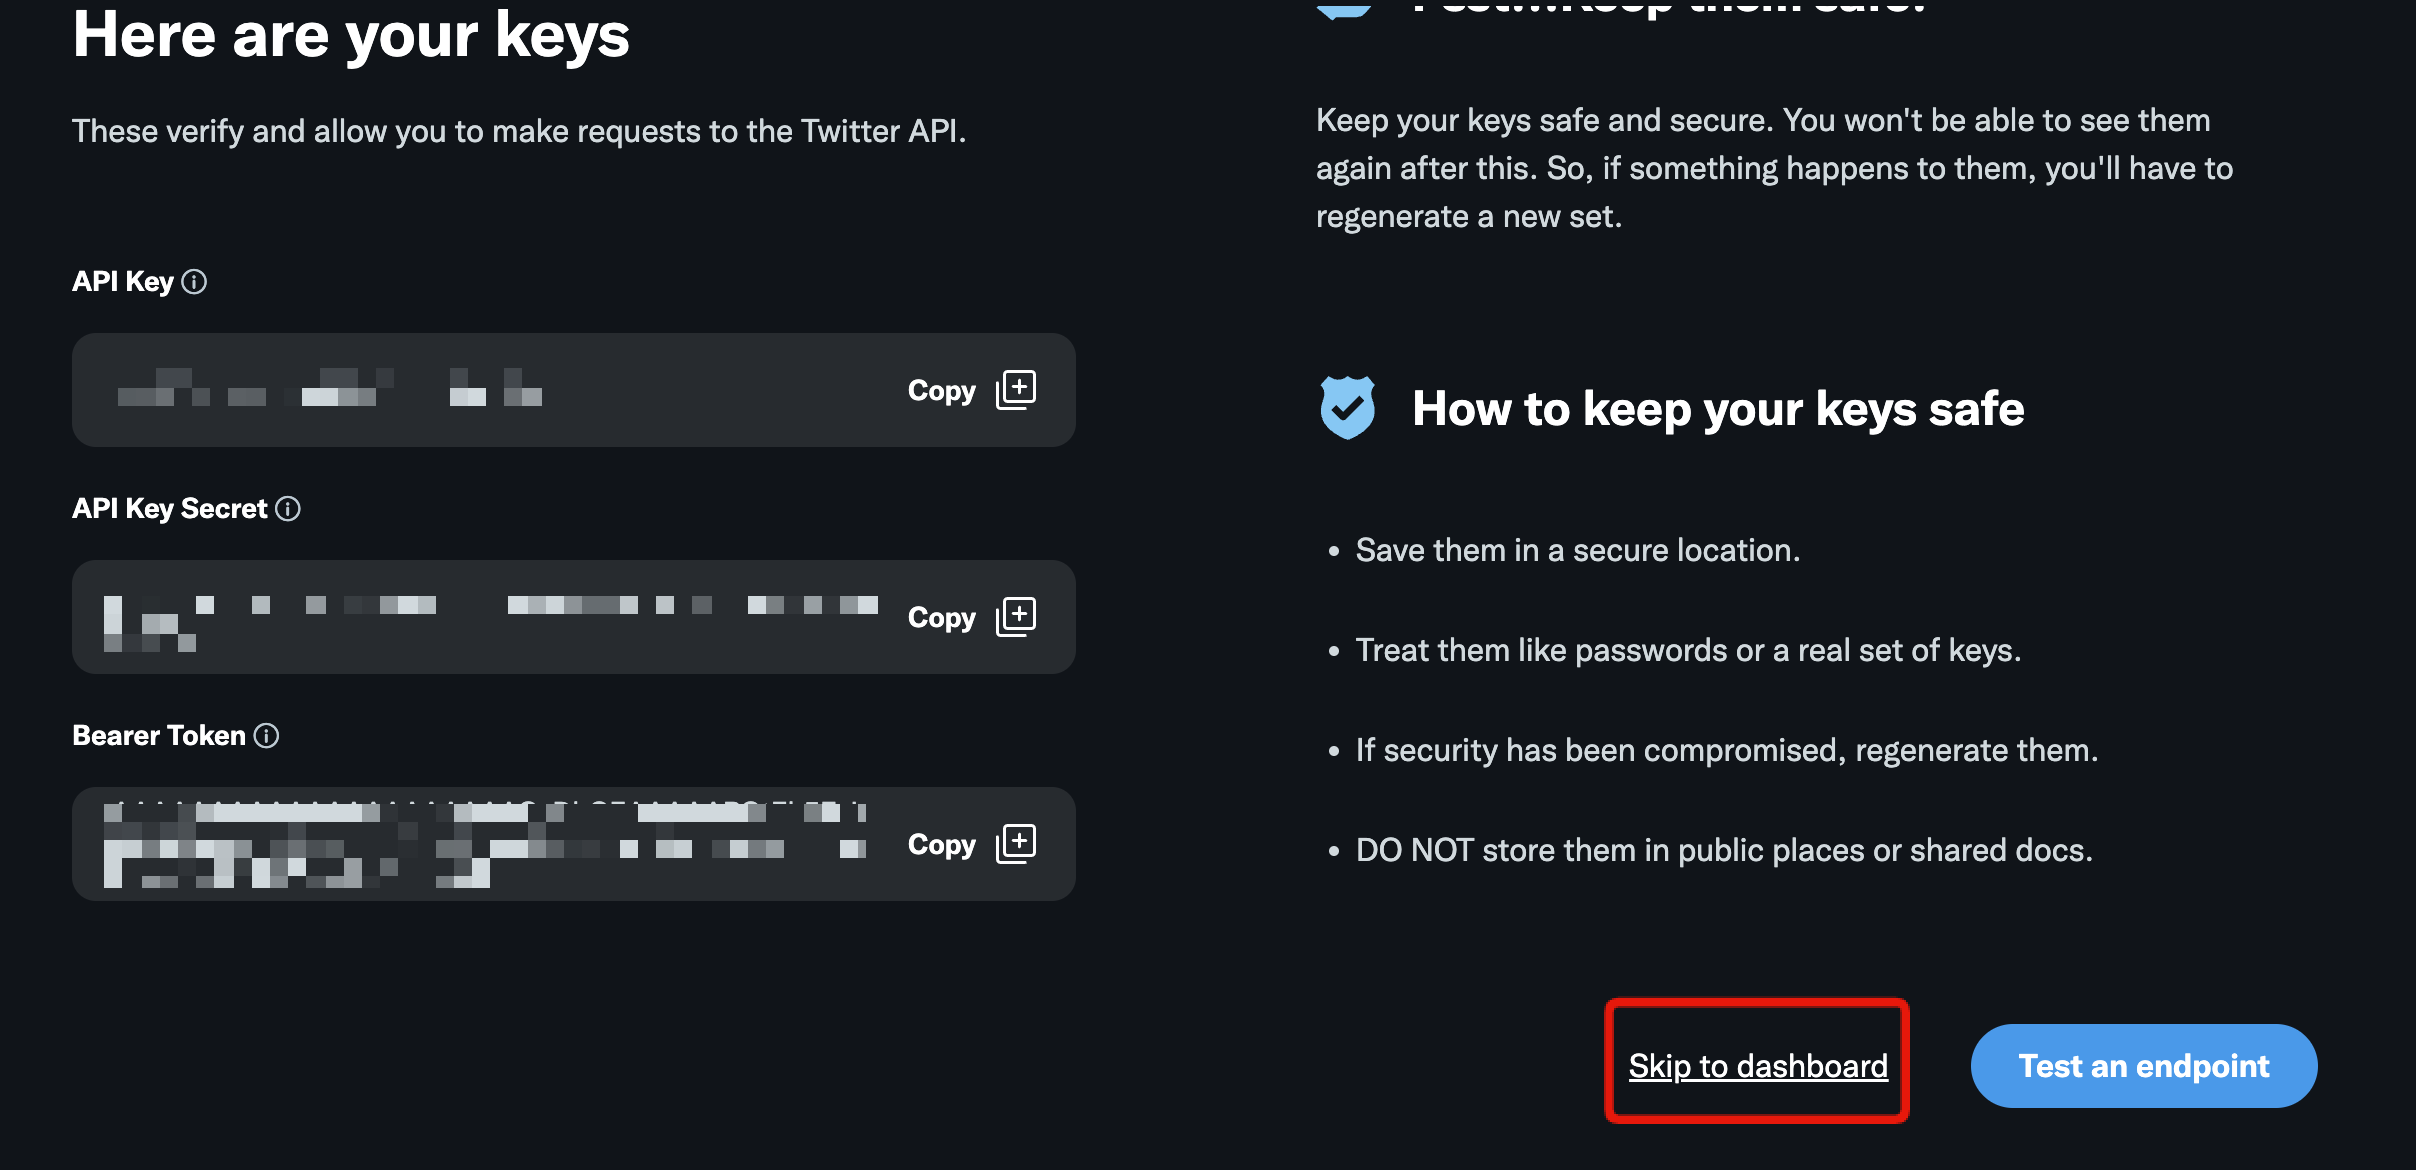
 Click [Skip to dashboard].
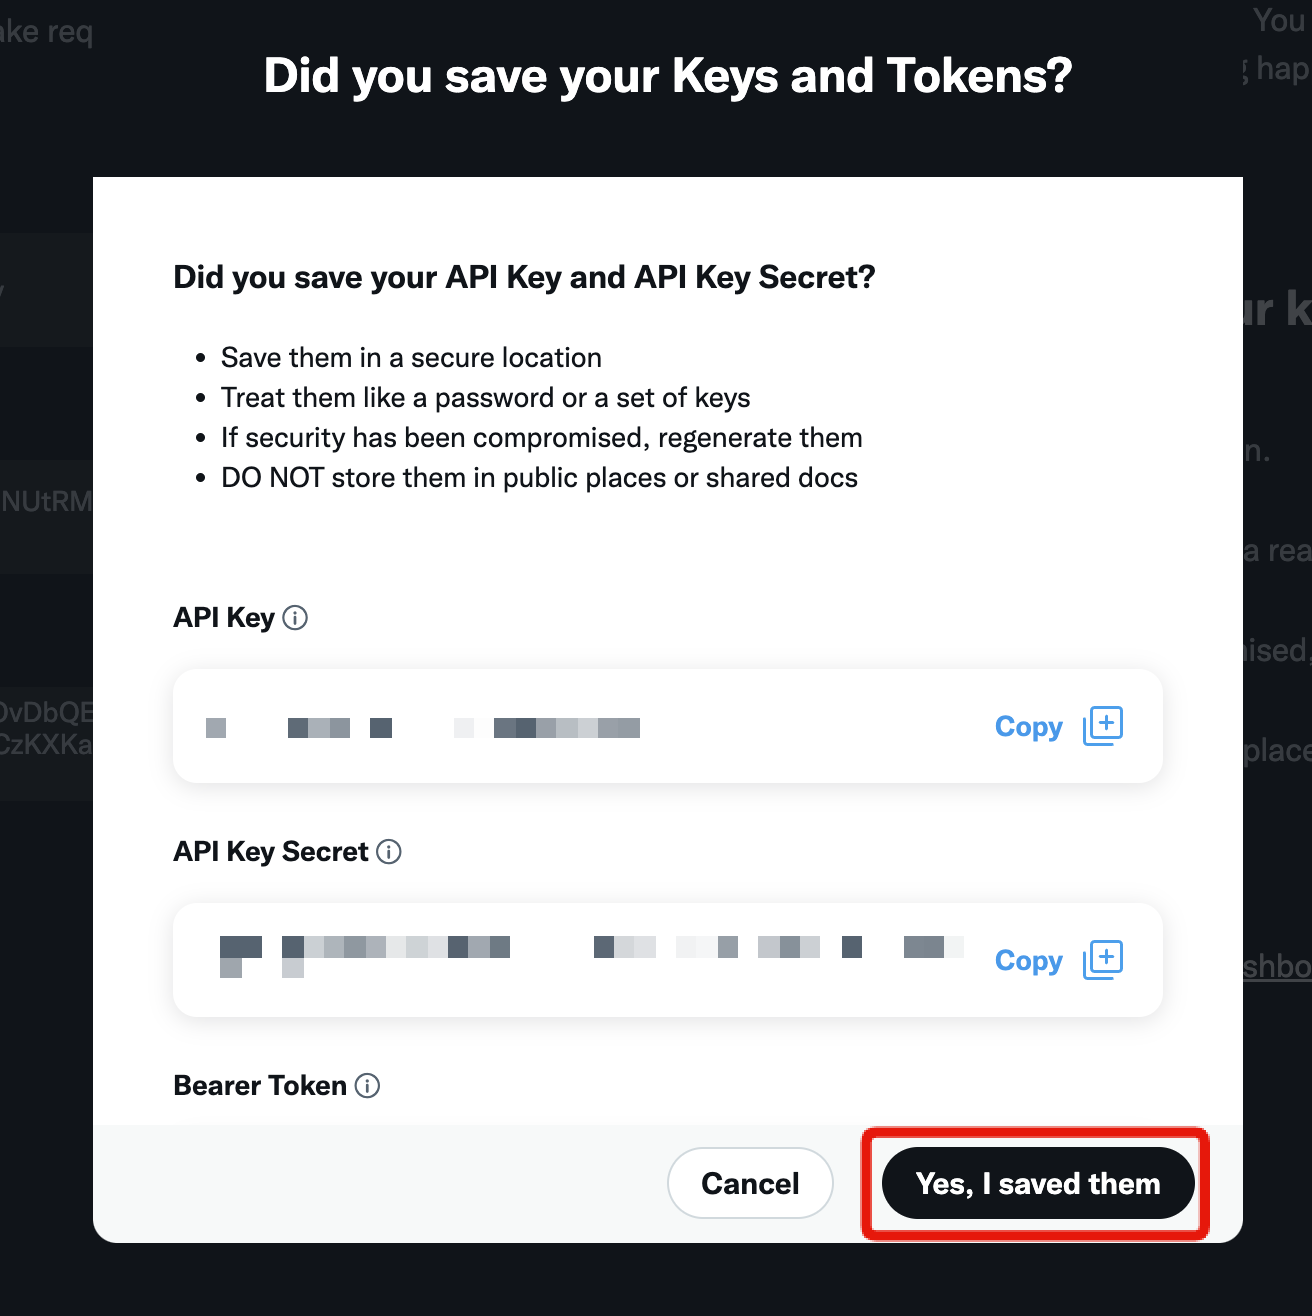
 You will see a dialog entitled "Did you save your Keys and Tokens?". Copy them down and then click [Yes, I saved them].
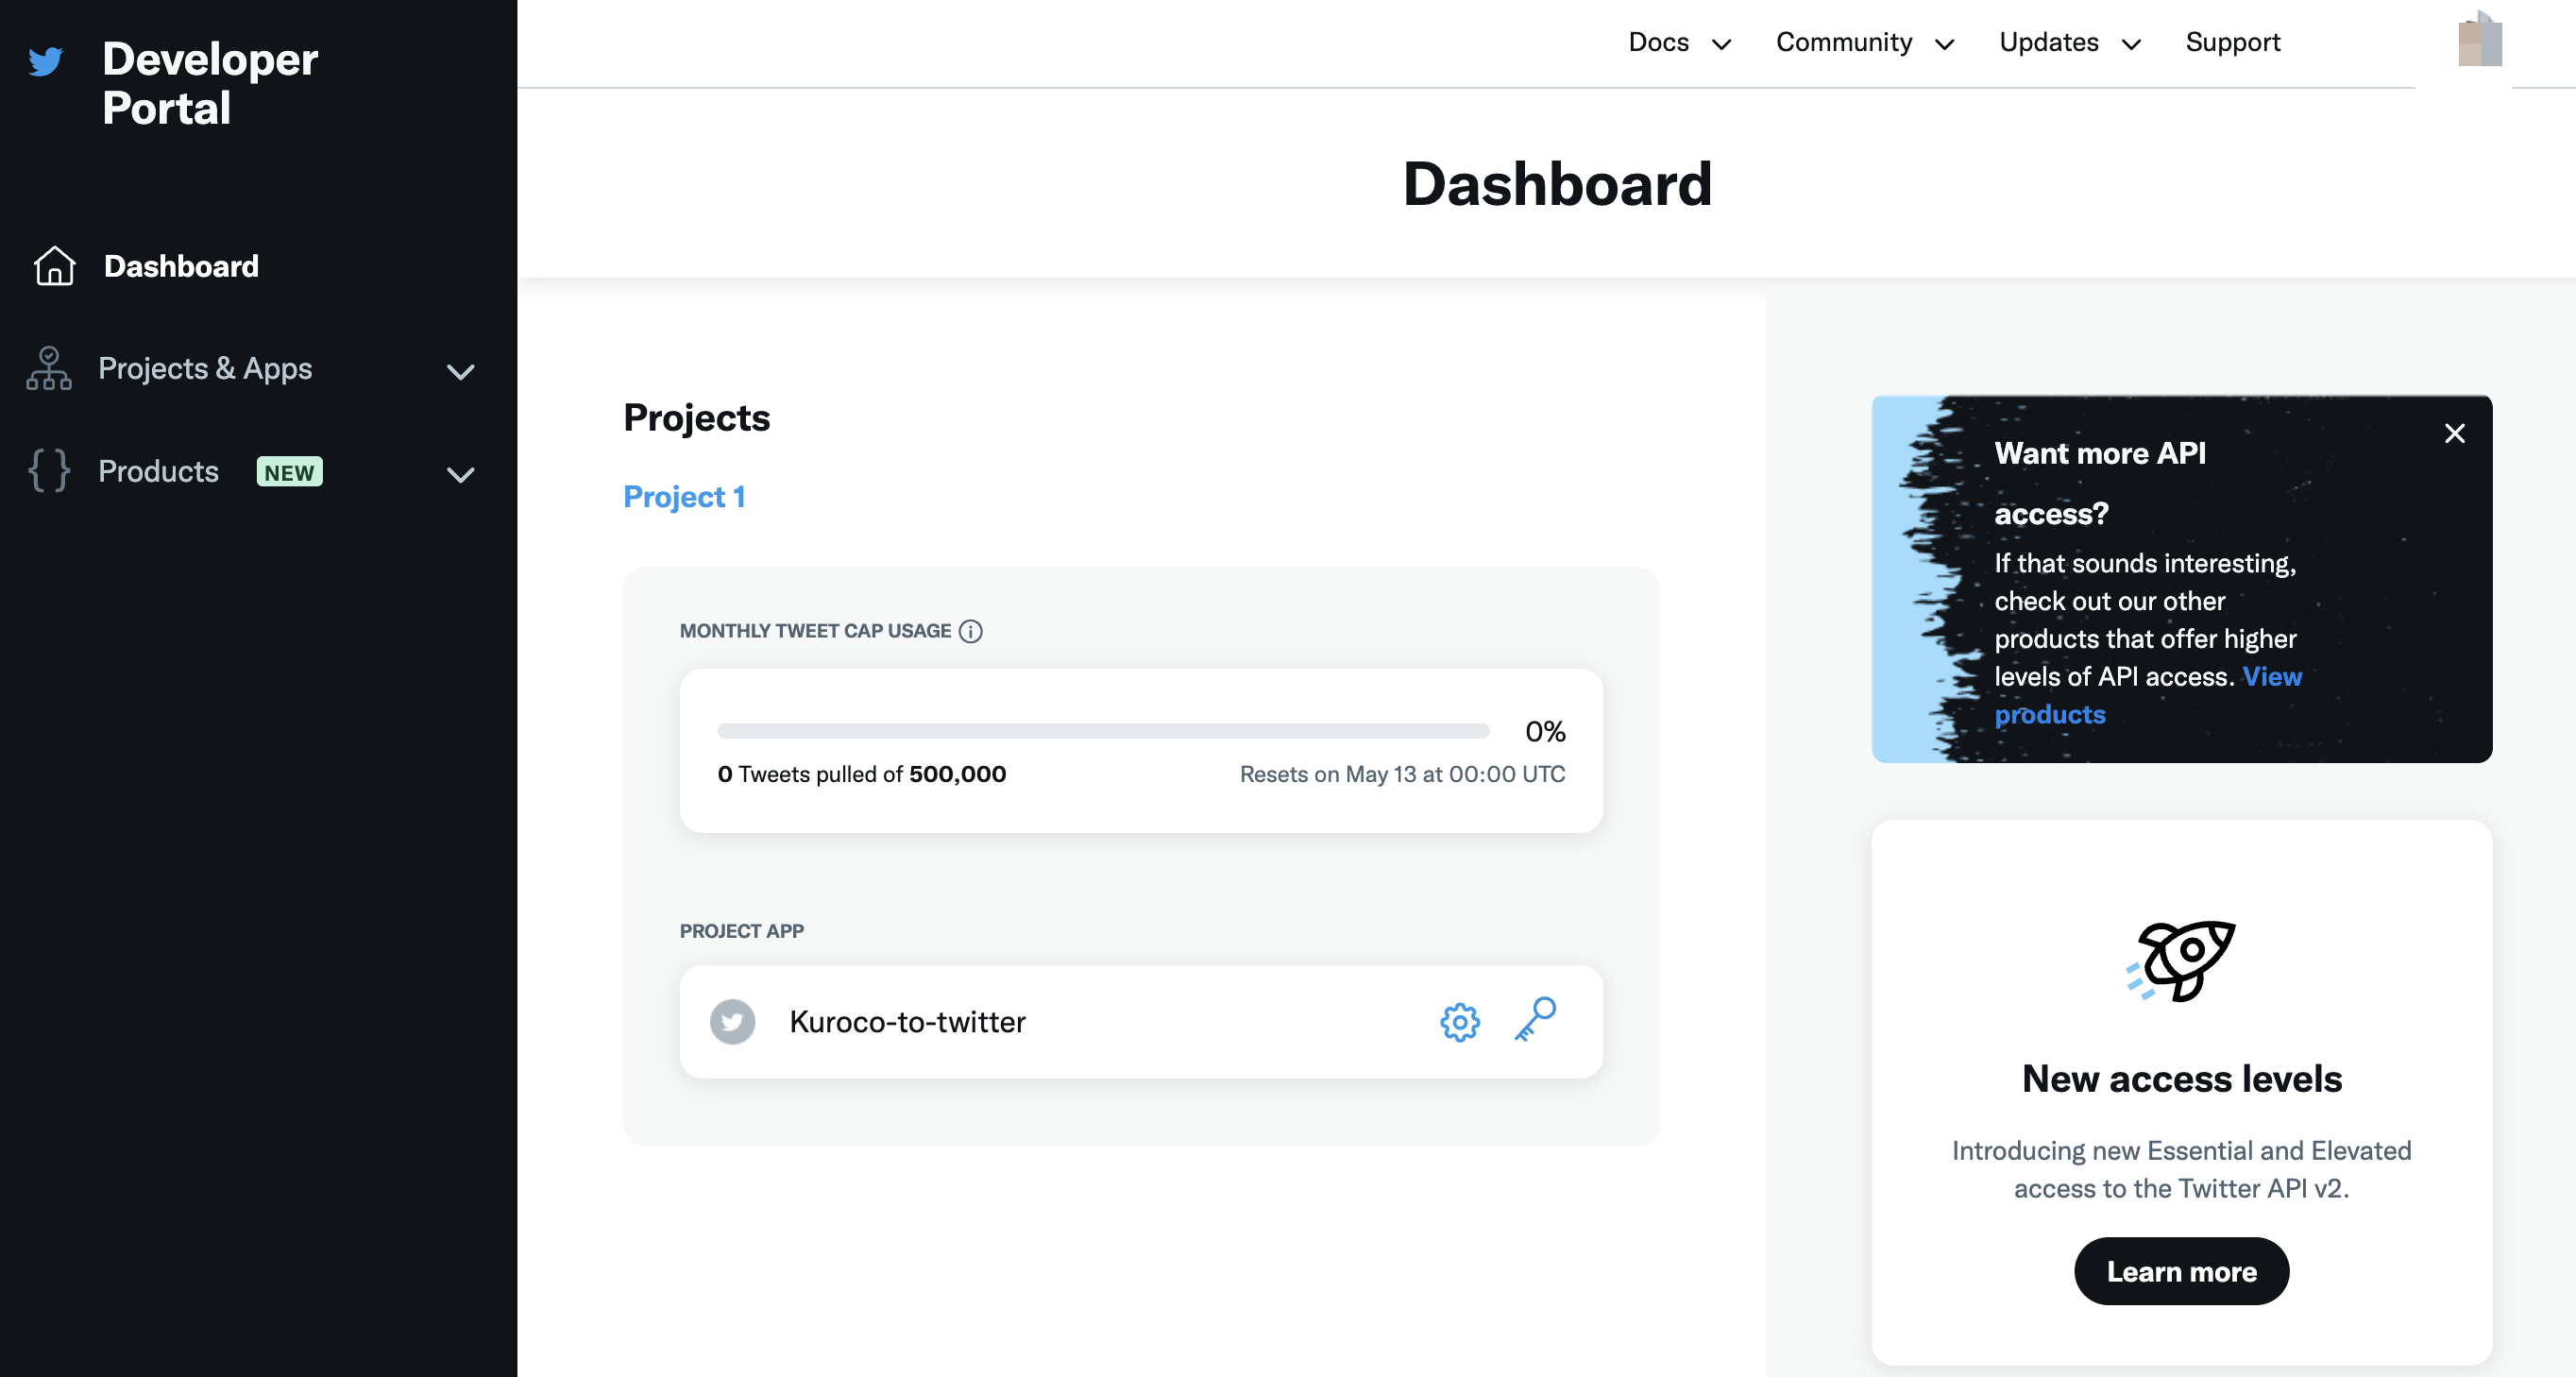
 You will be redirected to the dashboard.
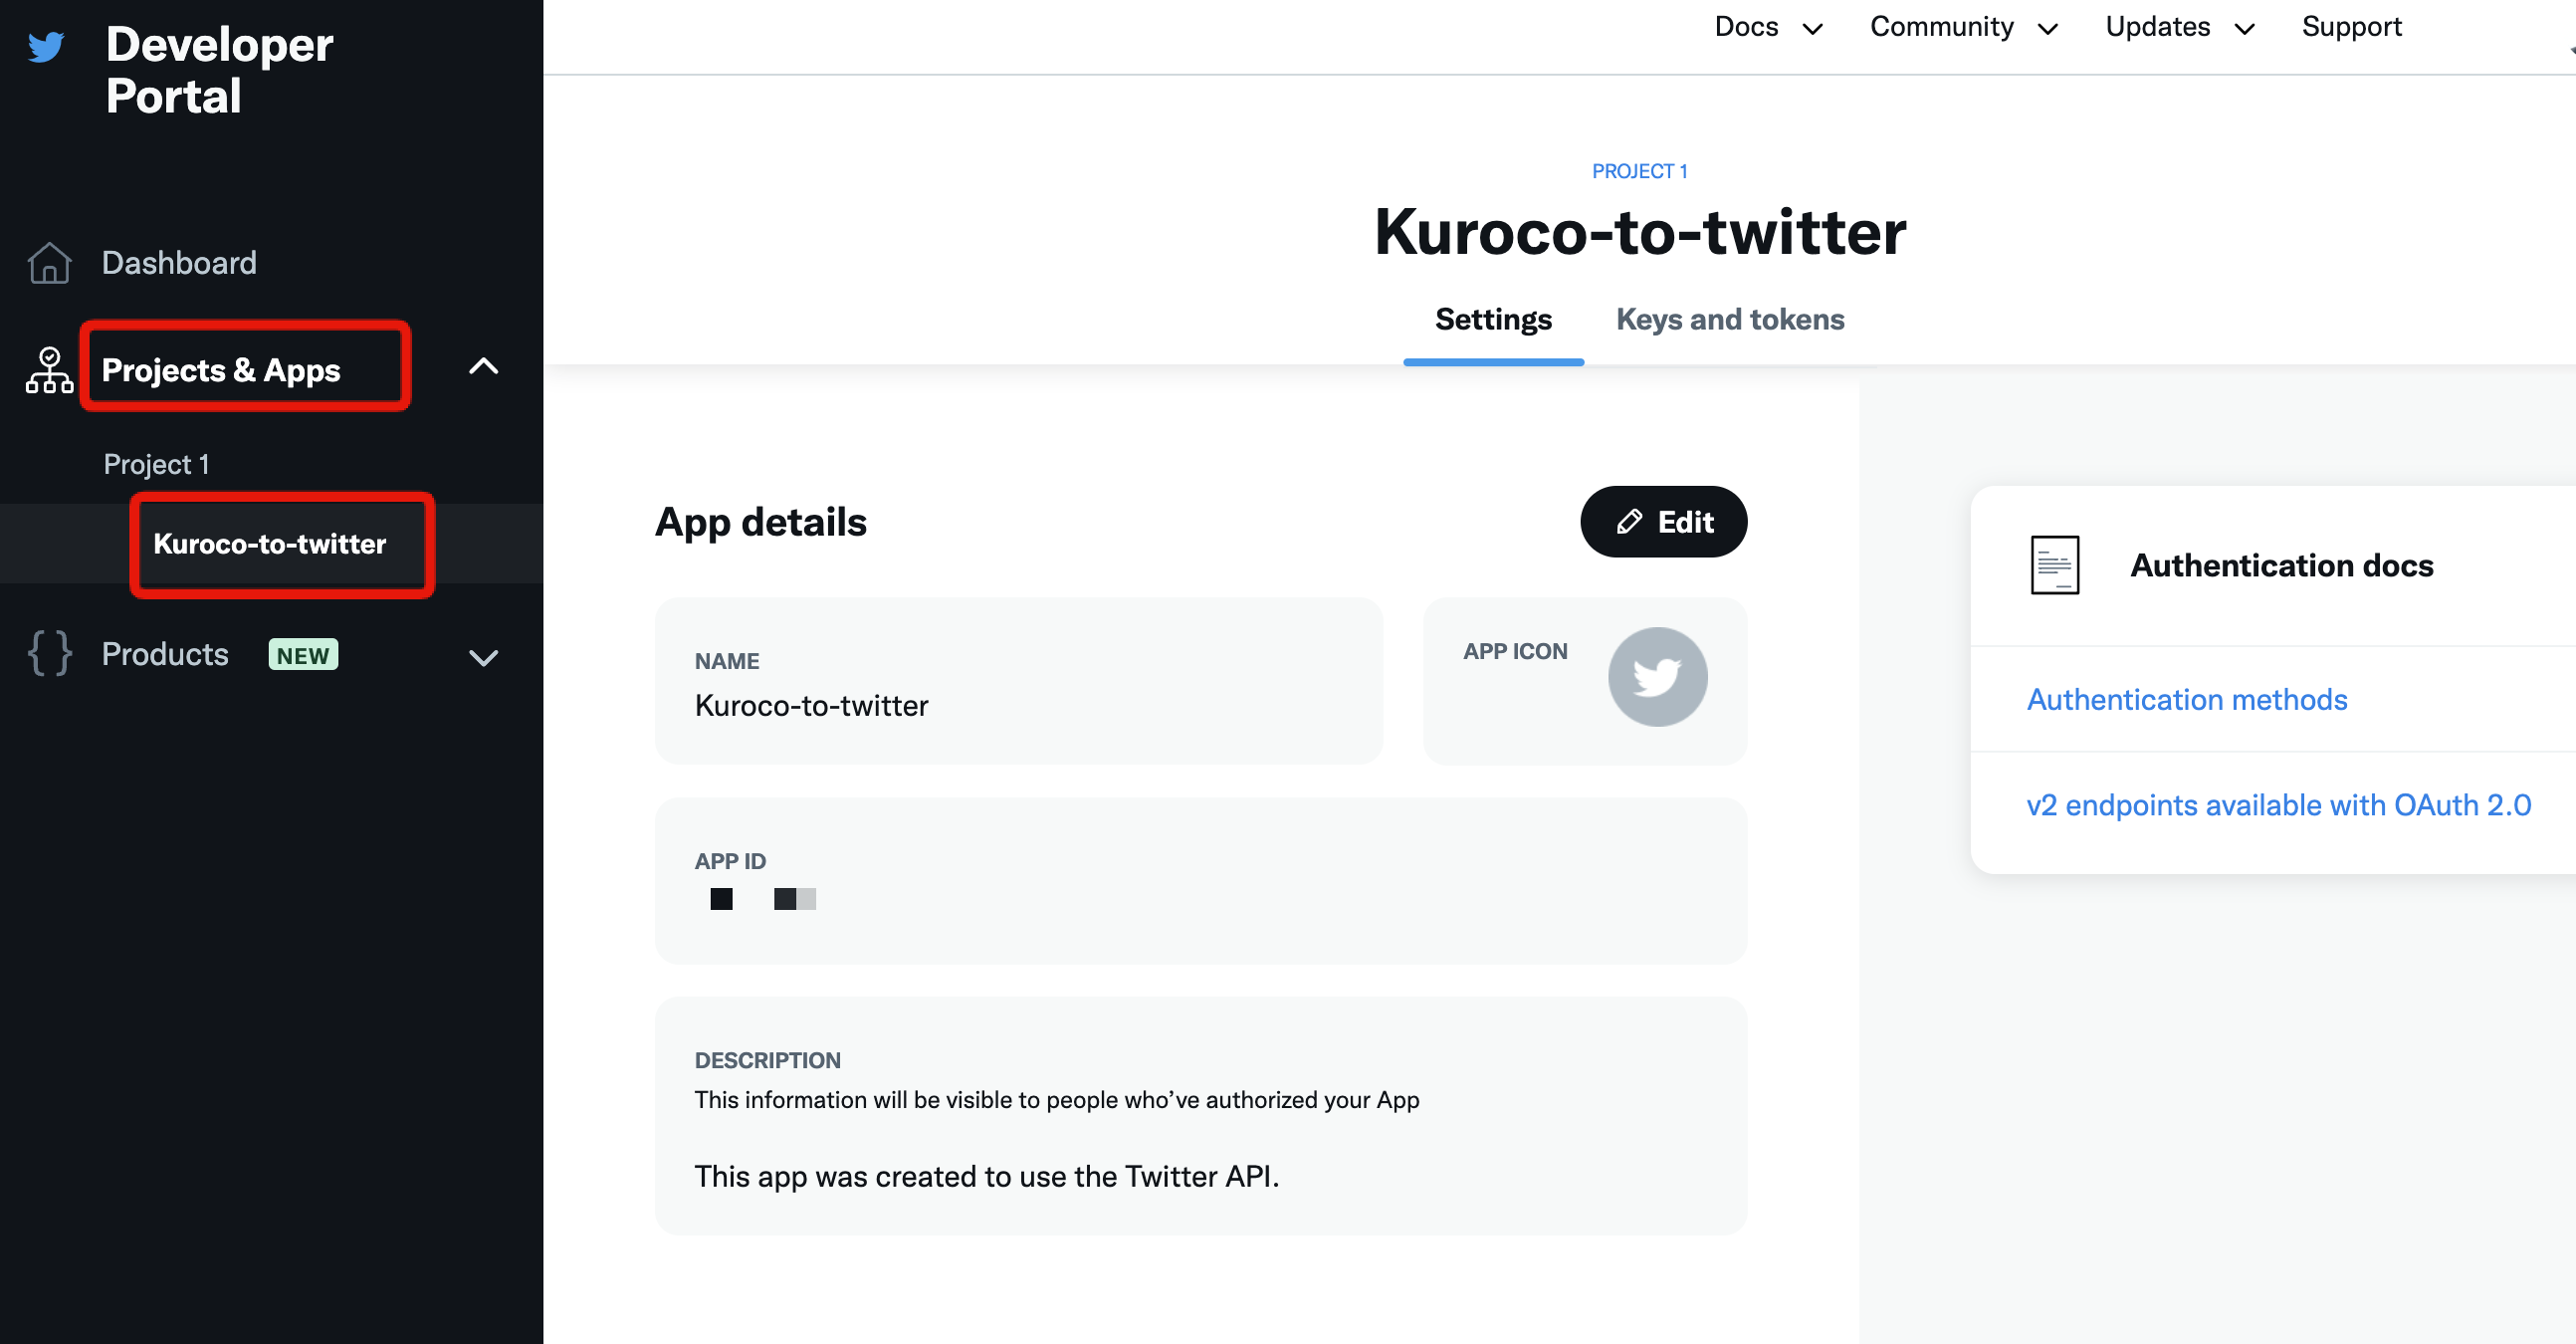
 In the sidebar menu, select [Projects & Apps]. The app you created earlier will be listed here.
Configure app permissions
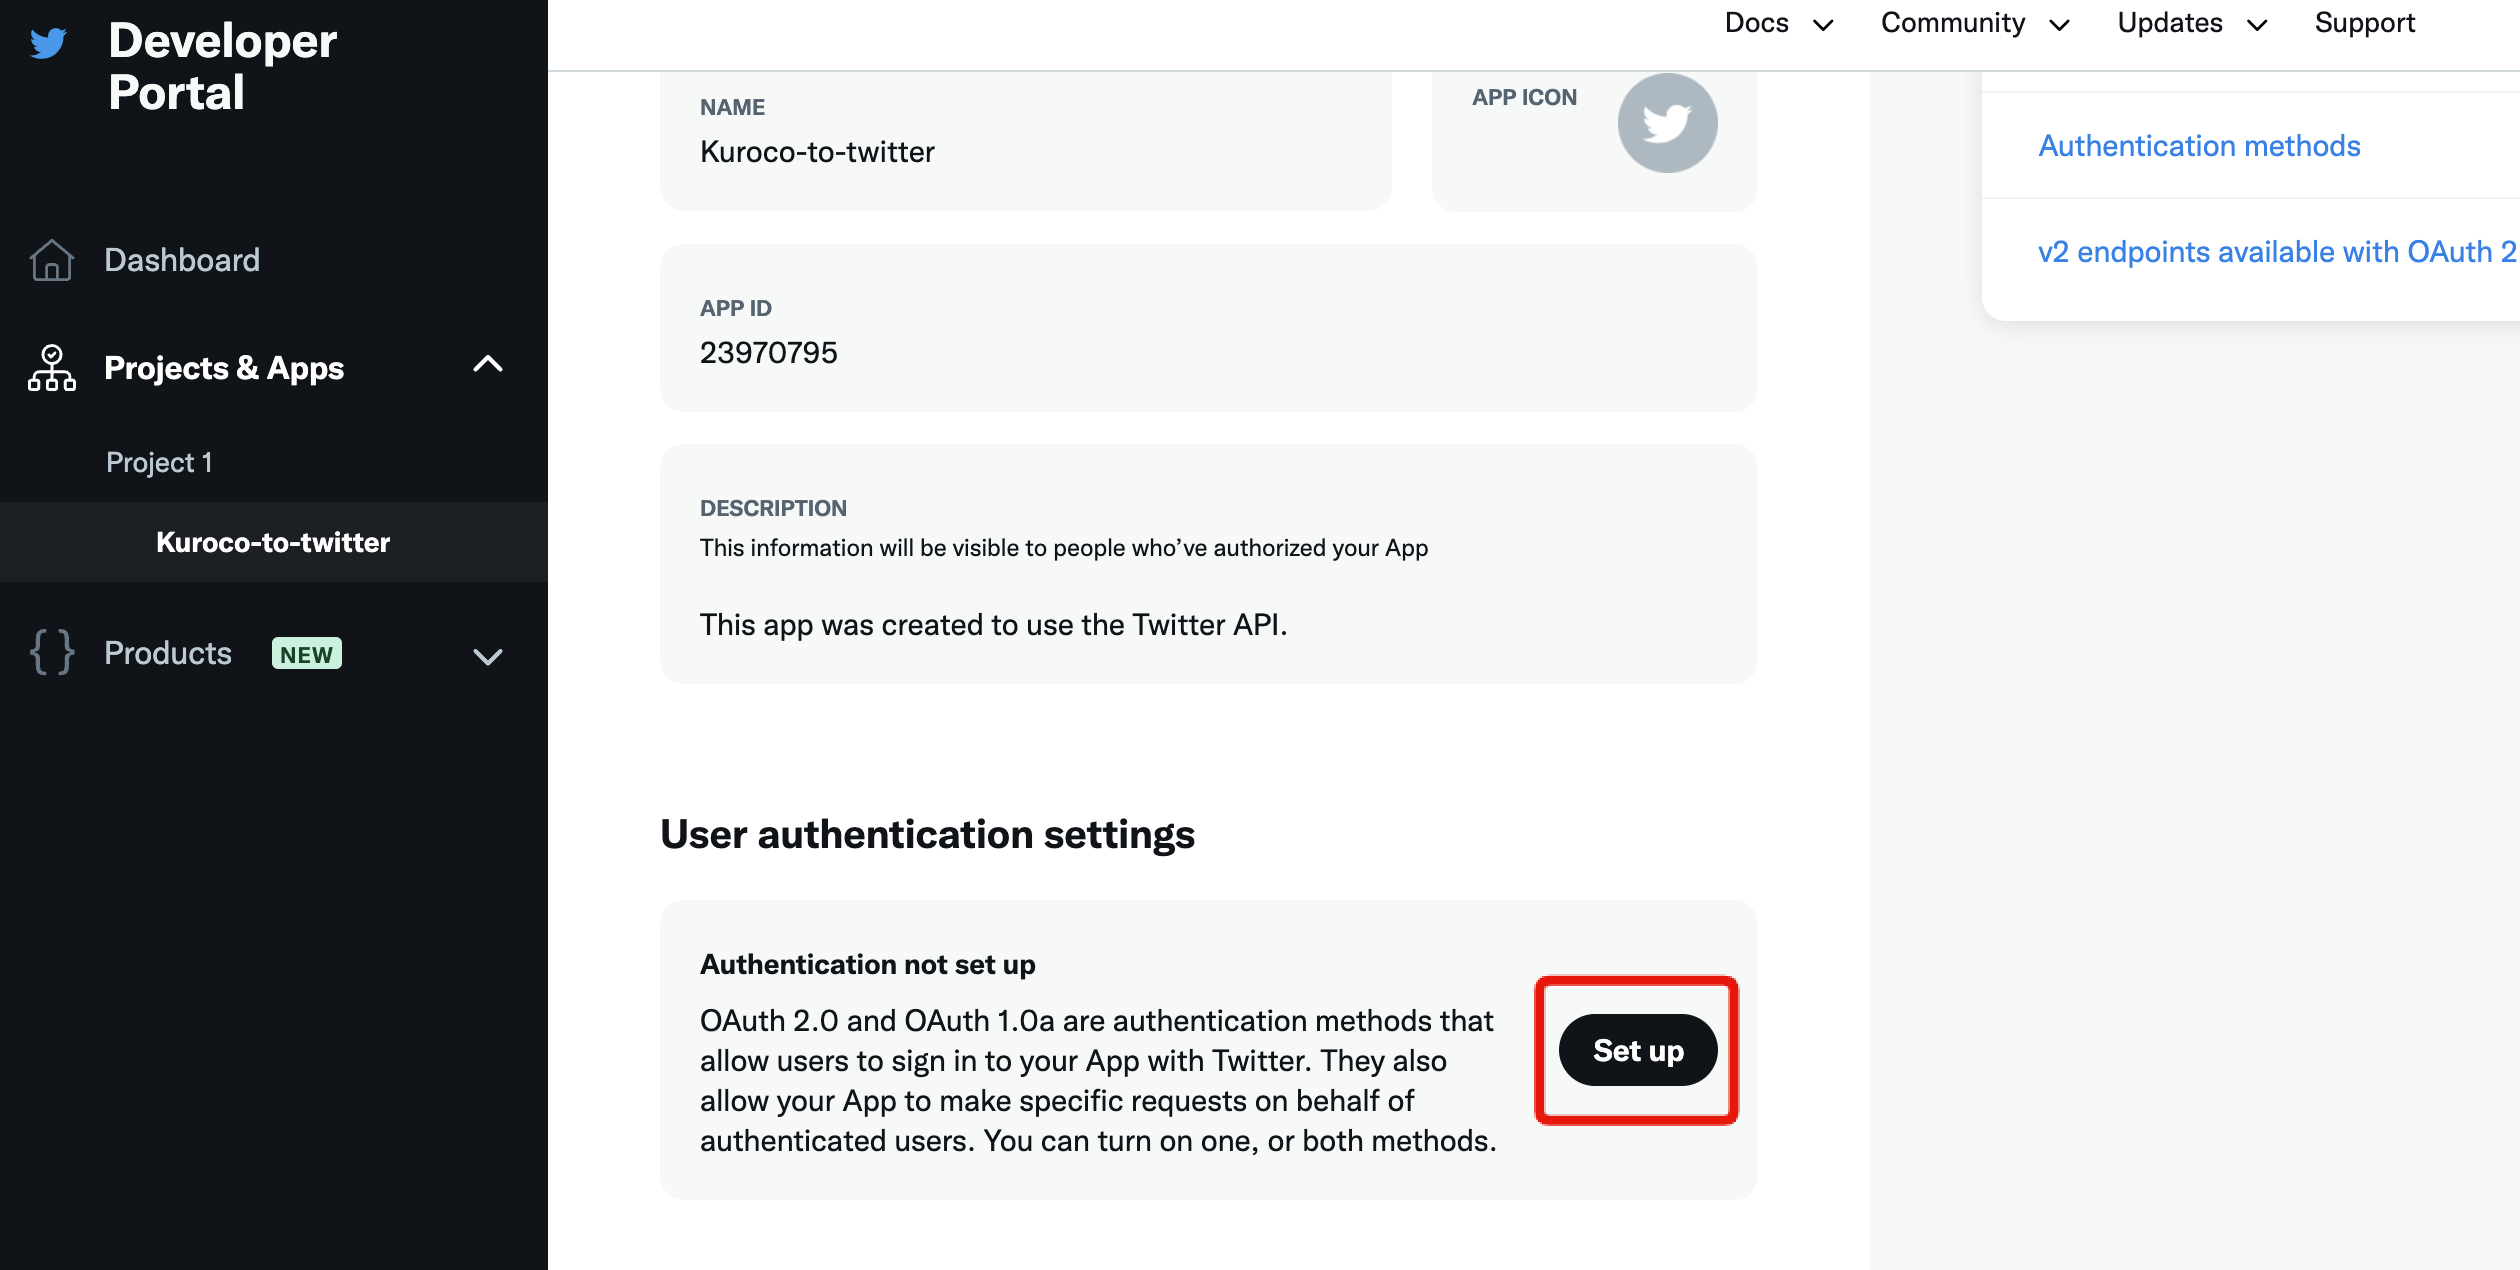
The default app permission is set to "Read Only", and you need to change it to "Read and Write".
To do this, first click [Set up] under "User authentication settings".
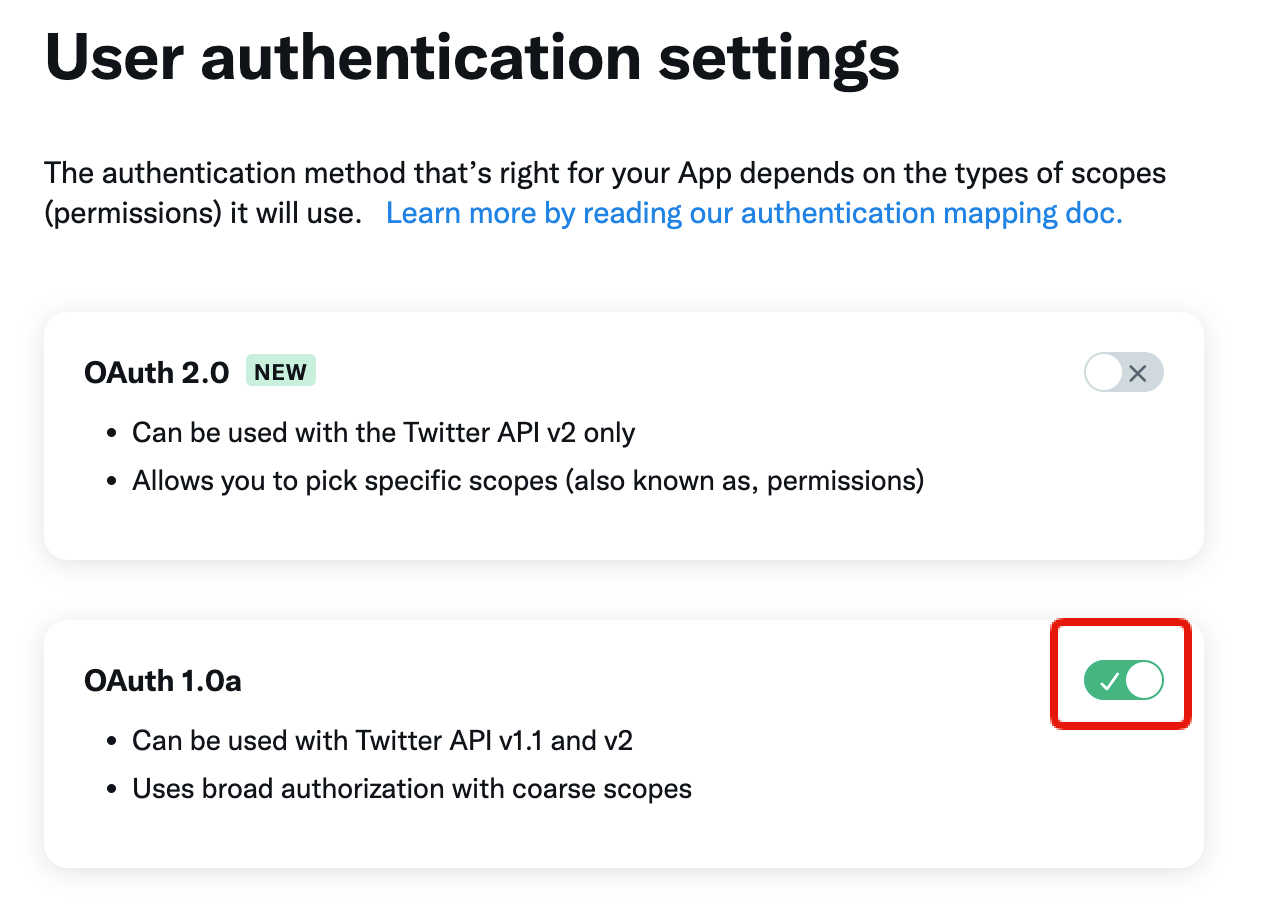
 Enable the OAuth 1.0a option.
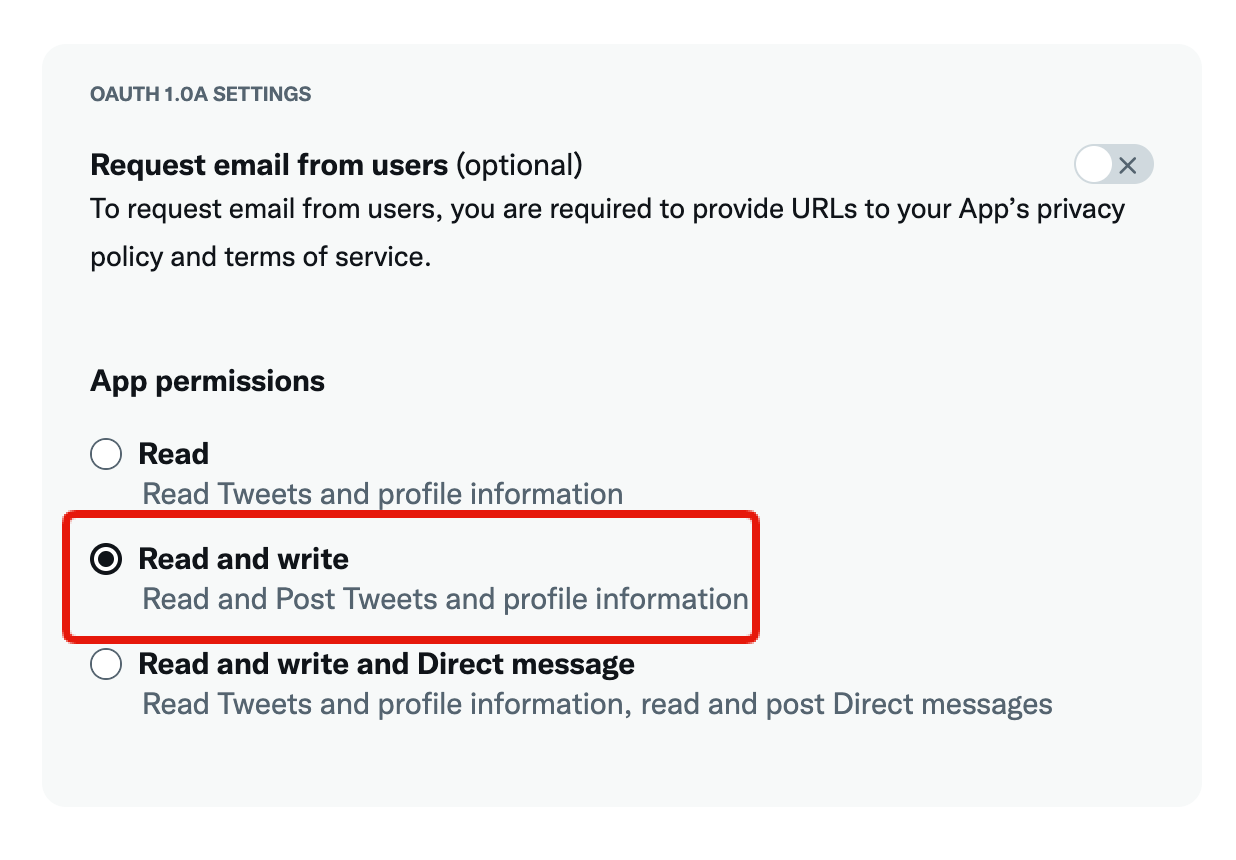
Under "App permissions", select [Read and write].
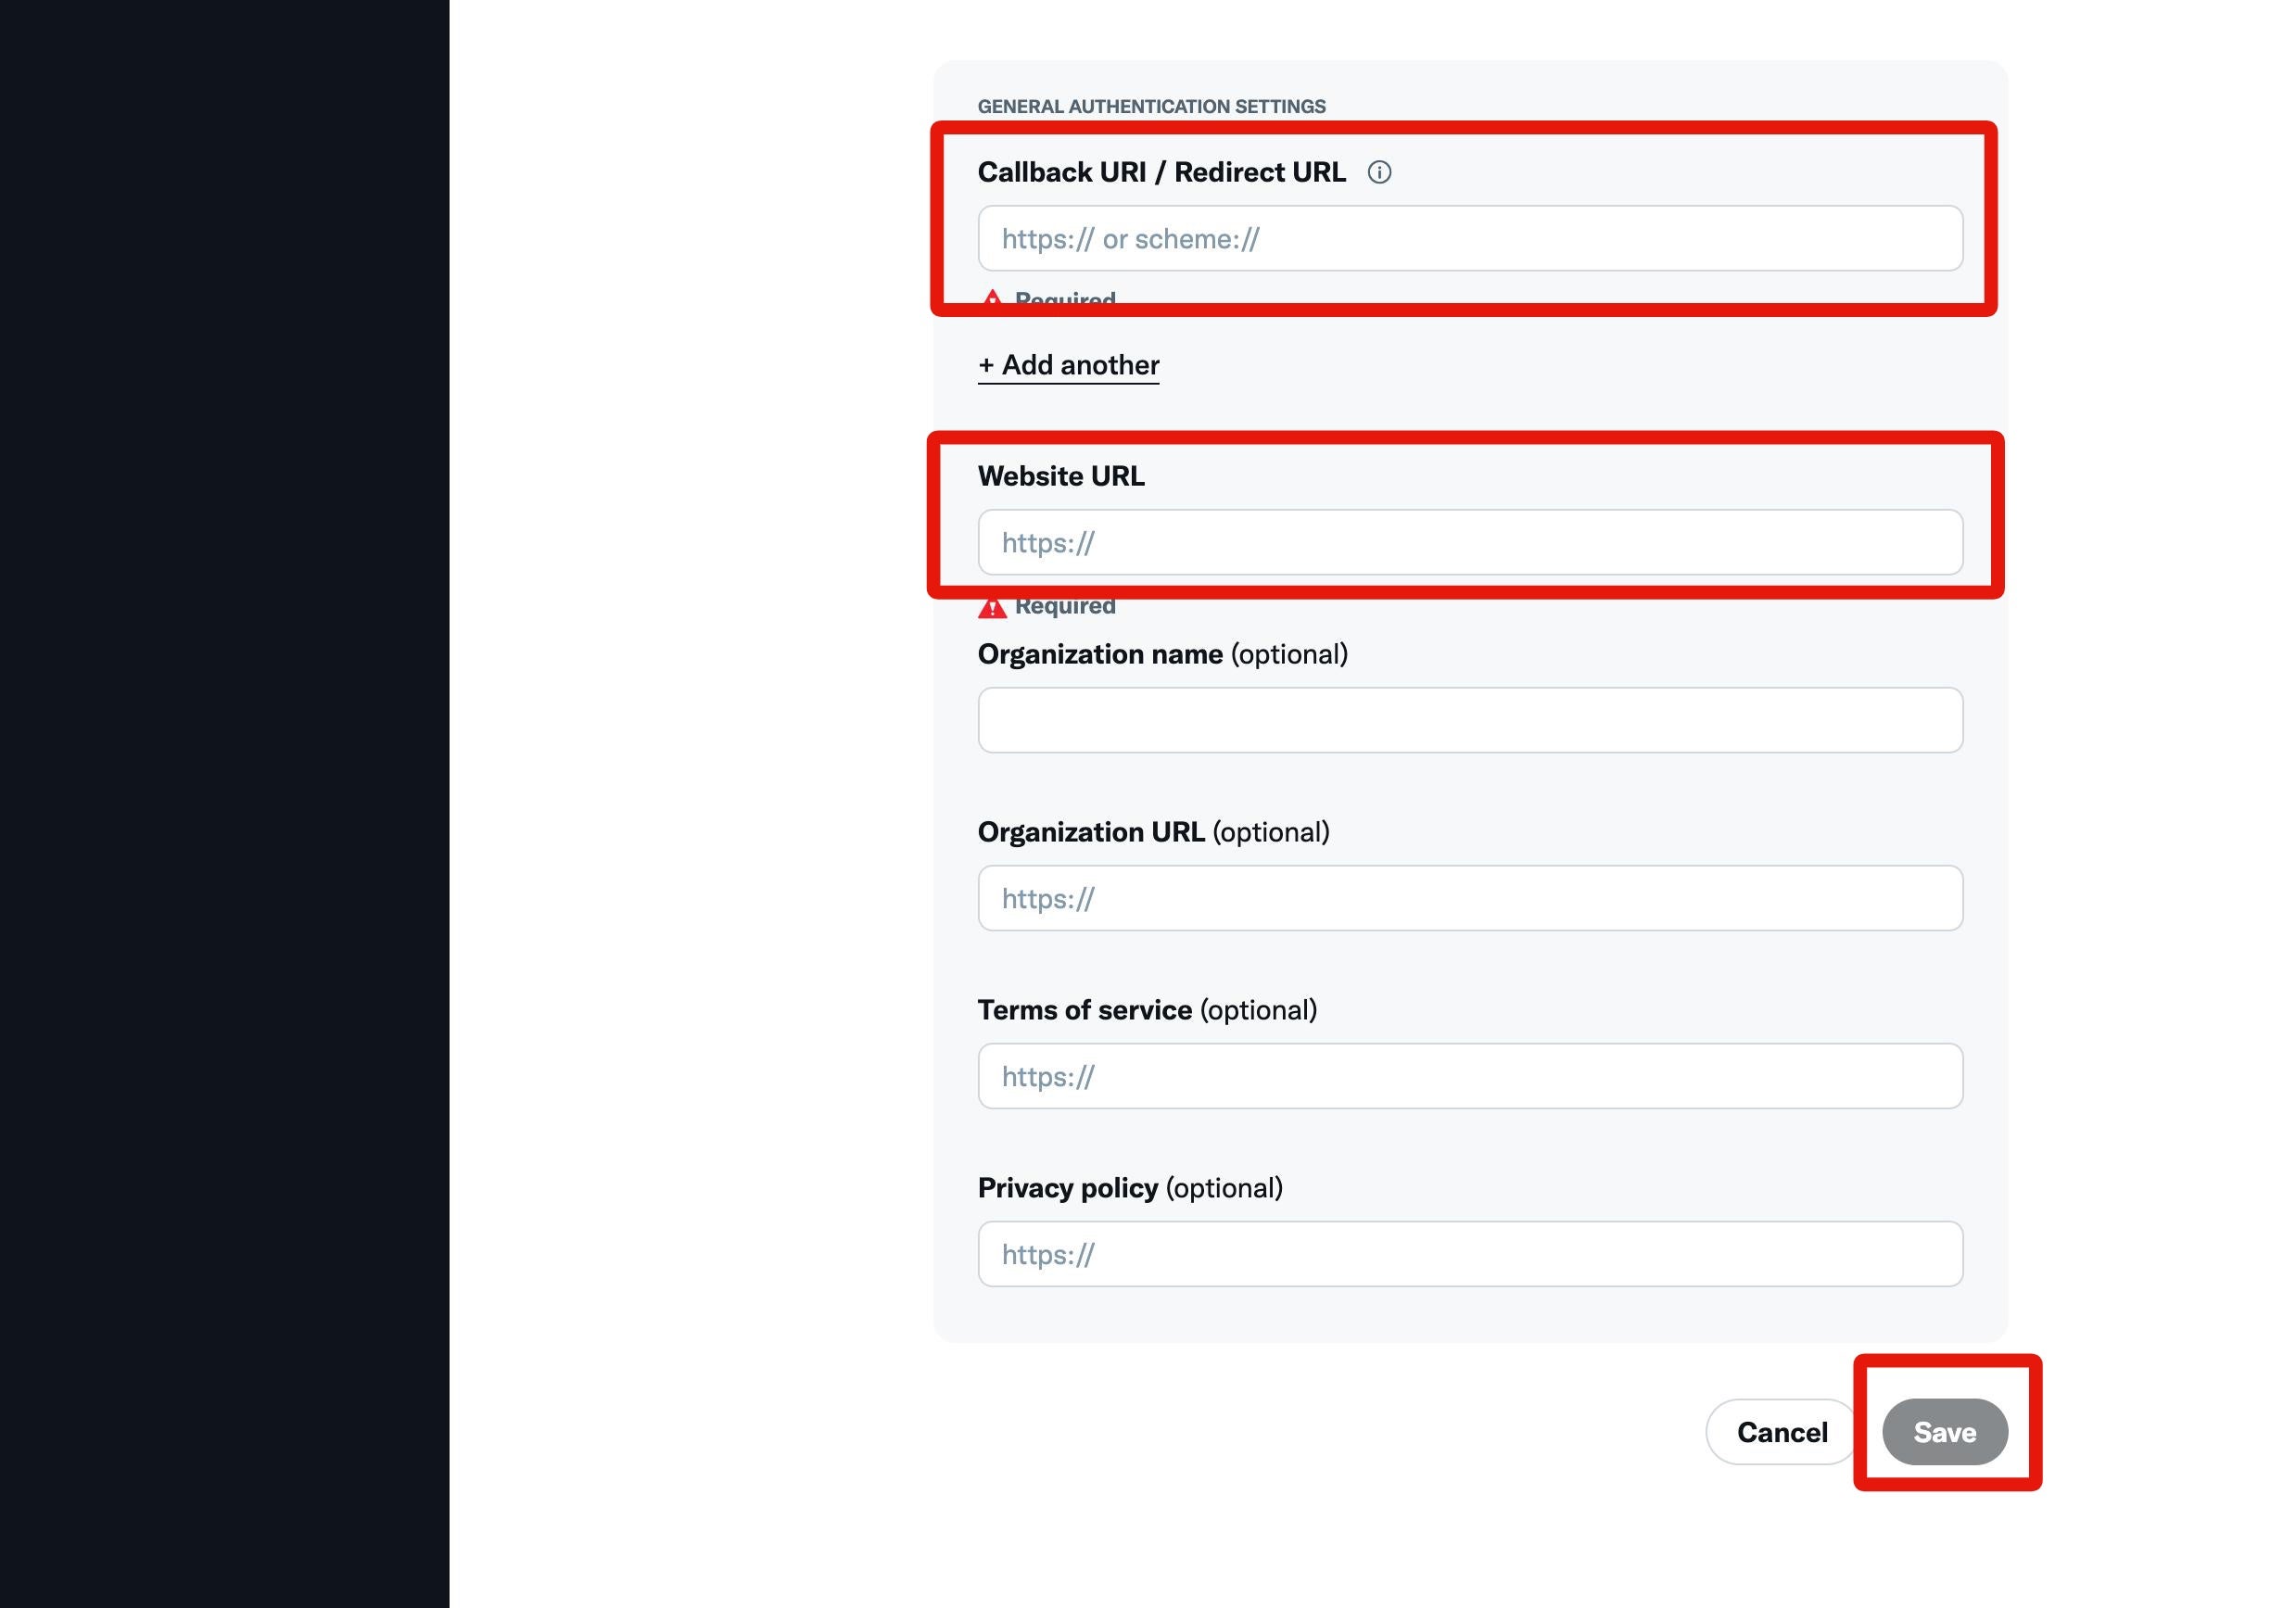
 Enter the following information under "GENERAL AUTHENTICATION SETTINGS" and click [Save].
| Field | Sample entry | Description |
|---|---|---|
| Callback URI / Redirect URL | https://example.com/twitter-to-kuroco | Enter the callback URI. |
| Website URL | https://example.com | Enter your site URL here. |
For more information about callback URLs, see Twitter Developer Apps: Callback URLs.
Re-issue your API key and secret
Click the [Keys and tokens] tab.
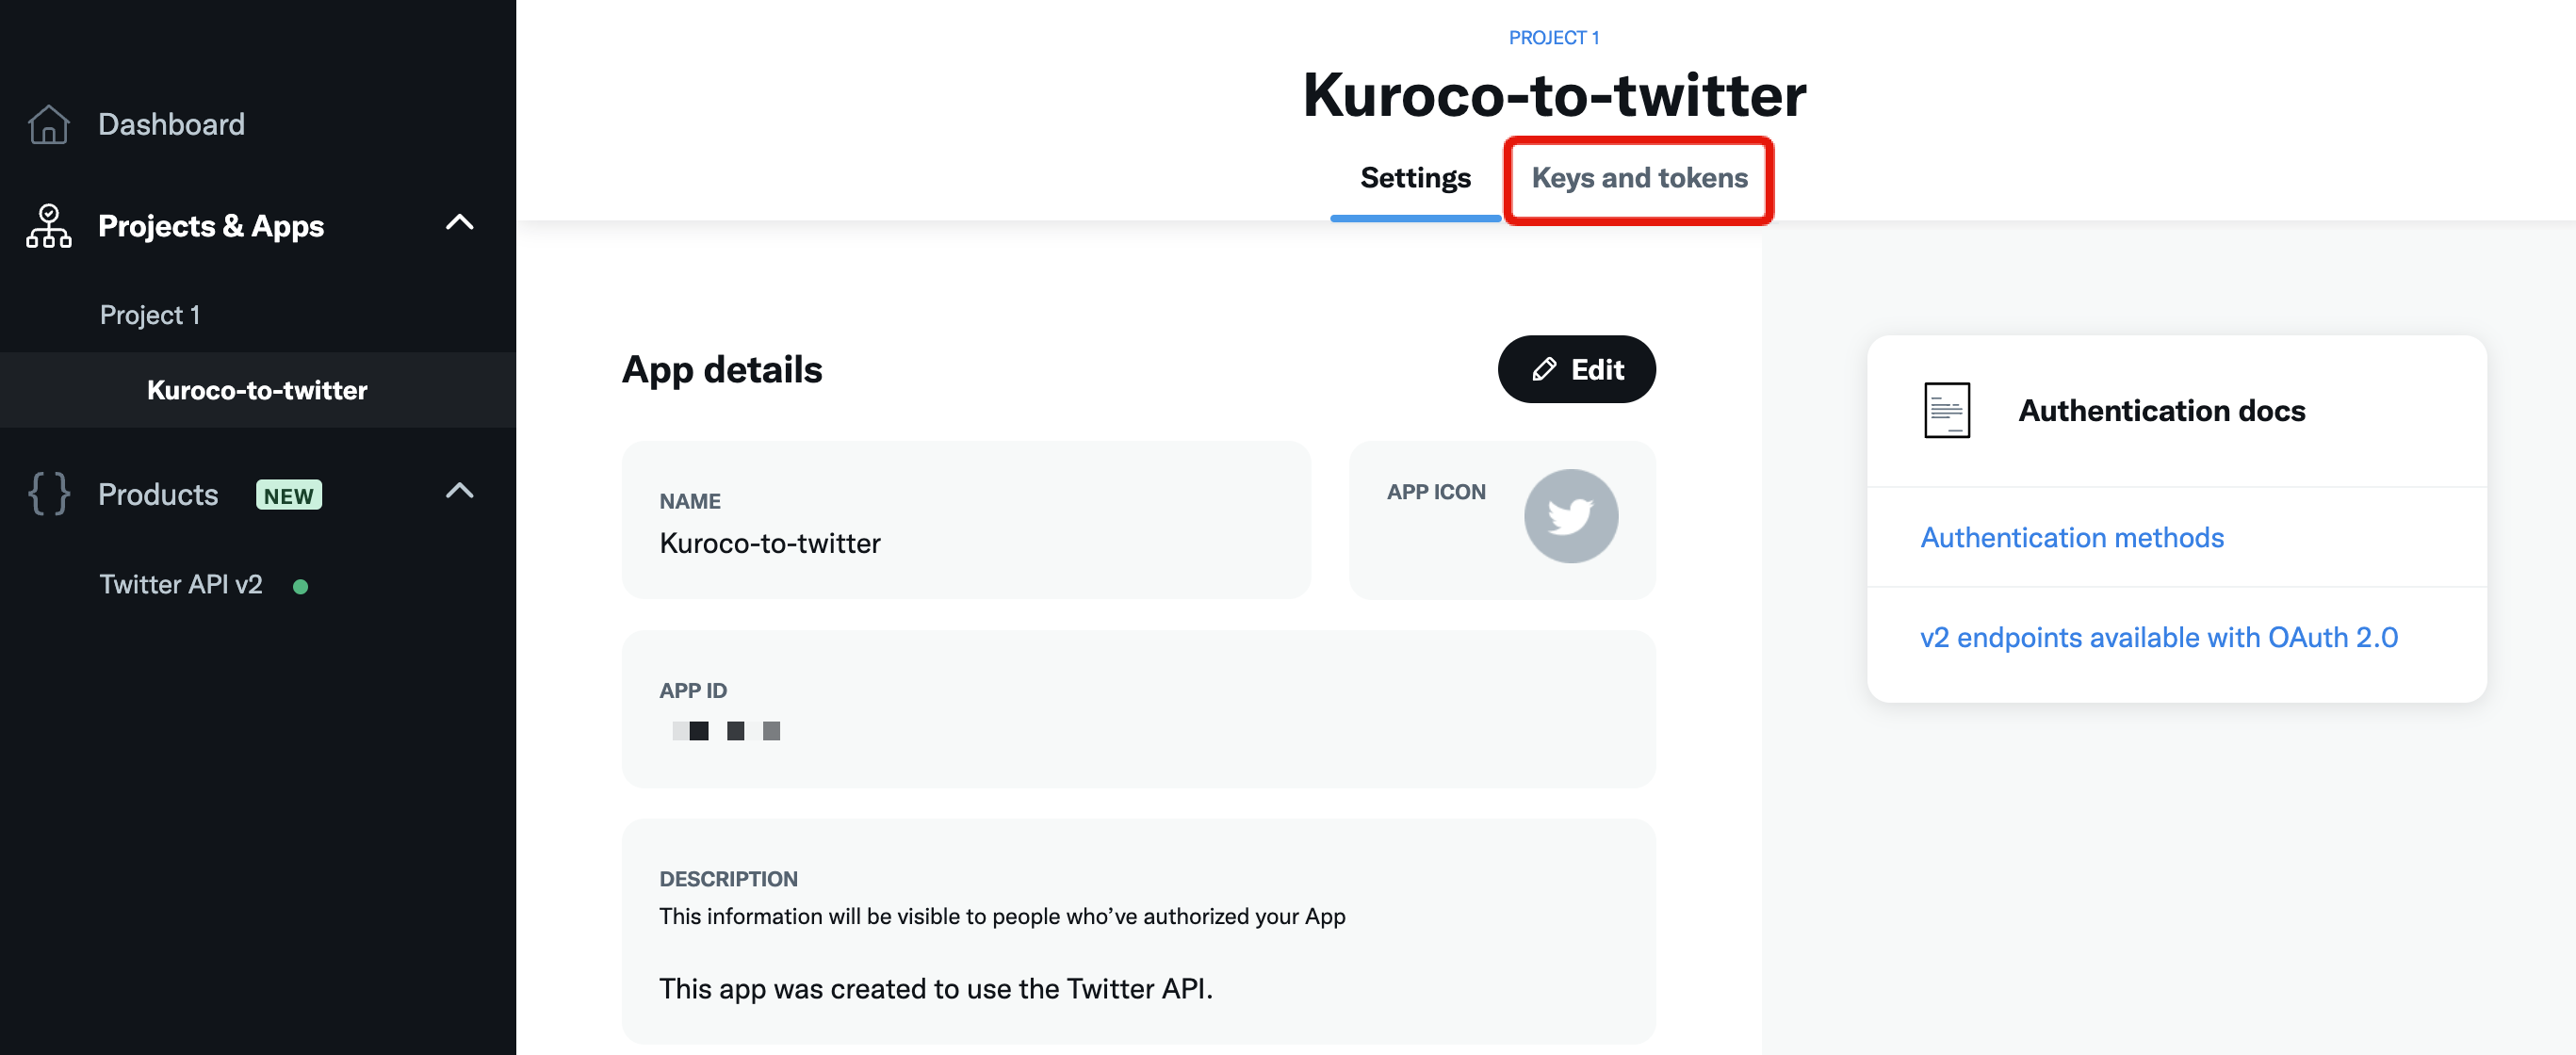 Under "Consumer Keys", click [Regenerate] next to "API Key and Secret".
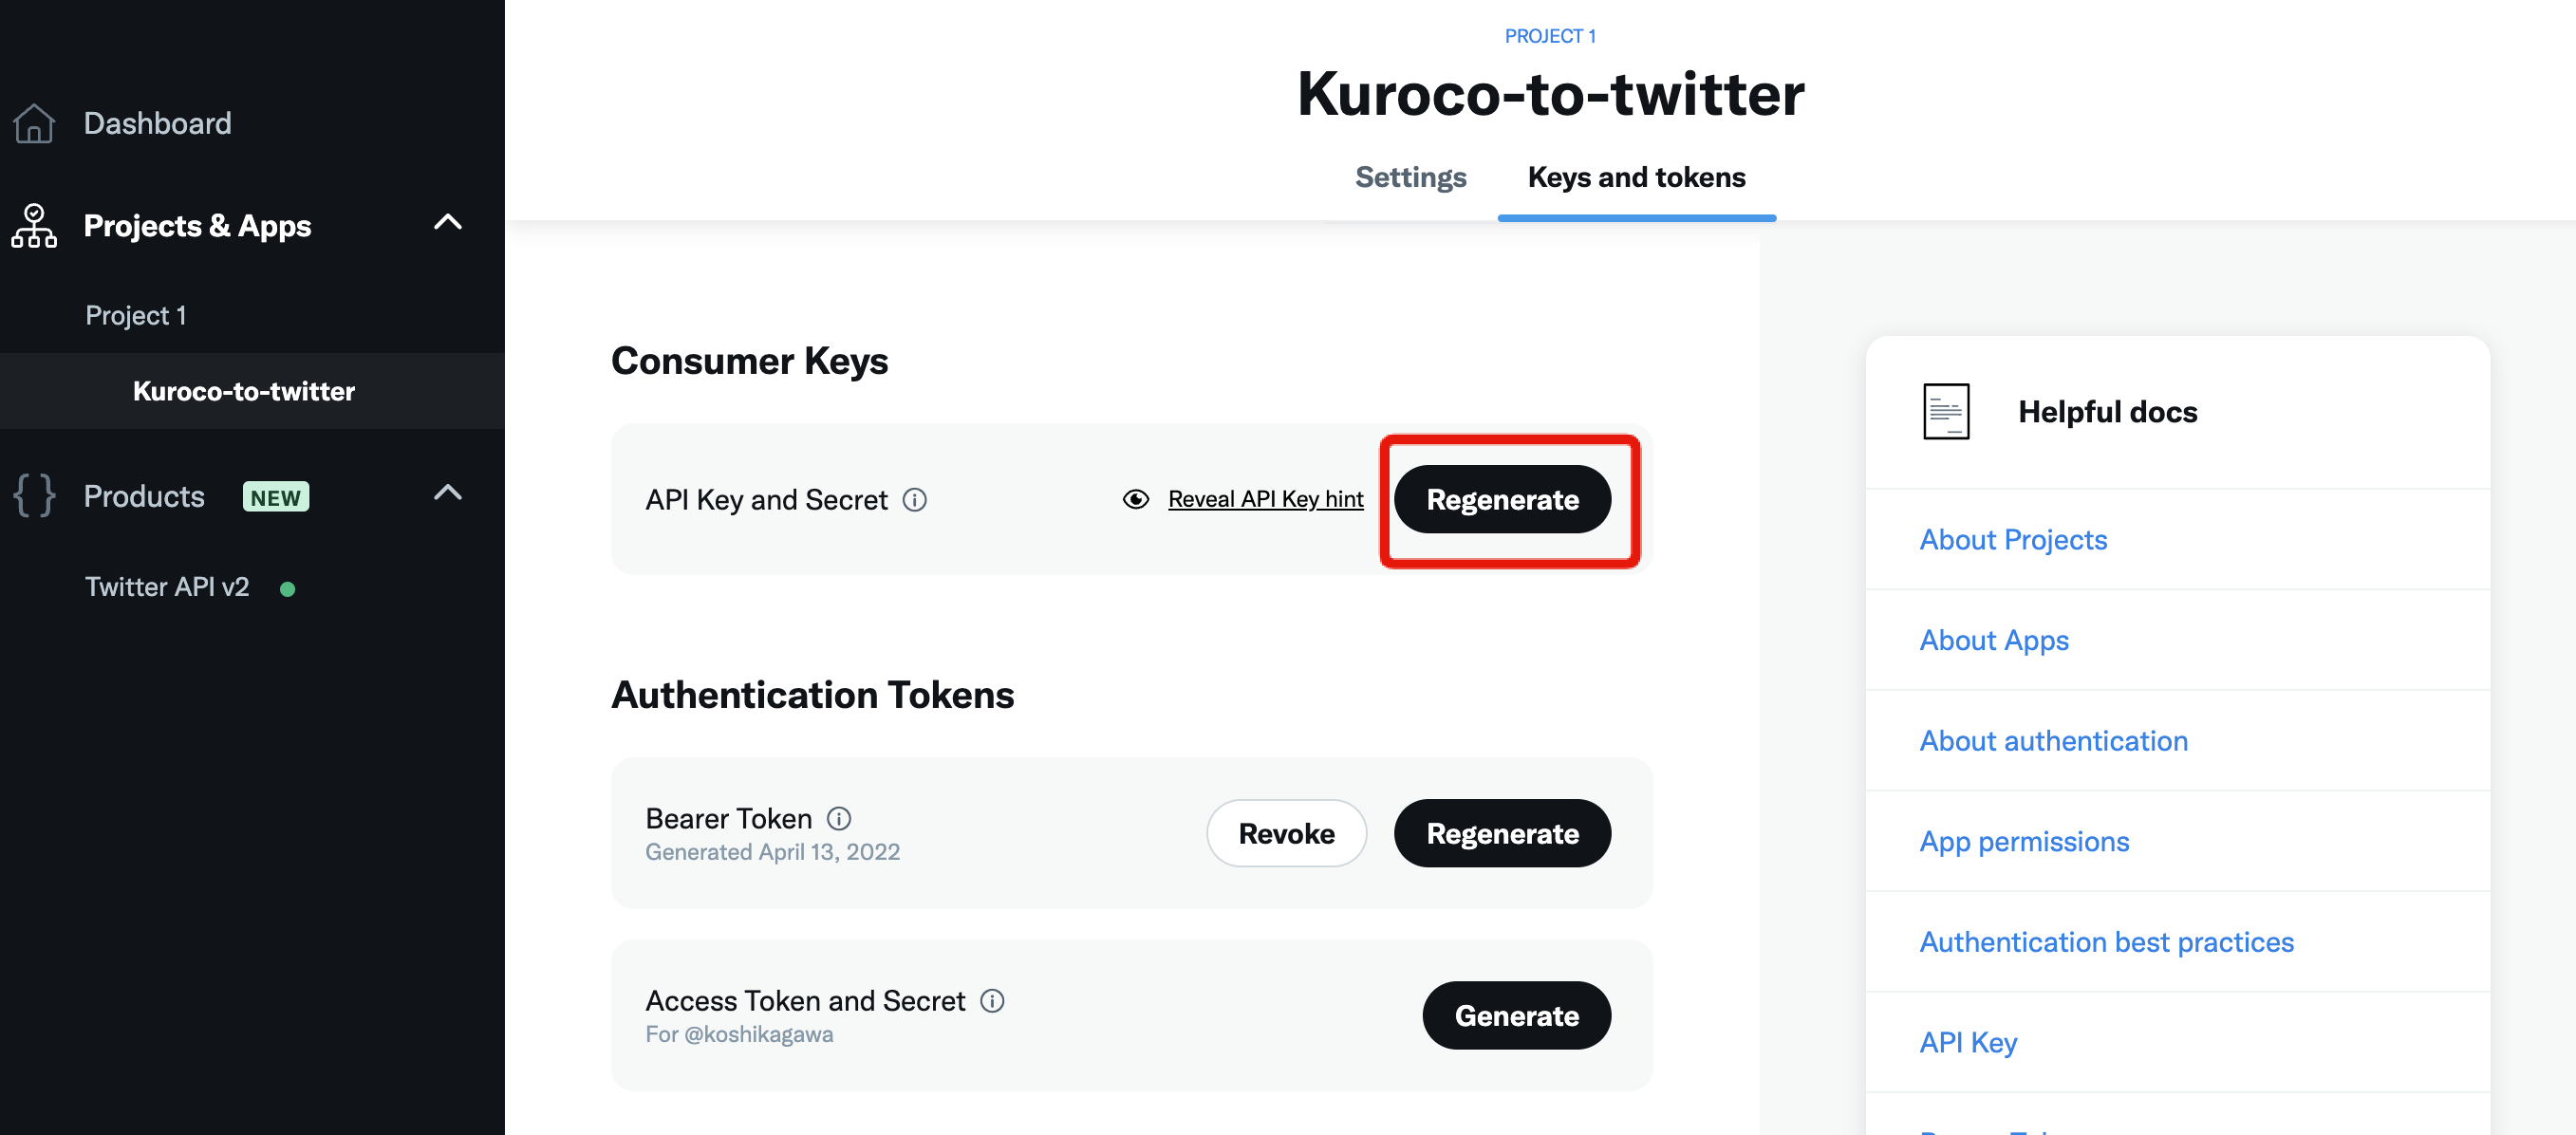 In the confirmation dialog, select [Yes, regenerate].
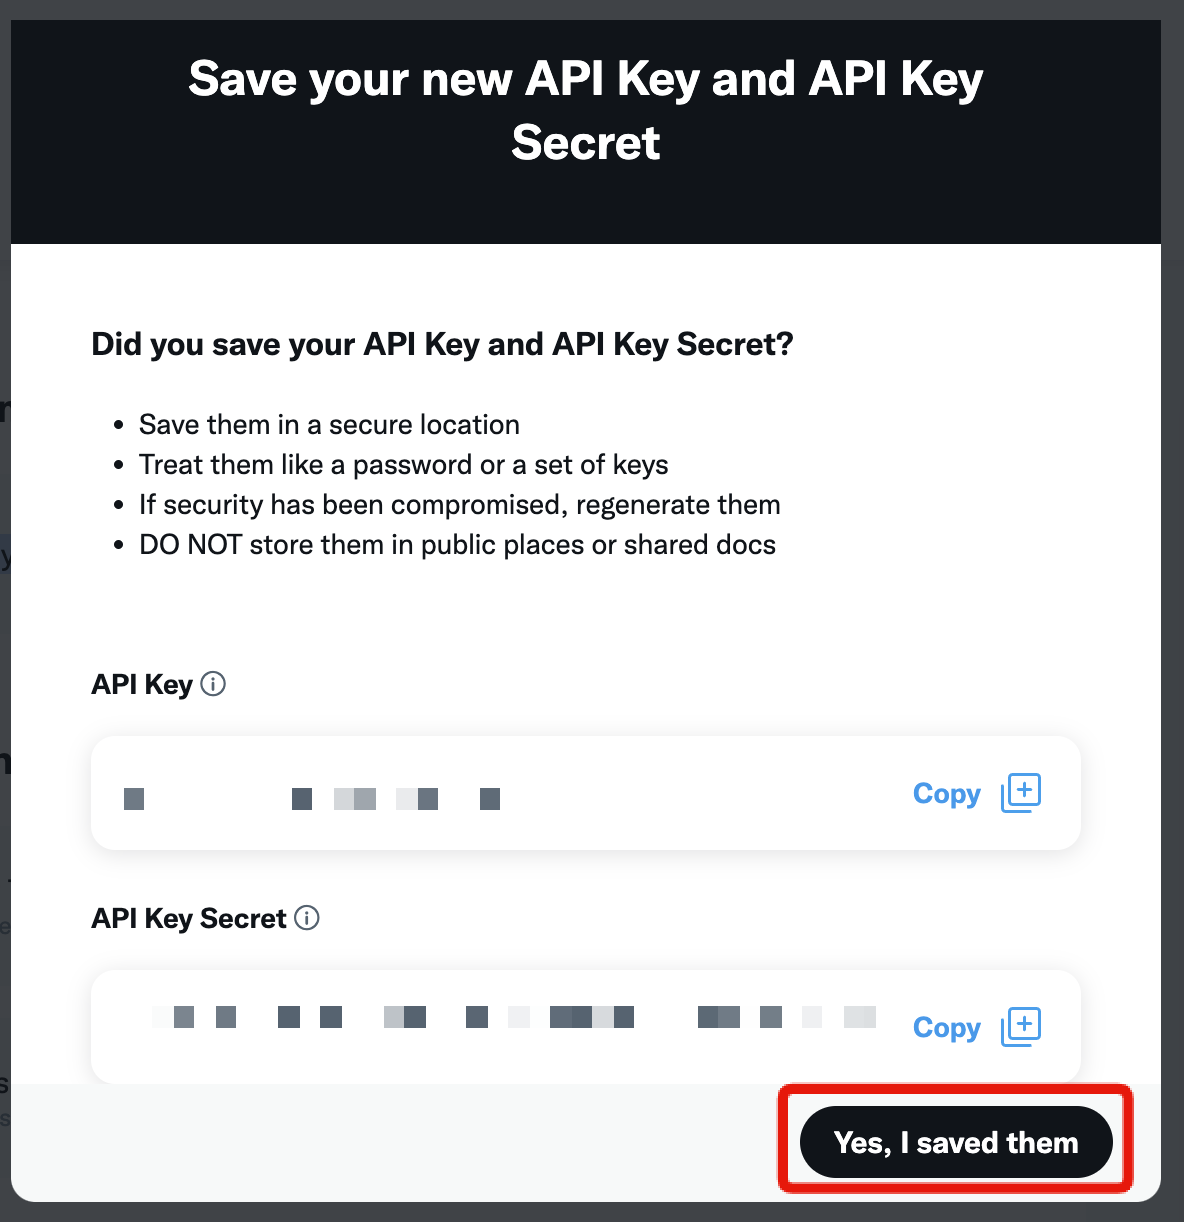
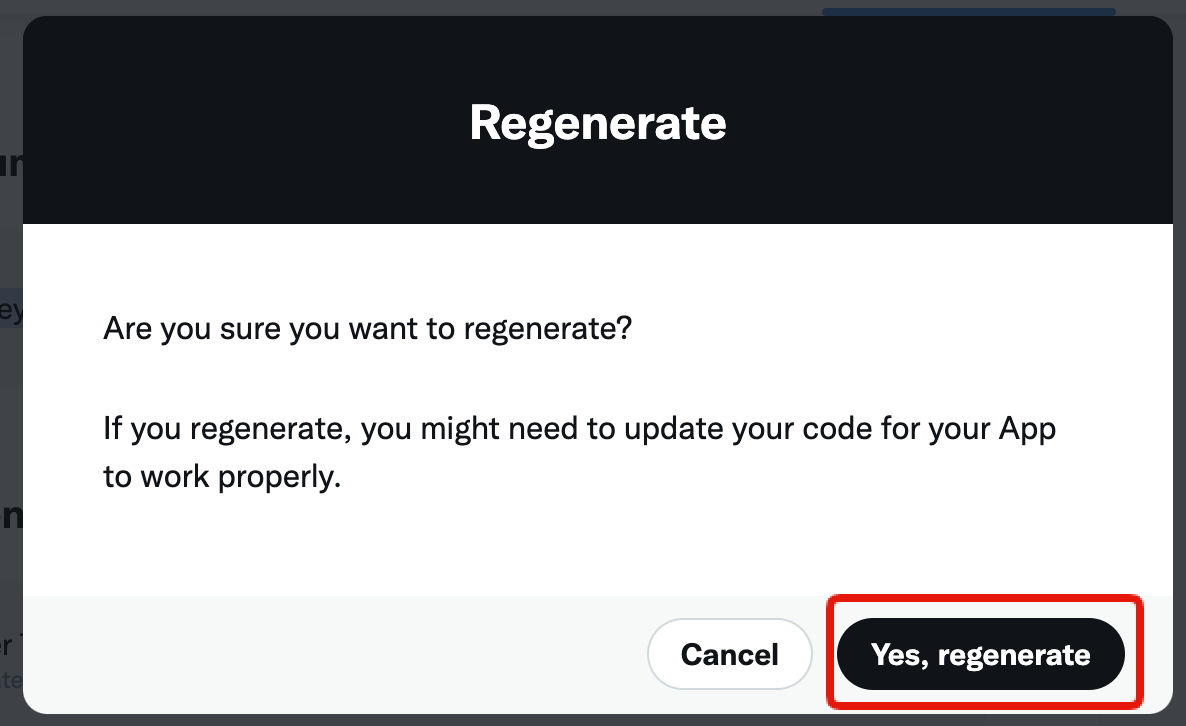 This will generate a new API key and API key secret. Copy the contents, then click [Yes, I saved them].
Generate your access token and secret
Next, click the [Keys and tokens] tab again.
 Under "Authentication Tokens", click [Generate] next to "Access Token and Secret".
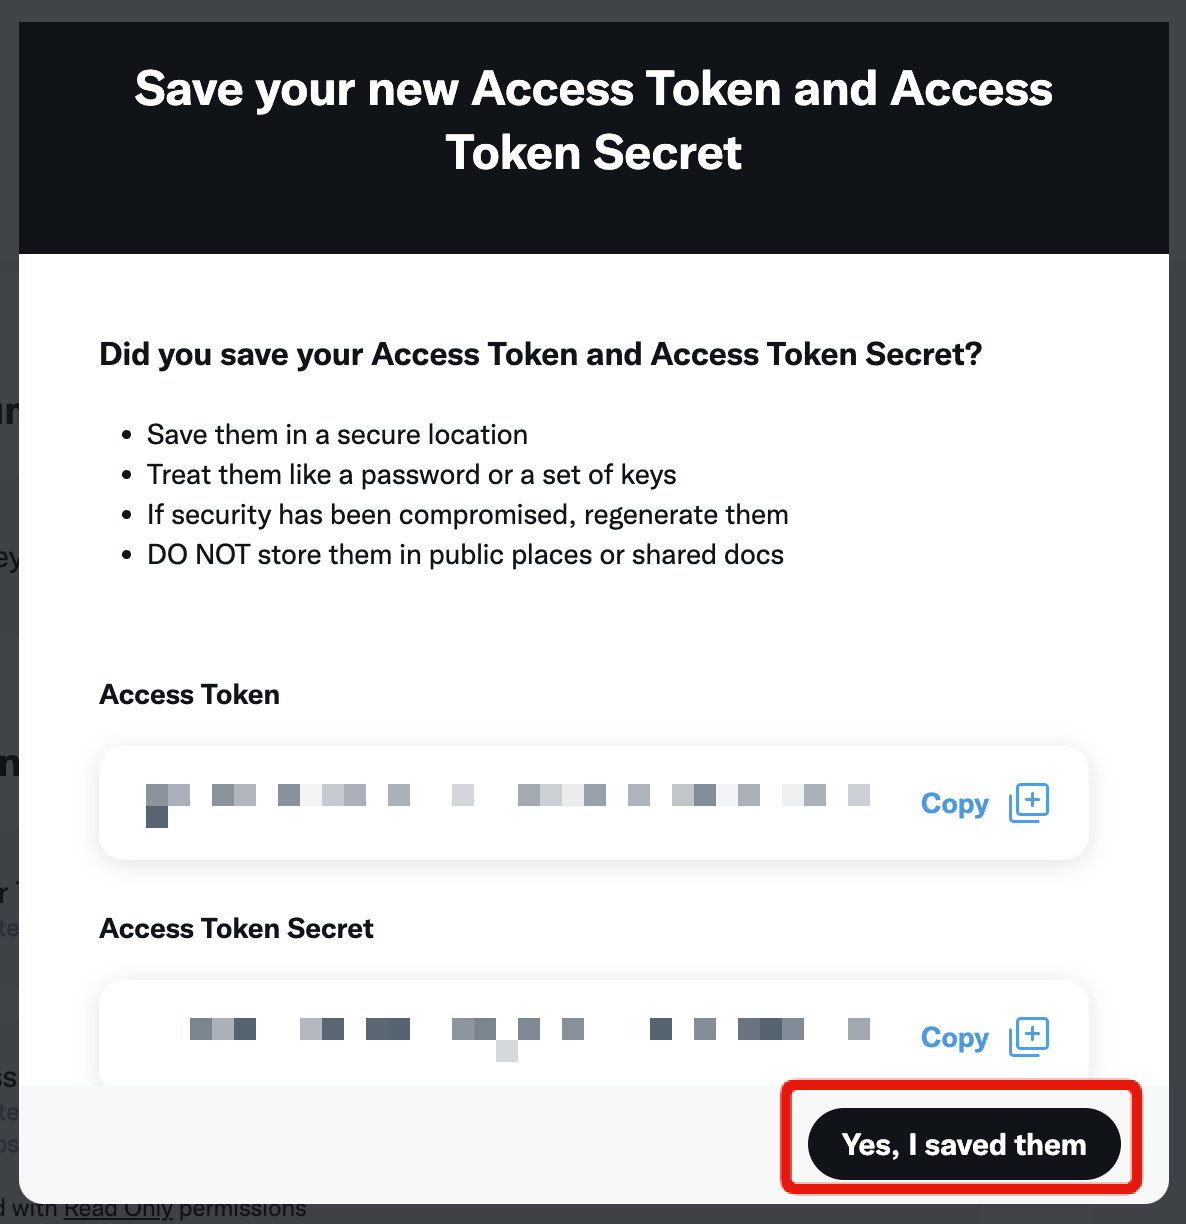
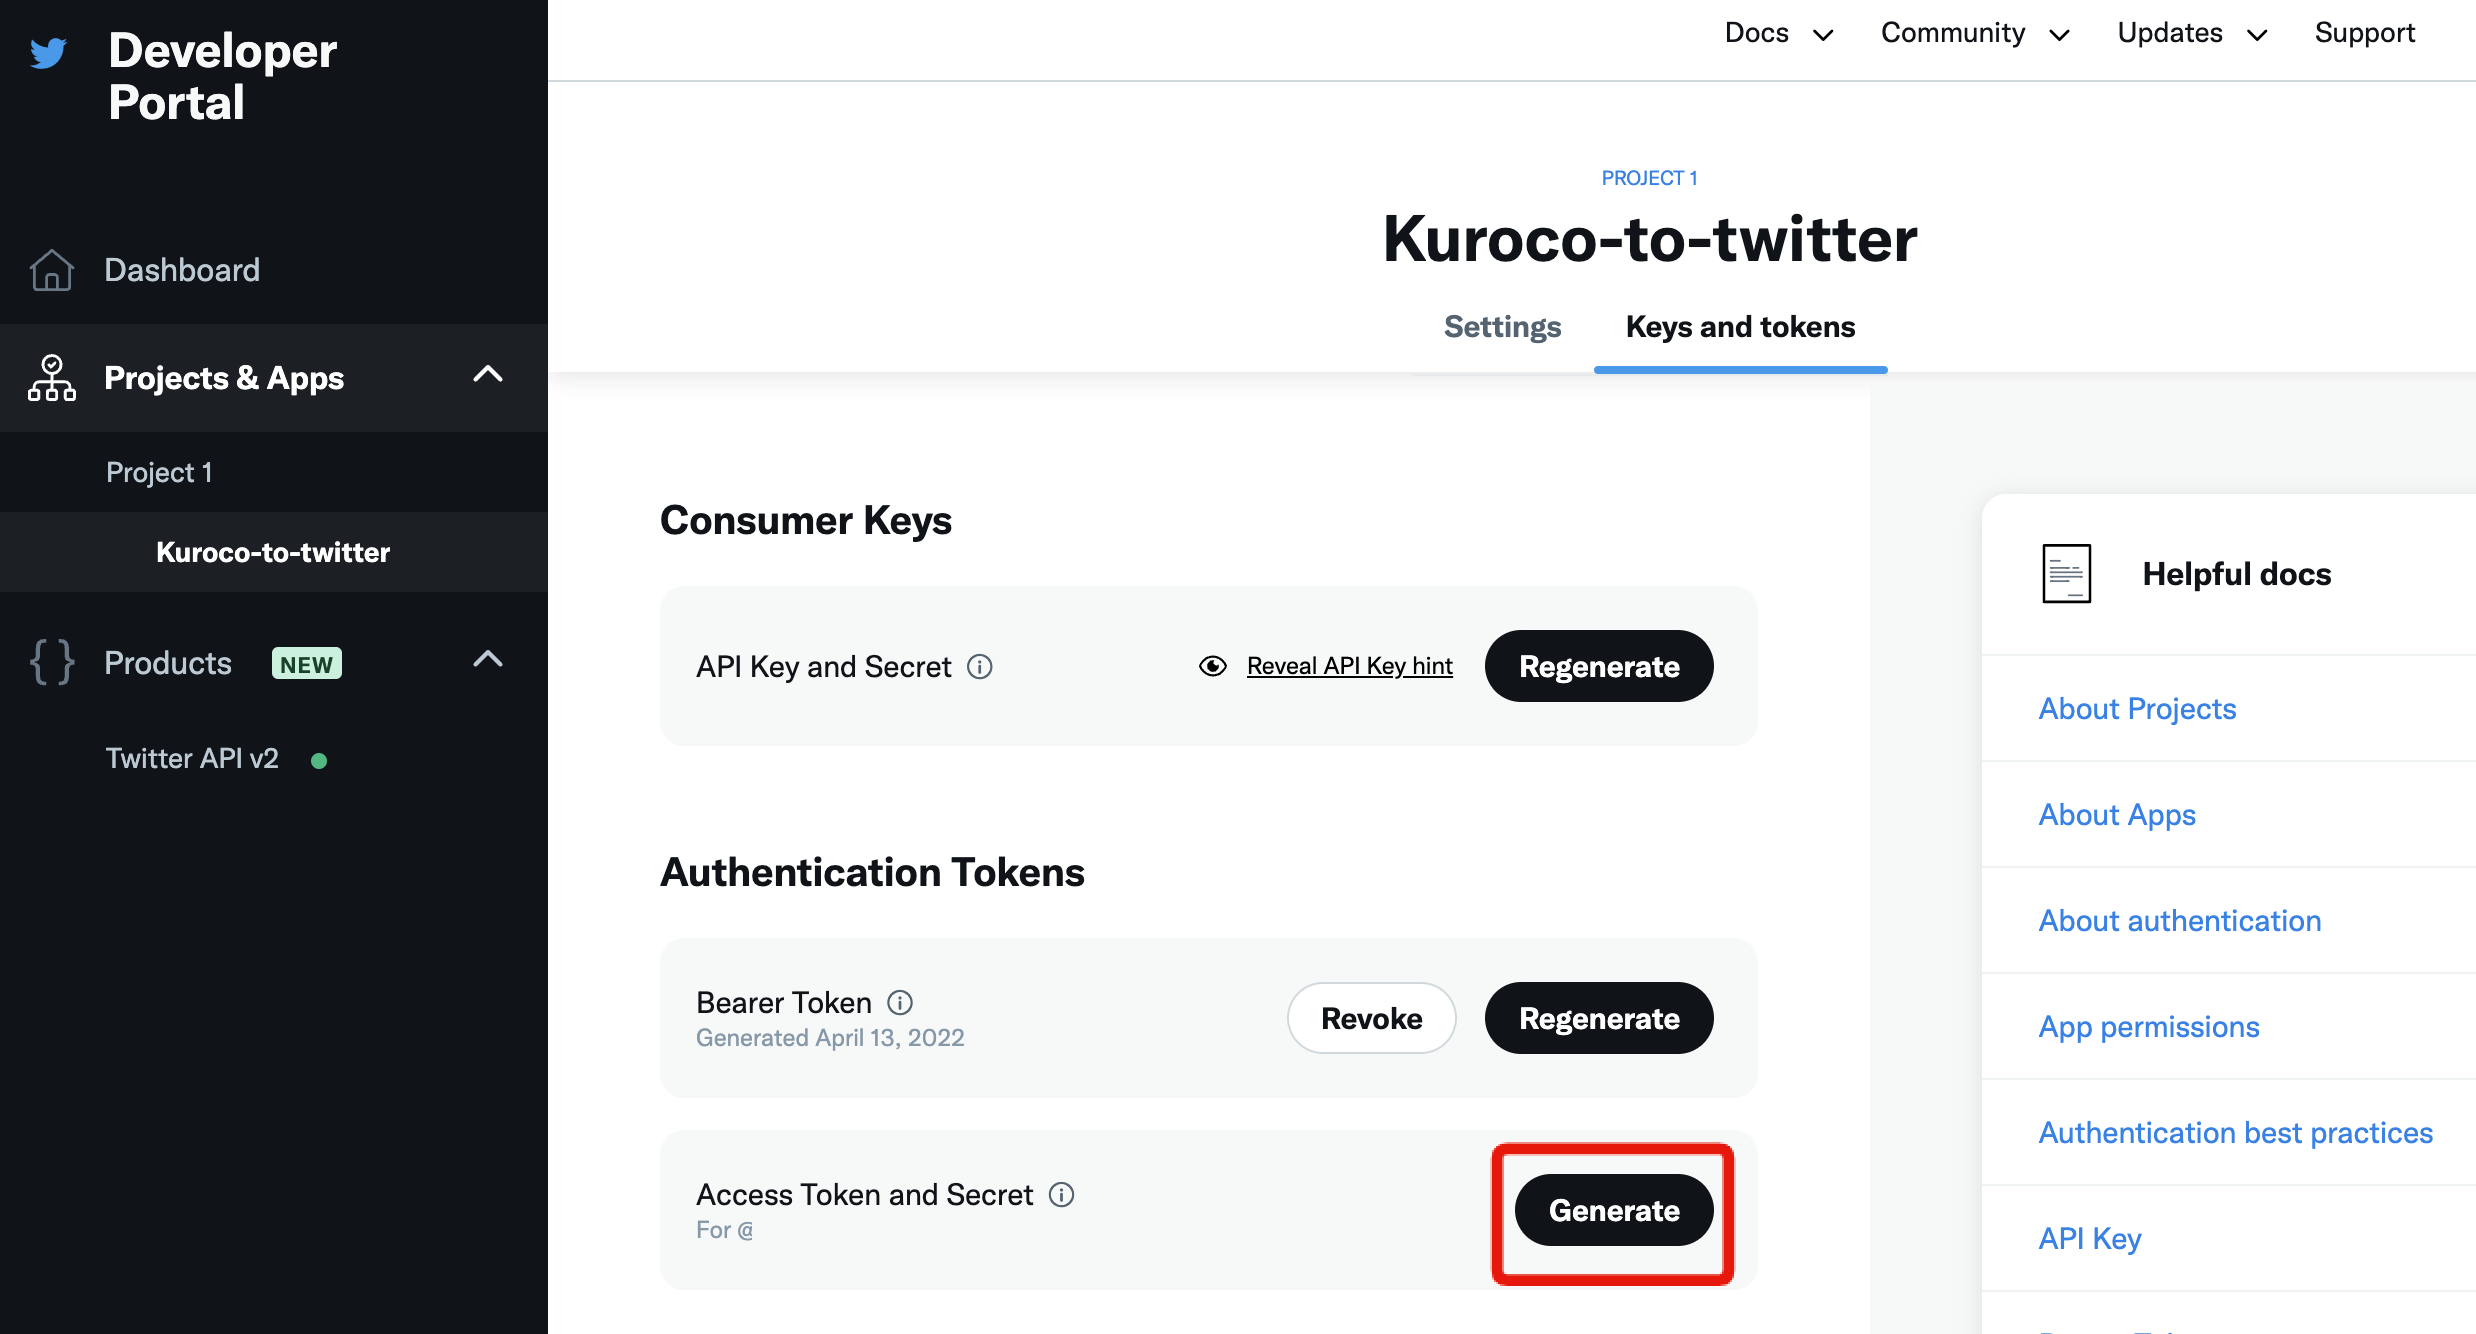 This will generate a new access token and access token secret. Copy the contents, then click [Yes, I saved them].
Kuroco settings
Next, enter the Twitter key you obtained earlier in Kuroco.
Enter your Twitter keys
In Kuroco's admin panel sidebar, select [External system integration] -> [Twitter].
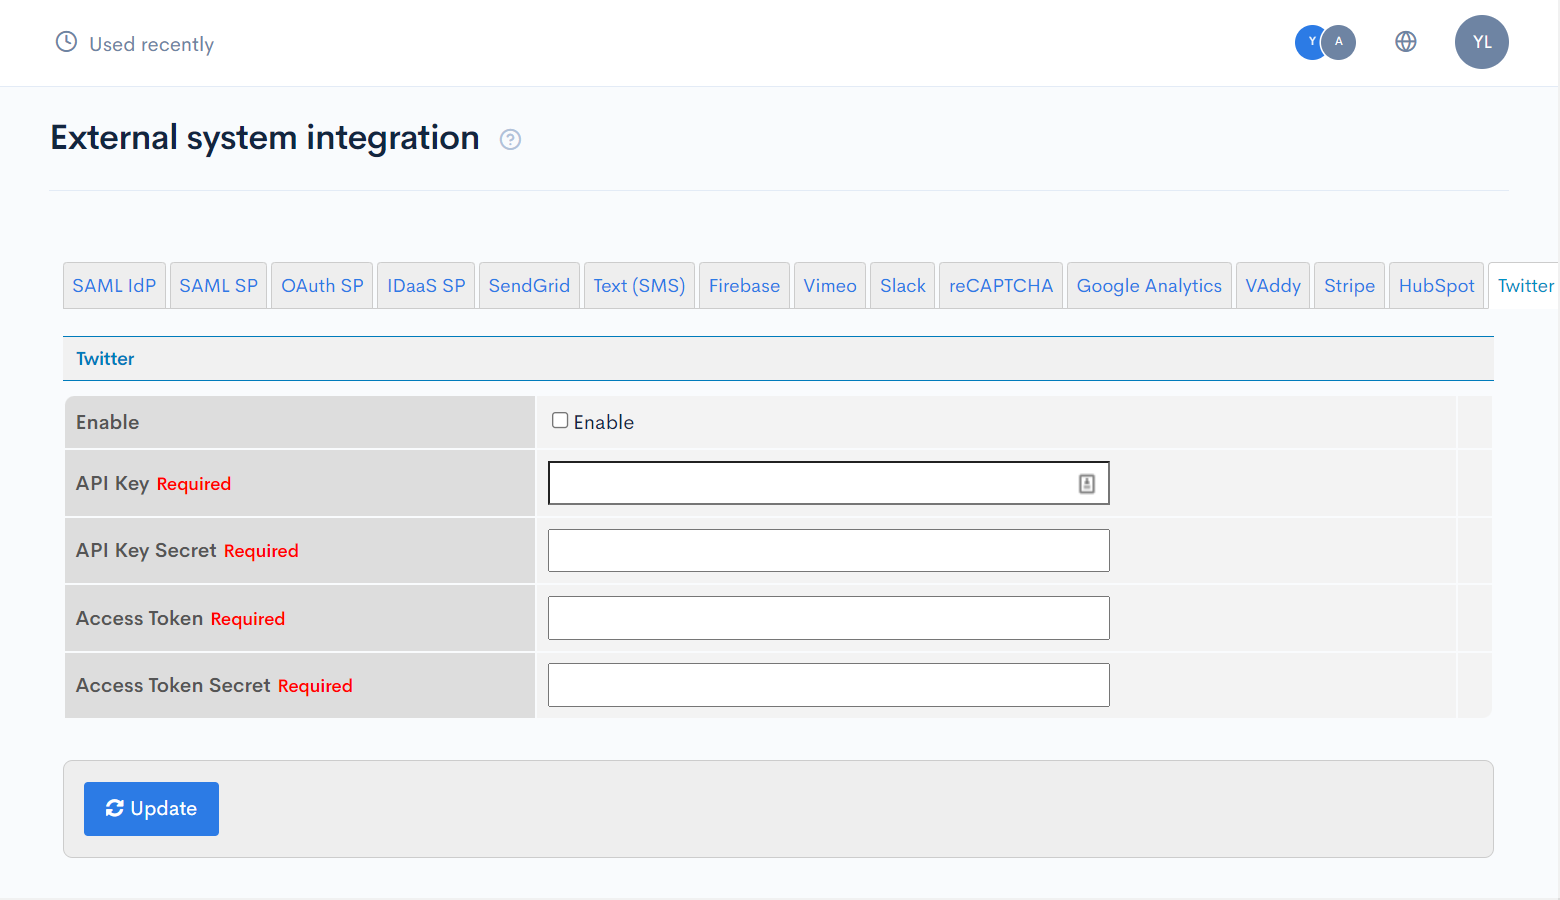
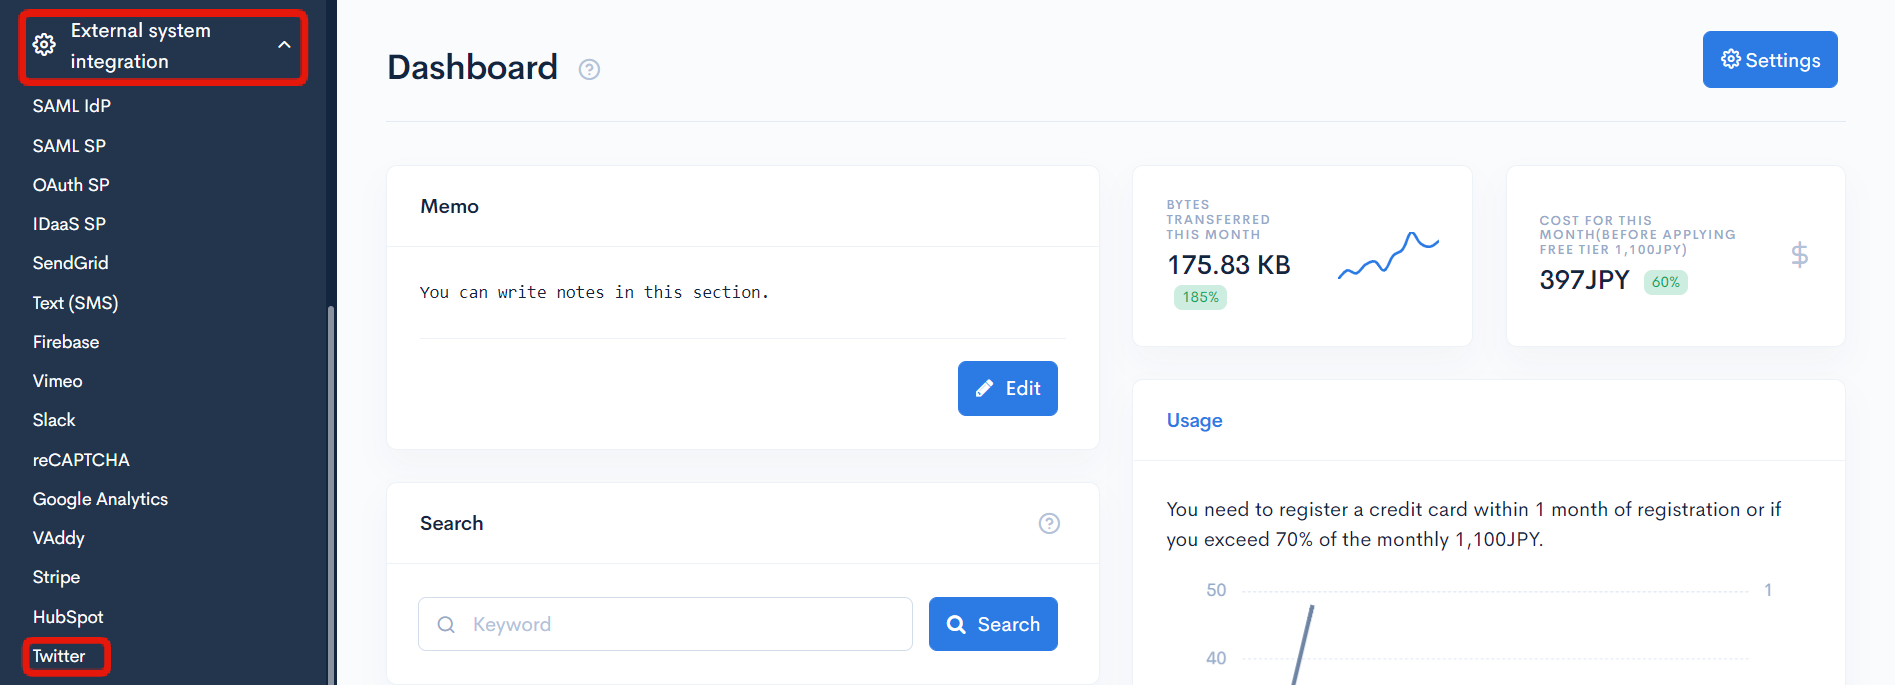 Fill in the information you copied earlier.
| Field | Description |
|---|---|
| Enable | Check the "Enable" box. |
| API Key | Enter the API key you copied. |
| API Key Secret | Enter the API key secret you copied. |
| Access Token | Enter the access token you copied. |
| Access Token Secret | Enter the access token secret you copied. |
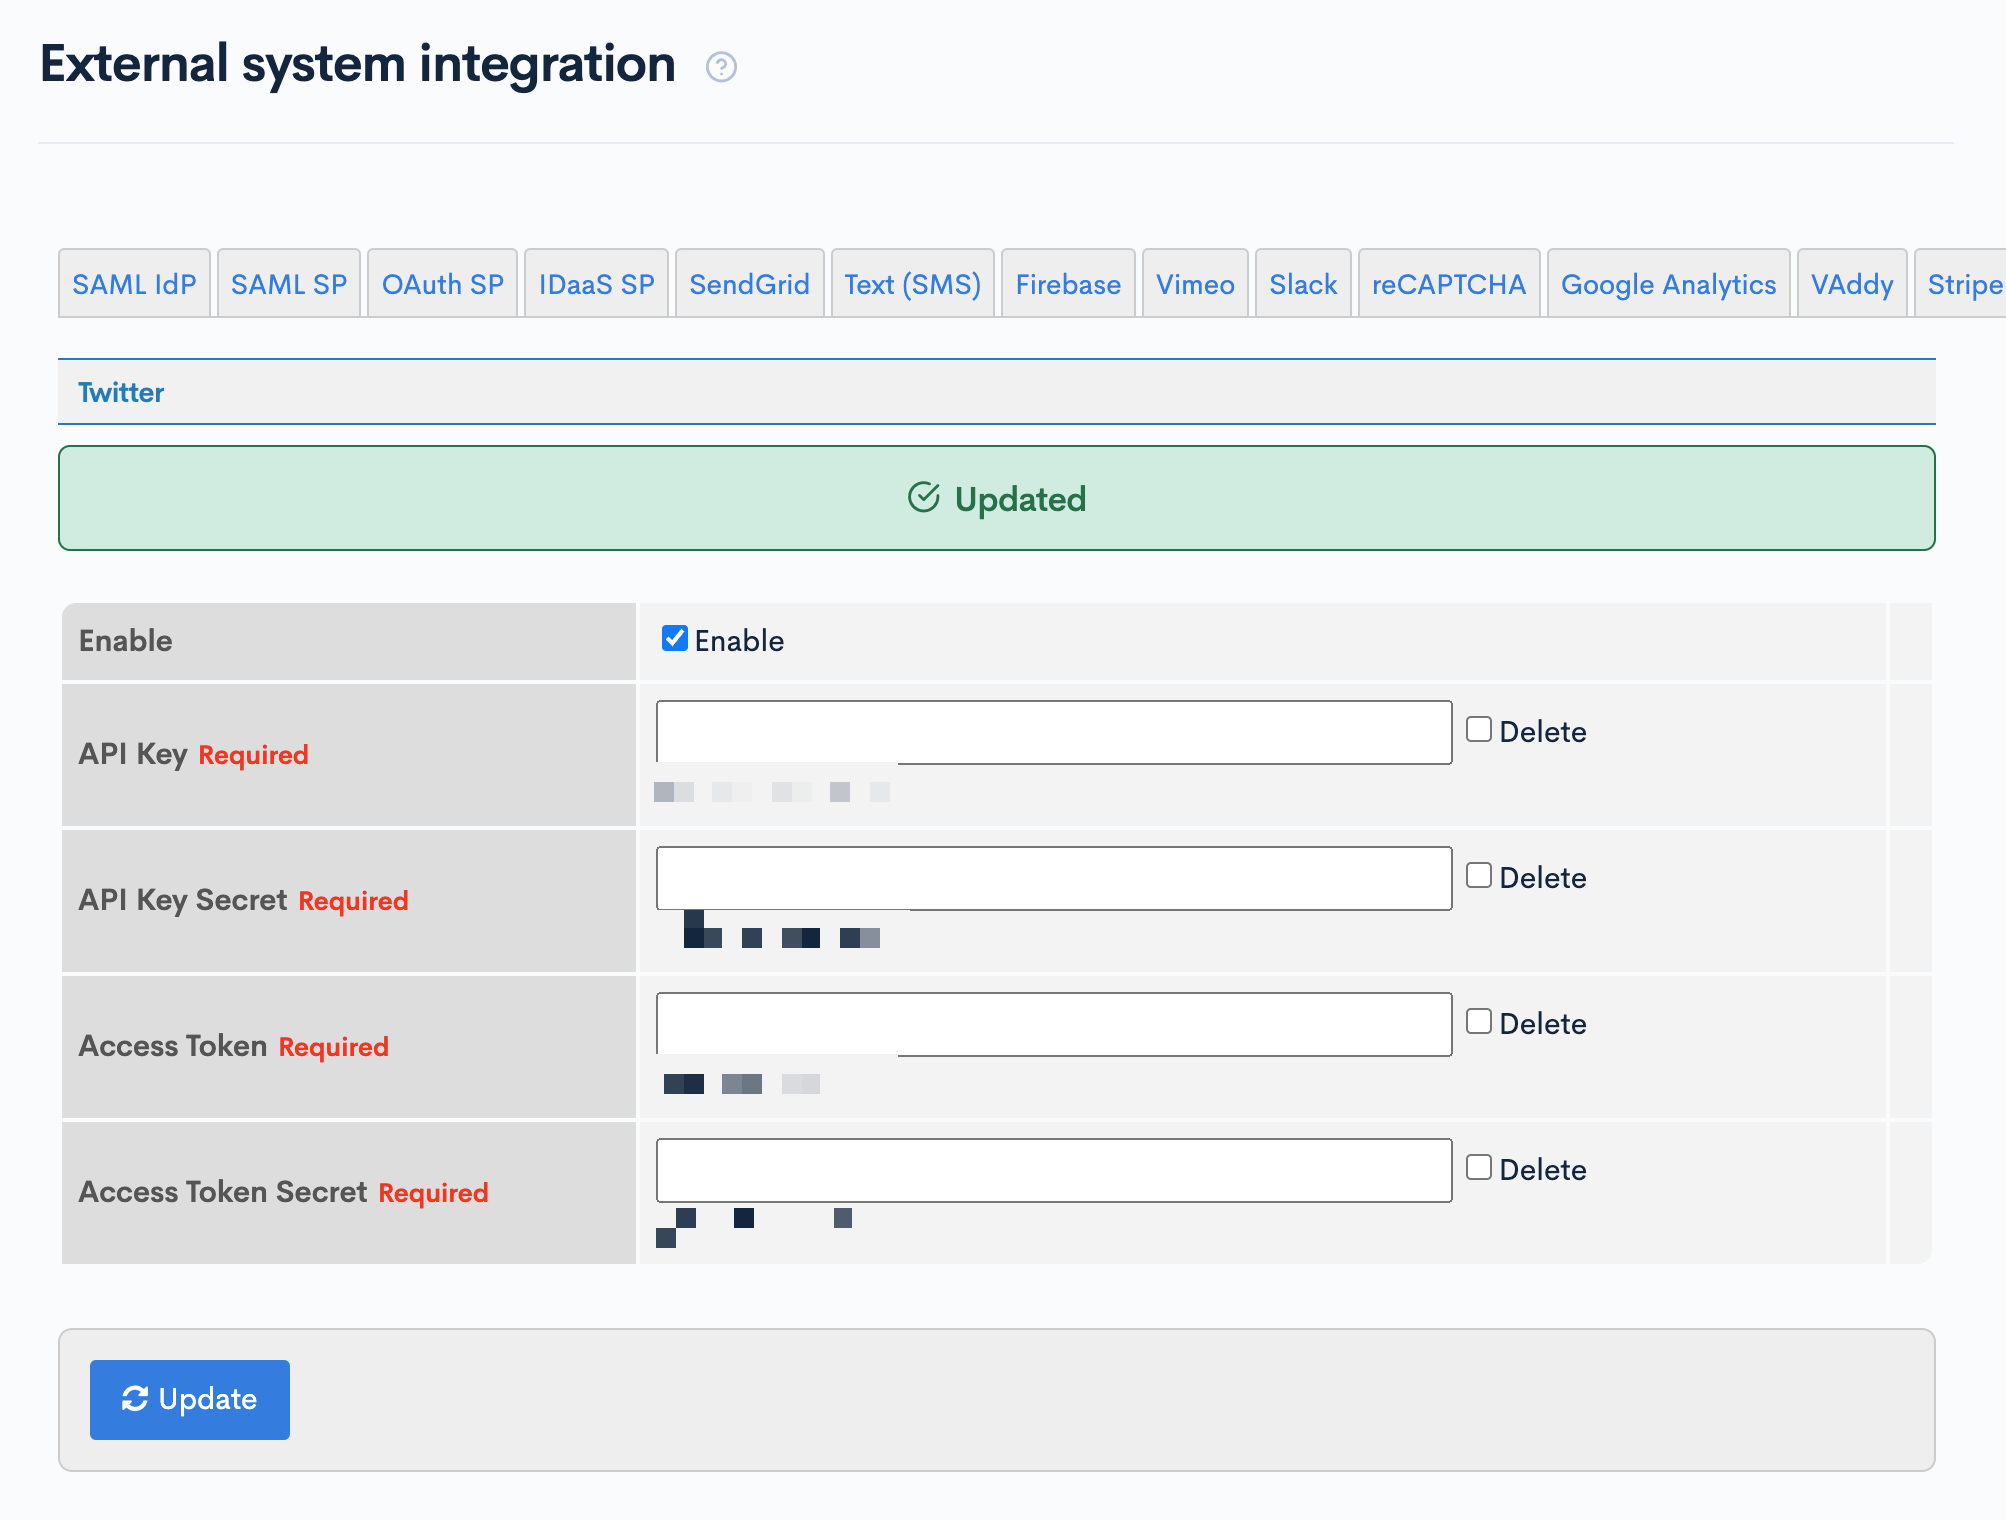
 Verify that your keys have been successfully registered.
Configure the content structure
Next, define the content to be integrated with Twitter.
For this tutorial, we will use the existing content structure "Announcements". You will need the content structure ID, which you can obtain from the admin panel.
In the left sidebar menu, click [Content structure].
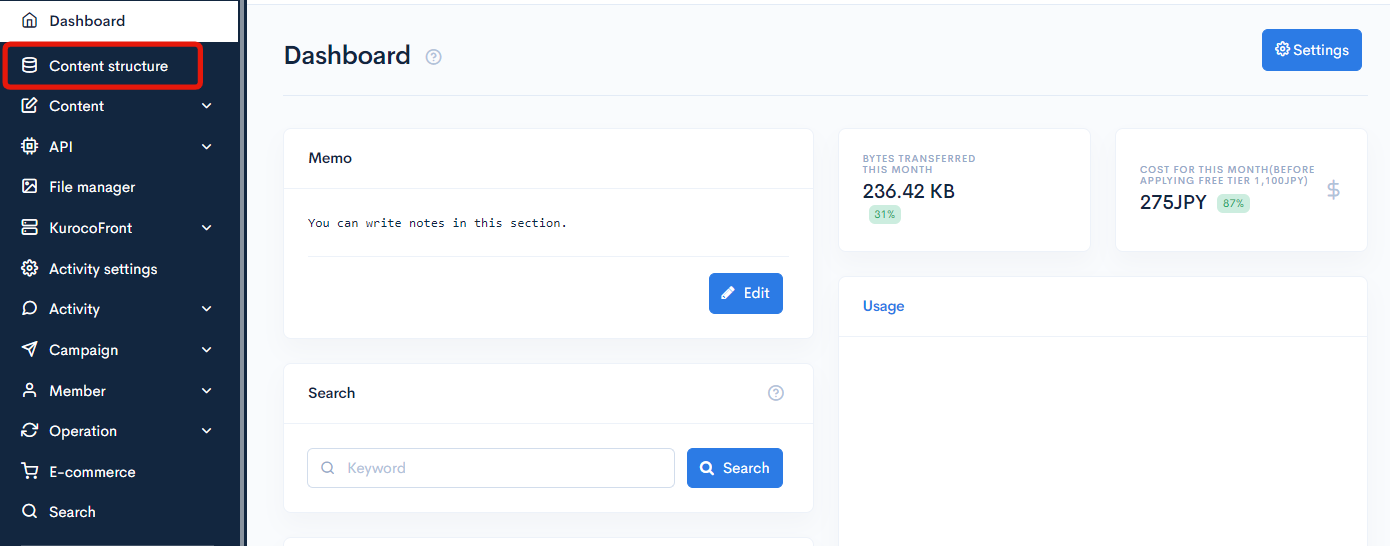
On the content structure list screen, verify the ID for "Announcements".
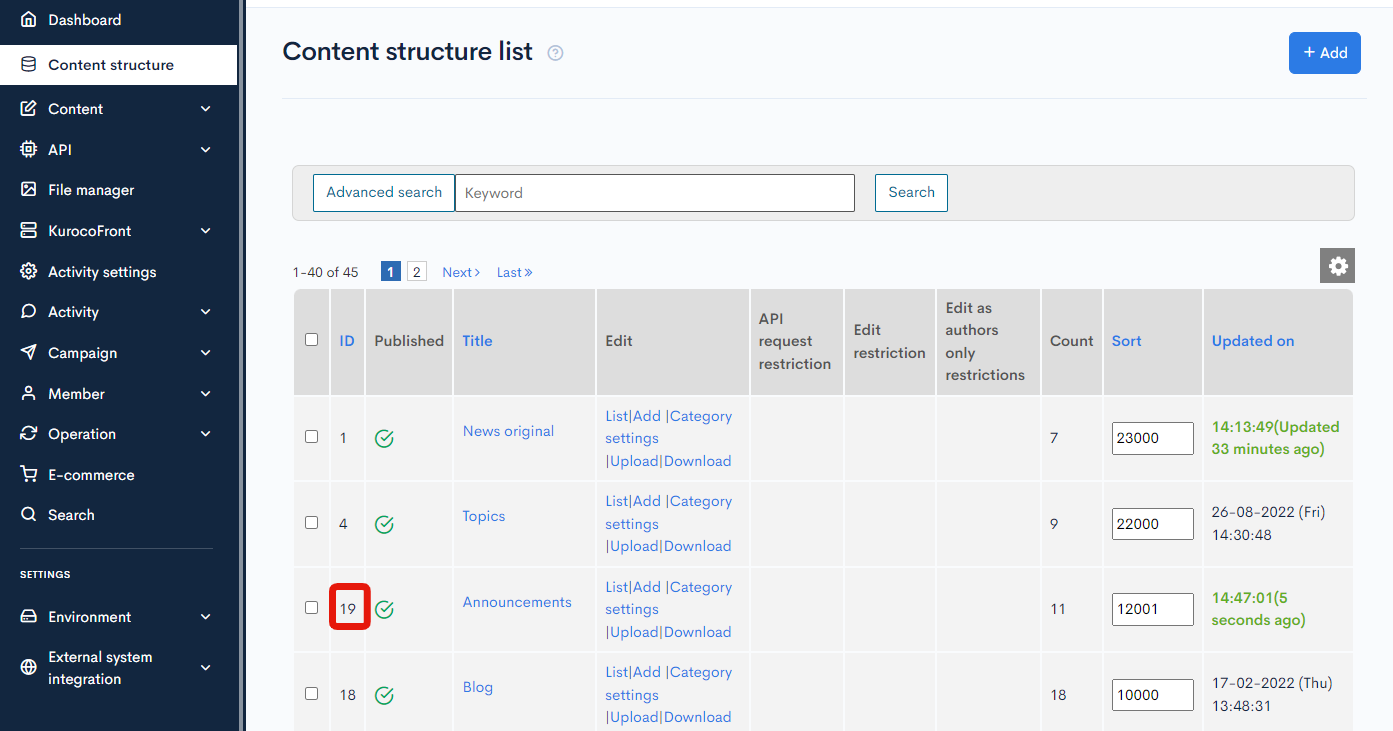
Note down the ID (19 in this case) for use later.
Create a custom function
The next step is to create a new custom function.
In the left sidebar menu, select [Operation] -> [Custom function].
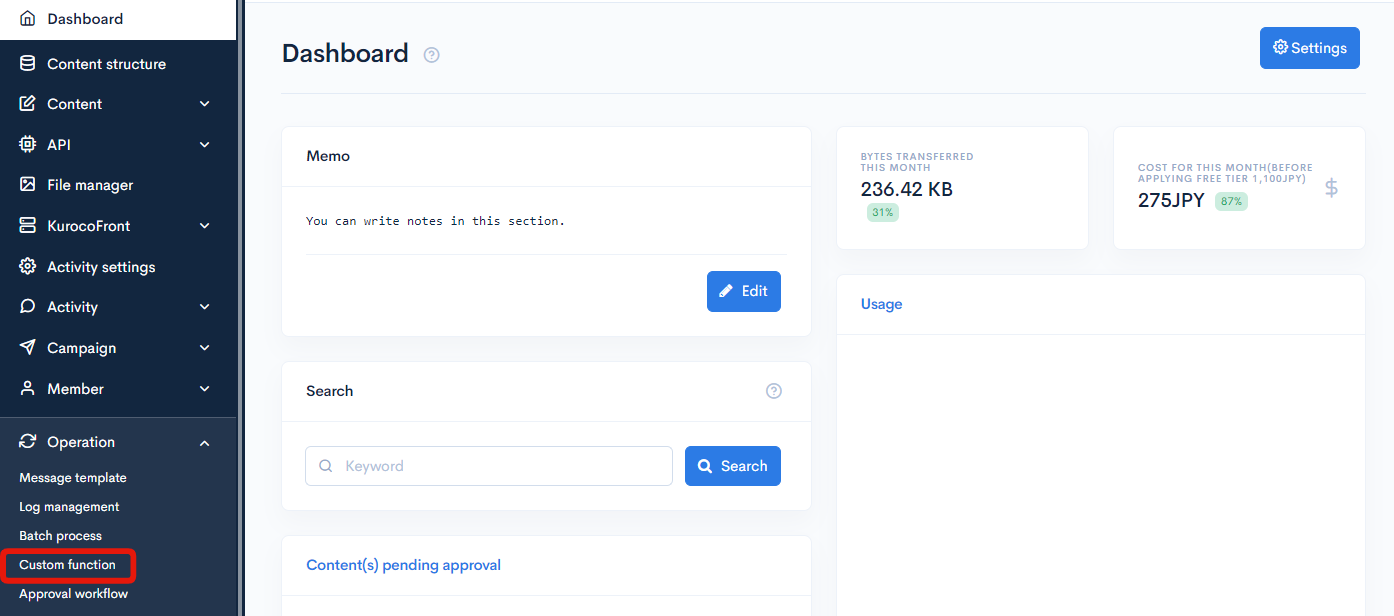
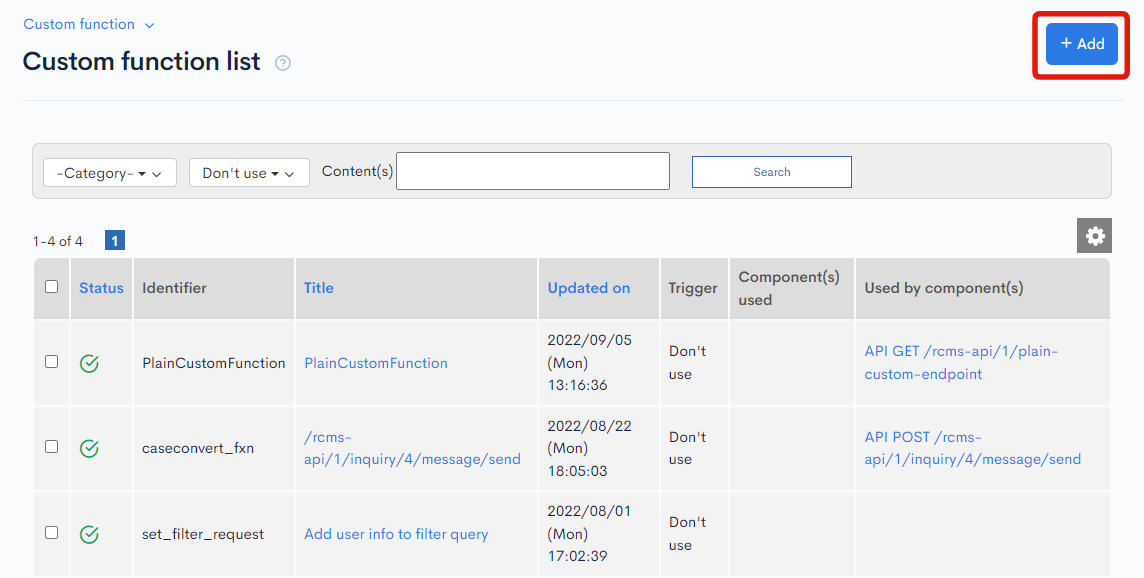
On the Custom function list screen, click "Add" in the upper right corner.
Input the following information in the Custom function editor:
| Field | Description |
|---|---|
| Title | Twitter autoposting |
| Identifier | kuroco_to_twitter |
| Used by component(s) | Trigger: After adding content Text box: 1 |
| Process | Paste the source code below into the text area. |
{assign var=url value="`$smarty.const.ROOT_URL`/article/`$topicsData.slug`"}
{twitter_post_message var=res text="Content updated! `$url`"}
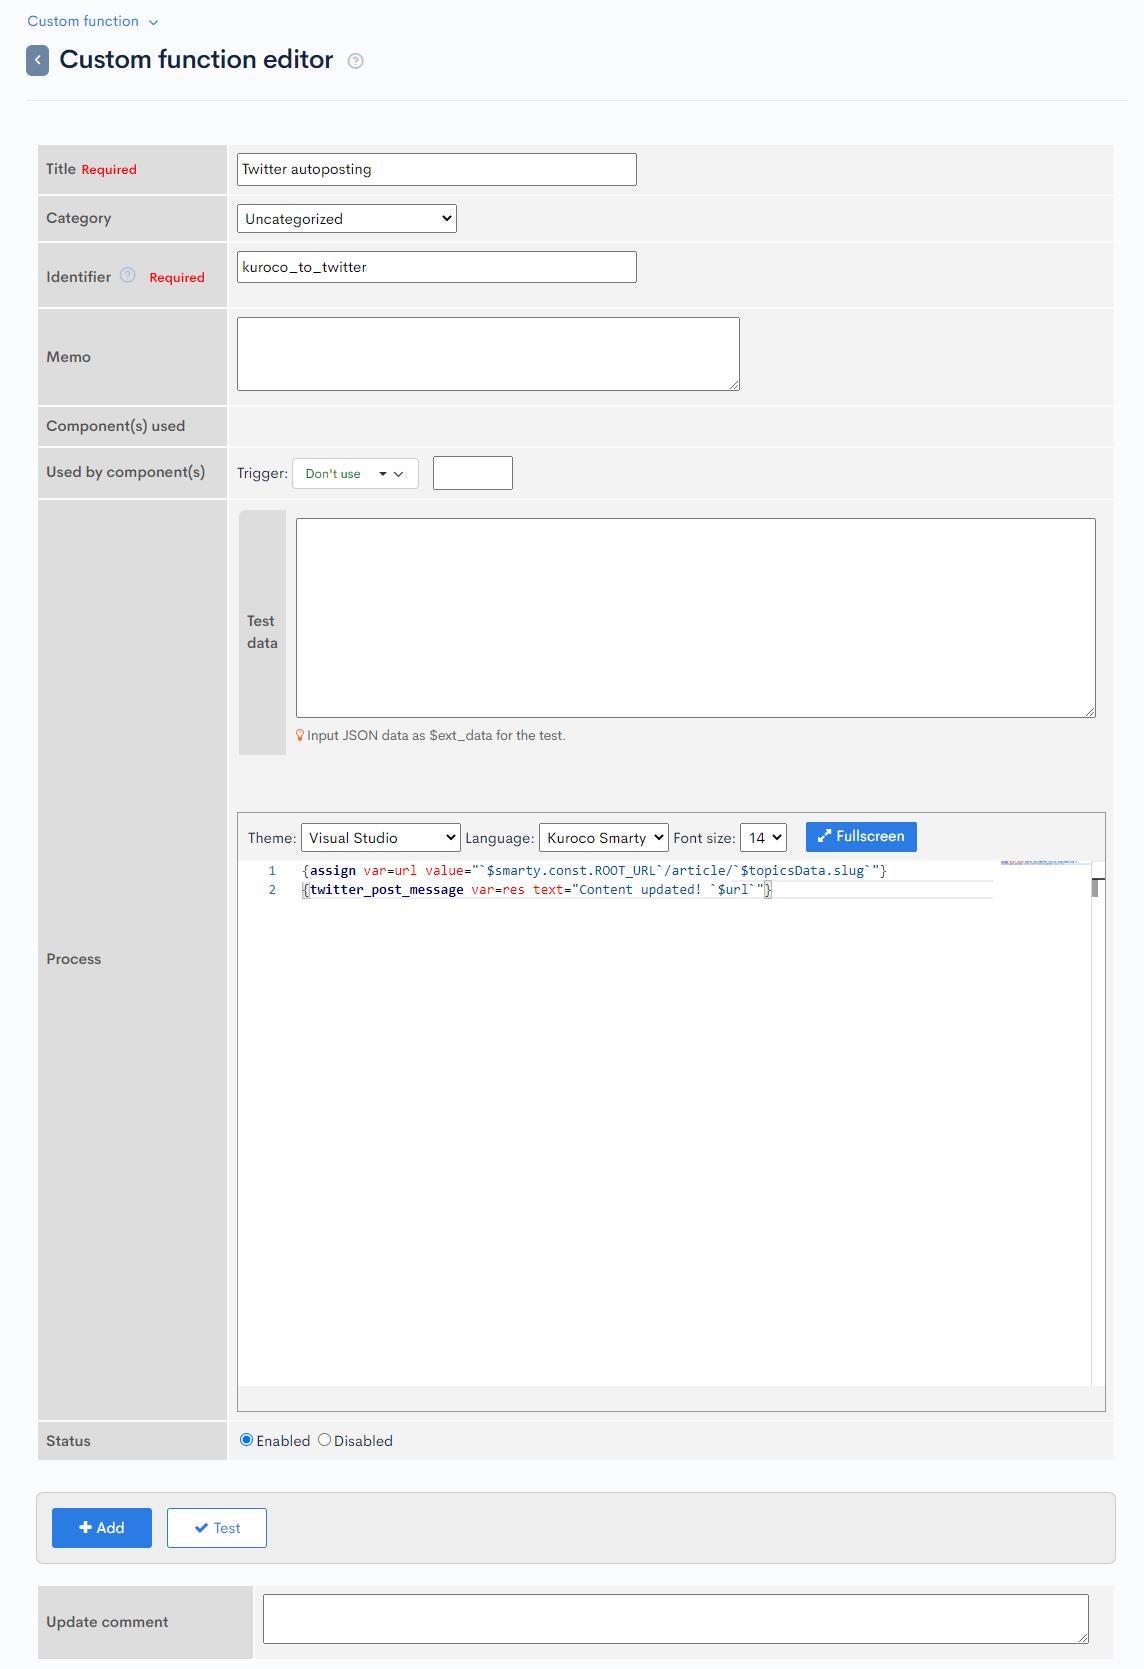 After you are done, click [Add] to save the new custom function.
Operation check
Finally, verify that when you post in "Announcements", the same content set up in the custom function will also be posted to Twitter.
Support
If you have any other questions, please contact us or check out Our Slack Community.